Part 29: Mission 23: Duty & Honor (or "Bargain Bin Lasers")
Mission 23: Duty & Honor (or "Bargain Bin Lasers")

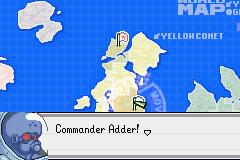
 The laser cannon has been deployed, as you ordered.
 Very well.
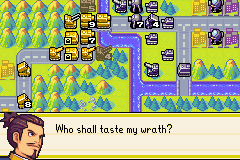
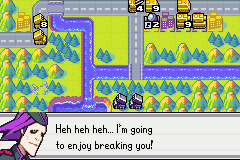
 Adder, how you planning on using it up on that mountain? Quite simple, really. I'm going to lure the enemy in and fire. What makes you think they'll come all the way out here? I'm going to lay siege to their cities. If they don't come, I'll tell the world they permitted their cities be taken. Either way, we can't lose. Hrmmm... More importantly, did you deploy that infantry as I requested? Put 'em just where you said. They're pretty far from the cities. That OK?
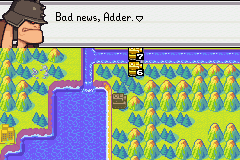
 Yes. That's fine. March them along slowly. They're merely bait for the enemy. Wouldn't want them capturing those cities too quickly. Heh heh heh...
Oo-er.
 Why, Sonja? The Black Hole Army is about to lay siege to our cities.
 It's a trap. They're trying to lure us in. But we can't just sit here!
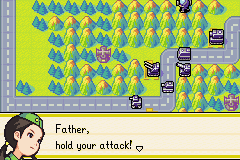
 Why not? That city isn't at all important, strategically speaking. Sonja! What are you? What are we? What are we? We're COs in the Yellow Comet Army. Correct. And COs do not sit idly by and watch their people be destroyed! Even if it's a trap. Even if it's not strategically important. That's... We are COs. It is our job to protect the people of Yellow Comet. Am I wrong? No, Father. I understand. Just be careful. I'm going to see if I can unravel this trap.
Day 1 - non-laser
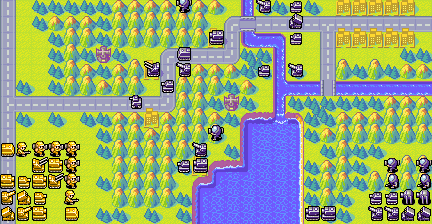
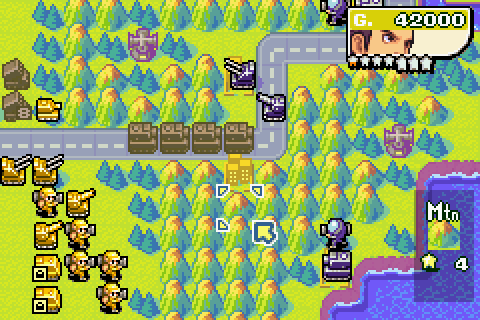
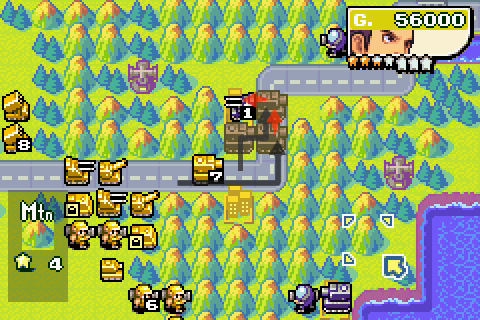
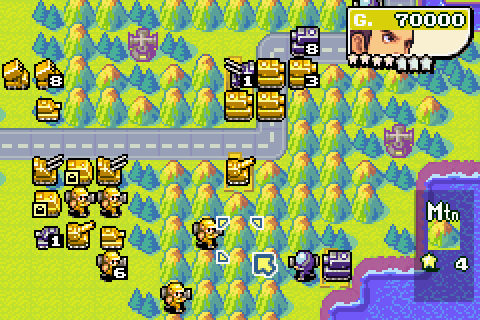
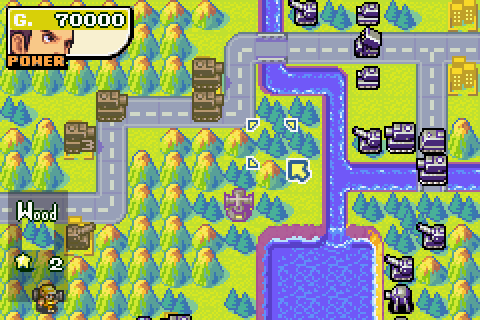
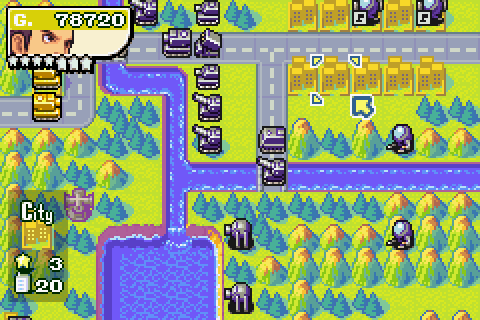
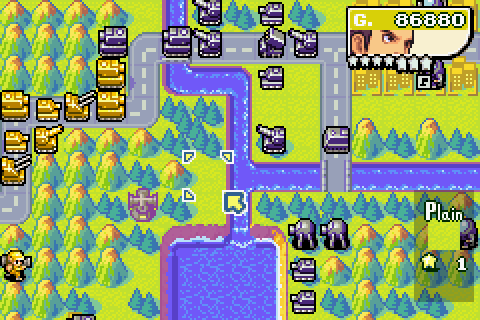
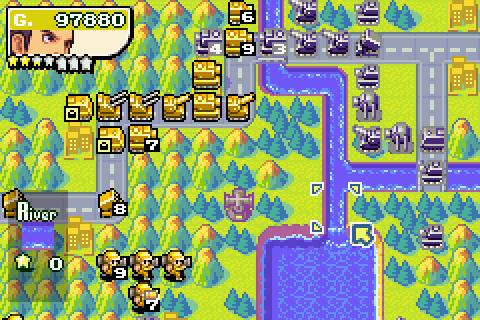
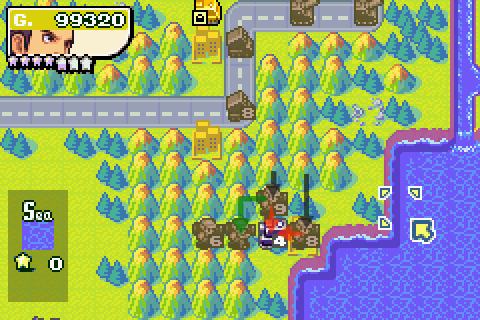
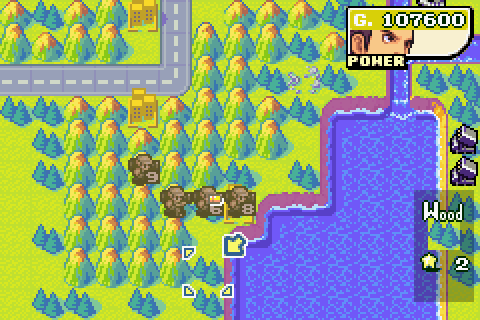
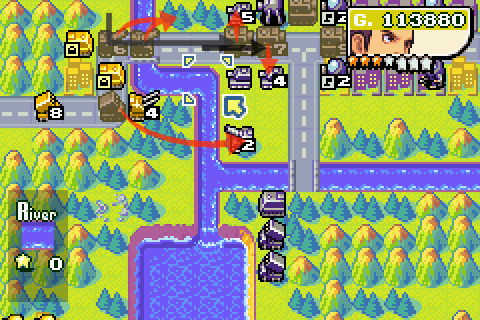
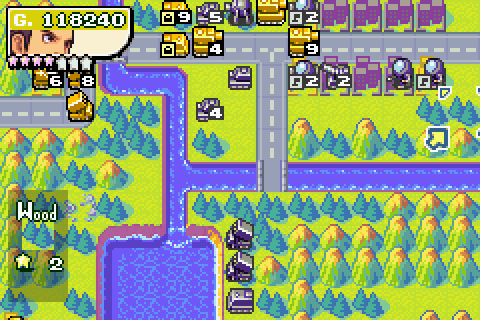
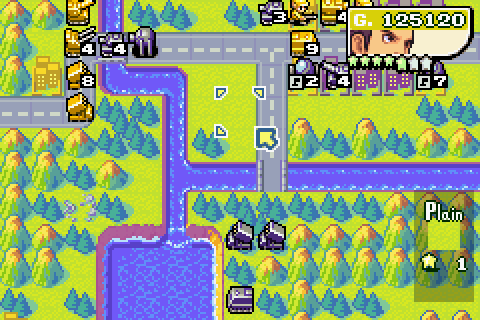
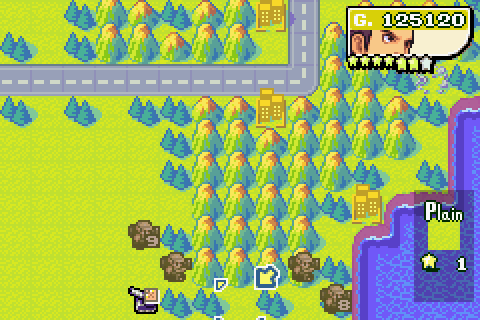
Well, folks, it's Kanbei-in-predeployed time. All of the benefits of playing as the Emperor of Yellow Comet, with none of the drawbacks. Saying that, though, this mission isn't entirely straightforward. Although there's no actual number in the corner saying "X days left", this is effectively a timed mission: we have to reach the ten cities in the top-left and disable Adder's footsoldiers before they can capture everything up there, or we lose. Saying that, in order to win, we have to wipe out all of Adder's forces. So a bit like A Mirror Darkly in that sense.
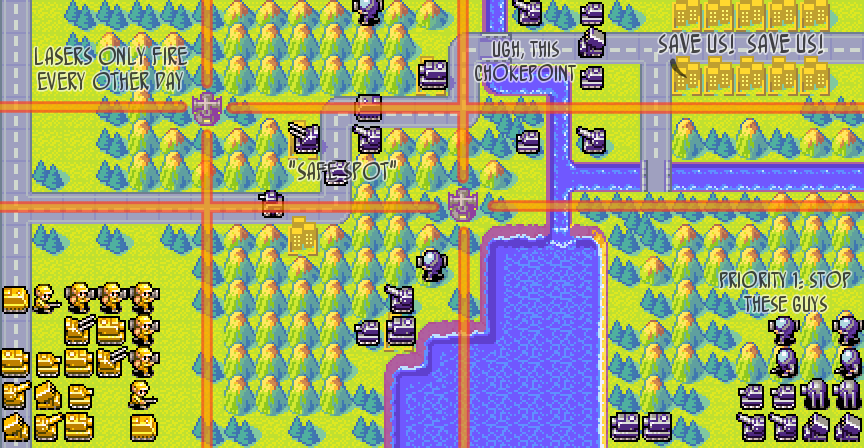
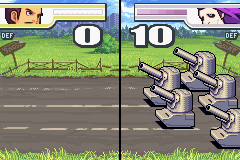
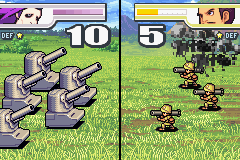
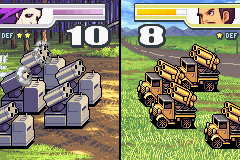
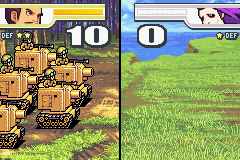
Adder's fielded some laser cannons in an attempt to trap us, but the interesting thing is that these lasers aren't actually as good as the ones we've already met in Orange Dawn and Reclamation: while those lasers fired every day, these only fire on even-numbered days. There's a reason for this: in Normal Campaign, this is the first time you meet lasers, and they're prototypes. This carries over into Hard Campaign even when you've already met lasers before, so it ends up looking like Lash has fobbed Adder off with bargain bin lasers. Seriously, even the other Black Hole COs don't like Adder. Saying all this though, this mission would be pretty much impossible if the lasers did fire every day, given that they cover the main route through the mountains. Other than this, they're standard lasers, doing 5HP damage to any unit in the line of fire, friend or foe.
This mission forces you to find a balance between caution and aggression: go too fast and you're laser fodder, but go too slow and not only will Adder grab those cities, but he'll be entrenched at the bridge chokepoint I've labelled "Ugh, this chokepoint". Between the lasers and the indirects, that chokepoint is a menace, and it's the main obstacle between you and your goal. Ultimately the plan is to get the big attacks in on the odd-numbered days, when the laser isn't a threat, and not care too much about the counterattacks from Adder's indirects because, hey, Kanbei's a tank.
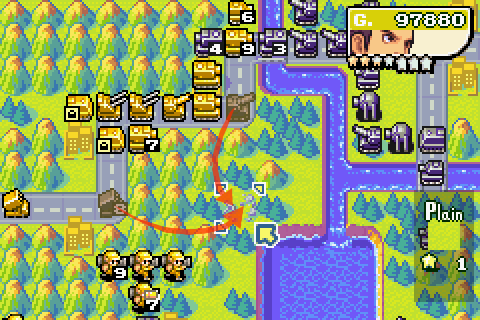
Not much happens on the first turn, it's very much a case of trying to get the units into some sort of order with the tough units protecting the weaker ones and so on.
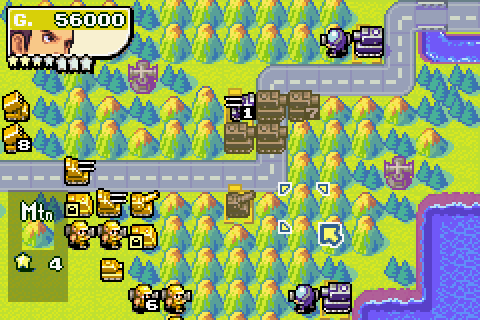
Day 2 - laser
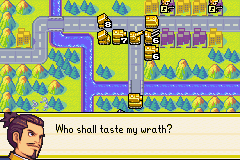
 They have a monstrous weapon called a laser cannon. If fires a deadly laser up, down, left, and right in a straight line. I see... Yet, no matter the trap, I... Ooh! I'm not finished yet!!! It's a laser cannon, but it's only a prototype. It can't just be fired at any time. I think that's something we can use to our advantage.
"Prototype", yeah, right.
That is helpful. You are splendid, my child! Father! I am NOT looking for flattery! I'm trying to warn you! If the 10 cities in the upper right are captured, we lose. Be careful!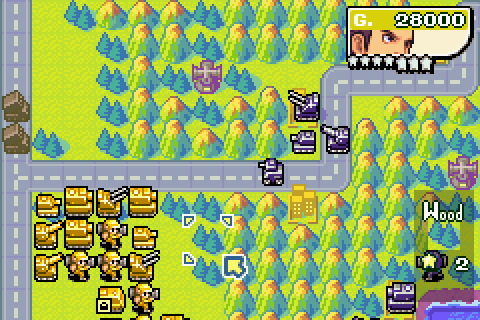
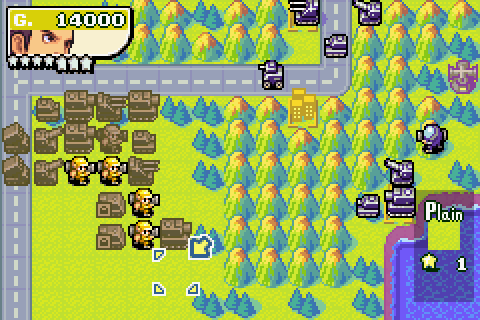
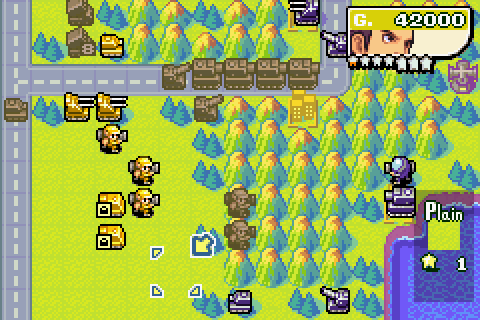
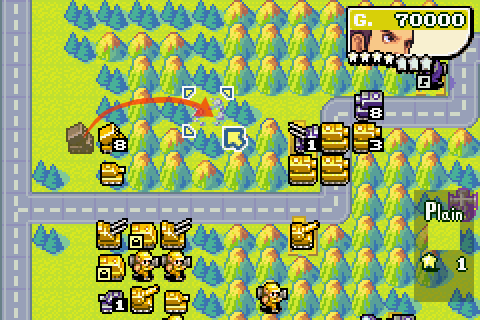
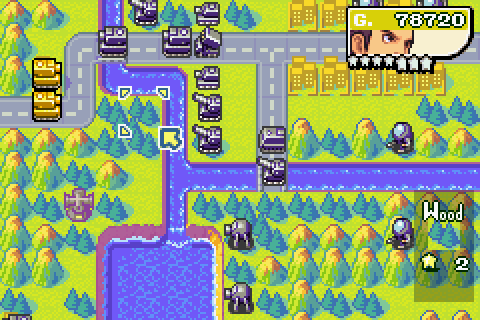
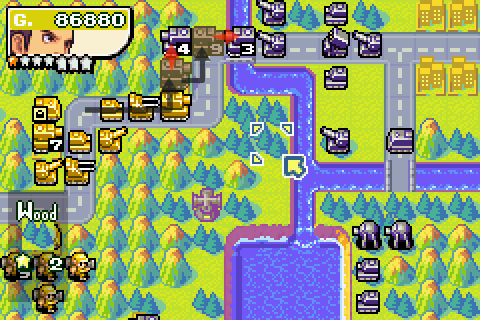
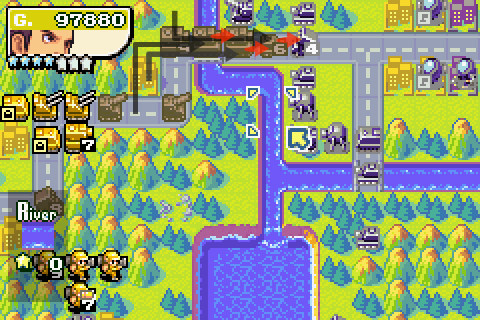
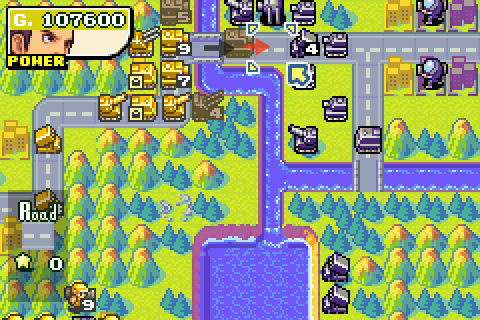
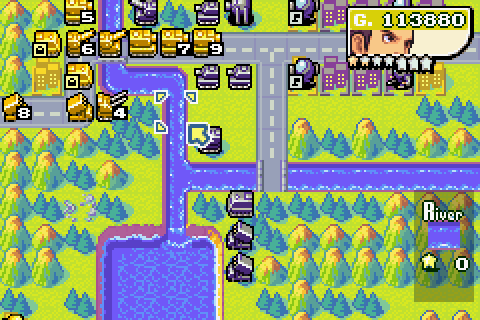
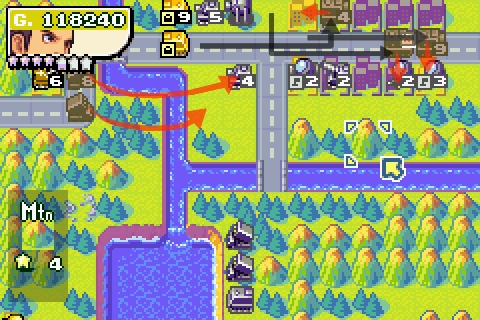
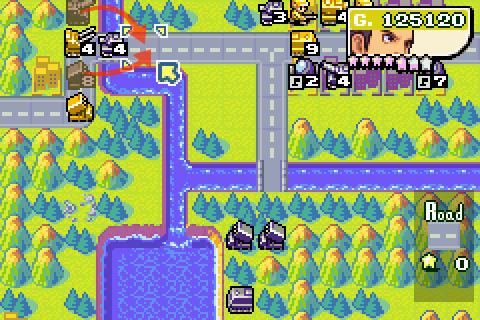
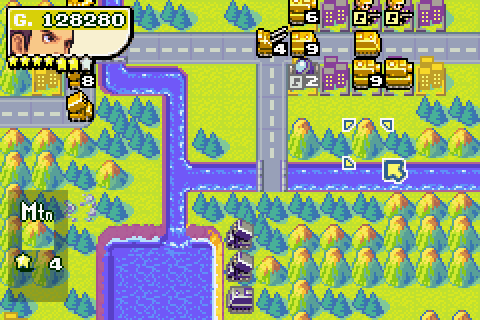
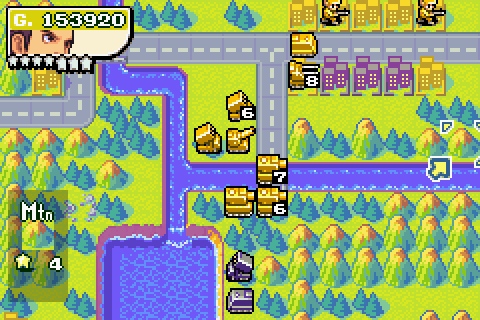
Well, let's start off by moving these rockets up here. Next turn I'll get them in position to attack Adder's northwestern laser.
With the road and the line of woods no-go areas, the medium tanks form a defensive perimeter.

Everyone else moves up.
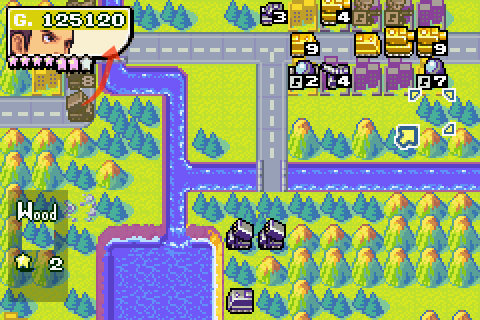
No-one ever told me to look out in Orange Dawn or Reclamation

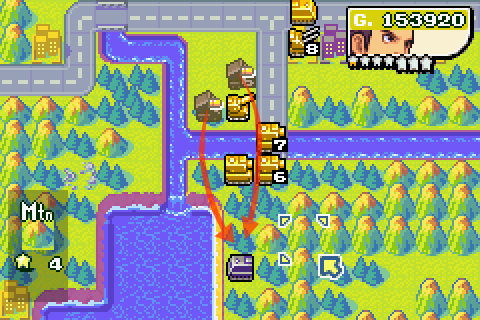
Haha, he hit his own recon.
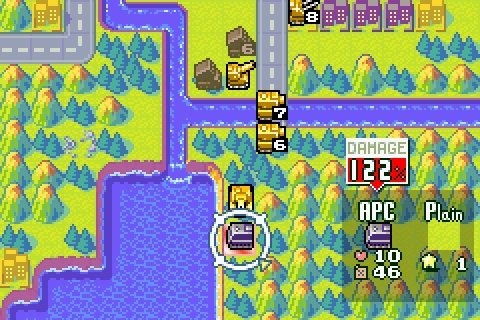
Which then drives off and attacks one of my rocket trucks. Good job the recon got hit, really.
Day 3 - non-laser
Kanbei 0, Adder -1
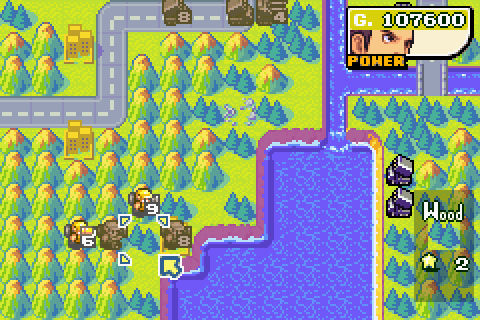
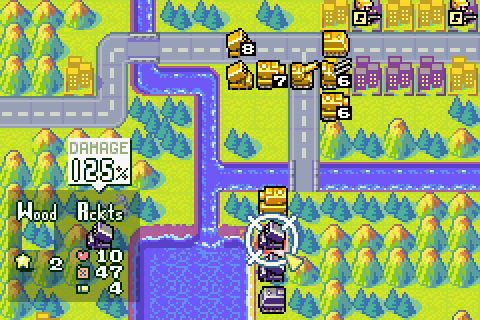
As a tank heads back to take down Adder's recon, the rockets move up. One is now in a position to attack the laser next turn (yes, I could probably have got them both into position by putting the 8HP one on the line of the laser, but I'm still a bit paranoid about lasers - even though I know it isn't going to fire this turn...).
With the laser not firing this turn, I'm free to drive up and assault one of Adder's tanks.
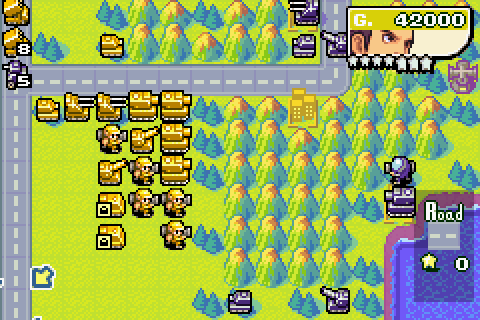
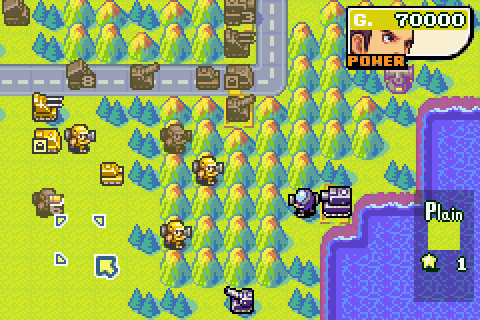
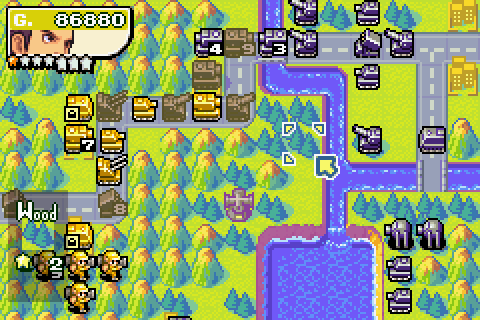
Getting my medium tanks lined up like a row of ducks. A couple are in artillery range, but this really is a mission where you have to overattack on the non-laser days to make up for caution on the laser days.
Artillery form up behind the medium tanks, while some mechs begin climbing to attack those of Adder's units that stationed behind these mountains.
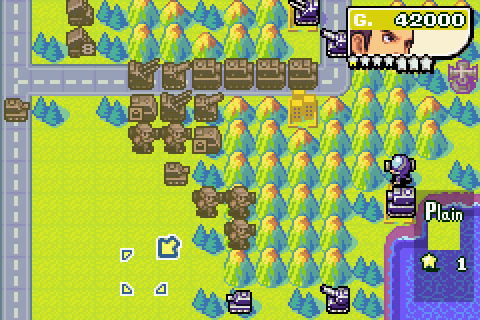
Everyone else bunches up behind the main Md tank convoy.
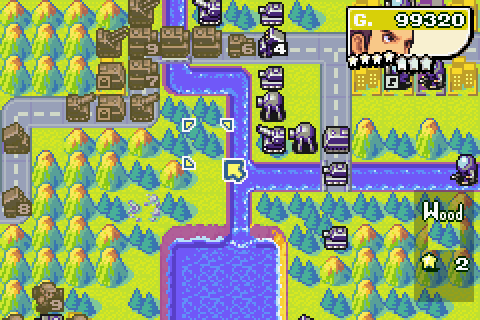
Day 4 - laser
I may have taken damage from that artillery, but it still beats a laser in the face.

Now, if we clear out these three units we create a nice little space for our guys to hide from the lasers in. Can we sweep out all three units here?
Nnnno. Dammit.
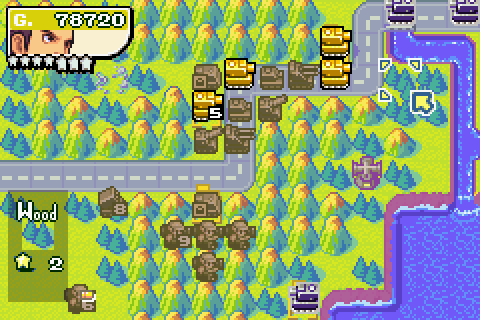
Well, let's make the best of it. 7HP medium tank and artillery move up into safe spots.
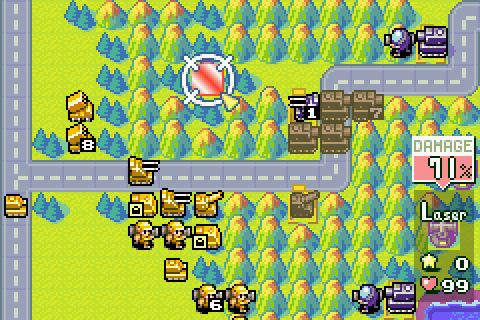
And I can start damaging a laser with my rockets.
As for everyone else, it's just a case of retreating out of harm's way - although I do get to attack a small tank in the south with my mechs.
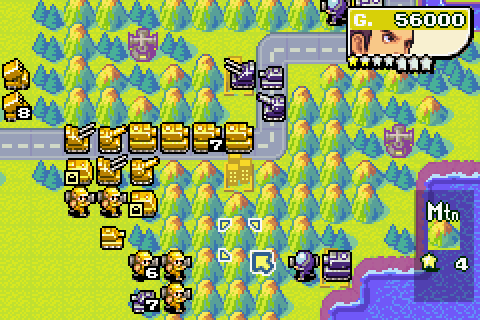
Day 5 - non-laser
The lasers have fired. I'm safe on that count, but there's a medium tank blocking the way. Ideally I'd like to shift it in one shot, and as luck would have it my CO Power's charged up.
Before I forget, let's take out this first laser cannon.
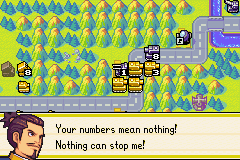

Kanbei sneers at your Black Hole arithmetic (although hang on... if numbers mean nothing, and nothing can stop him... does that mean numbers can stop him?).

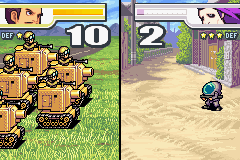
Arty vs. 1HP AA: 108% damage. There's no kill like overkill.
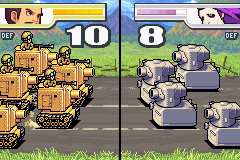
Hahaha, holy shit.
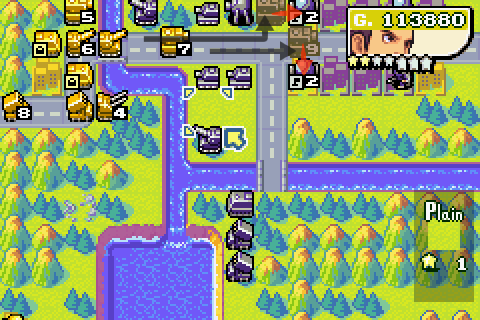
With Adder's medium tank down, I can push through to here, just short of the dreaded chokepoint.
My scattered units move up.


Hoo boy, not the best time for this.
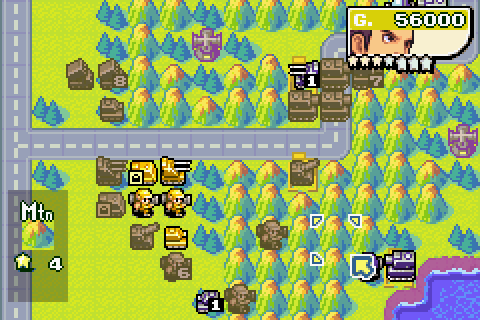
Day 6 - laser
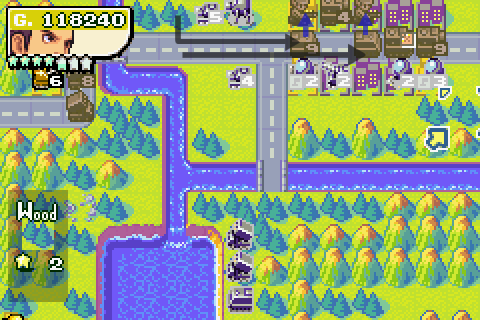
Why do I say that? Well, first of all it means Adder's reached the cities. "March them along slowly", indeed.
But worse than that, it means that Adder now has his medium tanks set up at the chokepoint. With lasers and artillery and rockets all set up ready to go "ahahaha" if I try to attack this turn.
So I guess I won't. Instead I'll move all my "minor vehicles" up behind the two medium tanks at the front, while keeping them where they are.

At least I can do some damage this turn, as three of my mechs converge on one of Adder's.
That particular threat eliminated, I can move my APCs and rockets up.
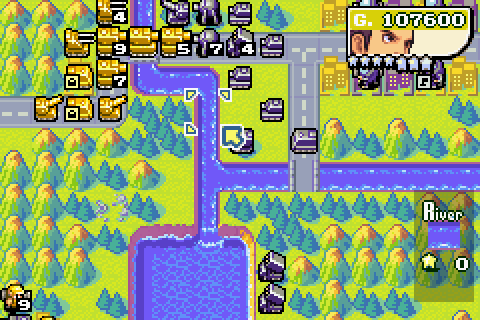
Day 7 - non-laser
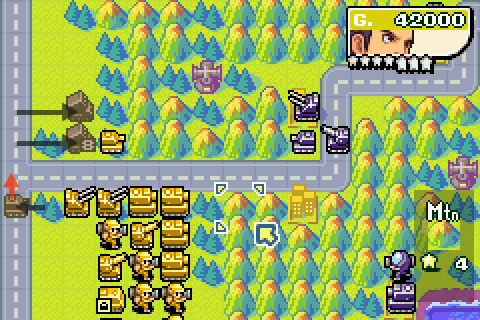
Oddly enough, Adder decided not to hold the line at the chokepoint. He instead moved a medium tank out to, uh... not attack me. I guess the AI must have looked at the numbers for attacking a Kanbei medium tank on a city and gone "... nah."
Which is kind of odd really, given I'm only going to do more damage to him now. Granted it's putting my medium tanks into the range of a ridiculous number of indirects, but we've got civilians to save - and if we don't punch through now, it's just going to get harder.

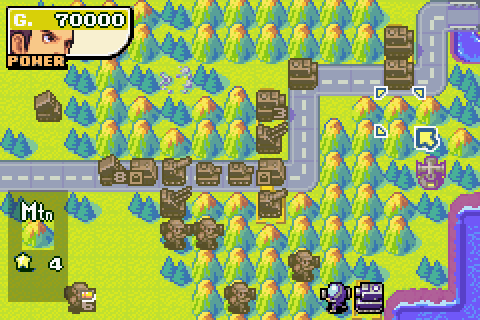
Rockets move up, with one of them now in striking distance of the second laser.
Artillery also move up, to give me more flexibility at this chokepoint. That and get Adder's laser caught between two indirects.

Small tanks move up into the range of Adder's indirects. It seems suicidal, but they're there to try and spread the damage around so it isn't all concentrated on my forward middie - which is better equipped to punch through Adder's lines.

The rest of the team moves up.

Frankly I've run out of droll remarks about Adder's charge rate. Good job we only fight him two more times after this...
Lost a unit, but the good news is that Adder took the bait: he went for my small tanks rather than my medium tanks. This means I still have a chance to punch through his lines.
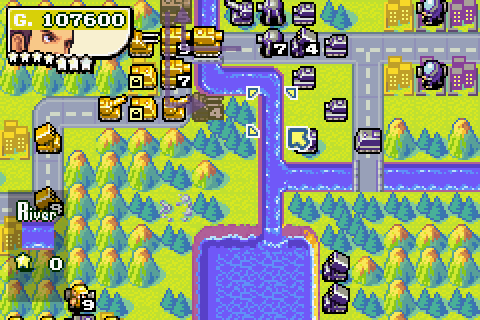
Day 8 - laser... or is it?
Hmm, how am I going to avoid getting shot by the laser today?
Well hey, how about destroying it. That'll teach Adder to get bargain bin lasers.

A couple of shots finish off Adder's damaged medium tanks, punching a hole in his lines and exposing the soft underbelly of his indirects.
So it's time to crash through his lines. Two medium tanks one-hit-kill two artillery, and the 6HP tank runs through to cripple the rocket truck.

Meanwhile, my mechs have a medium tank to mob.
Two 7HP mechs join together while a fresh pair of mechs knocks the medium tank down to 4HP.
Back at the main chokepoint, everyone else moves up to present the dilemma of multiple targets to Adder's remaining indirects.
Day 9
Honestly, you make one breakthrough, and they build up another blockade. Neotanks ahoy.
First let's retreat the injured AA and medium tank before...
... inspiring the troops. Come on guys! We've gotta save the civilians! For Yellow Comet, motherhood and sushi! etc.
Whew, this was a slightly lucky one. The "expected damage" meter read something like 68%, and if this 7HP neotank hadn't fallen that would have stalled up the whole assault. Good job it fell, then.

Riding on the back of a successful assault, the other medium tanks push through into open space. I guess I could've attacked the neotank, but what's more important is a clear path through to the cities.

To that end, I make more space for myself by sending an AA through the lines, as I move everyone up.
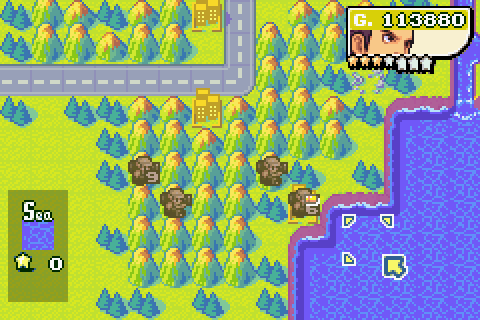
In the south, my mech brigade deal with Adder's medium tank down there.
As the 6HP mech heads to the city for repairs and refuelling, the others start towards the far south-east corner, where we started out: I haven't shown it, but for some reason Adder's sent an artillery down there.
Day 10
The AA that I sent through got trashed by the neotank, but the good news is...
... I can reach the cities! And not a moment too soon.
With these two mechs crippled, I've bought myself a good deal of time here.
Two artillery attack one of Adder's artillery, and the rocket attacks another one. Meanwhile my other two medium tanks keep pushing through and damage a pair of small tanks.

Moving the APCs up to block gives some cover for my indirects.
The mechs start heading back to deal with that arty.
Heh heh heh, you're too late, Adder!
Day 11
Adder's neotank took out one of my Medium Tanks. I've had quite a few casualties so far this mission. Still, it's the duty of the army to protect civilians.
While my rockets take on some tanks, the remaining middies keep working to clear out Adder's footsoldiers.
The APCs sweep in and unload their passengers. Partly to block, party to help with the liberation. I don't have to recapture these cities, but it's still a nice touch to liberate as many as I can before mission end.

Granted a 6HP artillery isn't the best unit to hold a chokepoint with, but all my tougher units are helping out over at the cities.
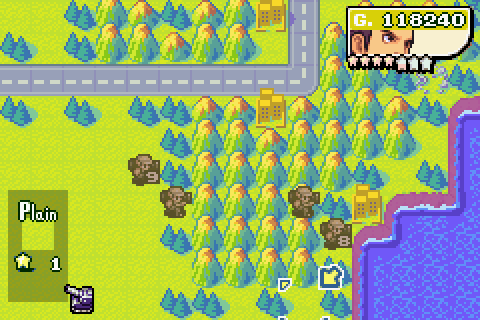
Meanwhile, my mechs close in on the rogue artillery. He can run, but he can't hide.
Day 12
... yeah, that 6HP artillery wasn't enough to hold the choke. Oh well, it provided a nice way to lure Adder's neotank over here into indirect range...
And I can take it out now it's over here.
While my other rocket attacks
And the middies keep sweeping up.
To ensure that the artillery doesn't run away, I'm going to give it something to fire at. The good news is, with Kanbei's defence boosts they should survive.

You're going to enjoy breaking me with two rockets, an APC, an artil and a 2HP mech. I see.
Yeah, the infantry survived.
Day 13
Time for the endgame - dealing with these rockets. Because of all the forests round here, this can get tricky.

First of all, let's clear this area out by finishing off the mech and bringing the rockets and middies up.
I've moved this APC into rocket range to ensure the rockets don't move even further away. Again, it should survive thanks to Kanbei's tankiness.

Meanwhile, my mechs close in and finish off the artillery.
Well, I know one thing - 100 technique's out of the question now with 5 units lost. Darn pre-deployed missions. I should be able to limit the damage though.
Day 14

Yeah, the APC survived.
Joining the two APCs and continuing to liberate the cities. And moving a medium tank up to threaten these rockets.
Once more I'm relying on Kanbei's superior defence to shrug off rocket fire.

See what I mean?
Day 15

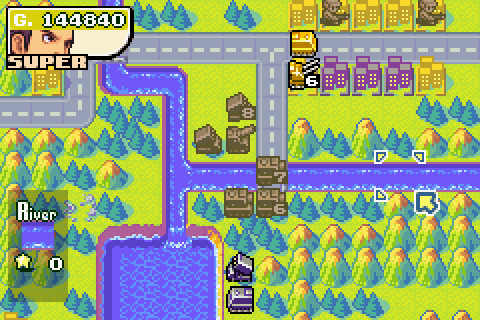
The good news is, that last attack fully charged up my power bar. So let's show off Kanbei's Super CO Power.

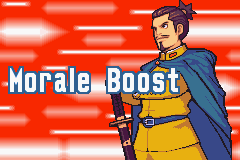
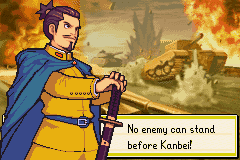
Samurai Spirit gives you the attack boost of Morale Boost, but it also gives you a large bonus to your defence, and sends your counterattack power through the roof as well. Translation: do not attack Kanbei when he's got Samurai Spirit. If he's a tank without it, he's a wall with it.
And as the late Mitch Hedberg noted, "the depressing thing about tennis is that no matter how good I get, I'll never be as good as a wall."
Rocket goes boom now.
Now I can hang out in rocket range all I like because hey, Samurai Spirit.

See what I mean? That was a full health rocket attacking an 8HP rocket. And knocking 2HP off. And the scary thing is, that was probably Adder's best damage-dealing option.
Day 16
Final day.

At least my technique score won't get any worse.
Rockets combine to take out Adder's rocket...
... and a middie rolls up to take out the APC.
Boom.
Aftermath
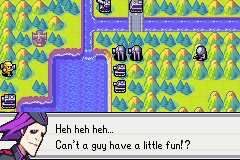
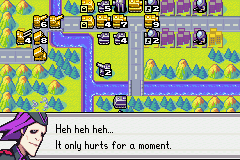
 Our troops got beat! Hsss! Those Yellow Comet COs aren't bad at all, are they? We've just lost 2 laser cannons! Why ain't you more mad? They were merely tools. If necessary, we can build more. Yeah, I guess so... More importantly, how are we going to handle things from here on in? For now, let's retreat to the factory and redraw our battle plans. This war is far from over.
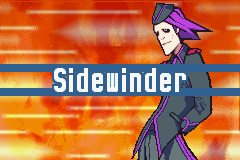
Says the guy who has his back up against his factory... although I've got to say, this is probably the calmest I've ever seen Adder after a mission. Maybe he's just relieved he wasn't fighting Sensei.
Father, it appears that the enemy has withdrawn from the cities. Is that so? Yes, I visited one of them myself. They gave me a message for you. "Thank you for saving us." ...... It made me think. What if we hadn't entered the enemy's trap? What would have happened to all of the people living in those cities? The safety of all of Yellow Comet has been entrusted to us. Which means we sometimes have to make painful decisions. We must always protect our citizens, regardless of the danger we face. I understand that now. Commander! We've spotted someone in the mountains to the north. It might be the Black Hole CO. Are you sure? Quickly! Prepare to pursue! Hold on, Father. We'll never catch him if he's that far away. It's more important that we work on reorganizing our troops. That's-- We'll never know unless we try. I am NOT letting him get away! But, Father... Father! Oooh! How I wish that he weren't so reckless!
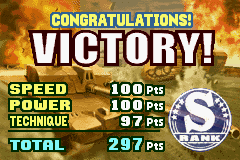
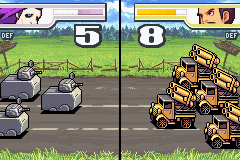
That went as well as could be expected. As predicted, I got penalised for losing a unit too many, but I'll definitely take 297 points here.
And so we arrive at the Yellow Comet factory. In a bit, I'll make a "strategic notes" post where I outline the basic plan and ask for votes on which COs to use: we'll have a choice of 9 this time!