Part 45: Intermission: Mr. Sturm Goes to the War Room (Moji Island)
Intermission: Mr. Sturm Goes to the War Room (Moji Island)
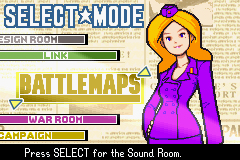
Hey there folks, as I said last time I'm going to take a short break from Hard Campaign to recharge the old batteries and see what else the fine game of Advance Wars 2 has to offer. And we're going to start out here in Battle Maps, the game's shop.
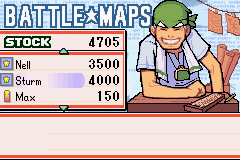
Meet Hachi. Rumoured to be one of Orange Star's top, top brass back in his day, he's now retired from the military life and running a shop that sells all sorts of stuff: maps, COs that you've unlocked from playing Campaign, alternate palette colours for COs (like the ones we got to turn Olaf into Santa) and so on. He also gives you the odd bit of advice when it comes to using or fighting against COs, and other general stuff. On my GBA cart version of this I've already bought everything, but on the emulated version I'm using to make this LP with, I've still got a way to go.
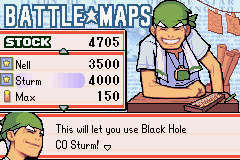
Today we're going to be buying Sturm. You unlock Sturm by S-Ranking either of the campaigns: it so happens that I S-Ranked NC on my way to setting up my current HC run. Of course, once you've unlocked him, you've still got to buy him, and 4000 points is a hefty price tag (Points come from your scores at the end of missions: get a 300-pointer, earn 300 points, and so on. In addition, Hard Campaign doubles the points you earn, so a 300-pointer in HC nets you 600 points).
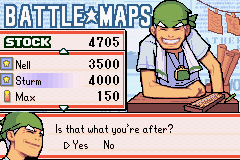
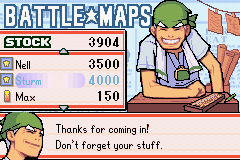
I'll just confirm my purchase...
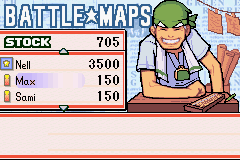
And head back on out again (Note that you can also buy Nell: I'll have to show her off at some point too. Maybe after the next HC mission...)
And now we have Sturm, let's do something useful with him.
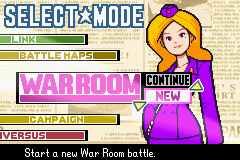
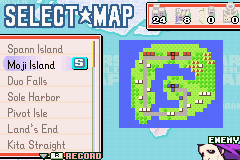
The War Room is a bunch of extra missions outside of Campaign that pit you against a specific AI opponent on a specific map.
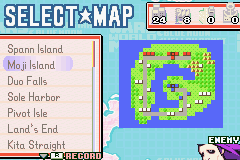
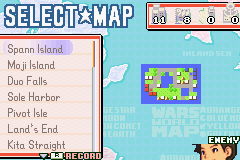
I'll be playing Moji Island today, for a few reasons:
1. It's a fast, fun mission that'll make a nice change after Great Sea Battle.
2. We're facing Adder. How could I resist one last pop at Adder?
3. The geography of the map is particularly well-suited to demonstrating some of Sturm's strengths, so it's a good place to road-test him.

You can use any CO that you've unlocked and bought to play a War Room map.

Today, of course, we'll be using Sturm.
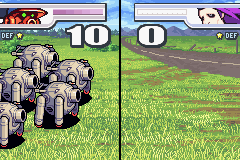
Day 1
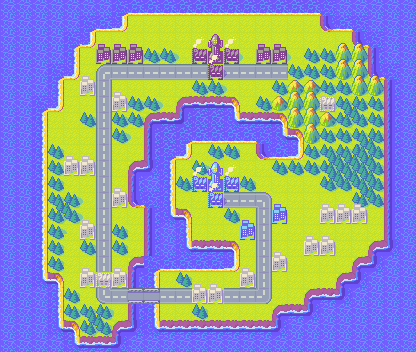
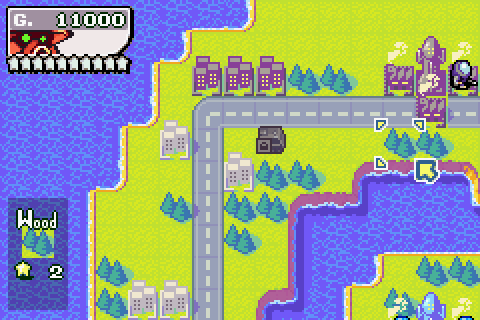
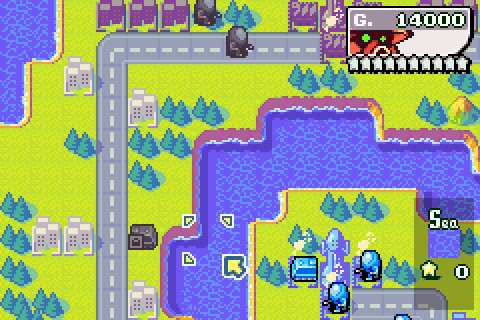
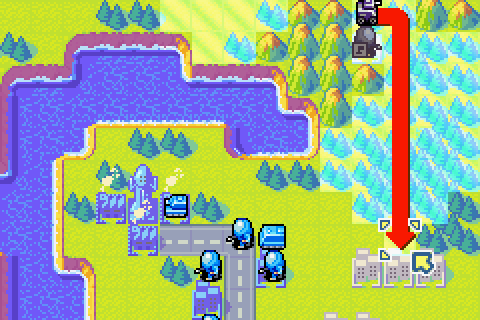
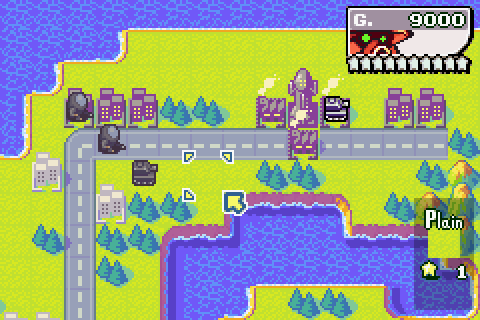
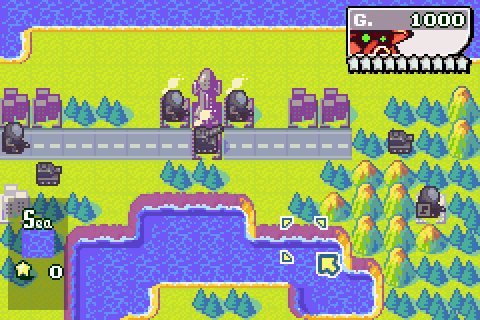
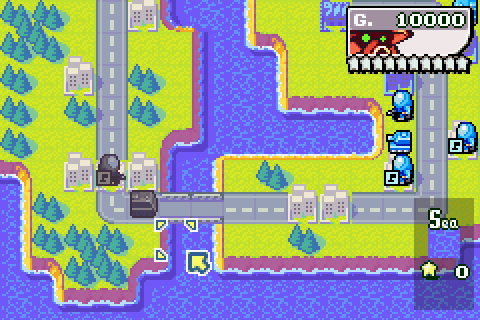
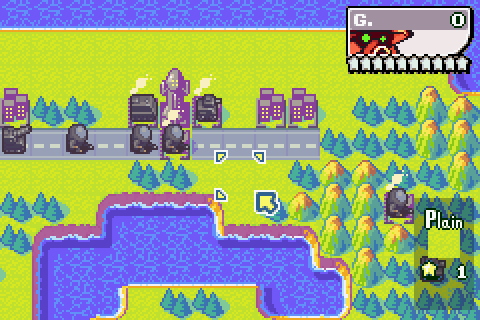
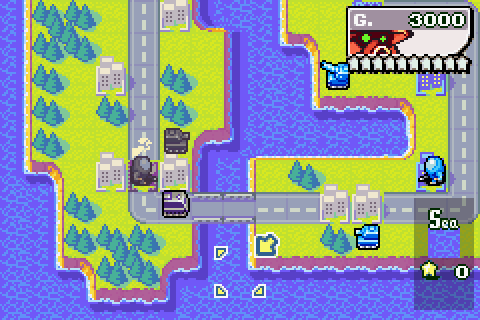
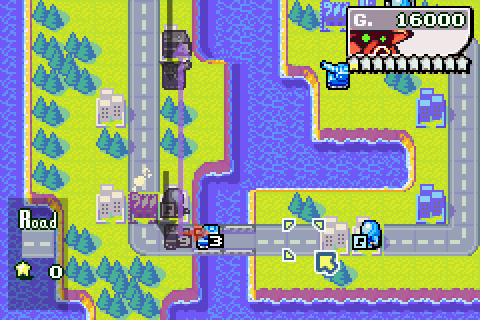
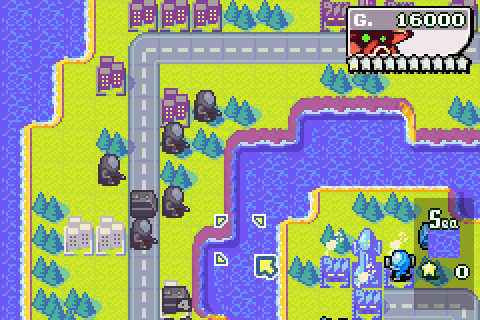
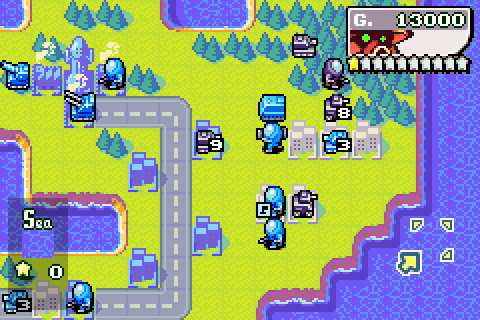
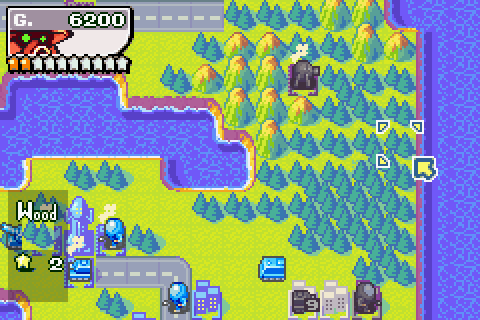
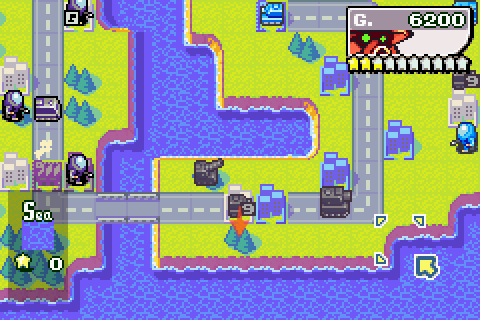
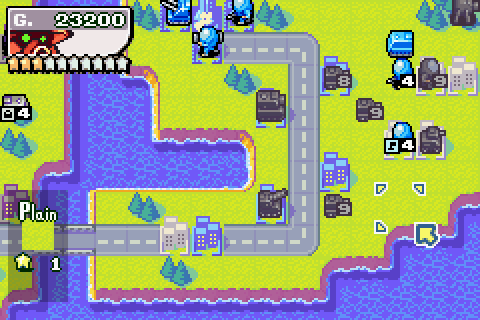
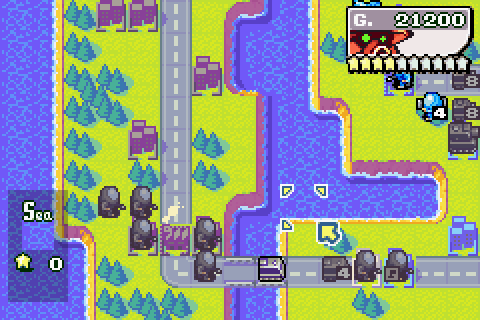
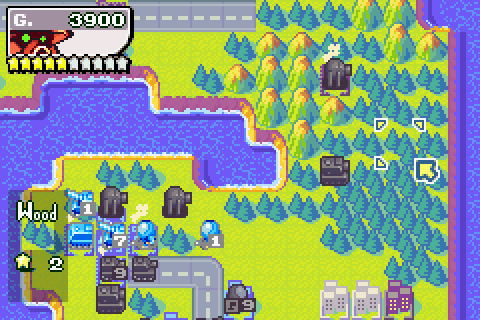
You may have seen me use the description "War Room map" for certain missions throughout HC. That's because most War Room missions follow the same pattern: very few if any pre-deployed units, no Black Hole gimmicks (except maybe a few pipes or missile silos), just straightforward production of units from bases, ports and airports. The strategy on this map is pretty simple, grab the bases in the forest and by the bridge before Adder does, and then trap him in a pincer movement.
Note that in War Room, your cities/units turn the colour of the CO you're commanding, with the opposition typically being Blue Moon (or Orange Star if you're Blue Moon). So note that, as Sturm's a Black Hole CO, we're Black Hole this time (try to get over the shock as quickly as possible).
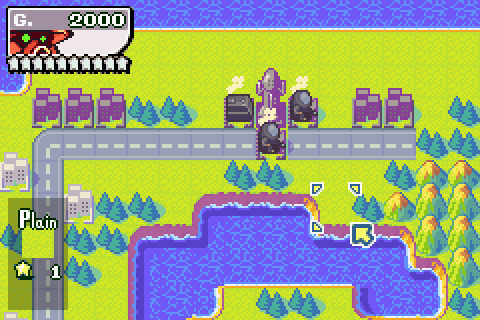
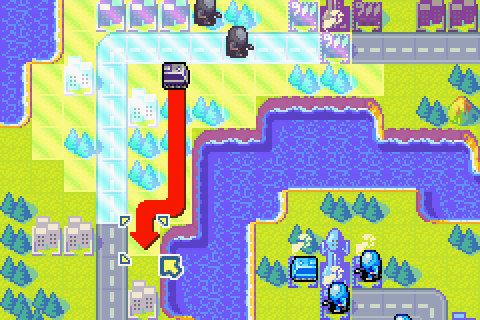
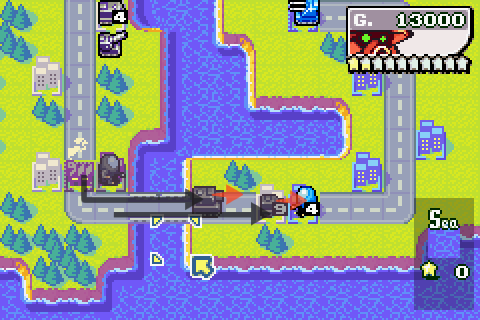
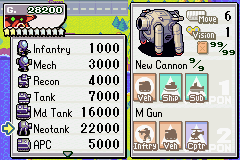
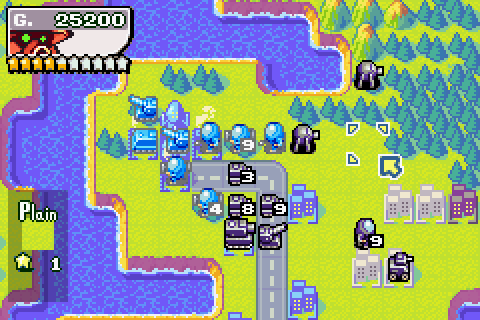
Let's start simply with an APC and a couple of infantry.
Day 2
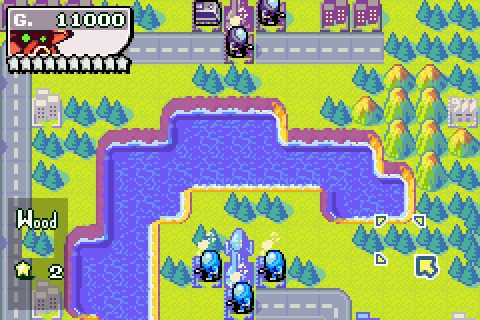
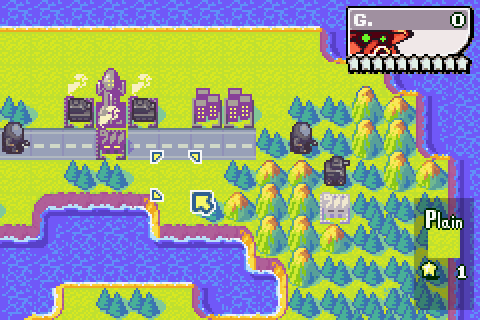
Adder built three infantry in response.
Oh well, I guess I'll load and move this APC...
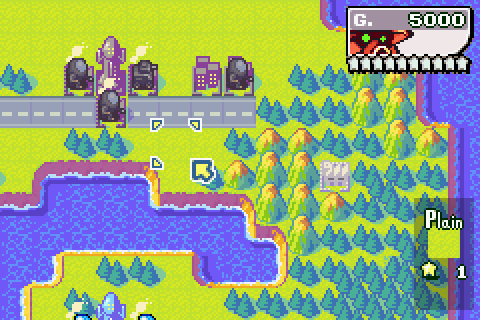
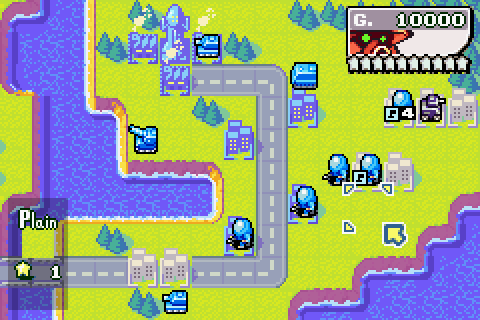
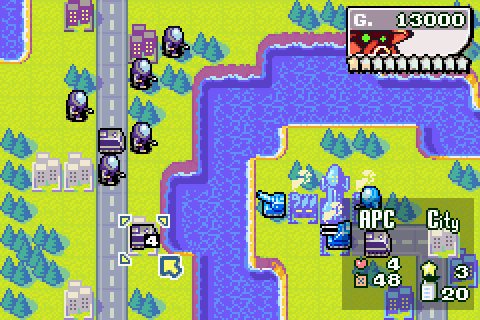
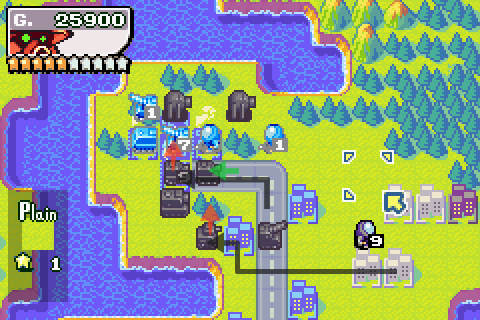
And we'll have more infantry, and a recon.
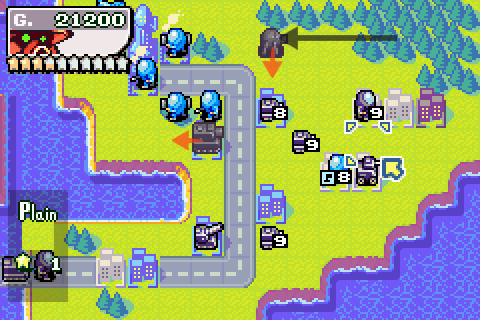
Day 3
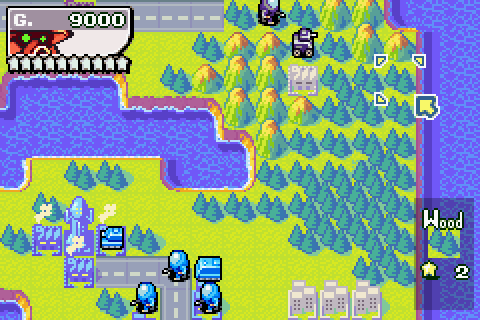
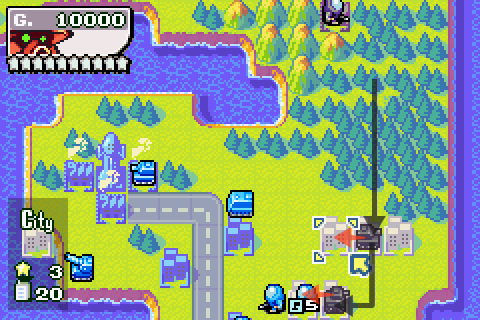
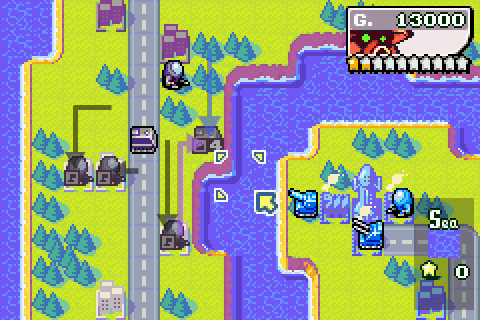
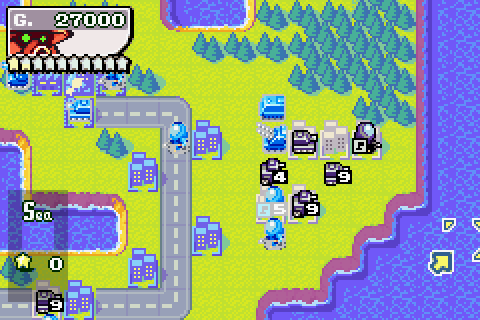
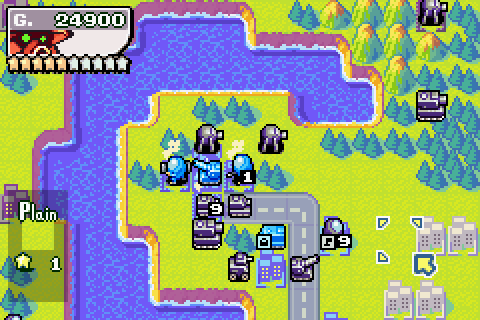
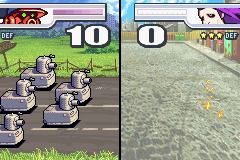
Five infantry and an APC. So far, so predictable AI behaviour.

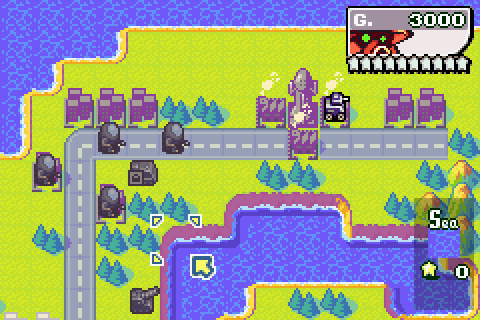
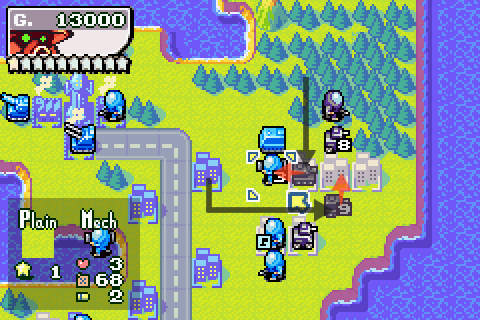
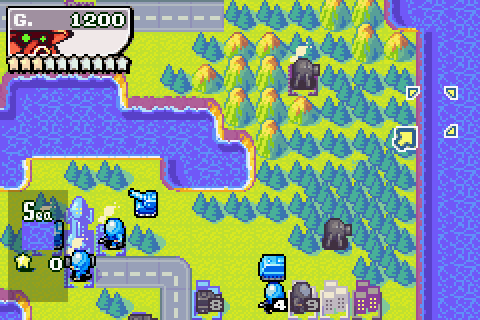
Now for something a bit less predictable: this recon can go charging through forests as if they aren't there! What's that all about? Well, it's just one of the features of our horribly broken CO for this match. So let's introduce...
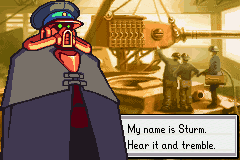
Paul.Power's CO Notes: Sturm
 (Theme)
Sturm gets +20% attack and +20% defence all the time, without having to pay anything extra for his units. He's also not affected by terrain movement costs: for example, for most COs moving units through forests costs 2 move points for vehicles with treads, and 3 move points for vehicles with tyres. For Sturm, it just costs 1 move point. Although this doesn't mean he can send his tanks up mountains, it does mean that any square that his units can cross can be crossed for a minimal price. The closest thing Sturm has to a weakness is that he only has one CO Power, not two, and it takes a whopping 10 stars to fill up. But it's worth it. Oh it's worth it. So worth it that I'm not going to spoil it until we face him back in HC.
Background/Personality: The commander-in-chief of the Black Hole army, Sturm and his troops are mysterious otherworldly invaders. Sturm's first attempt to invade Wars World was in Advance Wars 1, where he started wars between the various nations in order to try and weaken them, so that he could clean up later. He did this by getting Olaf to attack Orange Star while creating clones of Andy and sending them out to attack Green Earth and Yellow Comet . This time round he's taking a far more direct approach, hiring a bunch of mercenary human COs and using the power of the dreaded Factories to both supply his armies and plunder the allied nations' resources. Sturm is... well, your typical Big Bad, really. Hates failure among his subordinates, loathes the allied nations with a passion, and hasn't forgiven them for defeating him last time. He's also a total badass thanks to his absurdly broken powers, but that goes without saying.
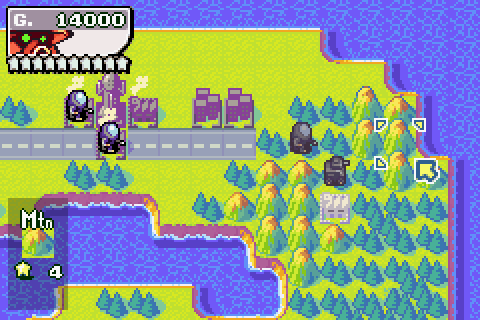
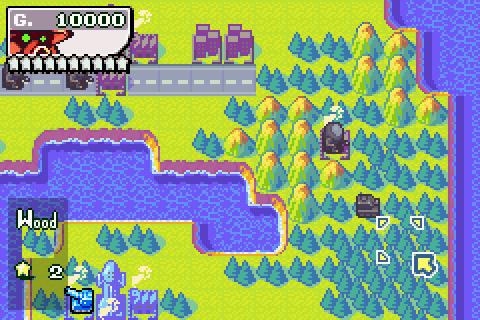
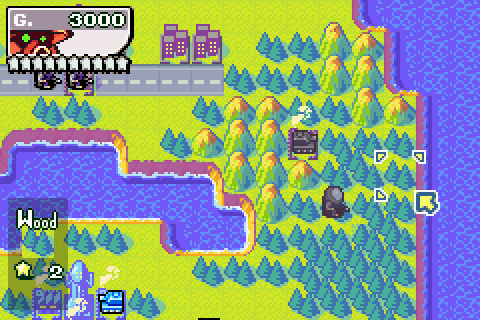
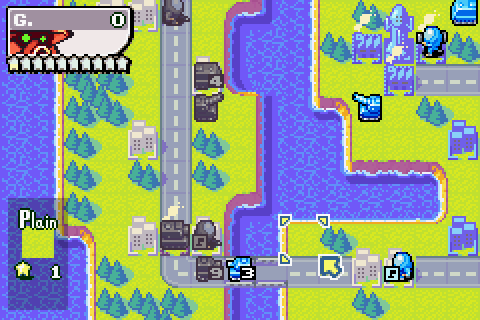
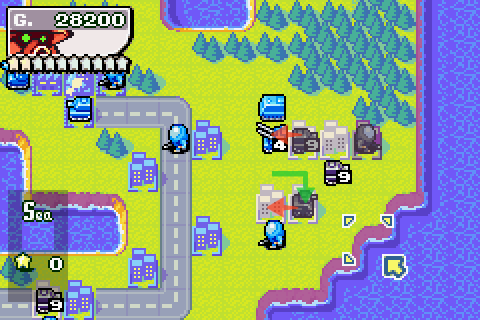
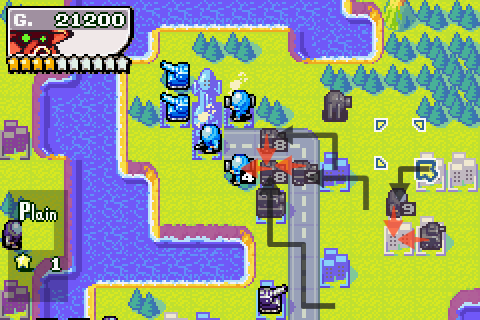
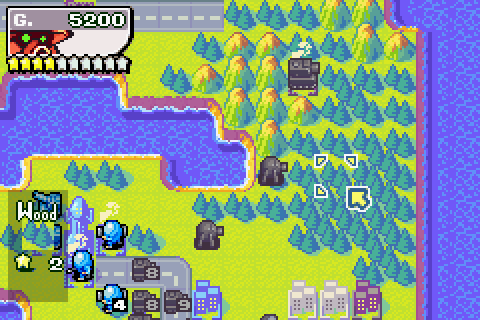
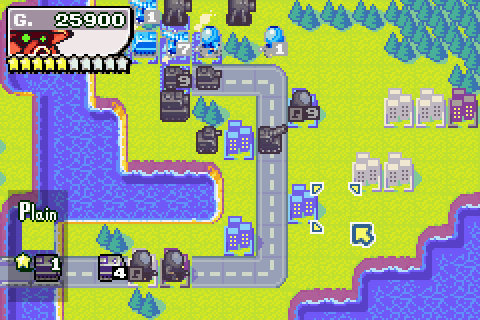
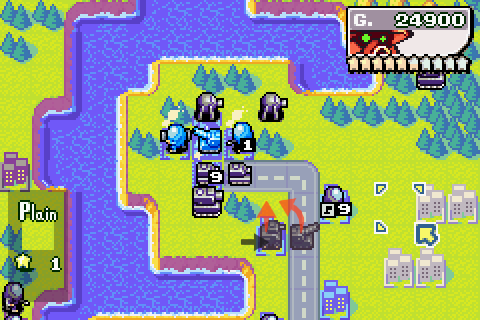
The upshot of this is that it makes attacking Adder through these forests very easy. Which is what I meant when I said "the geography of the map is particularly well-suited to demonstrating some of Sturm's strengths".
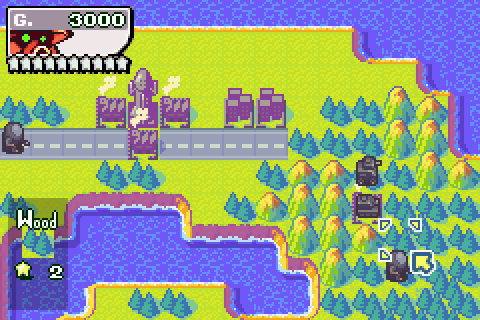
The APC demonstrates some forest-driving skills of its own.
Whee.
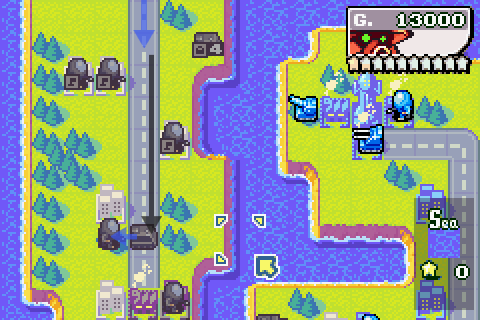
And we'll have some tanks to beef up our firepower.
Day 4
Just in time really, Adder now has a tank of his own.
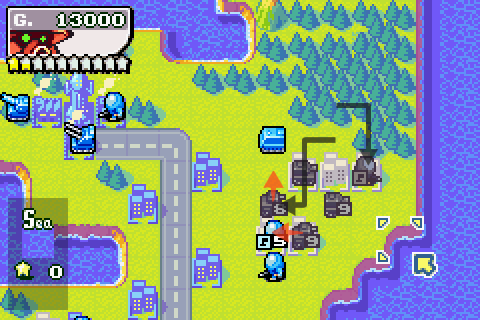
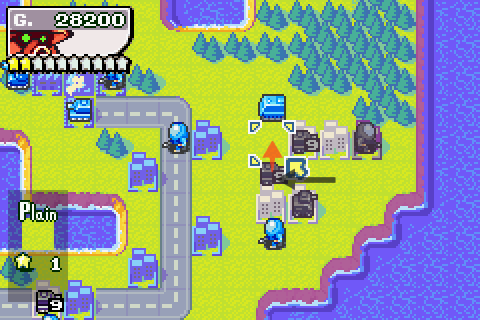
Okay, this is the last time I explicitly demonstrate Sturm's movement skills.

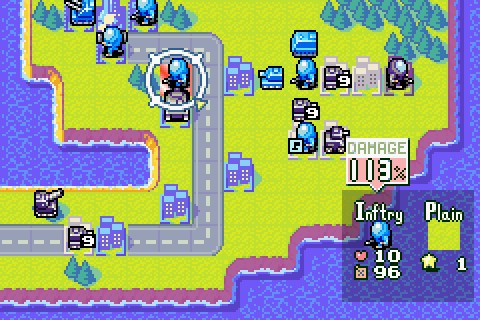
Putting the recon here so it can threaten the infantry but still be out of range of the tank.

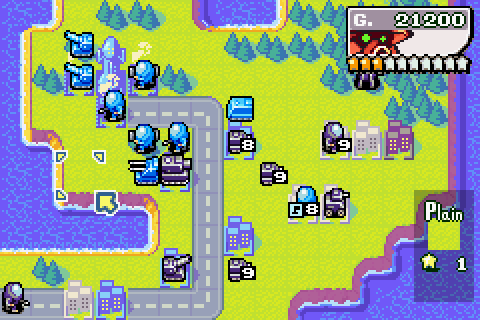
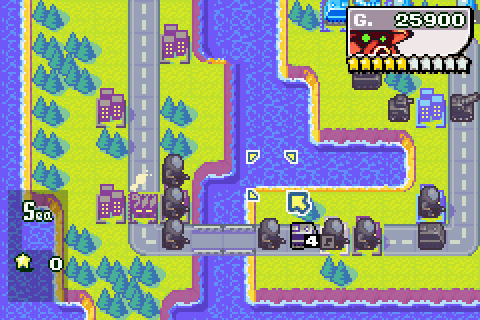
And I'm already at the bridge base. This mission moves quickly enough without Sturm. With him, it's kind of ridiculous.
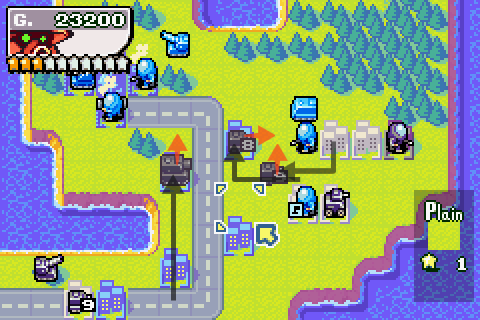
The infantry and one of the tanks move west to capture these properties that my rushing APC skipped over.
The other tank moves east into the forest. That recon will need backup soon...
Day 5
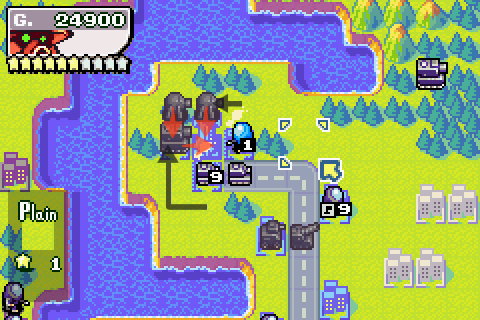
So, the tank wandered off towards the bridge rather than heading towards my recon. That's good, it means I can do...
... this!

And still stay out of the tank's range of attack.
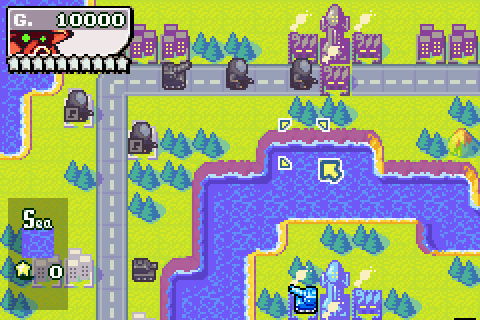
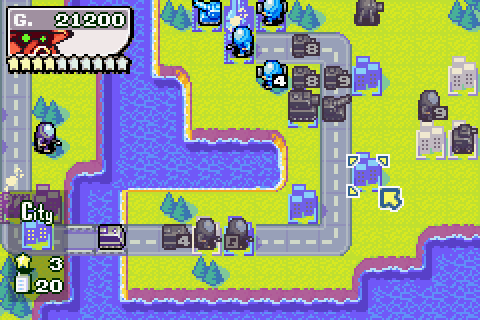
Meanwhile, I can start capturing the bridge base...
... finish capturing the forest base...
... and move everyone along here.
Let's have a second APC, a second recon and another infantry.
Day 6
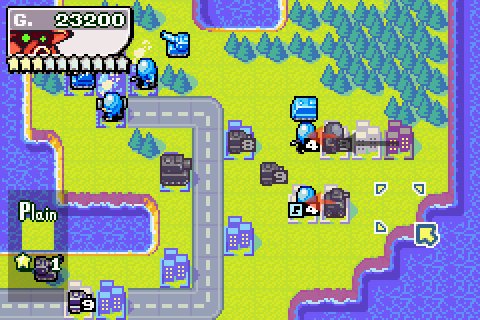
More tanks, but not to worry.
After all, I have tanks of my own now. Tank finishes off the 4HP infantry, while my recon heads off and knocks another capturing infantry down to 4HP.
We'll have another tank from the forest base, I think.
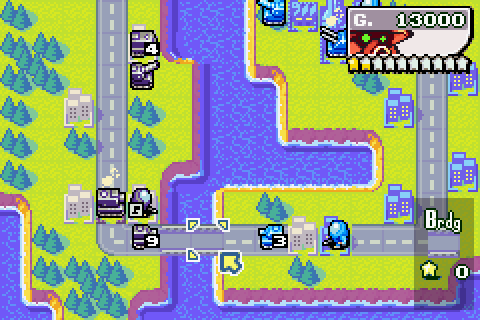
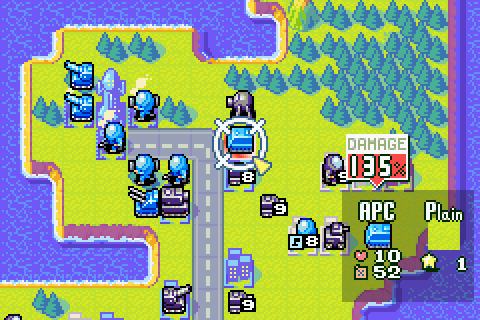
Bridge base captured. I've got the APC blocking the bridge against Adder's tank, and my own tank's ready to perform a counterattack next turn.
Capturing and moving and stuff.
And to finish, moving that second recon over here.

As expected, Adder's tank attacked my APC. I'll have my revenge, soon enough.
Day 7
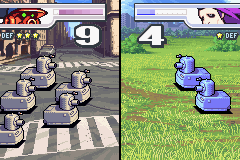
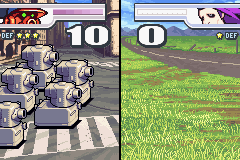
Right then, let's bust some tanks.
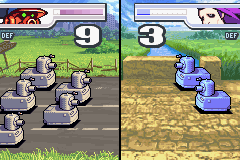
We'll start out over in the west, by the bridge. That'll teach them to attack our defenceless APCs!
As the tank attacks, the APC retreats north to help ferry the infantry heading this way.
Here they come...
Now we've got this base, let's crank out a medium tank to show Adder that we really mean business.
And here's the other tankbusting battle, in the east.
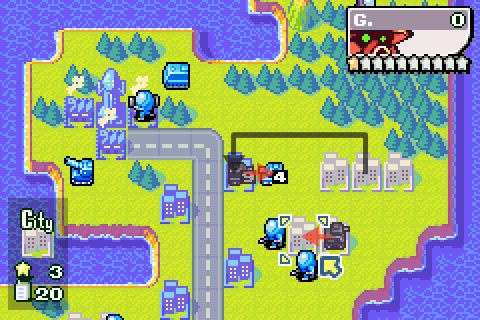
My tank ran round the back of Adder's tank to get the terrain advantage of being on a city, and it worked out pretty well. Meanwhile, the recon continues to kill Adder's infantry.
And as if things weren't bad enough for Adder, here come the reinforcements.
Adder tries to attack one of my recons with his damaged tank. He takes off 2HP, but loses 1HP himself. So I'll take it.
Day 8
Hmm, a mech. I'd better deal with that.
One tank sweeps in from the forest to damage the mech down to 3HP, while the other tank finishes off Adder's tank.
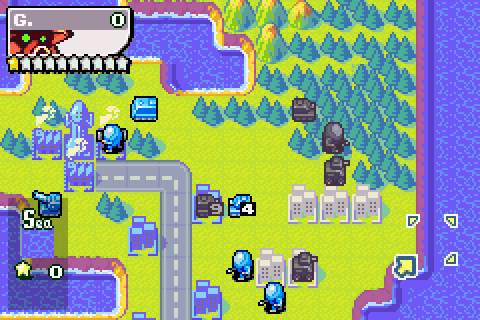
One of my recons then cleans up that mech while the other continues its duty of harassing Adder's capturing infantry. And I do some capturing myself while I'm at it.
Over in the west, there doesn't appear to be much resistance.
Medium tank finishes off tank, and my own tank ploughs through to assault Adder's infantry.
Now then, let's organise these infantry.
I know I don't normally annotate my infantry screenshots, but I'm kind of proud of how I organised them here. Three infantry get to capturing, a fourth gets loaded into the damaged APC...
... and the fifth gets loaded into the healthy APC and dropped off near the bridge base. Fun times...


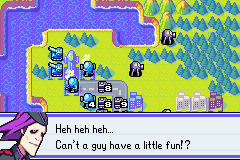
Ha, Sideslip's nothing, I can FLY THROUGH FORESTS...
... although fair play to Adder, it did allow his AA to attack my recon. That's irksome.
Day 9
Hmm... how to deal with this AA?
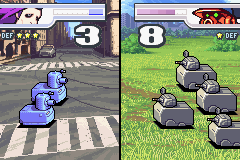
Well, while the two recons merge, let's attack it with one tank...
... and finish off with the other. That was easy.
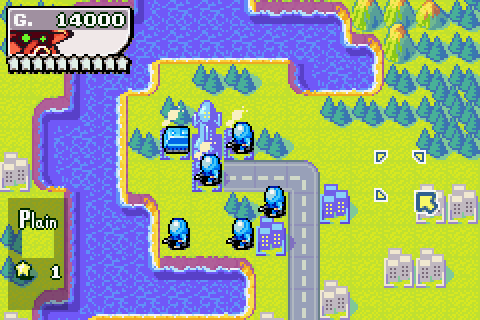
I've been saving up for this...
Sturm's neotanks are truly absurd.
Small tank deals with an infantry unit as the medium tank and artillery piece rumble forwards.
And there's a whole bunch of capturing to do back here.

So let's do it.
Day 10

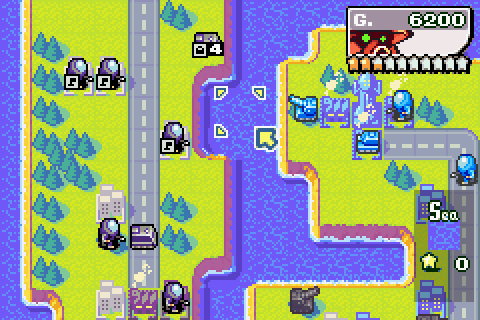
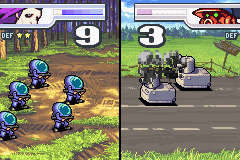
And now for the pincer movement.
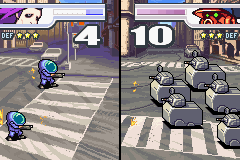
That's some pretty ridiculous firepower right there.
While my middie's doing that, the smaller tanks take out their opposite number.
Infantry and recon follow up by damaging Adder's capturers.
And here come the arty and tank from the south.

The infantry follow along behind.
And let's build a second neotank. Good grief.
Day 11
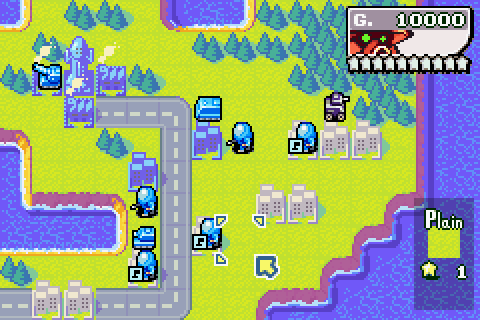
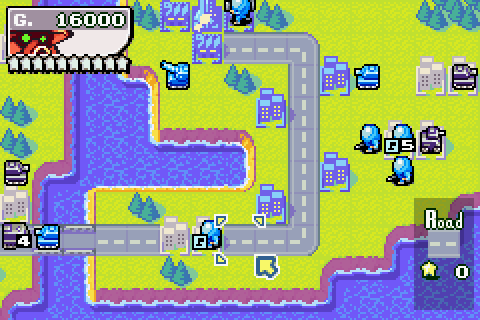
Adder's trying to scramble some defences together, but it's already too late.

I've got over twice his income and haven't lost a single unit yet. For reference, the Technique criterion in the War Room is stricter than in Campaign or Hard Campaign: you can only lose 10% of your total units built and still score 100 for technique, as opposed to 20%. But that's not going to be an issue at all here.
I also have neotanks. Those always help.
While that Neo blows up an APC, my medium tank crunches through Adder's AA battery.
And then the smaller tanks roll up to work through his footsoldiers.
Capture these cities down here...
... other infs move up...
I can't quite afford a third neotank this turn, so we'll have to make do with another middie. Either way it's a pretty good deal.

Surprise, surprise, another Sideslip.
Complete with annoying mechs.
Day 12
Not far now...

Neos roll in, destroying a mech and crippling an artillery down to 1HP. Meanwhile my artillery sees its first bit of action (this has been a bit too much of a blitzkrieg for it to have seen any real action).

Medium and small tanks take down another mech.
The 3HP and 8HP tanks join, the 9HP tank attacks Adder's HQ artillery (and only does 3 damage. Stupid high defence bonuses...) and the recon kills a mech.
Capture capture capture.
Move move move.
Neotank neotank neotank.
Day 13
Right, let's finish this.
First of all, the artillery and recon take out Adder's APC. Now he can't run.
The heavy tank divisions smash up his mech and artillery. Now he can't hide.
And a small tank delivers the coup de grâce.
Aftermath
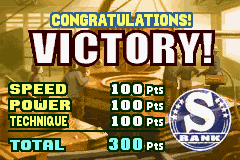
300 points. Hear it and tremble indeed.
One mission down, loads to go (I've played most of these missions on my proper GBA cartridge, but as I'm using an emulator for this run to record the screenshots, they're all greyed out here).
With that diversion out of the way, it's time to return to Hard Campaign and move on to Black Hole's citadel. Expect a strategic notes post soon.