Part 5: Pass the brain bleach
Update 5: Pass the brain bleach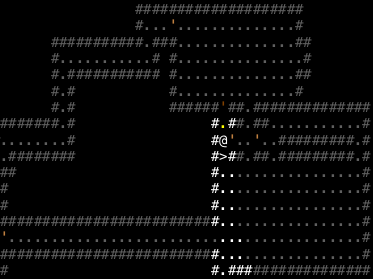
Last time, Freude decided to actually explore a level for once, and had a rough time of it, getting tag-teamed by some spiders and Brodda. Now that this level's been picked clean, it's time to continue our descent.
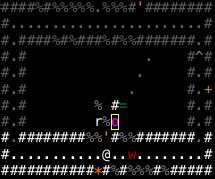
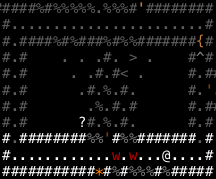
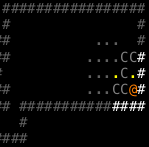
You enter a maze of down staircases. (to 900')

This is the kind of level entry that could get out of hand, fast (and is also why many people prefer playing with connected stairs -- so they can just nip back up and get a new level where they don't start out surrounded). We can see some Ogres and a Black Orc here; both enemy types show up in groups and we can't afford to try to take them on all at once. Even worse, we can't tell which direction a corridor is in, and our stealth is so lousy that these guys are likely to start waking up soon. Fortunately, we aren't completely bereft of resources.
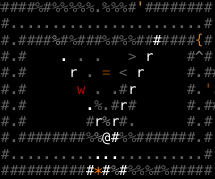
You have no more Scrolls titled "monctus adolum" of Magic Mapping.
And like that, much of the dungeon has been mapped for us. We don't know what's in those rooms and corridors, but we know where they are, and that's valuable information. In particular, we know which way is out of this room. It happens to be on the other side of those ogres, but maybe we can make it to the corridor before getting mobbed.

The Ogre wakes up.
Ha! Too late, sucker! From this corridor we ought to be able to fight these guys without too much trouble. If we had gotten mobbed, then our second backup plan would have been to use a Scroll of Teleport, but teleportation is a risky business -- it's all too easy to land up in an even worse situation than the one you're departing from. Best not to rely on it if you can manage.
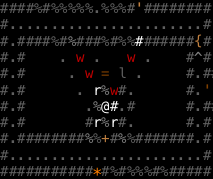
For fun, let's back up a bit and use that Wand of Light.
A line of shimmering blue light appears. You have 12 charges remaining. The Black orc cringes from the light! The Ogre hits you.

Unfortunately, Ogres are immune to its dazzling effects. No giant raisins for us.
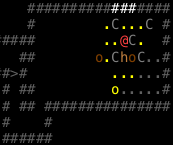
Clearing out our friends one at a time goes smoothly, and conveniently, one of them drops a replacement scroll of Magic Mapping. Then this chap shows up:

This is the Uruk, and the strongest non-unique orc in the game. Decent hitpoints, two 3d5 melee attacks, and they can fire arrows. They're also immune to bright light, and like all orcs, show up in groups. Still, one-on-one they're no match for Freude. Good experience though, at 64 apiece. He has 125 points to go to level up again.
Finally, we get to finish exploring this room. And what do we find?

A lantern! Oh, this is fantastic. Legitimately the best piece of gear we've found since those gloves way back in the first update.

We can actually see things now!

Heading south, we encounter the rest of that Uruk's squad, and after dispatching six of them, we're level 16 (200 max HP) and have been half-killed. Their melee is no joke, especially with our pathetic armor.

Hey! Another moated room! And another lantern! And
You found a trap! You fall into a spiked pit! You are impaled on poisonous spikes! You have been given a graze. You are poisoned!
If this were NetHack, Freude would be dead right now
 Instead, the graze heals one turn later and the poison five turns after that.
 The extra lantern isn't really worth anything, but we can use it to top off our current one, which is only half-full of oil right now.
You fuel your lamp.
Now we have one lantern with nearly 15000 turns' of oil in it, and one empty lamp that can be discarded.
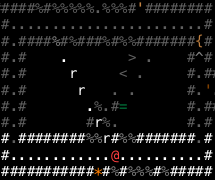
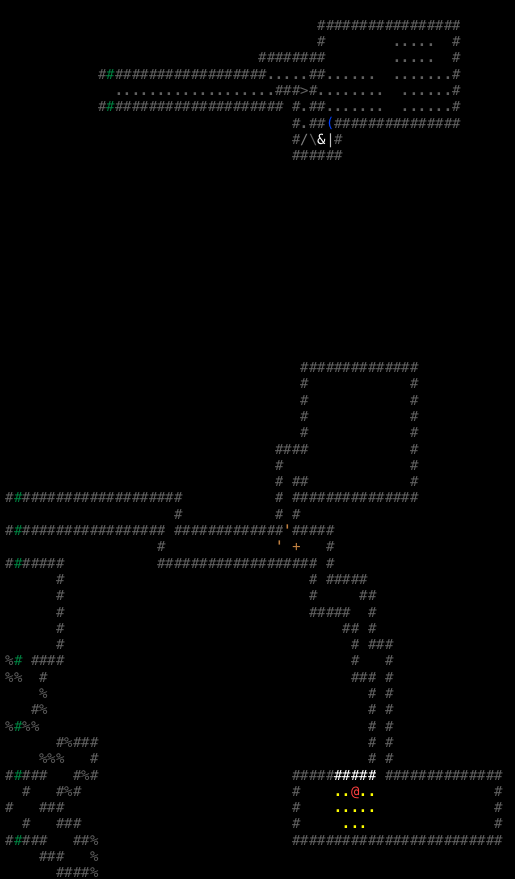
This is our day for orcs, I guess. Folks, meet Bolg, son of Azog, who is King of the Uruk-Hai. Prince Bolg is thus the second-strongest orc in the game; he's fast and has four 3d6 attacks per round. We definitely do not want to sit in melee with this guy. And it looks like the room he's in is poorly laid-out for Shoot 'n Scoot.
Let's create some distance, anyway.
You have 12 Scrolls titled "propera" of Phase Door.
Perfect. Now if only we had some way to detect Bolg so we'd know where he was -- one of the perils of being a warrior, alas. Best we can do is chug a potion of Speed (and one of Heroism, for what little help it'll provide) and try to lure him out.
You feel bold. You feel like a hero! You have 8 Light Green Potions of Heroism.
Really quaff 3 Pungent Potions of Speed? You feel yourself moving faster! You have 2 Pungent Potions of Speed.
We end up having to go all the way around back to the entrance to get him out; turns out the room is full of breeders who were getting in his way. That's irritating; it's definitely going to be hard to shoot him down like this.
I try a couple of rounds of melee; net result is we're down to 130/200 HP and he's lost about 10% of his own health. Yeah, that's not gonna work, at least not without a lot more healing potions than we have.
Ah, now this is what we want! Unfortunately our speed ran out, and I use another potion. Just one left, now.
This is for Boromir!
Your Arrow (1d4) (+3,+4) {@f1} hits Bolg, Son of Azog (24). The Arrow breaks. You have 6 Arrows (1d4) (+3,+4) {@f1}. Bolg, Son of Azog writhes in agony. Bolg, Son of Azog flees in terror!
(Also pictured: melee with him remained a bad idea
)Your Arrow (etc.) hits Bolg, Son of Azog (15). Bolg, Son of Azog dies. Welcome to level 17. The Arrow breaks.
That was worth over 1000 experience!
 And he dropped an excellent Bastard Sword:
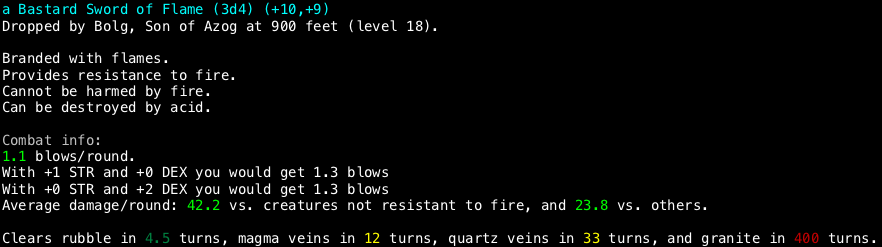
This could actually be worth using! Elemental brands deal extra damage to everything that doesn't resist the element, so this sword should deal, on average, 7 more damage against most enemies than our rapier does. We can keep the rapier around for resistant enemies, anyway.
You burn the Giant white mouse (39). You have slain the Giant white mouse.

Now, we have a room full of breeders. It's probably not worth fully exploring, but at least we can pick up that ring. It's an Alexandrite ring, same as that one we missed out on because of Deep Descent.
Geeze, this room is one non-stop orgy. Giant mice, red worm masses (worm masses are all breeders, but slow), and giant black lice. You...you guys have fun. I'm just gonna head out and close the door. And take a bath.
Oh...but there's another ring in there. Dangit.
Ick.
Ew.
Gross.
Finally! And yeah, that's a scroll, and it's Teleportation, which would be nice to have, but it's not that nice. Let's check out those rings.
You feel more dextrous! You are wearing an Alexandrite Ring of the Mouse <+3, +2> {worn}.
You are wearing a Jasper Ring {worn}.
Ehh, they're probably both junk. Rings of the Mouse increase your DEX and stealth, which sounds great, but...well, let's just open up the Orgy Pit one last time and demonstrate something.
Your Alexandrite Ring of the Mouse glows. You burn the Giant white mouse (12).

See that -9? That's on our melee damage output. Yeah, Mouse is definitely caster gear, unless you get really lucky with the DEX bonus and to-dam malus.

News to me, worm masses can bash down doors
 I think it's time we got the hell away from this place.
This room was full of Mirkwood spiders, untill we burned them down. Our new sword can reliably at least make them flee when they attack, which the rapier couldn't do. Moreover, while this is a "room" (and thus group enemies will chase you down instead of hanging back), it's nonetheless full of walls that let you control how many enemies you face at a time, so we didn't get surrounded and nibbled to death.
Once the monsters are clear, we find an Ivory Rod and a pair of Soft Leather Boots [2], which pseudo as average after a bit. As for the rod, a trial zap apparently does nothing. Disappointing.

Oh, and there's another lantern. Now I know the game is laughing at me.
The Baby blue dragon claws you. The Baby blue dragon claws you. The Baby blue dragon bites you.
 It's our first actual honest-to-goodness dragon! Baby dragons are native to around 450', so they aren't exactly a credible threat any more, Still a nice milestone. Blue, as with the dragonflies, can breathe electricity.
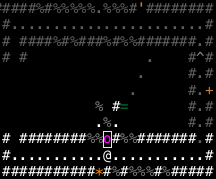
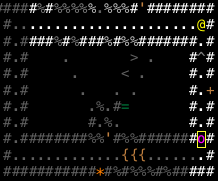
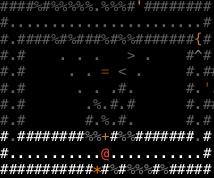
Ah, now this room is going to be tricky. We have here some Wargs (upgraded wolves), a Silver Jelly (immoble, drains fuel from your light source on attack), a Gelatinous Cube (acid melee out the yin-yang and far too much HP), and that Z is a Dark Hound. Remember when I said that pack animals with ranged weapons were a pain? Yeah, that Dark Hound won't chase us, but he's happy to breathe darkness on us, which causes blindness.
Zephyr Hounds (the general term for "Z" enemies) are similar to vortices -- there's a type for basically every element, they're always awake, and they can bash down doors. They also come in groups and love to follow you at a distance down corridors, getting lots of breath attacks in. They are a pain in the ass. There are ways to deal with them, but first we need to clean out this Gelatinous Cube.

Fortunately, he's vulnerable to Shoot 'n Scoot, especially since the hounds aren't following closely.
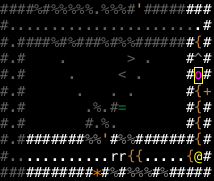
All that phasing ends up moving us way back, but it gives a chance to demonstrate another use for Wands of Light. Gelatinous Cubes aren't visible with infravision and don't carry light sources, so we can't see them unless they're in our light radius or on a permanently-lit tile, like the wand makes. Makes shooting them down much easier.
The Cube drops an Awl-Pike; our inventory is full and I don't really want to drop anything important right now, so I just chow down on food rations until we're full and drop the rest. We'll be heading back to town soonish anyway. The Pike pseudos as magical; not worth it.
Back to the south, this is what it looks like to fight Dark Hounds when you don't have favorable terrain:

On the plus side, all the fighting gets us level 19 (max HP 236).
I accidentally deleted a screenshot I needed, but it just showed off a room with some Mirkwood Spiders and a new mold, which you're gonna want to stay away from. He looks like this:

Mister Disco here is a Disenchanter Mold; his attacks can drain armor and weapon bonuses from your gear. No fun. But like all molds, he's harmless if you don't step next to him.
Also in the room is some Studded Leather Armor, a welcome replacement for our acid-damaged original armor. Unfortunately not magical, but it's still an improvement.
You see a Dragon Tooth Amulet.

We finally find an item for our last inventory slot: our neck. Wielding it doesn't do anything obvious, but it does make me realize that Freude figured out what that Jasper Ring was awhile back without me noticing, because it was interfering with his health recovery:
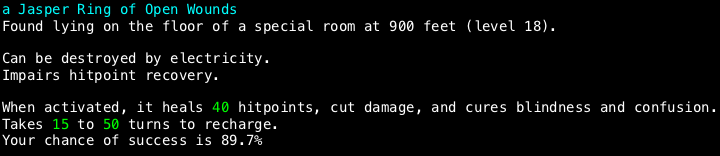
Ehh, these aren't really that worthwhile in my opinion. Or at least, I can never remember to take advantage of them. As with the Staff of Cure Light Wounds, I'm not a big fan of curative items that have failure rates. I don't know exactly how much "impairs hitpoint recovery" reduces our regeneration, but I'd rather just go without.

Hey, that's a tiger!
Here kitty!
Here kitty kitty kitty!

Something hits you. Something hits you.
Aww, there's an invisible monster in the way! Probably a Lurker. Even if you can see invisible monsters, Lurkers are white '.'s, so you're unlikely to notice them unless you have a window open to show you all the monsters your character can see (hint: you should do this). Lurkers are immobile and just have a moderately powerful melee attack.
(The Tiger is just another fast feline, a bit stronger than the Panther).

A big open room, a couple of robes, and a Giant White Tick. Why are there so many gross enemies in Angband

Still, that tick comes in handy to test out the robes. One of them has no enchantment and the other is only +2. Both junk. The scroll, however, is a stack of 2 Enchant Weapon To-Hit, which promptly go on our longbow.
And with that, I think this level is about played out. We could keep exploring, there's some more space unexplored, but it would involve going past...that...room again
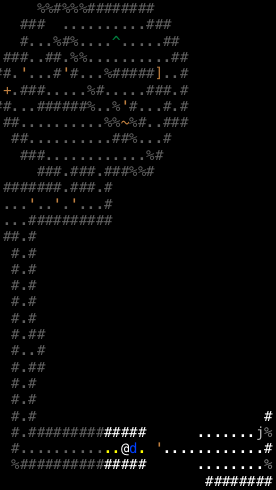
And besides, we're getting low on important supplies, so it's about time to head back to town. Here's the dungeon: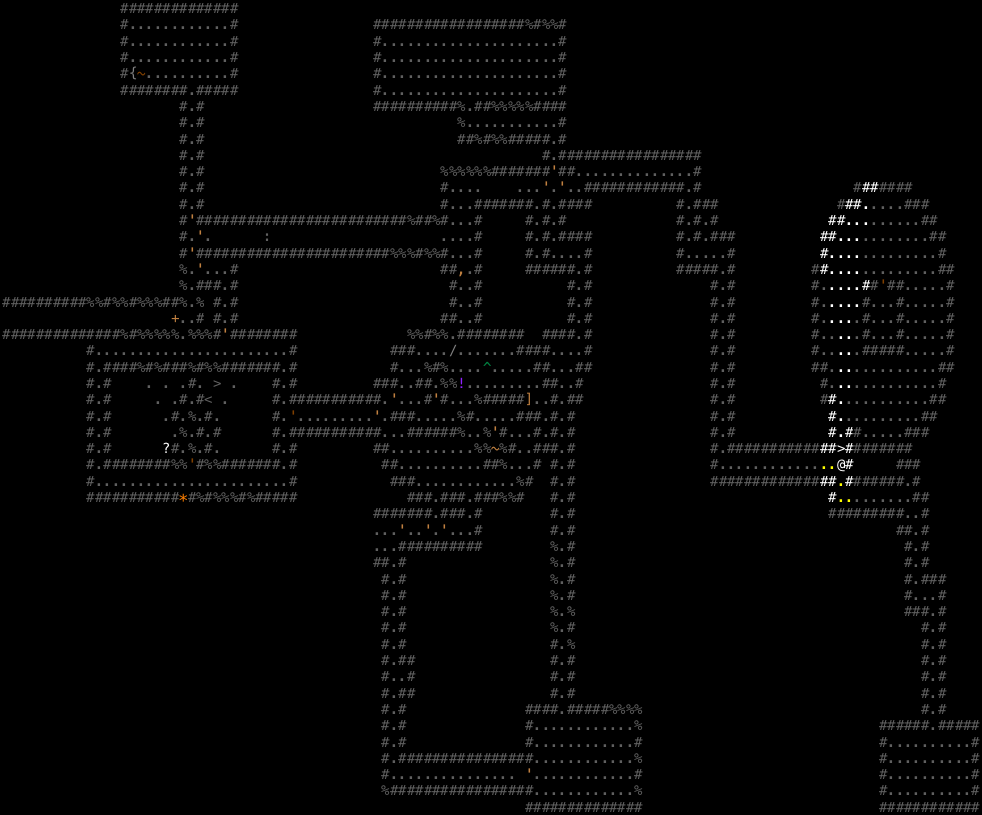
The air about you becomes charged... You have 5 Scrolls titled "co abitat" of Word of Recall.

And here we are back in town. There's a few main things we need to take care of here -- we need to replenish Phase Door, get some more healing potions, and pick up some detection items. But first, let's check for potential equipment upgrades.
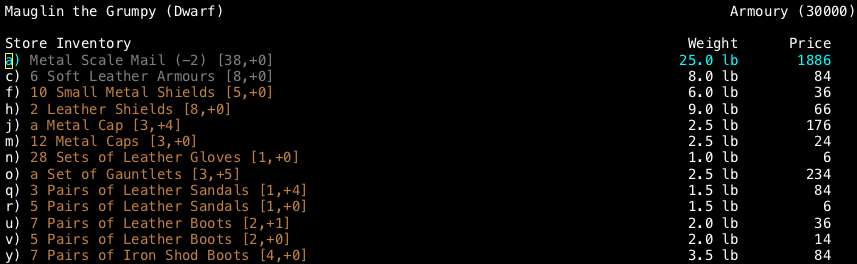
Mauglin has a hat, finally. And we might as well replace our minorly-magical Wicker Shield with a standard leather one.
Agreed! You bought a Metal Cap [3,+4] for 176 gold.
You bought a Leather Shield [8,+0] for 66 gold. You have a Leather Shield [8,+0] {squelch}. You drop a Leather Shield [8,+0] {squelch}.
Ironically, the leather shield is immediately squelched because I'd marked all shields that weren't at least good as uninteresting. It can be un-hidden with the K command, though, so no harm done. Inscribing this particular shield with "!k" will prevent it from being squelched in future regardless of what our settings are.
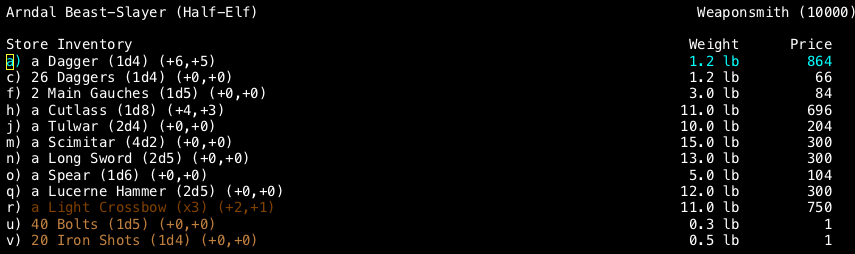
Arndal has a nice-looking dagger, but it's not as nice as our new sword. That light crossbow is tempting, but better to save our money for other things. We should find a crossbow eventually anyway. Bolts are heavier than arrows, but more durable -- a 25% breakage chance instead of 35%.
I throw him one of the un-ID'd ego pebbles we found in the dungeon; it turns out they're Rounded Pebbles of Wounding (1d2) (+13,+10). Not bad if we were using a sling, which we aren't. The rest can go in our home for now in case we find one.
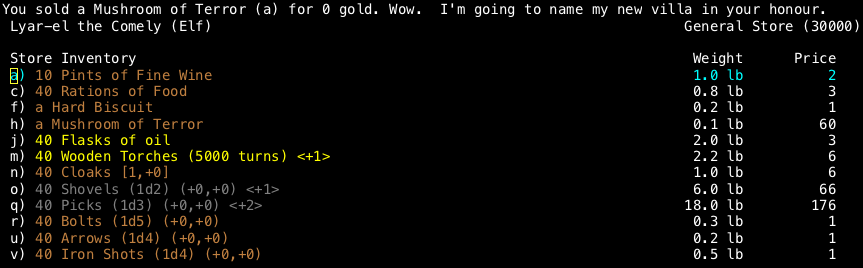
Over at the general store, I hand Lyar-el a mushroom we picked up in the dungeon. He (she?) lets us know that we sold them the mushroom for less than it was worth, not that we really had an option there. Mushrooms are sort of like potions, but they tend to have "mixed blessing" results; in this case, Terror gives a speed boost but also makes you frightened in a way that overrides the protection that e.g. potions of Heroism give you. Interestingly, this speed boost stacks with Potions of Speed. Still, not really worthwhile in our case.

Hey, what happened to Ga-nat? I guess he didn't feel like selling to a half-troll and shipped off for more pleasant climates. Ones that aren't built on a gigantic evil dungeon, say.
 Back in the old days (back when there was still a Charisma stat), the shopkeepers were all racist assholes. They'd give unfavorable prices to races they didn't like, over and beyond the effects of charisma. Half-Trolls were hated by basically everyone except other Half-Trolls and Half-Orcs, and since nobody ever puts points into Charisma they were always running around with a CHA score of like 3-6. Money was a bit more scarce in those days. In particular, gnomes like Ga-nat really hated Half-Trolls. Probably something about being only about a quarter their height.
Alas, that effect is gone, now. I'm not sure why.
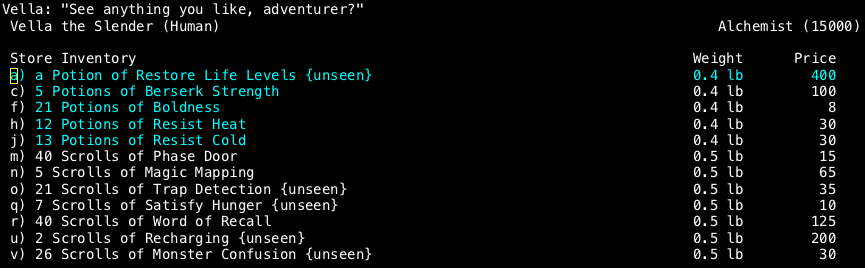
Anyway, we get back to our full complement of 15 Phase Door scrolls, and grab all of Vella's Trap Detection and Magic Mapping scrolls. We also drop off one of our stack of 5 un-ID'd scrolls; it's Trap/Door Destruction, which simply blows up all traps and doors adjacent to you. Ehh, junk.
Might as well grab a Satisfy Hunger and Monster Confusion while we're at it. The former sets you at max nutrition, and the latter makes your next melee attack confuse its target, which is kind of a niche ability.
You are full! You have no more Scrolls titled "stiscios vus" of Satisfy Hunger.
Your hands begin to glow. You have no more Scrolls titled "propse tio" of Monster Confusion.
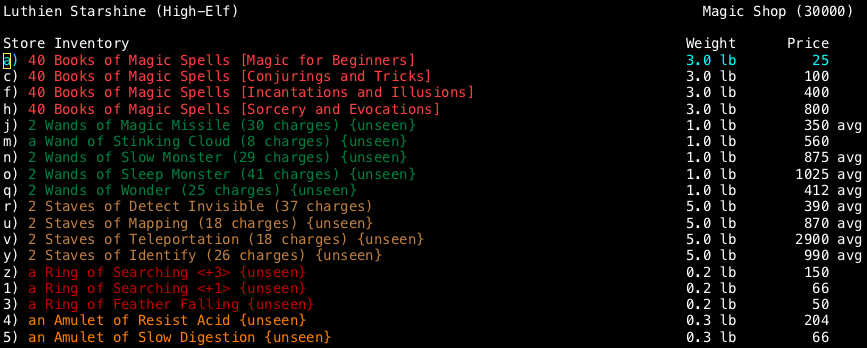
Over at Luthien's is a few things we want. Staffs of Identify are a fairly cheap way to ID items; with one of those we shouldn't need to blindly use un-ID'd consumables any more (as it turns out, we were already carrying one, un-ID'd. Ironic!). Staffs of Teleportation are a clutch escape item: you can use them when blind, confused, etc. when no other item can work. Of course, they have failure rates, so they aren't super-reliable. Finally, Staffs of Mapping give the magic mapping effect, which is a big help in tactics.
I burn some ID scrolls to find out what other un-ID'd items we were carrying were: a Rod of Curing, a Wand of Confuse Monster, and a Staff of Light. Respectively, they a) cure status ailments (but why not just use potions, which have no failure rates?), b) confuse a single monster (but monsters are good at resisting), and c) light up the room you're in. The first two are junk, the third can stay for lack of anything better to carry.
You burn the Mangy-looking leper (39). Your hands stop glowing. You have slain the Mangy-looking leper. The Mangy-looking leper is unaffected!
Guess you can't confuse the dead
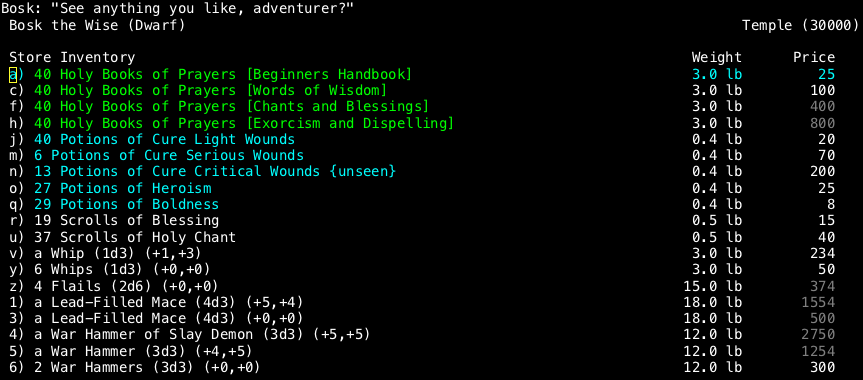
Yes, yes I do, Bosk. Unfortunately, I spent all our money on staves and can only afford one potion of Cure Critical Wounds
 Our curatives are desperately low, in fact; poor planning on my part. I buy all the CLW we can afford; they'll have to suffice. Cure Critical Wounds is a guaranteed cure of confusion, blindness, poison, and a few other unpleasant effects. You generally want to be carrying as many CSW and CCW as you can manage for most of the game, to clear up blindness and confusion effects.
 Here's our inventory and equipment prior to returning to the dungeon, flat-broke (the rest of our money went to buying arrows):
Now, as was pointed out in the thread, if you have the forced-descent option turned on, you don't actually need to use Word of Recall to return to the dungeon. Every down staircase you take always sends you to (max depth + 1).
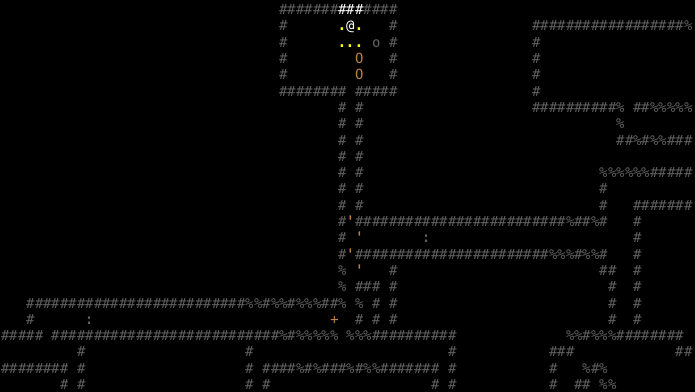
You enter a maze of down staircases. (to 950')
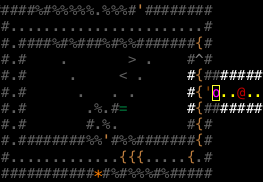
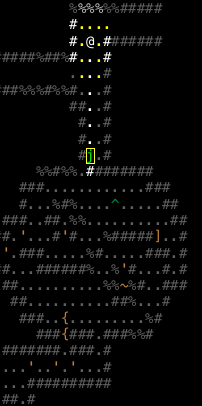
Now to set up a new standard operating procedure: find out what the heck is around us before we start exploring.
Mapped and trap-detected, nice. If we had spells, we'd also be able to detect monsters nearby, but we don't. Oh well! The green walls mark the limits of the region we have trap-detected, so we should never need to risk stumbling into a trap again.
Incidentally, we've matched our character level to the dungeon level. So why stick around? That moated room looks interesting, but there's no obvious route to it, so let's just give it a miss and dive, after picking up a Staff of Cure Light Wounds that happened to be nearby.
You enter a maze of down staircases. (to 1000')
And we're 20% of the way through the game! This roughly marks the end of the "early game"; Freude is pretty well-established level-wise. Now we start shifting to trying to improve his gear and stats.

...Magic Mapping doesn't always show you anything very interesting.
On the other hand, the Mark 1 Eyeball has some interesting news. We have a pack of Wargs here, as well as Grishnakh, the Hill Orc and his escort. We should be able to take these guys, but it doesn't pay to play stupid. Freude is strong, but he's not "stand in the middle of a room of hostile enemies" strong.
Backing into a corner keeps the wargs under control, kind of. A single melee attack is enough to kill or terrify each one, but they are still wearing us down.

Man, the uniques are out in force today! Here's Bullroarer the Hobbit, famously responsible for inventing golf by punting Grishnakh's head into a gopher hole or something like that. Unfortunately, in Angband the two are golf buddies, not enemies. The game likes to pair "related" creatures together, and that includes uniques. Let's...get out of this room, if we can.
No.
Good.
Excellent.
You burn Bullroarer the Hobbit (36). Bullroarer the Hobbit flees in terror!
Aww, and we were just getting started! Bullroarer is an extremely weak unique, so it's not really surprising that we can almost one-hit-kill him. Grishnakh is stronger, but when you encounter him in-depth (at 500') it's the fact that he comes with an escort of orcs that is most likely to be troublesome, assuming you have a ranged weapon or a Potion of Speed handy.
Now that the corridor is jammed up with a Hill Orc, it's a good time to waste all the charges in that Staff of Cure Light Wounds we found. Hill Orcs have one 1d10 attack, so we can easily heal faster than this guy can hurt us. 9 charges later, we've gone from 70 HP to 230 HP and should be able to clear the room properly.
You burn Bullroarer the Hobbit (45). You have slain Bullroarer the Hobbit.

Surprise on me; Grishnakh has another buddy along: Golfimbul. Actually, come to think, Bullroarer killed Golfimbul, not Grishnakh, didn't he? That sounds right. Anyway, Golfimbul is resistant to fire, so our bastard sword is a bit suboptimal. Good thing we still have our rapier.

Unfortunately, I keep overestimating our offensive power, and we end up being nearly an even match for Golfimbul (who has 2 1d12 melee attacks and 2 1d10 melee attacks, as well as 240 HP). He's almost dead, but so are we.
You hit Golfimbul, the Hill Orc Chief (10). You hit Golfimbul, the Hill Orc Chief (11). You have slain Golfimbul, the Hill Orc Chief.
Great, so now how do we deal with Grishnakh?

We're certainly not going to be able to Shoot 'n Scoot in these conditions. Too much chaff.
I opt to simply teleport away. We still have 73 HP left, which should be enough to survive at least a round of unpleasant surprises (say, landing in the middle of a pack of Zephyr Hounds). We end up well to the south:
From here, we can rest up, explore a bit, and then go nab the loot that Bullroarer and Golfimbul dropped way to the north.
That & is a pile of multiple items. After all, we did kill an awful lot of enemies right on that tile.A ways to the northwest we find this room:
Unfortunately mostly just full of wolves and breeders. We do get a Copper Amulet, though, which I burn a Scroll of Identify on to reveal as Resist Acid. Better than our old amulet, which was just Adornment (i.e. completely functionless).
We do, however, encounter this charming fellow:
This is a Wererat, and they're the strongest rodent-type enemies in the game, which isn't saying much. Three melee attacks per turn, and they can cast frostbolts and stinking clouds. Eh.

Right, back to that fight! Incidentally, Wands of Light don't harm Hill Orcs. I guess they're too used to living out in the open. Maybe all the other orc types are just really pale and sunburn easily?
You burn Grishnakh, the Hill Orc (30). Grishnakh, the Hill Orc hits you. Grishnakh, the Hill Orc hits you. Grishnakh, the Hill Orc hits you. Grishnakh, the Hill Orc hits you.
The good news is that he's not resistant to fire. The bad news is that his melee is just as good as Golfimbul's was and he has nearly as many HP (230).
Grishnakh, the Hill Orc hits you. You have been stunned.
And this sure doesn't help. Stunning makes you a bit worse at everything. You do less damage in melee, you're less likely to hit, you have a higher failure rate at everything that can fail, etc. It also can progress to heavy stunning (even worse), and then to being knocked out, which is unresistable paralysis. Fortunately, being stunned is normally a rare event and you recover quickly; however, there are two enemies in the game that are built around stunning you repeatedly. Don't fight them in melee if you can manage it.
A few turns of running away later, the stun wears off and we can get back to burning Grishnakh's head off. Our bastard sword makes quick work of him:
You burn Grishnakh, the Hill Orc (30). Grishnakh, the Hill Orc flees in terror! Grishnakh, the Hill Orc is no longer afraid.

Finding that he can't actually run away because one of his flunkies is blocking the path, Grishnakh turns to die like a True Orc. Waste of a turn on his part.
You burn Grishnakh, the Hill Orc (45). You have slain Grishnakh, the Hill Orc.
His drop is interesting:
You have the Long Sword 'Elvagil' (2d5) {special}.
Our first artifact!
Hell, I'm gonna ID this sucker right now, even though we're still in the middle of cleaning up a bunch of orcs and wargs. 
Well heck, that's reasonably useful. Strictly better than our rapier, at least, and we might as well use it whenever we run into orcs and trolls. This is just about the ideal time to get this weapon, in fact.
Well okay, just before we entered this level would have been better.
You smite the Hill orc (45). You have slain the Hill orc.

All the other drops are just miscellaneous magical weapons or armor that aren't upgrades over what we already have. Still, we have an artifact! One of the worst artifacts in the game, but an artifact!