Part 2: Let's (learn how to) Play Exit Fate!
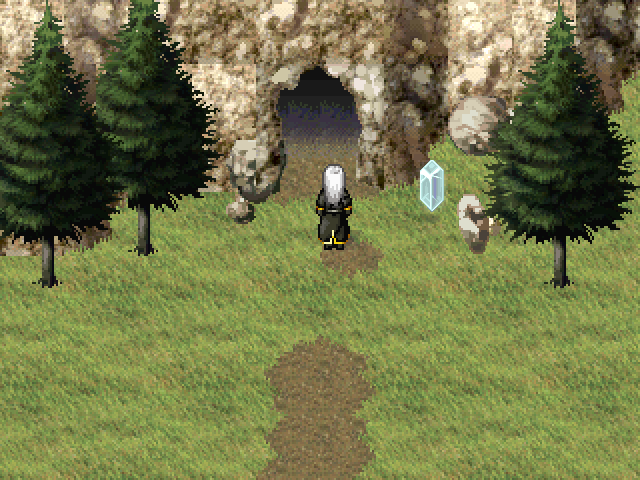
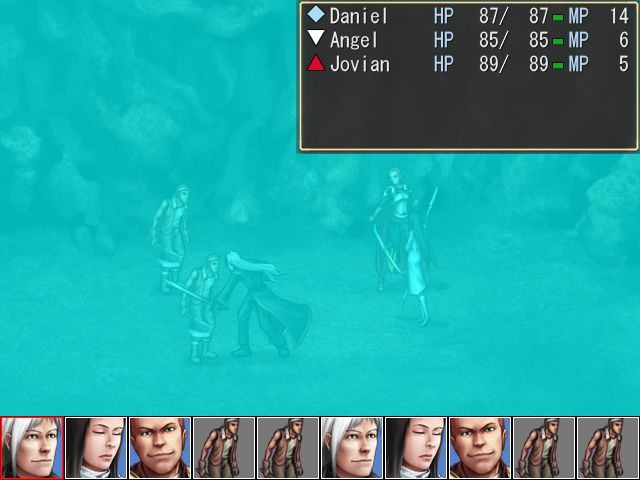
Welcome back. When last we left our heroes, they were standing outside of a mysterious cave. Let's explore, shall we?
As this is the first real area of the game, this cave serves as a tutorial area of sorts. I hesitate to actually use the word "tutorial," since at no point does the game ever stop and tell you how to do anything. Rather, the low difficulty of the area serves gives an incentive to the player to test out various functions of the game and see how they work. I'm going to be using this opportunity to explain a lot of the game's mechanics. This is going to be a long post, so I hope you're ready!
Music: Bandit Cave - Final Fantasy Tactics, "Doubtful Atmosphere"
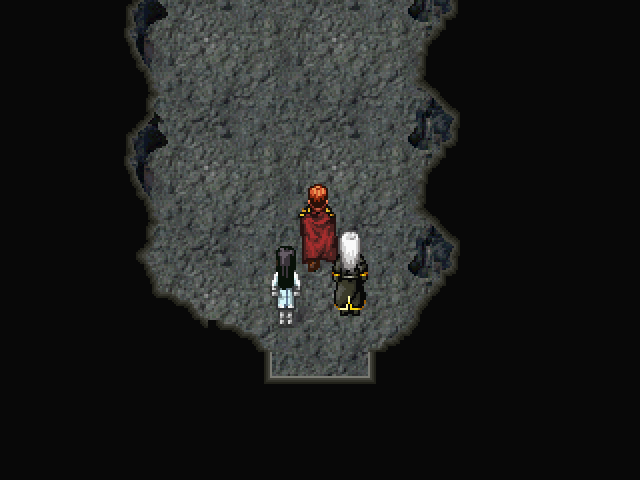
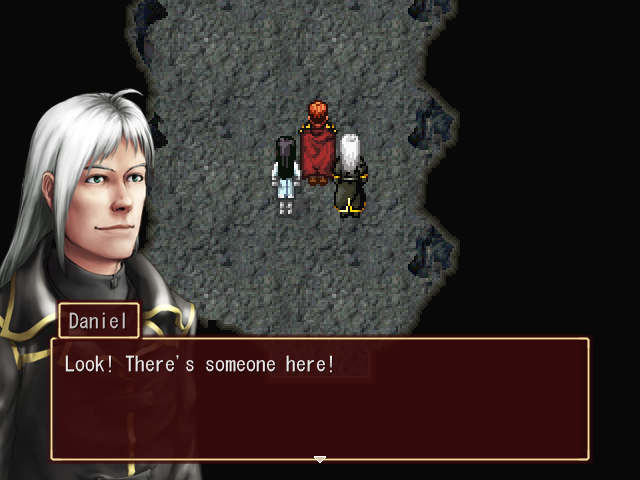
I gotta say, I really like the "oh shit" pose of the dude here.
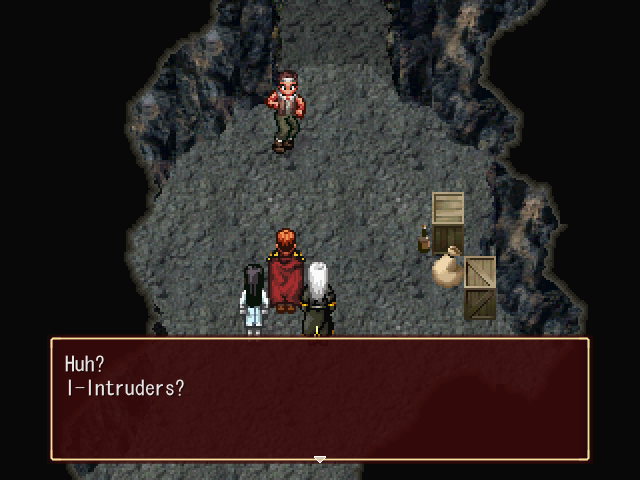
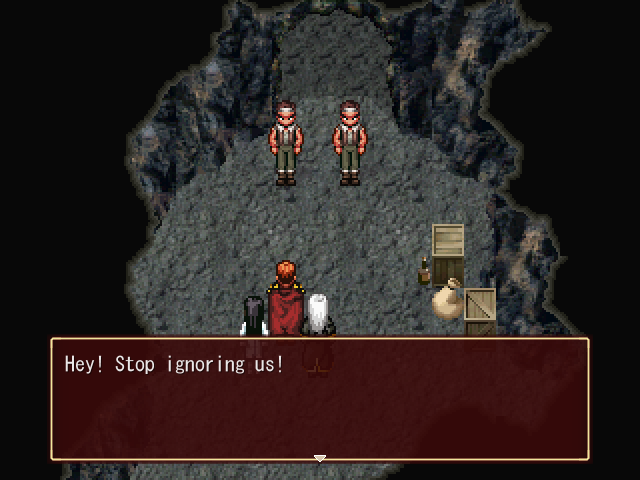
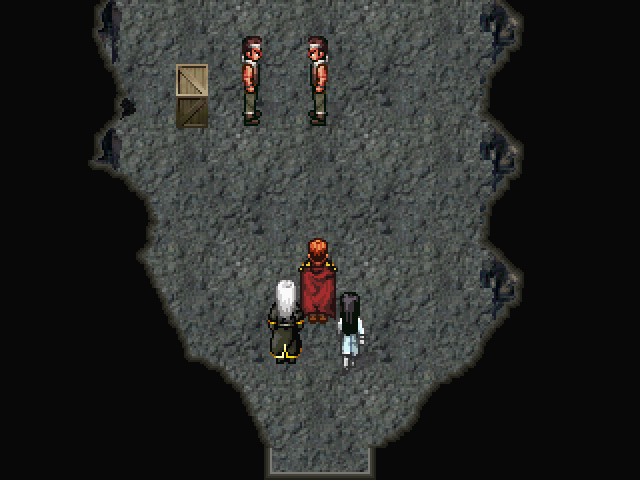
 Who are you calling intruders? What are you doing here?
 Uh? I...
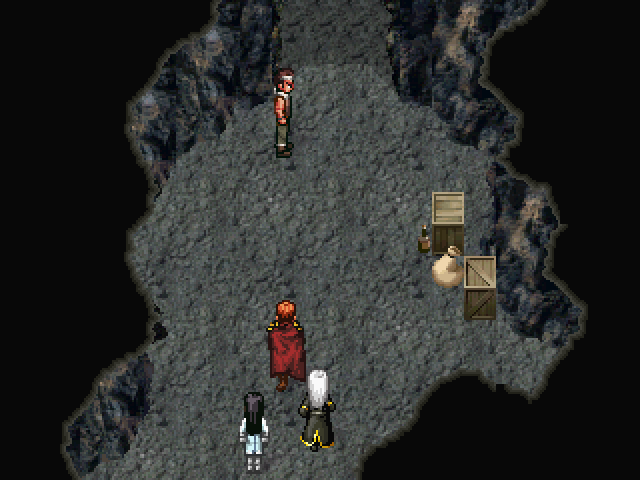
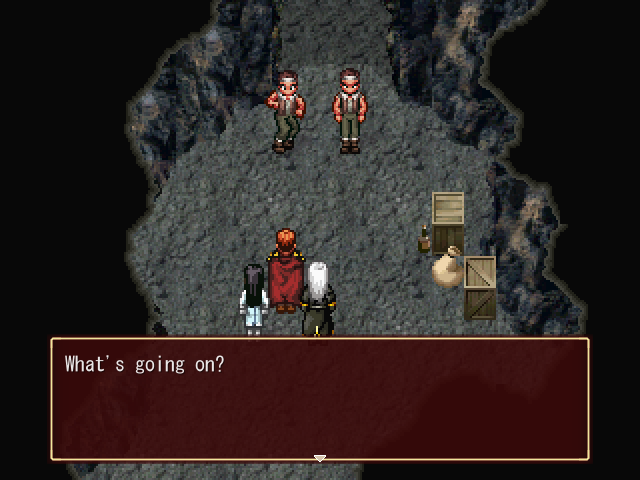
Another dude walks onto the scene.
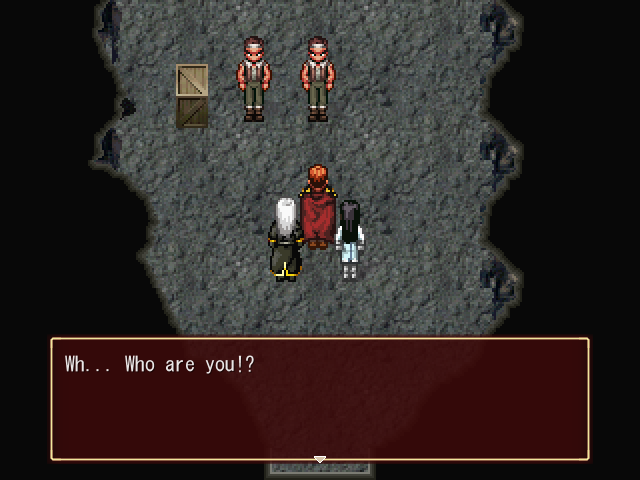
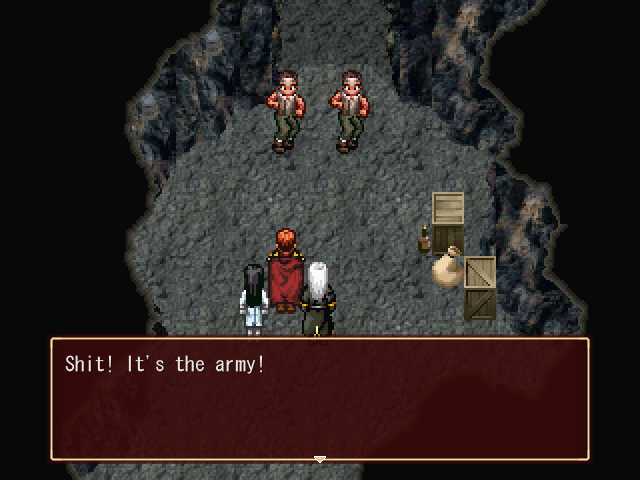 The army!? How did they find us?
 Hell if I know! They just showed up here!The boss needs to hear about this right away!But there's just three of 'em! If we take 'em out now there won't be a problem!No way! They're soldiers! Let's call for help!
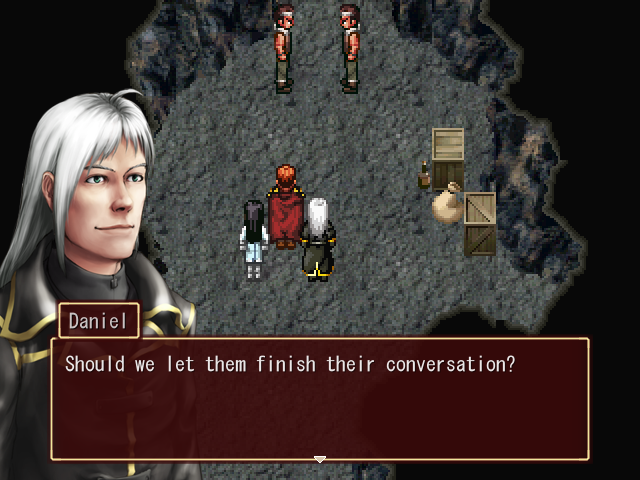 Looks like some shady types made this cave into their hideout. What do you say? I think it's too late to turn back. We should look further into this.
 Don't ask us. You've already made up your mind.
At this point the bandits finally decide to take action.
 You'll regret coming here by yourselves! Let's get them!
Music: Battle - Suikoden II, "The Will"
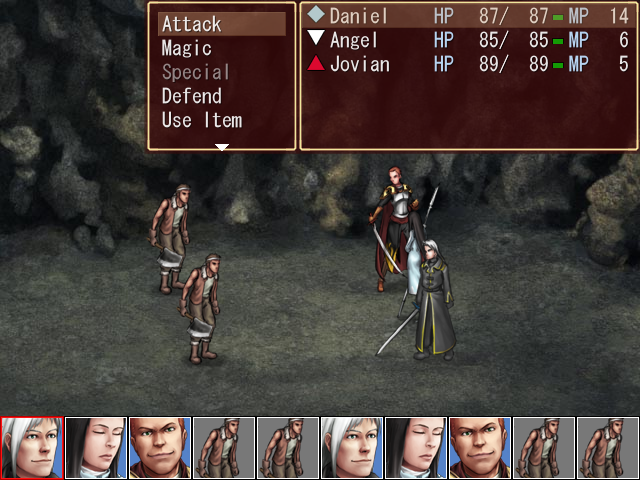
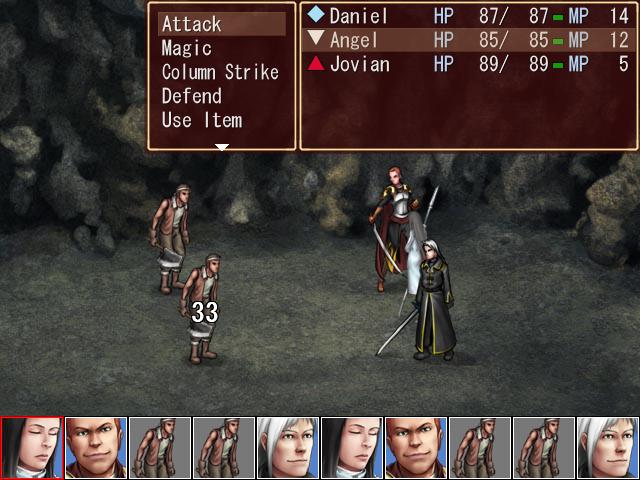
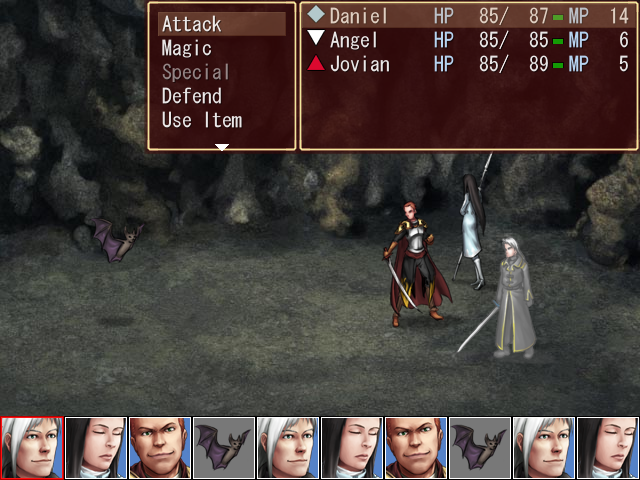
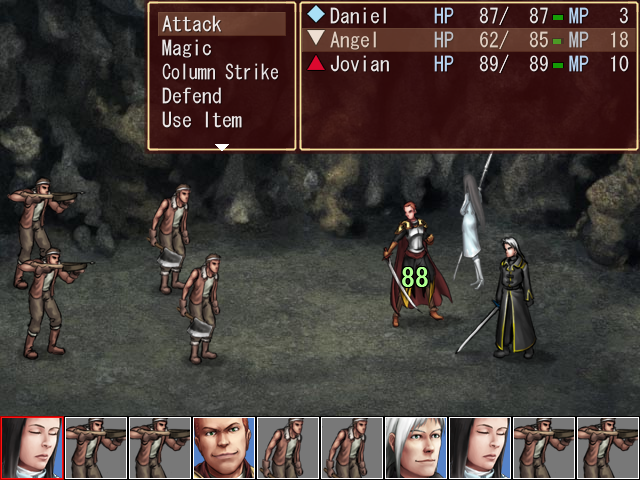
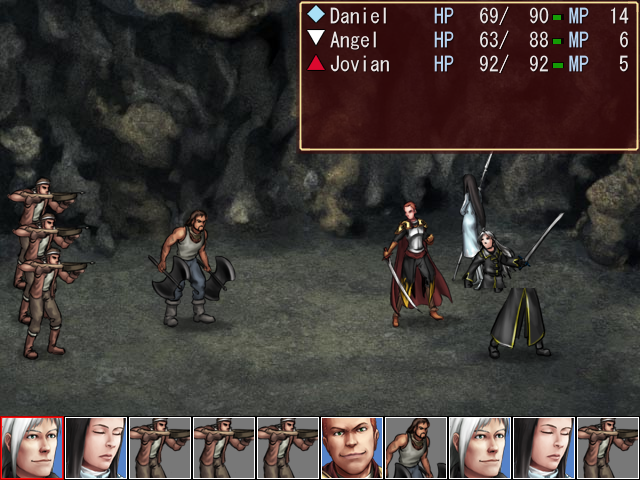
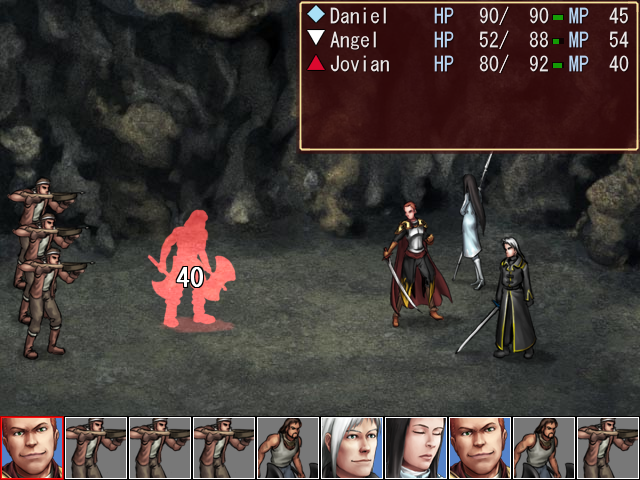
Welcome, ladies and gentlemen, to the battle system of Exit Fate. There's a lot to cover here, so for this battle I'm going to be skipping over a lot of stuff. Don't worry, I'll explain everything later in this update.
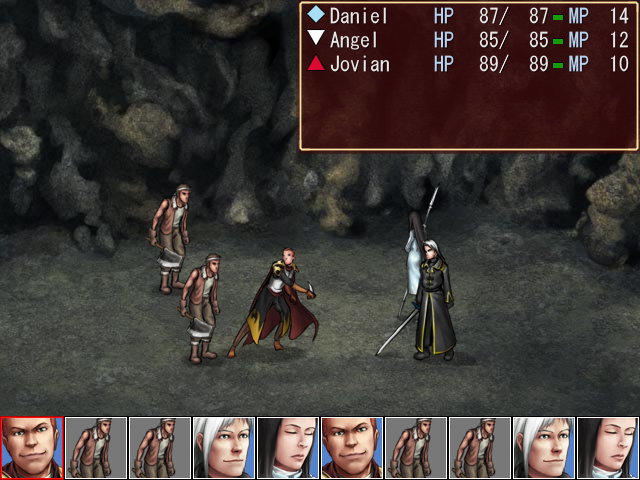
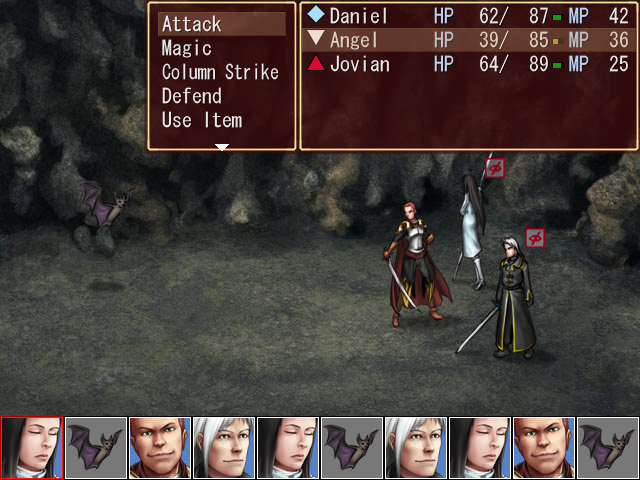
Battles in Exit Fate take place on two 3x3 grids, with our characters on one grid and the enemies on the other. As we haven't touched our formation yet, everyone's in the front row, and though I can't be sure (since there's no point of reference) I believe the two bandits are in their front row as well. So we'll skip the row discussion for the moment and commence with the killin'.
Aside from the picture of the combatants itself, there are three major things to look at on this screen. At the top right, we have the status window, showing everyone's HP and MP. There's also a funny symbol next to each character's name. More on that in a moment. The green lines are each character's life bar. Yeah, they're ridiculously tiny. No idea why SCF thought that was a good idea.
Along the bottom, we have the turn order, showing the next 10 turns. As you might expect, this can be changed by status effects such as slow and haste. Note, though, that it isn't as static as it looks--this screen might look like the order is going to be Daniel -> Angel -> Jovian -> Bandits on repeat, but if we let the battle drag on long enough, Jovian will eventually start taking his turns after the bandits', because Jovian has the speed of a brick. You should never assume that the turn order will stay the same over several rounds.
Finally, next to the status window, we have the command menu for the current character, in this case Daniel. Most of these are pretty self-explanatory, but there's more options than what the screen shows, so I'm just going to list them all here. All of these options consume the character's turn.
Attack: Hit a thing with your thing of choice.
Magic: Cast a magic spell.
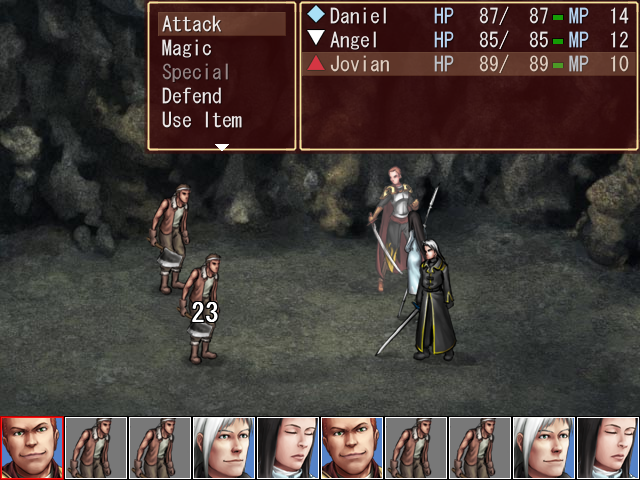
Special: Some characters have special abilities, which replace the "Special" text. Daniel doesn't, so this is grayed out for him.
Defend: Take less damage until your next turn.
Use Item: Use an equipped item.
Equip: Change the current character's equipment.
Move: Move the character to a different position on the grid.
Switch: Switch the current character with a character in the entourage. Currently grayed out since we're not famous enough to need an entourage yet.
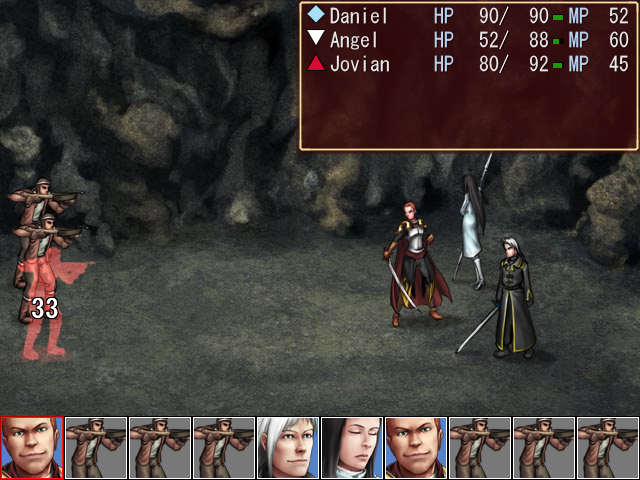
Right then, let's hit a dude.
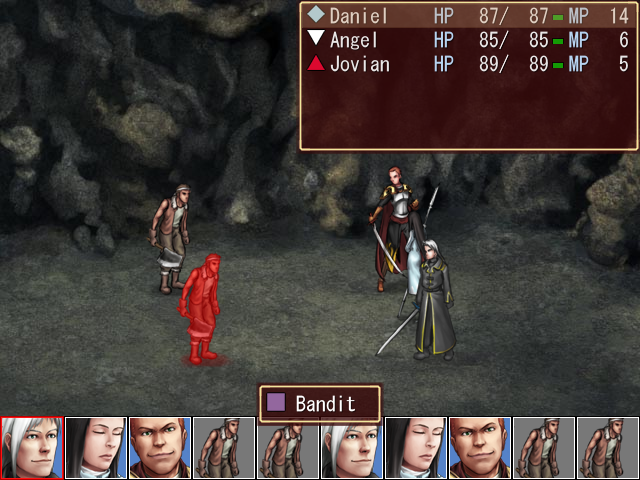
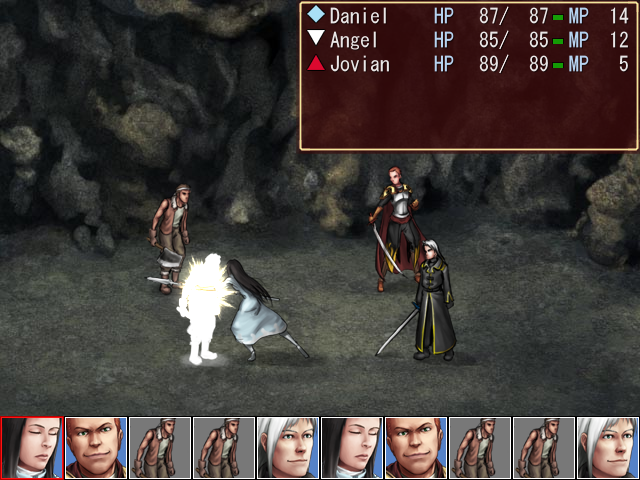
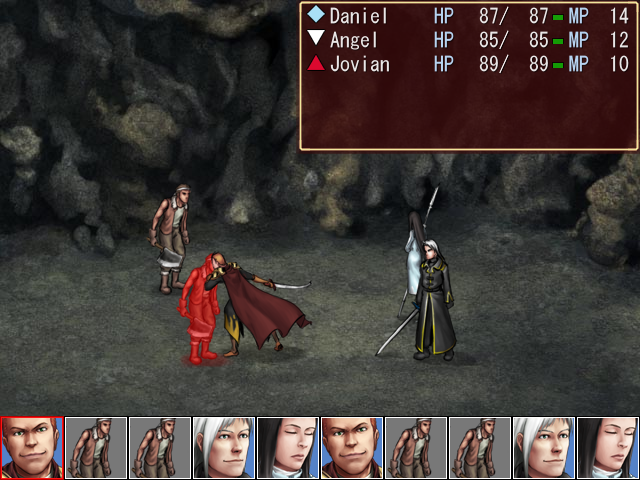
Although all the battle sprites are hand-drawn, the animation is pretty rudimentary. The character slides frictionlessly over to his target, swings, and slides back. (The screen doesn't always flash like that, Daniel just happened to land a critical.)
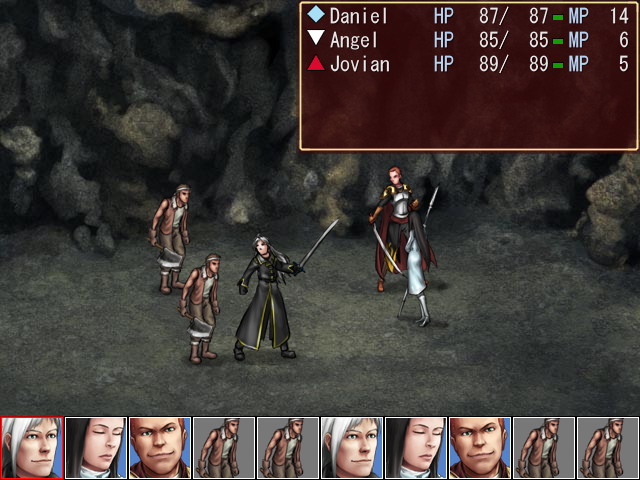
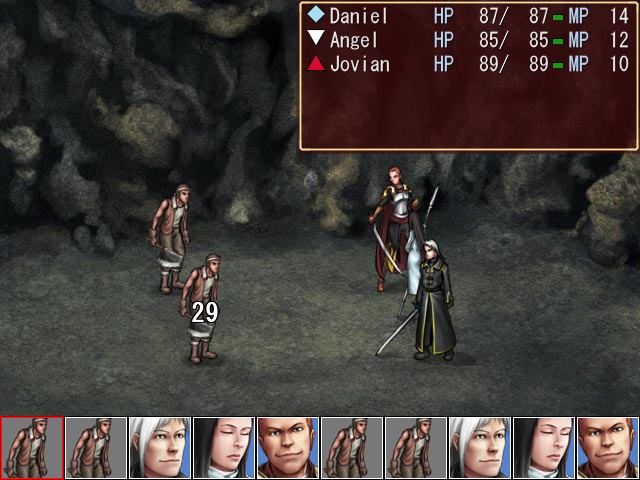
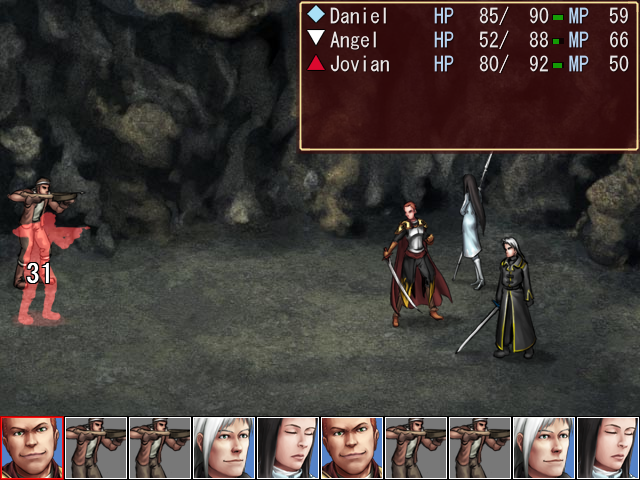
Now, Angel's up. You'll notice that she has a special ability, Column Strike. As the name implies, Column Strike hits all enemies in a column (from this perspective, a horizontal line) for 80% of her normal attack damage. The enemies aren't lined up in a way for that to be useful, though, so we just have her attack normally.
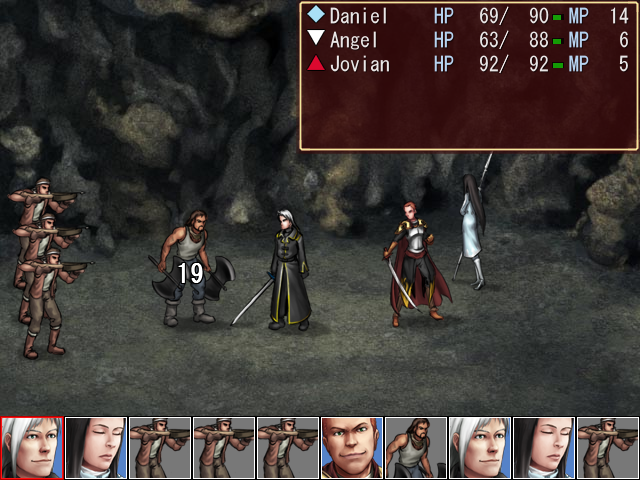
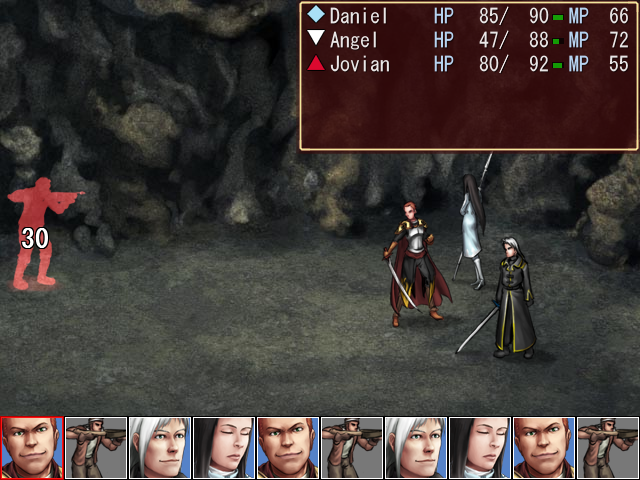
Not bad. Now, Jovian's turn.
Aww yeah.
 Daniel did more damage, but that was because he landed a critical. This is Jovian's regular attack. He is our physical powerhouse for the time being.
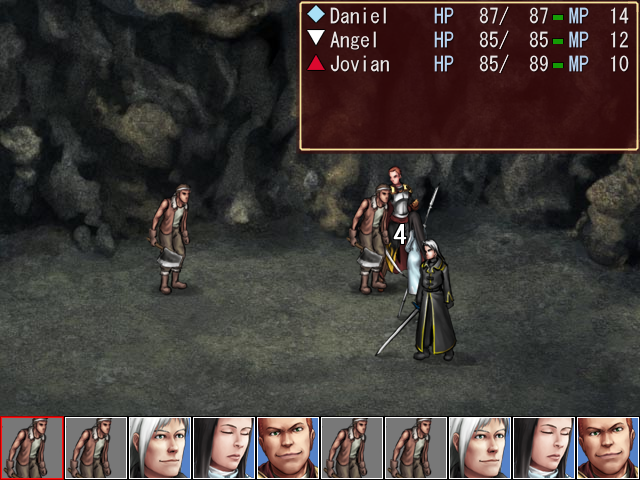
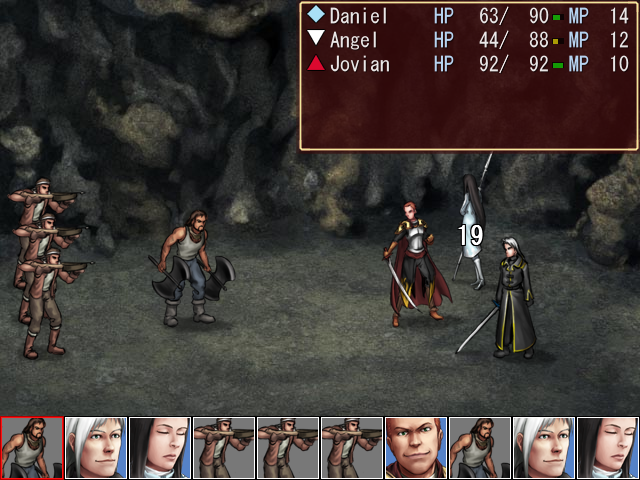
The bandits attack us, but their damange is pretty piddly.


And after a few more rounds, we prevail.
Music: Battle Won - Final Fantasy Tactics, "Battle's End"
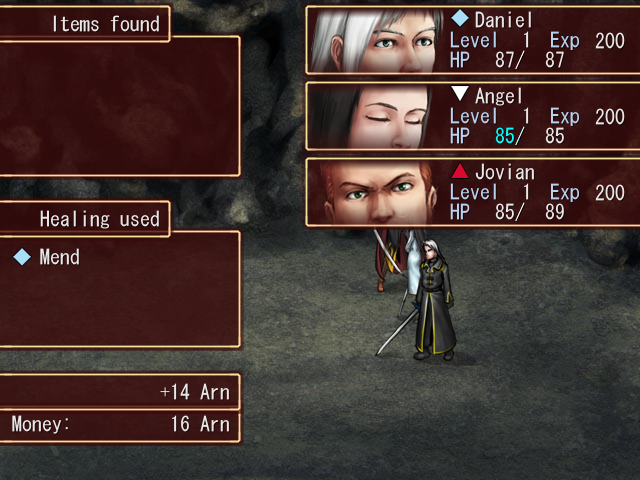
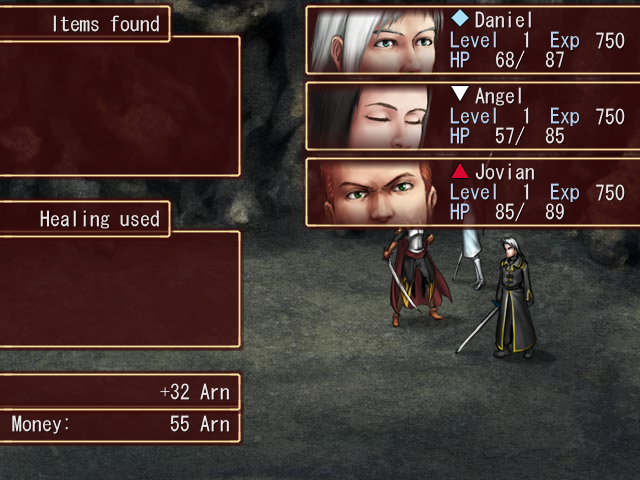
Just like in every other RPG, winning a battle nets us money, items and experience. Exit Fate uses a fixed amount of experience for each level: 1000 experience will net us a level up. However, the amount of experience each character gains is dependent on the difference between their level and the enemy's, with overleveled characters earning exponentially less experience and underleveled characters earning exponentially more. There is no cap on the amount of experience a single battle can give, which means that it's ridiculously easy to train new characters. A character 40-50 levels behind can easily gain 30 levels from a single regular battle.
You might also notice the "Healing Used" section. We're going to ignore that for the time being. I know you're probably getting tired of me putting things off, but we're almost done with this, I swear!
Music: Bandit Cave - Final Fantasy Tactics, "Doubtful Atmosphere"
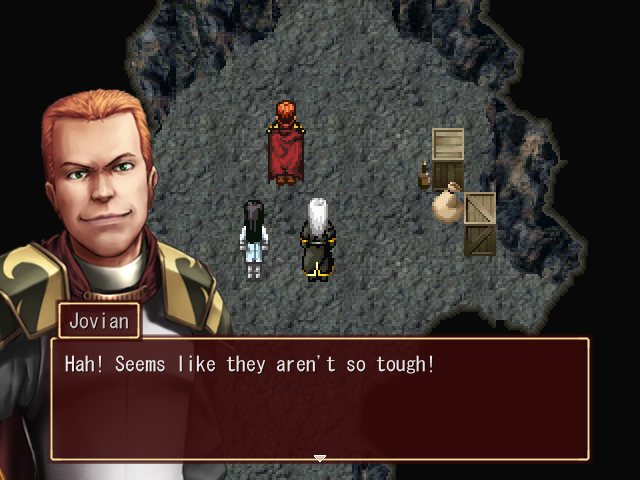 They're just common bandits, but we don't know how many of them there are. We'd better be careful.
 One of them mentioned their "boss." He has to be somewhere around here. We'd better find him and take him in for questioning.You're right. They were just small fry. We've got to get our hands on their leader. All right! Let's go!
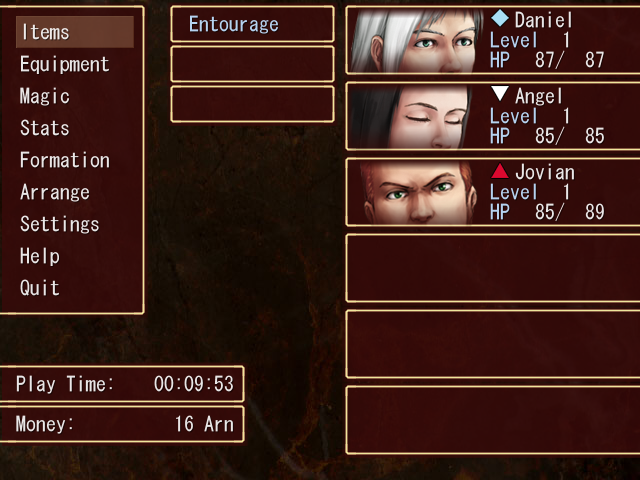
At this point we're given control again. But before we head onward, it's time for me to explain some of the stuff I skipped over during the battle. And the best way to do that is by also explaining the stuff in the menu.
So, first thing: the symbols next to each characters name. This symbols represent the character's element, of which there are six possible values. The cyan diamond represents Light, the white downward triangle represents Ice, and the red upward triangle represents Fire. There is also Darkness (purple square), Water (blue circle), and Lightning (yellow pentagon). All characters, both allies and enemies, have an element that cannot be changed.
A character's element affects several things, including:
- The element of the character's attack. All attacks and spells have an element; there is no "physical" element in this game.
- Characters take more damage from their opposing element, and less from their own.
- Magic spells not of the character's element cost more MP for that character to cast.
- Light and Darkness oppose each other.
- Fire and Ice oppose each other.
- Water and Lightning oppose each other.
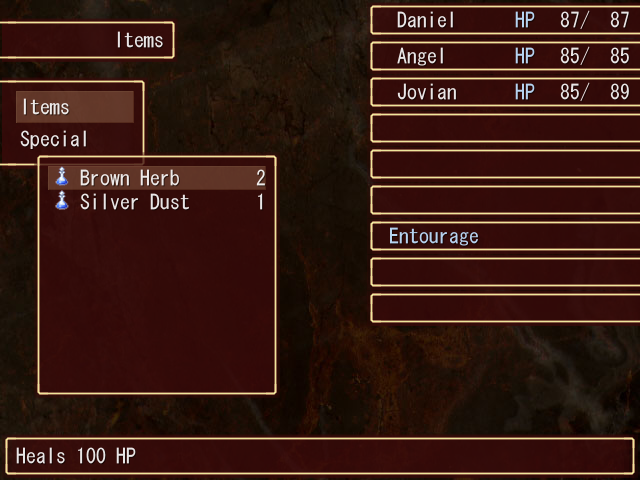
Let's take a look at the Items menu. We've got two different items: the Brown Herb, which restores 100 HP, and the Silver Dust, which restores 40 HP for all party members. We can use any of these items from here. There's also the "Special" option, which contains plot items and other shit we don't want to lose. It's empty at the moment.
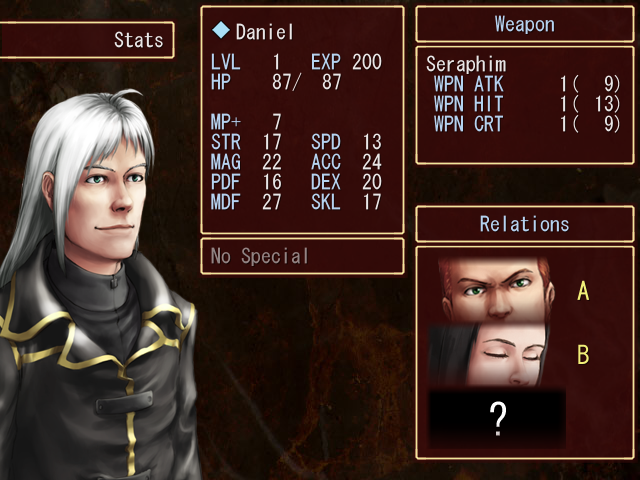
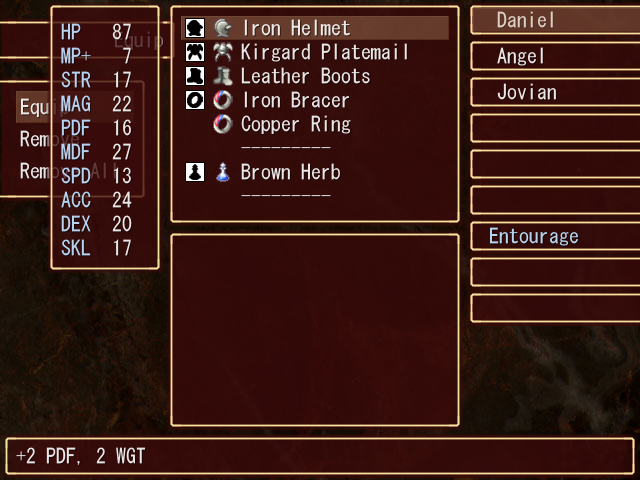
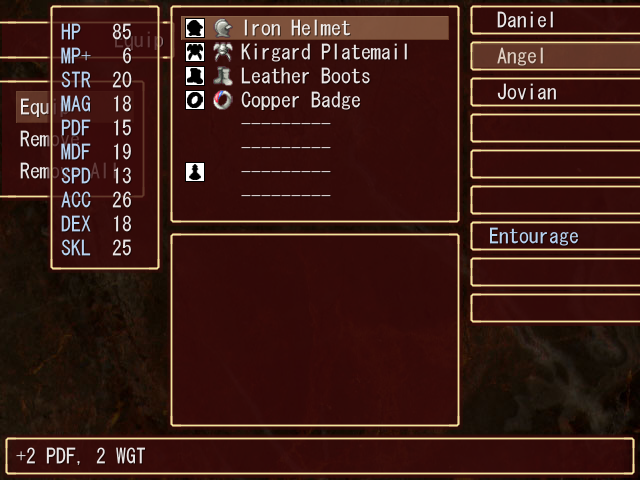
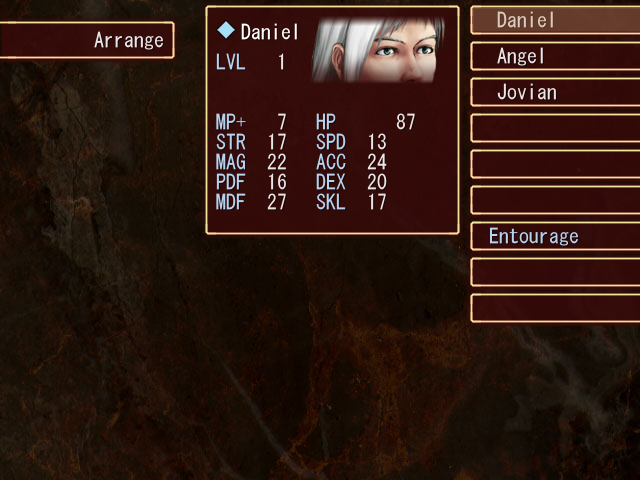
Next up, let's take a look at the status screen. That sure is a lot of numbers! What do they all mean?
HP: How not dead you are. At 0 you are completely not not dead and are therefore dead.
MP+: MP regeneration rate. Characters start battles with this much MP and gain the same amount every turn.
STR: Strength. Determines damage done by physical attacks. Boosted by weapon attack power.
MAG: Magic. Determines potency of magic spells.
PDF: Physical Defense. Lowers damage from physical attacks.
MDF: Magical Defense. Lowers damage from magical attacks.
SPD: Speed. Determines how quickly your turns come in battle.
ACC: Accuracy. Determines your chance to hit enemies. Boosted by weapon accuracy.
DEX: Dexterity. Determines your chance to dodge enemy attacks.
SKL: Skill. Determines how likely you are to land a critical with a regular attack. Boosted by weapon critical.
There are also a few other windows. There's a window listing the character's special ability, if they have one, as well as one listing their weapon's stats, which we've seen before. The final window shows "Relations." This shows the people that this character has a bond with. If this character enters battle with one of these people present, he/she will receive a stat boost, and if that person dies, the boost will be doubled. The strength of the boost is determined by the relation's grade; obviously, better grades deliver greater boosts.
It's also possible for a character to have an F relation to another. In this case, having that person present will deal a stat penalty to the character, but if the F relation dies, the character will receive a major stat boost, hilariously enough.
Anyway, as you can see from the screen here, Daniel is more geared towards magic than strength. While he can hold his own physically, he's not the best at doing so. Unfortunately, Daniel isn't a pure mage, either. While his magic power is respectable, it simply won't compare to some future characters. The high MP+ will come in handy, though, since we're forced to use him.
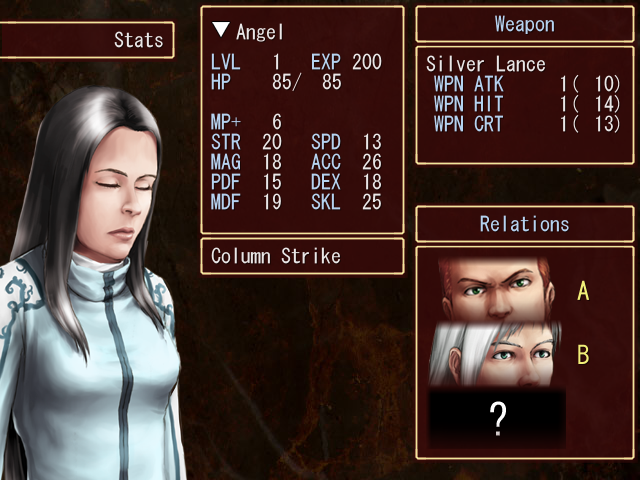
Angel is a middle-of-the-road character, decent in both physical and magical areas. There's not much more to say about her, honestly, aside from the fact that she has the Column Strike special ability.

Jovian is all about hitting things really hard. His magic sucks, and in any case his low MP+ will ensure that he won't have enough MP when a critical spell needs to be cast. He's also fairly slow. That said, his physical attributes are top-notch.
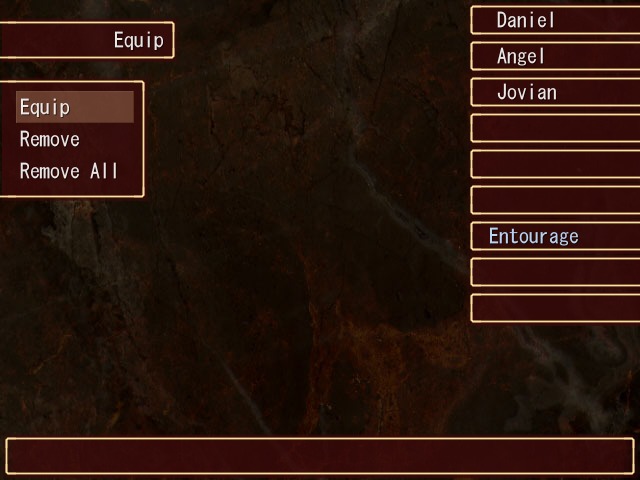
Next up, the Equip menu. Here, we have our standard options to change and remove our character's equipment. Each character has eight equipment slots: headwear, body armor, footwear, three accessories, and two items. Daniel is equipped with fairly standard stuff. His armor grants him a little PDF and also has a little WGT. His accessories grant him 1 PDF and 1 MAG, respectively.
Armor is usually listed as having weight, WGT, but in essence it is simply a penalty to SPD. 1 WGT = -1 SPD. As you might expect, heavier and more protective armors will also have large WGT values.
Angel is equipped with the same armor as Daniel. Her Copper Badge grants her 1 STR.

Jovian is, unsurprisingly, also wearing the same armor. His accessories grant 1 DEX and 1 SKL, respectively.
Now, as I mentioned, each character has two equipment spots for items. This is important, because as you might have noticed when I explained the battle commands, Use Item only allows you to use an equipped item. During battle, the inventory is not communal. If you don't have an item equipped, you'll need to spend a turn equipping it before it can be used.
Because I don't want to have to do that, I go ahead and equip Jovian and Angel with a Brown Herb. Daniel is already equipped with one, so I hand him the Silver Dust as well.
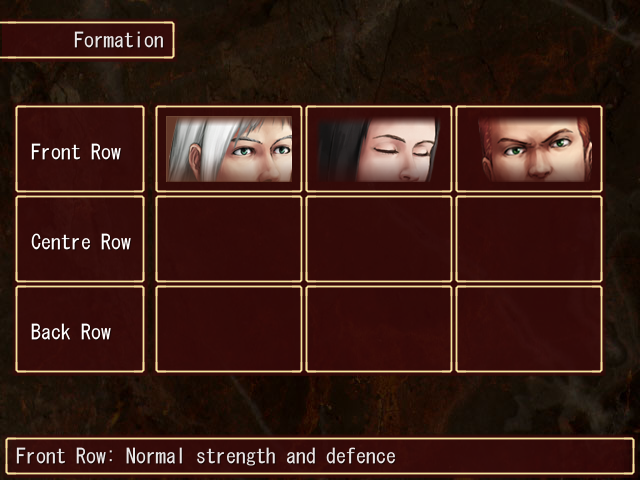
Next up is the Formation screen. As I explained earlier, battles in Exit Fate are fought with each side placed on a 3x3 grid. Here is where we can set that up. Much like in Final Fantasy, placing a character further back in the grid reduces the damage they take from physical attacks, but also reduces the damage of their own physical attack, unless their weapon is listed as "Long Range," in which case it will do the same damage from anywhere on the grid. In addition, if two characters are in the same column, the character further back cannot be hit by regular physical attacks unless the person in front of him dies. This will be very useful when we get some pure mages who should not be exposed to the enemy.
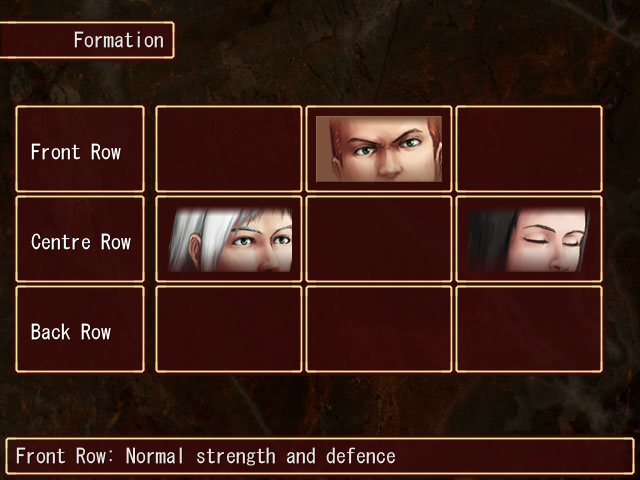
As Jovian is our heavy hitter, I put him front and center. I place Daniel and Angel in the center row since they're more middling characters physical-wise.
We also take a glance at the Arrange screen, but there's no real point in doing so since we don't have entourage characters to switch with.
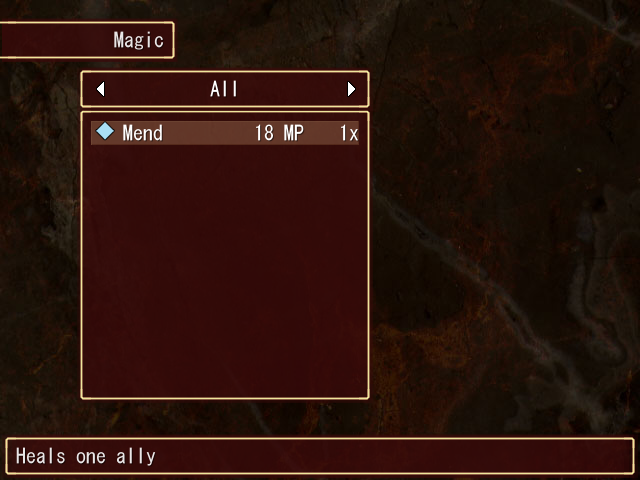
Finally, we come to the Magic menu. We currently have one magic spell, Mend, which is a basic light-elemental healing spell. Curiously, though, there's no option to cast it in this menu. And what's that 1x mean? I suppose we'll just have to try it out in battle and see what happens.
Right then, enough boring shit, let's actually head onwards and see what's in this cave.
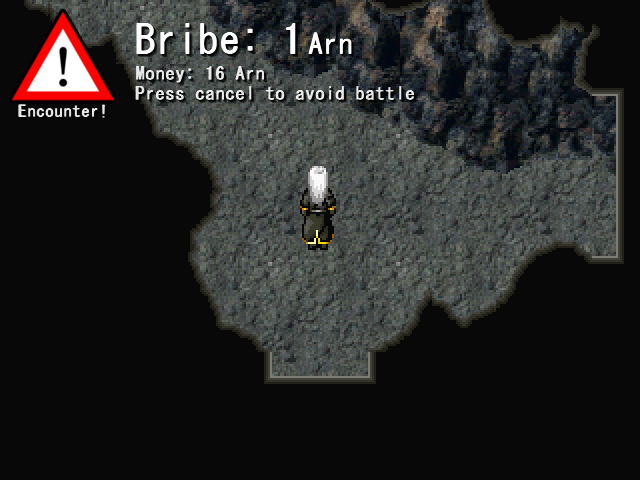
Immediately after we head through the opening, this pops up. This here is probably one of Exit Fate's coolest features.
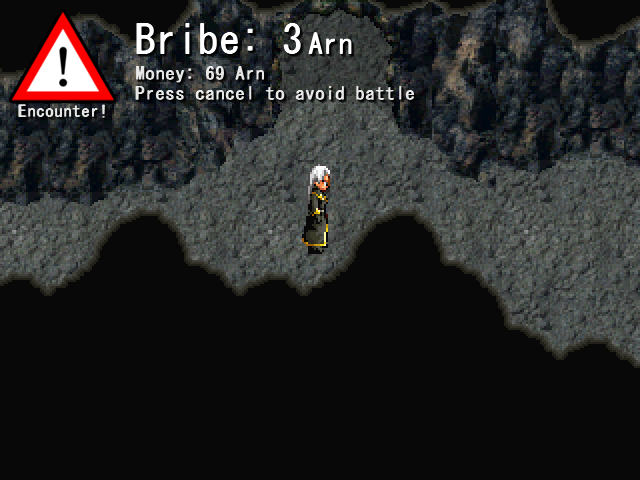
Battles in Exit Fate are random, but when one is about to occur, this warning pops up. You can continue walking around while it's there, but after five seconds or so, a battle will begin. As you can see from the screenshot, though, we have the option to bribe our enemies by hitting the cancel button. The bribe amount is equal to 1/4 of the money we'd get from winning the battle. Bribing an enemy will deduct the specified amount of Arn from our wallet, but will also cause the encounter to vanish.
On the surface, this seems like an interesting risk/reward system, where we can avoid battles whenever we want but risk being underleveled and poor later. This is certainly the case, but what's also cool about this system is that it makes returning to low-level areas completely painless, since you'll generally have so much money by the time you return that the bribes are inconsequential. Instead of having to deal with battle after repetitive battle filled with enemies that are no threat to us, we can just bribe the shit out of them and walk on through.
It's interesting to note that you can bribe ANY regular enemy, even those that probably wouldn't see the value in taking our money. Such as, say...
... a bat.
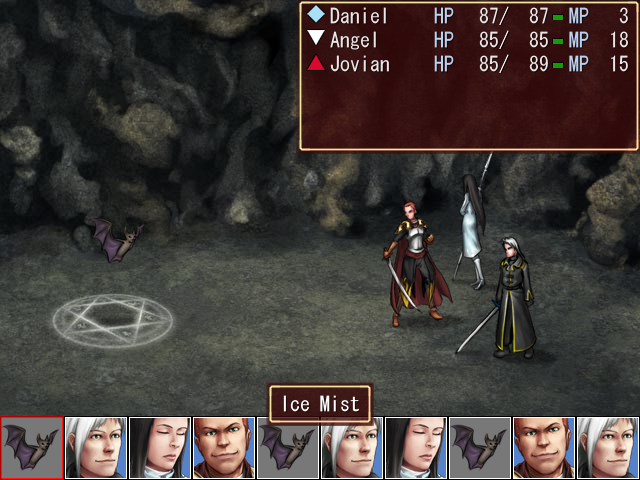
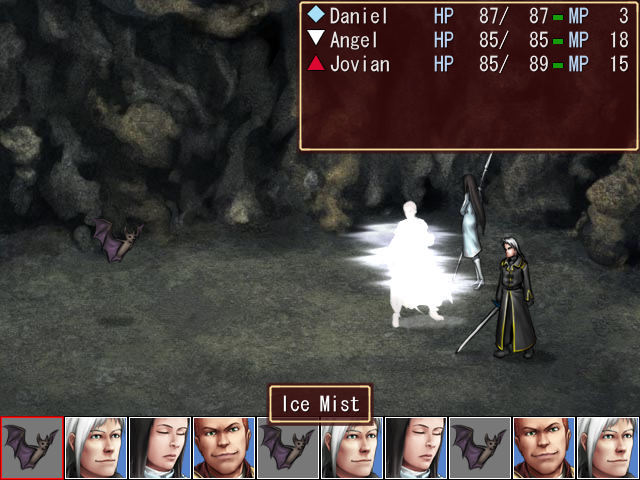
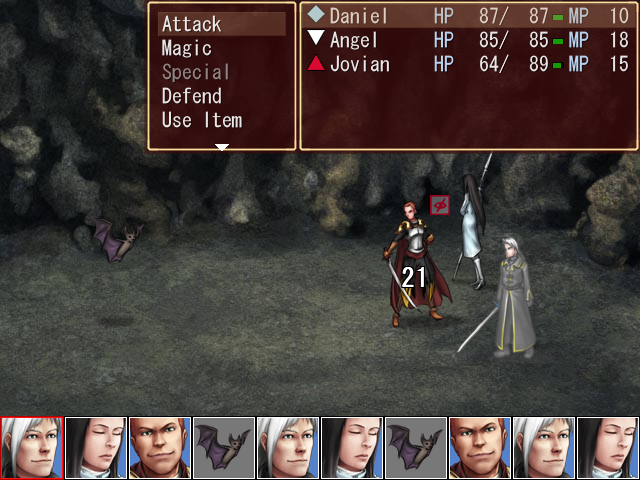
Bats are ice-elemental monsters, and have the Ice Mist ability, which deals a bit of damage and has the chance to blind the target. Blindness reduces a character's accuracy and is signified by the crossed-out eye in the last screenshot. Daniel and Angel won't take more than 2 damage from this, but it hits Jovian pretty hard due to his element and low MDF.
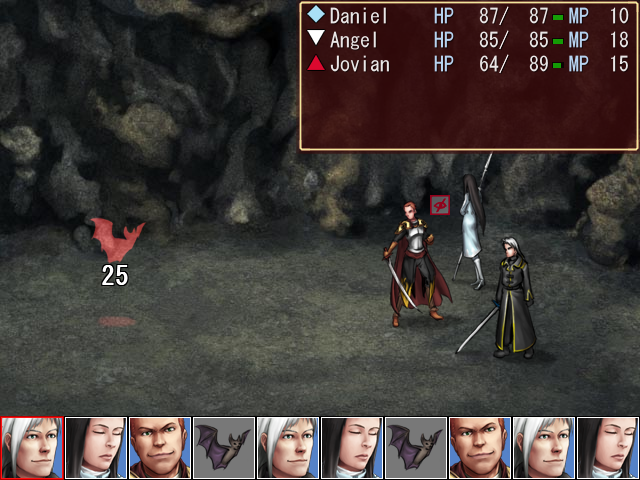
Nonetheless, it's just a bat, so it doesn't take us long to bring it down.

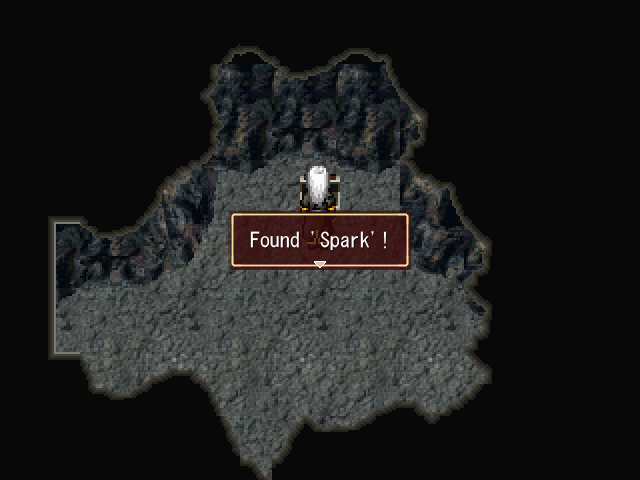
In the room to the right, we find a treasure chest containing the Spark spell. Spark is a fire spell that hits all enemies on the field for light fire damage.
... Oh, right, we were going to try out our magic, weren't we? Let's give that a shot.
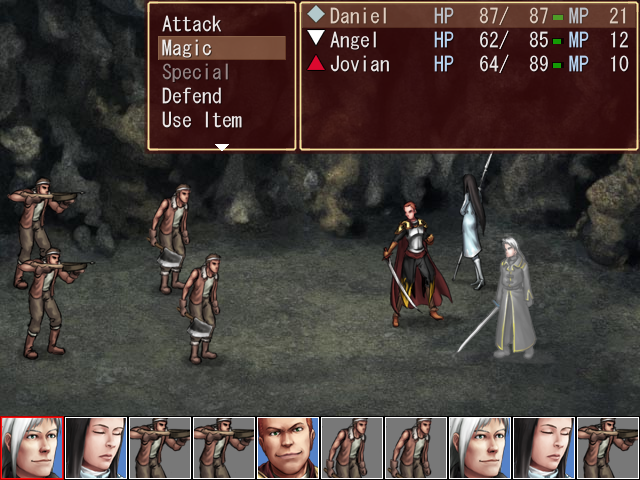
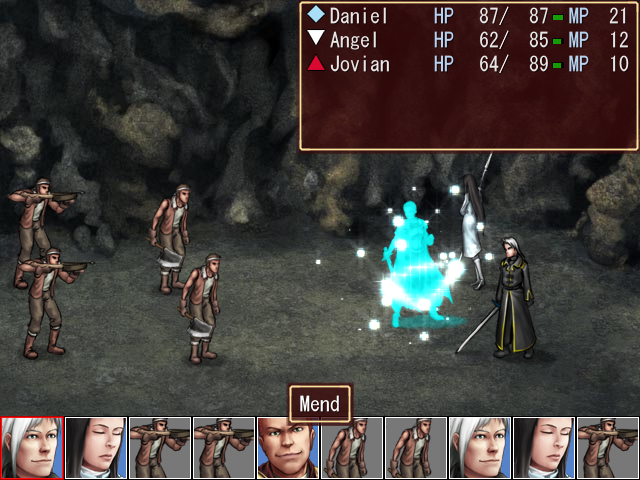
As you probably remember, every character has an MP+ stat. Whenever a battle starts, all characters' MP is reset to their MP+ value, and whenever their turn comes around, they gain that many MP. On his second turn in this battle, Daniel, with his MP+ of 7, has 21 MP, which is enough to cast our Mend spell. Good timing, since it seems like Angel and Jovian are hurting a bit.


Okay. Now, we want Angel to cast Mend on herself as well. Since Mend is a light spell, and she's not light-elemental, she'll require a bit more MP to cast it. The exact amount required is 120% of the normal MP cost, rounded down, so in this case 21.
We let her build up the requisite MP, and...
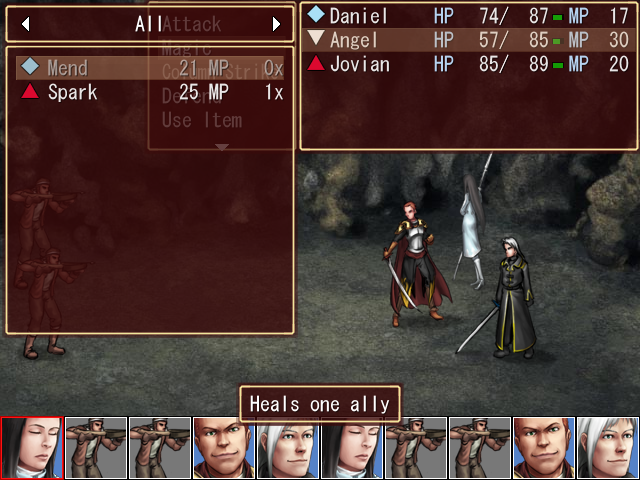
... it turns out she can't cast it. That 1x counter next to Mend has changed to 0x and Mend is unavailable. Why is this? And what does the 0x mean?
Herein lies the core of Exit Fate's magic system: you can only cast each spell once per battle. Once you've cast a particular spell, it is gone. Even endgame-level items can't restore it. However, this is counterbalanced by the fact that you can have multiple copies of spells. This is what the 0x signifies: the number of remaining copies we have. Since we've already cast Mend this battle, we're going to have to wait until the battle is over to use it again.
We can, however, try out this Spark spell.
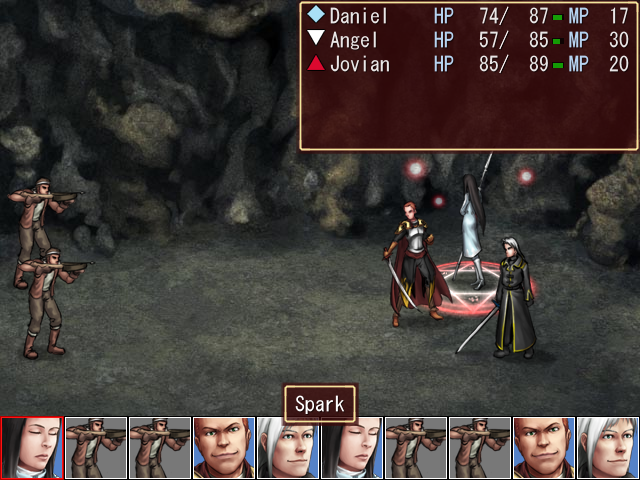
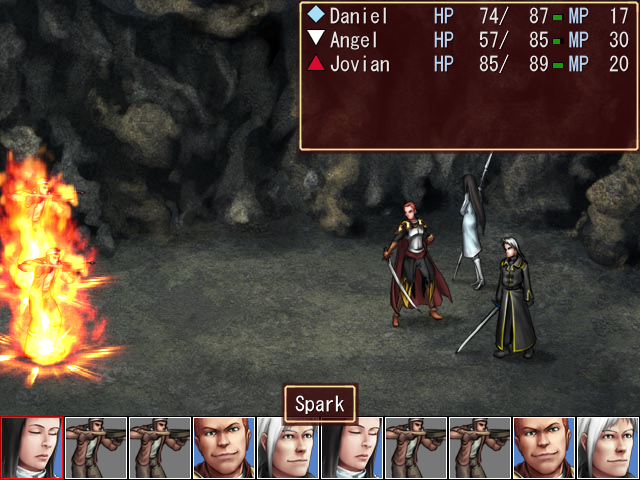

Not bad.
Now, remember that "Healing Used" window we saw earlier? The one I told you to ignore? This is where it comes into play. When a battle ends, the game will automatically use all of the healing spells you have remaining, since they will be restored when the next battle rolls around. Since we used our Mend this battle, we don't have it available and the "Healing Used" window is empty.
The auto-healing is very important, since you cannot cast spells outside of battle. At all. If your HP isn't full after auto-healing, like now, you're either going to have to use items or just try to live with it.
Anyway, we're finally done with the mechanics chat. Time to actually explore this cave.
During this process I spend far too much time trying to kill this bat. With Angel and Daniel blinded it took way too many rounds to put it down.

Once it's down, though, we get our first level up.

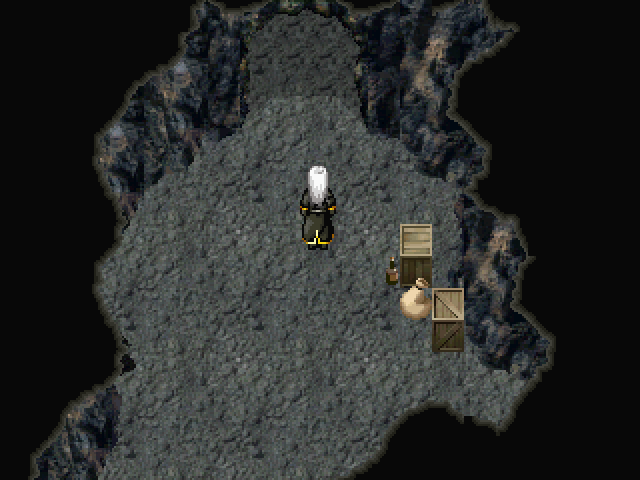
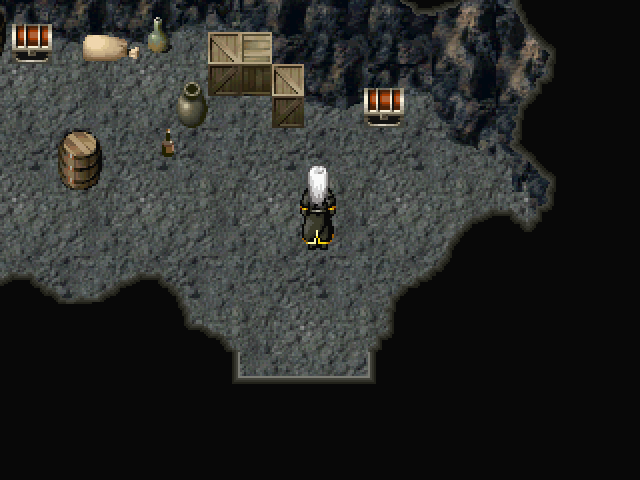
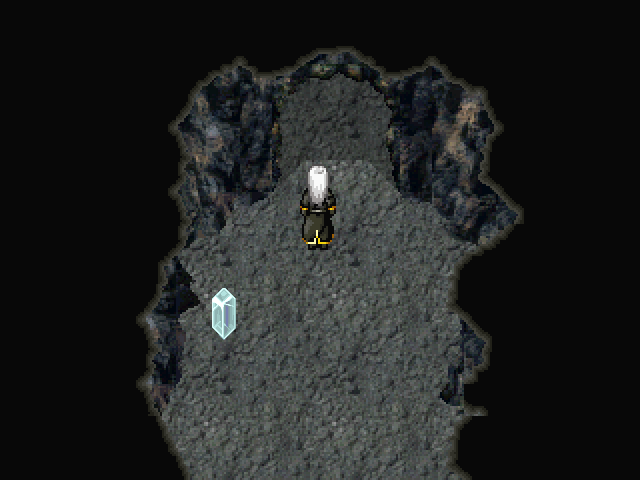
There is unfortunately very little else to say about this cave. It's very small and there's not much interesting stuff in it aside from a few boxes and sacks lying around.
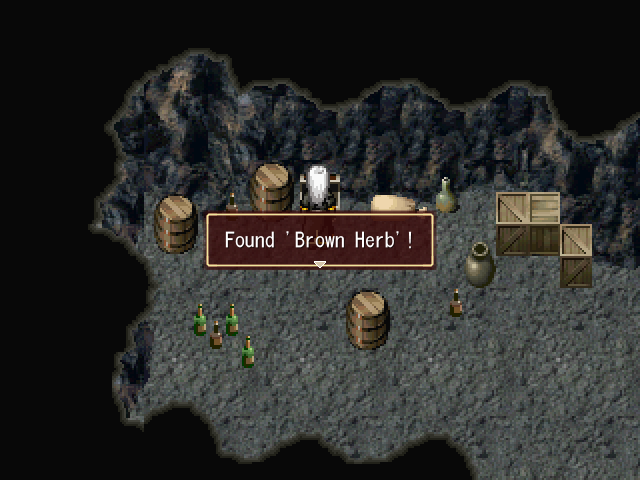
We do, however, find a few more treasure chests.
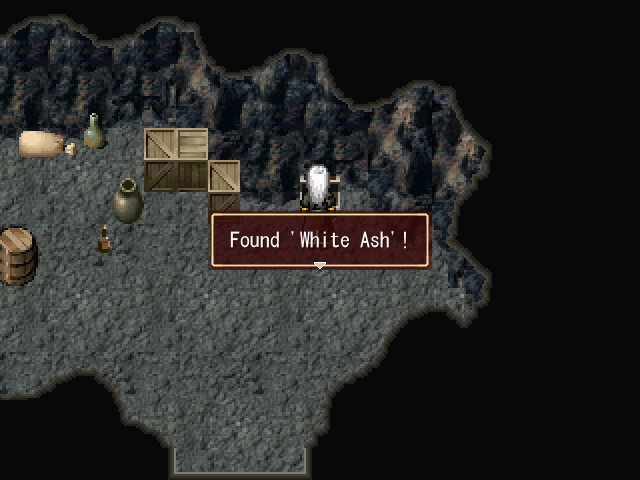
The White Ash is an attack item that deals a small amount of light-elemental damage to one enemy. I promptly forget to equip it to someone.
 The Brown Herb we've already seen, but it heals 100 HP if you've forgotten.

Eventually, we come across this save point. This can only mean one thing.
 I am the Red General, Jovian Knight, commander of the third legion of the Kirgard royal army. Now, who are YOU?G-General!?
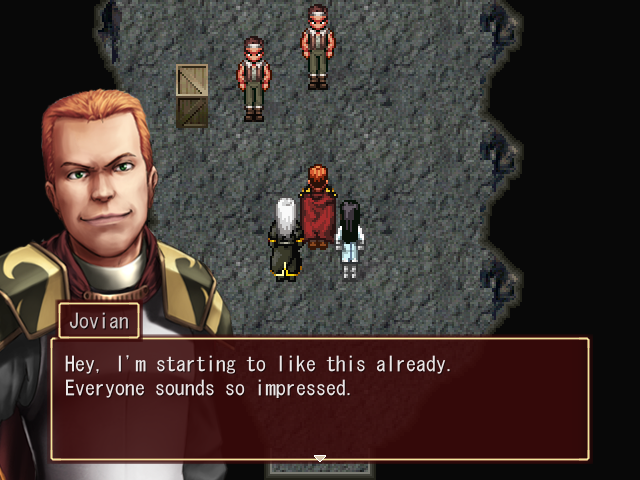
Oh Jovian, you card.

Music: None

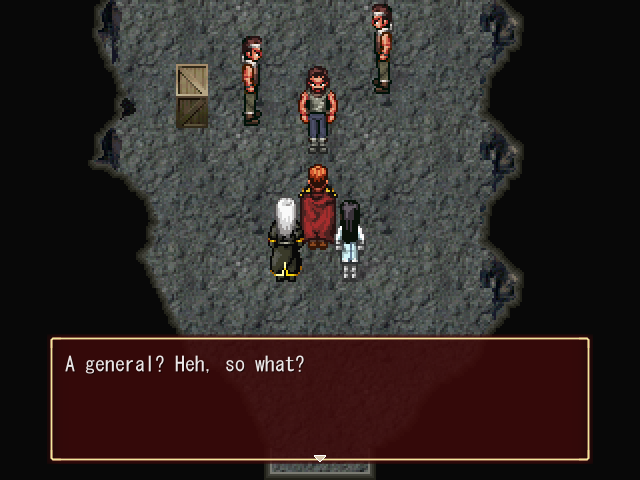
Looks like we've found our boss.
 Don't get cocky, youngster. You're in my domain now. It don't matter if you're a general or the king or whatever. This is the lion's den, kids. This is where the strongest make the rules.So, this must be the boss...Watch out. He looks tougher than the others.You're about to find out, darling! Let's show these gatecrashers what happens to people who stick their noses where they don't belong!
BOSS FIGHT: Bandit Lord
Music: Boss Battle - Wild Arms 2, "Battle vs. Solid"
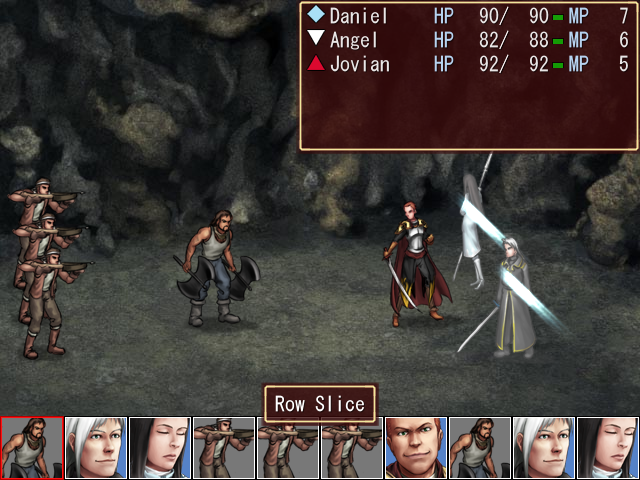
All right, our first boss battle! The Bandit Lord gets the first attack right off the bat and hits our center row with a Row Slice. Much like Angel's Column Strike, this hits a line of opponents for okay damage.
The Bandit Lord is dark-elemental, meaning Daniel's strikes will do more damage. So, let's go ahead and--
 --uh... and... slice Daniel in half? (My image capture software sucks, nothing to see here...)
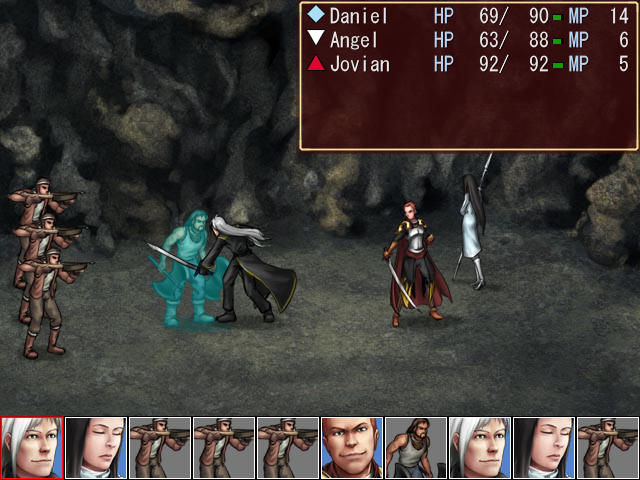
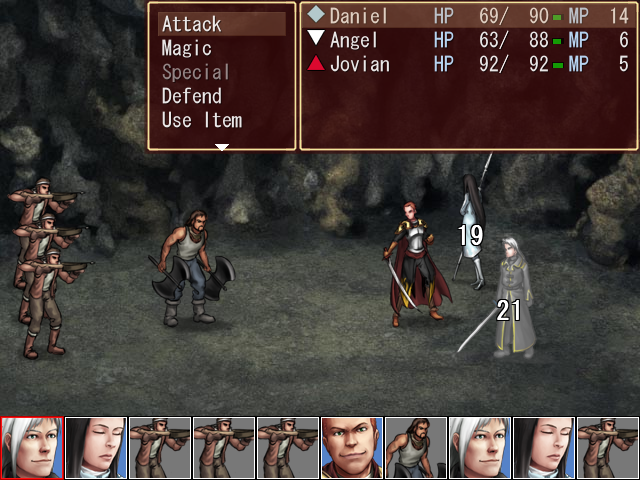
Anyway, physical attacks are our only real option, sadly. Our only other attacks are our single Spark spell and the White Ash (which again, I forgot to equip
) so most of the strategy here is "hit guy many times before he kills you." The Bandit Lord hits fairly hard, but his minions do so little damage as to not be a threat, so it actually makes more sense to take the boss out first. If we were to go after the minions, that would just give the Bandit Lord more turns to hurt us with.
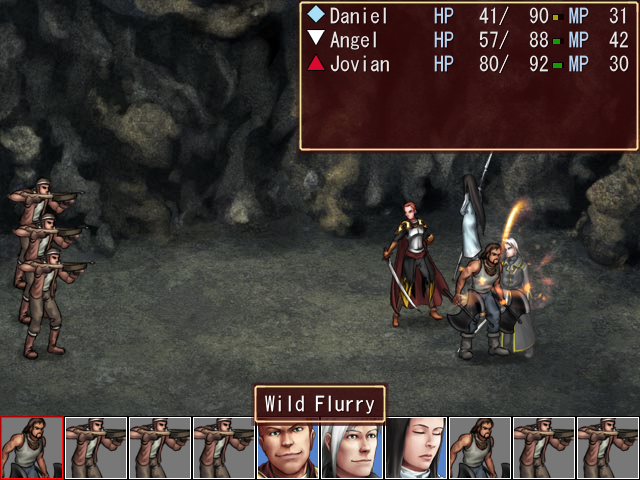
In addition to Row Slice, the Bandit Lord also has a regular attack that does decent damage.
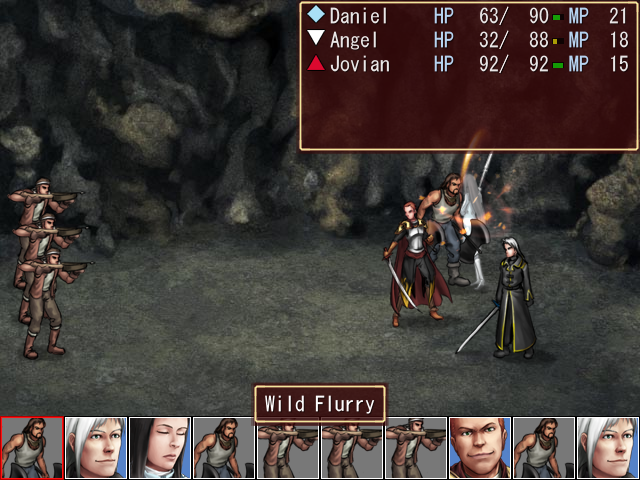
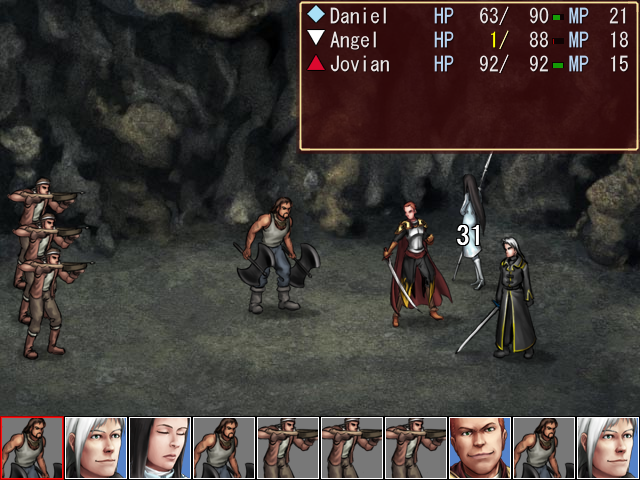
He also will occasionally attack with Wild Flurry, which does more.
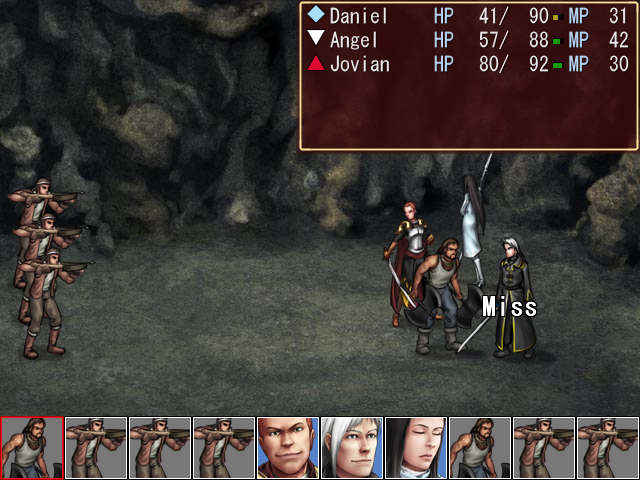
... If it hits, anyway.

I end up having to use Mend and a couple of Brown Herbs to stay alive, but eventually...
The Bandit Lord falls.
After that, it's just a matter of mopping up.
Music: Boss Battle Won - Chrono Cross, "Victory (A Cry In Summer)"

Aww yeah.
Music: None
 I... I surrender! Don't hurt me!
... y'know, that probably would have been a better thing to ask for BEFORE we hit you multiple times with our weapons.
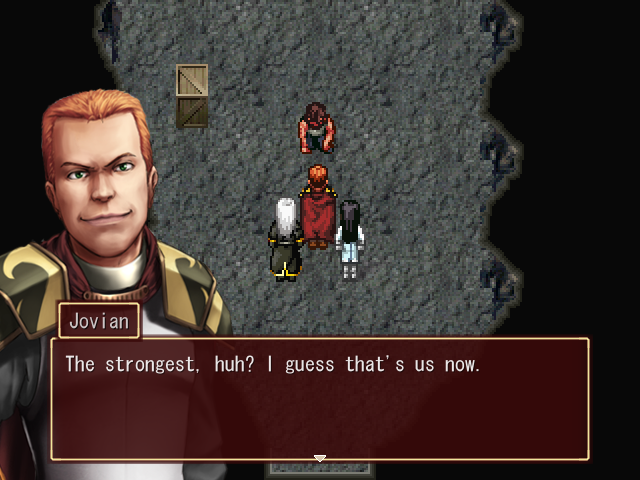
Let's take him back to the capital. The city guard can take care of the rest. We've already done more than we should have.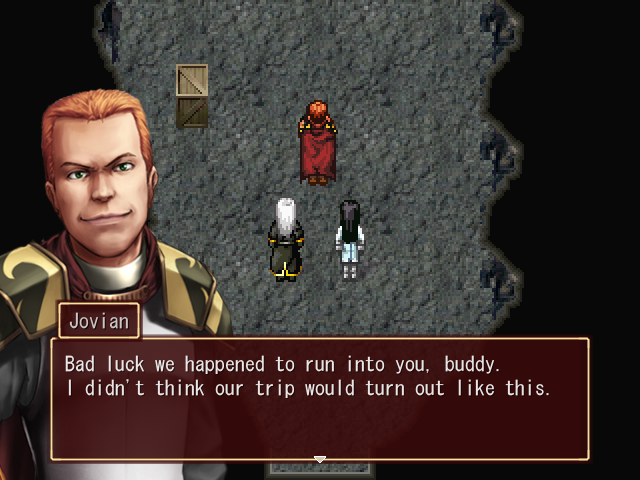 Adventure certainly knows how to find you, Jovian.Haha... isn't that why we still hang out together? Never a dull moment around me, right?Did you have anything else planned for today? I was hoping to make it back into town before nightfall.
Jovian looks away wistfully.
 I didn't know you were retiring already.We're all going to be busy, Daniel. Especially me. Those four weeks will be over before you know it, and then... Well, it'll be a whole different kind of adventure.
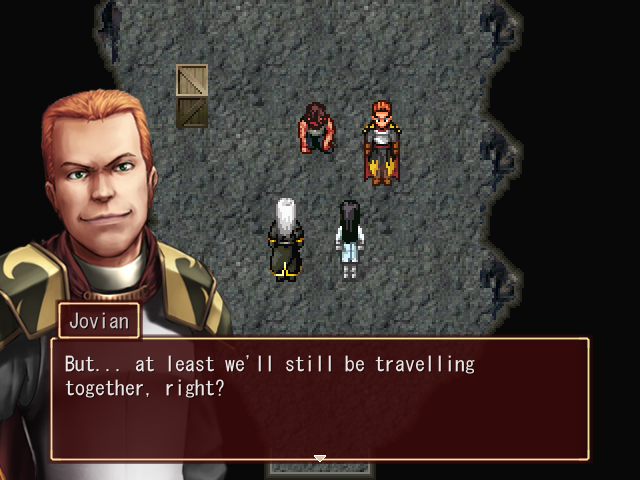
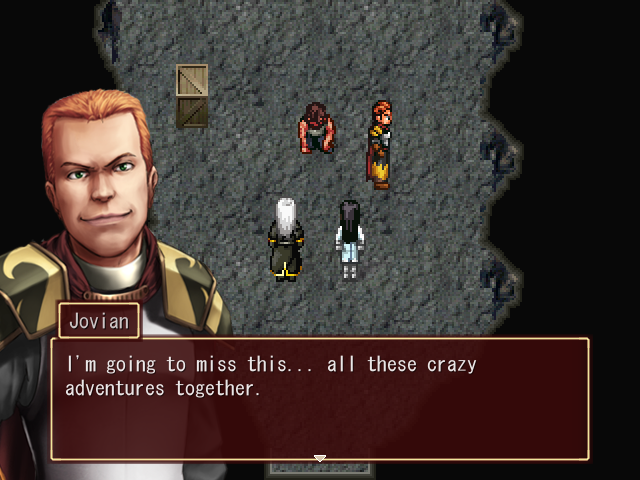
D'awww.
 Well, let's take this fellow back. We've got a lot of things to take care of...
And we end here. Next time: Weren't we supposed to be invading someone or something?