Part 54: I Am A Shadow, The True Self (Part 1)
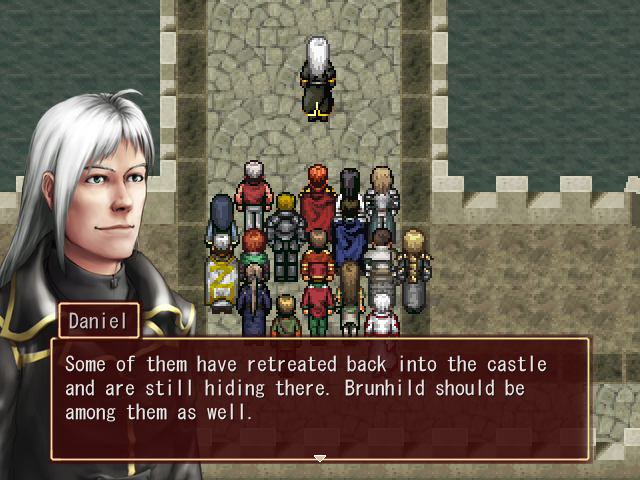
Welcome back. Last time on Exit Fate, we went to Vanaheim alone, and learned all about Siegfried's plans, his meddling in our life, and how the Hand of Fate came to be a part of us. Daniel refused to be a part of Siegfried's schemes, however, and when the news came that the Elysium army was marching on the city, Daniel took advantage of the distraction by stealing the messenger's sword and killing his father. In the ensuing chaos, Daniel was able to escape from Vanaheim and lead the Elysium army to victory, successfully taking the city. Now that that's done, there's only one stronghold of resistance left: Vanaheim's castle, where Brunhild is waiting for us.
Today, though, we will not be storming the castle. Instead, before we finish the main plot, there are a couple of things we can look into elsewhere, most notably the effects of the treasure chest in Elysium Castle that required all 75 party members to open. This content is generally something you'd want to do after going through the final dungeon (and then leaving, because you can't continue playing after beating the final boss), but thanks to some save shenanigans we're going to be taking care of the optional stuff first, and then coming back and doing the final dungeon at a normal level.
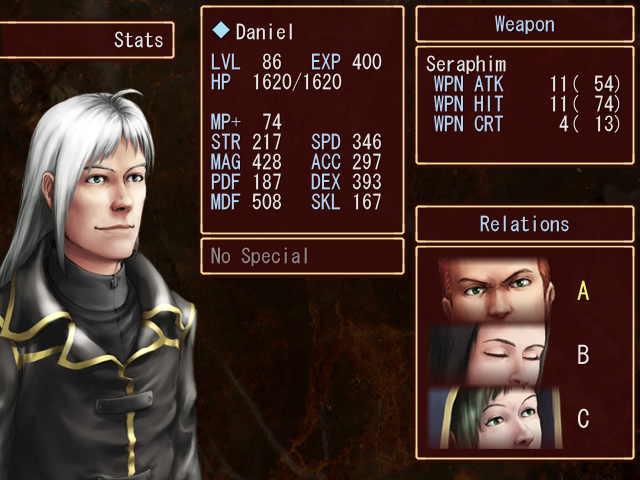


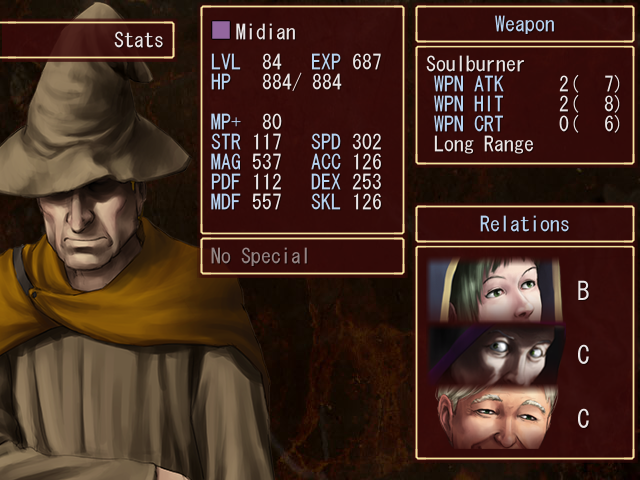

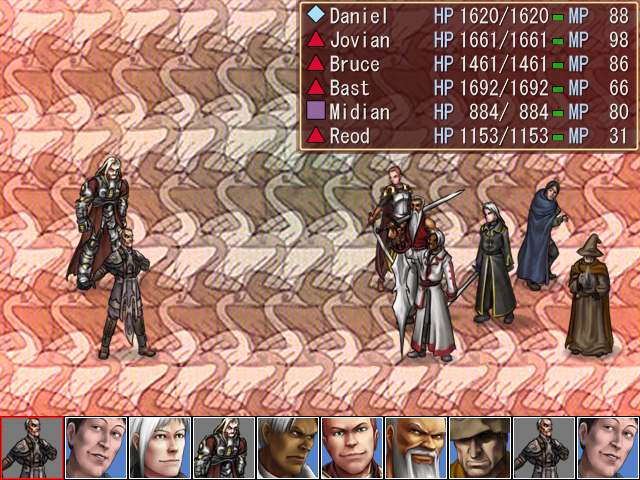
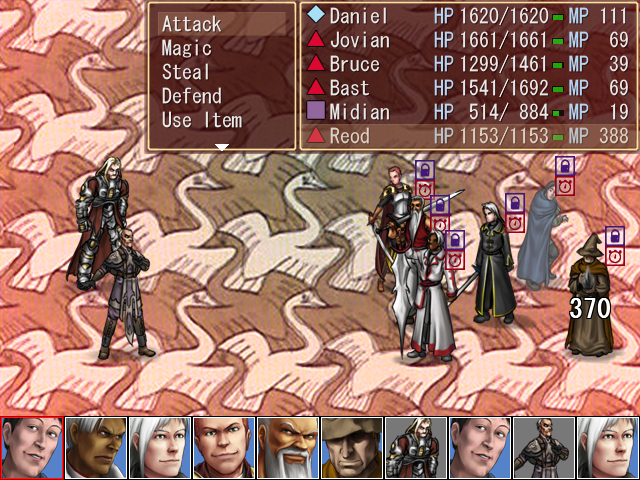
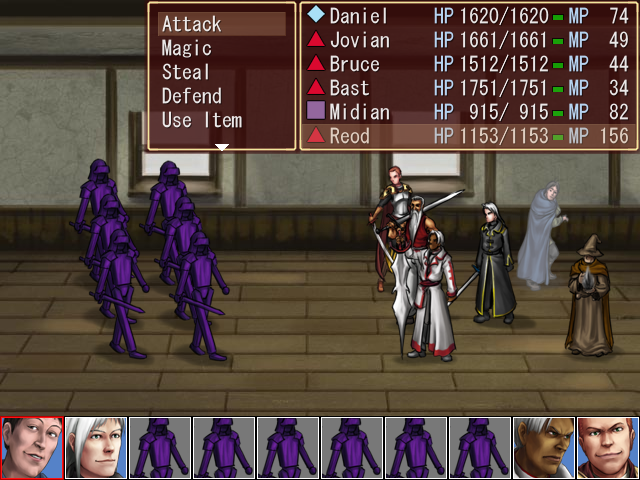
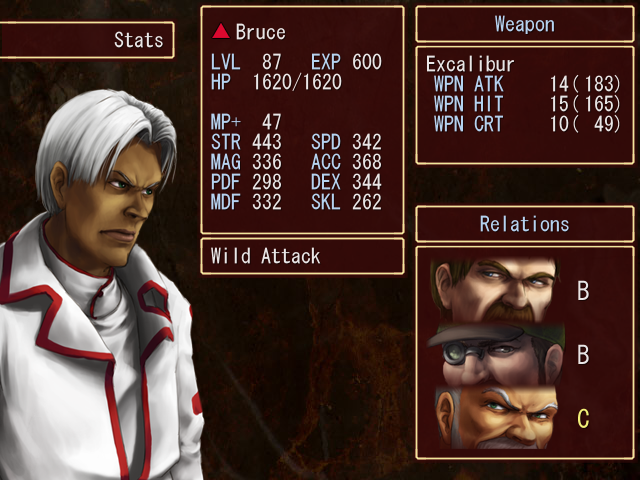
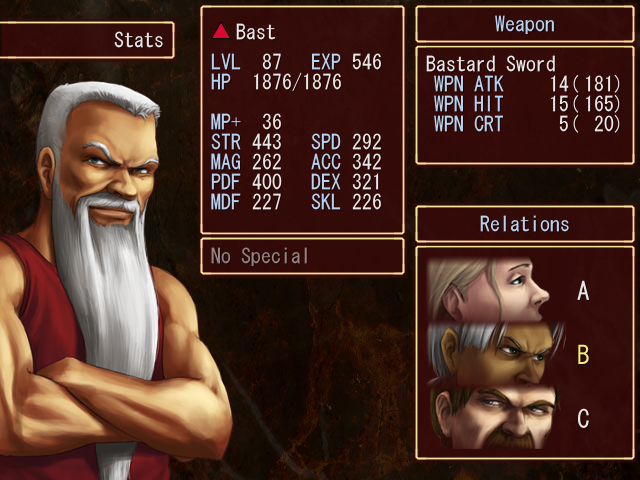
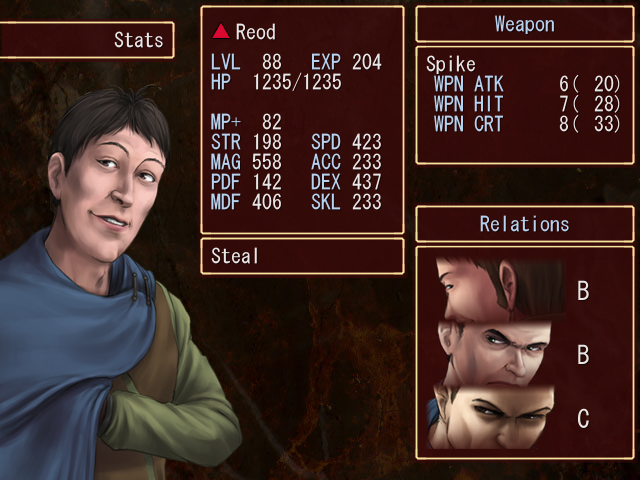
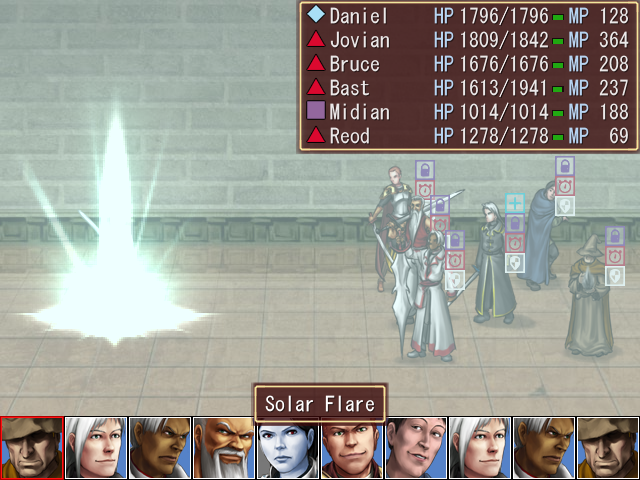
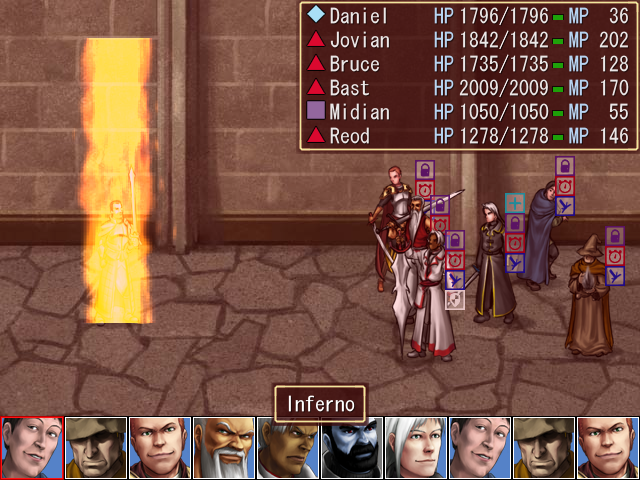
Ladies and gentlemen, say hello to the party for this segment. These guys have been through the final dungeon and back, and have reached the highest level they could reasonably achieve without doing any of the optional content. With some of the most powerful characters in the game and a few relation bonuses, we're all set to take on anything the game can throw at us. The abundance of fire-aligned characters might bite us in the ass later, but we'll deal with that when we come to it.
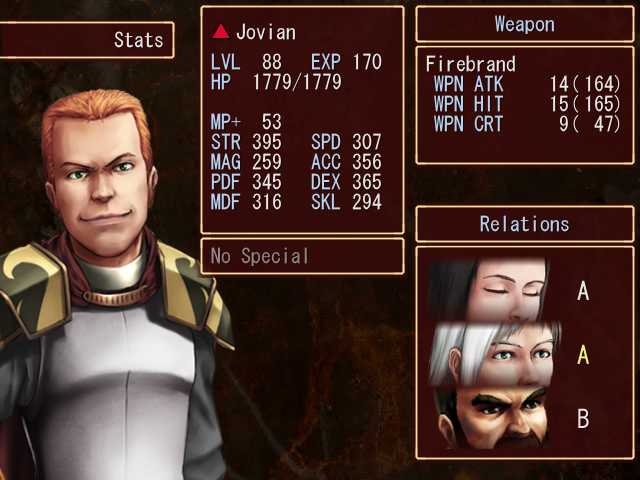
You'll notice that, for the time being, our warriors' weapon levels have attack at 14 and accuracy at 15. Accuracy is a much more important stat in the optional content than strength, because even at weapon level 15 the optional bosses are capable of dodging some of our strikes. But the optional bosses also have tons of money, so we'll be boosting our warriors' attack strength when we can.
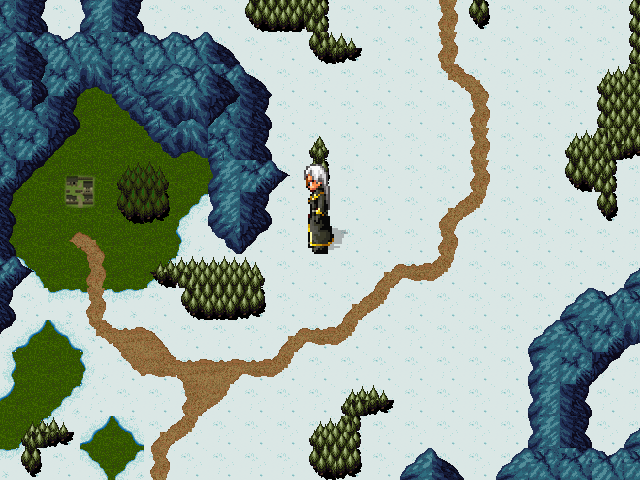
Before we do anything, though, there's one last area of the world map to explore, namely the area surrounding Vanaheim. There's not actually all that much to see here, but the one town that is present is pretty important, especially for the stuff we're about to take on.
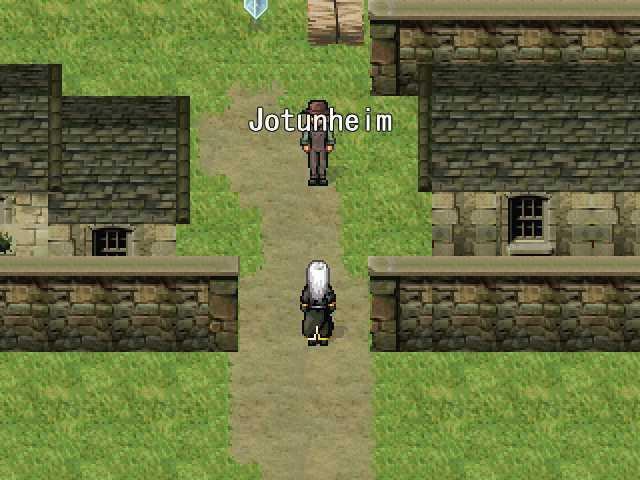
Music: Jotunheim - Final Fantasy IX, "Ruins Of Madain Sari"
Jotunheim is a tiny (and I mean tiny) town. I think there's only one building we can enter.
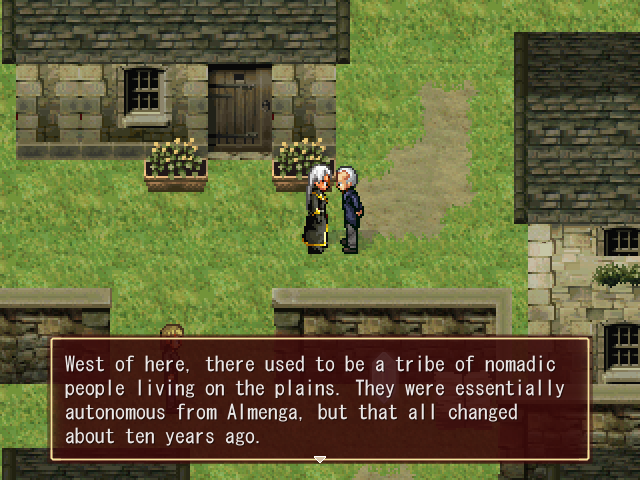
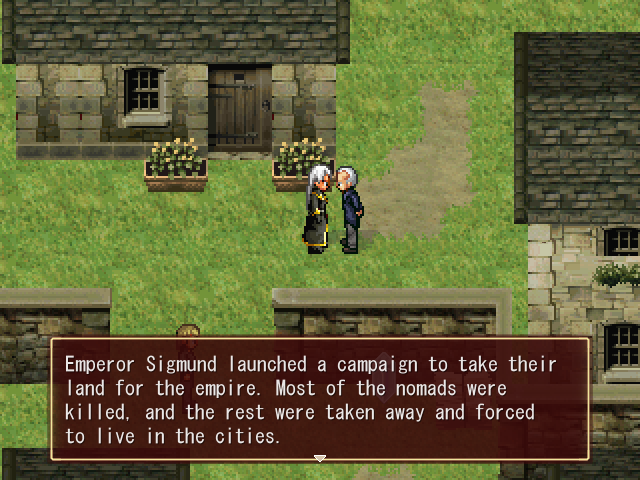
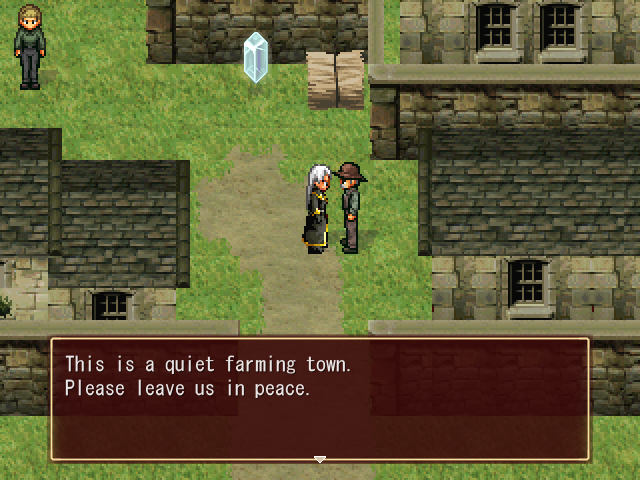
That said, some of the NPCs here have a bit of information for us. The old man here makes a mention of a nomadic tribe that was nearly wiped out by Almenga, which lines up quite neatly with the information in Stromgaard's interview, where he mentioned that he was a member of the Hazan tribe.
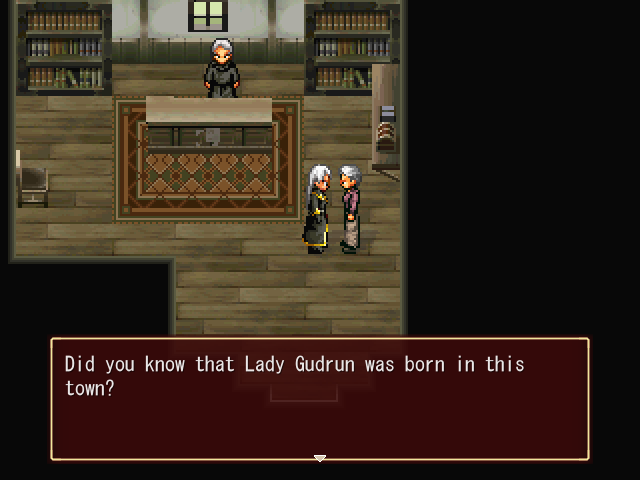
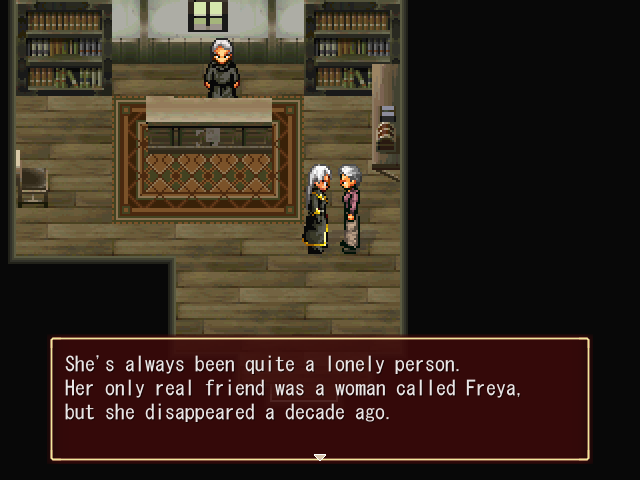
In the single building we can enter, we also receive some information about Gudrun. By the way, it should probably be mentioned that Gudrun isn't dead, despite her defeat in the battle at Vanaheim. We'll be seeing her again soon enough.

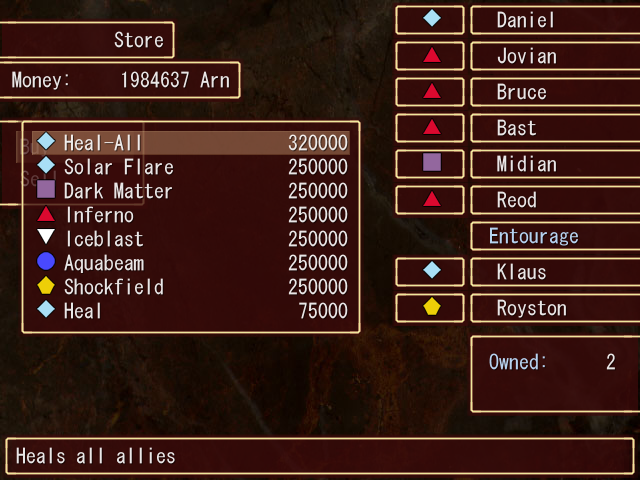
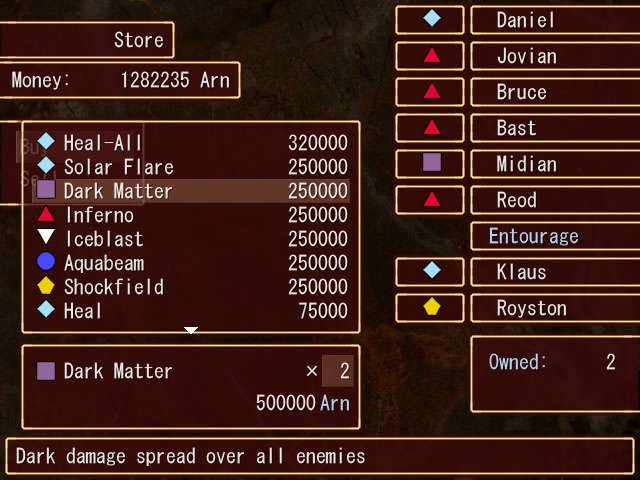
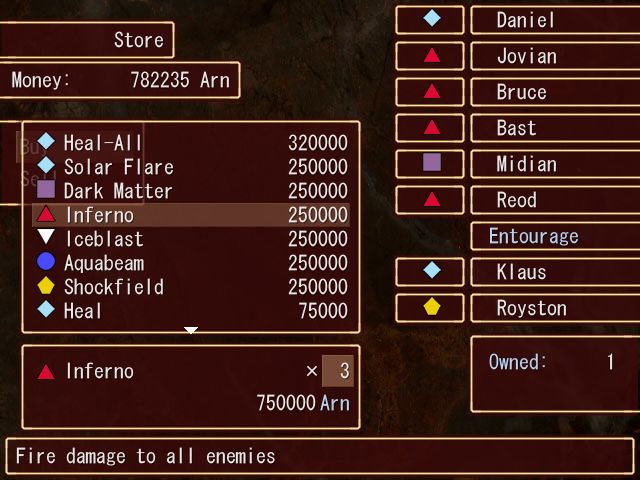
But the real reason to visit Jotunheim is for its shop. With this we're now capable of buying every spell in the game, though as you can see, even the two million Arn we have is enough to buy only a handful of copies of the most powerful spells.
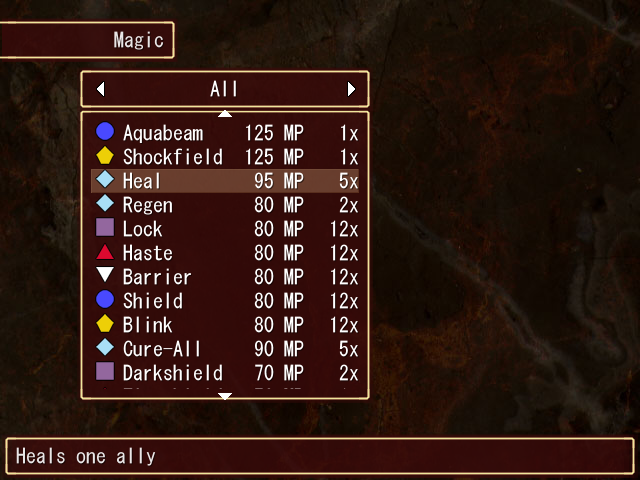
And before we start buying Heal-Alls and third-tier attack spells, we're going to use our Arn to beef up our buff stockpiles. Buffs are your lifeblood in the post-game content, and it's important to have enough copies to cover the party at least twice over, because it's entirely possible for some of the battles here to last longer than the duration of a Lock spell.
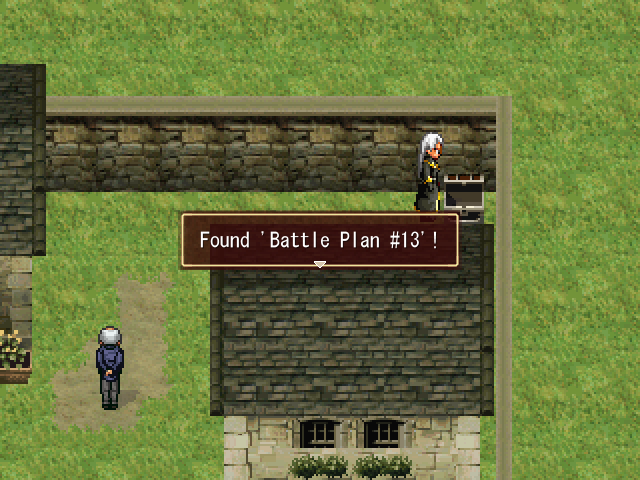
Also, the northeast corner of Jotunheim has a chest which contains Battle Plan #13, the plan for the battle at Vanaheim.
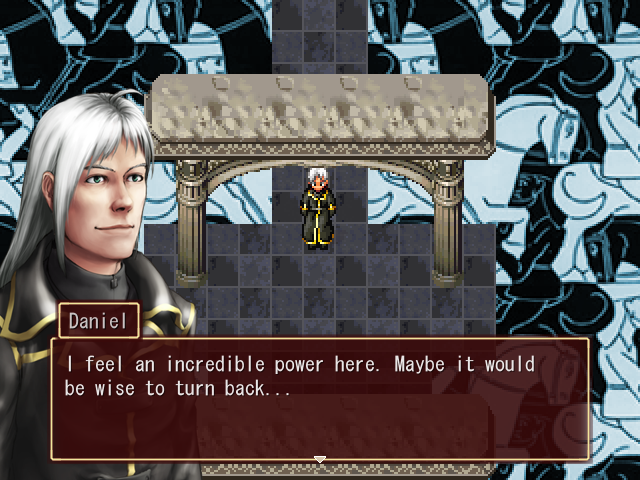
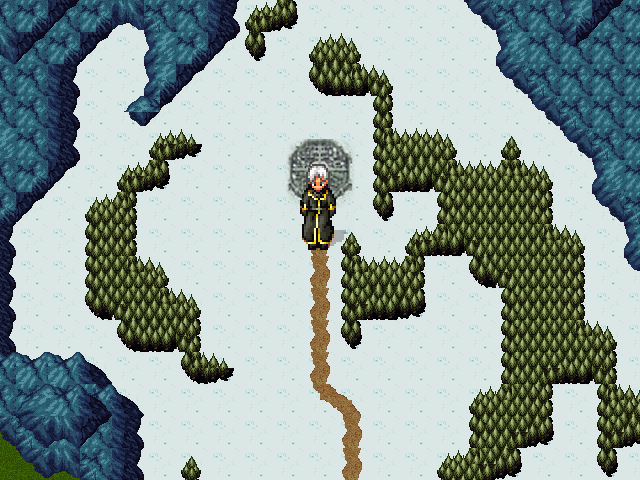
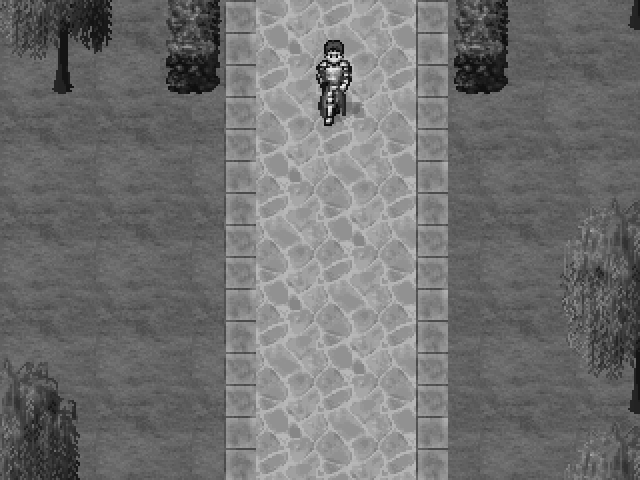
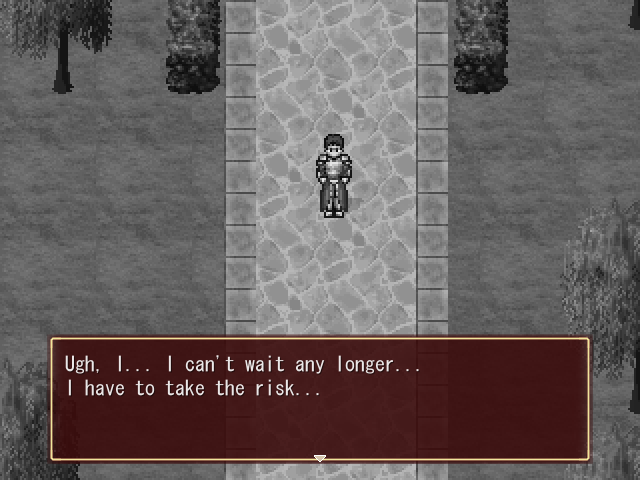
Now that we're prepared, our first order of business this update takes us to the Spiritual Plane. You'll recall that when we first visited here, we went down a side path where Daniel stopped and warned us to turn back. At the time turning back was a good idea, but now we're as prepared as we're ever going to be. Let's move on.


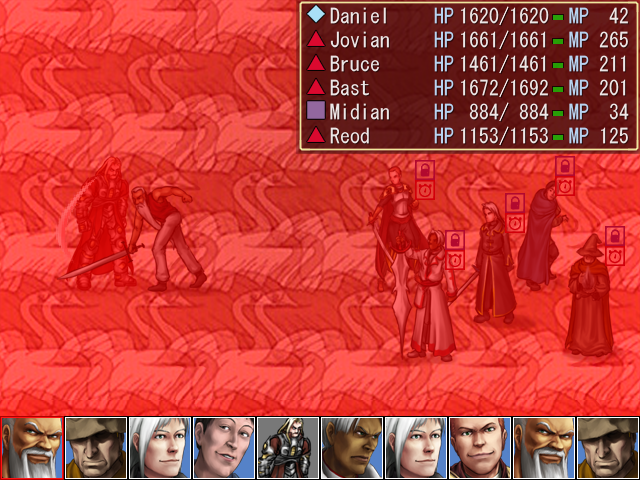
OPTIONAL BOSS: Hugin & Munin
Music: Boss Battle - Wild Arms 2, "Battle vs. Solid"
And for our first optional boss of the update, we're going to be taking on the original wielders of demonic power. These guys aren't actually too bad at our current level, but they're available much earlier than the rest of the post-game content if you're not obsessively following a guide to get every character.
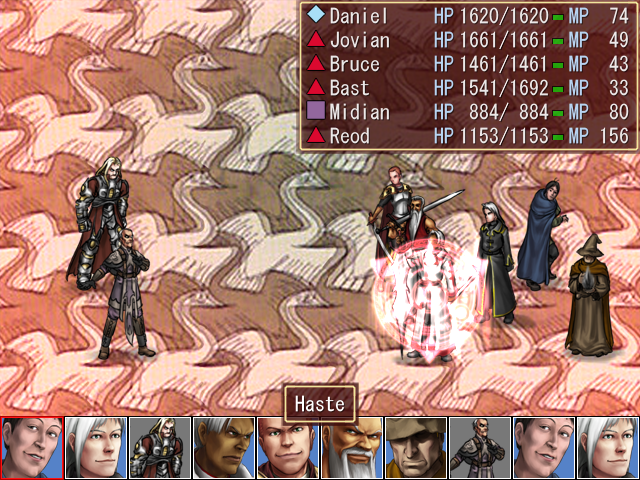

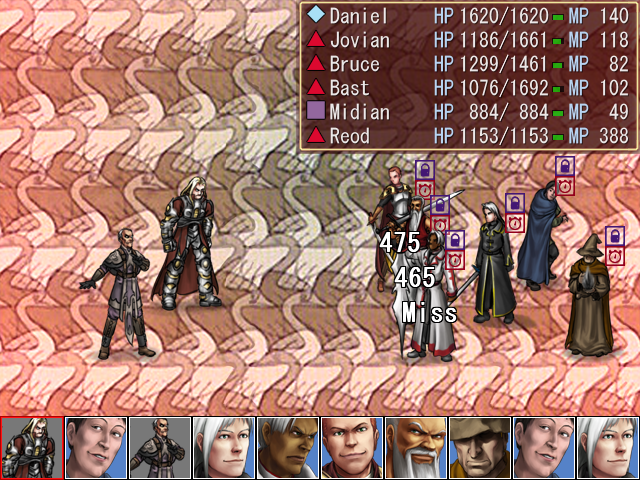
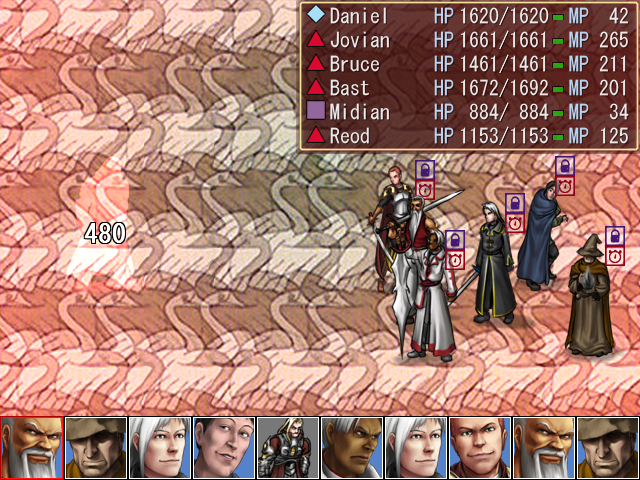
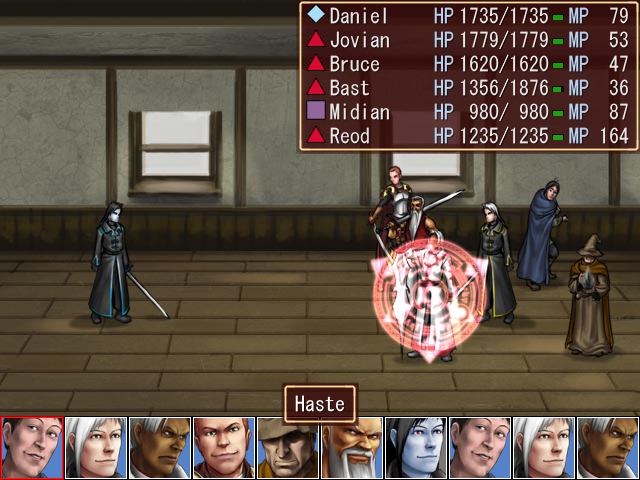
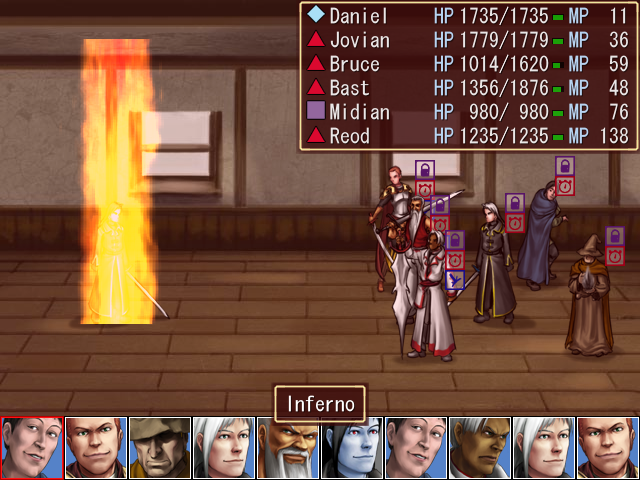
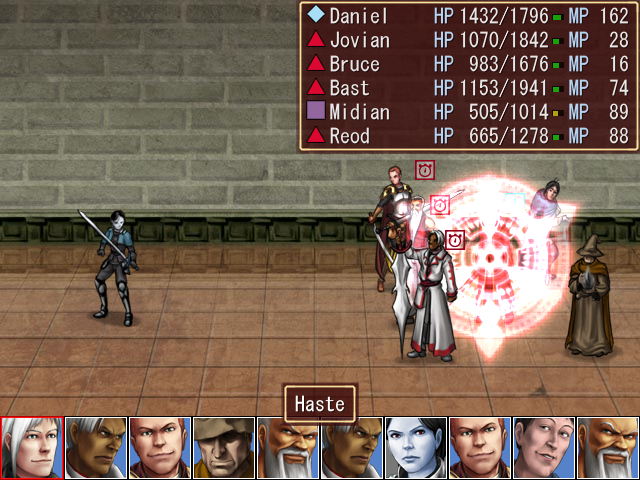
I always start off these optional battles with what I like to call a "Haste chain". Haste acts a little funny when a battle first starts, in that anyone it is cast on will almost always jump straight to the front of the turn order.

With so many fire-aligned characters in the party, we can take advantage of this by having the person who was just hasted cast Haste on someone else, who will then Haste another character, and so on. By doing this we can get everyone hasted before the bosses even start attacking.

Of course, you need to make sure to haste everyone in the correct order, because certain characters like Bast here don't have the MP+ to cast Haste on their first turn even with a fire alignment


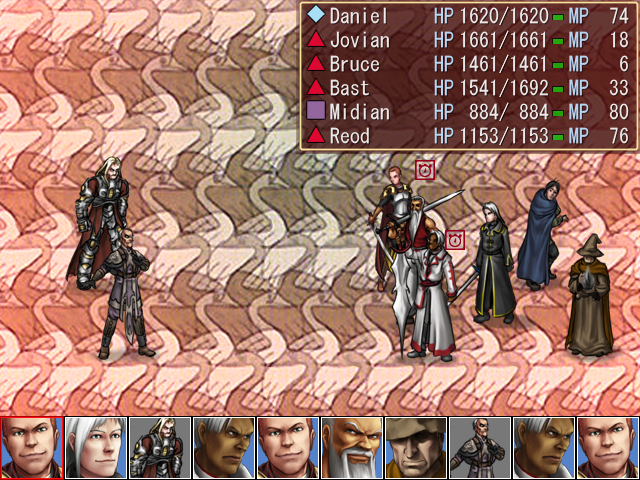
Now then, it's time to see what these two can do. Munin is ostensibly the mage of the pair, but he actually spends most of his turns using the physical attack Guardian Tech. At our levels its damage is laughable.

However, he can be a bit more worrying when he starts casting Shockfield. Midian can take it easily, but remember that he has far and away the best MDF of the current party, and Shockfield can hit multiple targets. Fortunately Munin didn't use it on anyone else while I was recording.
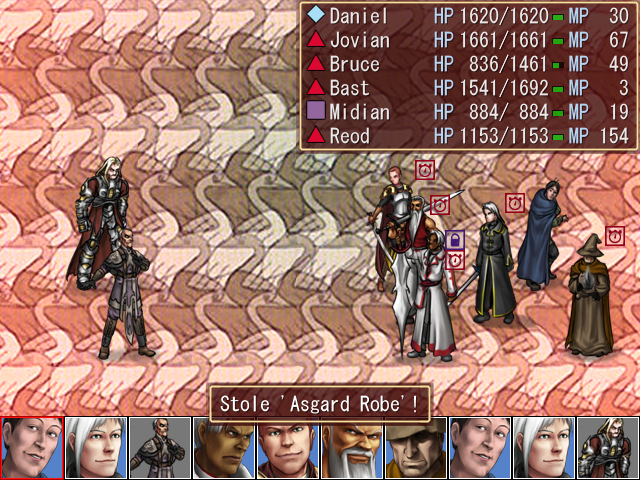
By the way, this is a battle that you definitely want to bring a thief along for. Munin carries the Asgard Robe, the strongest robe in the game in terms of sheer defensive power. Wearing it grants +50 PDF (more than a Crystal Plate) and +40 MDF (the most of any armor in the game) for 25 weight.

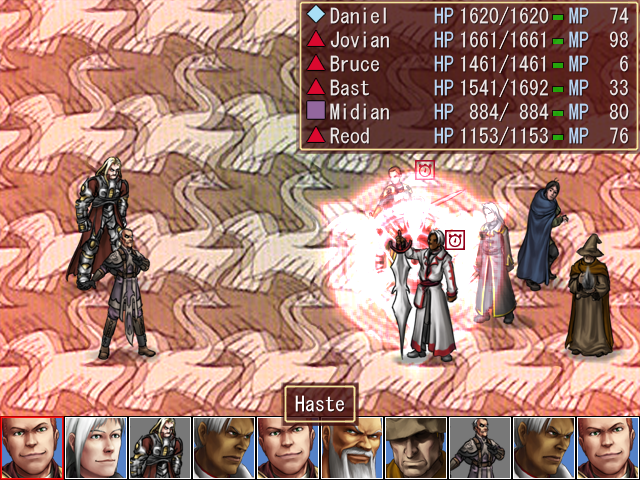
Hugin is the warrior of the pair, but he's fire-aligned, which diminishes his effectiveness against our front row. His Demon Rage attack hits everyone in the front row for moderate damage.
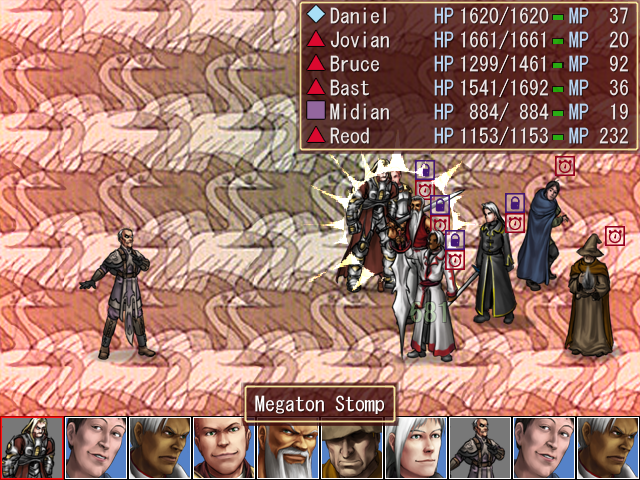
He also has Megaton Stomp, but I have no idea what it does because he only tried it once and missed.
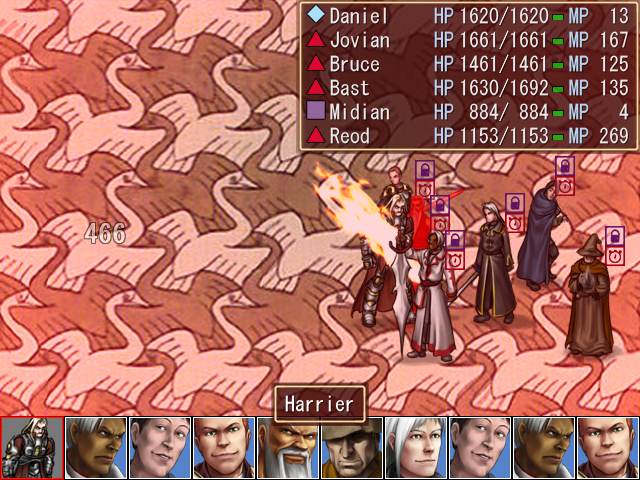
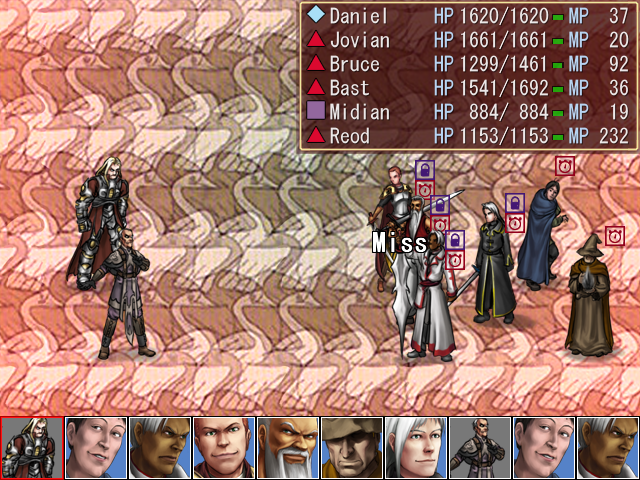
His final attack is Harrier, dealing a little more damage to a single target, but we can take it.

Hugin's steal is the Asgard Plate, which, like the Asgard Robe, is the strongest armor in the game in terms of defense, granting a whopping +100 PDF for an equally whopping 40 weight.


Anyway, I focus fire on Munin first and it's not too long before he gets taken out.
Hugin follows not too much later.
Music: Boss Battle Won - Chrono Cross, "Victory (A Cry In Summer)"
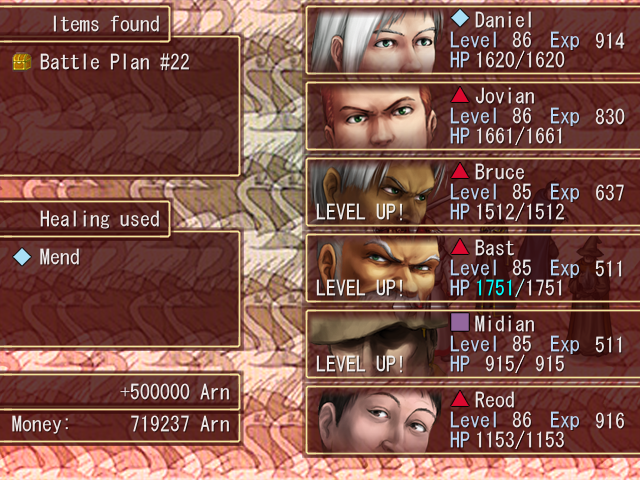
And for their defeat, we're rewarded with Battle Plan #22.
Music: None


But apart from that, nothing happens. This battle is independent from the rest of the post-game content, and clearing it doesn't unlock anything new.
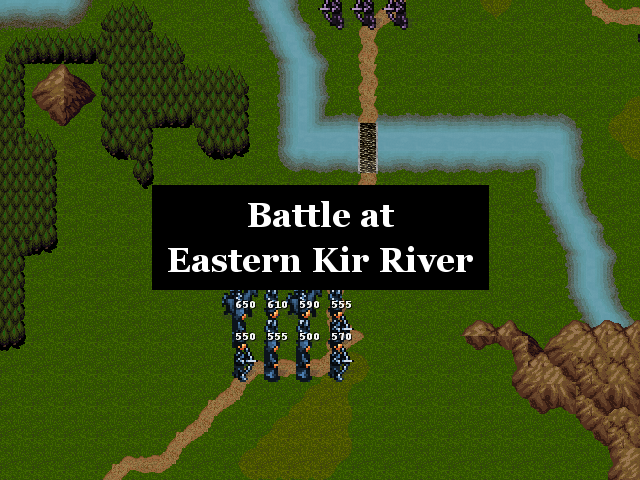
For the curious, Battle Plan #22 is Puppet Master, taking us to the river east of Levier.
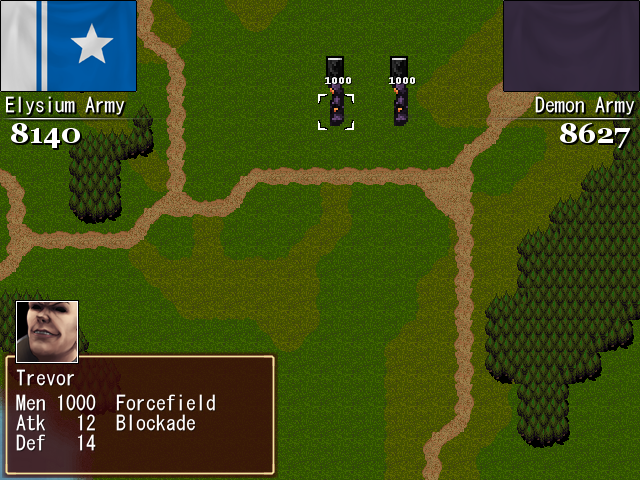
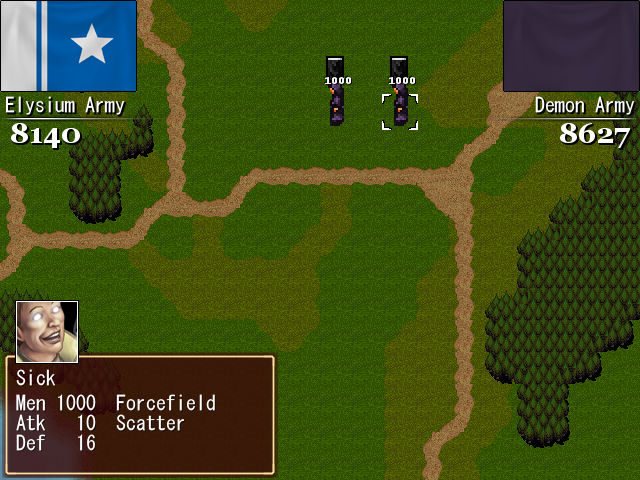
So when we were doing the war battle against Trevor and Sick, did you find yourself wondering, "What if these guys were backed up by an army?" Because I sure as hell didn't, but this battle answers that question regardless. Trevor and Sick are hanging out in the far, far north of this battlefield, greatly isolated from the rest of their men, but posing a looming threat that you'll have to deal with after (or as) you fight the army in front of them.
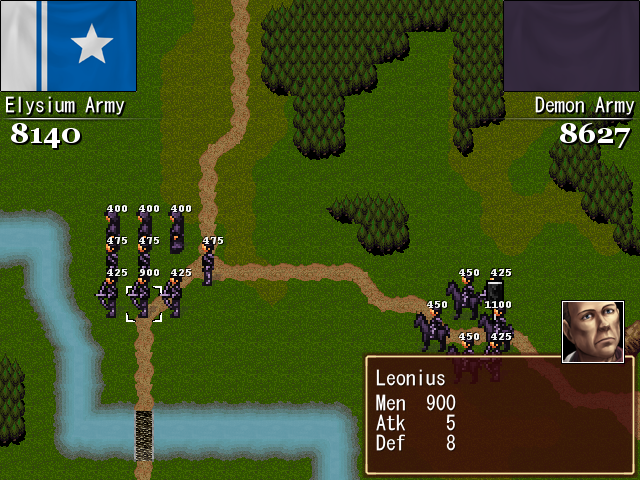
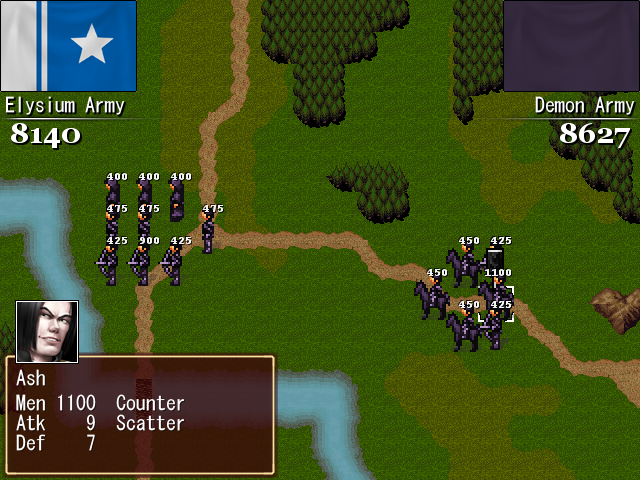
Said army is led by Ash and Leonius, for some reason.

Now then, Hugin and Munin may have been optional bosses meant to be fought after clearing most of the game, but they're not the real post-game content. The real post-game content involves us investigating the effects of opening this chest in Elysium's basement. As the message mentioned, something has happened to the room we grew up in.
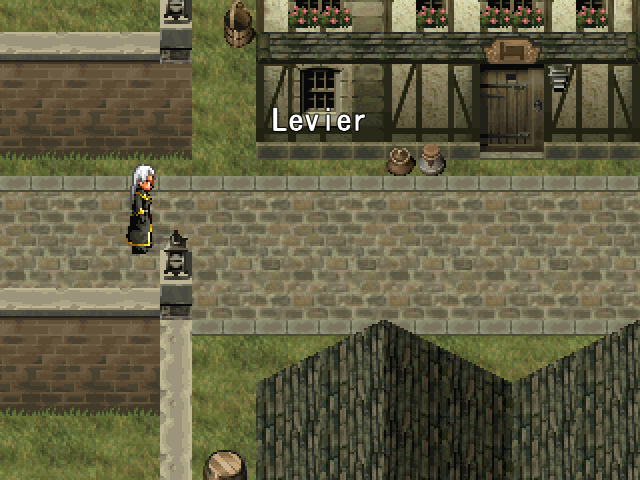
So that means we're going to head to Levier.

The orphanage appears normal enough at first, but when we enter the room on the second floor...
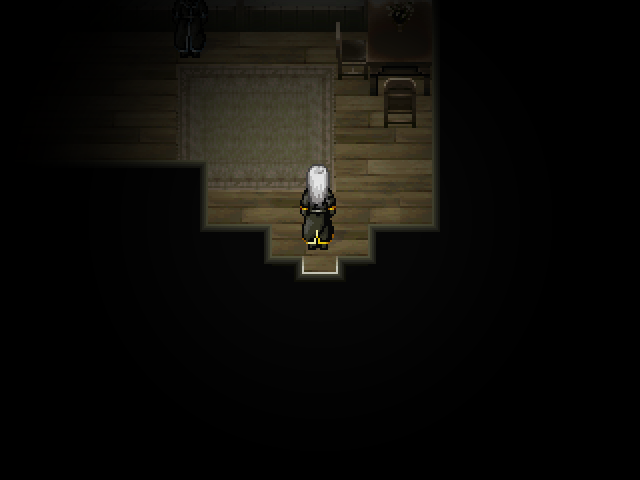
Music: Darkness - Chrono Cross, "Dragon's Prayer"
... things seem a little different.

Immediately after stepping out of the doorway, a bribe notification pops up, one that we can't pay for. The encounter rate is greatly increased in this room, and the time between the bribe notification and battle starting is greatly reduced as well.
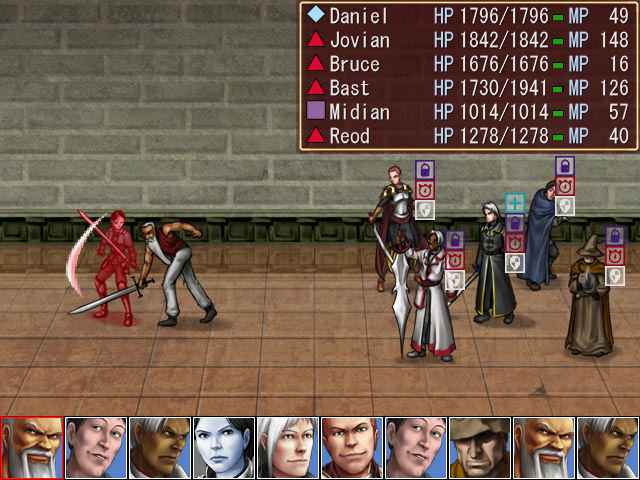
All random battles in this room are against a single enemy type: Shadow Legionaires.
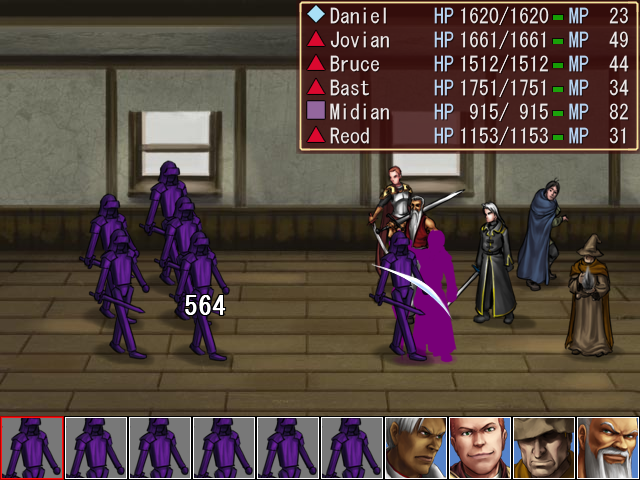
Shadow Legionaires do not fuck around. They're very fast and have powerful physical attacks, and always come in groups of four to six.
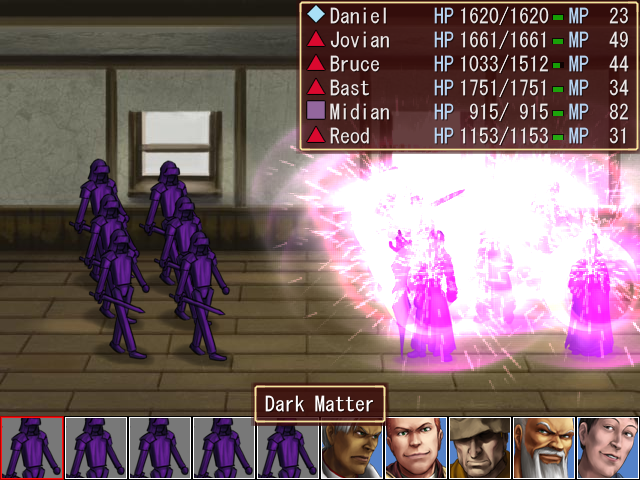
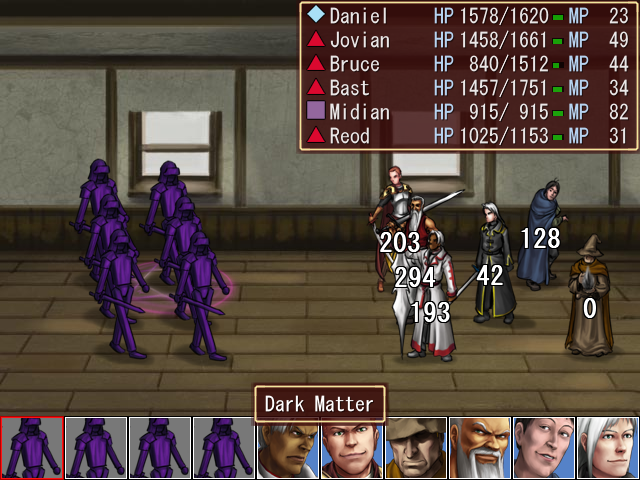
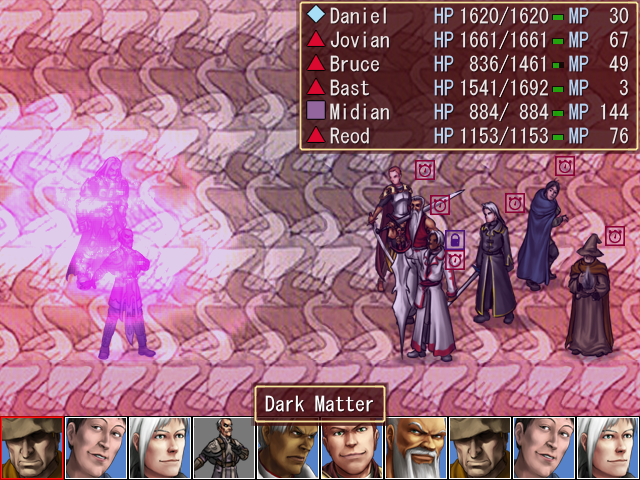
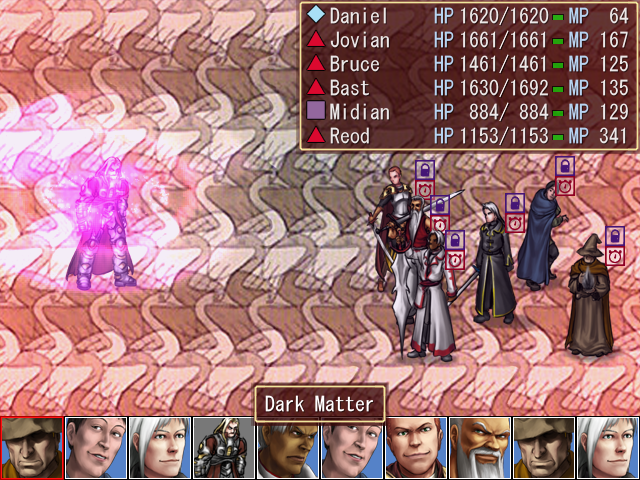
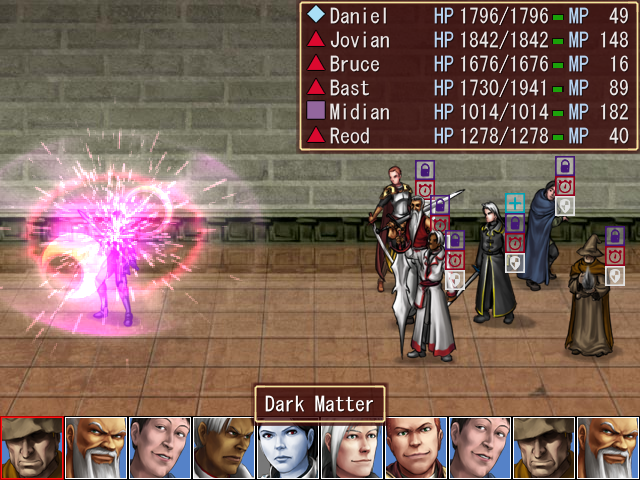
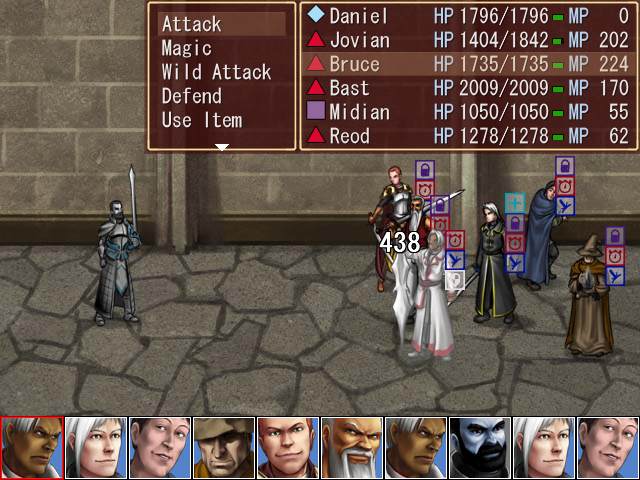
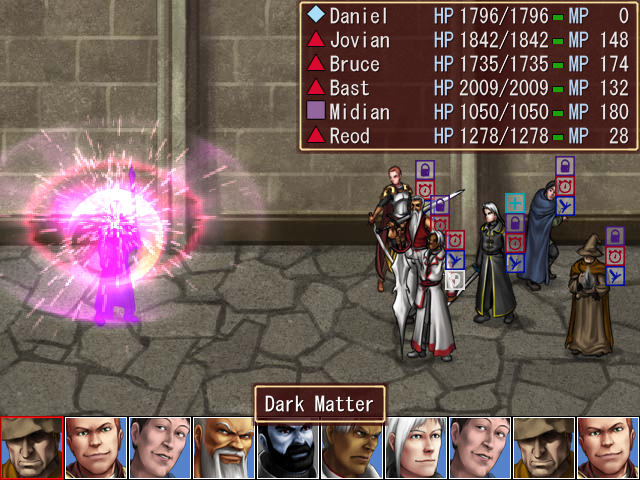
They also are quite fond of casting Dark Matter, which isn't too bad on its own, but when six of them are casting it at once, it can easily wear your characters down.
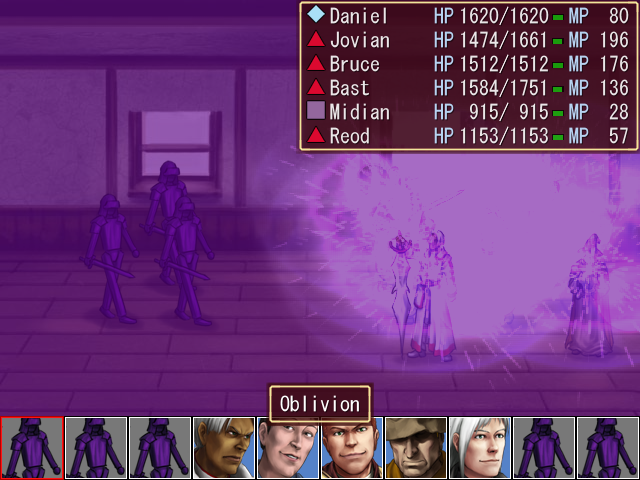
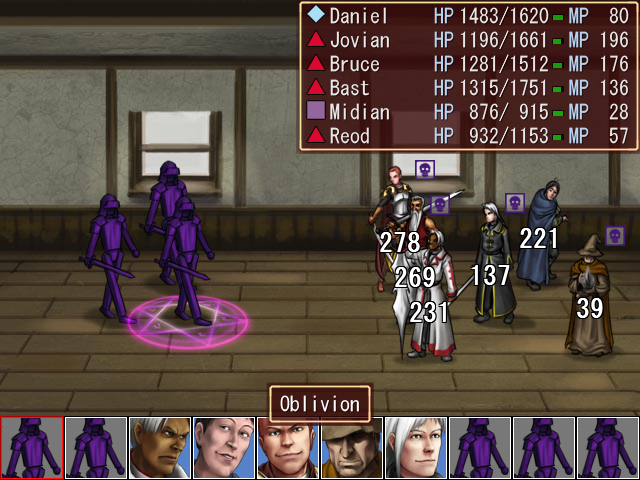
Worse yet, if you leave them alive long enough, which is a virtual guarantee due to their immense HP totals, they'll start casting Oblivion, a more powerful version of Dark Matter which also has a high chance of inflicting Poison.
In fact, I'd go so far as to say that if your first battle against these guys is against a group of six, you're just straight-up boned. Once you've gained a level or two from them, a group of six is a bit more manageable, but until then it's best to go in and out of the room until you get a bribe notification for 50000 Arn, which indicates a group of four. Four Shadow Legionaires are much more reasonable than six.
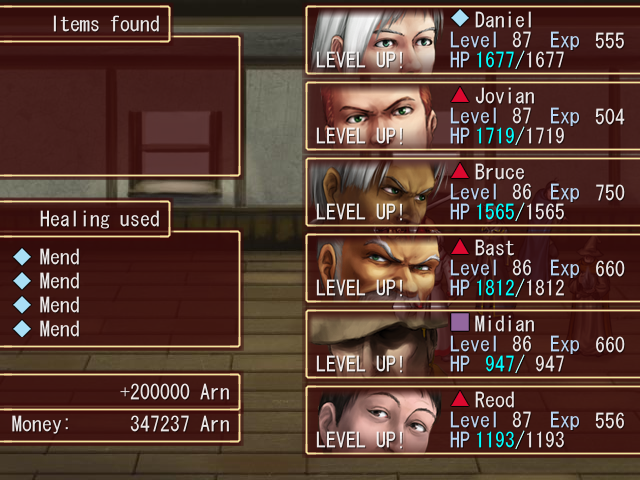
If you do manage to take them down, expect to gain a lot of experience. These guys can bring you to level 90 or so before the experience starts tapering off.


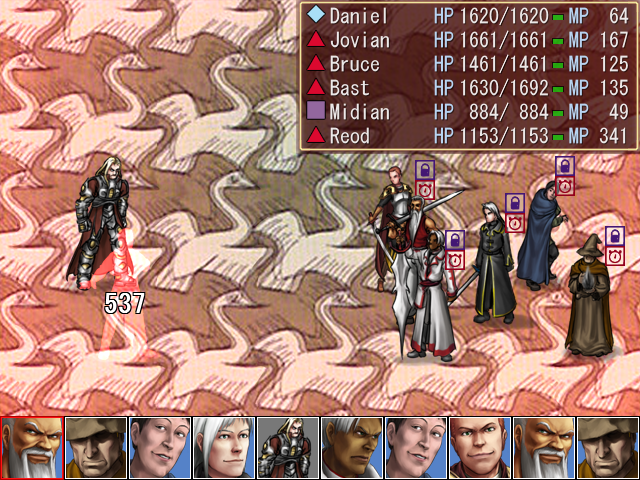
Here's how our party looks after a few battles against them. You can see that we've received some sizeable stat boosts, even though our characters have only gained 2-4 levels since the beginning of the update.
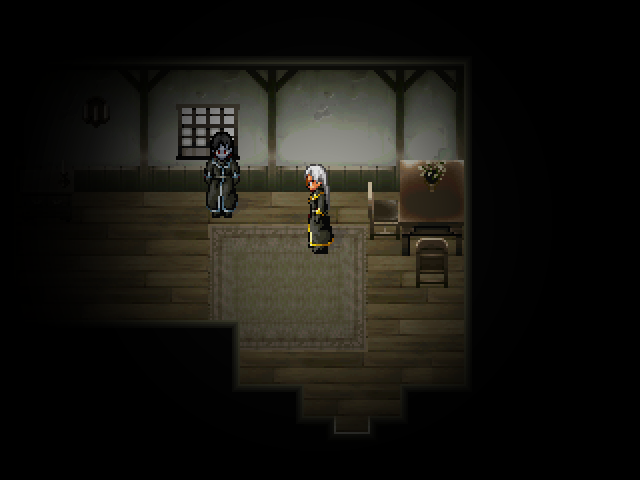
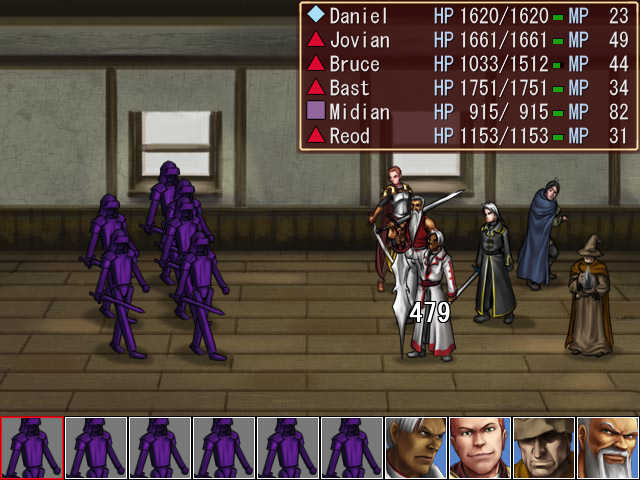
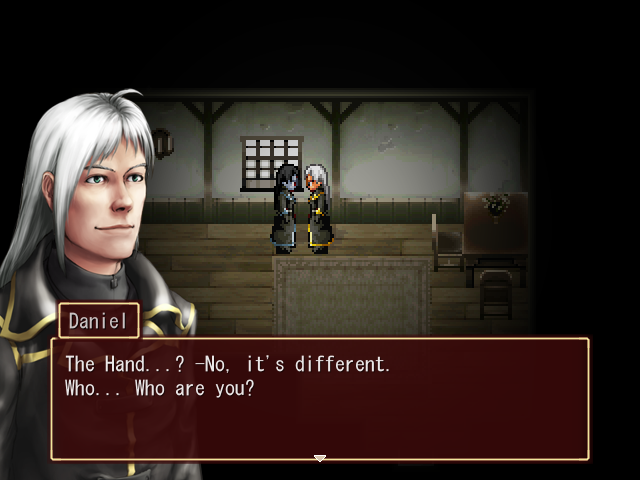
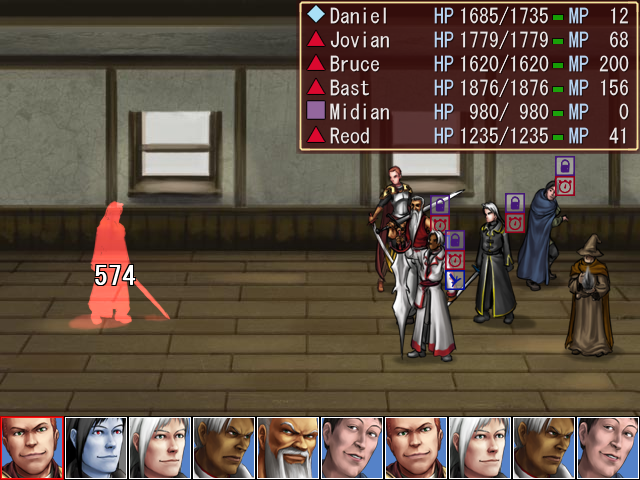
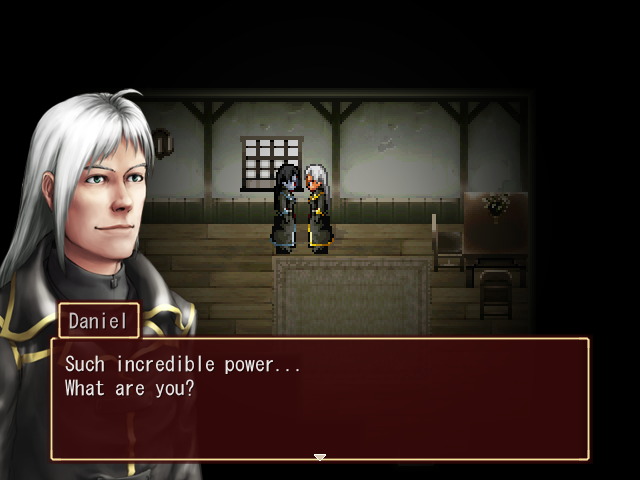
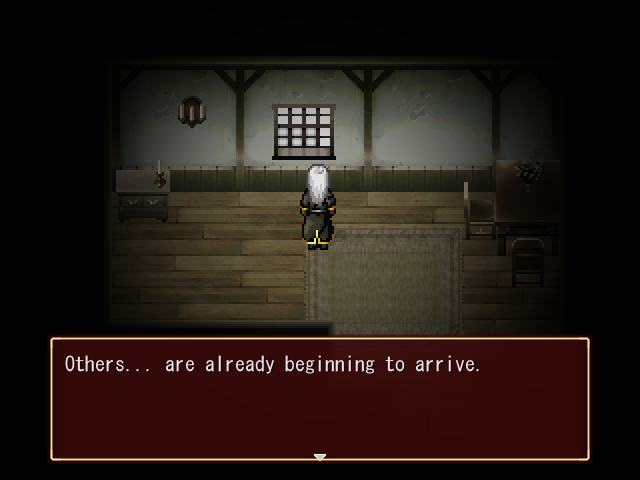
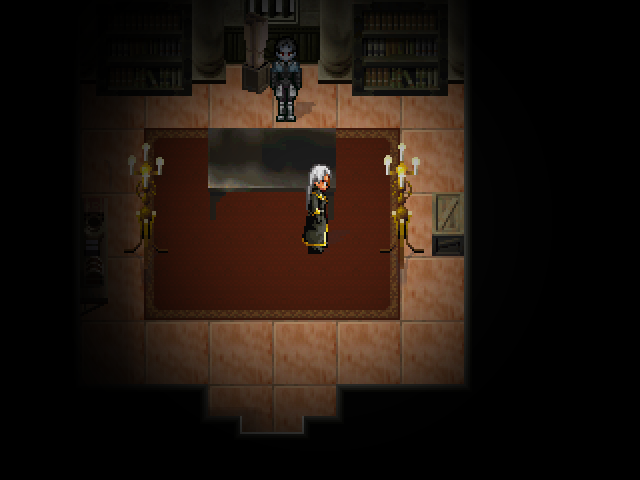
Now then, it's time to find out what's going on here. There's a rather familiar-looking figure standing in front of the window.
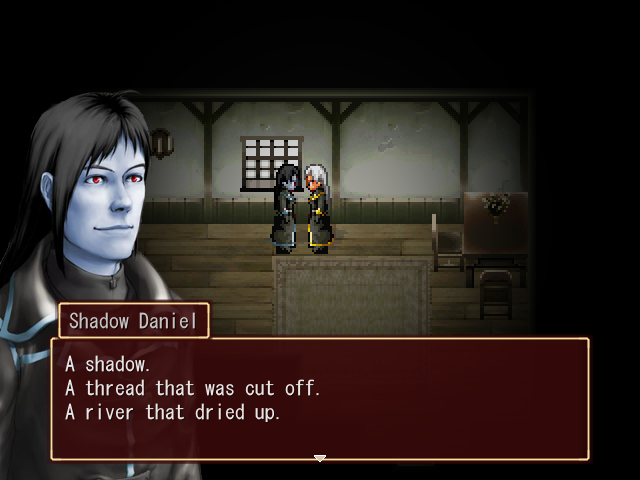
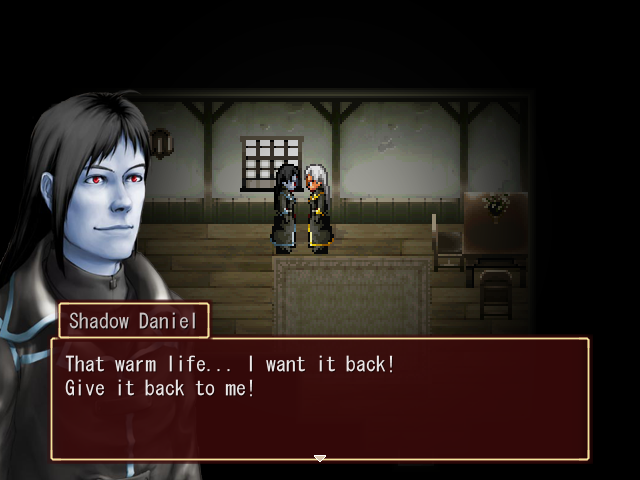
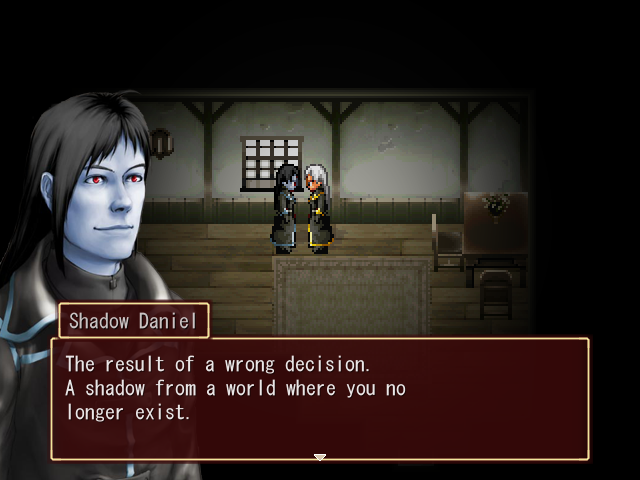
OPTIONAL BOSS: Shadow Daniel
Music: Shadow Battle - Wild Arms 2, "Battle vs. Cocytus"

All right, let's see what you've got.
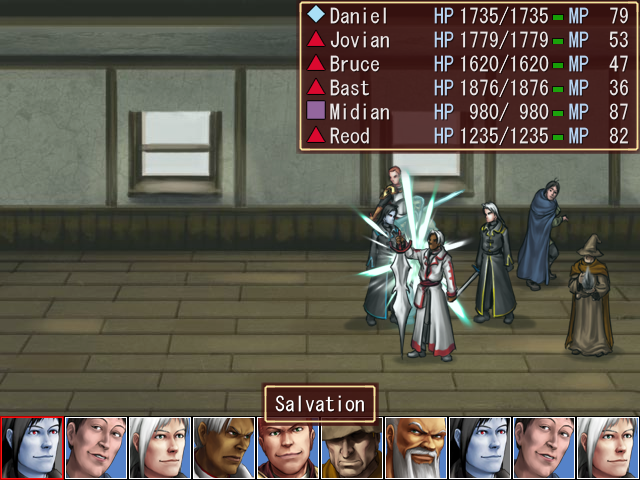

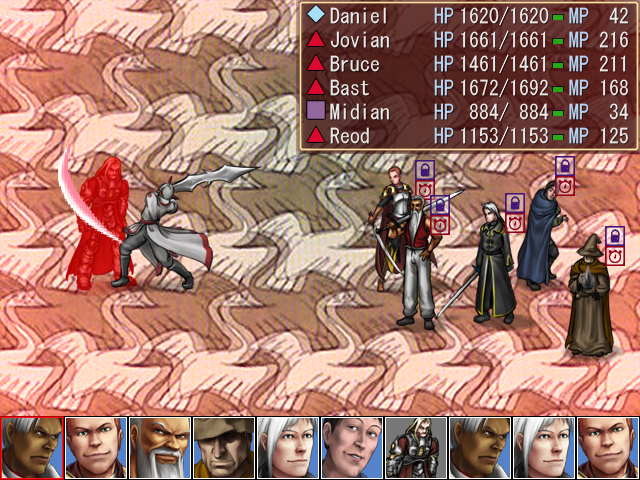
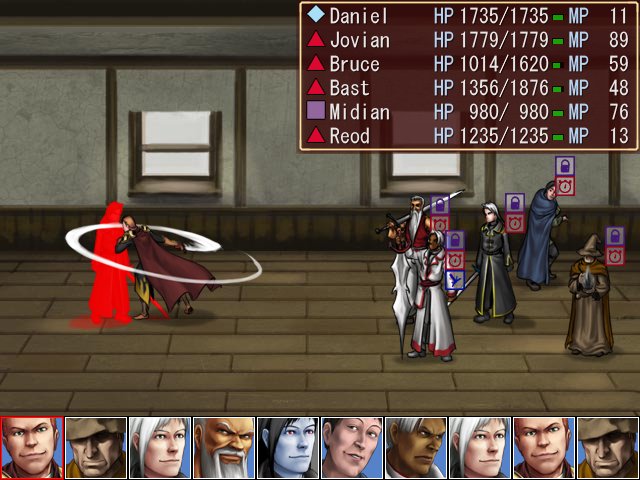
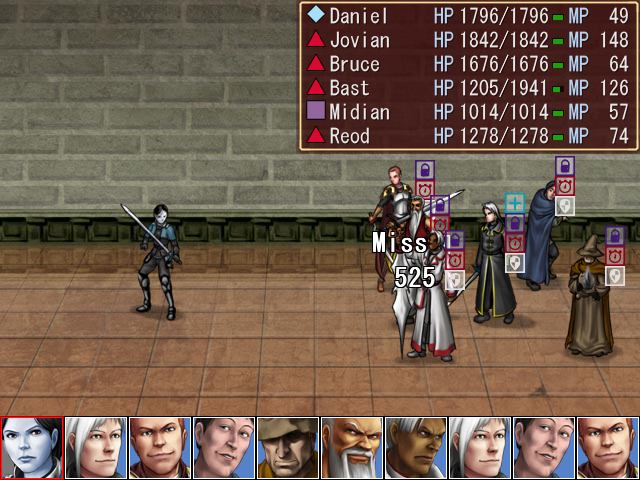
Shadow Daniel gets the first turn and kicks things off with Salvation, a moderately powerful physical attack.

As with the battle against Hugin and Munin, the priority in this fight is getting everyone hasted first. With Haste active on everyone, Shadow Daniel doesn't actually get that many turns, which makes him much easier.
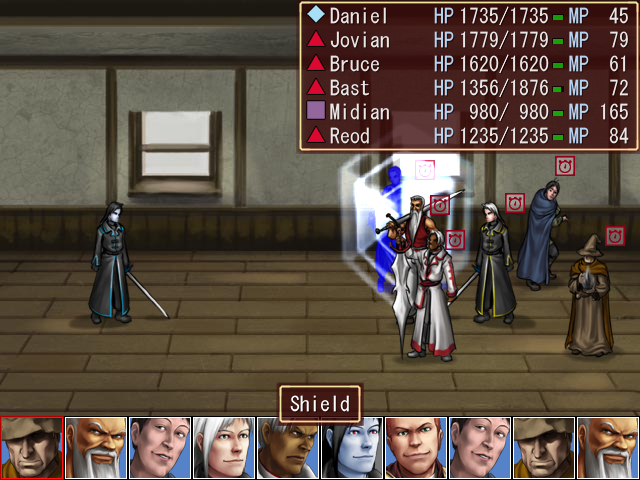
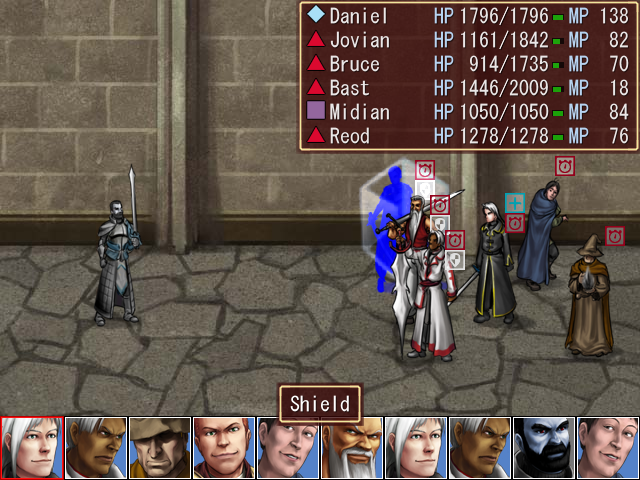
Once everyone is hasted, I also start putting Shields in place on the front row. Shadow Daniel's physical attacks aren't much of a threat, but his magic is quite powerful, so having the front row shielded will ensure they don't take too much damage.
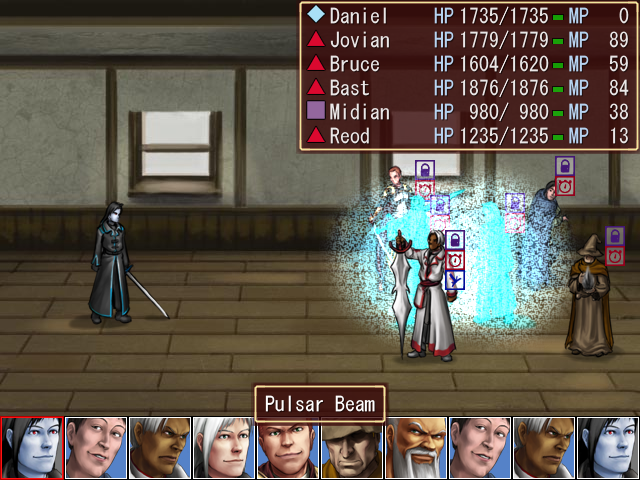
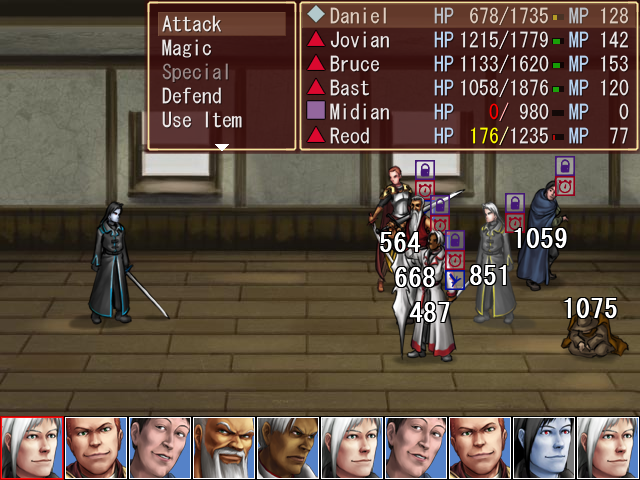
This is proved when Shadow Daniel uses Pulsar Beam on his next turn. You can't see it here because the icon is behind Bruce's head, but Bast is shielded, meaning he would have taken 800 damage from this. Now that our front row is fully shielded, however, I start to think I've already got this one in the bag. After all, the characters in the back don't need shields because of their immense MDF, right?

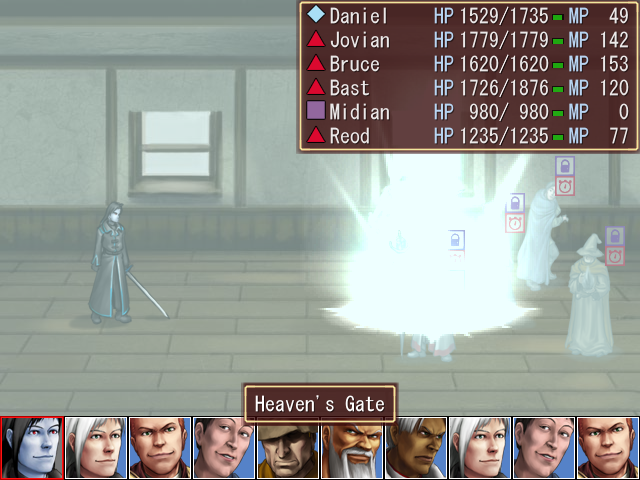
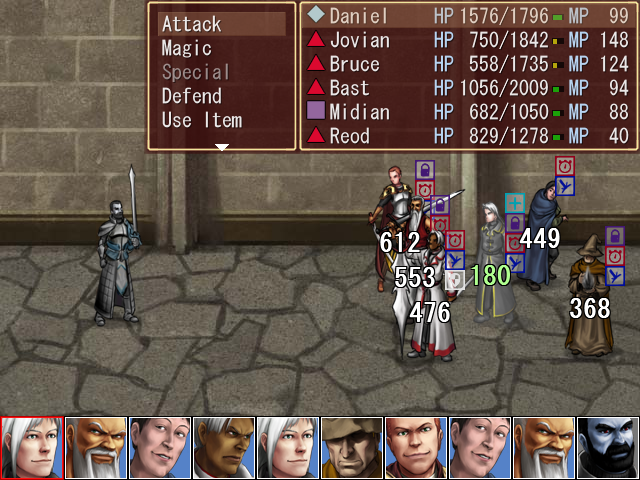
Wrong. Shadow Daniel's next move is Heaven's Gate, which one-shots Midian from full health and nearly takes out Reod as well. And remember that our front row is shielded, which means it would have done four-digit damage to most of our party. Shadow Daniel is not to be taken lightly.


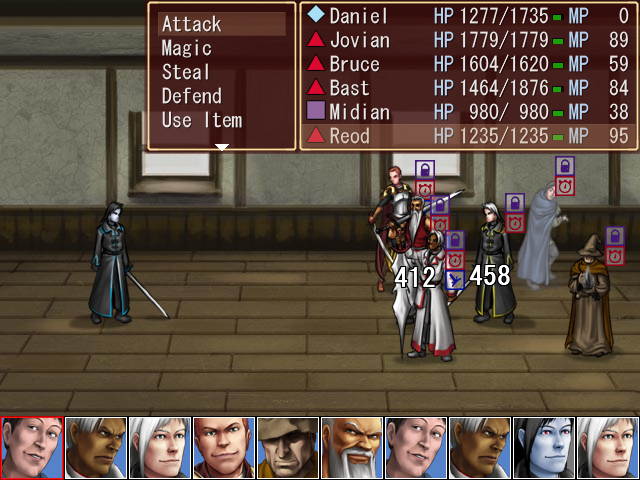
That said, with everyone hasted, we simply get too many turns for Shadow Daniel to handle. He has 10,000 HP, which is quite a bit, but when our characters are doing 500-800 damage with every attack, he can only last so long.
Music: Boss Battle Won - Chrono Cross, "Victory (A Cry In Summer)"
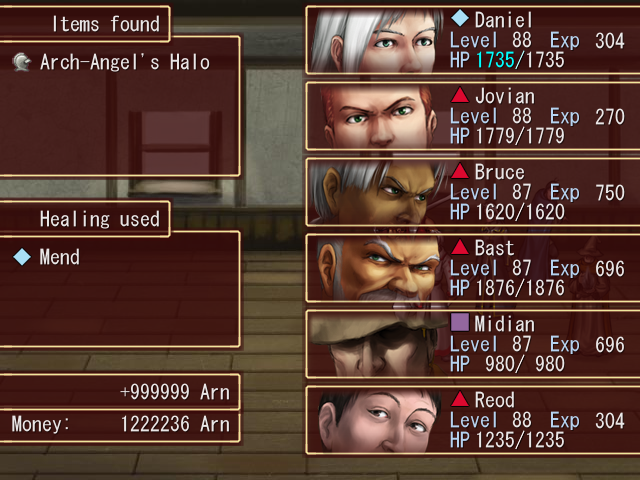
Our reward for the battle is a cool million Arn and the Arch-Angel's Halo. In addition to being a powerful helmet in its own right, imparting +25 PDF, +25 ACC, and +25 MAG for 12 weight, its usefulness is further boosted by the fact that it grants its wearer permanent Regen status. I never use Regen all that much myself, but getting the effect for free is never a bad thing. This goes to Daniel.
Music: Darkness - Chrono Cross, "Dragon's Prayer"
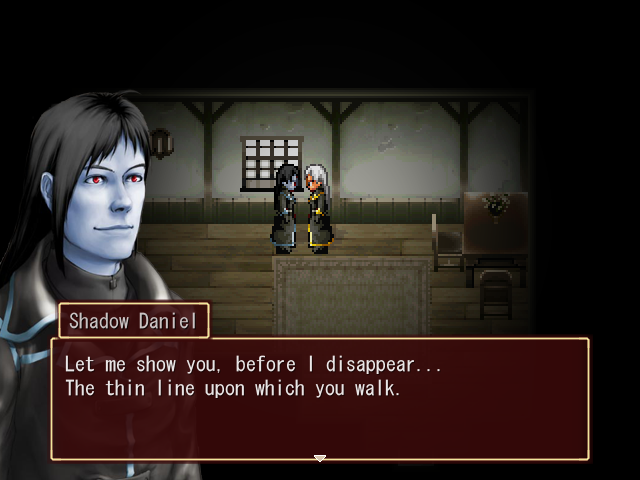
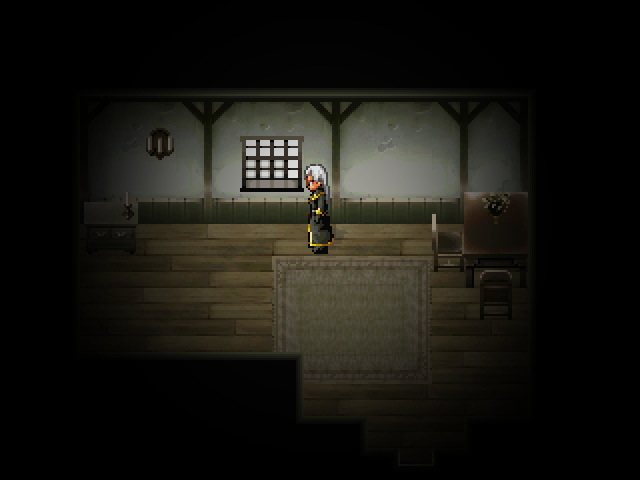
Shadow Daniel fades away, and everything fades to white...
Music: Choir - Xenogears, "The Wounded Shall Advance Into The Light"

... and we find ourselves watching a flashback or memory of some kind, a recollection of what happened after we encountered Brunhild at Kelsinger Pass and she forced the Hand of Fate out. But where did all the dead soldiers go?

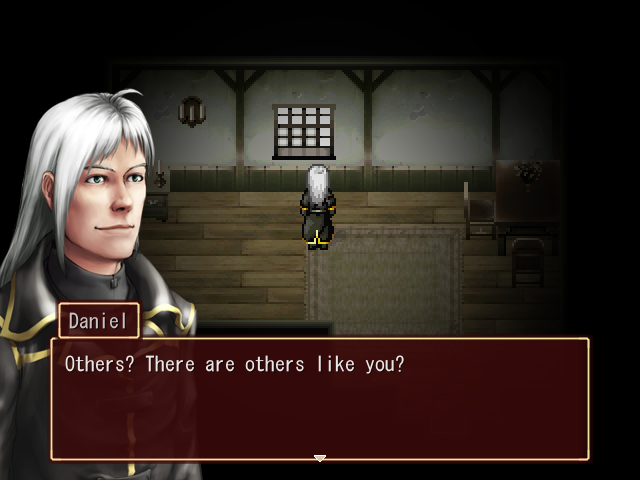
 But... I don't understand anything. What's wrong with me? What does Brunhild want with me?
 I don't get it either... but one thing's for sure. She knows more than any of us do....Do you still want to continue, Daniel?

But it turns out that whatever it is we're watching isn't a true flashback, because here things start to diverge from what actually happened. If you'll recall, when we encountered Brunhild at the Kelsinger Pass it only strengthened Daniel's intent to return to Kirgard, and he displayed no desire to stick around and look for Brunhild.
 She's probably disappeared already. Are you sure?We're not in a hurry. I want to know what her true intentions are.
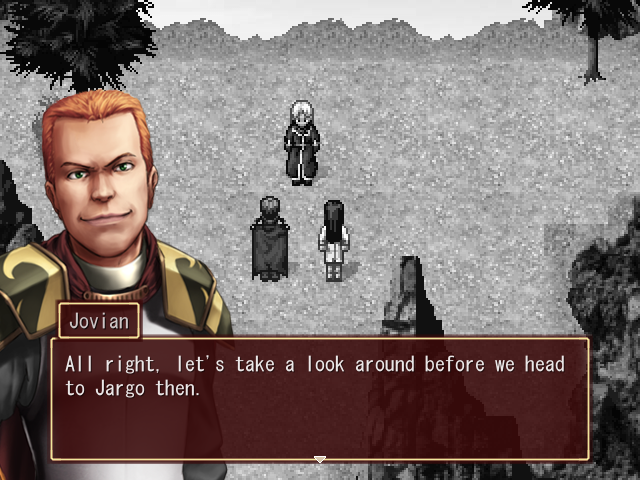
Fade to white...
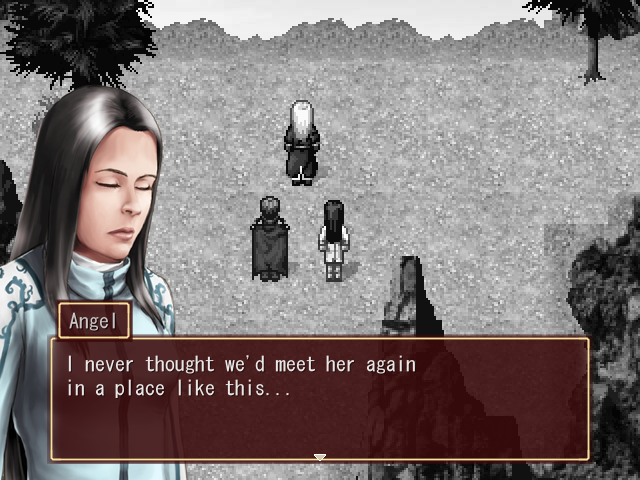
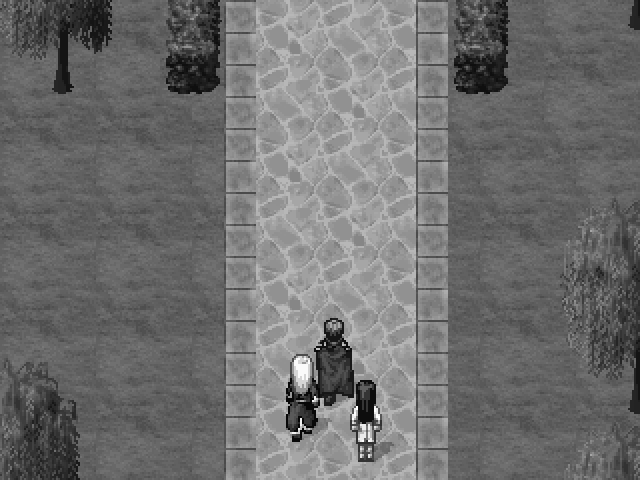
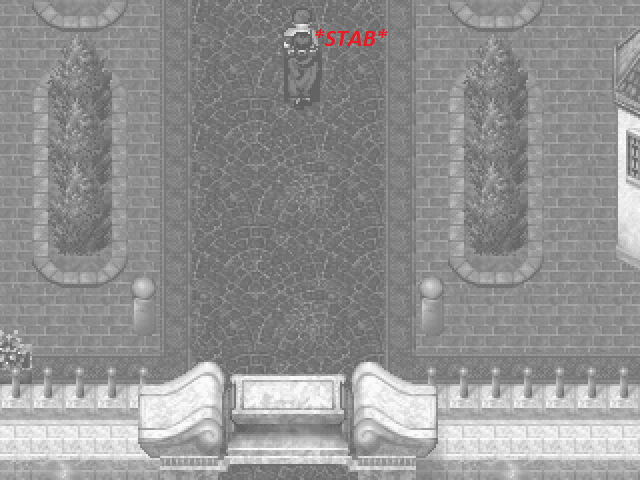
Elsewhere, a wounded soldier staggers out of Jargo Port City.
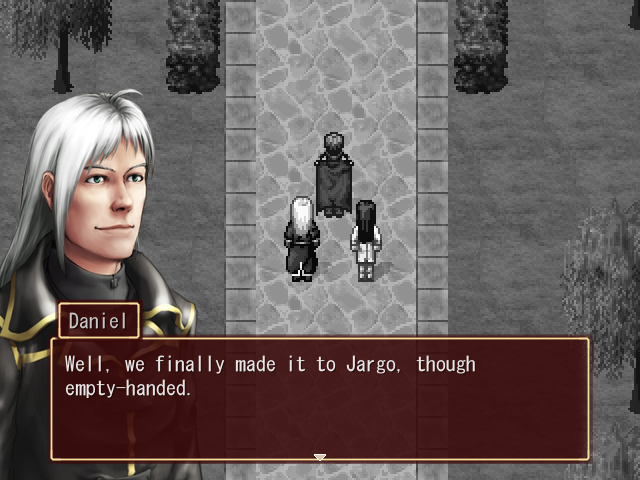 There's no way we could've found Brunhild if she's hiding anywhere in the mountains. Unless we can find her somewhere in town, we should just move on.Yeah, I guess so.
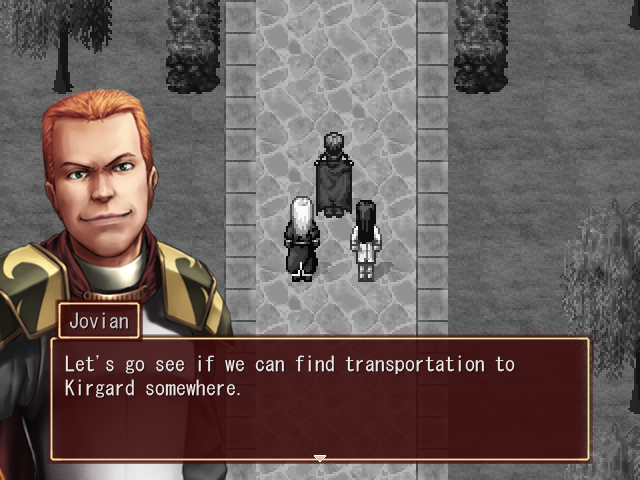
Fade to white...

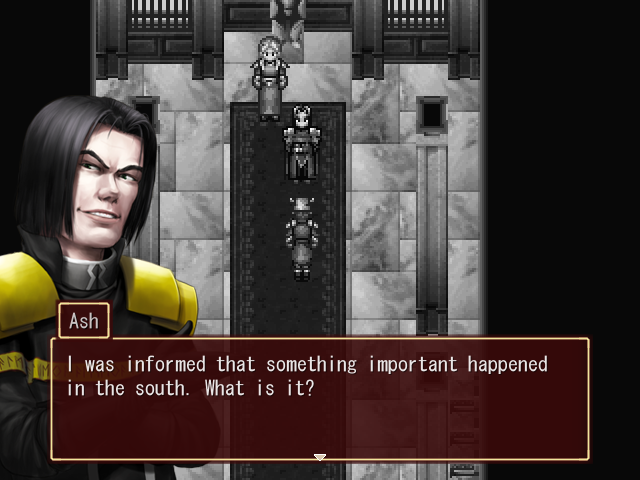
 Sir, we've received a message from Pereious. He reports that his men have taken three top Kirgard officers prisoner who arrived in Ashton Port by themselves.
 Alone? Haha... the news must not have spread yet. Who are these officers?They're General Knight, Colonel Vinyard, and Colonel Windsor.General Knight... and Colonel Vinyard? Hahaha... I don't believe it. They've walked right into our hands?Sir, Pereious is asking what to do with them.
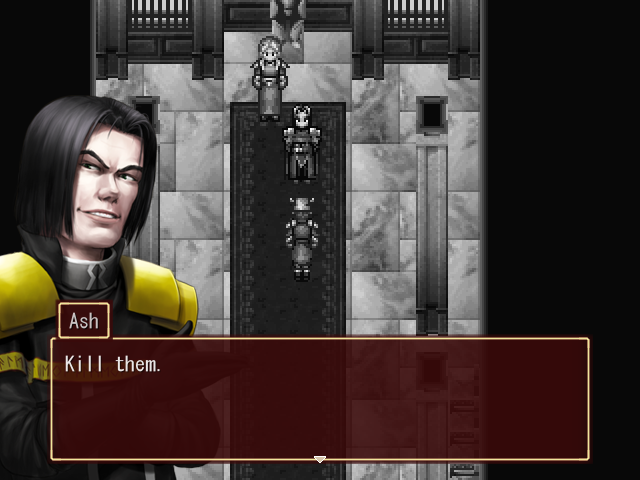
 If anyone gets suspicious, we'll just say that Pereious did it of his own accord.Yes sir, we'll pass on your orders.
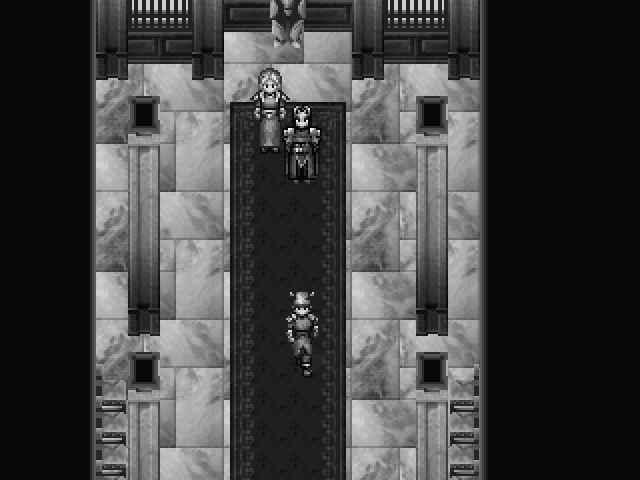


Fade to white...
Music: Darkness - Chrono Cross, "Dragon's Prayer"
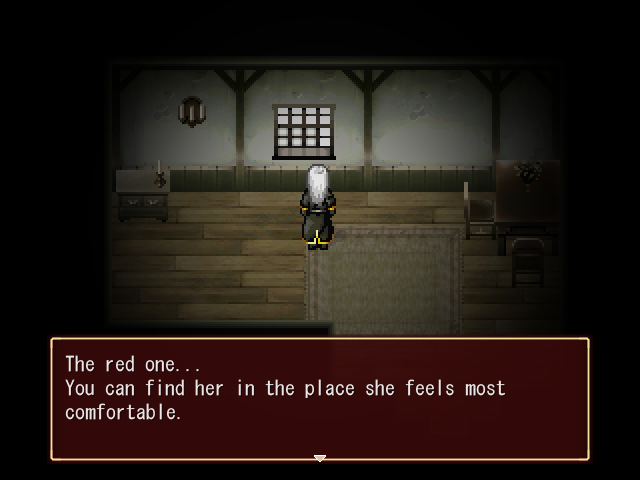
Unlike the Hugin and Munin fight, this segment doesn't end with Shadow Daniel's defeat. There are more shadows than just him, and the game has just given us a hint as to where to find the next one. It shouldn't be too hard to puzzle out who is being referred to here, though, as there's only one character in the game who is both fire-aligned and female. Can you guess who it is?
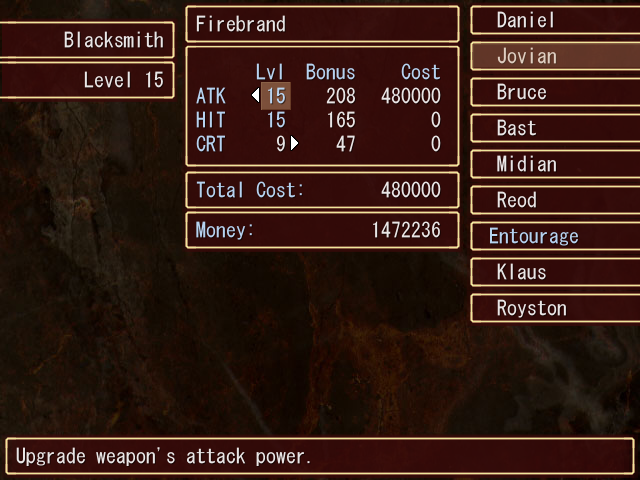


While you ponder that question, I'm going to head to Nikolai and use the million Arn from Shadow Daniel to max out our warriors' weapon attack levels.
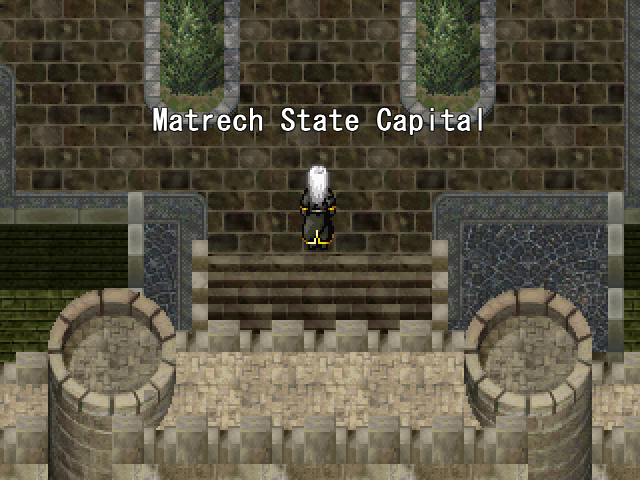
Then we head to Matrech. Figure it out yet?
Music: Darkness - Chrono Cross, "Dragon's Prayer"
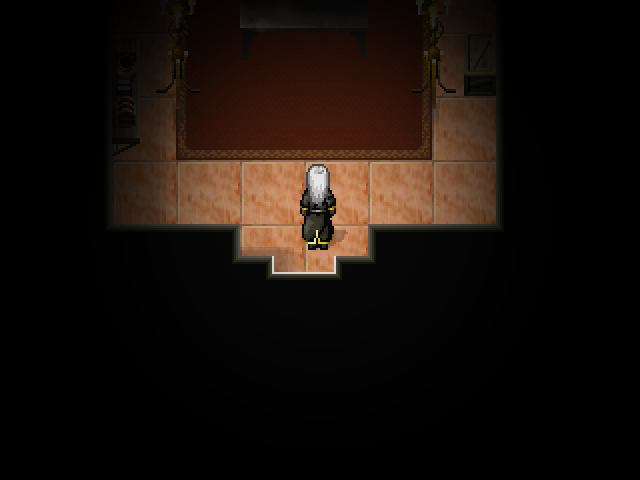
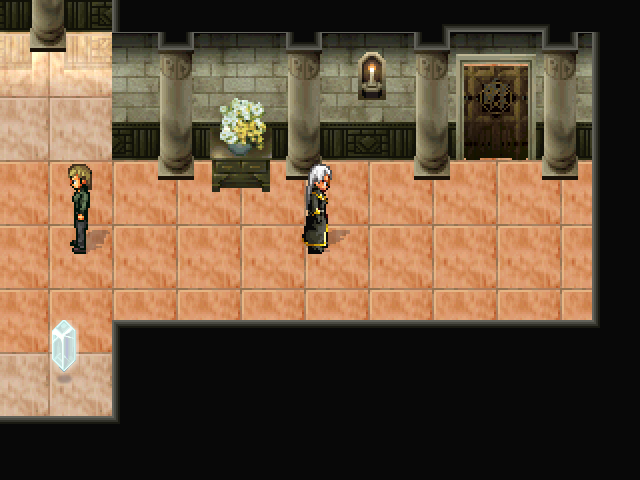
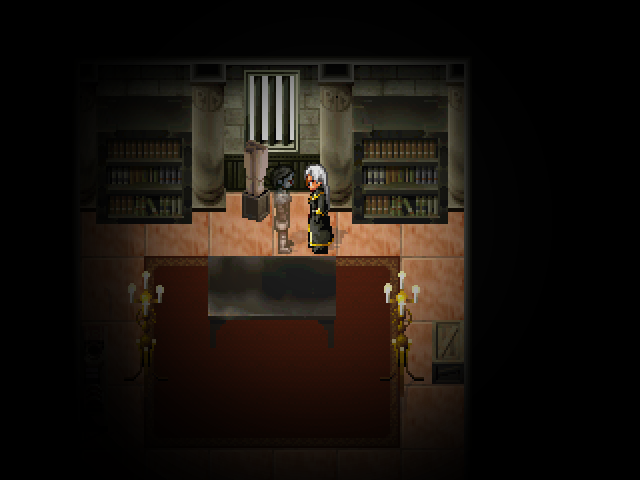
Like the room in the Levier orphanage, the office here has been covered in darkness and is now swarming with Shadow Legionaires.
And behind the desk, we find our next target.

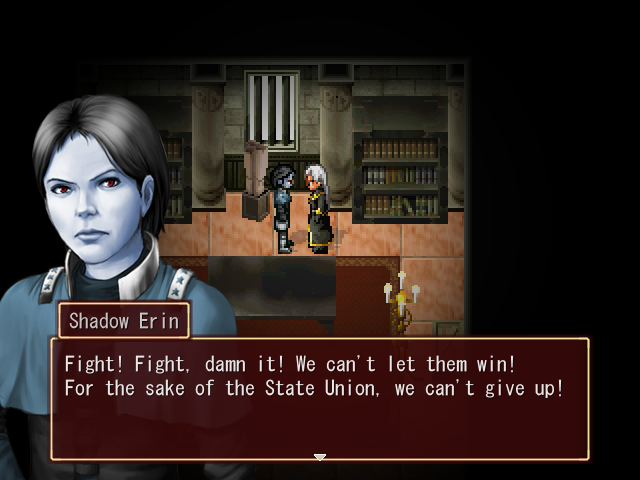
OPTIONAL BOSS: Shadow Erin
Music: Shadow Battle - Wild Arms 2, "Battle vs. Cocytus"


Shadow Erin is a much more physical-oriented boss than Shadow Daniel was, but you wouldn't guess that from her opening move. Stellar Inferno is a powerful magical attack that hits the entire party for decent damage.

This time around, I get everyone hasted and then start putting up Barriers. I make sure to put these on everyone, since physical techniques won't necessarily hit just the front row.


With Barrier active, as well as a fully fire-aligned front row, Shadow Erin becomes manageable very quickly. Following Stellar Inferno she uses the single-target Dragon Torch, but Bruce can easily take it.
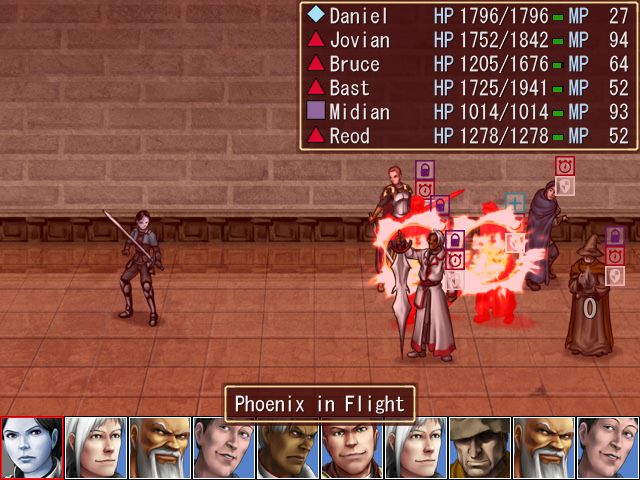

The Barriers on our back-row characters also prove essential, as she follows up with Phoenix in Flight, hitting a column for heavy damage. Remember, if not for the Barrier Daniel would have taken over 1500 damage here.
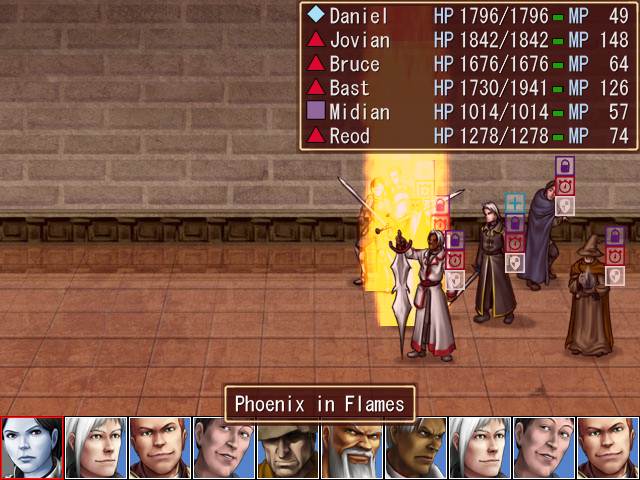
Shadow Erin will always (I think) follow Phoenix in Flight with Phoenix in Flames, which hits in a plus pattern and does about the same damage as the previous attack.


Following that she will repeat the set of Stellar Inferno, Dragon Torch, Phoenix in Flight, and Phoenix in Flames. But with all of our buffs active, only Stellar Inferno is seriously worrying, and our full-party haste ensures that she doesn't get too many turns.

Shadow Erin has 12,500 HP, which means the battle takes a little longer, but she goes down eventually.
Music: Boss Battle Won - Chrono Cross, "Victory (A Cry In Summer)"
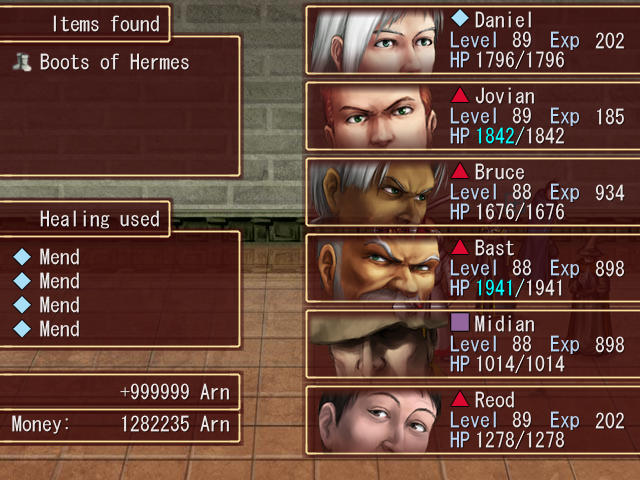
She drops another million Arn and the Boots of Hermes, the best piece of equipment in the game. Why are the Boots of Hermes the best piece of equipment in the game? Because in addition to giving +20 PDF, +25 DEX, and +25 STR for 13 weight, they also grant the wearer permanent Haste. These go to Bruce.
Music: Darkness - Chrono Cross, "Dragon's Prayer"
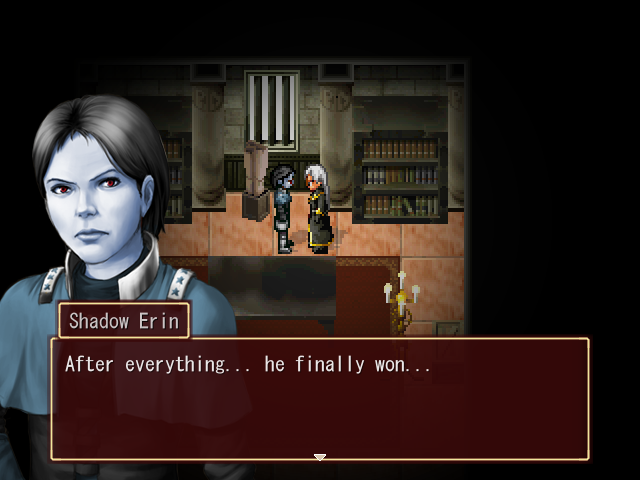
Shadow Erin fades away, and like before, everything fades to white...
Music: Choir - Xenogears, "The Wounded Shall Advance Into The Light"
This time the flashback is to the period of the game where we were allied with Kirgard to finish off Zelmony.
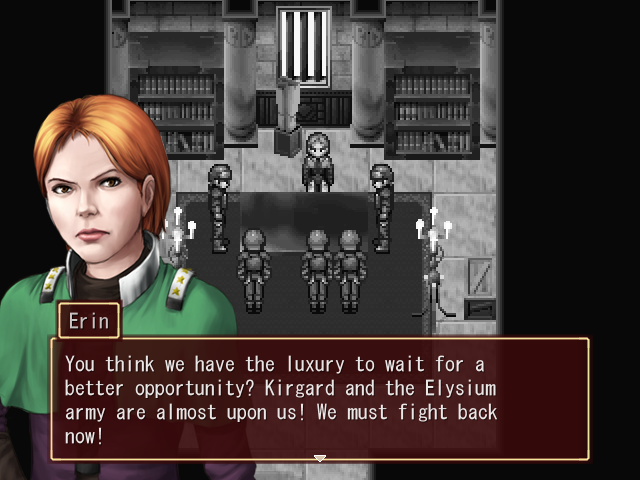
 The captain's right! We can't win if we just sit back and wait! We've got to act on this information before they discover that it leaked out.I agree. This is a perfect time to get revenge on those Highland rebels. If we succeed it'll be a boost to our men's morale too.
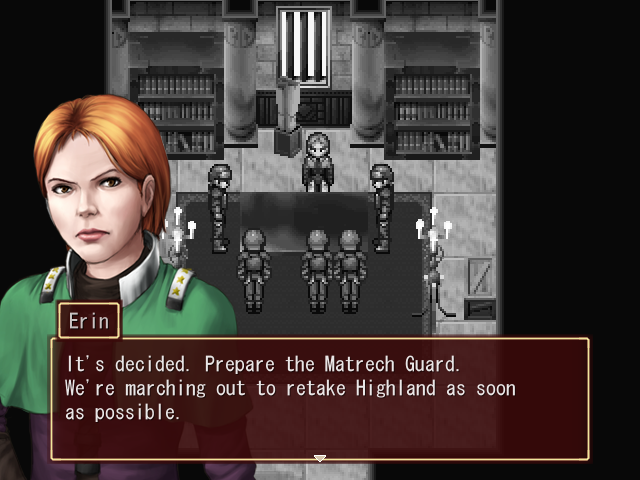

Fade to white...
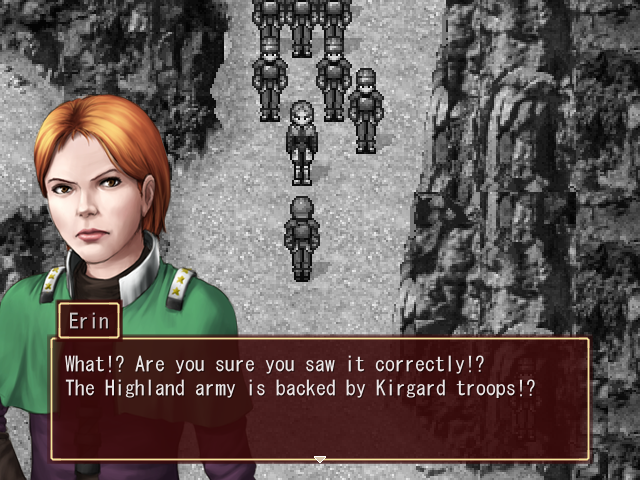
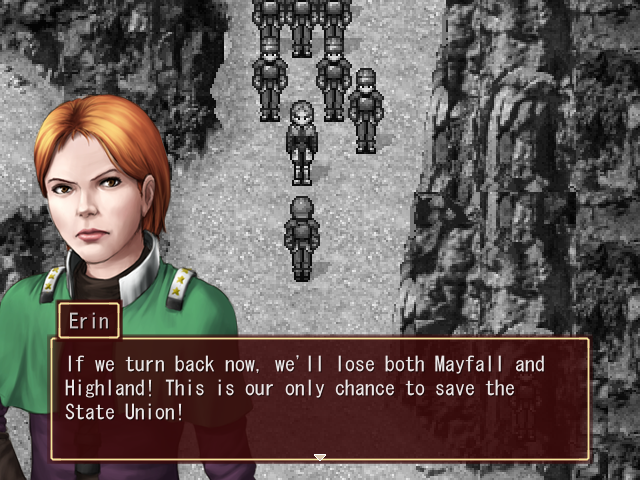
 So... it was a trap after all... But hold on... those can't be all of the Kirgard forces. That means... they're trying to take Mayfall at the same time!What should we do, Captain? Retreat?...
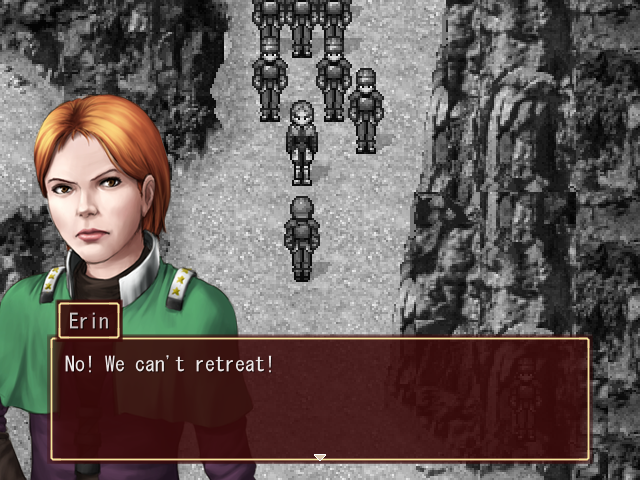
And once again, we see a divergence from what actually occurred. This isn't actually something we saw on-screen, but we were told that when the Matrech Guard realized they were walking into a trap in Highland, they retreated almost immediately.
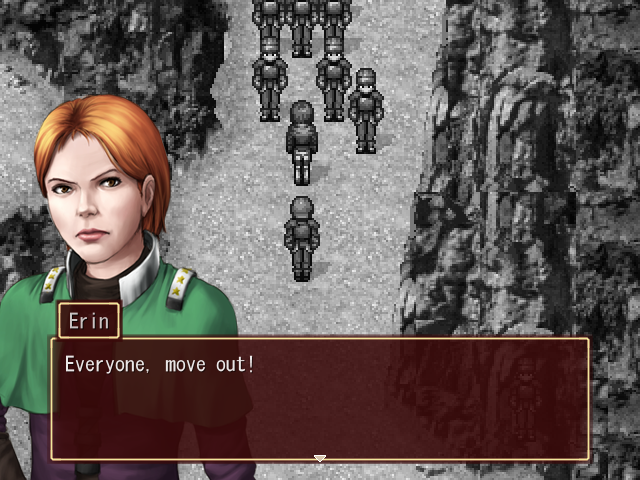
But Captain! We weren't prepared for this! With the Highland rebels and the Kirgard army together, they outnumber us!We don't have a choice! We must fight!
Solid military strategy right there.
Fade to white...

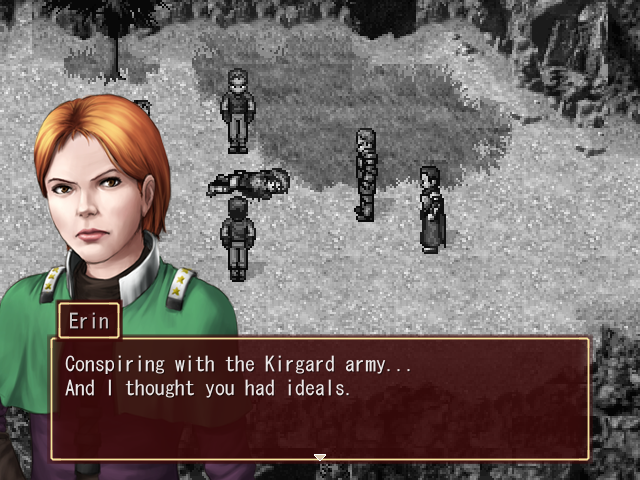
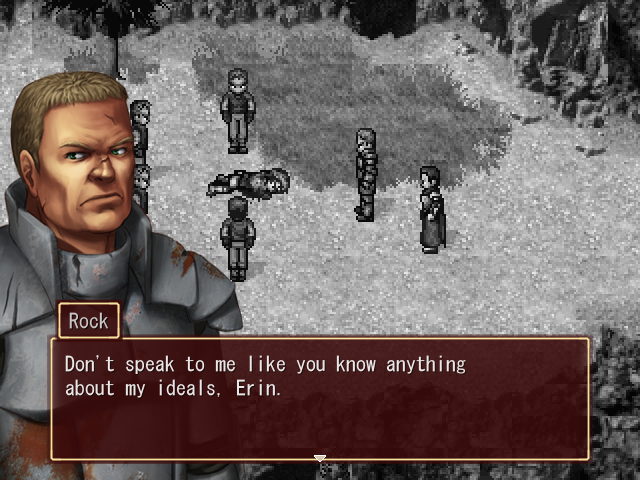
 I chose to follow a man I believe in, someone I believe will help me make my dreams come true. But you... you just blindly follow the State Union because it's all you know. You have no right to criticize me.
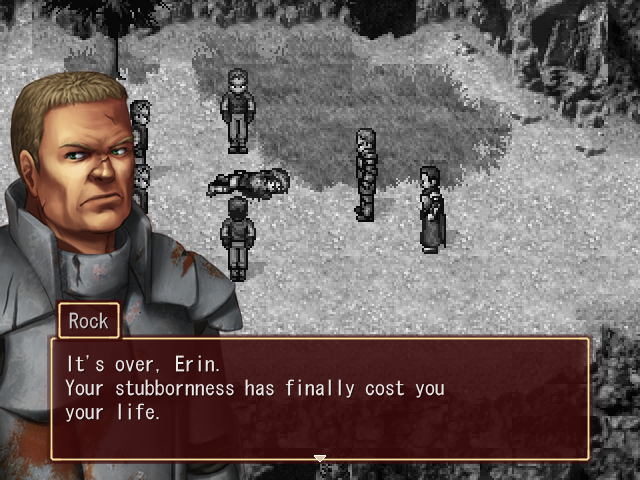
Fade to white...
Music: Darkness - Chrono Cross, "Dragon's Prayer"
This hint is another one that shouldn't be too hard to puzzle out, seeing as how there aren't that many lightning-aligned characters with story significance. I'll give you another moment to figure it out.
Shadow Erin's million Arn gets invested in third-tier attack spells. Midian and Reod can now cast these pretty regularly, but our low stock means they run out almost immediately, so having more will be helpful. Now, where to next?
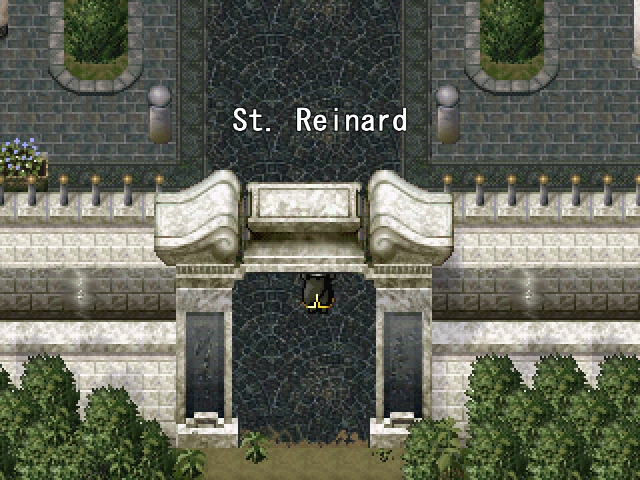
Why, St. Reinard, of course!
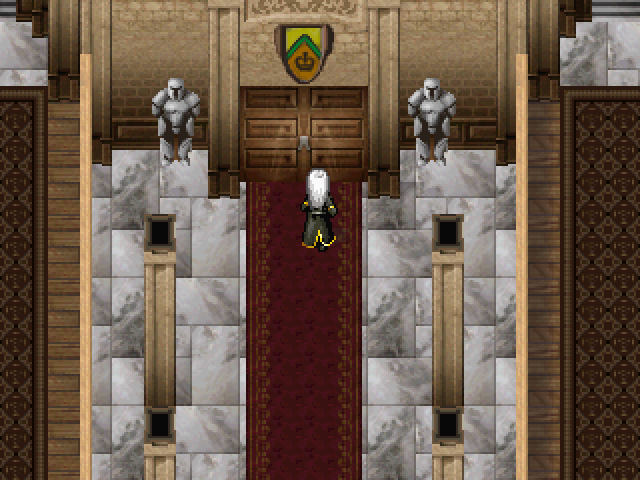

Heading to the castle's meeting hall brings us to another darkened area covered in Shadow Legionaires.
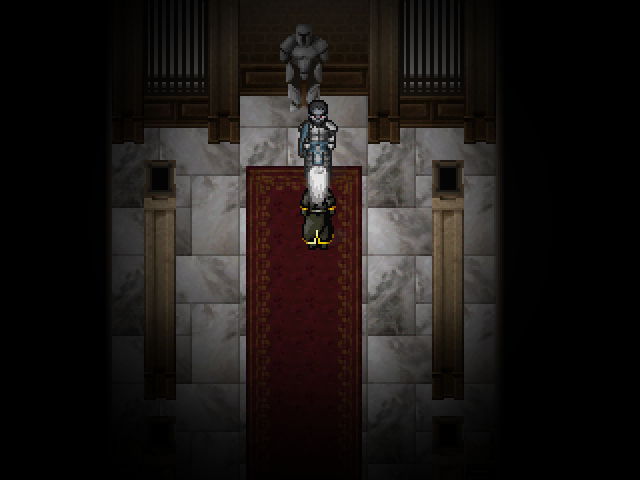
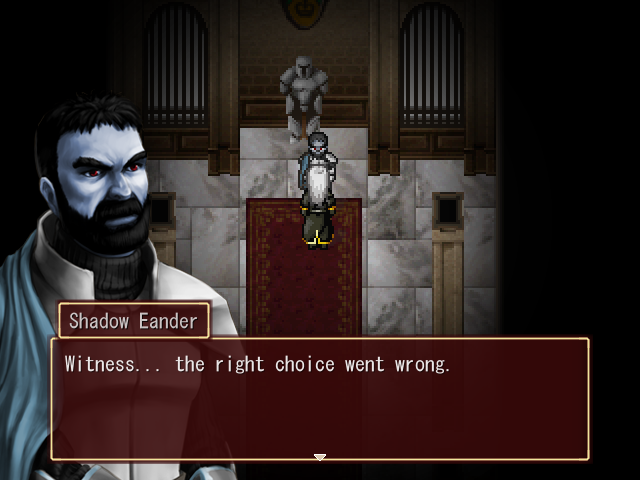
And at the north end, another shadow is waiting for us.
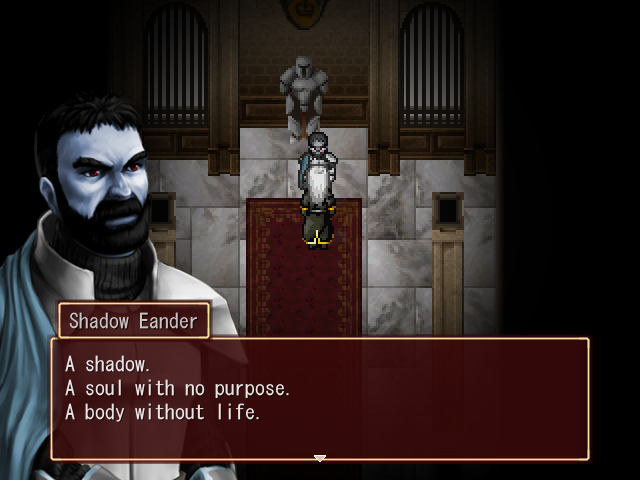

OPTIONAL BOSS: Shadow Eander
Music: Shadow Battle - Wild Arms 2, "Battle vs. Cocytus"

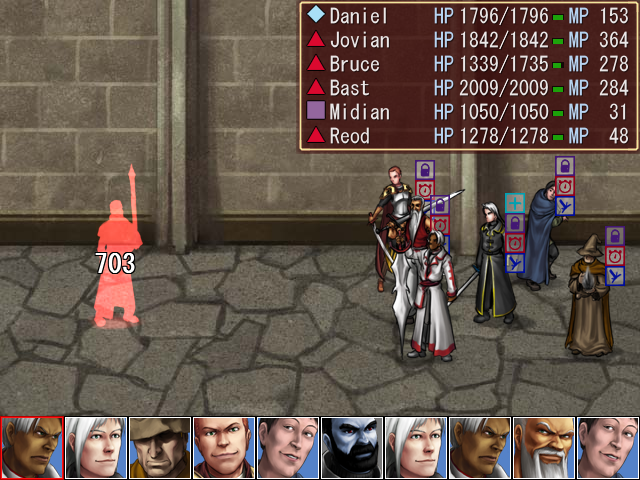
Like the previous shadows, Shadow Eander would normally move before us, but Bruce's fancy new boots push him into the first slot. That means we get our Haste chain started early.
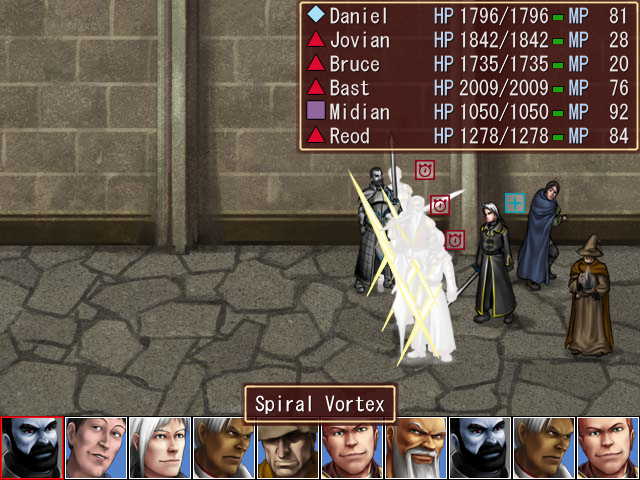
Still, he's able to attack before we can get our defensive buffs up. Spiral Vortex hits the front row for moderate damage.

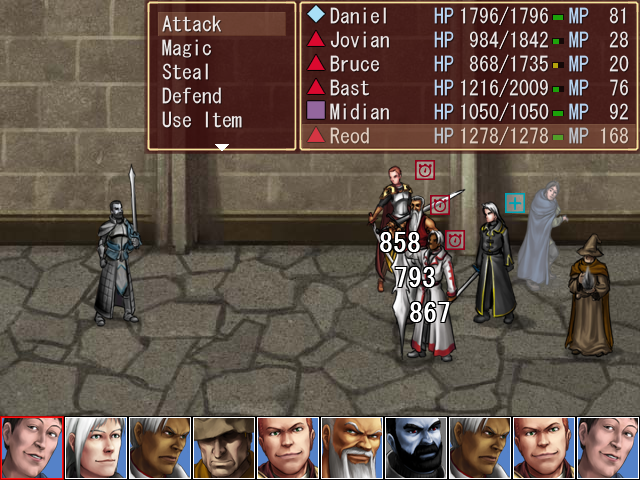
The Barriers go up on our front row, and Shadow Eander tries Spiral Vortex again. Now the damage is much more manageable.
Unlike the previous shadows, Shadow Eander has a pretty decent mix of magic and physical attacks, so this time around I put Barriers on the front row, and Shields on everyone.
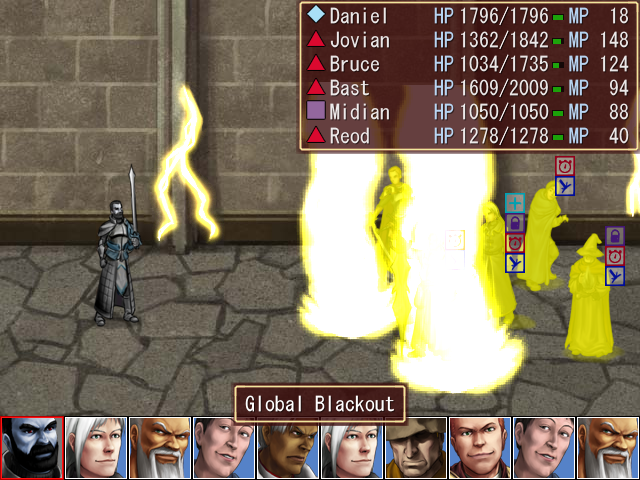
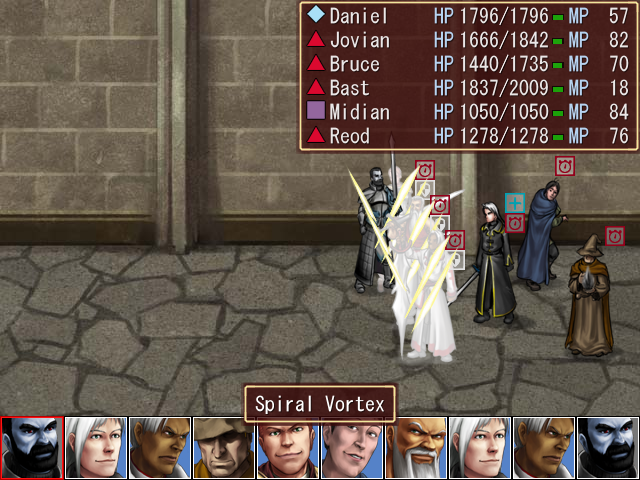
This proves to be useful when he follows up with Global Blackout. Again, remember that everyone is Shielded here (and ignore Daniel getting healed, that's from his Regen), and you'll see what this could've done to the party.
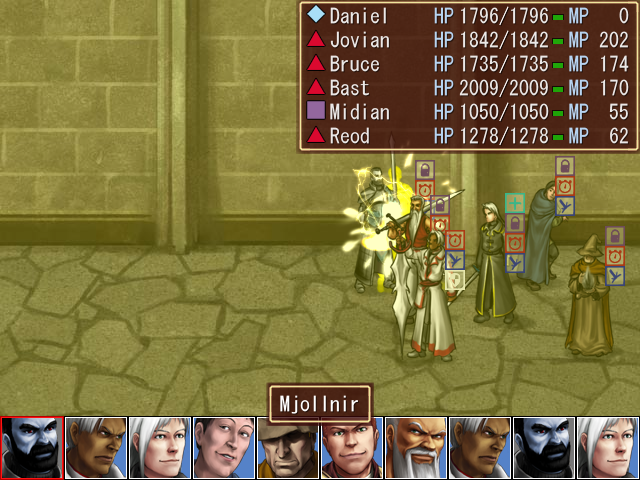
In addition to the above moves, Shadow Eander has Mjollnir, which does moderate damage to a single target, and would not surprise me if it also caused paralysis. Lock is an amazing spell.
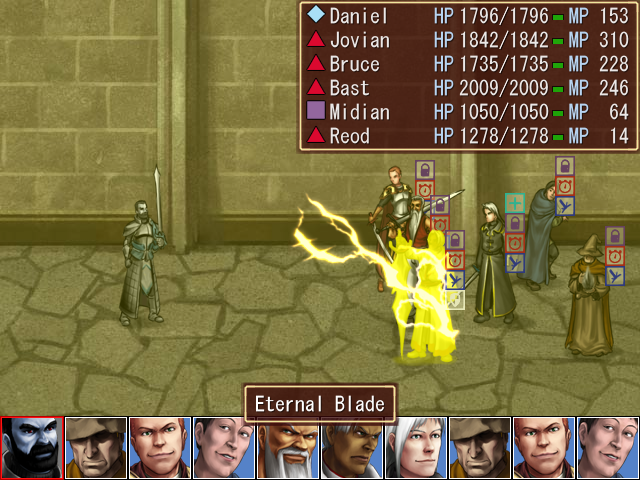

Eternal Blade does a similar amount of damage to a single target.

The battles continue to get longer, but fortunately we're not at the point yet where the shadows have so much HP that Lock starts running out before we can finish the fight. Shadow Eander has 15,000 HP, but still falls.
Music: Boss Battle Won - Chrono Cross, "Victory (A Cry In Summer)"

He drops another million Arn and the Crystalline Crown, which continues the trend by granting +35 PDF, +25 STR, and +25 SKL for 20 weight and imparting permanent Blink to the wearer. This one is going to Bast.
Music: Darkness - Chrono Cross, "Dragon's Prayer"
Fade to white...
Music: Choir - Xenogears, "The Wounded Shall Advance Into The Light"
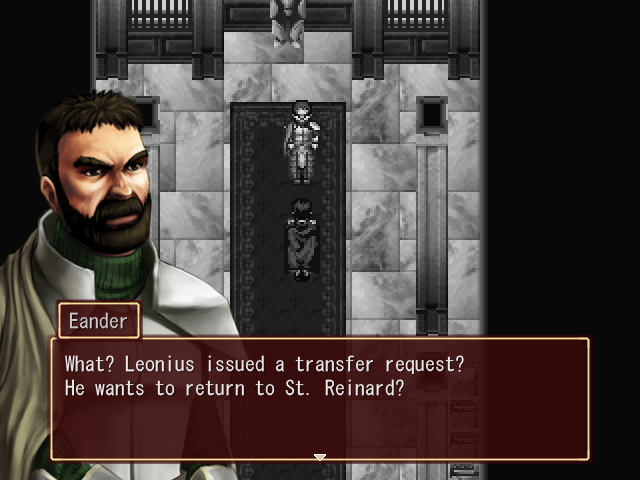
This time around the flashback takes us to around the same time as the previous one, as Eander hears the news that Leonius wants to trade places with him.
 I don't understand. What's the point of that?
 As you know, sir, the general's performance so far has been very mediocre. If you replace him with fresh troops under your command, you can bring the war to a swift end. At this stage, we don't have to worry about the public reaction. Everyone is ecstatic about our victories so far. We can just let Leonius take over homeland defense.Hmmm...
And once again we have a divergence. In reality Eander approved Leonius's transfer request and he returned to St. Reinard, which allowed him to leave the gates wide open for Almenga's forces.
We'll deal with Leonius's poor results another time. I don't see the need for another large troop operation. Inform him his rqeuest has been denied.Yes, General.Fade to white...
But as it turns out, Eander's denial may not have changed things.
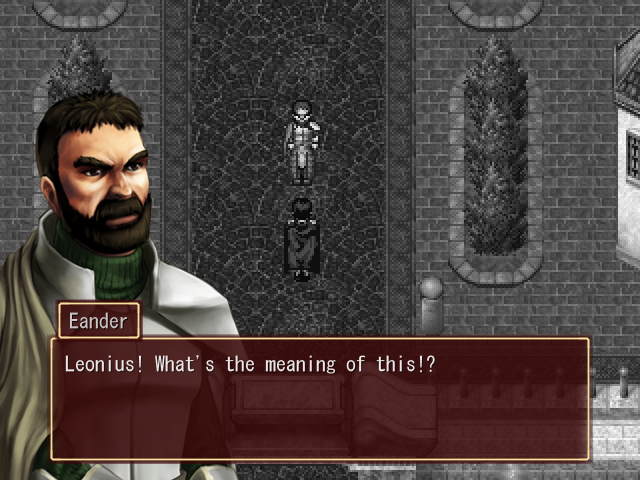
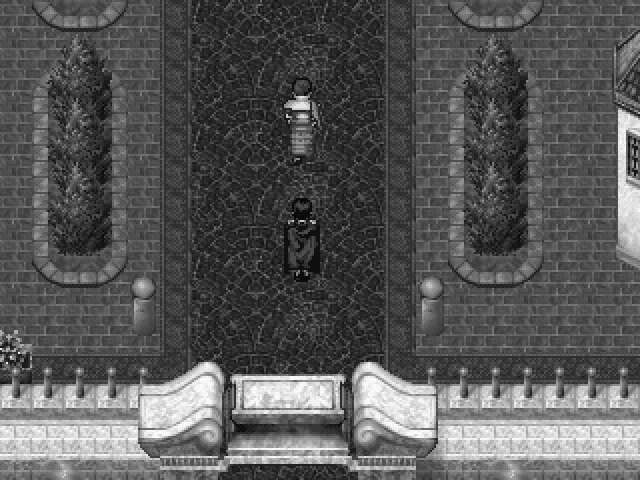
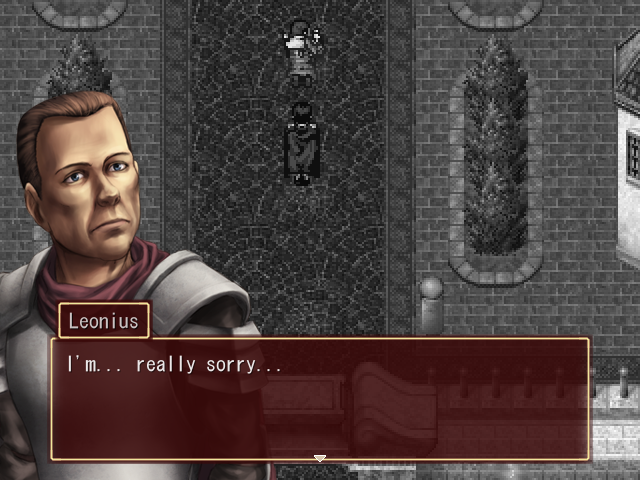
Didn't you receive my answer to your message!? You were supposed to stay in Zelmony!! I'm sorry, General. I couldn't stay.Sorry? Sorry!? What good is that to me!? You should've obeyed my orders and stayed in position!!
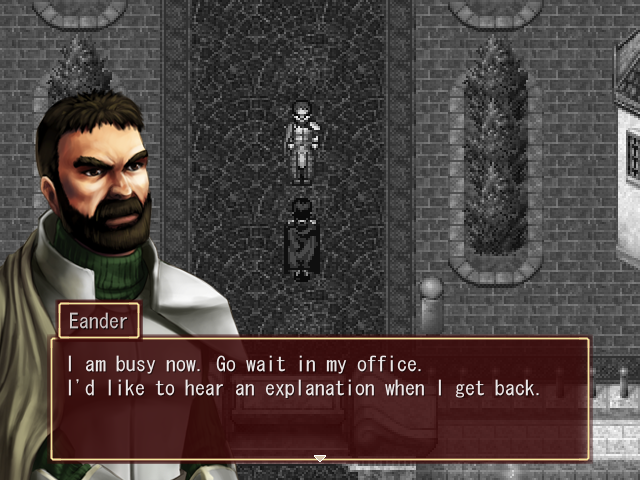


I actually really like this particular flashback, because it deals with an issue that sometimes comes up in this kind of game: the player asking, "Well, why didn't the characters just do X? Then none of the problems that came after would've ever happened!" When Leonius first returned to St. Reinard, a bunch of people in the thread called it a terrible move and correctly predicted that Kirgard was fucked. But as it turns out, Eander denying Leonius's transfer request would not have necessarily prevented his aid to Almenga. It's not always as simple as "this one thing would've fixed everything."
Fade to white...
Music: Darkness - Chrono Cross, "Dragon's Prayer"
This hint is probably the trickiest of the lot. But I'm ending the update here, so there's plenty of time to speculate.
Now, from this point forward, we're going to be getting into the part of the post-game content that I was never able to beat when I first played this game. Granted, in my first playthrough I was a lot dumber about using buffs and such, but you never know. We'll see how things go from here.
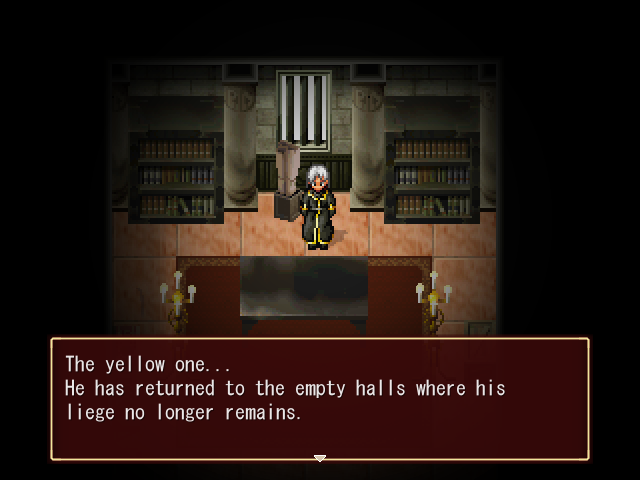
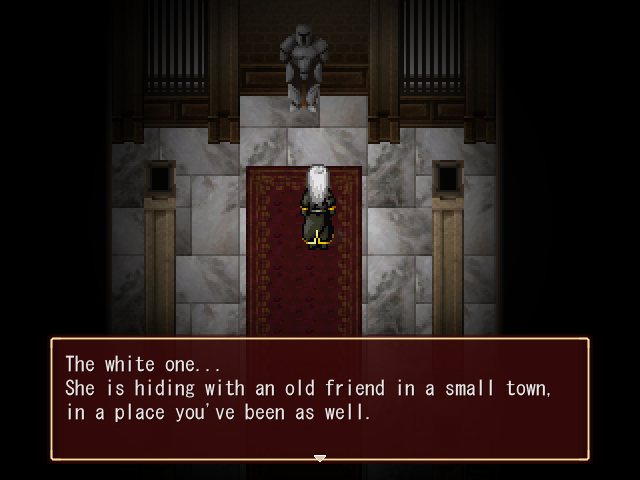
Next time: The white, blue, and black shadows still remain. Who could they be?