Part 40: This Esper belongs in a museum
Chapter 40: This Esper belongs in a museum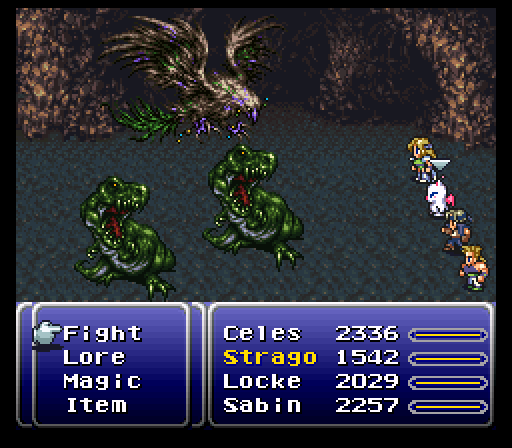
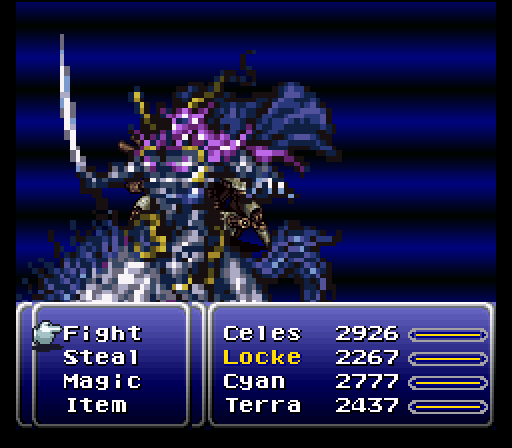
Since the upcoming dungeons are going to be magic-heavy, I take the time to go back to the Phoenix Cave and steal an Economizer from this bird, known as Aquila. This encounter's fairly rare, and rarer still is the chance that it'll actually have one, but the prize is so worth it.
Economizer: Reduces the MP cost of all Magic, Summons and Lore to 1. Yes, even Ultima. I don't believe I need to say how utterly broken this makes the rest of the game, so I only take one. Even with just one though, I'm going to have to really hold myself back if I want any enemy to last long enough to show off their gimmick.

For my first stop of this chapter, I'll be acting on a tip that I acquired from a trustworthy gentleman for the mere price of...
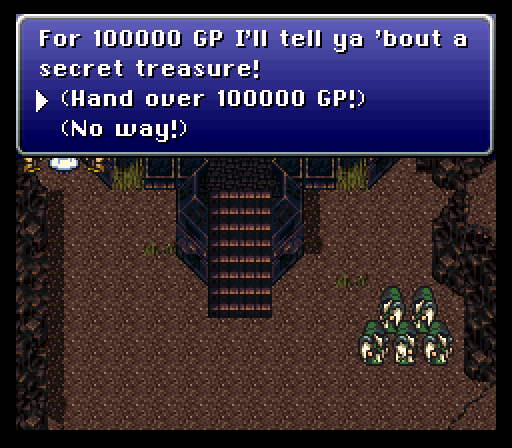
...Wow. Thank goodness for save states.
Thief: Hooey! Alright, here's the scoop...beneath the Desert of Figaro lies an ancient castle filled with treasure.
He also mentions that the weapons shop proprietor in Narshe wanted to see us, but we already met him.
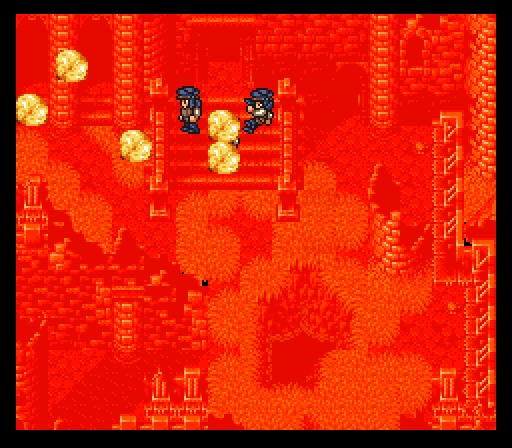
Anyway, halfway through the castle's trip to Figaro, we come across something unusual. If we head back out through the hole in the castle's prison, we find...
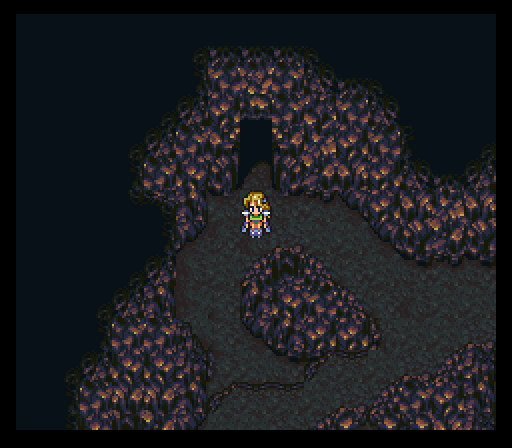
Another cave.
Music: Serpent Trench
Not much to say about it, other than that it gives multiple paths through it, but if we want to acquire certain treasures, we have to take paths that lead to dead ends.
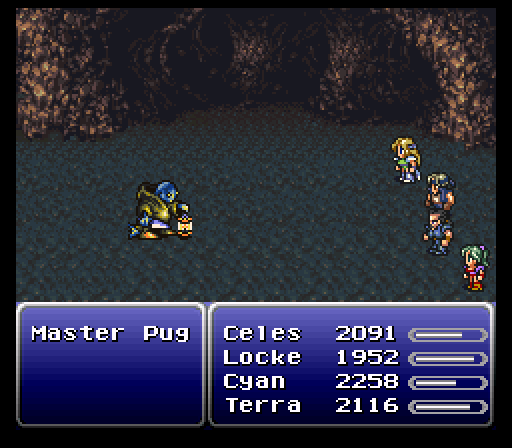
In one chest, we discover the Master Pug, a boss that mixes together the gimmicks of Number 024 and the Pugs by changing his barrier every time he takes a step forwards. However, instead of casting menial things like Fire or Ice, he's instead casting Fire 3, Ice 3, Quake, W Wind, etc. Rather nasty if you don't have the resistances.
Then again, we do happen to have Ultima, a spell that's non-elemental, hits all enemies, and can do 9999 damage almost guaranteed, so we really don't have to bother with all this barrier nonsense.
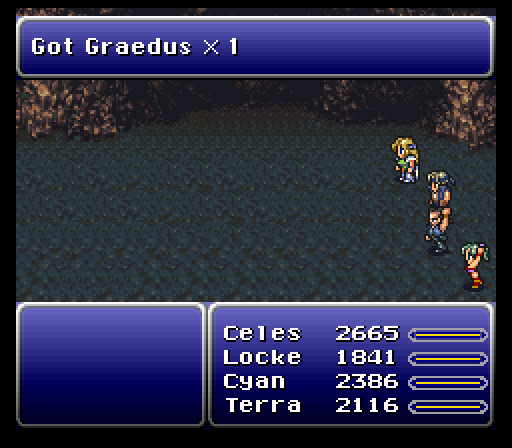
Not bad. The Graedus is a powerful Holy-elemental knife, which means that pretty much anyone can use it. I hand it over to Terra.
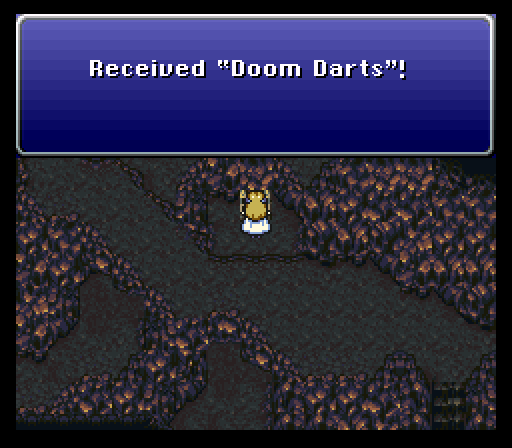
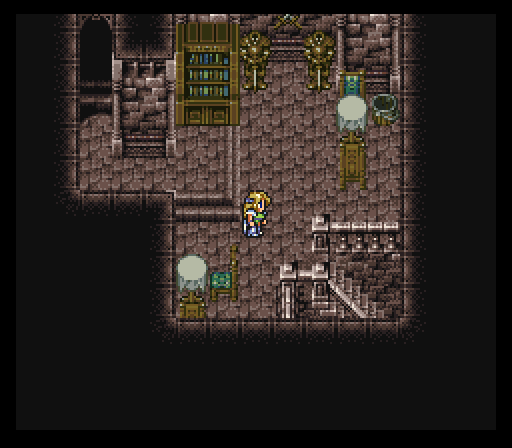
A new weapon for Setzer lies in an alcove in this cave, but otherwise, the items in here are rather unremarkable.
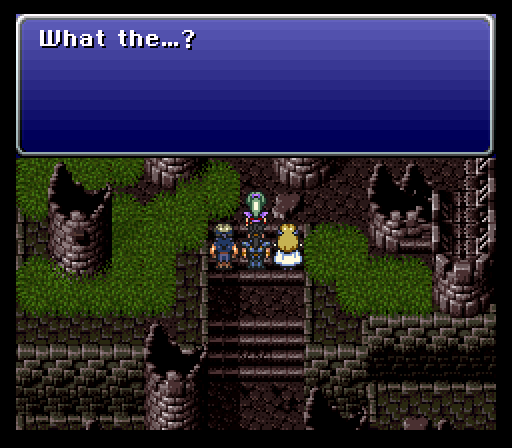
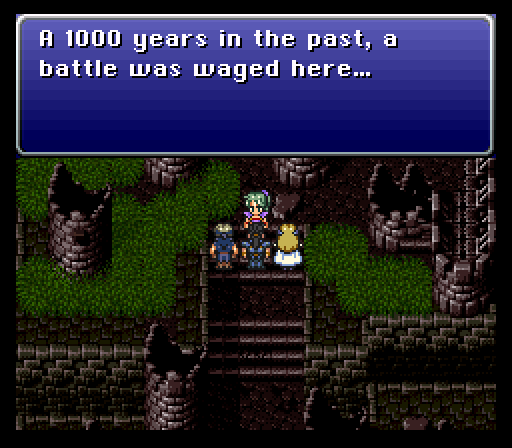
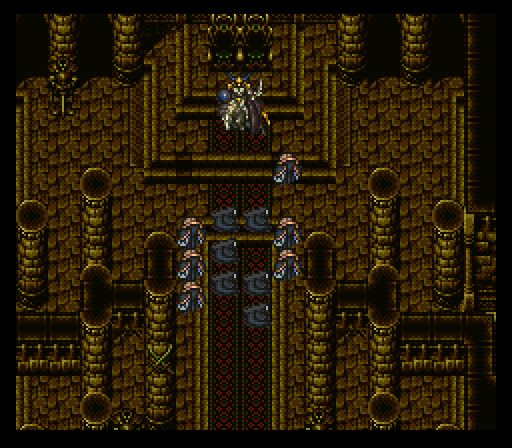
As the tip mentioned, the cave eventually opens up into a ruined castle. I believe that this dialogue can be said by anybody, but it makes the most sense for Terra to be the narrator.
First, a flashback, this time in normal colors. This game really needs to be more consistent with that.
Soldier: It's an Esper attack! Let's show him some of OUR Esper magic!
A 1000? That's a little redundant, isn't it?
Chancellor: We're fresh outta options. We'll have to leave this battle in Odin's hands...
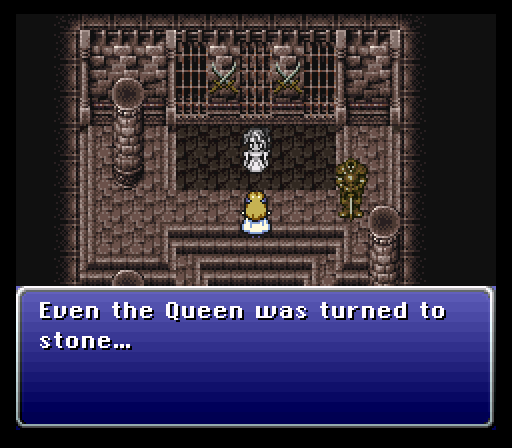
 : A city, ruined during the War of the Magi...
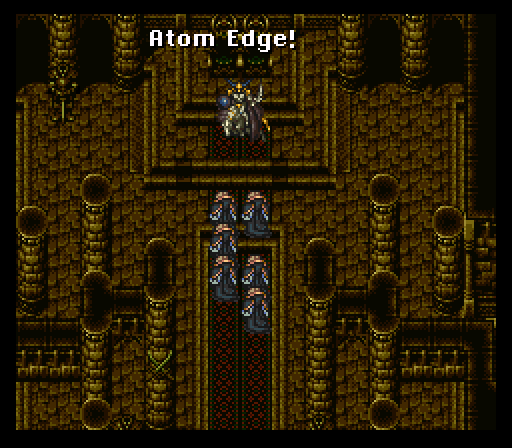
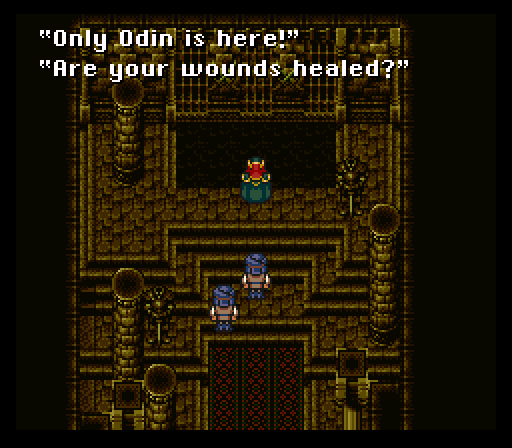
Back in flashback land, we find Odin doing what Odin does best.
But then a worthy challenger appears.
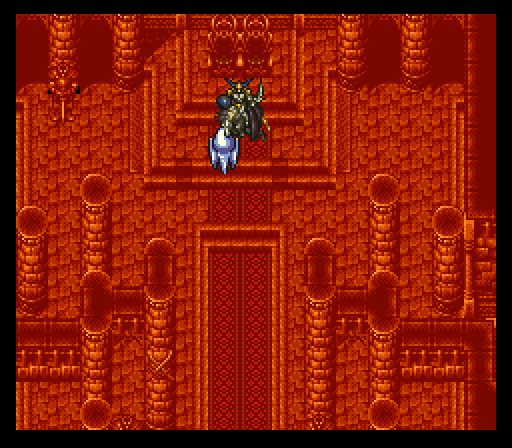
Odin: Don't do it... You can't turn me into Magicite...
True, but he can always turn you to stone instead.
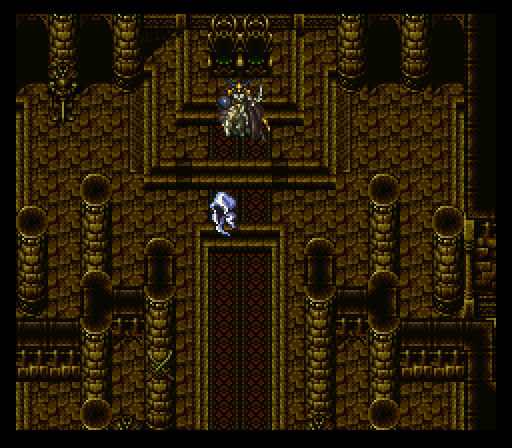
: There's an ancient legend... It tells of a battle between Odin and a powerful sorcerer that took place in a great hall of the castle...That's nice, but I'm more interested in the treasure.
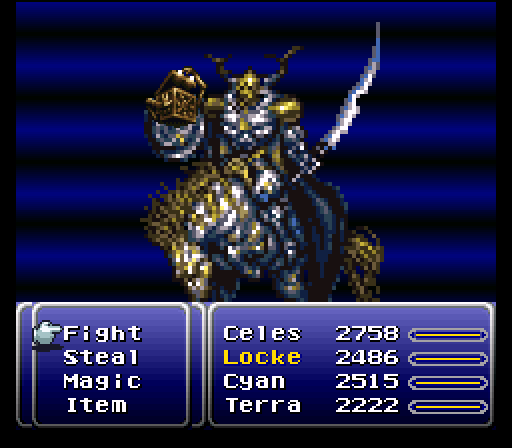
Most of the enemies in this area have Reflect on them, and generally don't have good items either, so we just hit them, because they're also made out of paper in terms of HP.
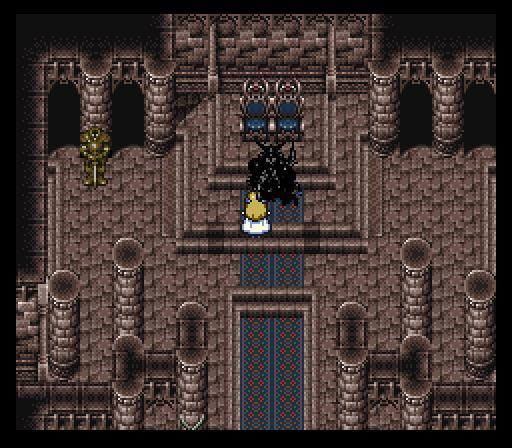
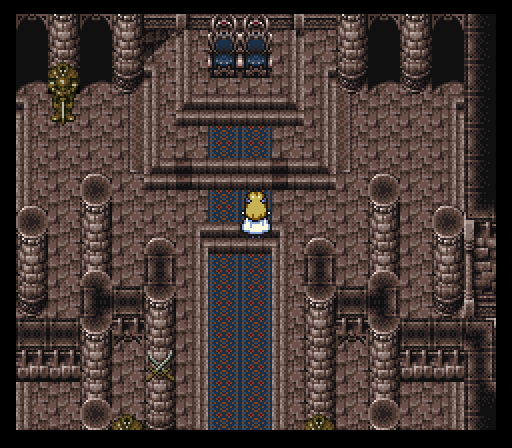
In the throne room, we find Odin, still petrified as ever, but if we interact with him, we get Odin as a Magicite.
As we saw in the flashback, Odin's primary schtick is cutting enemies in half, killing them instantly. If it hits, that is.
Meteor: x1
Level Up Bonus: Speed +1
Odin's the only Esper in the game that provides speed bonuses, but at the same time, we can also turn him into a different Esper that provides a much better spell. I suppose it's a matter of personal preference, but I like the spell more than the leveling bonus.
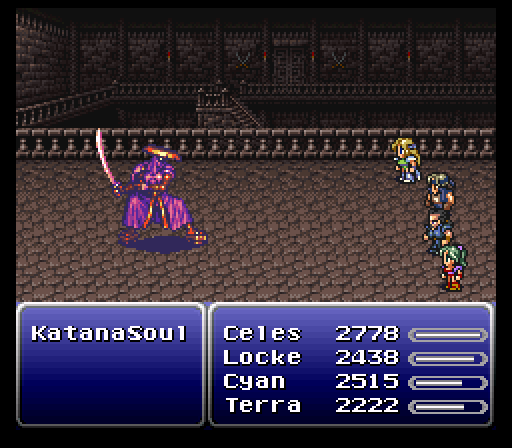
In a treasure box, we find KatanaSoul, who has the special power to kill a single character instantly, no matter what Relic they're wearing. Too bad the guy doesn't have any resistance to confusion.
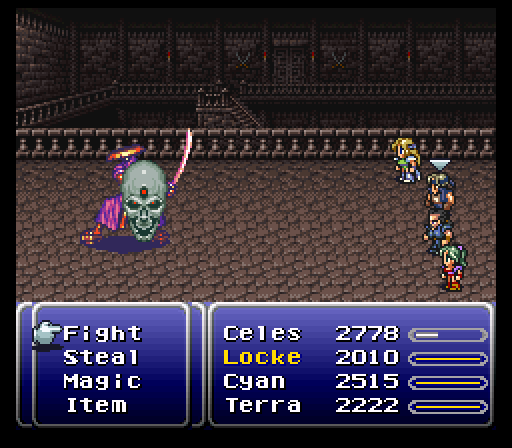
Dumbass.
For defeating it, we get the Offering, which is quite the valuable little trinket, given the effort it took to get it.
Offering: Allows the wearer to attack four times at half damage, except when a weapon does set damage, like the Atma Weapon and the Valiant Knife. This Relic also combines with the Genji Glove to allow for eight consecutive strikes in one turn. Equipped on Locke, this is absolutely devastating, as he has the ability to equip the best weapons in the game. The best part is, if there are two enemies or more on the field, the Offering will pick random targets every single strike, so Locke can quite easily clear the field in one turn.
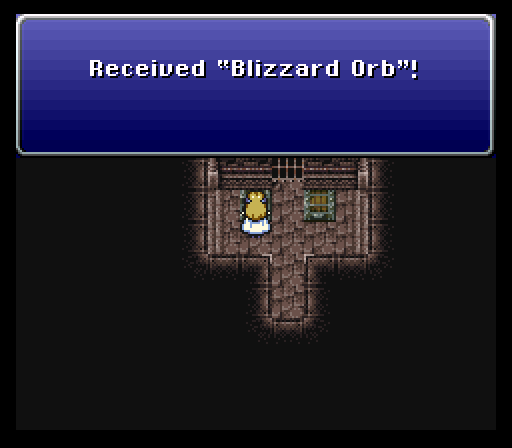
In a hidden alcove, we find Umaro's other Relic, the Blizzard Orb.
Blizzard Orb: Allows Umaro to use the Blizzard technique, absorbs Ice and nullifies Fire. Magic isn't really Umaro's strong suit, so I wouldn't recommend its use. Besides, despite the fact that you can't see it, Umaro's already wearing the Snow Muffler, a piece of equipment that absorbs Ice and resists Fire.
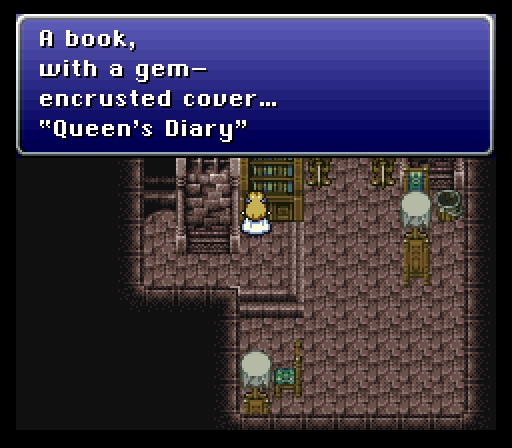
This place must be pretty well preserved for books to survive 1000 years.
"I realize, now, that I am in love with Odin... This... breaks every rule of our society. But my heart longs for this noble, elegant man. How could anyone blame me? After the fighting is over I'm going to bare my soul to him..."
Oh, the contrived tragedy.
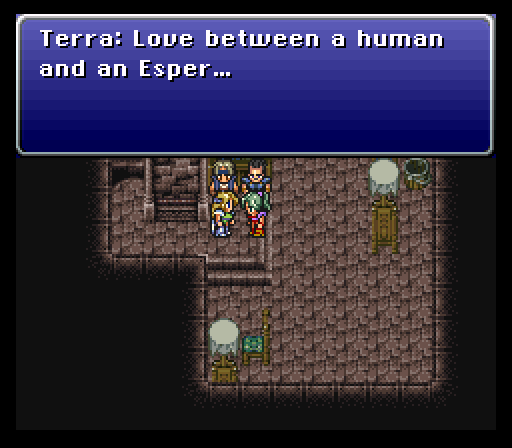
Yes Terra, we know your character trait. No need to remind us.
I have no clue how you're supposed to puzzle this out on your own, but if you stand on this step and hit the A button, you'll hear a loud noise...
And this flight of stairs will come into being.
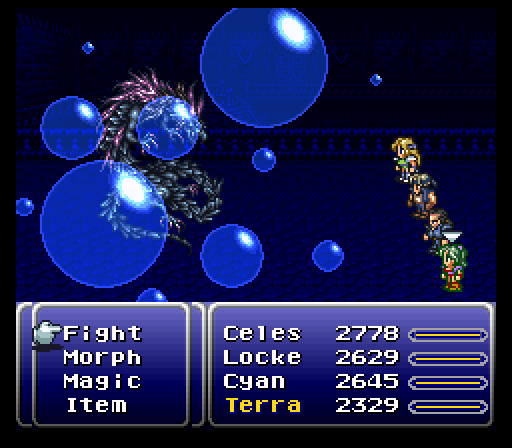
Down here, we meet the Blue Dragon, the dragon of water, who is weak to electricity. What else is there to say, other than that if you have Haste on (and why would you?), the dragon will cast Slow on itself and then...
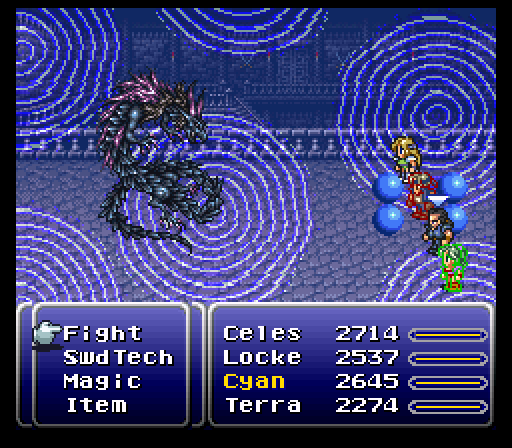
Use Rippler to exchange its Slow with your Haste.
Lore-Rippler: Exchanges statuses between the caster and the target. This is dangerous to do with Terra's Morph form or Shadow's Interceptor, as it can cause those statuses to be lost forever if you don't get them back before the battle ends.
Anyway, after the dragon goes down, you get the Scimitar, a nifty sword with a random chance of cutting an opponent in half. 3 Dragons left...
Suddenly, the statue sheds a tear, which inexplicably causes Odin to level up to Raiden
Raiden also cuts stuff in half, but he does it better, I guess.
Quick: x1
Level Up Bonus: Vigor +2
Ah, Quick. I might have said before that Ultima is the best spell in the game, but no, this is the best spell in the game by far. What does it do? It gives you two turns, and I don't just mean you get to go again. Everything in the fight stops moving and waits for you to finish your turn, even bosses. There's a certain samurai who will greatly benefit from this spell, as he'll have all the time in the world to charge up his Swdtech abilities.
Anyway, that's it for this place. We've got two more things to do in this chapter, and the first can be done while enroute to the second.

Want to run, do you, Doom Gaze? Well, you can't, because you're frozen in time.
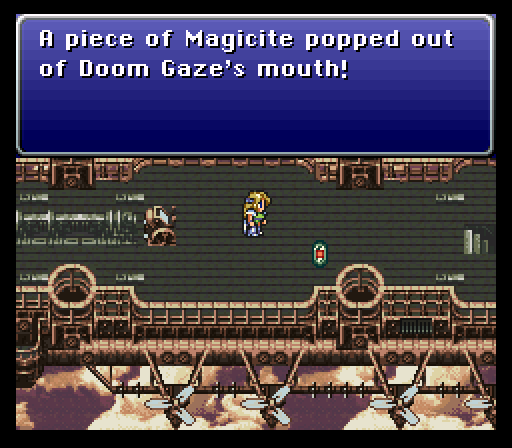
For defeating that pest, we get the Bahamut Magicite, and we're now free to fly wherever we want without fear of being L.5 Doomed.
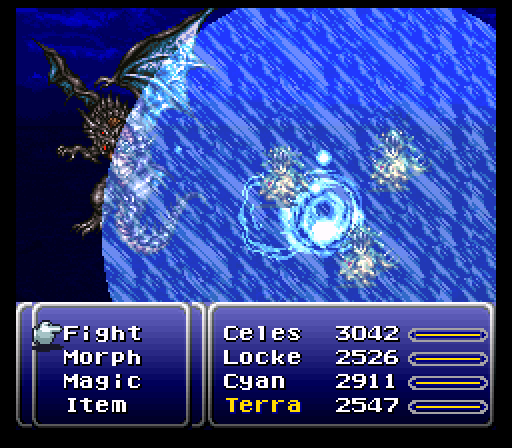
Bahamut's Mega Flare certainly looks fiery, but it's actually non-elemental, and it's quite effective at clearing out groups of enemies. Too bad about the MP cost though.
Flare: x2
Level Up Bonus: HP +50%
We were probably supposed to pick up Bahamut before getting Ultima, as Ultima is better than Flare in every single way. Still, if you want to fill out that spell list, might as well get Flare too.

For our last destination, we'll need a group of dedicated spellcasters and Umaro. Why Umaro? You'll see!
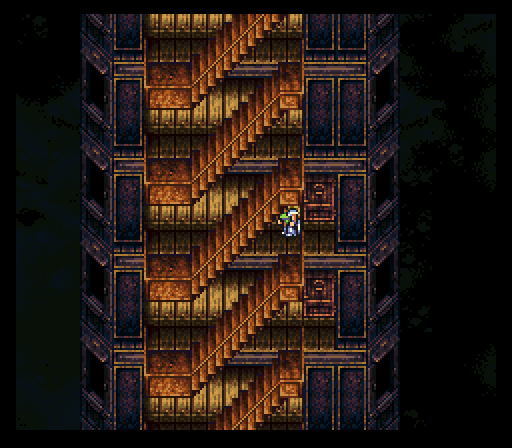
We've only really touched briefly on the Fanatics' Tower up until now, but now we're going to conquer it.
Music: Tower of Fanatics
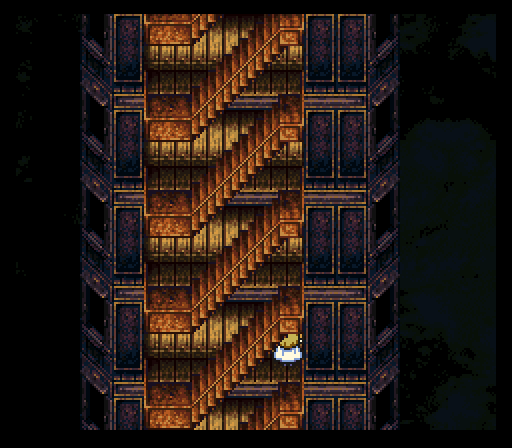
The first thing you might notice is that the tower is tall. Very tall. It's tedious, and it's meant to be that way.
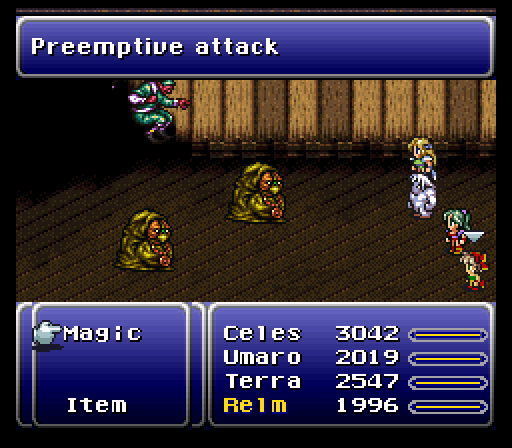
The tower's gimmick is that magic is the only thing that works up here, unless it's Umaro, in which case he just smacks stuff around like normal, and does it very well. Umaro is a blessing for most of these enemies, as they have a tendency to use Rasp and Osmose and a lot of them have Reflect. Moreover, most of the enemies here use fairly advanced stuff like X-Zone, Doom, level 3 elemental spells, status ailments, etc., so the people you send up better have their resistances in order.
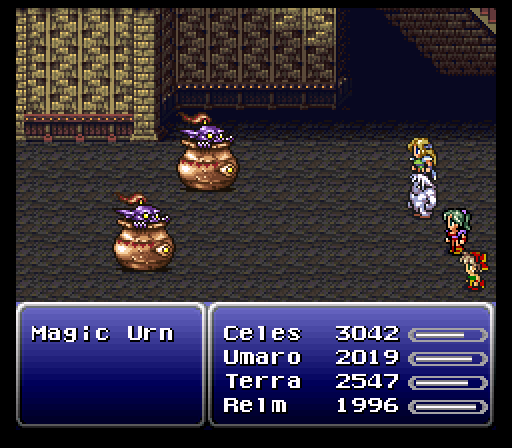
The dungeon also provides you with a helping hand in the form of these Magic Urns. Unlike their Elixir-hungry friends in other games, these ones will happily heal your status ailments (and provide a source of MP if you use Osmose) free of charge. They will run away after a while though, but that gives you 5 Magic Points, so it's good anyway.

Also, worried that your only source of insta-death protection is the Memento Ring? Don't worry, the first treasure room has you covered.
Safety Bit: Prevents instant death attacks from working. Some monsters have special abilities that bypass instant death protection, but that's not a worry in this dungeon.
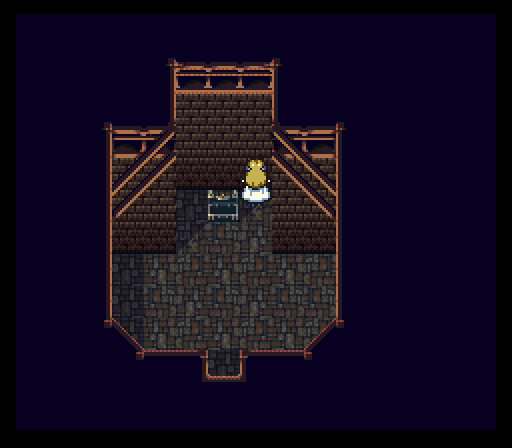
There's a secret in this treasure room, by the way. If you check the wall next to the treasure box...
Another room will appear underneath it with Edgar's last tool, the Air Anchor. I'll go over it the next time we see Edgar, but rest assured, it's quite good.
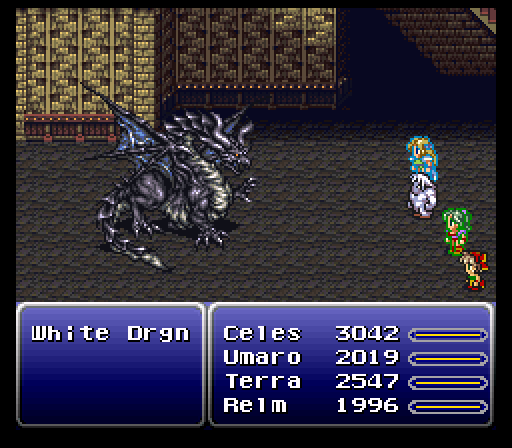
In another treasure room, we find the White Dragon, who does nothing but cast Pearl, occasionally casting Dispel on party members with Reflect on. Now, Pearl is a pretty nasty spell, I'll give you that, but you know what this particular dragon is weak to?
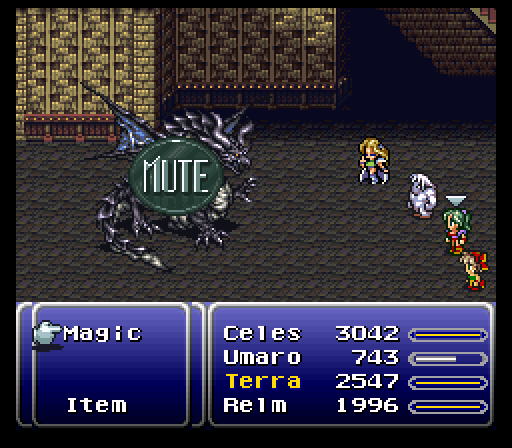
Yeah, that's right. In a tower focused entirely around using magic, a dragon that can do nothing but cast spells is weak to being silenced. That's just amazing.
By the way, the Holy Dragon has a rare Holy Lance to steal, but we can't steal it here. No worries though, as it will reappear on the Veldt. 2 Dragons left...

At the top of the tower, we find a small room with a very valuable prize inside.
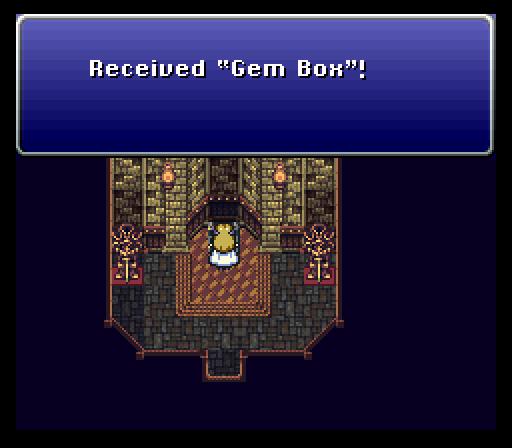
VERY valuable.
Gem Box: Allows the wearer to cast two spells in one turn, with the drawback of a significantly longer casting time. Still faster than waiting for your next turn to come around though.
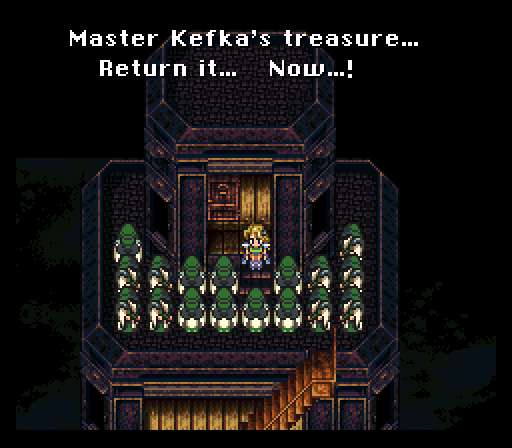
Kefka's groupies aren't going to just let us walk out with something so valuable though.

You know, just because the head honcho of this cult happens to have the same generic ghost sprite as the being that defeated Odin a 1000 years ago, it doesn't mean they're the same person. Still, it's an interesting thought.
Music: The Decisive Battle
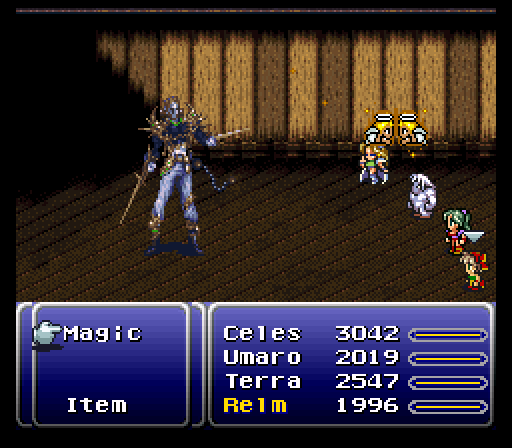
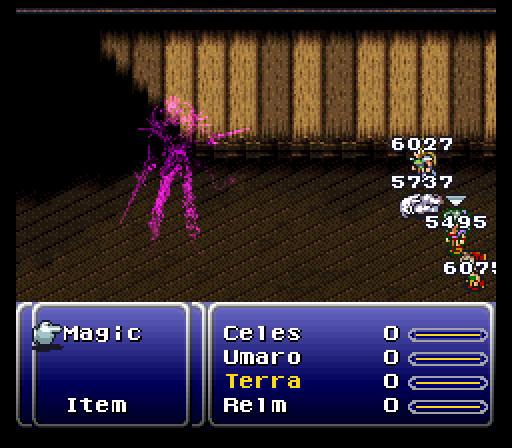
The game doesn't indicate this anywhere, but somebody needs to have Life 3 placed on them before MagiMaster goes down. You'll see why.
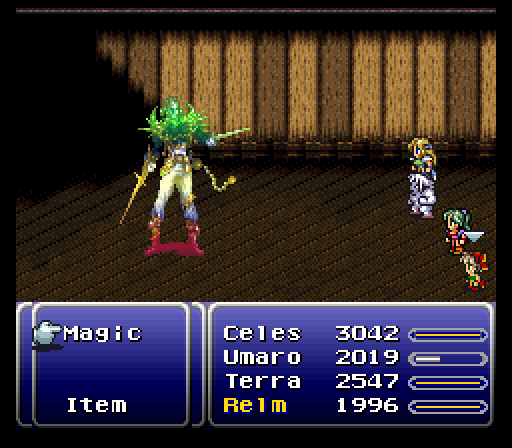
Like Number 024 before him, MagiMaster changes his barriers periodically. However, unlike Number 024, he'll change it every time anybody does anything, including scanning him, and he doesn't feel the need to give away his weakness using magic of the opposite type either, so the whole thing becomes a guessing game.
By the way, he's weak to Berserk, and his physical attacks are laughable, so...
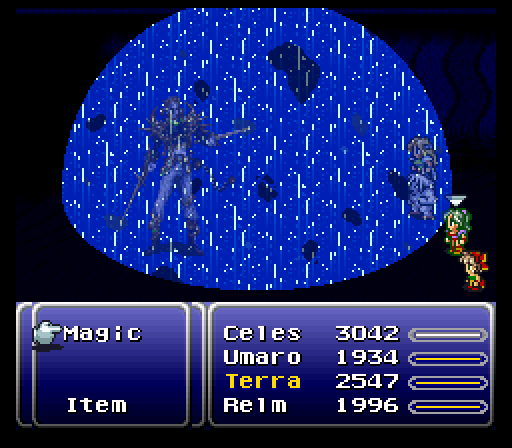
The reason why someone needs Life 3 placed on them is because of this cheap move. When he dies, MagiMaster uses Ultima. Before I show how much damage it does, I should mention that the tower has no save points, so if you die before reaching the top and climbing all the way back down, you have to attempt it all over again.
Cruel move, developers. Cruel freakin' move.

Fortunately, once we beat their boss, the cult mysteriously vanishes, so we can just...walk all the back down again. Groovy. See you at the bottom, I guess.
Next Time: We turn Gau into a wind god and Cyan into an uncontrollable Imp warrior.