Part 30: Armageddon (Part 1)
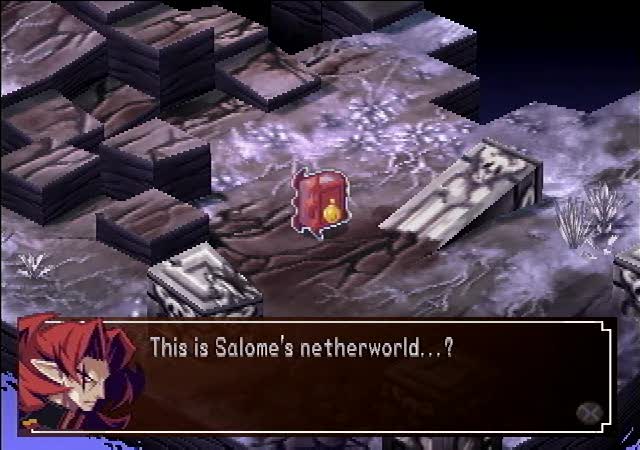
”Mana is not merely power in the land of demons, it is the very life of the land and its inhabitants. A world without Mana is a world of death, doomed to collapse…”Zetta had no choice but to enter Salome’s Netherworld to search for her.
Video- “Salome’s Intention”
Watch the Scene
 But… This place is a mess!
I can’t feel any Mana energy… It’s a netherworld without Mana.
…No wonder Salome is dying.
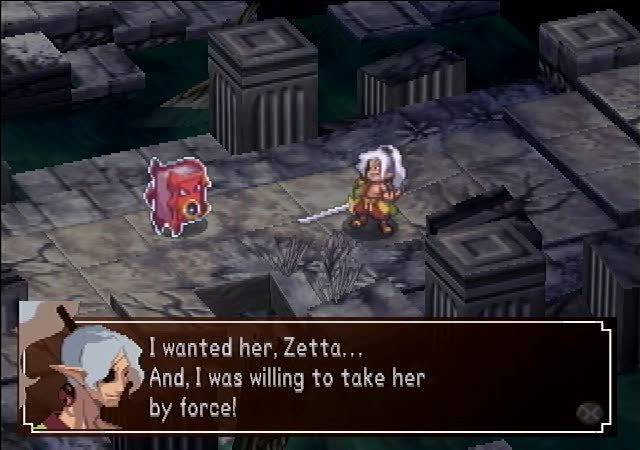
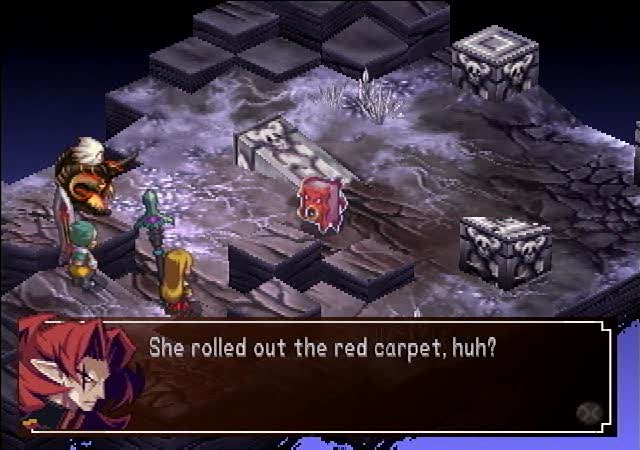 Fine! If this is what she wants…
Video- “Salome’s Intention”

Watch the Battle
The first map of Chapter 9 is a straight simple thousand points on a single area. There is a group of Clerics, a pair of Big Eyes in Dark Gear vehicles, and a Berserker with a sword. Their levels are in the mid to high sixties, you should be fine if you handled Chapter Eight. The level gradient here in Nine is substantial, so don’t feel bad about replaying things a few times for the experience.
Video- “Salome the Temptress”
Watch the Battle
Another thousand point set piece map. There are two Big Eyes with Makai Cannons (you could try to steal them but honestly it’s not worth it) and four Raider Huts with enemies in them. I’d suggest trying to kill as many buildings as you can once the Big Eyes are down to minimize the number of enemies you’ll have to deal with. You could also try to steal from them, there are some Syringes here as well.
Pram figured out that it was all a trick almost too late, I was concerned she wasn’t even going to make it back in time for her part in the story.
Video- “Salome the Temptress Outro
Watch the Scene
 Eh?
Eh?What are you watching?
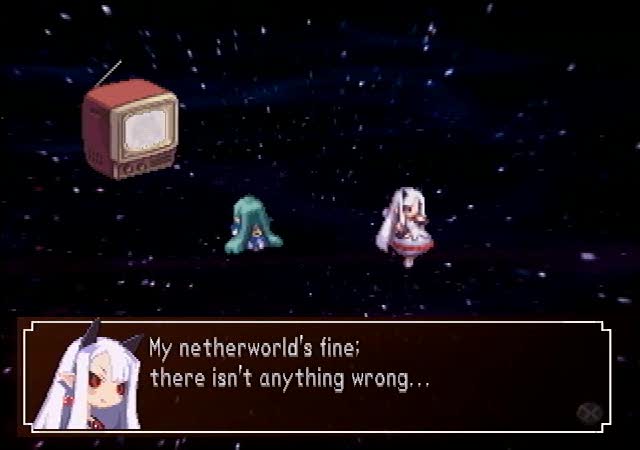
 Oh my goodness, it’s that woman’s last chance.
This is a random map. You’ll need to clear some extensions to get your points here, but if you’ve gotten through the fixed maps you should be fine.
Video- “Salome’s Battle”
Watch the Battle
Another thousand point fixed map. There are a group of the big scary demons out on the field and two facilities. One is an Academy (remember that enemies in an Academy level up every turn) and the other is a Factory, which will make the Justice Gears inside regenerate health. Destroying the facilities before the enemies come out would be very helpful, especially the Factory because you really don’t want to have to fight those Justice Gears.
Of course, Zetta and Salome are hardly the only players in this little drama.
Video- “Salome’s Battle Outro”
Watch the Scene
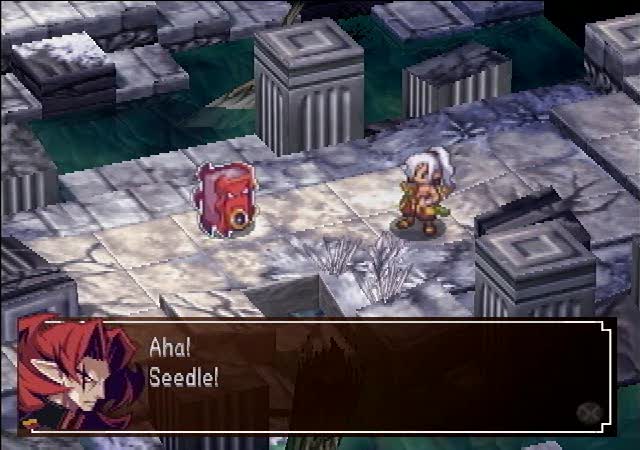
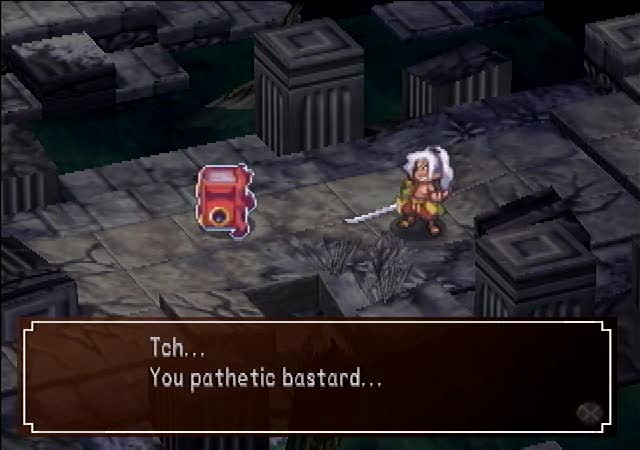
 Ha ha ha… What’s wrong? Don’t tell me you came here to die along with that woman! Shut up… I’m going to kill her, and there’s nothing you can do! How can you possibly hate Salome that much…!?
Really, becoming a demon was just a lateral move for Seedle.
 I was once a famous samurai. I travelled with many people who admired me.
Salome was one of them… She was always gentle and kind.
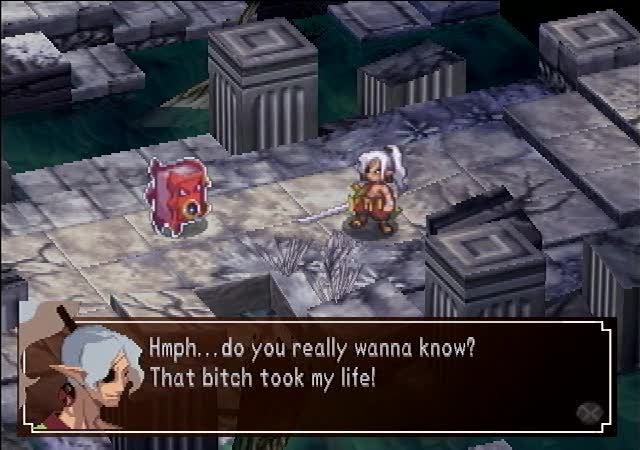
But, she wouldn’t submit to my desires… And, she stabbed me to death!
Can you imagine the shame of a samurai killed by a pathetic woman!?
You probably deserved it. Ha ha… Maybe so… But, I’ll never forgive her.He was a monster long before he became an Overlord.
 You bastard… Heh… She was burned to death for murdering an honored samurai…
But, that wasn’t enough! I won’t be avenged until I tear her apart with my own hands!
Fortunately, Zetta and Seedle weren’t the only people hanging around.
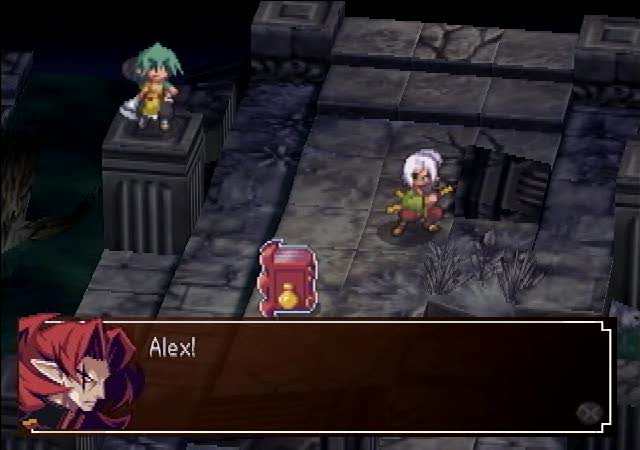 Alex!
Alex! Do you know why I’m here?
I wanted to see why that woman felt your relationship was more important than the battle between us.
Careful, kid… You’re pissing me off! Ha! Don’t make me laugh, you sick, obsessed freak!If anyone should be pissed, it’s me!!
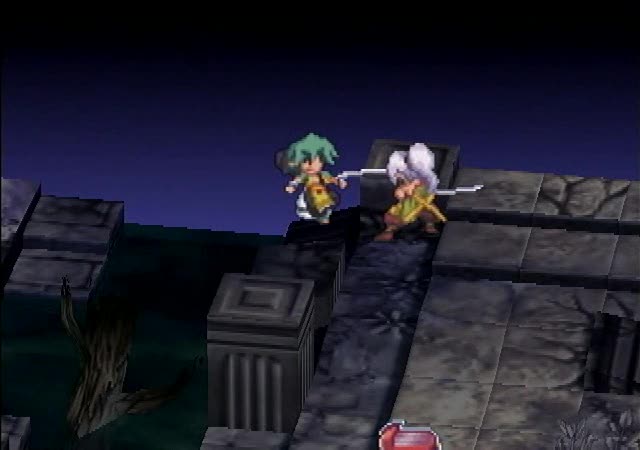 Alex…
Alex…Zetta took that opportunity to move on.
Another non-fixed map. The random maps aren’t that bad this chapter, and probably aren’t worth your time repeating when you are trying to grind versus the fixed ones.
Video- “Salome’s Psyche”

Watch the Battle
A very nasty map. There are four Professors in Hopster vehicles, and an Officer in a Skydiver. You’re not going to be able to kill everything in one turn, the vehicles are tough and you can’t even touch the pilots while they’re alive. Try to stay spread out and I’d strongly suggest killing the Skydiver on the first turn, it’s the most devastating vehicle there. This map could be a real roadblock, go back and level up a bit if you’re not feeling confident going into it.
Remember that time there was a random map and it was boring and easy after a really hard fixed map? I do because it’s called Fearless Salome. It’s also the very last random map in the story (though you’ll be seeing plenty of random maps if you do the postgame because of random dungeons).
Video- “Salome’s Soiree”
Watch the Battle
An interesting fixed map here. There are a pair of Big Eyes out on the field, and then three facilities. Two are Clock Towers (which provide no special bonus) with relatively weak but quite numerous enemies you probably don’t want to deal with. The last is a Lighthouse (which increases movement) with a level eighty Demon in it. The facilities are reasonably low leveled so killing them is the best bet. You’ll have a much better leveling map available soon so there’s no reason to bother trying to farm out more experience by letting the demon see the field.
Video- “Determined Salome”
Watch the Battle
And we’re finally here, the very last repeatable map of the game. There are several groups of enemies ranging from the high sixties to the low eighties here. The enemies are a mix of Slimes and Clerics. For their levels they’re not very tough, you should be able to kill whole groups of them with Omega magic and other powerful group attacks. Because the enemies are so well grouped up this is a great place to level up for the early postgame when the real best method is hard to pull off well. If you have any problems with this map at all repeat it a few times at the minimum, because it’s the final boss next. We’ll see that next time.