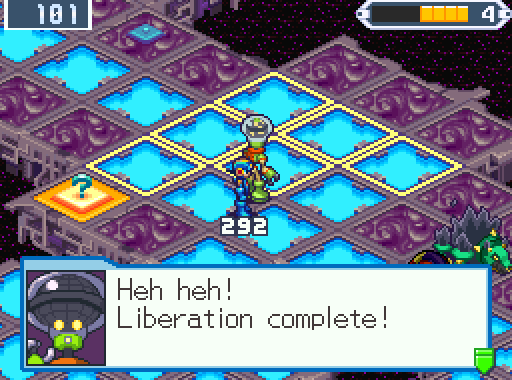
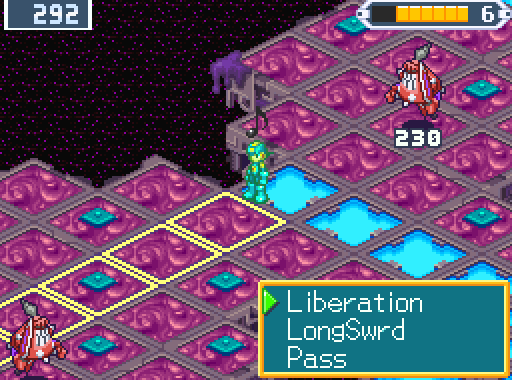
Part 45: Purple palette shifts: the surest indication of evil.
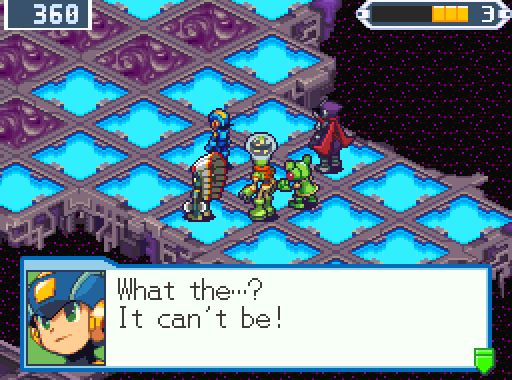
Well, we're not going to be fighting any of the DarkLoids for this, despite them being revived, so who could be left to fight?
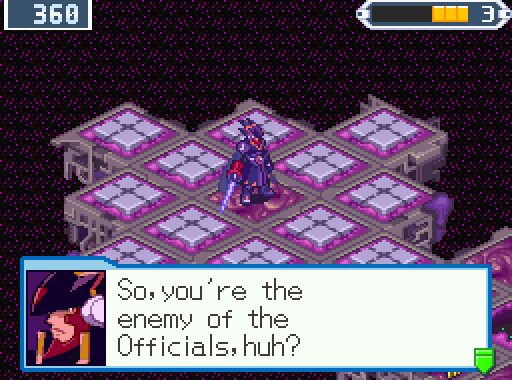
Nebula didn't waste any time with that one. Also, hooray for inexplicable translation errors! Colonel, NEBULA is the enemy of the Officials. Who never show up at all in this game except for Chaud cameoing a bit later.
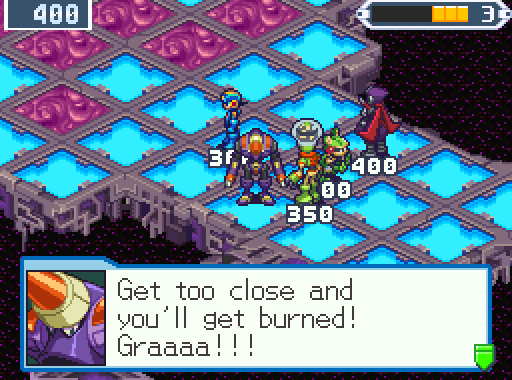
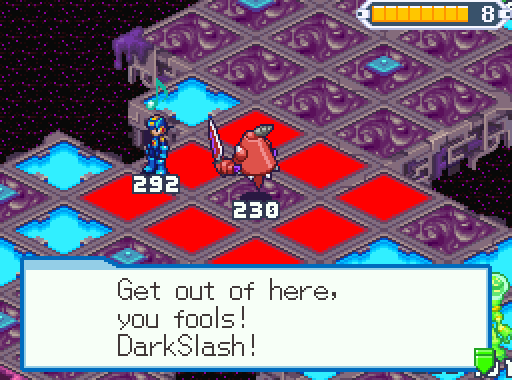
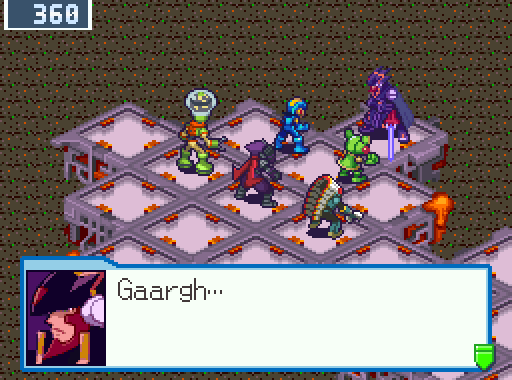
Gah! DarkColonel! This is either a surprise or exactly what you might have been expecting, people in the thread have mentioned both.
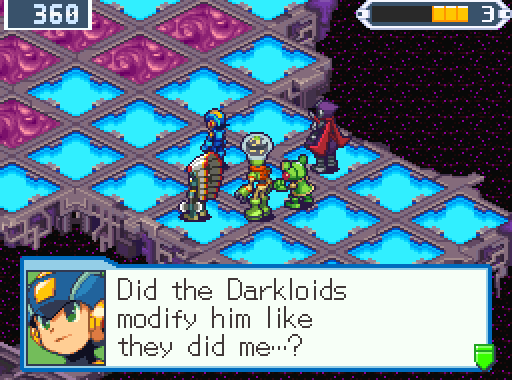
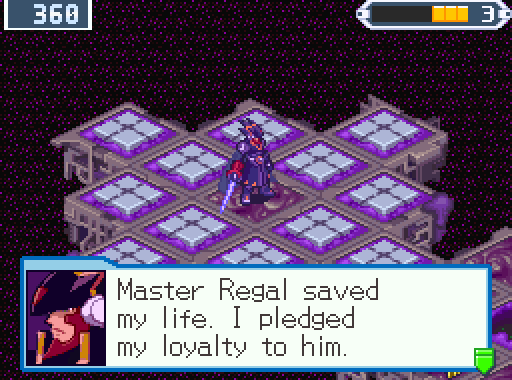
Considering he has the trademark dark purple palette-swap and referred to 'Master Regal', I'm going to hazard a guess and say yeah. As usual, being Nebulafied results in a vast reduction in competence. DarkMega was MegaMan minus talent, DarkColonel is shaping up to be Colonel minus the awesome.
However, this mission looks potentially tricky. Unlike the last liberations, UnderNet4 is a giant S-shaped area, we're in for a long haul.
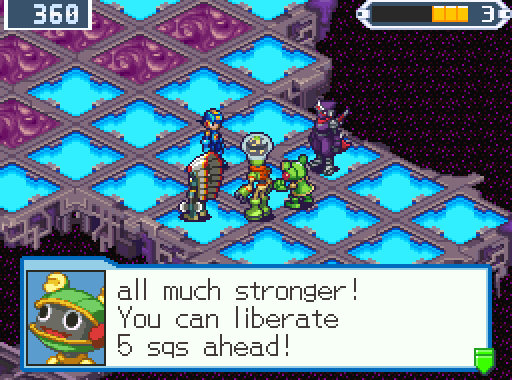
 Thankfully, ToadMan's Order Point action is amazingly useful. LifeMelody is used on a teammate who hasn't taken an action yet during the phase. Instead of liberating one panel normally, they'll liberate a whopping 5 panel line ahead of them! ShadowMan himself even comments that combining this with his ability to cross DarkPanels will be useful.
 In Team ProtoMan, Meddy's TwinLiberation is more situational, but very powerful when used properly or combined with GyroMan's BombLiberation ability. TwinLiberation sets up a straight line of targeted panels when Meddy uses it. This line extends all the way forward from the panel she's on to the last DarkPanel in an unbroken row. Having a teammate liberate the other end of the line will liberate every single DarkPanel within that line. Think of it like Reversi.

Enough talk, have at you! We all know I'm going to steamroll everything already, let's get on with this!
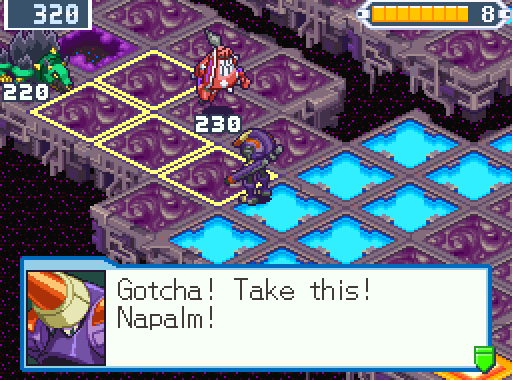
As usual, the first action is switching TomahawkMan for NapalmMan. I really wish I could find more TP Chips, but it seems as though they won't show up until near the endgame or into the postgame. Between Napalm and LifeMelody, you can bet the team will be carving out giant swaths of the field every phase.

As for the first actual action of the mission, NumberMan liberates the leftmost panel available, since his skills aren't of any use this mission. So he's being put on random assignment duty, mostly opening up ideal positions for the others to liberate from.
There are two BarrierKeys in relatively obvious locations this time around. ShadowMan can focus on other things though, as the actual BarrierPanels are a ways off. Finding the keys can wait.
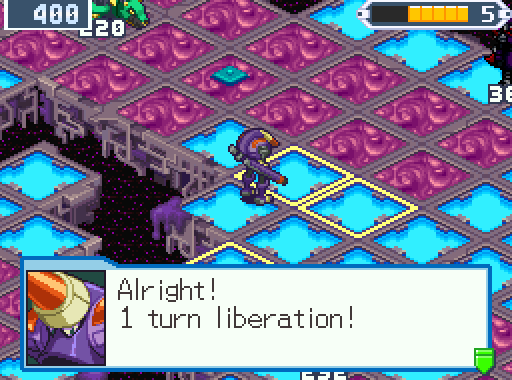
You can see how the DarkPanels aren't as dense in this mission as they've been before. So LifeMelody and Napalm aren't going to be seeing any use yet, just chipping ways to the paths. ToadMan spends this turn liberating a DarkPanel.
It'd be better to use Napalm from that open square just next to the one's being liberated, so NapalmMan opens the way for that next phase.
 Stupid freaking traps.
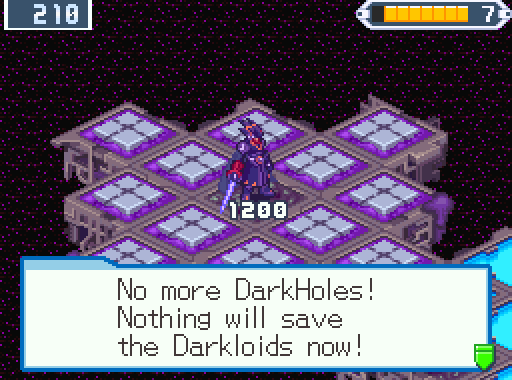
DarkColonel utterly fails to be menacing.
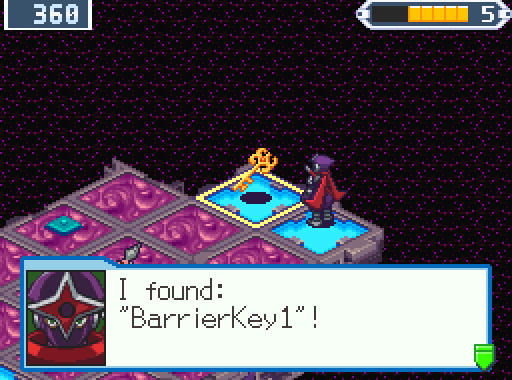
Might as well nab the BarrierKey1 now. Conveniently, it's right next to an already open panel. ShadowMan could have gotten this on the first phase if I'd felt like it.
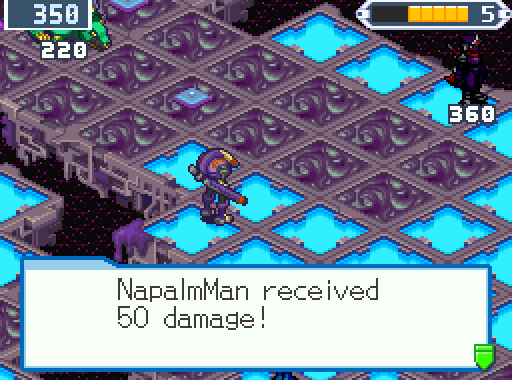
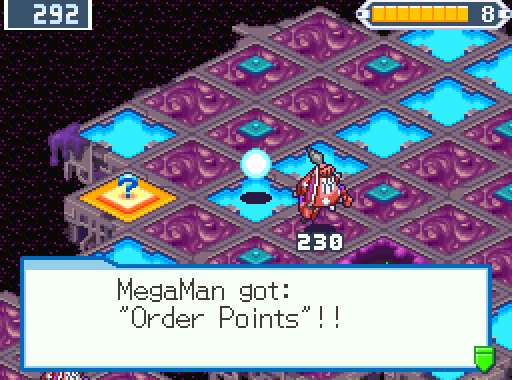
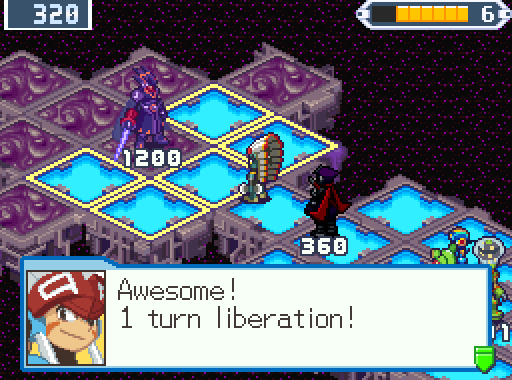
Barring one notable exception, it's really too bad that using Order Point actions makes 1-Turn liberations have no benefit. NapalmMan clears a way to the DarkHole.
Which NumberMan subsequently liberates.
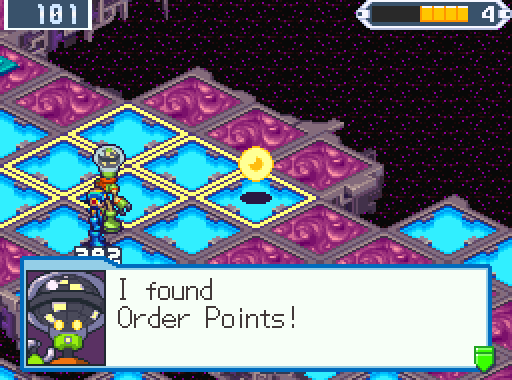
Oh godsdamn, I need to be less frugal with my Order Points. No missing these, just like last time.
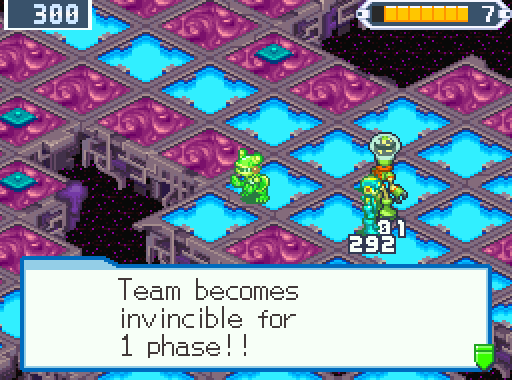
...And I also need to learn to grab BonusPanels at the start of a phase, not the end. Why do I keep getting the invincibility at useless times!?
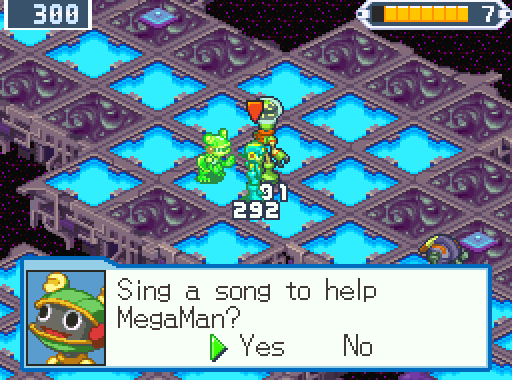
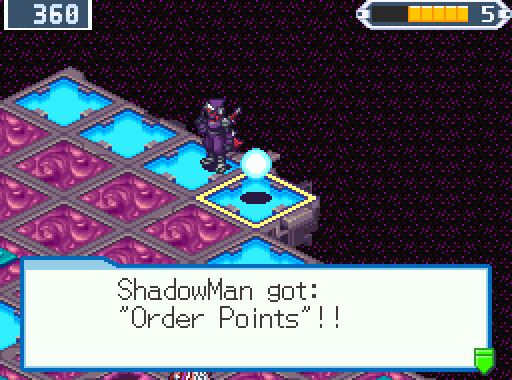
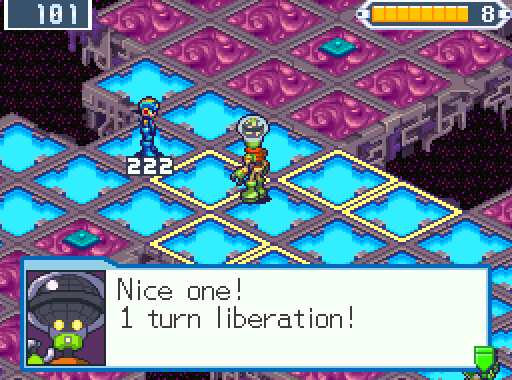
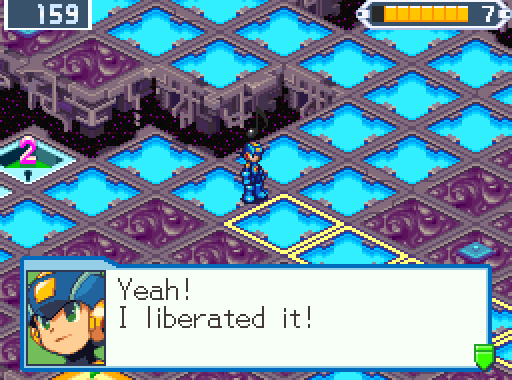
Well, let's finally put LifeMelody to work. Do note that this does give up ToadMan's entire turn to power up another Navi, MegaMan is the usual recipient of LifeMelody here.
And just as advertised, holy shit on a shingle. It's definitely worth the cost of two actions total.

Jesus! Here's a somewhat hidden benefit to LifeMelody. Because it enhances the basic Liberation command rather than counting as an Order Point action when put to use, 1-turn liberations actually work with it as well.
Okay, I'm going to let this say it all. My planned way through the missions saves Order Points for when they'll actually be useful. I'd be wasting them on LongSwords and NumberCheck or something really, the game just has an abundance of Order Points!
GRDRFRGHRGRRRRN
 Fucking Bladias! The field enemies aren't a challenge at all, even in surrounded field conditions. It's 3 turns to take out an enemy with at most 230 HP. Being able to create DarkPanels in the worst places is incredibly annoying.
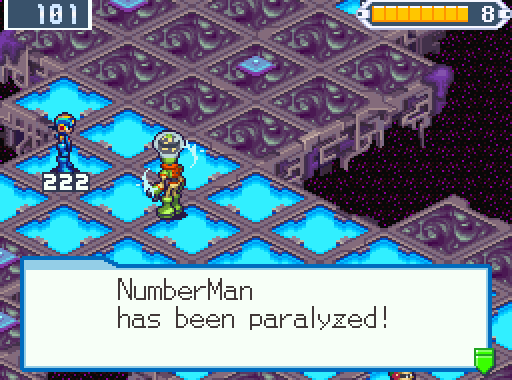
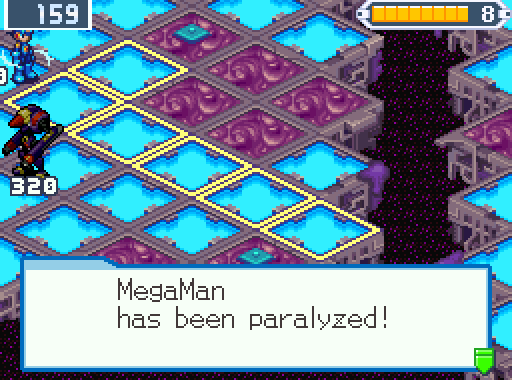
Buuuuut not as annoying as paralysis traps. Great.
Once again, it'll be a while before we need the BarrierKey2, so ShadowMan clears the way to the next DarkHole.
RRRRRRRGGGGHHHH!
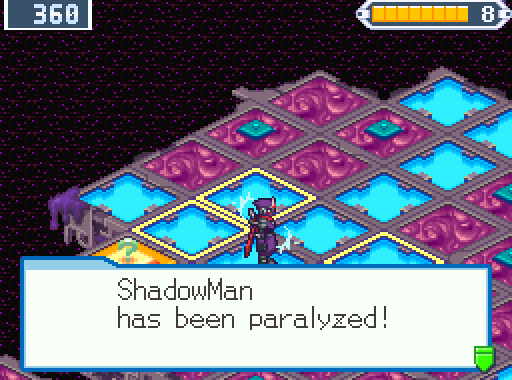
Fuckery! Distilled fuckery! Premium fuckery! My skill at getting 1-turn liberations is getting me bitchslapped by paralysis traps!
NapalmMan goes on DarkHole extermination duty, so the usual LifeMelody-MegaMan combo can get to work on the field right behind the DarkHole.
It's obscured by the text box, but this opens up a clear shot at the second-to-last DarkHole. However, I can tell that the BarrierKey2 is hidden around somewhere nearby, so it's worthwhile rooting around. Even without using the once-a-phase save the game allows (I just use a savestate instead, as saving takes a stupid amount of time) to check around, once you get experienced with Liberation Missions and how keys tend to be hidden, you'll have a pretty good intuition for them.
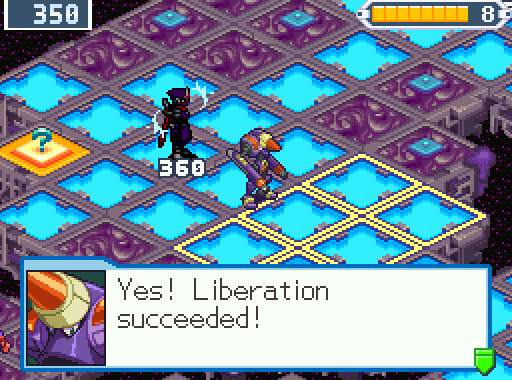
With NumberMan and ShadowMan paralyzed this turn, NapalmMan and LifeMelody-fueled MegaMan are the only ones who can do anything. Fantastic. NapalmMan gets rid of the DarkHole.

Another 1-turn liberation with LifeMelody later, MegaMan goes in search of the BarrierKey2. Might as well, with ShadowMan paralyzed for the rest of this turn. More Order Points!
 FUCK! FUCK! FUCK!
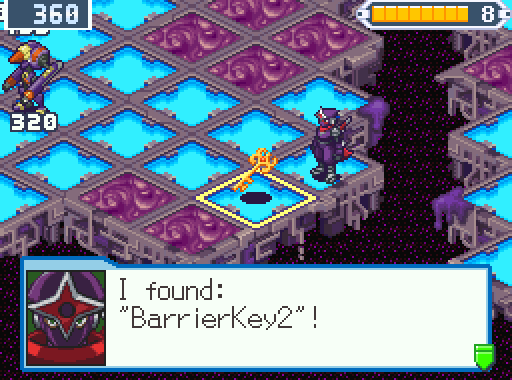
And of course, ShadowMan is able to move and grab the BarrierKey2 now that it's been opened up to where anybody can snag it. Of course.
The last DarkHole is right conveniently in range of Napalm once the BarrierPanels are gone.

Since the best fighters are out of commission and I won't be able to attack DarkColonel this turn anyway, might as well do some preparation. I was counting on a 1-turn liberation here, considering it's just a Bladia, but bad luck on the draw with chips screws that up.
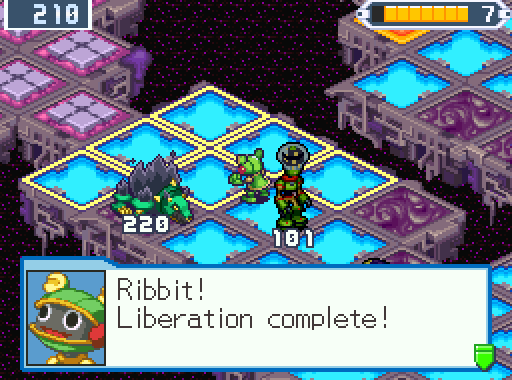
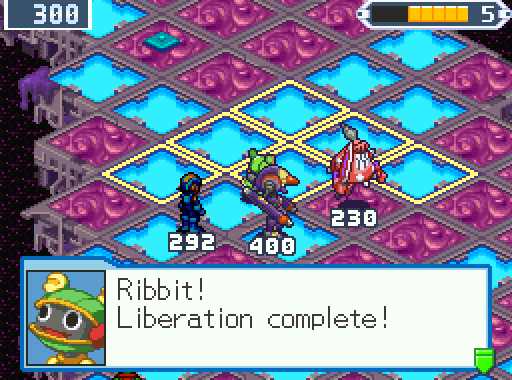
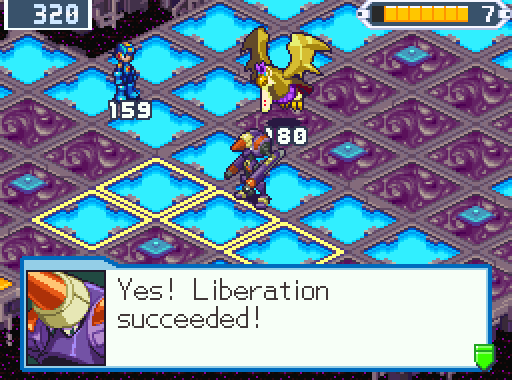
ToadMan clears the last of the DarkHoles anyway.
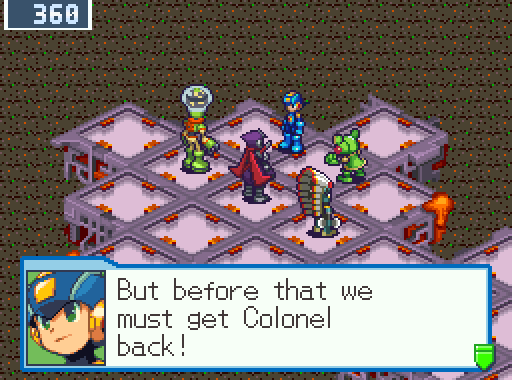
Which means that it's time to free Colonel from the taint of Nebula and its foul ineptitude.
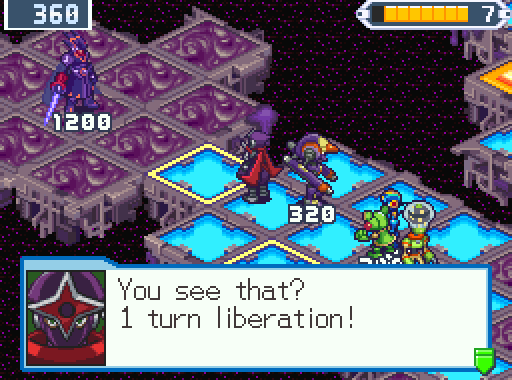
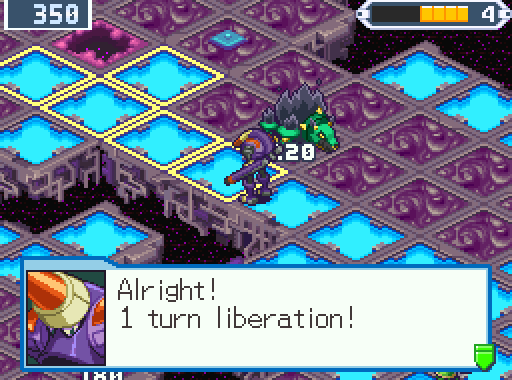
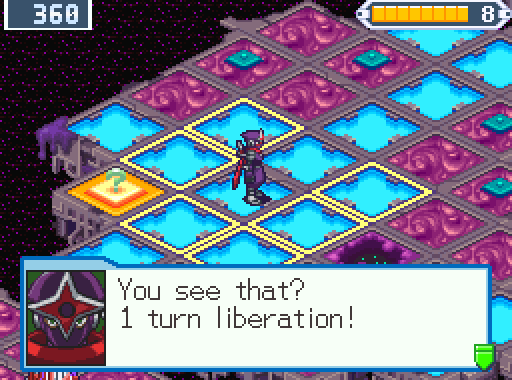
ShadowMan gets a 1-turn liberation where it absolutely doesn't matter, as usual.
Switching back to TomahawkMan for a TomahawkSwing exposes DarkColonel and tips the field in my favor. With another meaningless 1-turn liberation for good measure.

Time to snap Colonel out of it by force.
Huh, that was actually a close one. ScreenDivide is nasty, it's fast and comes out of nowhere. NumberMan got torn apart by it. I opted not to use TwinLeaders as ToadMan for the sake of fairness, as you'd likely expect.
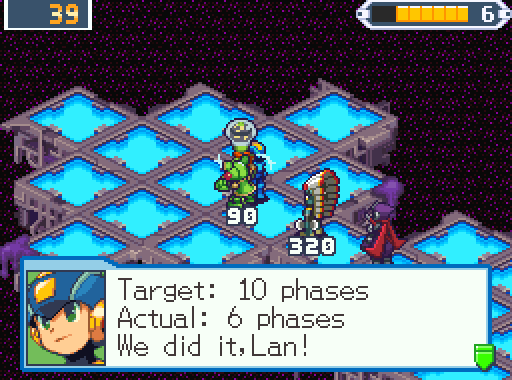
Most of the time, getting low times is just icing on the cake.
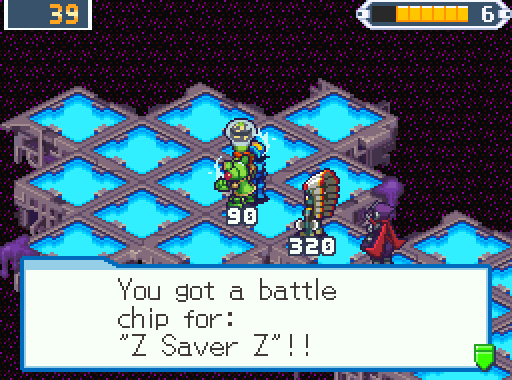
This time, however, the reward is well worth it: The Z-SABER chip! This is going right into the secondary folder, which is increasingly skewing towards the Z code.
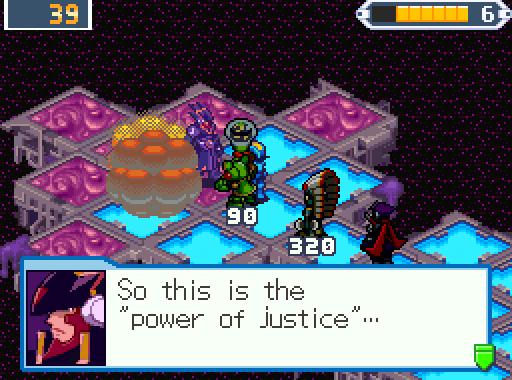
Much like DarkMega, it'll take more than being defeated in battle to take down DarkColonel. Well, is Baryl around to give a rousing speech or motivate Colonel to break free?
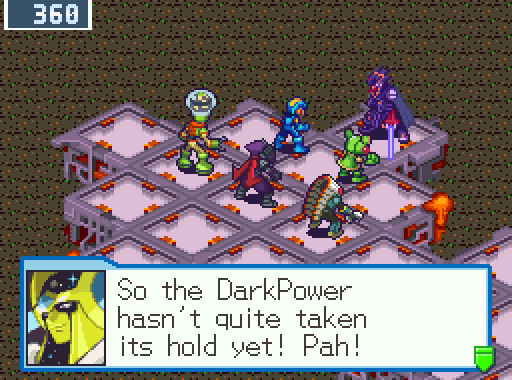
Oh great, SmugGenericMan is harassing us. About time he showed up.
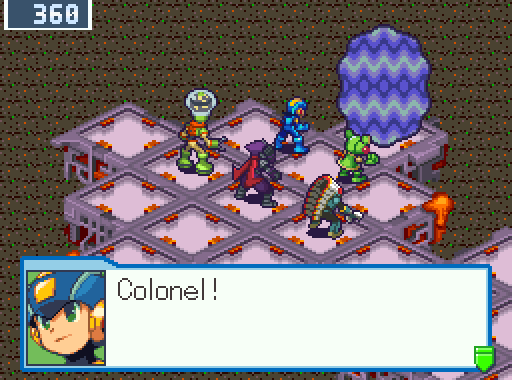
DarkColonel gets sucked into a portal, unfortunately, so this isn't going to be as short-lived as it initially looked.
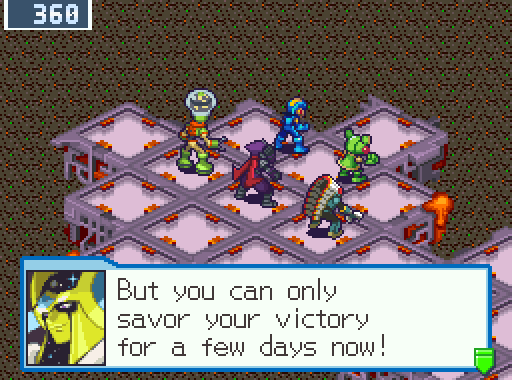
Just shut up already, you bland, cocky prick!
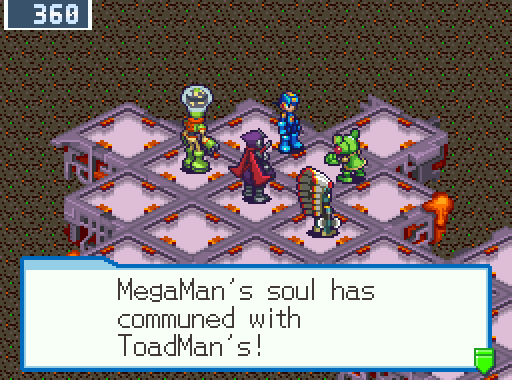
ToadSoul is pretty underwhelming. A homing charge shot, ToadMan's electrical croak, is handy though, as is the ability to hide within SeaPanels. Don't expect to see a crapload of use from it.

We are now officially in the endgame, after this update will be the last things to take care of before the final dungeon.
This being one of said things.

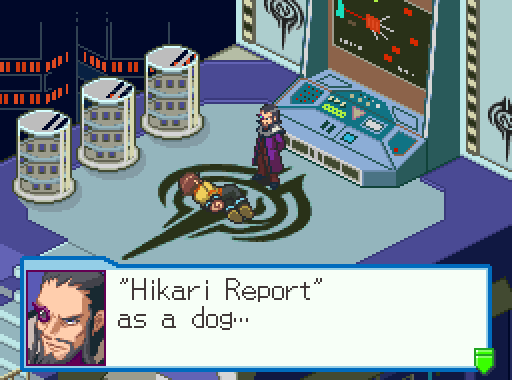
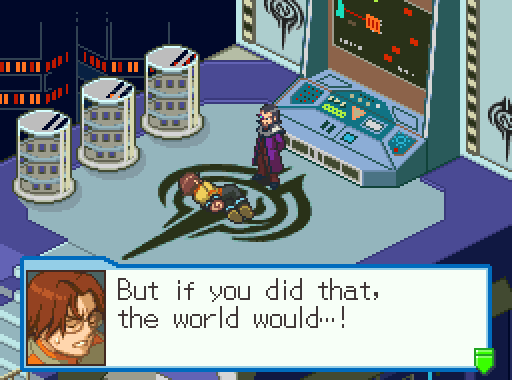
Fade to black, with Dr. Regal taunting Dr. Hikari. Apparently, despite any and all torture, the guy held out the whole while, impressively.
Side note: I fucking despise taking screenshots of these interludes with Dr. Regal because the jackass acts like MMBN4 text spacing is in effect. Dr. Regal inexplicably takes 3 text boxes to say what could easily fit in one.
Anyway, if it wasn't obvious, Gow is the Hikari Report. Dr. Hikari Sr. simply hid it in the form of his old dog. Crafty.
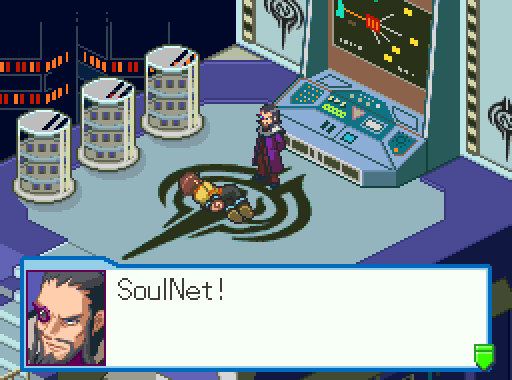
Fucking Regal...This is the culmination of his plans, involving the contents of the Hikari Report: SoulNet. Get ready to crank the genre ratio over from "techno-fantasy" to "techno-FANTASY.
Whatever SoulNet is, it's a bad thing.
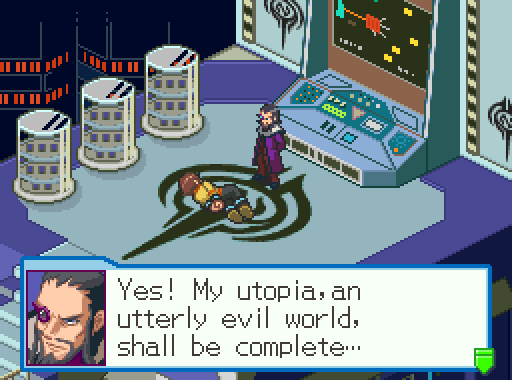
It will apparently result in this. Jesus, I feel really sorry for Dr. Tadashi Hikari. Everything the guy made with presumably good intentions keeps turning into a doomsday scenario. Was he allowed to make breakfast, or would that have to be sealed away in a SofaComp?

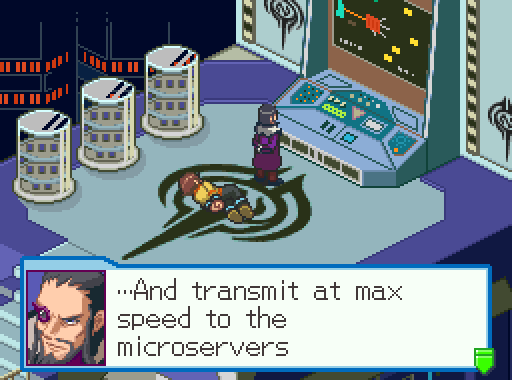
SoulNet and NebulaGray. Nothing is given what these are, but you can bet they'll be the centerpieces for the endgame.
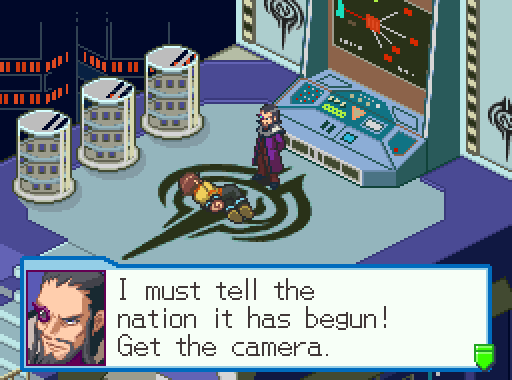
 REGAL! You and your fucking poorly-spaced rambling!
Gotta love how he's spent the majority of this game with his eyes closed. His talking animation is the only time they're open.

And even then only barely so due to the above-head perspective. At least his sprite has the monocle on the right side when he faces this way.
Have I mentioned I loathe this villain for all the wrong sorts of reasons? Not because of the evil things he does, but because he's so idiotic and annoying?