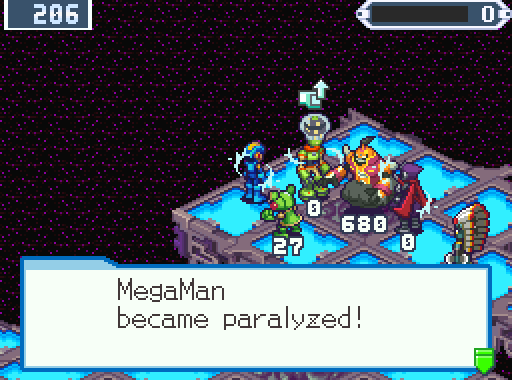
Part 53: Clusterfuck!
For those who don't read discussion and skip to updates:PlasmaMan posted:
I dunno, but a navi design contest as part of this LP sure would be interesting. In fact, I have ten bucks to throw around,so let's have this contest.
BeardMan.exe too easy.
As for questions about navis, pretty much anything goes, I think. Robot masters that didn't get one, robots/characters from other megaman series, an original concept like BlastMan (MMBN6 first boss spoiler), even a redesign of an existing navi if you have a good idea. You could sprite something, you could draw something. Pretty damn open contest. You'll get brownie points from me if you include a description of how they fight, their attacks, how a Cross/Soul would behave, etc.
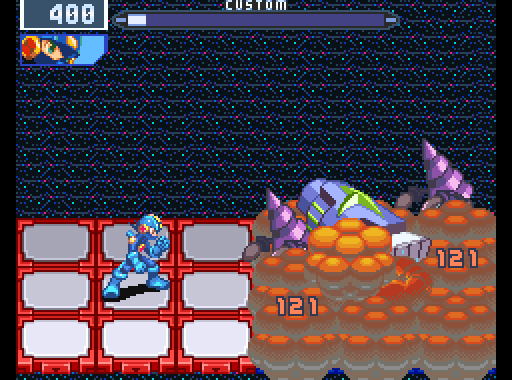
So here's what JusticeOne looks like: a giant Duo fist smashes into the center of the enemy field for 280 points of damage, with 100 points of damage to all surrounding panels. Everything gets cracked.
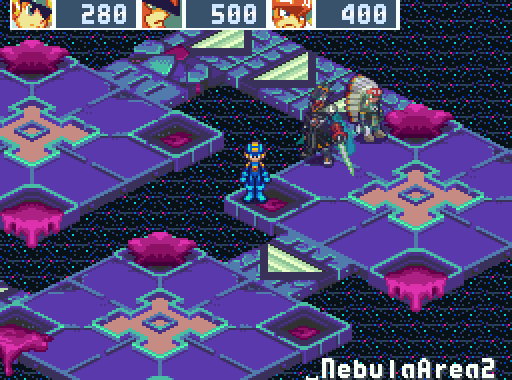
And this is what NebulaArea2 looks like: A MAZE. Oh boy! Teleporters, twisting, overlapping paths, conveyors, you name it. Every postgame needs at least one of these, right?
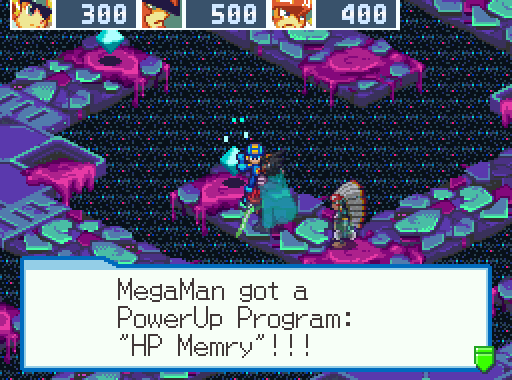
Also, the viruses get incredibly dangerous from here on out, I should mention. Much higher HP and damage is obvious, but the occasional pattern mix-up and very cruel virus combinations erode my fairly tiny amount of HP very, very quickly. This HP Memory is helpful as hell, and I really wish the game forked over more Zenny so I could actually afford the HP Memory upgrades from stores.

Here's an example: Dominerd2EX. Dominerds have always been some of the most annoying viruses in the series, what with only taking 1 point of damage from anything that isn't Breaking, teleporting onto your panel to attack you (the only time they take damage normally), sometimes coming with Geddon chips to break every panel on the field, and acting as shields to protect other viruses. They get worse now. Now they're fucking INVISIBLE when they aren't attacking you, and hang out in front of other viruses until you hit them, which triggers their attack. Yeah, they got a revised, even more evil AI.
And expect a shitload of Poison panels, holes in the field, boulders, and all sorts of other terrain fun. Welcome to the postgame! Unlike 4, MMBN5 remembers that postgames are supposed to be long, and really, really fucking hard. I'm actually happy about that, the alternative sucks.

NebulaArea has a ton of swag just ripe for the taking all over the place. Of course, I got this in what, the first or second update? Good old Number Trader. I won't abuse it in MMBN6, that game deserves its dignity.
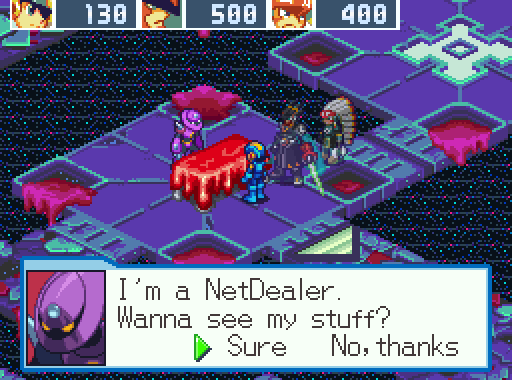
As usual, the postgame has a shop with incredibly expensive stuff.

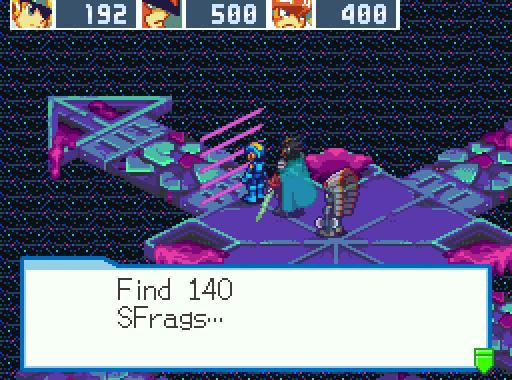
Ah great, to move on to NebulaArea 3, we need 140 standard chips.
I was working on the chip grindfest and...well, I got bored.
So I tried to get SolCross working.
Somehow I wound up with BassCross silver. Look, I tried doing things the legitimate way, in the sense that I downloaded a GBA Team ProtoMan gamesave in order to get BassCross the legitimate way, which would be needed down the road anyhow. That was a miserable failure because the GBA game doesn't seem to want to recognize the GameShark snapshot in order to convert it into a game that's beaten BassSP already (required for BassCross to work).
So the legitimate way is right out. The illicit way involves codes from Hog Butcher and others. While the codes for BassCross change MegaMan's appearance and function, I fear that they don't set the right flags that trigger the special BassCross events, as evidenced by the game being fine with me having 5 MegaChips while the code was on.

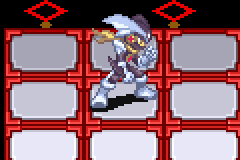
So I tried to tinker with the code myself. Although MegaBass here looks kind of neat, I wouldn't call it a success.
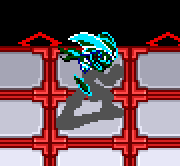
I'd call this the complete OPPOSITE of success, actually. Yes, this actually was playable. NegaMan's charge shot became a CactusBall chip that changed color pallete depending on which row I was standing on.
THIS IS NOT PROGRESS.
It's looking like I'm going to need to find a list of boss addresses and fight the secret special BassCross boss via hacking a battle like what happened in MMBN3.
...Or, that's what I was thinking until J Detan very helpfully provided a save file for me to work with.

Oh hell yes. A bit of emulator dickery later, and I'm able to use BassCross normally.
Complete with lower screen! You know what else slotting in a GBA MMBN5 cartridge does? It gives you a free TP chip! No wonder I couldn't find another one of those.
BassCross silver is going to be very helpful for me, I'm a big fan of auto-floatshoes, and more HP is a huge bonus in the postgame. Plus it makes the buster actually worthwhile using.
More importantly? You can import your active GBA MMBN5 folder to serve as your DTDS extra folder! You can't change it, but yes, you thought everything I did so far was breaking the game? This just trivializes the entire thing. You can't edit it in DTDS, but more importantly, this lets me skip a huge amount of the chip grinding.
Oh, not enough standard chips even after doing that once? Then I'll just do it again!
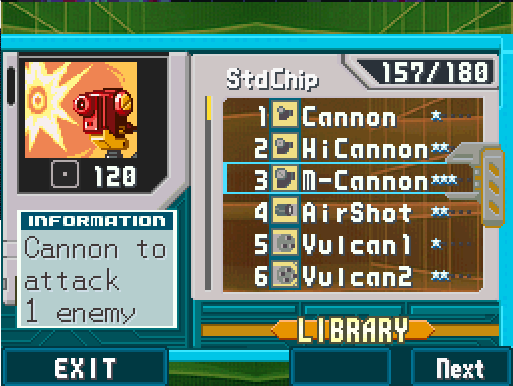
Loading up the folder in J Detan's save with a ton of random chips I didn't have, and presto, I've got everything I need.
Damn right! Bwahahaha!
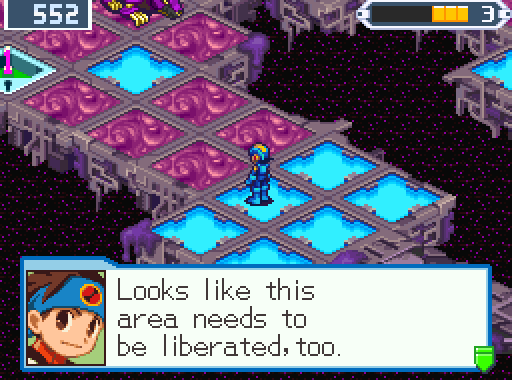
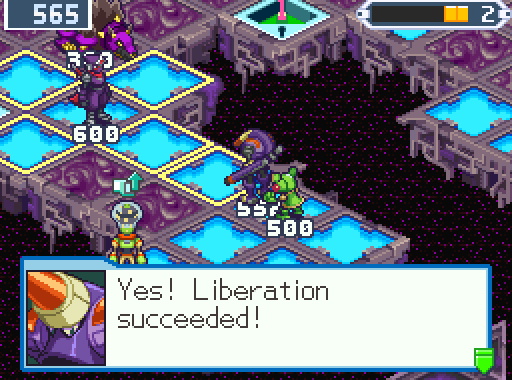
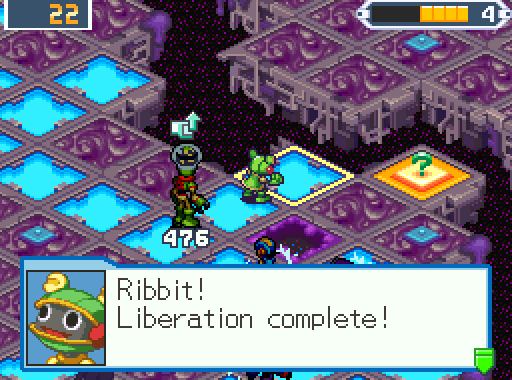
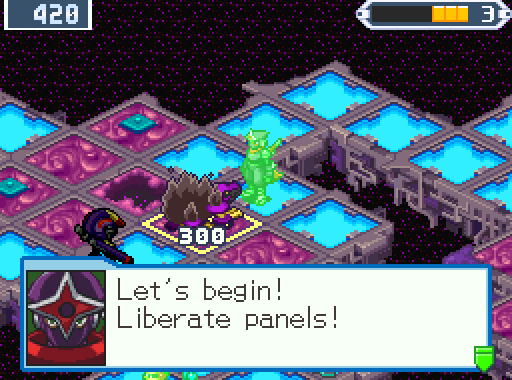
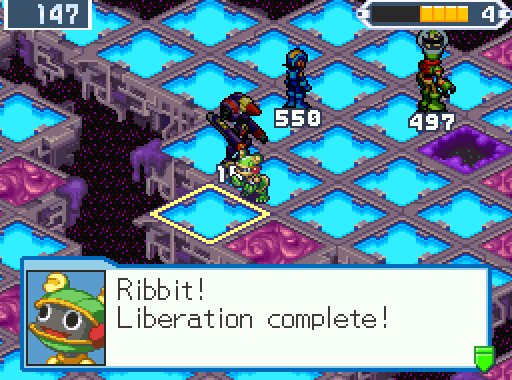
Immediately running in, yes, it's another postgame Liberation Mission.

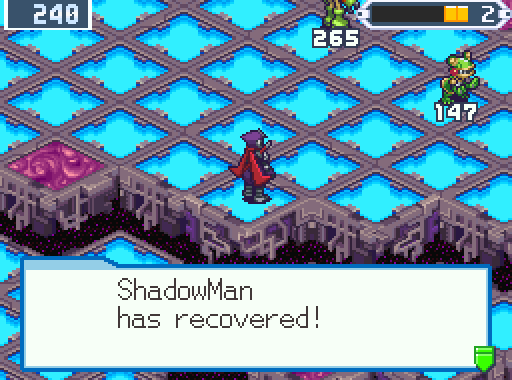
ShadowMan is far, far more right than I realize at first. But for now, the team is only missing KnightMan and Colonel. NumberMan chimes in that Colonel is off investigating NebulaArea, because he saw something very large, and very pissed off. What it was isn't explained yet.
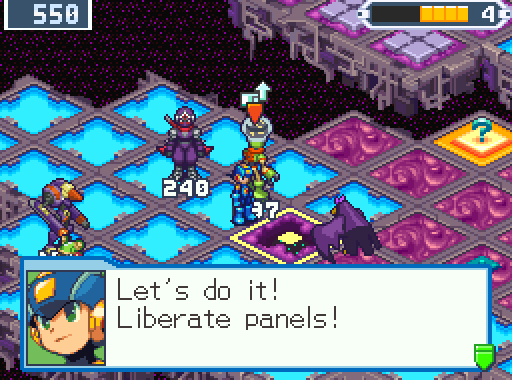
The mission begins. See that symbol above NumberMan's head? His chip attack and charge shot have been powered up because I have MMBN5 slotted into the game. Depending on which game in the series you have in the GBA slot, different members of your team get boosted.
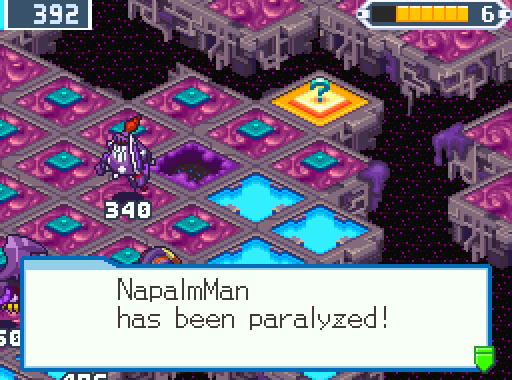
The first action, as usual, is to call in NapalmMan. Because I forgot to open the email that was sent with the TP Chip in it, I still only have the single TP Chip. That isn't the only mistake, though.
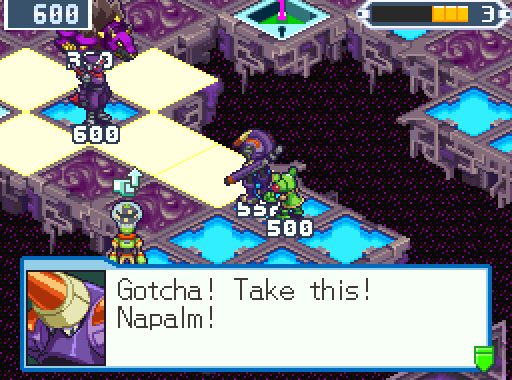
No, this won't actually do anything, but ShadowMan gets blasted with Napalm for calling me reckless.
"Artist's" rendition of my reaction to this:

OH MY GOD NO! OH FUCK, OH FUCK!
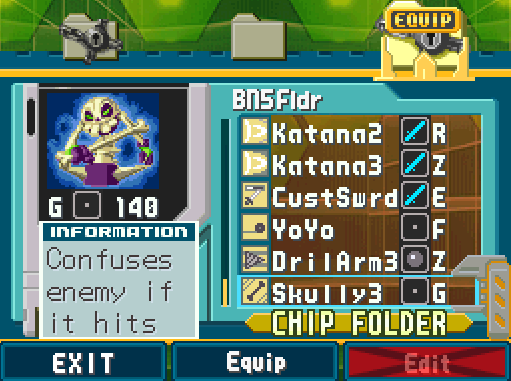
Did I seriously just enter one of the hardest Liberation Missions in the game with the folder I made to cheat past the chip grinding? Why yes, yes I did.
FUCK ME I AM RETARDED.
I make the decision to play through the mission under this severe penalty. I made the mistake, and it's a very clear example of me being hoist by my own petard. Plus I'm morbidly curious, as well as seeing this as an extreme test of skill, sanity, and once-a-phase savescumming.
Needless to say, this mission is going to take a hell of a lot longer than usual, as I'll need to play much more cautiously. I may even have to split the update.

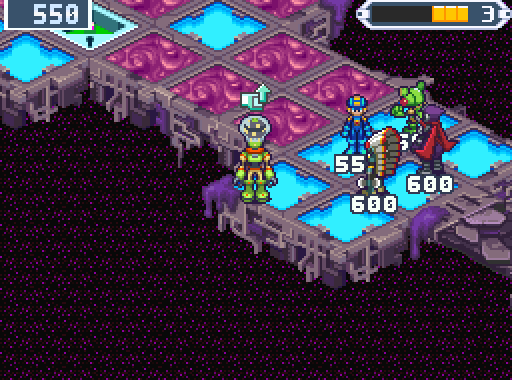
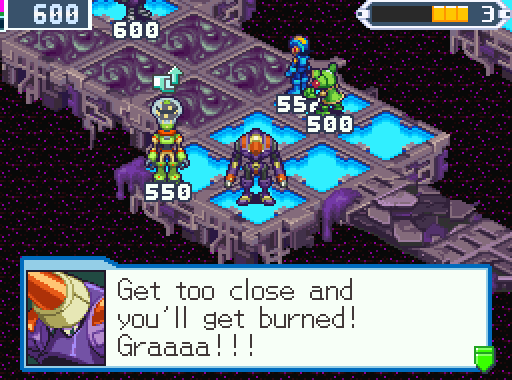
Here's why ShadowMan hasn't been sent out already, this BigBrute5 is blocking the way forward. As you can see, this mission is already far more evil than previous ones. The BarrierPanels are now functioning as obstacles and chokepoints, not just, well, barriers that need to be unlocked. Many more DarkGuardians, in very nasty places, and you can bet your ass the area is stuffed full of traps.
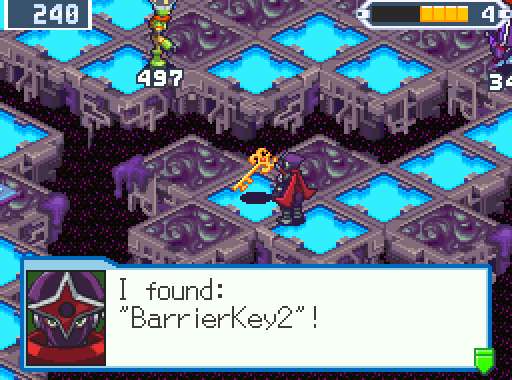
With that BigBrute5 taken care of, ShadowMan is free to look around for the BarrierKeys. As you can imagine, with the new role of BarrierPanels not just being walls, it's very important to find the BarrierKeys as soon as possible, and I'm pretty sure the first one is in the panel furthest to the left. What about the rest of the area?

MOTHERFUCKER YOU CANNOT BE SERIOUS.

Meanwhile, NumberMan gets to work on this chokepoint. At least now I can access the DarkHole.
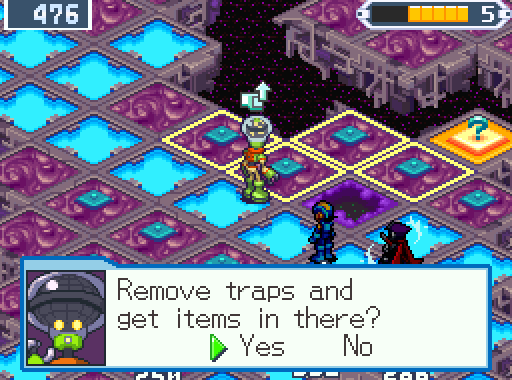
100 Zenny ItemPanels are very common here, as this hard as hell mission laughs in your face. But I do have a plan here, so this isn't completely nonsensical.
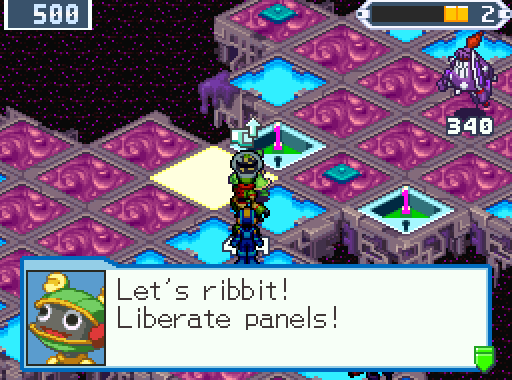
 ToadMan engages the DarkHole, and believe me, the DarkHole battles are now nightmarishly difficult.
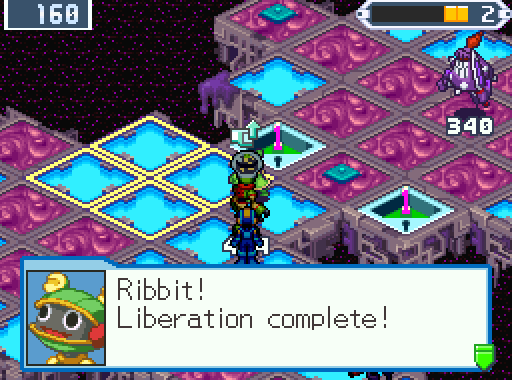
Keep an eye on the HP amounts the team has for a good laugh, I guess.
 And look who the boss is!
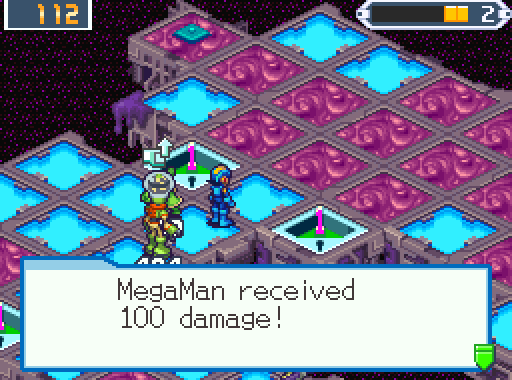
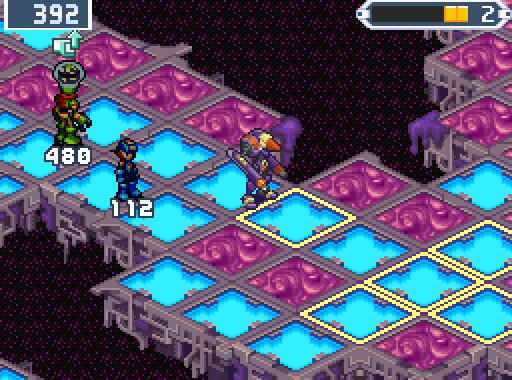
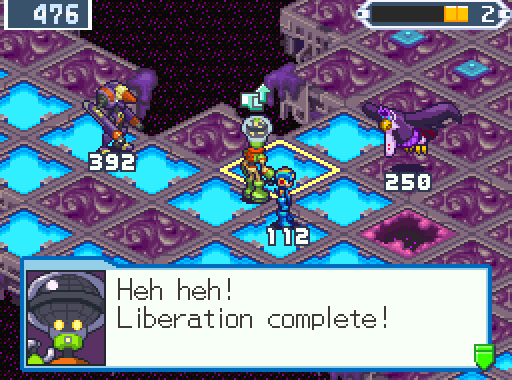
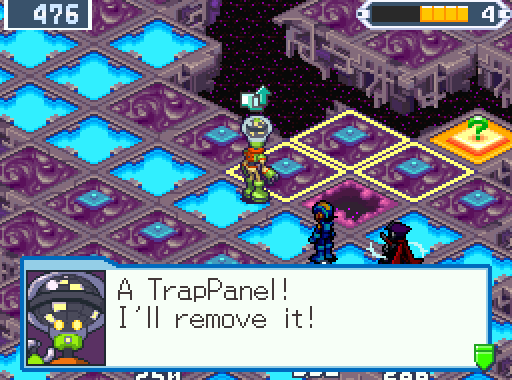
While not as bad as paralysis traps, the first trap of the mission is a 100 damage trap that gets MegaMan's HP down to a mere 112. Yes, this mission is also packed with the same terrain fuckery that NebulaArea 2 was, the entire postgame is that way.

ShadowMan will get smacked by the TinHawk5 for 70 damage, but that's worth it considering he's now opened up the way for what I intend to pull next phase.

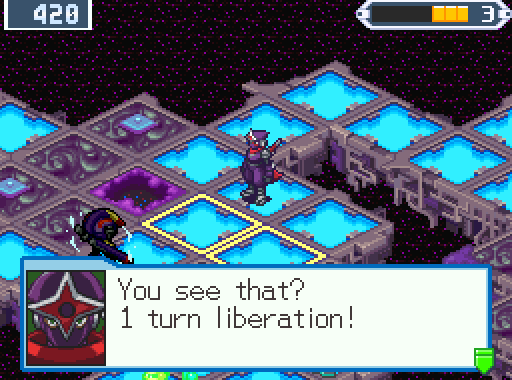
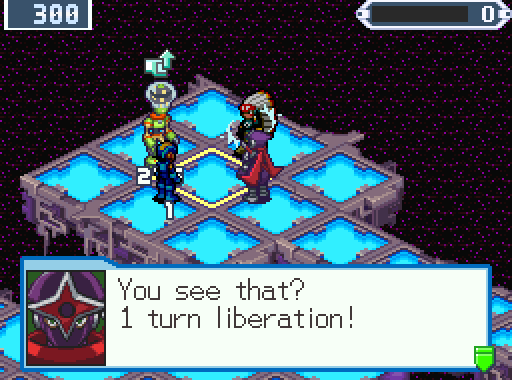
Needless to say, do not expect many 1-turn liberations out of me here.
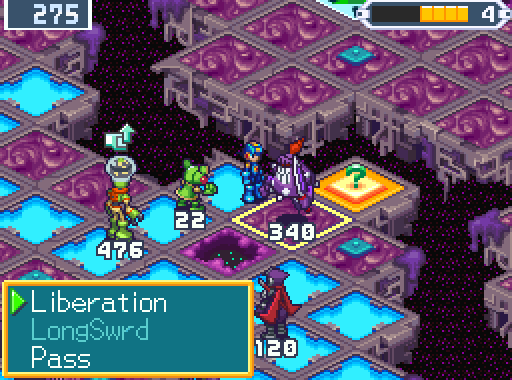
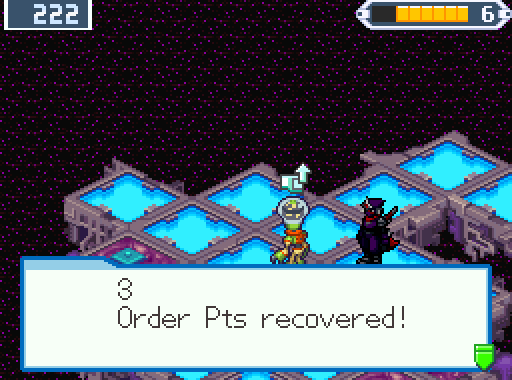
Looking at how dense this level is and how many traps are all over the place, you can bet that Order Points are now extremely valuable. Needing to conserve them, this is a rare time NapalmMan isn't blowing things the hell up.
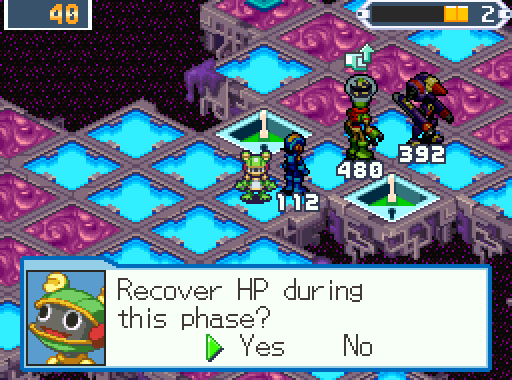
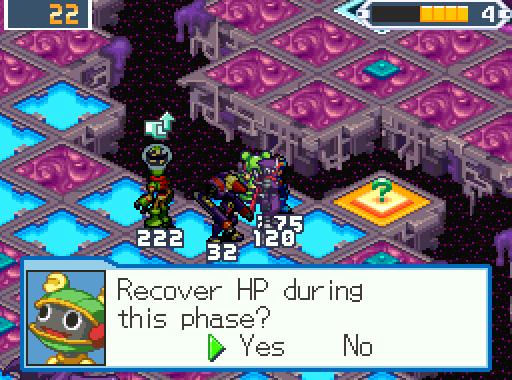
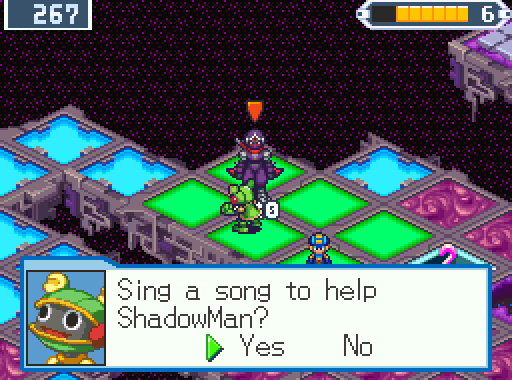
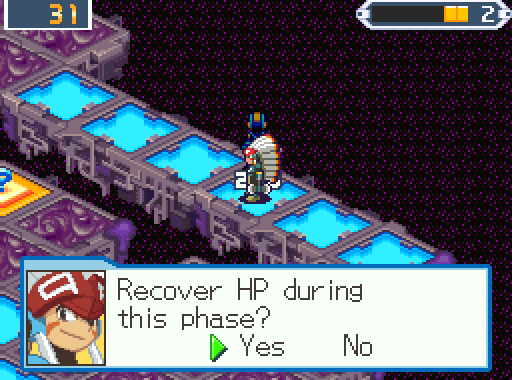
And now for something I've never had to do before: Pass. Passing recovers a portion of a Navi's HP, usually about 200 I think, if it isn't just a static amount.

The TinHawk5's only do 70 damage, but it adds up quickly during Darkloid phases when it happens every time. And given how low my HP will be left most of the time, 70 damage suddenly becomes scary.
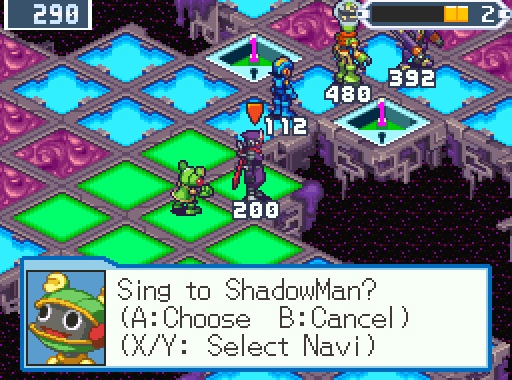
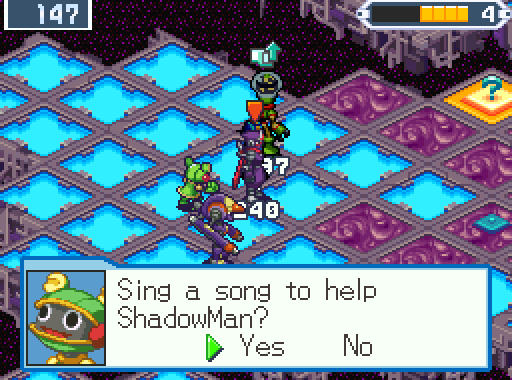
Alright, time to hopefully snag that key. ToadMan boosts ShadowMan.
Followed by ShadowMan moving into the position he opened up to snipe the ItemPanels.
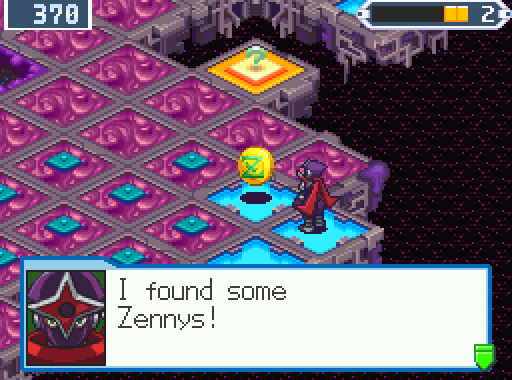
Hah! Knew I remembered that right! But what else do I get from those ItemPanels?

100 Zenny...
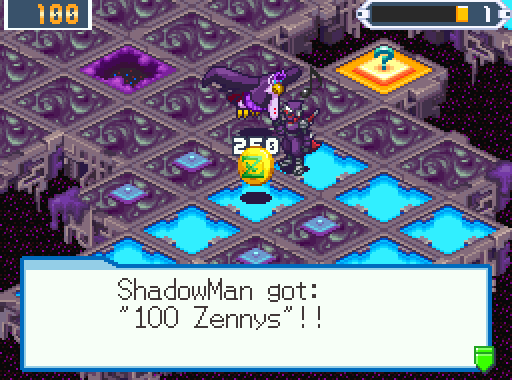
100 Zenny...

 100 damage. Oh come fucking on! JUST enough to put ShadowMan out of commission.
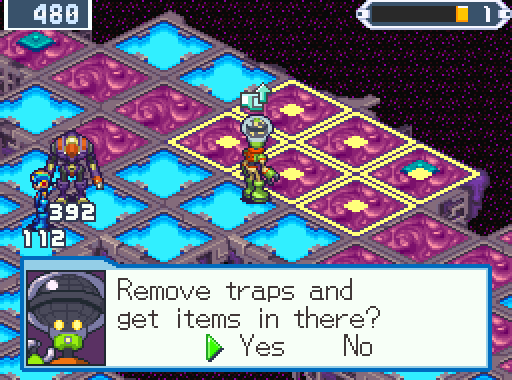
Thanks to some once-a-phase savescumming, I know that this ItemPanel has Order Points, while the other one nearby doesn't.
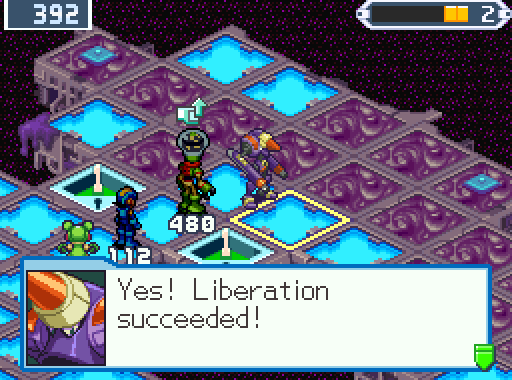
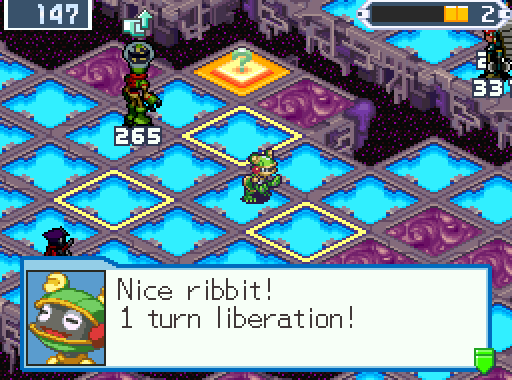
Bingo, a 1-for-3 investment.

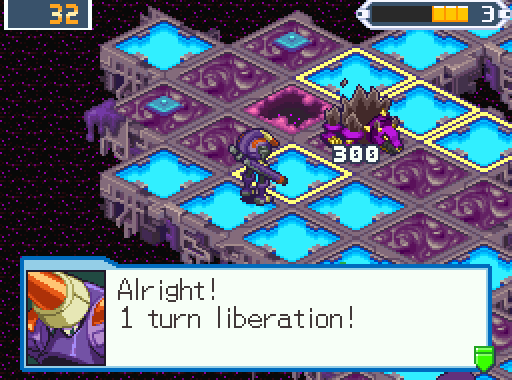
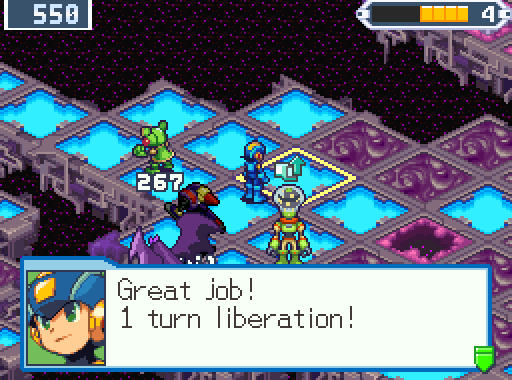
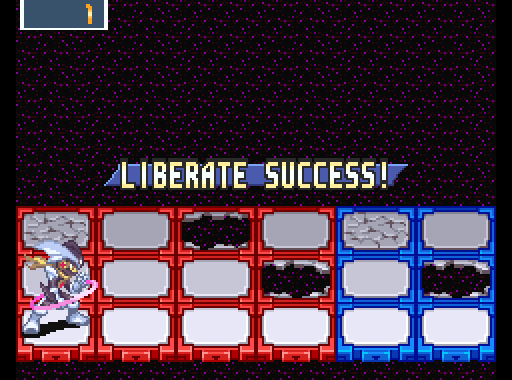
Okay, considering the circumstances, I deserve to brag whenever I get a 1-turn liberation here. Not a single MegaChip or GigaChip, no DarkChips for ChaosUnisons, and basically random shit that only have code matchups by sheer chance.
NapalmMan resumes his normal role as shit exploder.
Next phase, I know damn well I'm not going to be able to handle that DarkPanel with surrounded conditions, so NumberMan clears up this panel.

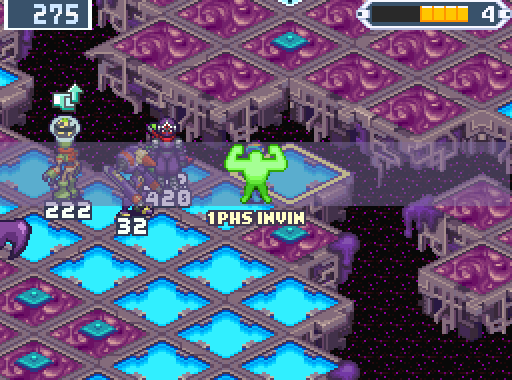
Thank god for UnderSht and BassCross! That was a close call.
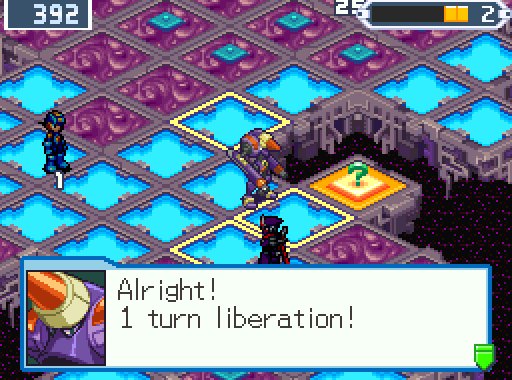
NapalmMan gets a 1-turn liberation. Those are easier for him thanks to his infinite vulcan buster and Napalm chip attack, especially because the enemies sometimes start the battle standing on grass panels.
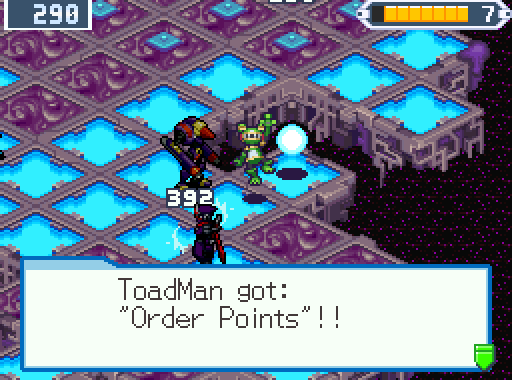
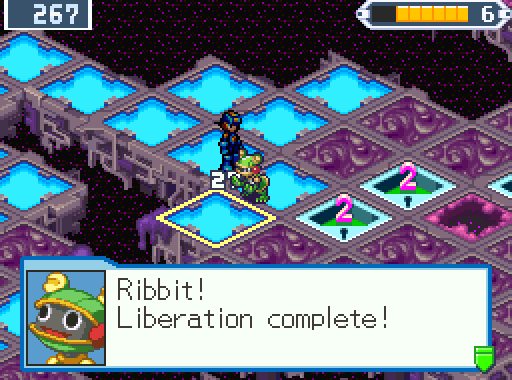
Abusing the once-a-phase savescum to its fullest out of necessity, ToadMan snags some much-needed Order Points from the BonusPanel.
Followed by opening the way for NumberMan to get to work on that massive cluster of ItemPanels.

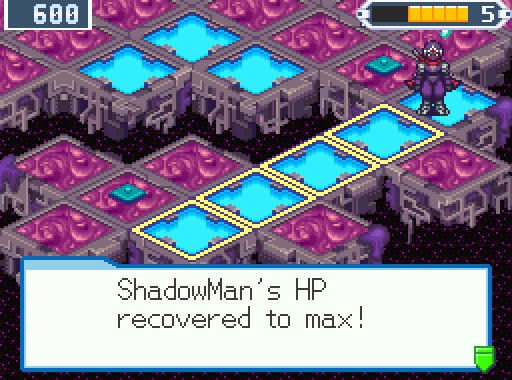
Next phase, ShadowMan recovers, but I'll wait a bit to send him out.

Surprisingly, none of these are trapped. Although, every single one holds the same thing:

100 zenny. Right, re-frigging-loading the once-a-phase save. I make the saves before almost any action, but I only reload one of them per phase, although I can do so as many times as I like. Just like as though I were playing the game on an actual DS, albeit with a bit of rules-bending/breaking.
Gimme a break, I could have just aborted the mission and switched to my normal folder!

NapalmMan uses the Order Point salvaged from that to blast open a path to the DarkPanel. Even in these circumstances, I'm still able to pull off 1-turn liberations that don't make any difference because they're Order Point actions...
 Fucking shit! Oh let me guess, every single ItemPanel directly surrounding the DarkHole is a trap.
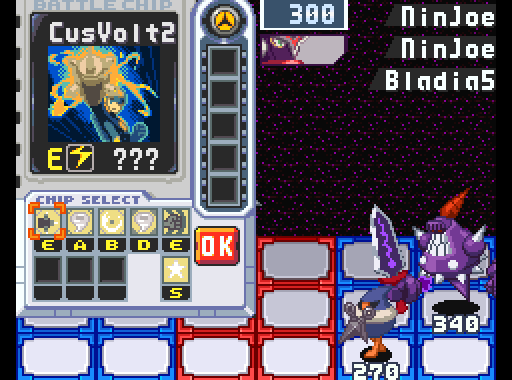
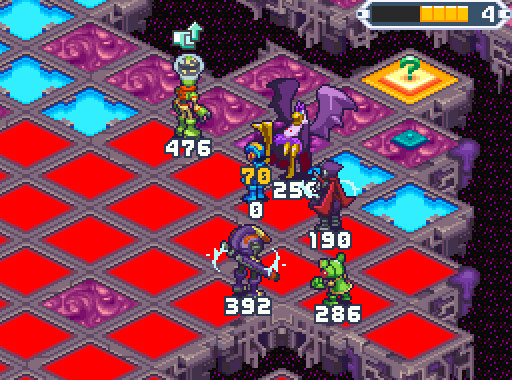
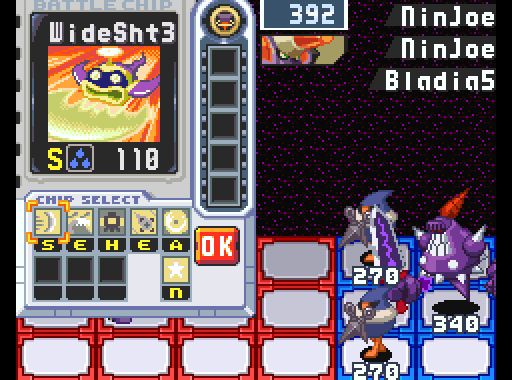
Said DarkHole, incidentally, manages to be the hardest fight I've had in the game so far.
The Bladia5 has a ton of HP and periodically guards to block attacks in response to them. The NinJoe viruses, also with a shitload of HP, will teleport away from direct attacks and respond with MoonBlades that are unavoidable in surrounded conditions. And they'll do that anyway if I leave them alone. All in 3 turns.
This is so unspeakably hard that it's made me do something not even the worst of the worst fights of the LP could do: Give up.

Not the mission entirely, mind you, but there's no way in hell I can beat that fight without making it significantly easier. So I reload the save twice in one phase to break the rules. ToadMan powers up ShadowMan instead.

There, now the fight won't be under surrounded conditions at least.

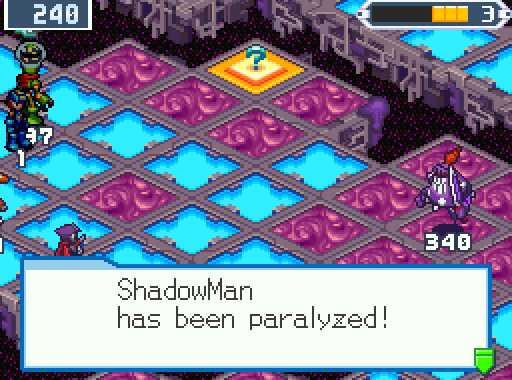
Goddamned motherfucking shitfuck! I was right!
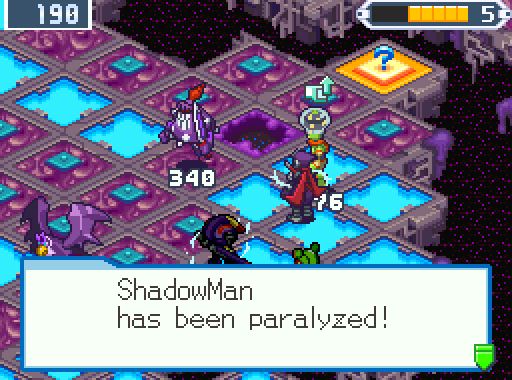
At least getting hit by TWO paralysis traps doesn't paralyze for a longer period of time...
One-on-One, Bladia5s are no trouble to defeat without taking any damage given that they're more defensive than offensive. I had to take that thing out or the little bastard would make a new DarkPanel during the DarkLoid phase.
The DarkHole is still way too hard, so NumberMan has to take out those other ItemPanels because they're bound to have paralysis traps.
Called it. The other panel is just 100 Zenny.
FUCK YOU.
I wouldn't be surprised if the AI was programmed to go after the Navi with the lowest HP, but come fucking on, you had to target the one Navi who wouldn't survive the hit!?
While not necessary for taking out that hellspawned DarkHole, NumberMan and ToadMan begin making their way up to the BonusPanel, at the cost of most of ToadMan's HP. Nobody else can do anything.
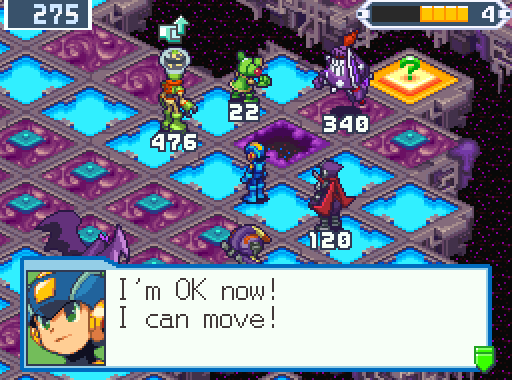
MegaMan recovers after only 1 phase, thankfully, since he was downed during the Darkloid phase.
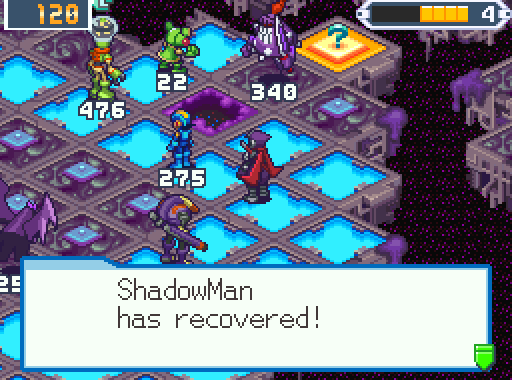
ShadowMan also recovers.
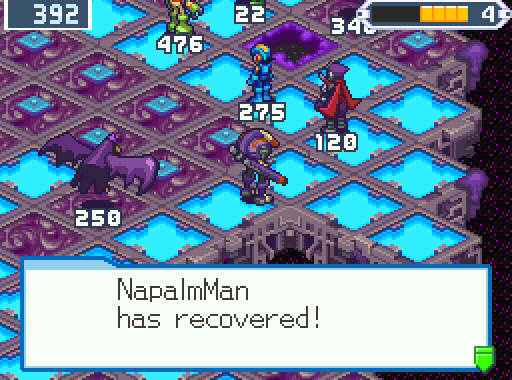
As does NapalmMan. Let the revenge begin.
You know what happens when you leave Bladias around, so MegaMan gets rid of the damn thing.

There, by doing this, I'll be able to attack the DarkHole with a field advantage rather than a disadvantage!

NapalmMan, your task is simple: Kill.
The task might be simple, actually pulling it off is still incredibly hard. 3 phases to deal over 600 points of damage across three targets with this shitty folder, while dodging MoonBlades and having my panels broken by the Bladia5.
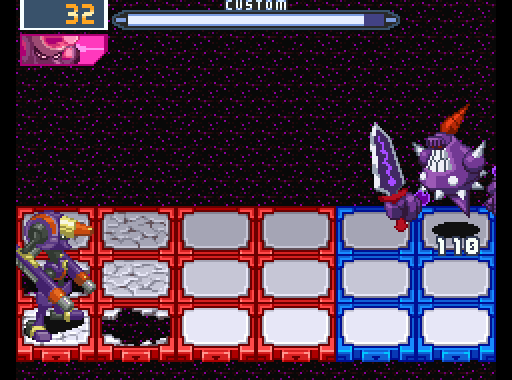
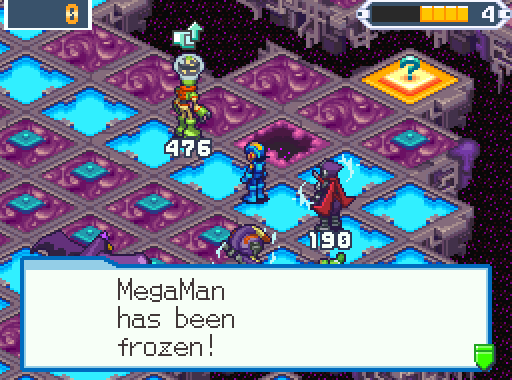
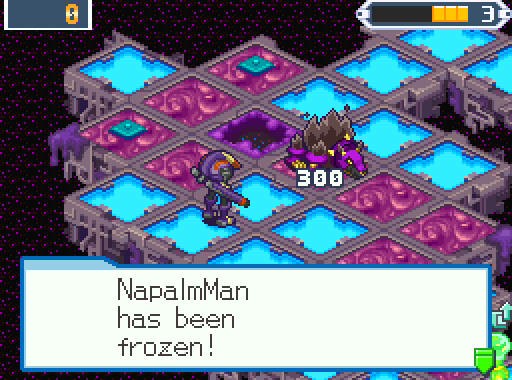
Jesus Christ this is hard. One fucking turn left and I'm locked in, probably going to get smacked one last time by the Bladia5 and frozen.
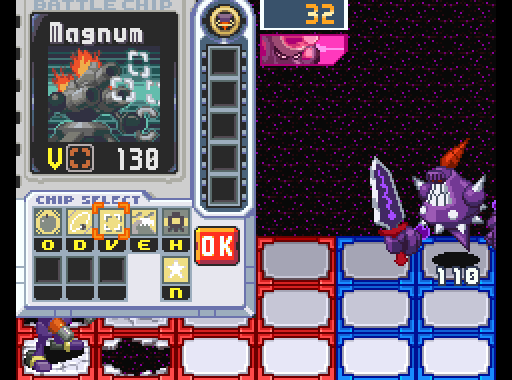
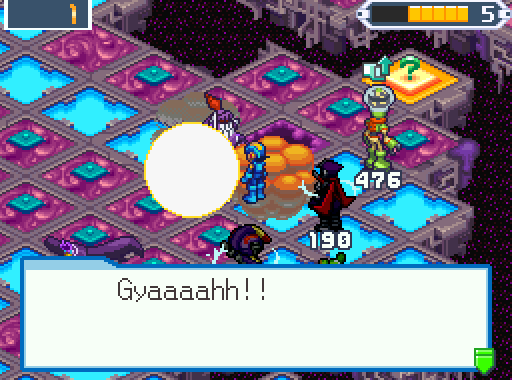
And then, during the darkest hour, Magnum appears. My victory or defeat depends on a coin flip between the two columns Magnum could target, considering how fast the cursors move.

YES!

Holy fucking shit, that was hard. That was insanely hard. The only thing I've had to do in this LP that was harder than that was the Serenade Omega with BusterMax challenge fight.
ToadMan gets some rest.
Next phase opens, and it's time for me to get some payback.
 Fuck yes! I return from the dark depths to kick ass, and
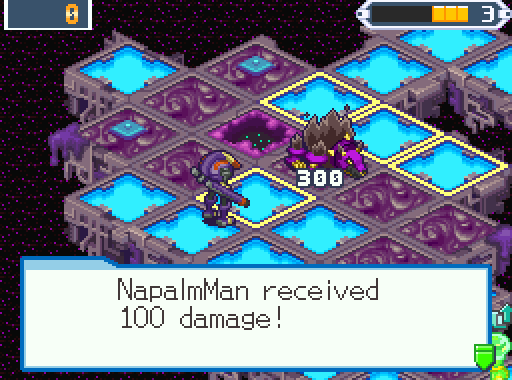
FUUUUUUUUUUUCK!
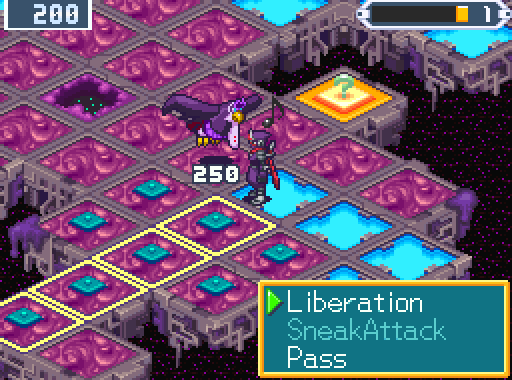
ShadowMan goes for the lone BigBrute5 with even field conditions.
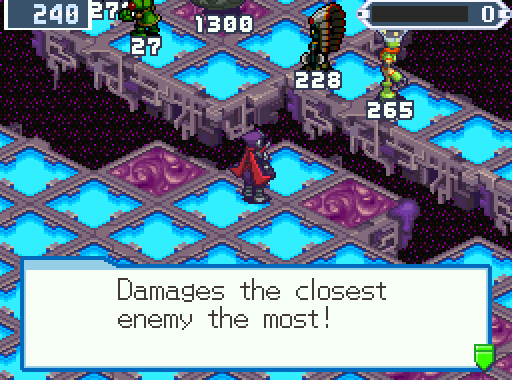
Thankfully, that's good enough to make a 1-turn liberation possible. ShadowMan's AntiDamage charge shot is very helpful for those, as it targets the closest enemy and deals 100 damage now.

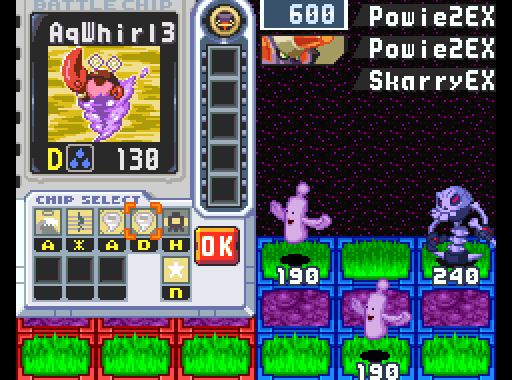
NumberMan goes after the DarkHole, which is still tough, but not anywhere near as bad as the last one. The whole enemy team has tons of HP, a Sparknoid/Shakky virus to make dodging attacks hell, an Appley2 (I forget the real name) that's invincible to everything but fire when not attacking and will heal something when it dies, and a BigBrute5 to cover my field in a + of fire periodically.
This took plenty of reloads, let me tell you. I have no idea how NumberMan came out of that without taking any damage.
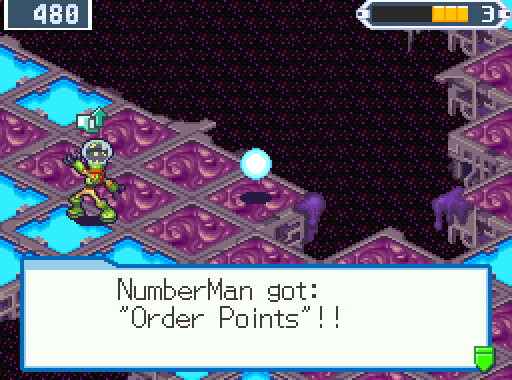
 Awww, Capcom has mercy. Rather than the DarkHole setting off a trap, NumberMan also gets 3 Order Points from that as well.
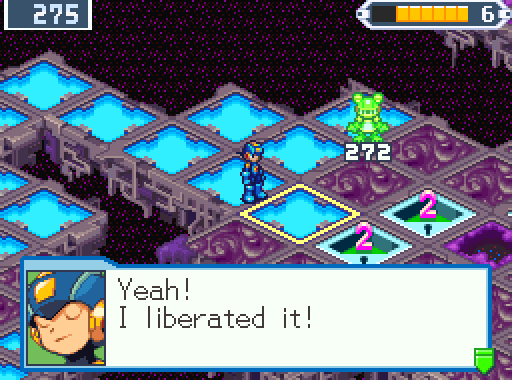
Can't really do much else here, but once NapalmMan recovers I'll at least be able to have opened up a good firing position by then.
Likewise with ToadMan, who only takes Poison Panel damage during that fight.
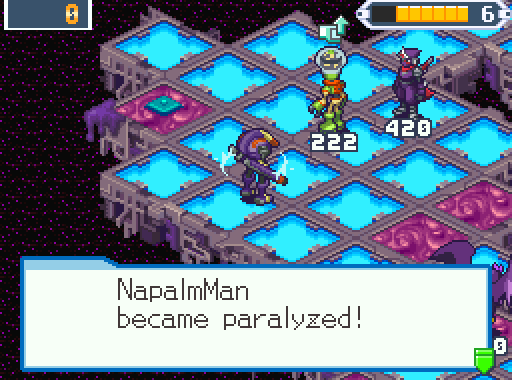
NapalmMan is still paralyzed...
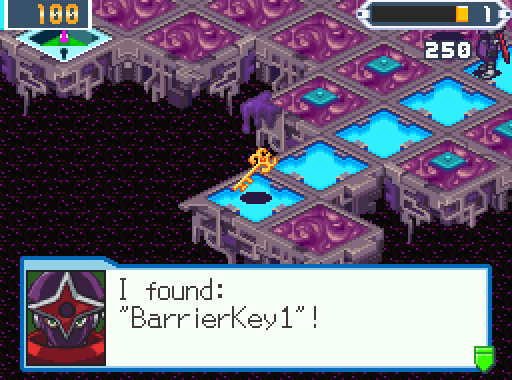
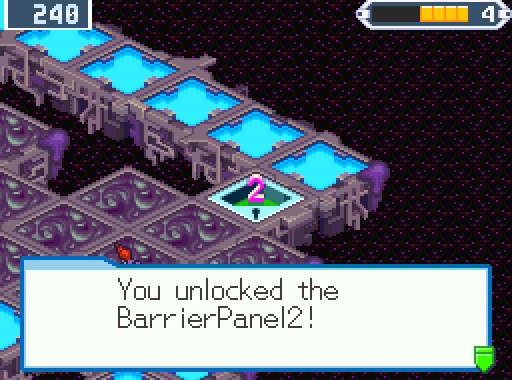
The second key has a fairly obvious location, so now that its BarrierPanels are becoming an issue, time to snag it.

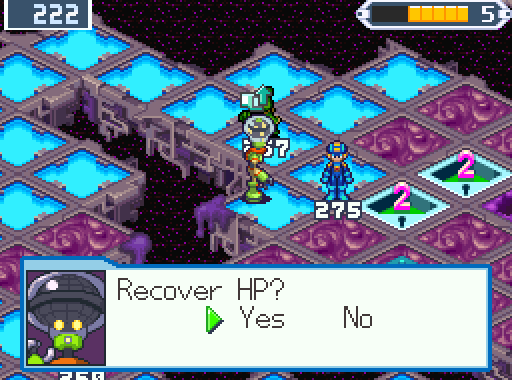
It's in that ItemPanel that's now open. Once again, Capcom has mercy, thank god.
Full HP during this hellish mission is very appreciated.
Progressing forward from this position would actually be a bad idea, since it's a perfect shot for Napalm.

MegaMan and NumberMan get some rest.

Stupid Bladia5. Now ShadowMan's cut off from everyone else! At least this won't impede getting the key.
NapalmMan recovers to 300 HP, then blows things up, which costs him 149 of that.
And there's the key!
The path to CloudMan is open, all that remains is the last of the DarkHoles.
Woo, 1-turn liberations that are absolutely meaningless, my favorite.

That's more like it. I know that going after that DarkHole is pure suicide if I don't soften up the fight first.
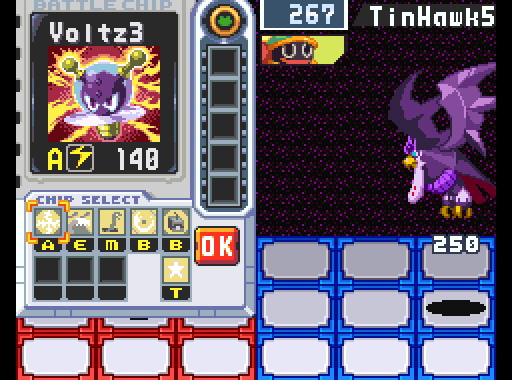
ToadMan goes after that stray TinHawk5 to keep it from attacking anybody during the Darkloid phase. I should emphasize how annoying these guys are with this folder. They're fast, they fly above the panels when not attacking, and are only vulnerable for a split second when they do. With 250 HP, killing them in 3 turns is very hard.
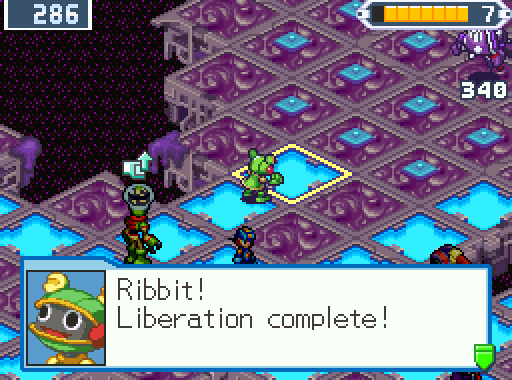
ToadMan still pulls it off. On to the DarkHole next phase.
BassCross MegaMan is the powerhouse of the team now, so here we go.
OH MY GOD. I missed the screenshot, half out of pure disbelief, but here's what happened. At the last second on turn 3, MegaMan threw out an AirStorm3 obstacle ahead of himself. The TinHawk5 swooped down, and because the game counts that as it moving directly into panels, the game's automatic "obstacles and enemies can't occupy the same panel" damage failsafe killed it. If the AirStorm3 had stopped moving, the TinHawk would have just been blocked as it swooped. In other words, extreme luck with timing saved my ass. MegaMan even got a Counter Hit!

On to YOU.
The usual ToadMan-ShadowMan combo comes into action.

There, this will let NapalmMan blast a way to CloudMan.
FUCK. FUCK. FUCK.

Good old Napalm.
The Bladia5 does make a new DarkPanel, but thanks to its position, I can just walk around it next phase.
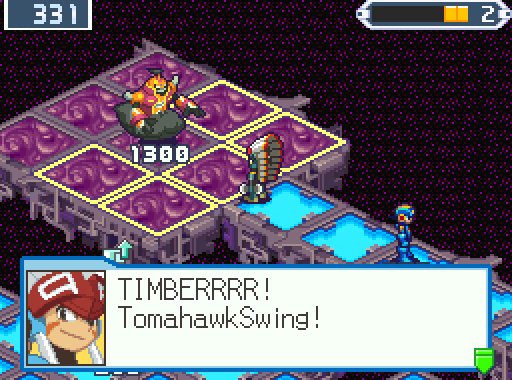
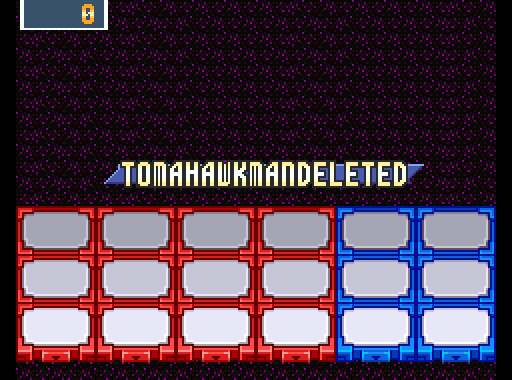
Next phase, MegaMan rests and NapalmMan switches back to TomahawkMan, who rests.
NumberMan opens the way to that BonusPanel while ToadMan gets rid of the Bladia5.
ShadowMan recovers, and its time for the assault on CloudMan.
I'm going to cut CloudMan off from all of the surrounding DarkPanels to put the field in my favor and keep him from regenerating HP. I know damned well what I'm getting into.

ToadMan clears up the corner.
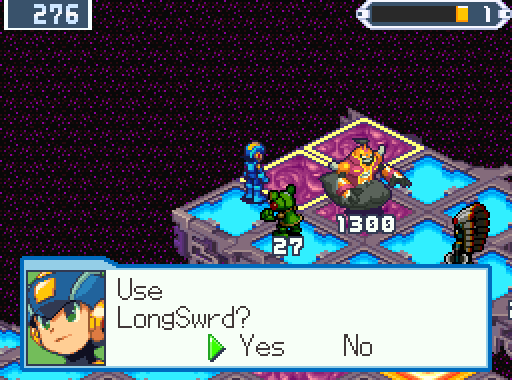
And MegaMan uses the humble LongSword to get rid of the remaining DarkPanels.
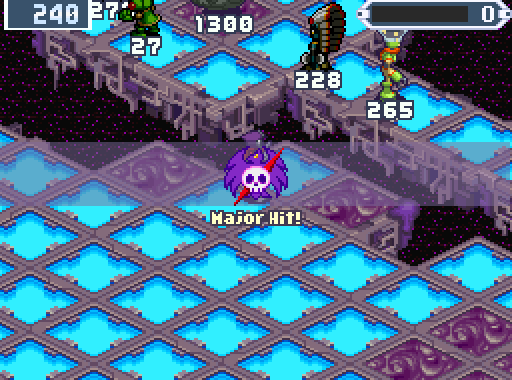
ShadowMan goes for the BonusPanel, and...oh come the fuck on, don't tell me he's about to take like, 300 damage or something!
Wait, seriously? I always thought that the Major Hit was a dud BonusPanel option that would hurt you. I've never gotten it before during this LP, and I must have forgotten it from my original plays of the game.

Whoa, 260 is quite a bit considering CloudMan can't recover it. Attack!
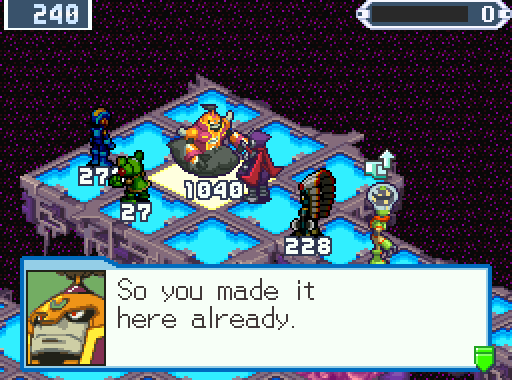
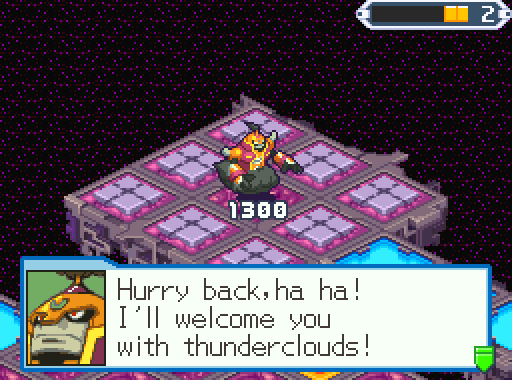
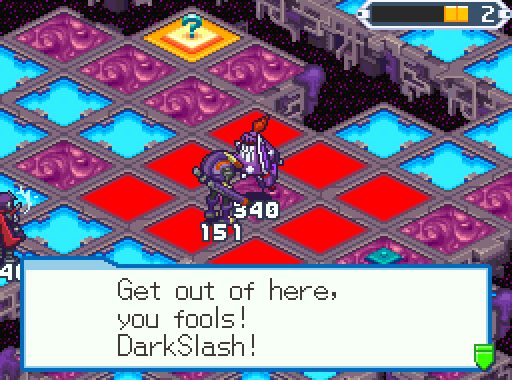
Oh fuck you, you sarcastic son of a bitch.
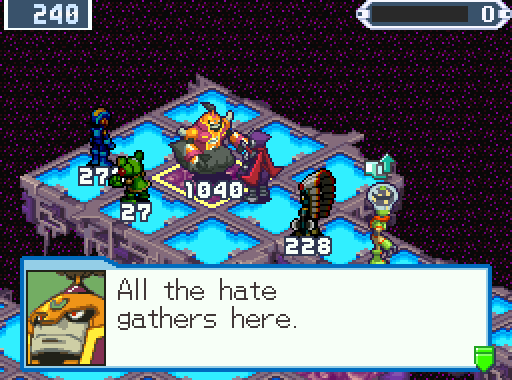
CloudMan proceeds to chat a little bit, this is more or less the only line he gives about what this area really is.

Fuck you, Cloudman.
Fuck you.
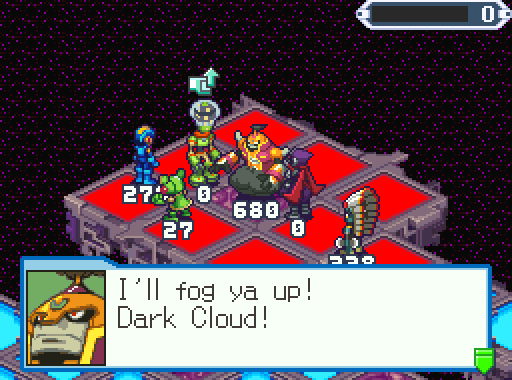
I refuse to believe "I'll fog ya up!" wasn't intentional.
Fuck you.
Fuck y-Ahahaha, it can't even fit that.
Fuck you.
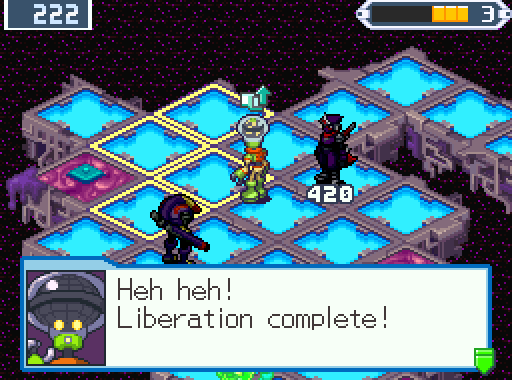
FUCK. YOU. CLOUDMAN.

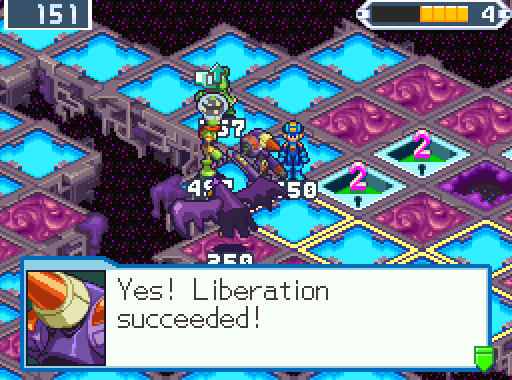
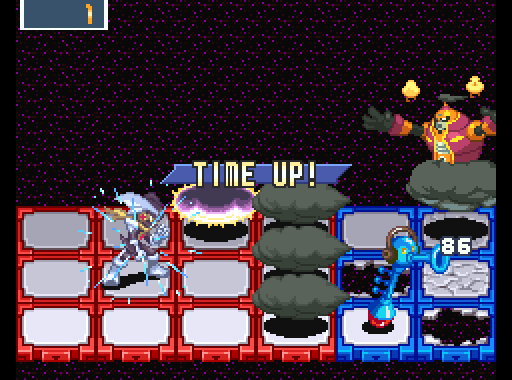
Okay, so despite all that, I'm fucking proud of this. THAT is what it takes for me to go a single turn over par.
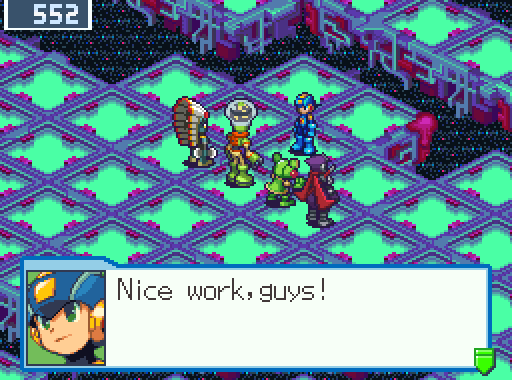
Oh shut up, MegaMan.