Part 18: Bonus 4
Bonus update!

Priorities.
Now that the Super Friends have been reassembled, it's time to venture forth, reclaim our lands that the Pigmask foreigners had sullied in the wake of their boots, and oust the evils that permeate our living so that we may cleanse the Nowhere Islands of their taint and start our home afresh!
But I'm feeling lazy right now, so let's procrastinate and do other stuff instead. The game wants us to continue with the plot and starts the next chapter off by putting us right next to the waterfall 'Lucky' mentioned, which was east of the ropeway. Lucas and Boney had a quick rinse there, remember?
(I remember reading somewhere that if you name Duster 'Lucky' at your first opportunity, his alias for the DCMC changes to something else. But I can't seem to find anything on the internet about that. Anyone recall something similar?)
We have things to do before we start saving the world, though, so we're backtracking. BUT! I'd like to start this chapter off with some of the things I promised I would talk about in the post-update post. Club Titiboo had a few things in it that I casually omitted for the sake of the story.
First, we go back to the stage, just before the DCMC's encore performance.

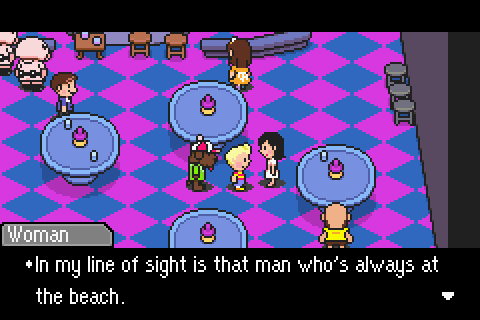
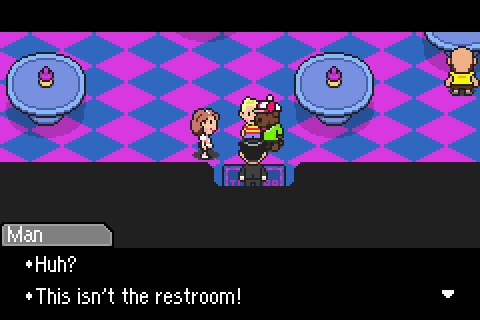
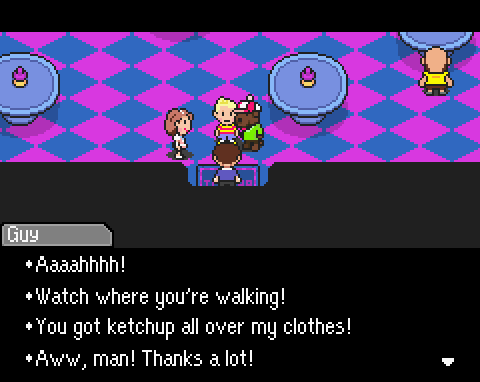
Here we see our friendly running-gag of two lovebirds vying to be in the company of each other's arms from a distance. They first 'met' at the beach west of Tazmily, and here they are in Club Titiboo! This can't be a coincidence! It must be
If you enter the stage area, but try to leave before the encore, the game will subtly hint to you that you cannot do this.
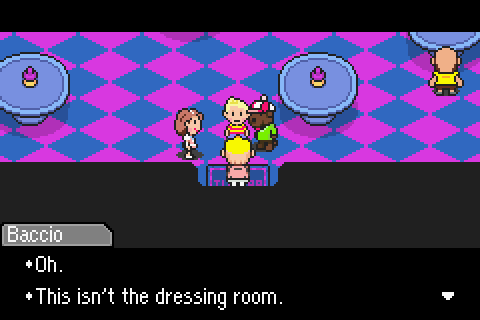

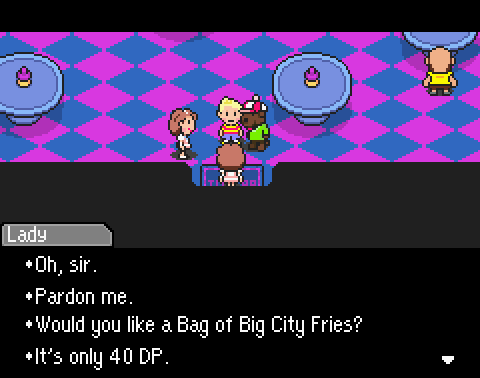
You can purchase the bag here if you'd like, and then the cycle starts again and won't stop until after the encore. They cost the same here as at the table, so it makes no difference where you buy it.
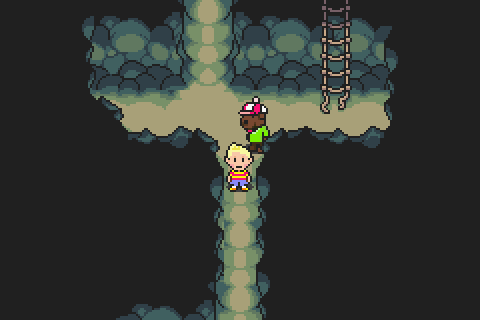
Moving on, we go to the cave under the club, where Kumatora led us to her room from under the floorboards. You probably noticed a path leading south; well, this is where it goes.

In the presents are a Made-You-Look and a Saltwater Gun. The MYL is a fun item that may cause an enemy to turn his back to you, earning you the back-sprite and one free turn. I love this item not because what it might accomplish for me in battle, but because when it's used, you hear a cartoonish voice say "look over there!" and that makes me giggle like a moron every time.
The Saltwater Gun is advertised as causing metal to rust, and therefore awesome to use on metallic enemies (the caribou or the tank, for instance). Anybody who knows their
 will know that the salt will also make it work on slugs. You are correct.
Onwards into the attic, the first thing you'll come across is this mouse standing on top of his little box.
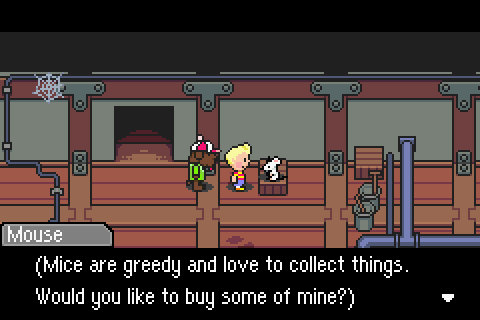
He's amassed a treasure of items from Club Titiboo during his stay and he's willing to part with some of his things for a fee. He sells some really kickass heavy weaponry, including sprinting bombs as well as Lucas's first weapon since we gained control of him. Y-Hat mentioned Pencil Rockets for the Jealous Bass if you're playing hard mode - they're here, but they're pretty costly at 500 DP a pop.
Let's take a look at this dungeon's map.
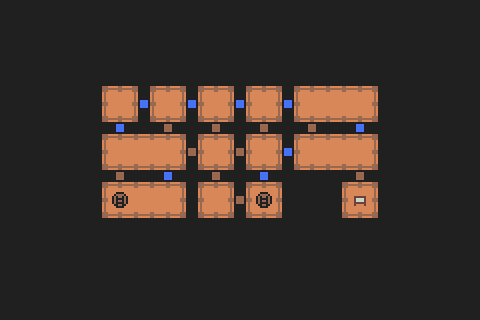
The blue markers you see between the squares are the doors you need to take to continue through the attic, while the brown ones lead, or will eventually lead, to dead ends. The brown paths usually have goodies at their ends, so there's some incentive to deliberately going the wrong way.
For instance, in order to even get this map, you have to take the first door in the map (you start on the lower left hand corner). And next to the map is everybody's favourite item dude, Item Guy, if you happen to need anything from him.
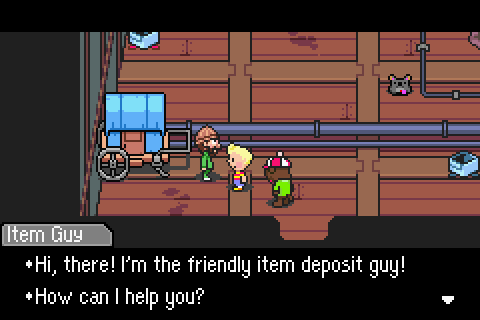
I neglected to mention, but he's also at the factory while you're working there.
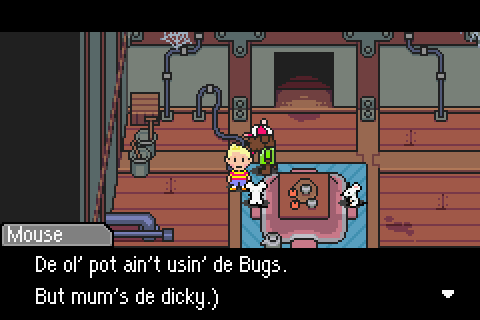
Onwards to the lower right hand corner of the map, we find a table with a pair of mice that apparently confuse Lucas for a person and or thing named 'Alfie'. They speak in indecipherable tongues that confuse and confound the common man.
This one offers you a Peculiar Cheese...

...and this one, a Nut Bread, so at least they're very nice.
In the corner of the room is three presents, containing 'nice stuff', 'rice stuff', and 'nice rice stuff', from left to right, in that order. Eating the 'nice stuff' will cause you to feel something warm inside your heart.
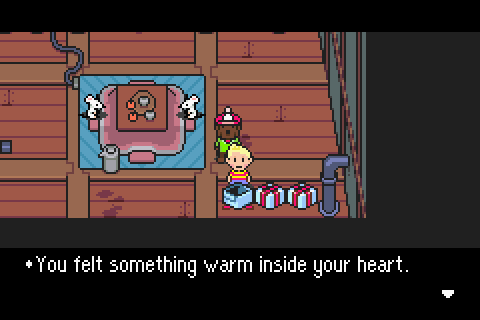
To this day I still don't know what that means. (Fake edit: After a little casual Mother 3 research, apparently there was a stat in the game called "Kindness" but it was dummied out before the game's release. Maybe it has something to do with that?) The 'rice stuff' and 'nice rice stuff' will both fully revitalize you and Boney, so you only need to eat one. Hold on to the other one if you want to grind before the Jealous Bass and don't want to walk all the way back to Kumatora's hot spring.
One last thing before moving on to the actual side-quest part of this bonus update: the Beaten Drum.
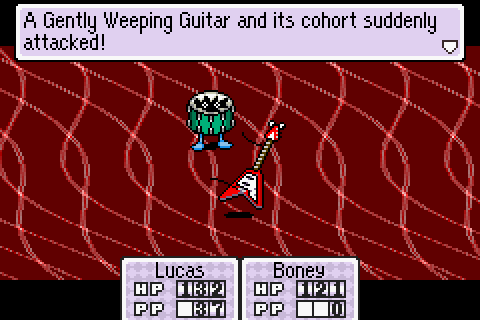
This guy actually has a gimmick for an attack, that screws with you on a meta level:
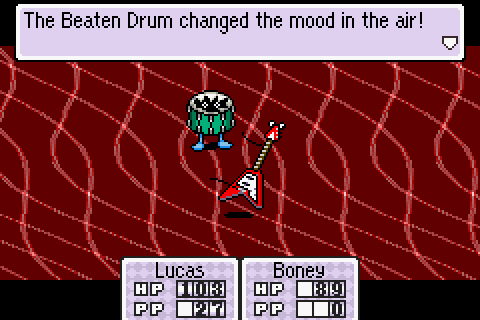


Whenever this message, or a message saying 'it used a 16-beat attack' or whatever, comes up, the background music will change to a single drum playing a radically different beat from whatever was just playing now. This causes no damage, but now you have a whole new, fast, complicated beat to time your attacks to.
Okay! I'm pretty sure that's all I wanted to cover for the post-update content. Now you see why I put it off for a bit. On with the new stuff!
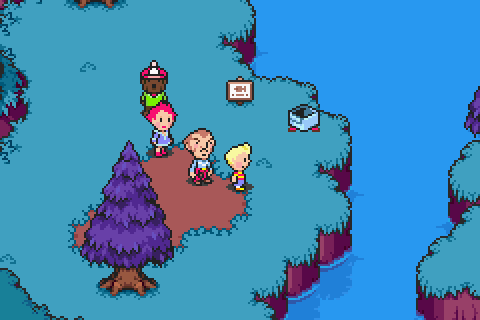
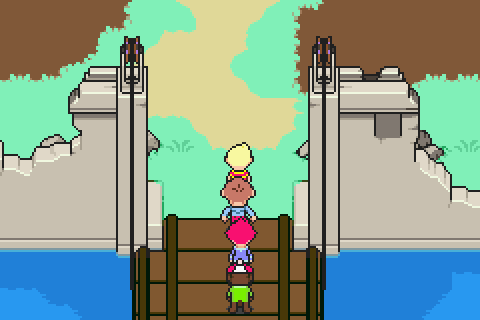
At the start of the next chapter, the game dumps you just north of this water, like I said earlier, and explicitly tells you to go farther north. But we don't wanna, or at least, not yet. After all, we found Duster, and the reason we were even here to begin with is because Wess wanted us to find him, right? What if the carrier pigeon didn't make it back? We should head back and report to him in person!
If you don't want to walk, you can buy a train ticket from the factory to Tazmily...
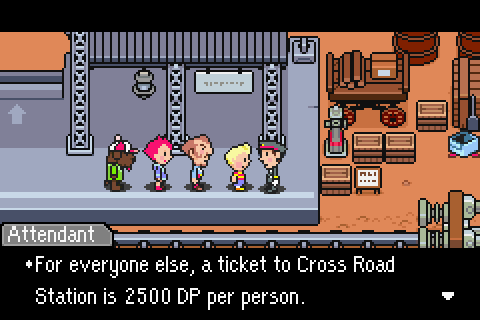
...but a ticket for non-factory workers asks for a frankly outrageous sum. We'll be walking back to Tazmily; poor Lucas will hold off on his dream to ride the train for a little bit.
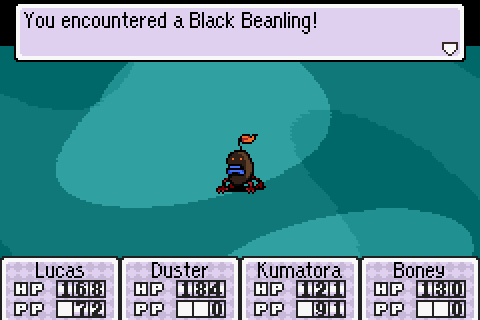
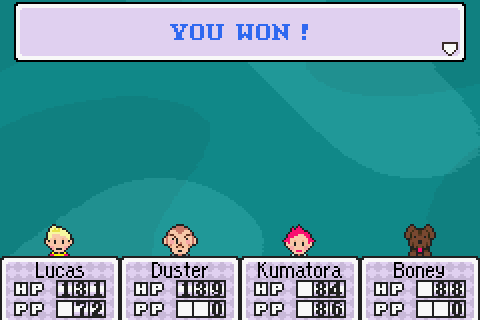
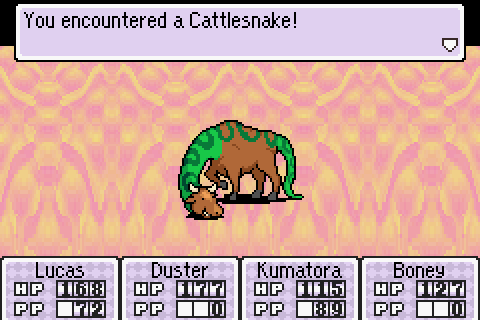
There was a sign earlier that I didn't write in telling you to not fight the cattlesnakes, and it really meant it. Those things will absolutely wreck your shit if you fight them the moment you see them. Let's see if I stand any better of a chance now that the gang's back together.
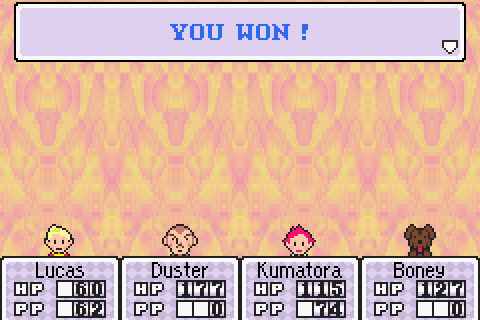
Decently, but if you'll notice, it still managed to do a real number on Lucas.
By now, you shouldn't have to worry about anything on the train tracks as you dash back to Tazmily. In Earthbound, if you're disproportionately strong to an enemy you encounter, you'll skip the battle and go straight to the results, gaining the experience and the spoils for doing absolutely nothing. The developers decided that this was too lazy for Mother 3 and changed circumstances a little bit.

First, you must be dashing; second, the enemy will not disappear; and third, you will not receive any experience or spoils. They probably figured that, after gamers discovered the 'absolutely destroy Starman Super by equipping Casey Bat and abusing this feature to hell and back for the Sword of Kings and turn ourselves into gods in the meantime' exploit in Earthbound, the feature was a little too broken and toned it back a bit. All it does is make trips like this go much faster.
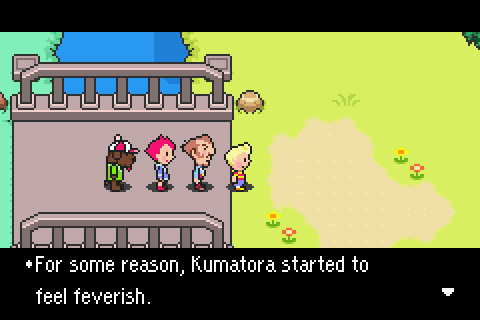
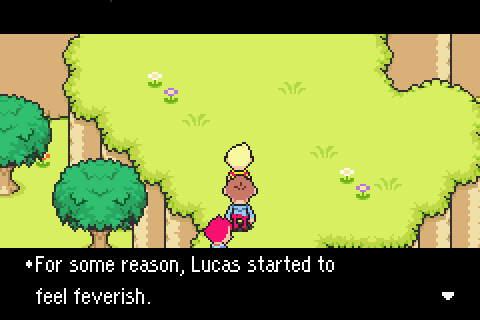
On the way to Tazmily, this happened.

If either Lucas or Kumatora become feverish, you cannot dash, so that makes this walk a little...
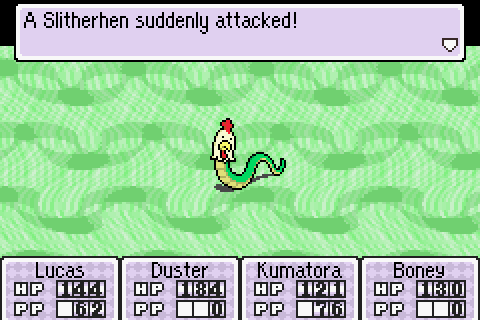
...boring. Her fever eventually turned into Paralysis Alpha, so I guess I won't be working that into the story. Also, I forgot to take a screenshot of it, but one of the enemies managed to get a red-screen on me. Duster responded by 'deftly flipping the enemy', making it as if I had gotten the green-screen instead. Oh, Duster

After a while of running, we finally make it back to Tazmily.
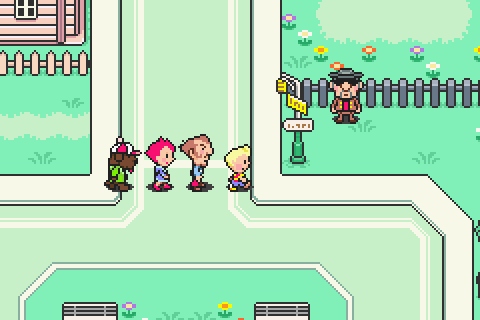
As I said, our first stop will be to Wess. I don't know how Duster will feel, meeting his old-
Damn it! Well, as I was saying, I don't know how Duster will react on seeing his father when-
Damn it! I had plans to write in some of these PSI upgrades into the story! I didn't want to get them here!
Well, screw that, I'll just doctor the screenshots a little and pretend I got them when I wanted to get them. No terrible loss, I suppose.
Anyway, we make it to Wess. It turns out the pigeon got to him after all, because he's pretty non-chalant about the whole thing. He addresses Duster as 'Lucky' to begin with and says that we didn't have to go all that way to visit him, and he makes short talk with Kumatora and wishes Boney good health. Although it's pretty obvious, in the wording and in the punctuation, that Wess is happy to see Duster alive and well, this detour all the way back to Tazmily was mostly for nothing.
Until!
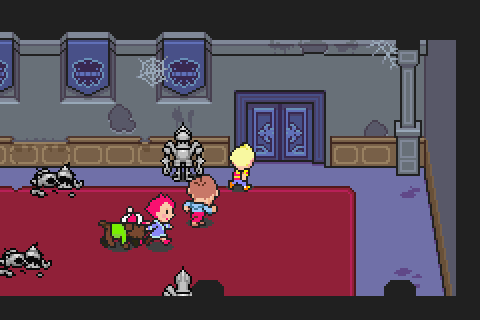
I mentioned in the last bonus update that we had plans for Osohe castle, and now is the time to act! Explore its depths once more and make your way to the top of the tower!
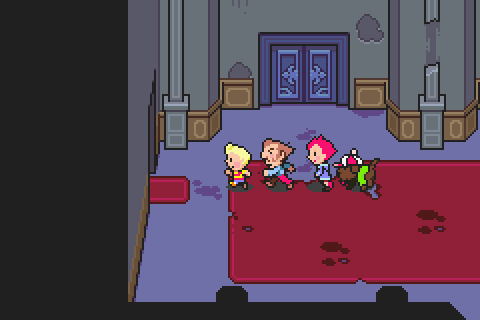

Talk to this guy once, and he'll be so ecstatic that you talked to some random NPC with no outstanding traits or personality, he'll give you a rotten éclair. Talk to him a second time, and he'll spout some trivia about dolphin ossicles, which were the seashells you could find on the beach west of Tazmily. And he'll give you one of those, too.
But no time for that! We must continue ever forward! Onwards and upwards, up the tower to where our story took its turn for the dramatic!
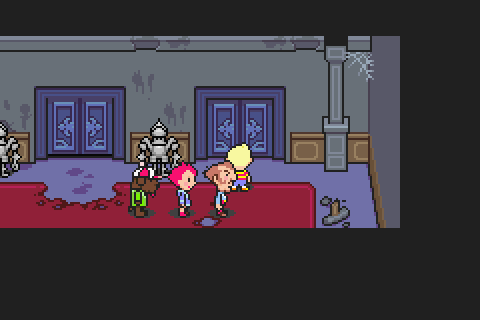
In here, we meet an old friend.
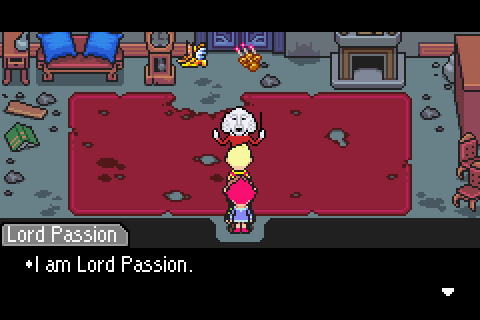
He goes on to say that the new song he's playing is 'Ode to Ancestors, 8th Movement'. It sounds pretty much like what Passion was playing back when he was a simple 'mister', but what do I know? I'm an artistic know-nothing, so I'll just smile and nod politely.
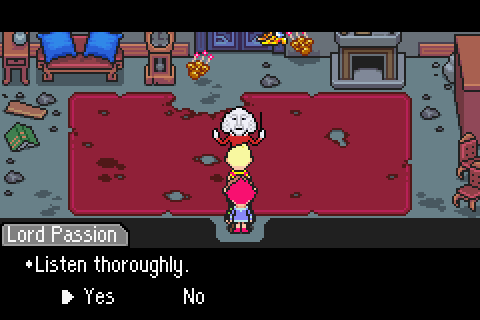
He is very pleased with my response, and relaxes enough to speak about more simple, casual matters.

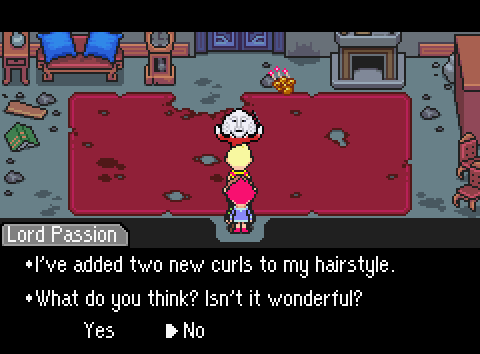
I dunno, I think it makes him a little too girly, if you ask me. And it must be a nightmare to clean and re-curl.
Passion responded negatively.

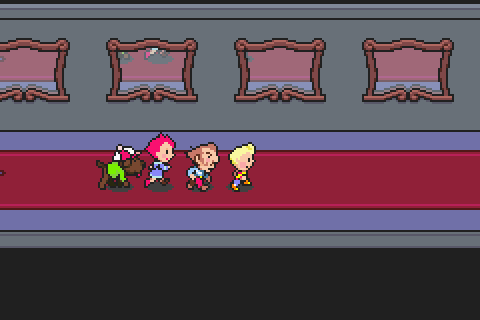
As you saw in the video, the reward for backtracking all the way here the moment you get Duster is for some really awesome kicks for him. And I mean awesome shoes; nothing will even come close to them until way later. Just check their stats!
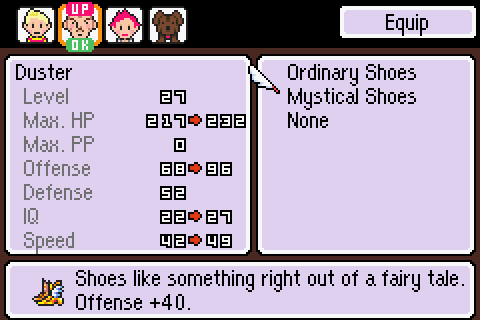
You read that IQ stat right: these shoes are so good that wearing them makes him smarter.
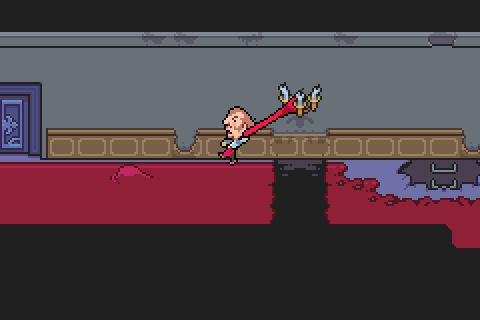
That's all we're here for. You can go back to the very top of the tower if you like, but there's nothing there, except for the backs of some enemy sprites if you happened to miss them.
And...I think that's it! That wraps up this bonus update, and after the next actual update, we will officially be roughly halfway through the game. There are some areas we could have explored, such as deeper into the Sunshine Forest or to the west of the ropeway way back at Club Titiboo, but the plot will eventually demand we go those ways anyway, so I won't bother for now. Until next time!