Part 3: Oh Boy, a Tutorial Level!
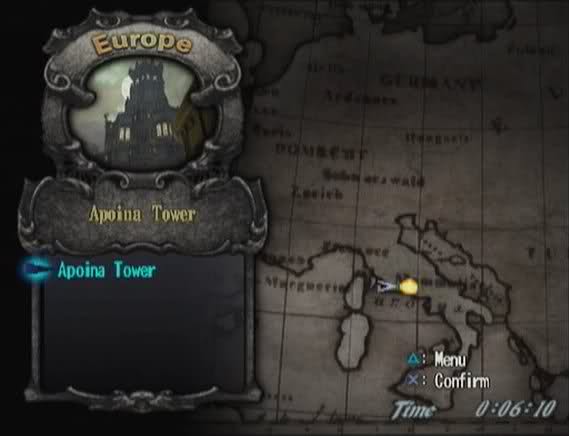
We end up on the map screen, finally in control. Right now, the only place we can go is Apoina Tower, in the Vatican. I'm going to apologize in advance for all the text; we're going to be going over a lot of game mechanics at first, but it's best to get it over with for people unfamiliar with Covenant.
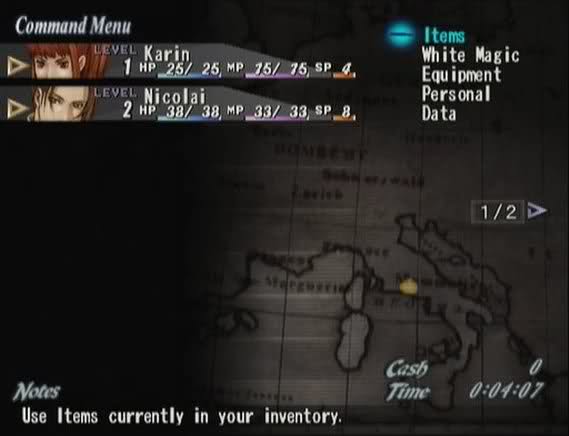
First though, let's take a look at the menu. There are two pages in the command menu. The first page has these options: Items, White Magic, Equipment, Personal, and Data. We'll unlock more options later. For now, let's look at what we have. 'Data' is where you save and load games. 'Items' just lets you use things in your inventory. We'll skip that and go into 'White Magic'.
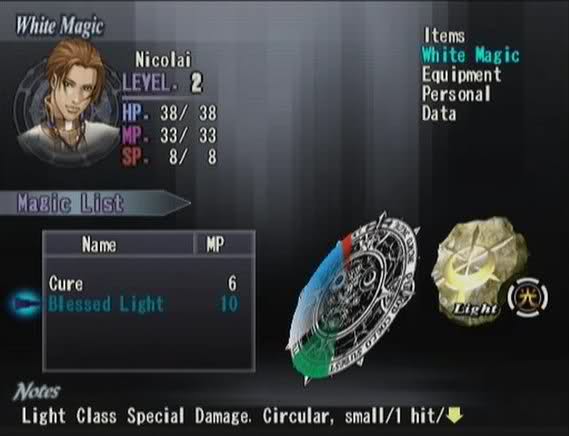
In Covenant, each character has their own Special (read: magic) Skill. Nicolai's is White Magic, which includes healing spells and light-based attacks, like Alice in the first game. Cure heals a small amount of damage. Blessed Light is an attack spell, and all that information at the bottom of the screen tells you how it acts in battle. 'Circular' is the damage type. This spell radiates out in a circle from the target, affecting enemies standing nearby as well. 'Small' is the size (duh). It will only affect a small area, so the enemies need to be grouped closely together for it to hit. This spell just hits the enemy in one blow; some other spells spread out the damage over multiple hits. Racking up the hit count means racking up your score, and there are certain challenges later in the game where you need to hit an enemy over a certain number of times in one attack to win prizes. The down arrow at the end means this is a 'Knock Down' attack; it knocks the enemy down to the ground. There are other types of attacks: Standard, Hard Hit, and High Angle. They don't really matter in standard combat, but you'll need to pay attention to them in Combo Attacks. I'll get to those later.
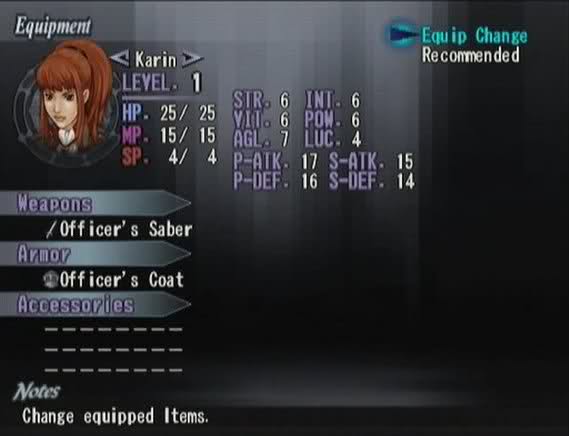
Next on the list is the Equipment screen. This is where you can change equipment or let the computer do it for you. Each character can use one weapon and armor and up to three accessories. Unfortunately, we don't have any accessories at the moment. Karin comes equipped with her Officer's Saber and Officer's Coat, and Nicolai has Galahad's Sword and a Paladin's Robe. Although they both fight with swords, we can't steal Galahad's Sword from him to give to Karin. Not yet, anyway.
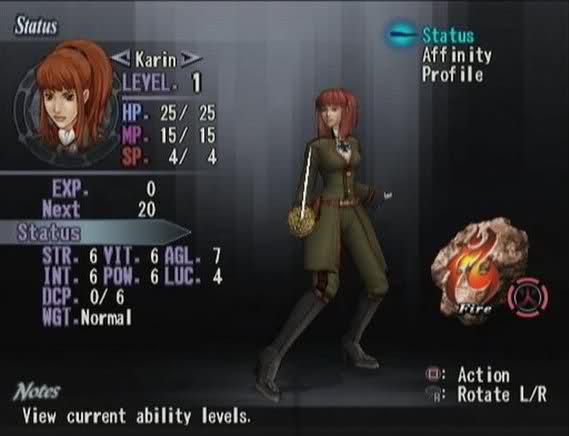
Next up is the Personal page. There are three sub-options here: Status, Affinity, and Profile. There should also be a menu for the character's Special Skill, but, as you can see, Karin doesn't seem to have one. That will be fixed later. The Status page is full of lovely, lovely statistics. Let's go down the list.
LEVEL: If you don't know what 'Level' is, then I think you're in the wrong sub-forum. Karin starts out at the lowly level 1.
HP: Hit Points. Your character's health.
MP: Magic Points. How many times your character can FWAKOOM the enemy. Karin's MP doesn't matter at this stage in the game, as she currently has no access to magic.
SP: Sanity Points. How well your character does under the stress. Normally, each round of battle consumes one SP. If your character falls to 0, they go Berserk. At that point you lose control, and they begin attacking (or healing) your party and the enemy indiscriminately and using up all your items. They still continue to lose SP every turn, going into the negative digits and making recovery very hard. As well, if any character is still Berserk at the end of battle, they earn 0 experience. You'll want to avoid letting SP reach 0, with a very few exceptions.
EXP: Experience. Determines your level.
Next: How many experience points you need to reach the next level.
STR: Strength. This stat determines how strong your Physical Attacks are.
VIT: Vitality. In most games, this affects your hit points. In this one, it determines your Physical Defense (along with armor, of course).
AGL: Agility. This affects your Hit Rate and Evasion Rate, as well as turn order in battle.
INT: Intelligence. This one determines how strong your Special Attacks are.
POW: Power. This affects your Special Defense (how well you do against magic attacks).
LUC: Luck. This works with Agility to determine your Hit Rate and Evasion Rate. It also determines your probability of making Critical Hits.
DCP: Dominance Capacity. This has to do with magic. I'll explain it later when we actually get some magic.
WGT: Weight. Every character and monster is one of three weight classes: Light, Normal, and Heavy. Weight determines how well you can knock around an enemy in combat and how long you are down after taking a hit. This doesn't affect normal combat, but it's something you'll want to keep an eye on in Combo Attacks.
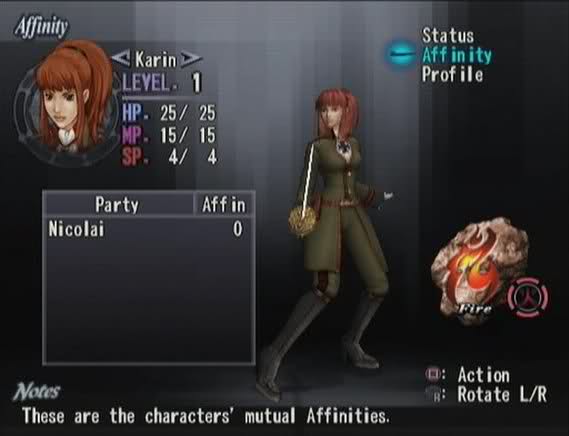
The next page is 'Affinity'. Affinity is how well the characters work together in battle. The higher the Affinity between party members, the more extra damage they'll do in Combo Attacks. Most of the time, Affinity starts at 0 and rises as you continue to use the characters in the same battle party. There are certain characters that get along well right off the bat and start with a boost in their Affinity stat. Affinity is a shared stat: if Karin has, say, 5 Affinity points with Nicolai, then he will also have 5 Affinity points with her.
The last page is the 'Profile' page. It lists the character's full name and a short bio. You'll also notice the Fire symbol on the right. Each character and monster has an element, and all attack spell also have an element associated with them. The elements are grouped into opposing pairs: Earth and Wind, Fire and Water, Light and Dark. Since Karin's element is Fire, she'll take extra damage from Water-based attacks. There is also a seventh element, Non-class. This one is rare, and a character or monster with it has no elemental strengths or weaknesses. There are also spells that do Non-class damage. While they won't do any extra damage to monsters, there also won't be any monsters with a special resistance to them. The Non-class spells also tend to be the most powerful ones.
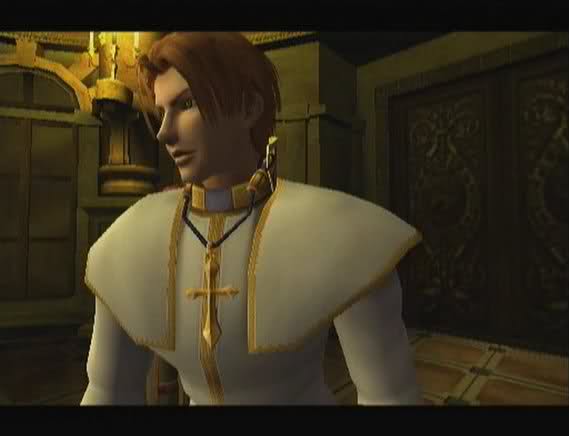
Next, we'll look at Nicolai.

Speaking of which, wasn't he introduced as Nicolas? Something funny going on here...

Something REALLY funny. They may as well have written "Don't Trust This Guy" on the back of his jacket.

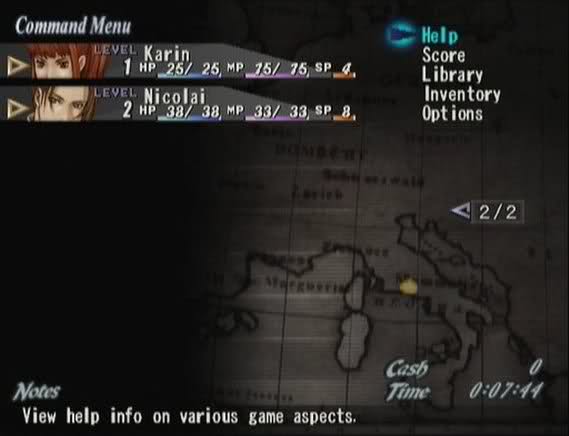
On the second page of the menu, we have Help, Score, Library, Inventory, and Options. 'Help' contains various information about the game. If you've got questions like "WGT? What's that?" or "What's Paralysis?" you go there. 'Score' keeps track of various statistics; I'll show you it when it isn't filled with nothing but 0's. 'Options' let's you change the game options, like vibration, message speed, subtitles, etc.
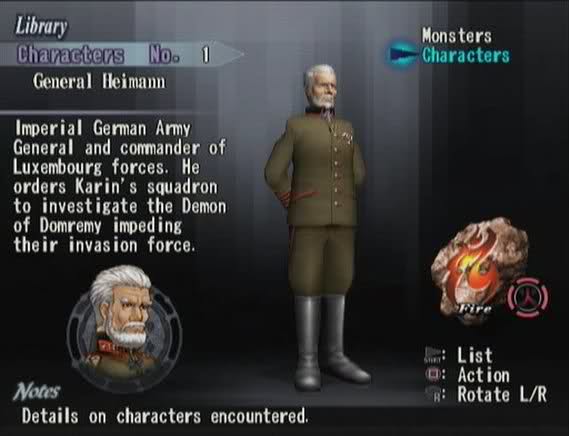
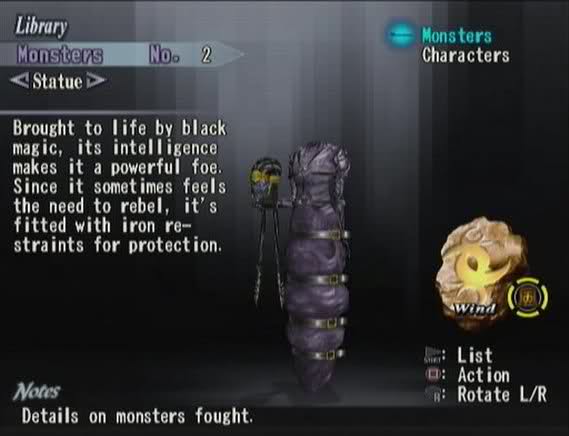
The Library is pretty neat. Besides holding information on every monster you've defeated, it also has bios for several of the NPCs you run into. Even General Heimann is here (which is how I knew his name) although he's only in one scene in the entire game.
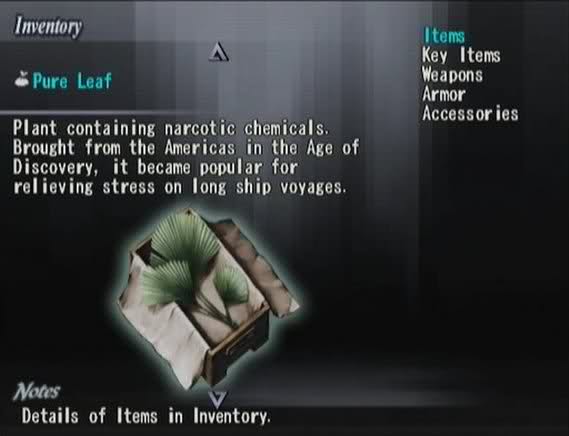
Even the items have descriptions. You can look at these in the 'Inventory' screen. We don't have any Key Items or Accessories yet, and I've already shown you the Weapons and Armor, but we do start out with a few consumable Items. Pure Leaf, shown here, recovers SP, while Thera Leaf and Mana Leaf recover HP and MP, respectively. We also have a few Talismans of Luck, which brings an Unconscious (0 HP) character back with 30% health, and a couple Tents, which completely restore the entire party's HP and MP when used at a save point or the world map.
If any of you are still awake after all that, it's time to get on with the show!
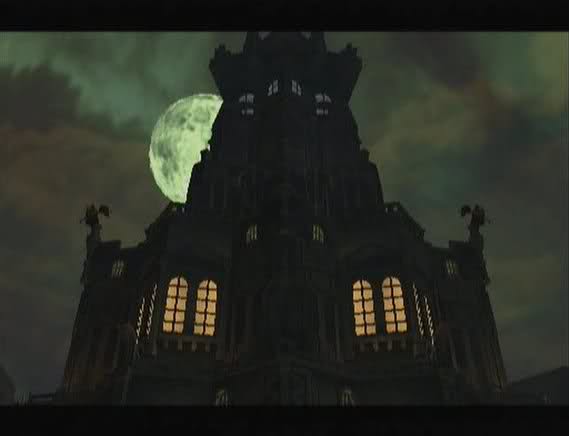
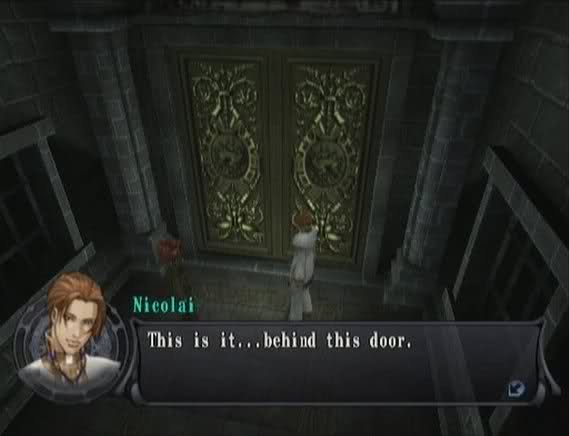
 Is this your first time at the Vatican?
 Um, yes. I need to do some careful preparation before we go to Domremy. There is a certain item that I must have in order to complete this mission.
Nicolai has a very bombastic way of speaking with odd emphasis on certain words. It's not making me want to smack him any less.
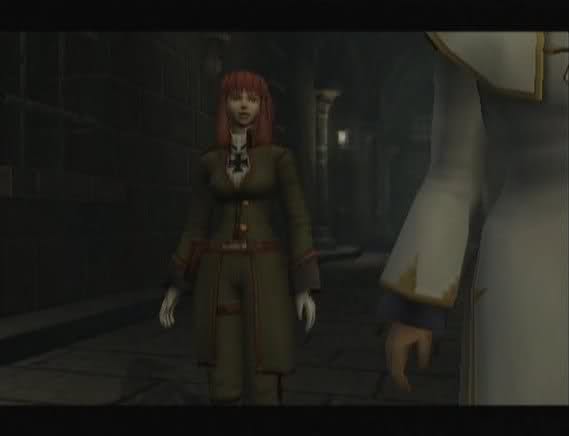
 A certain item? Yes, a sort of good luck charm. It's used for exorcisms. And that's where we're going now?
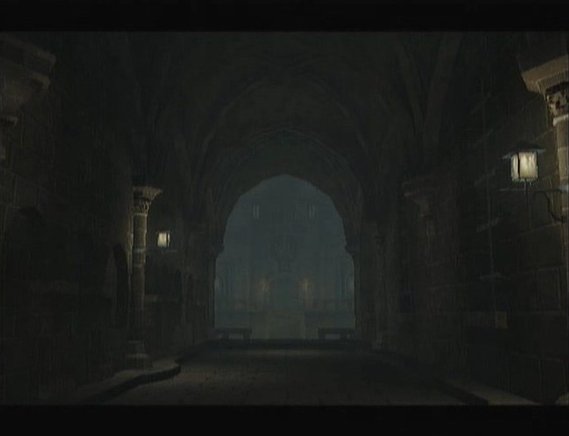 Yes. It's inside Apoina Tower. Also known as... the Tower of Atonement.
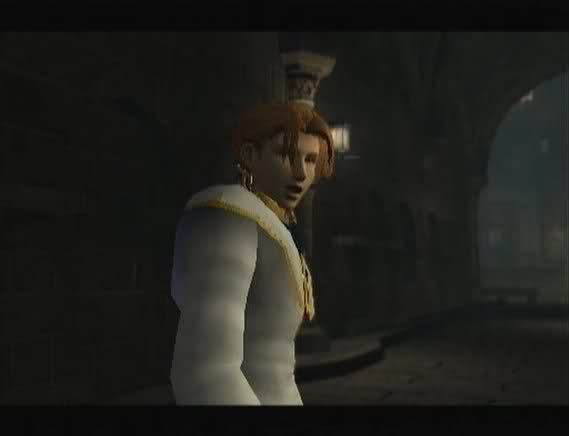 I see that you know of it. For many, many years dangerous heretics, and others like them, were kept imprisoned there. It's filled with the spirits of those who went mad from the torture. That's why it's a safe resting place for the item that I seek.
Oooo-kay...
 But why am I coming? Well, to get to the top of the tower, I need your help. I'll feel much safer if you're with me.
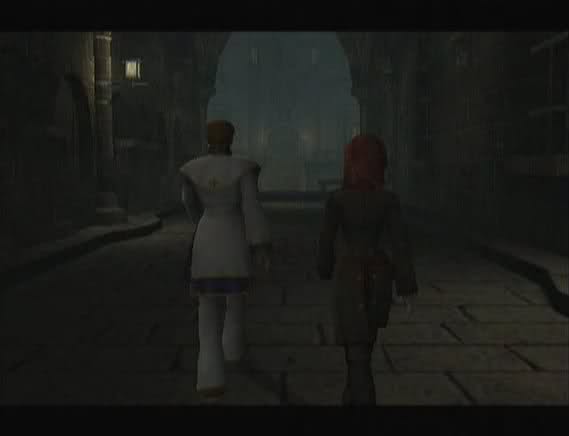
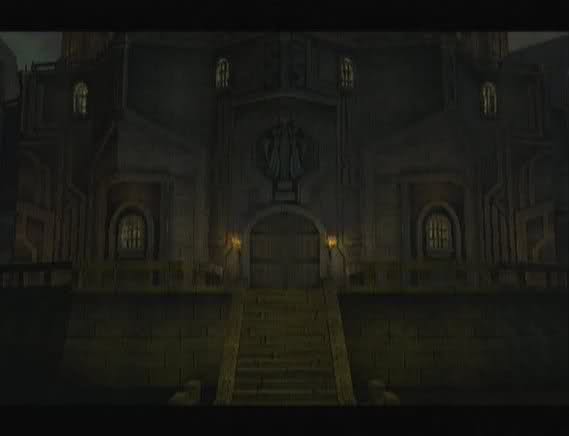
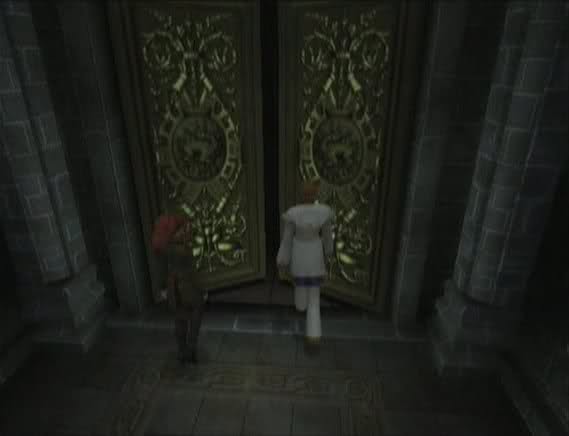
Oh, that doesn't look so bad.
Er, maybe I was wrong.
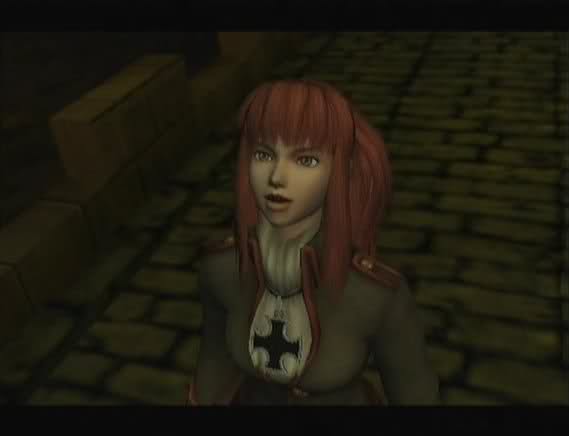
Close your mouth, Karin. There's an awful lot of pigeons in Rome.
It's this way, Lieutenant.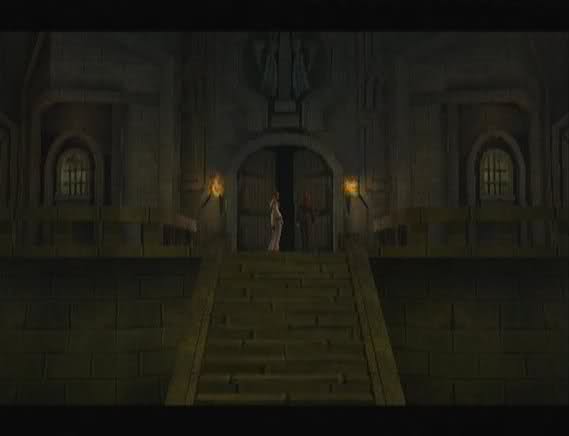
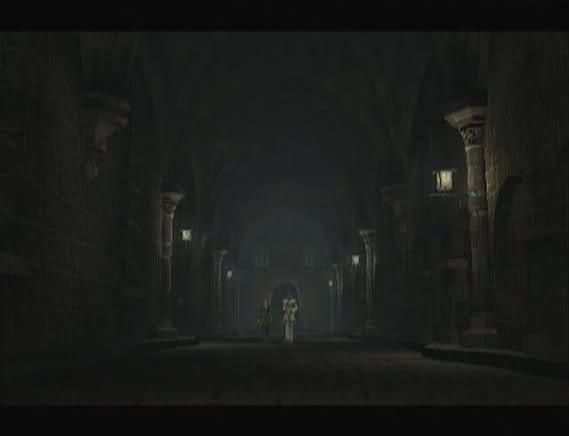
In they go...


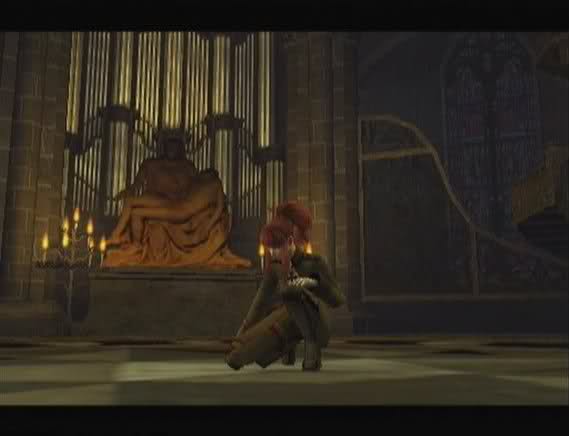
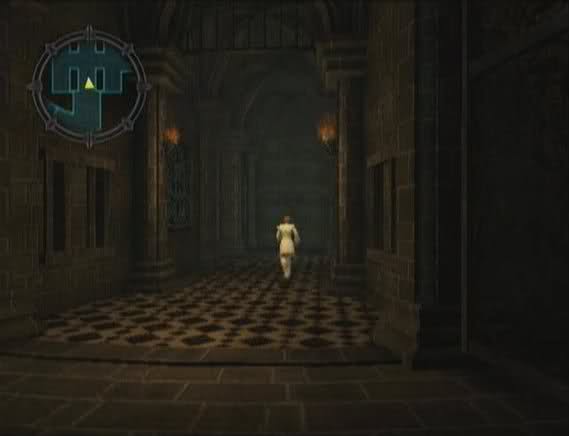
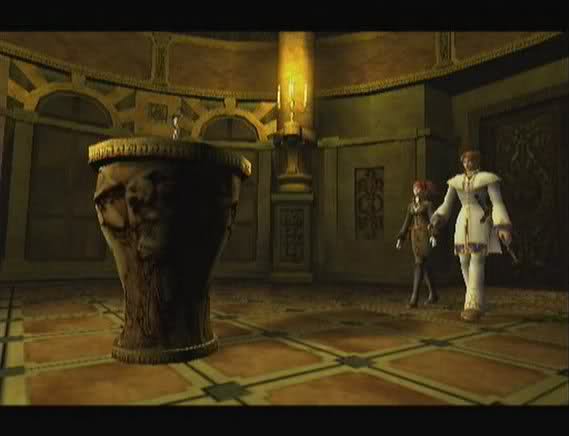
Ha ha, I love the background design in here. "Look it is the Vatican! There's 'Pieta' and everything!" If we could pan up to look at the ceiling, it would probably have Michelangelo's Creation of Adam painted on it. Possibly reversed from the original.
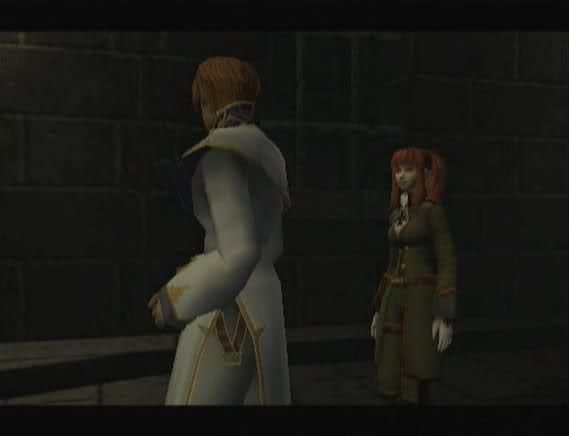
It's filled with real monsters and ghosts, you know. Monsters?! This IS the game's tutorial, after all. But don't worry. Compared to that demon in Domremy, these should be a snap to handle. Now make sure you don't wander too far away from me. Let's go.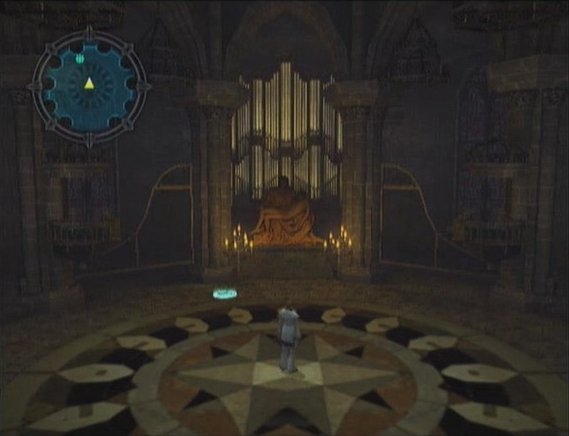
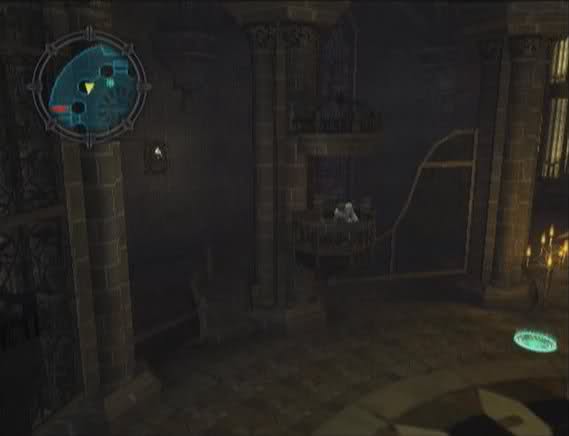
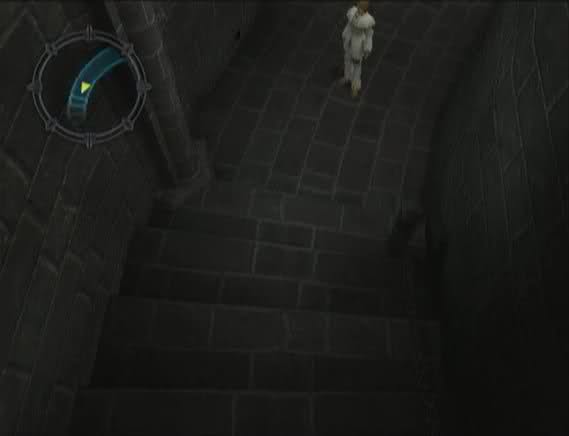
The nice thing about Covenant over Shadow Hearts is that it has a mini-map. The yellow arrow shows us and which direction we're facing, and the glowing blue dot is a Save Point. Unfortunately, the developers took the word 'mini' a bit too literally. That tiny circle is all you can see at any time, and there's no way to zoom in or out and no larger map to look at to get your bearings. Luckily, the path in here is linear. I'll see what I can do for the more complicated areas.
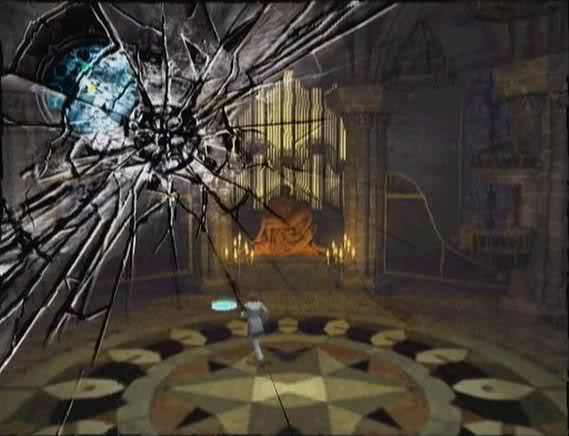
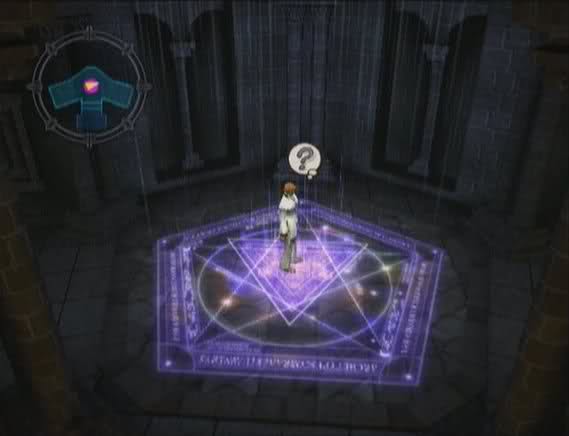
Before we can reach the Save Point, the screen cracks. Time for our first battle!

The first fight is scripted and includes a tutorial on the Ring system. I've included a video of it for anyone unfamiliar with the Shadow Hearts series. Basically, the Judgment Ring is how you perform any actions in battle. Shown above is the Attack Ring. The yellow areas are Hit Areas, and there can be anywhere from 1 to 5 (more on that later). Nicolai and Karin's Rings both have 2. An indicator will spin once around the Ring, and you have to press X when it passes the areas. Hit both, and the character will attack twice. Miss one, and the indicator stops, and you'll only attack as many times as you've managed to already hit. So, if you miss the first one, you've wasted a turn.
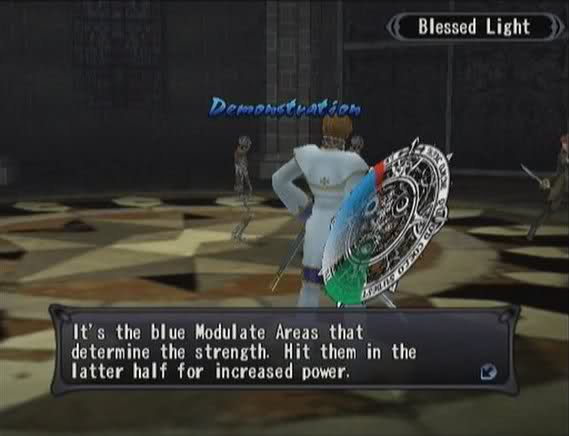
The Ring above shows up when you use Special Attacks. In these Rings, you have green Step Areas (there can be 0 to 4, I think) that you have to hit to even cast the spell, and the blue area determines the strength. Again, hit the red Strike Area for even more power.
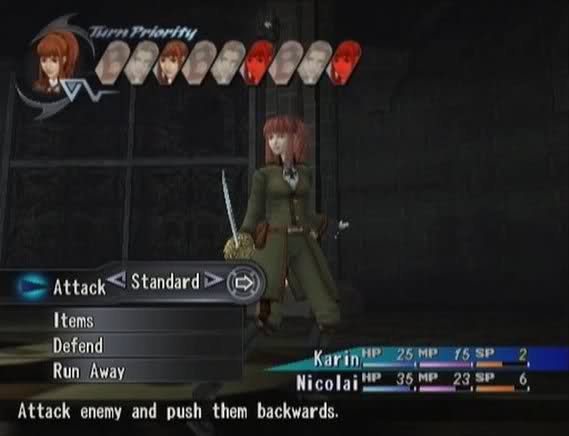
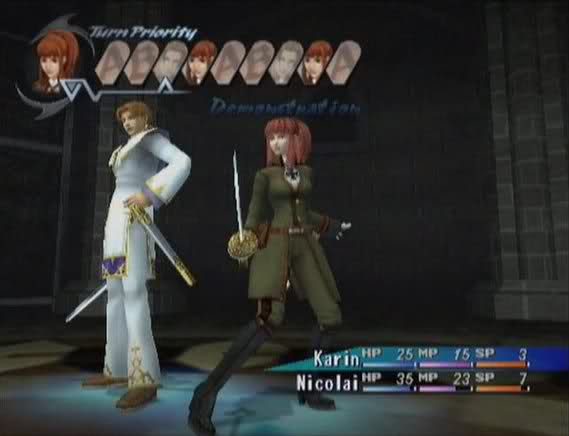
Once the tutorial runs, the game lets you mop up the last enemies on your own. Looking at the Turn Priority in the upper part of the screen, you'll notice that Karin's portrait eventually turns red. That is an indicator of when she'll run out of SP and go Berserk, so you'll want to keep an eye on that.
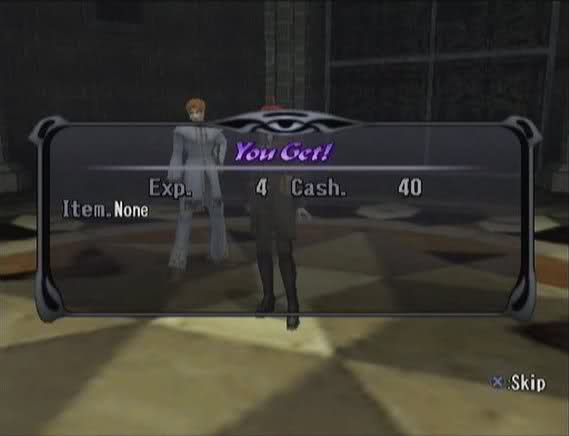
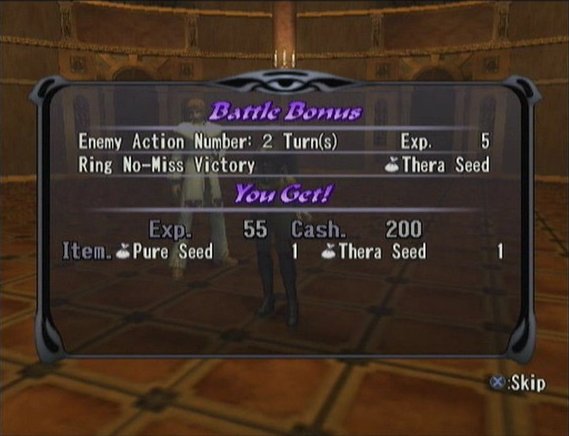
After the battle, you get a little screen showing how much experience and cash you've earned and any items the monsters have dropped. This screen will also show if you've won any battle bonuses. You get bonuses for things like No-Damage Victories, Perfect Ring (never missing a red Strike Area for the entire battle), defeating the enemy in a certain number of turns, or getting a high-hit Combo, just to name a few. With the bonuses, you can get extra experience, cash, items, or souls .
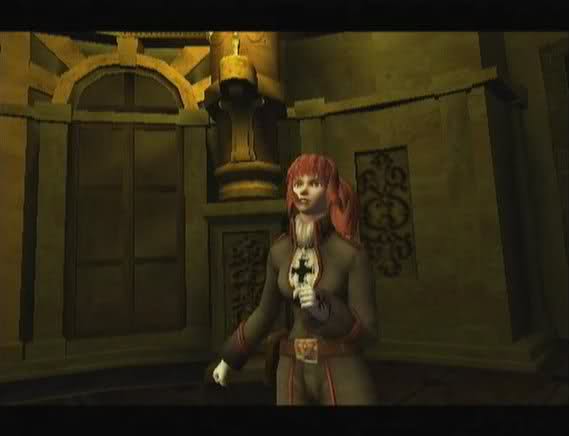
Karin's a bit shaken by the whole experience. She signed up for the army to kill people, not monsters. (Okay, that's not really why, just humor me for now.)
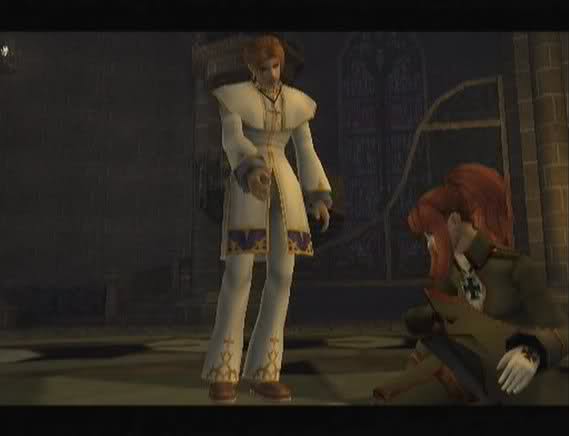 Those were easier than most. Are you alright?
Nicolai tries to be gallant, but he just comes off as smarmy.
I-I'm fine!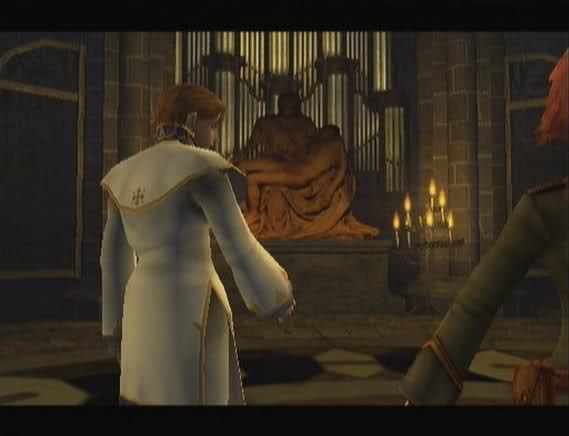
Rejected!
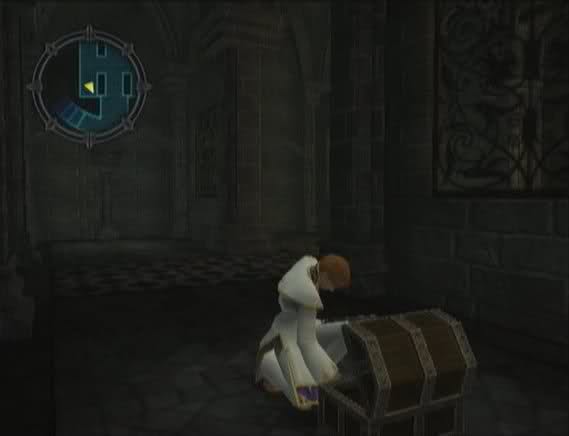
Now that the first tutorial is out of the way, we're free to explore the room. There's a small balcony on the left with a chest holding a Thera Leaf.
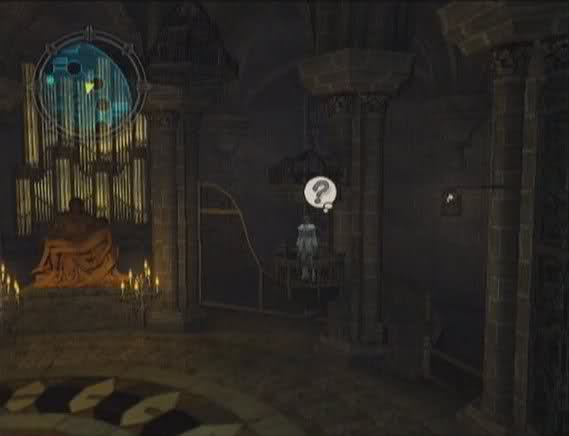
In another balcony on the right, there's a hidden Talisman of Luck.
There are three exits from the room. The door on the left and the entrance where we came in are both locked, which is indicated by red lines on the mini-map. So that only leaves the door on the right.

But before we can get there, we're interrupted by another tutorial.
This tutorial is on Combo Attacks, and I've included the video of the entire thing below. To perform Combos, you move the members of the battle party next to each other with the 'Combo' command. When they're in position, the floor under them glows blue, and their portraits become linked in the Turn Priority meter.
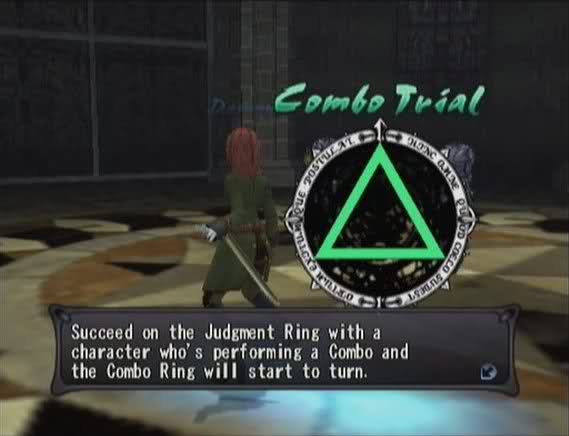
If you then attack with one of the linked characters, it triggers Combo mode. During the Combo Trial when your first attack is finished, you have to push the button that appears in the Ring for the next character in the Combo to attack. If you miss with a character's attack or miss the button in the Trial, you get a Combo Break, and your turn is over. You should note that the enemy freezes in position between turns. You have to be careful with the attacks; it's possible for magic attacks to pass under or over the enemy (especially if their notes say anti-ground or anti-air), which is where the High Angle and Knock Down attacks come into play. If you have more than two characters performing the Combo, you pick their turn order, and you have to do a Trial between each character. If you have a full battle party of four and all of them perform a Combo together, you can use the fourth character to perform a powerful Combo Magic. The enemy can perform Combo attacks, too. The game will warn you when they're about to do so, and the enemies in the Combo are highlighted by red instead of blue. You can use Hard Hit to knock them away from each other and prevent the Combo if you get a turn before their attack starts (but they can do the same to you).
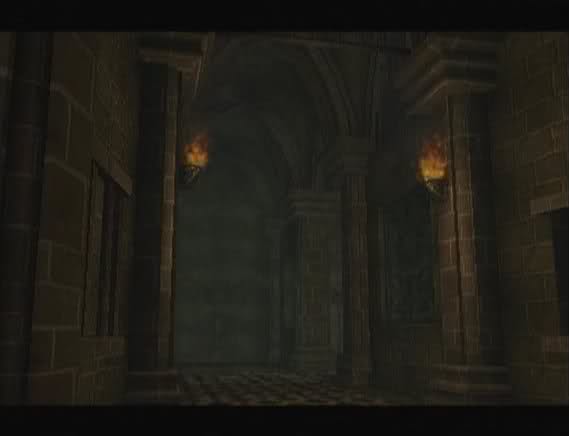
With that out of the way, we can continue on through the doors to the next area.
At the top of the stairs we come to a large room. We also get another scripted battle when we try to enter the room. There's no tutorial this time; it's basically a "Now, use what you just learned" fight. After this fight, we can now get into random battles with Apoina Tower's denizen Revenants and Statues.
That's right. Statues.
Another cutscene after the fight, and another chance for Nicolai to show just how much of a pompous dick he really is.
Many have been imprisoned and died here over the years. Noblemen, who lost in battle...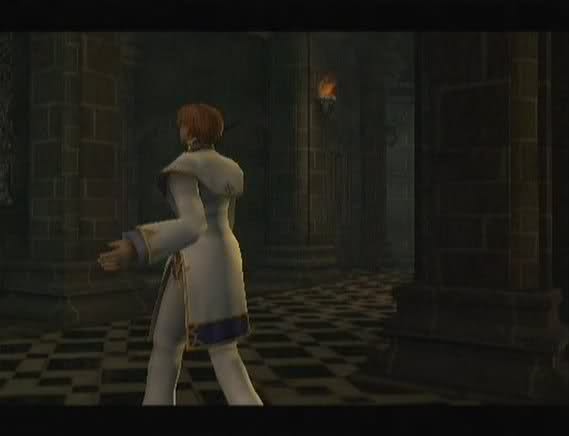 ...Tragic princesses, who were thought to have died of illnesses. You can still feel their Malice.
Cue creepy moan.
 I knew it. What is it?
 I'm not sure. But when I met that demon in Domremy, I didn't sense the malevolence that I feel from the people in this tower. Huh. Could it have been because you were so afraid that day?
 That may be part of it, but... He...was beautiful.
 Interesting word to use.
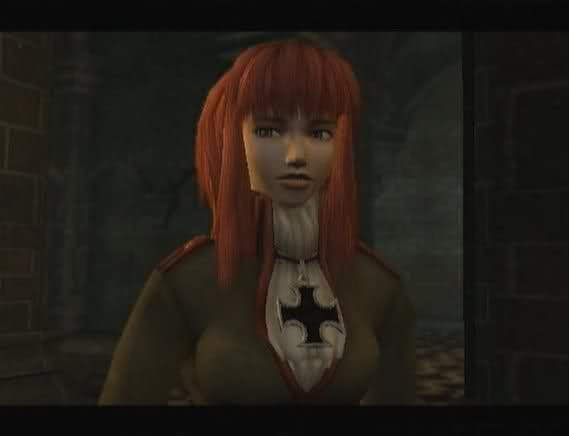 Also... ...Also? He seemed sad.
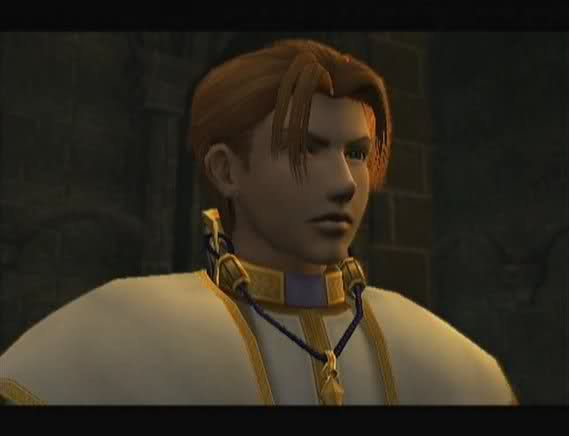
Aw, how cute. Nicolai is jealous of the demon.
There's a chest in the lower left with a Mana Leaf.

And one in the upper right with a new type of item: a Ring Item. Ring Items are used in Ring Customization which we're going to learn about right about...
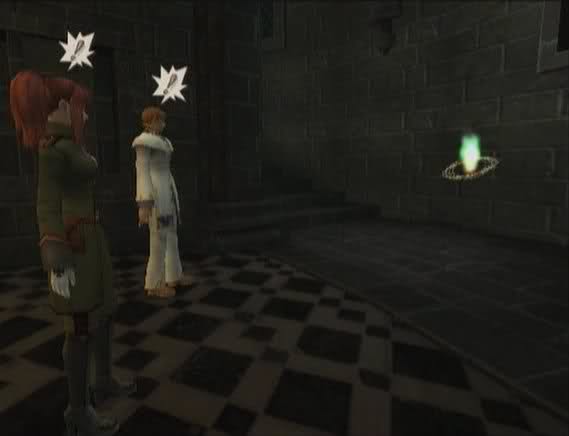
Now.
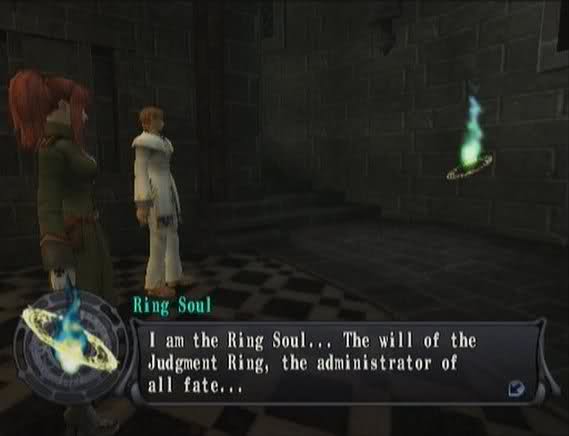
Of course, Ring Soul has his own Library entry.
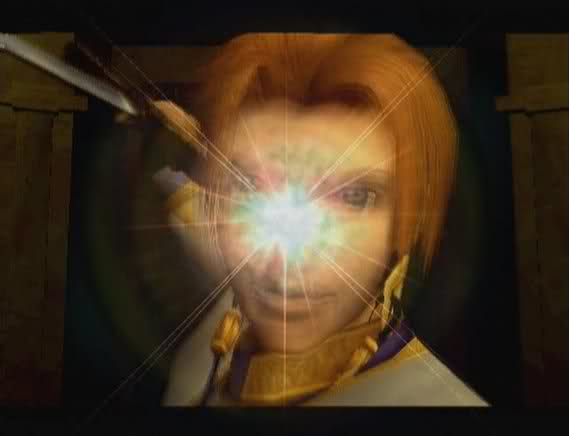
W-what the...?!I really can't think of a better response to this situation, honestly.
 The world drowns in its own history... And in this time, you must carry the burden of fate... F-fate...? I can see it... I can see thy future... This I entrust to you...
 What...?
Shh, it's all right, Karin. Don't question the magic, gift-giving, glowy man.
The power to command the Judgment Ring. Such power will help you carve your way through destiny... Wait! Why...why give this to me?What did I say about asking questions, young lady!?
 The Judgment Ring has the power to change the world... Fate only follows a straight path if it is used well... Fate...? A straight path...? There is nothing more to say... I will appear to you again, to bestow upon you more power... But beware! I am always watching... Watching to see if you are truly the one to command destiny...
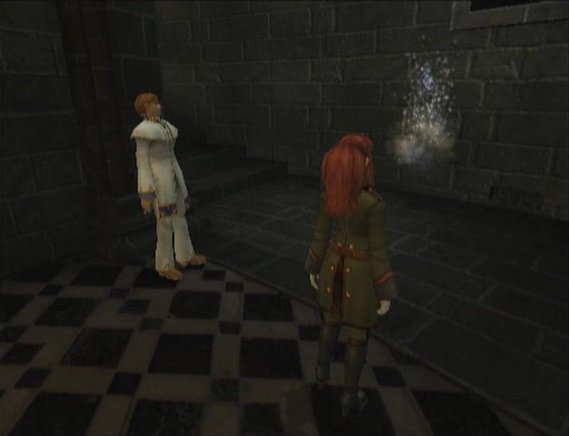
And with that, our new friend disappears into the ether. But we'll be seeing him again.
......... You should be honored. Being chosen like that... Don't keep your new power all to yourself!Bite me, Nicolai.
"Ring Customization" has been added to the Command Menu.
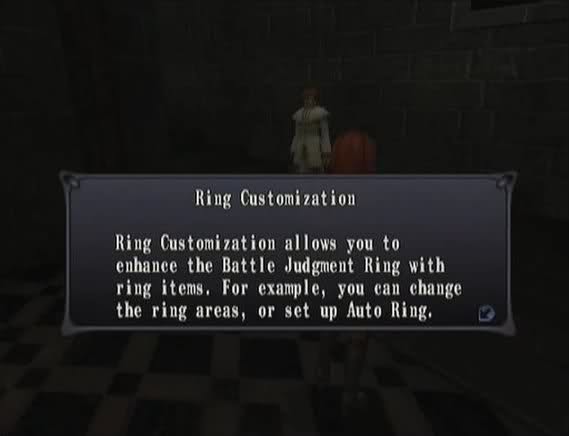
We get the option of getting a tutorial on Ring Customization. I've included the video of it here.
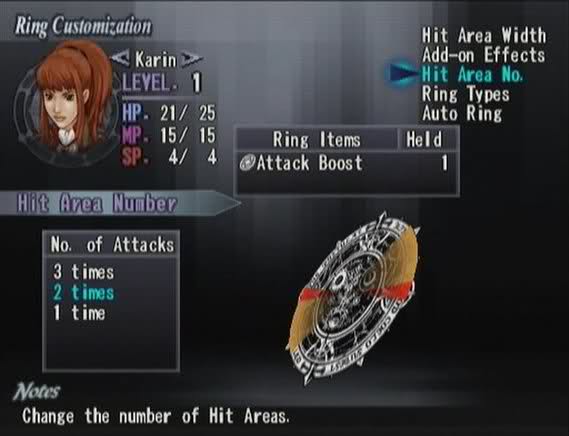
Ring Customization is a lot more advanced in Covenant than in Shadow Hearts. Here, you can increase the number of Attack areas. Balanced characters like Karin and Nicolai start with 2 Attacks and can go as high as 4. More physical characters start with 3 and go up to 5, while magic users start with 1 and only go to 3. You can also widen the Hit Areas and Strike Areas, add effects like Poison (assuming you have the right Ring Item), set the Ring Type (Normal, Practice, Technical, or the potentially game-breaking Gamble). You can also turn on Auto Ring if you really, really, REALLY suck.
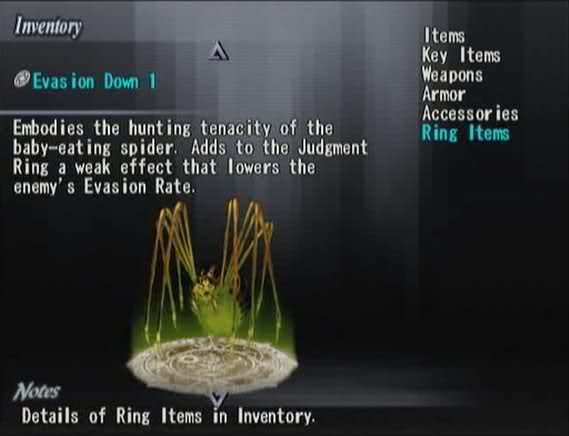
We now have 'Ring Items' added to the Inventory screen. At the moment, we only have four different items, but we'll find more in the different areas and win some in fights as well. This one is one of the Add-on Effects. The number indicates is strength. 1 is the lowest level; it's very weak and very rarely hits. 4 is the highest level. Besides this, we also have some Hit Area Expands and Strike Expands. We'll be able to buy those near the end of the game for a very hefty sum. We also have the Attack Boost we got from Ring Soul. These are used to increase the number of attacks on our Ring, and you ONLY get them from Ring Soul, who only appears in set locations.

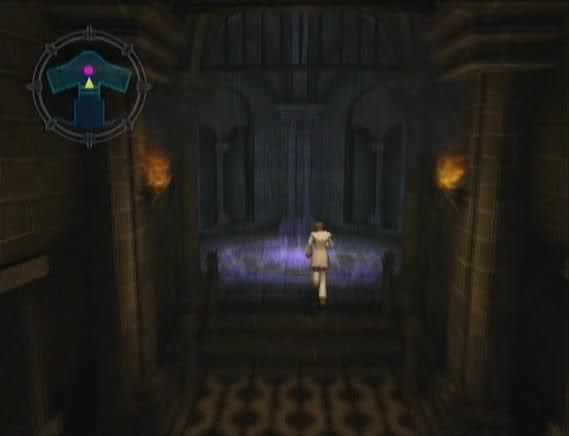
Back to the game. Now we can take the stairs on the upper right to the next level.

A long climb later and we come to another room.
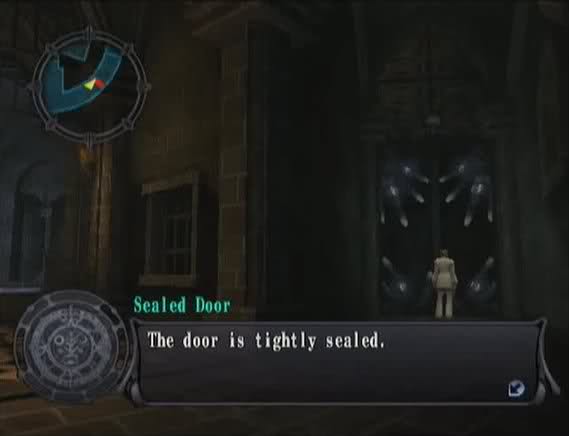
This one has another sealed door. This can only mean one thing: we're going to have to come back here later in the game and take the long way around.

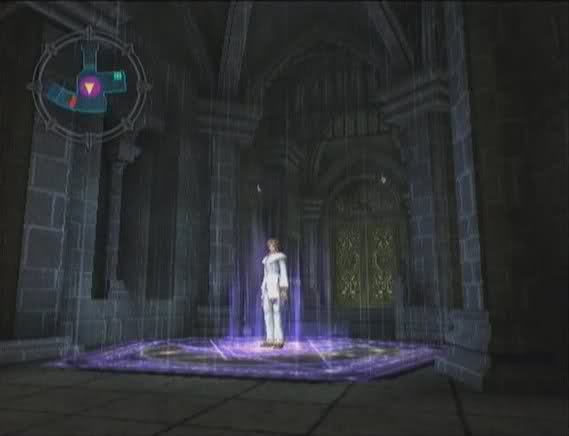
This time, we can cheat and use this teleporter to get to the top.
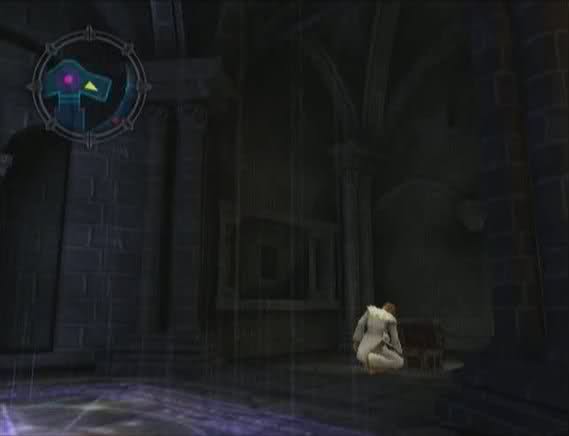
Before we do that, there's a chest with a Pure Leaf on the right.
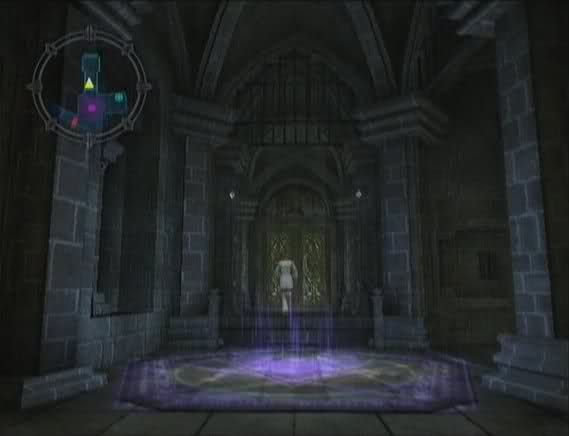
Going up!
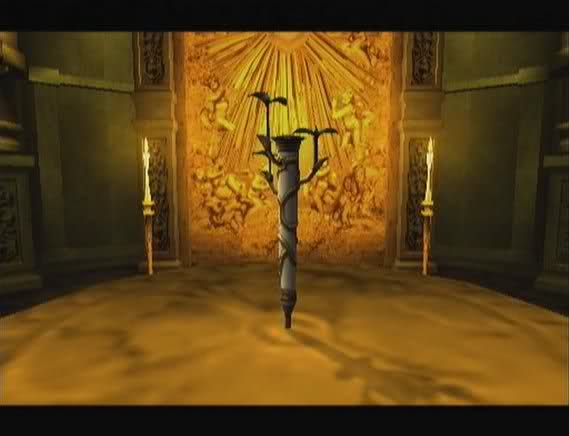
Top floor: Linen, Housewares, and Plot Devices!
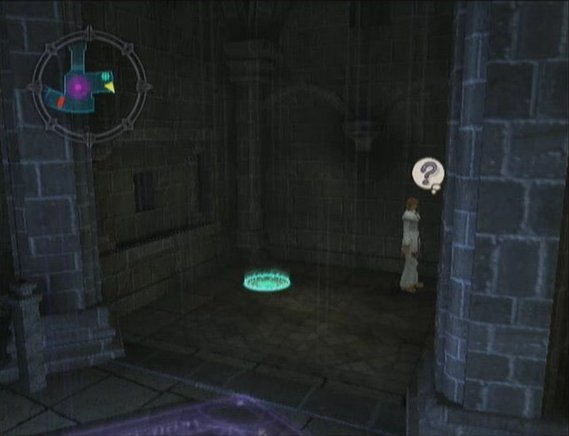
There's a Tent hidden by the save point. You can also see the sealed door in the map that leads back down to the currently inaccessible region of the tower.
Heal up, save, and head for the big double doors.
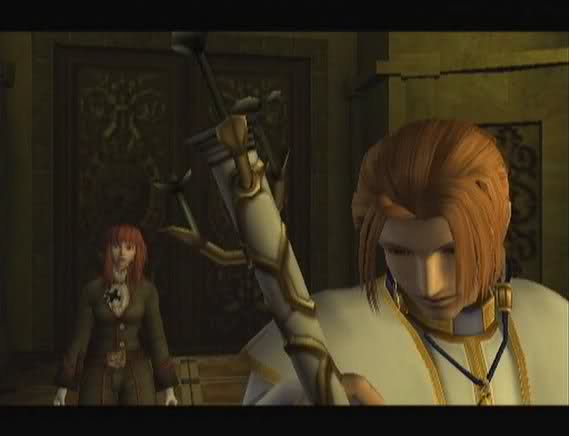
 Be careful now. There's a familiar keeping guard in there. .........
I get the feeling that Karin's as thoroughly fed up with Nicolai as I am.
Oh, you have got to be fucking kidding me.
A stick!? We came all this way for a fruity-looking STICK!?!
If I were Karin, I'd strangle him in his sleep.
What the...? ...Oh, right, the guardian.

He's nucking futs.
 There you are!
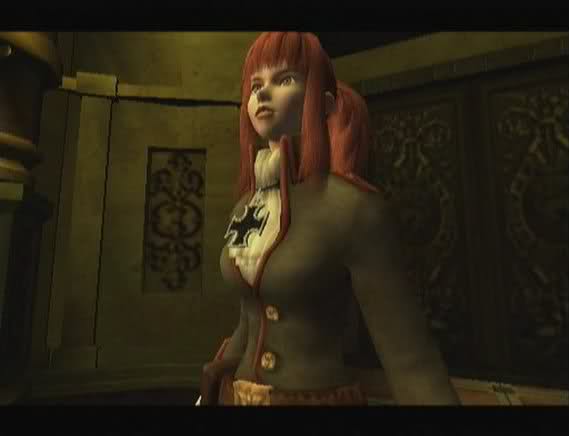
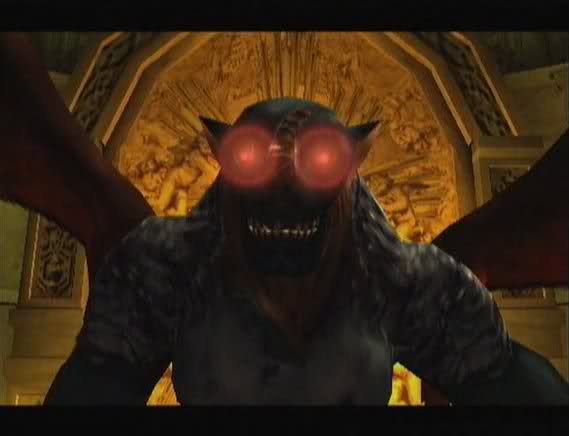
Oh, Jesus Christ!

Nicolai is more eager than Karin to fight the Gargoyle.

MUCH more eager.

Instead of the screen cracking, boss-battles are signified by a burst of light.
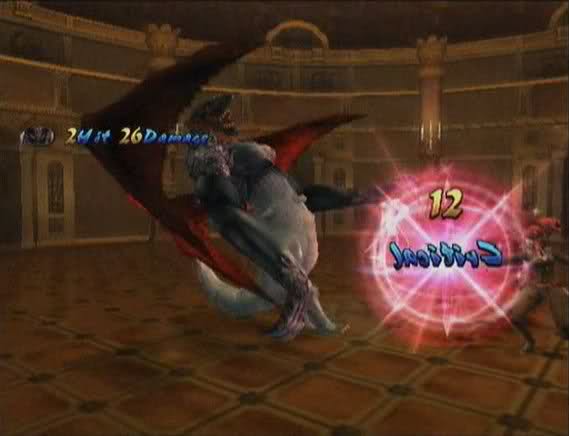
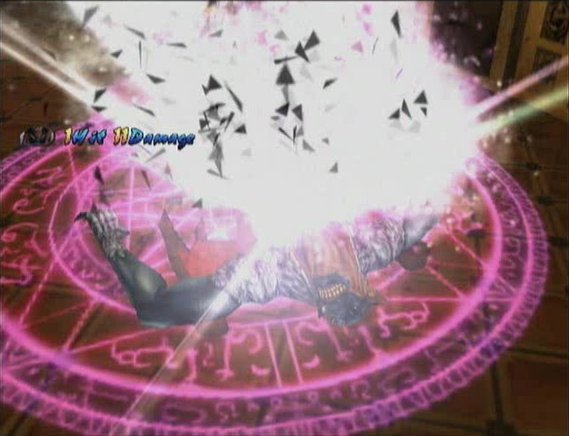
Not that this is much of a battle, what with Apoina being nothing more than a tutorial level, after all. You can watch the whole thing in the video below, along with the scenes before and after it.
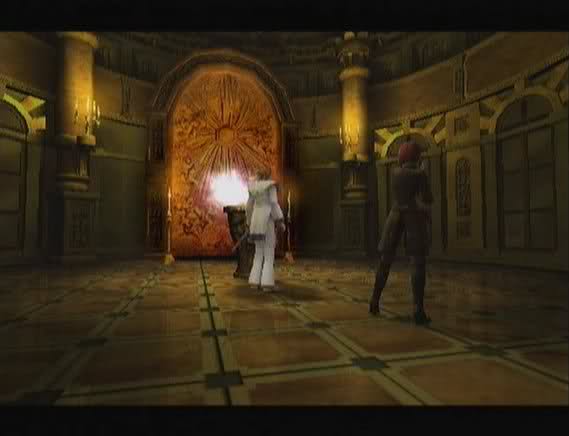
 Is that it? Yes.
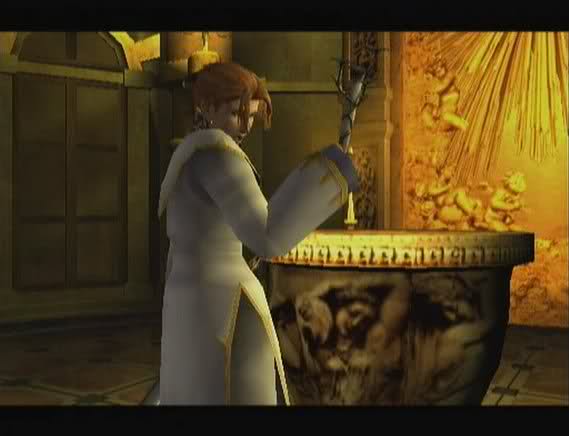 The ultimate tool for exorcising demons!
 Before we go, here's the score after I finished Apoina Tower:
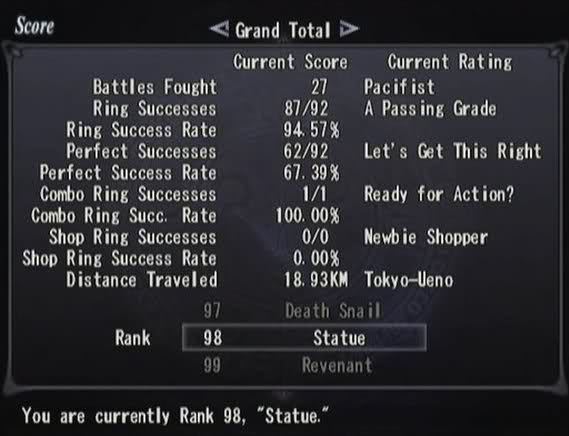
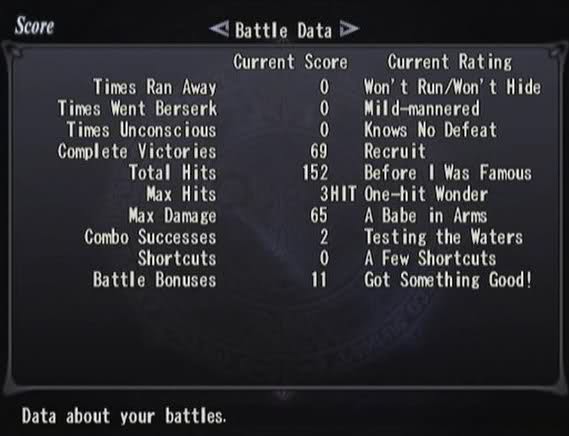
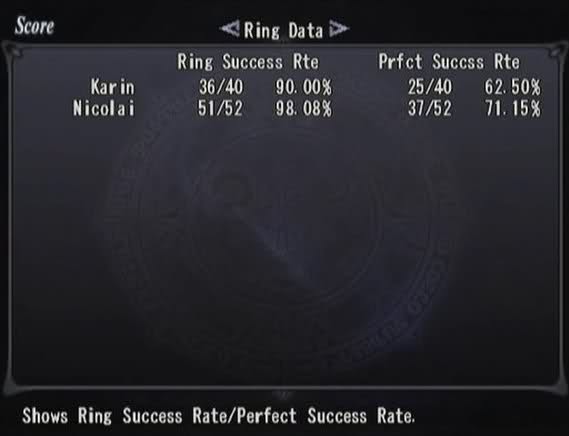
There's also a fourth screen showing how many battles each character has been in. That one will get more interesting as we get more characters.
Well, that's it. Now that the game mechanics are out of the way, for the most part, the next update should be shorter.