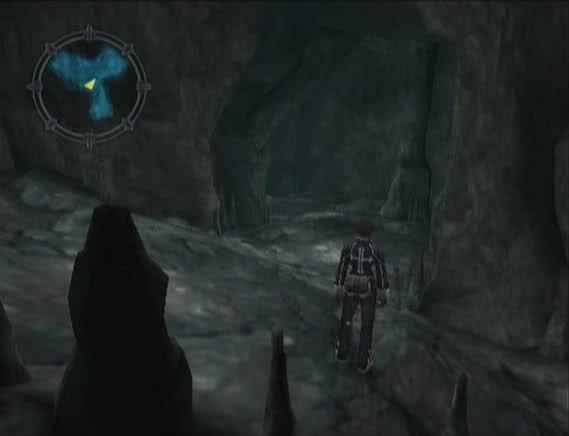
Part 100: Into the Immortal Mountain
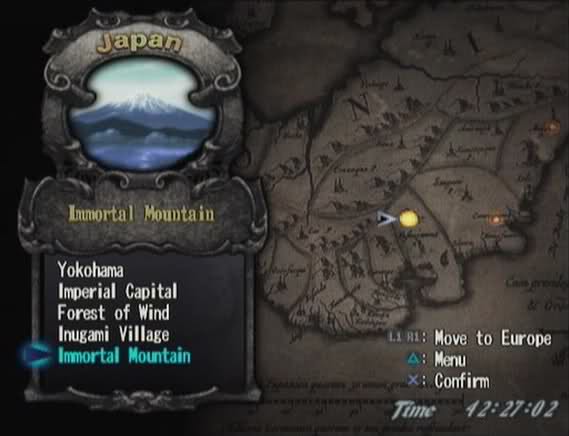
It's time to head after Nicolai.
Well, it's easier to get inside an active volcano than I thought it would be. There's a map for Fuji on gamefaqs. Personally, I find that mapping this place makes it look more complicated than it actually is.
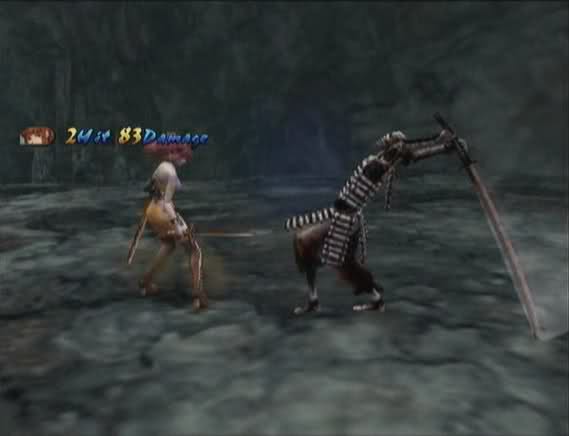
The monsters running around here can wreck you if you come in under-leveled: Blooming Phoenix (Gale Spike, Fake Ring), Samurai Ghoul (Energy Charge, Phys. Def. Down), Lava Lump (Red Cradle) and Scorpilus (Bright Banish). Fake Ring sucks because it adds a false Hit Area to the Ring and changes the position of the real hit areas. It's randomized for each turn, too.

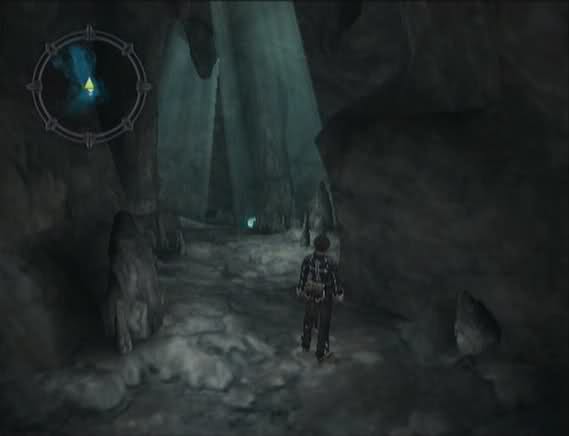
A short ways past the Save Point, there's a Pure Extract hidden next to the wall.
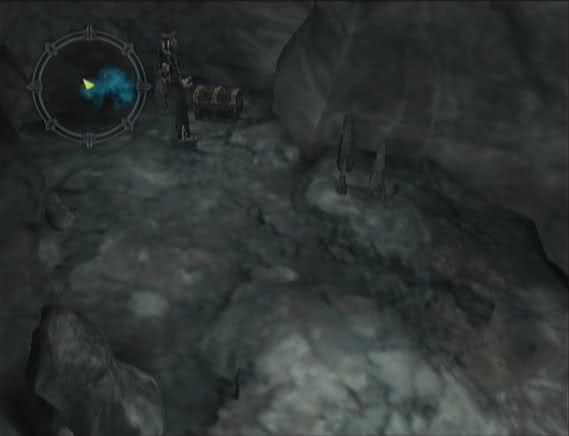
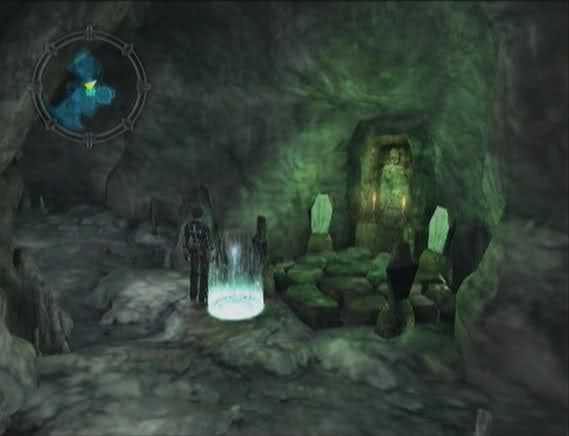
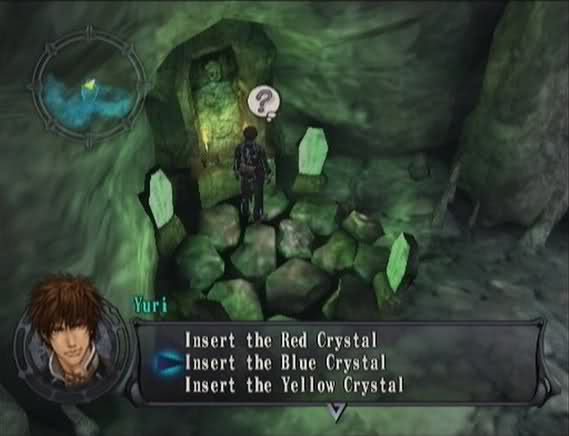
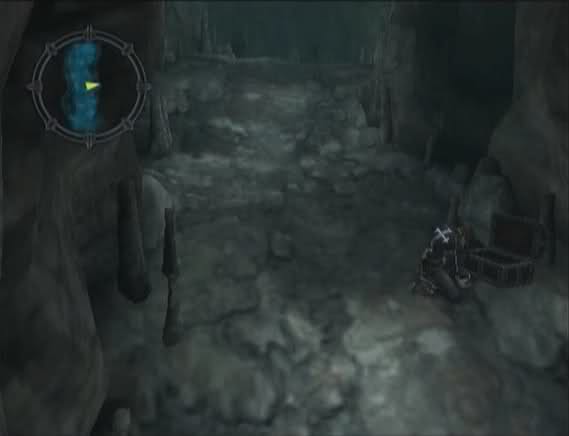
Eventually, the path splits. There's some sort of shrine here. We'll come back to it later; first, we're going to check out the path on the left.
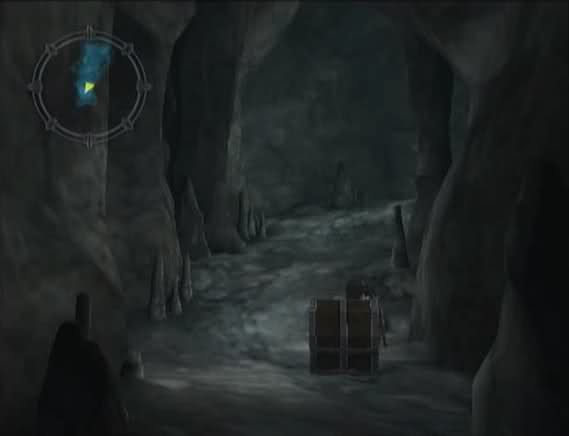
There's a chest at the end. It has a Red Crystal in it.
There's a chest at the end of the right-hand path, too. It holds the Samigina Crest (Cure, Resurrection). Now we'll run back and check out the shrine.

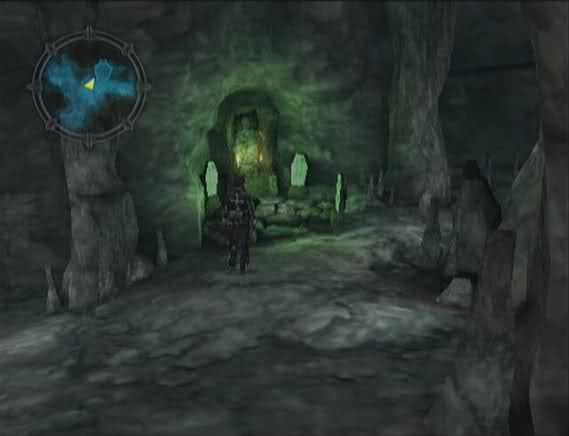
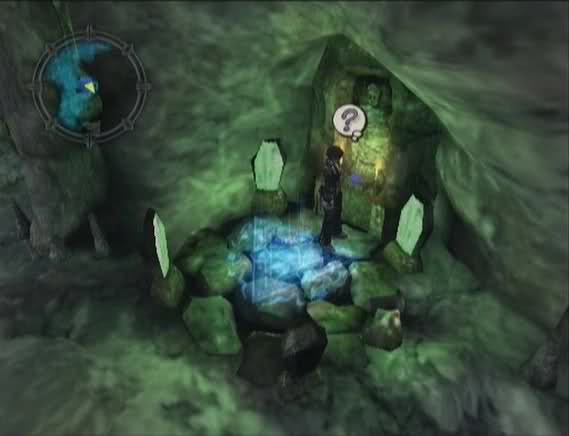
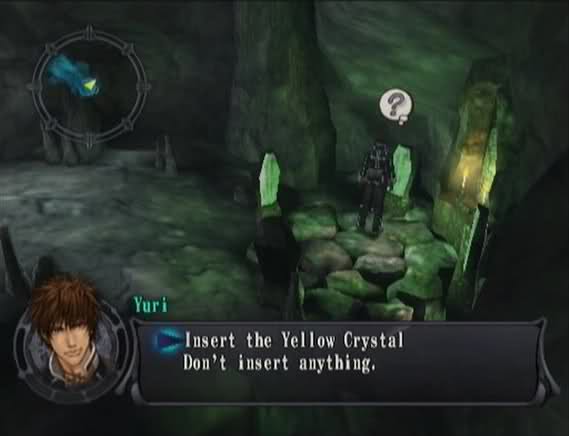
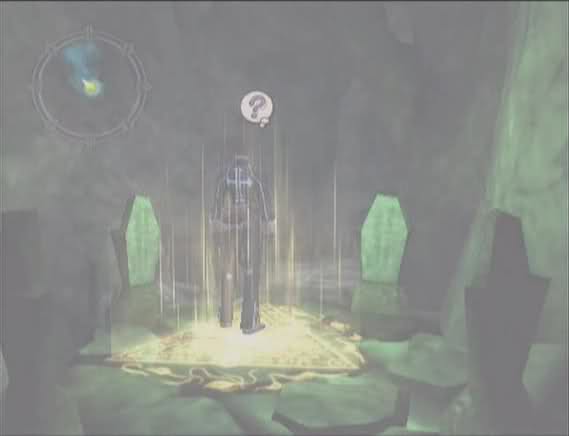
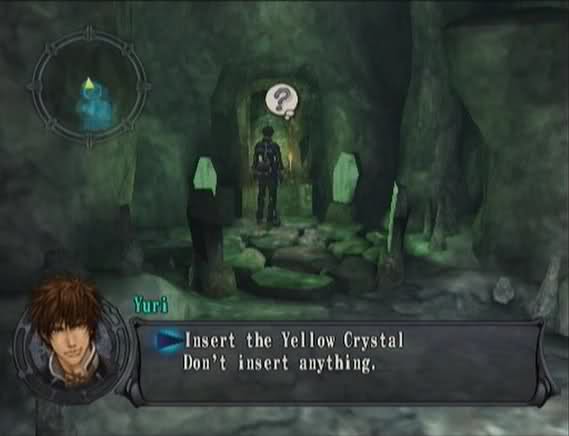
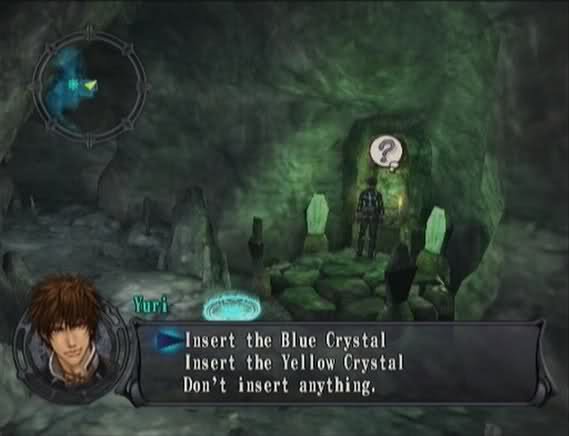
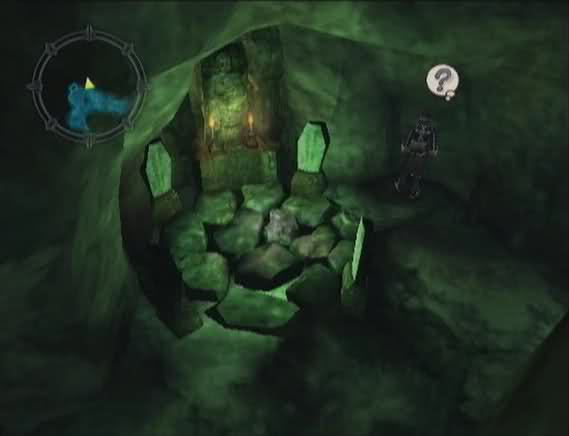
 It looks like some kind of altar.
 Look there's a round depression here. Do you think we should try putting this crystal in it?
 Put the crystal in here?
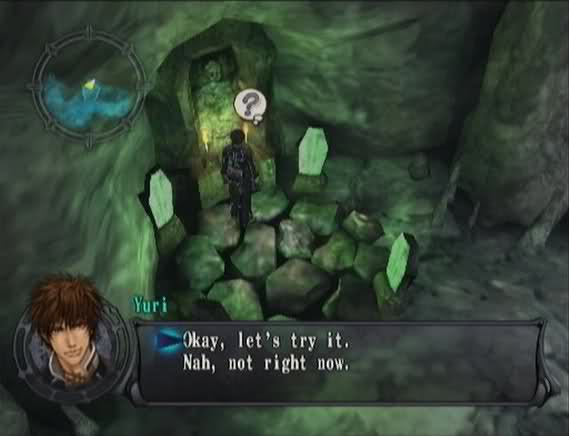
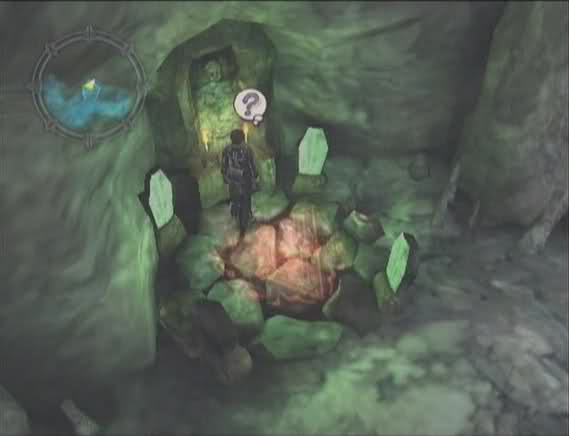
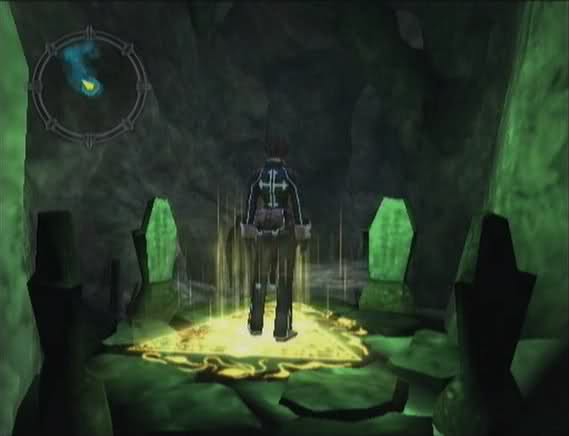
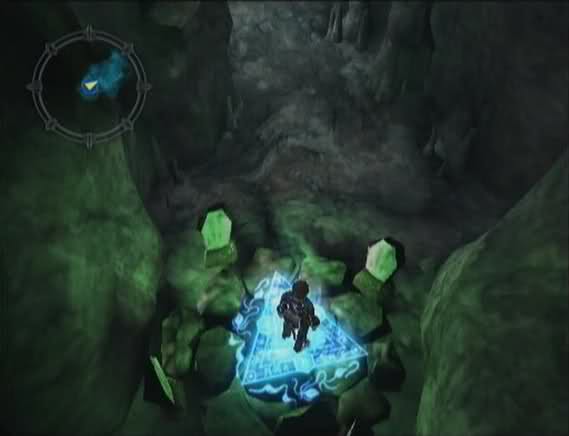
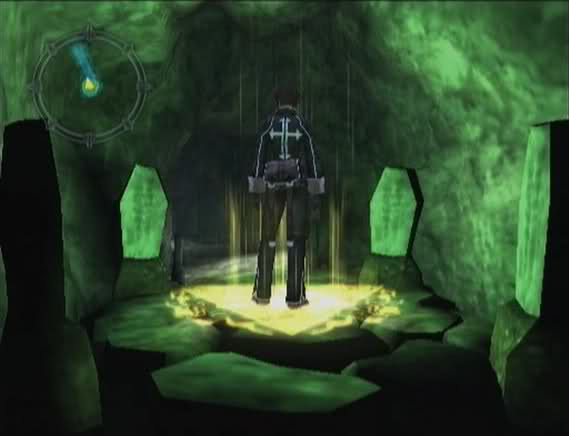
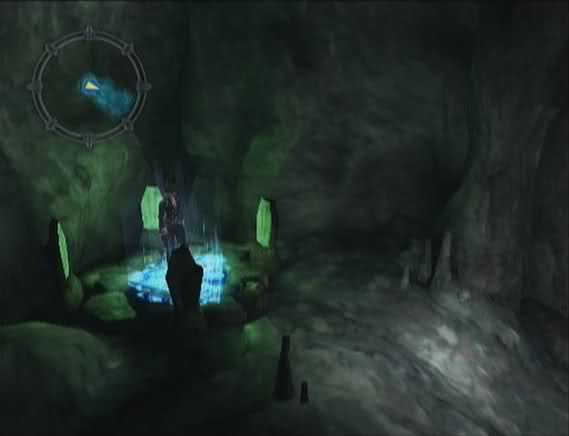
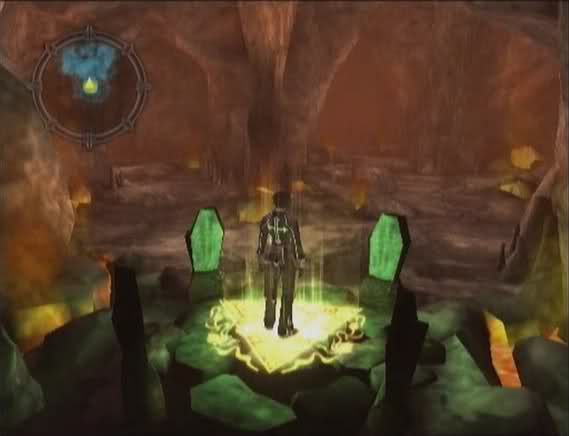
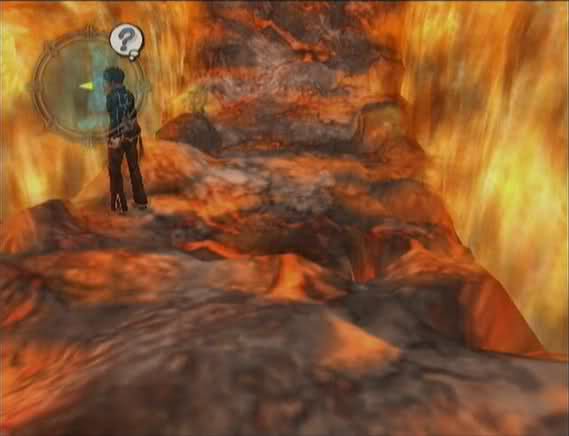
When we put the crystal in, a red sigil appears on the platform.

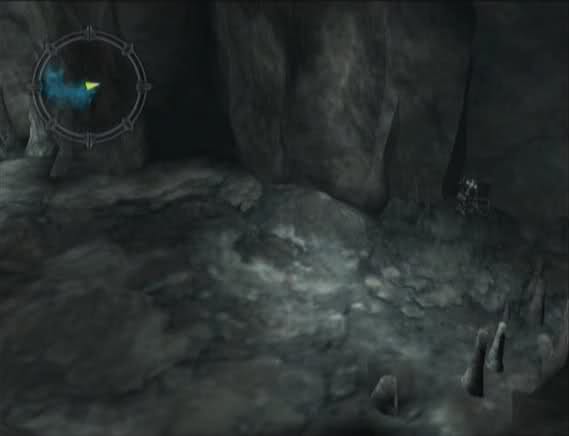
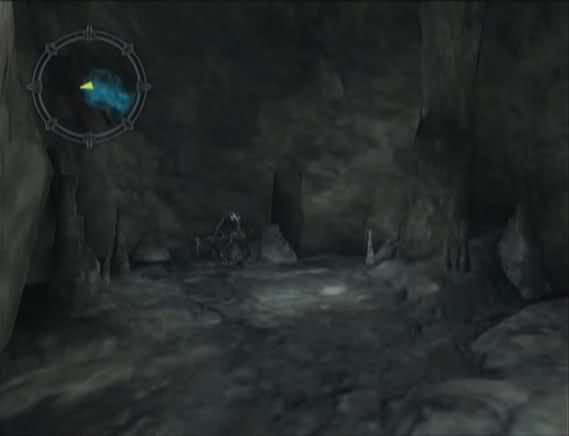
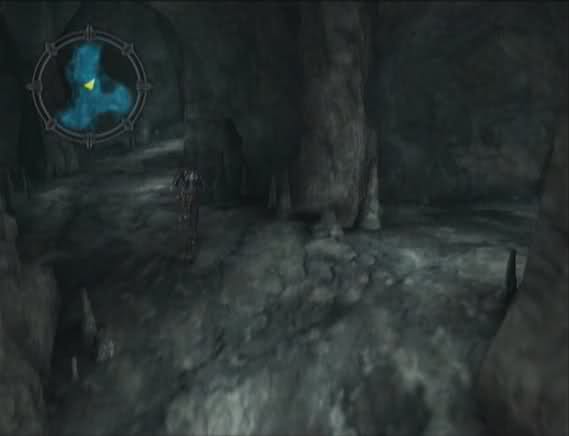
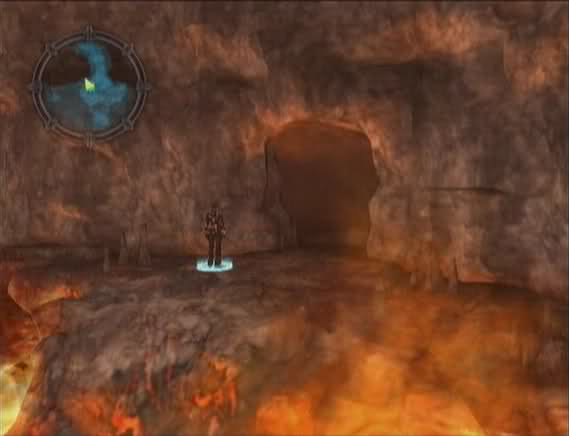
And we suddenly find ourselves in a different part of the mountain.
 We got transported! I guess that must've been a warping device.
 A warping device, huh...? I never imagined there'd be a device like that inside the Immortal Mountain... Anyway, whatever. Let's keep going.
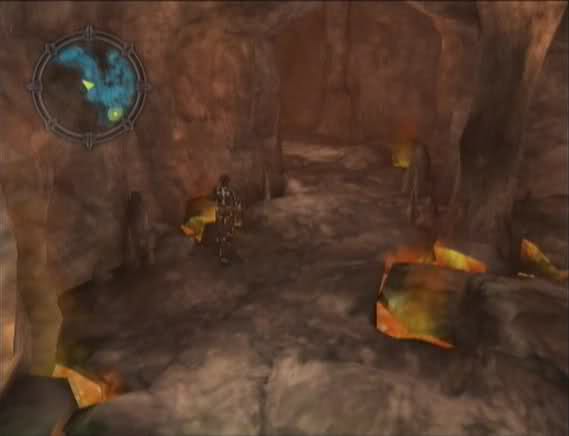
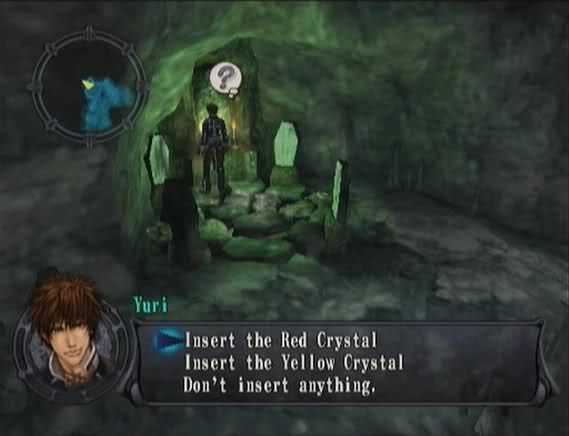
There's another shrine down the path from the transport pad. We don't have any more crystals at the moment, but it looks like the path splits again just ahead.
The path to the right just leads to another shrine and a Save Point.
Down the left path, a chest gives us the Blue Crystal.
We go back to the first shrine we passed and place the Blue Crystal in it.

This brings us to another new area. From here, we can go down or to the right.
Going down gets us the Yellow Crystal.
Going right brings us to another shrine.
The path splits again. There's nothing down the path to the right.
At the end of the left-hand path, there's a new weapon for Lucia, Hades Fan.
We can retrace our path by going back to the transport pad and inspecting it.

We pick up the Yellow Crystal again on the way back. We keep retracing steps, picking up the Blue and Red Crystals on the way.
The Blue Crystal goes where the Red one was.
This takes us to an entirely different area.
There's another shrine all the way forward down the path and to the left.

The path here is straight. There's a chest on the way with the Orias Crest (Rock Strike, Red Cradle).
The path ends in another shrine.
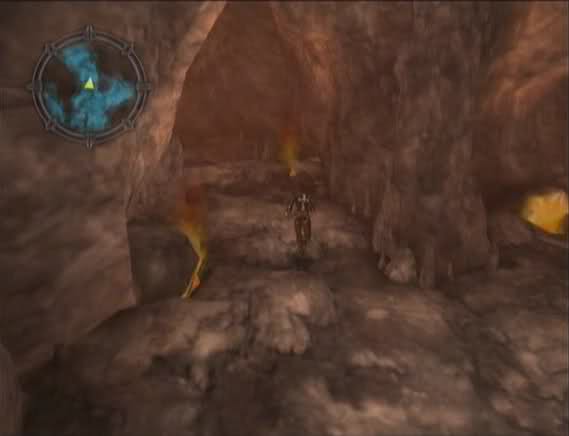
Another (fairly) straight path here.
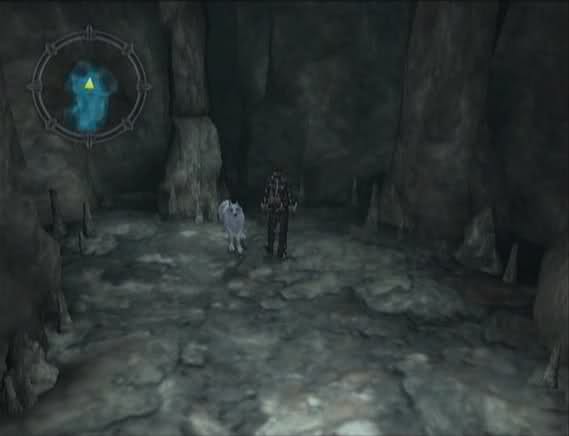
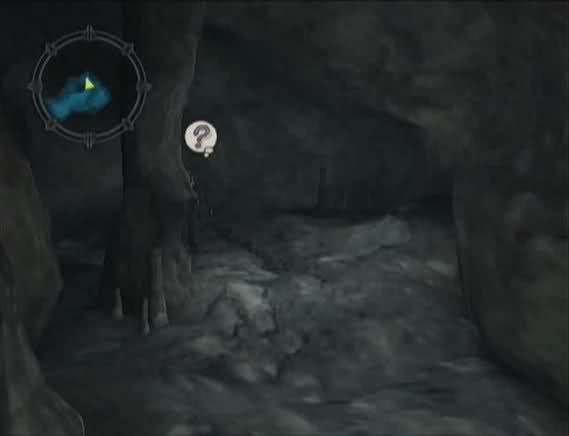
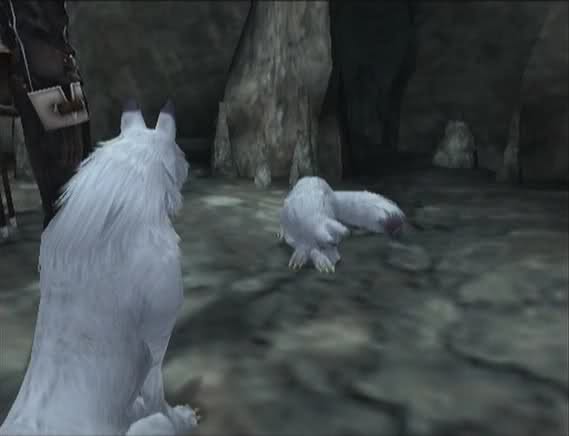
It dead-ends in a cave with a...wait a minute...
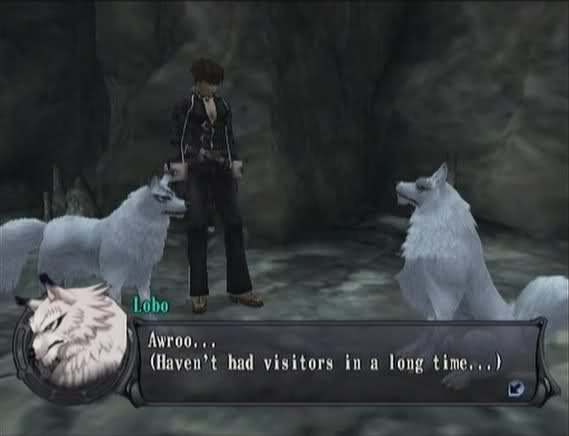
Whoa...
 Aw-awroo?! (I'm getting a weird sense of pressure in my chest... Hey, who are you?!)
 Awroo... Awroo. (My name is Lobo. They used to call me the "King of the Wolves.") Awroo... Grrr. (Lobo, eh? So you're him. I've got a question for you.) Awroo, awroo. (A wolf answers to no one. Only strength will make a wolf submit.) Awroo... Awroo. (Do you really think you have that kind of strength?)
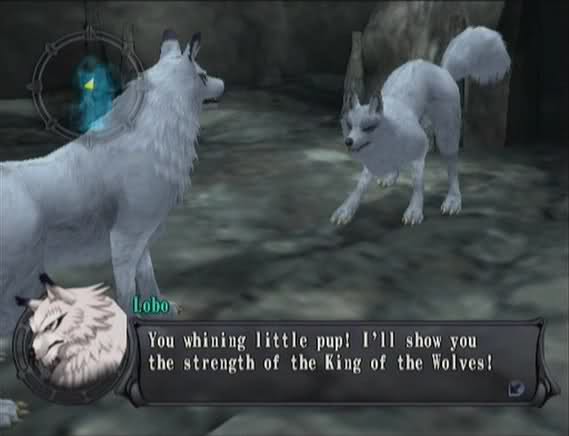 Remember those words. And now get ready for defeat!
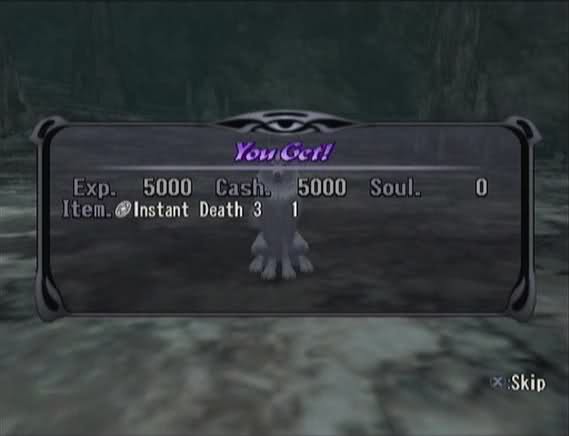
Lobo is actually challenging, for a change. Mostly because he has an Instant Death attack. Don't forget the Leonardo's Bear!
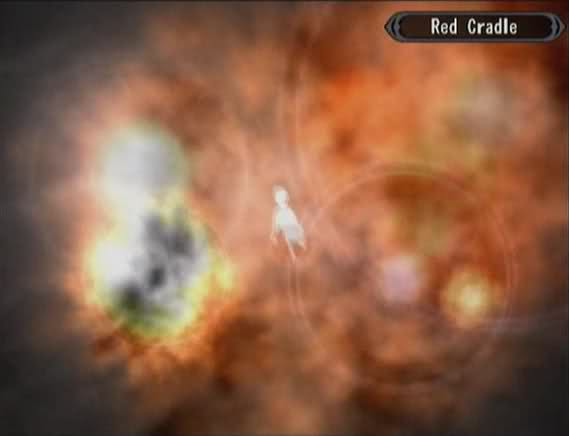
He likes to spam Red Cradle. Which is actually a good thing, as it doesn't do as much damage as his regular attack.
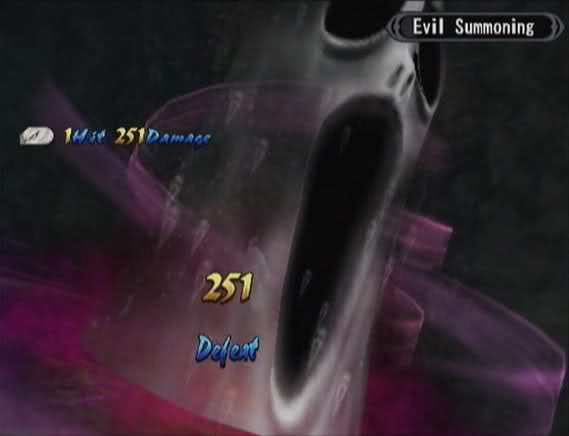
Blanca still wins.

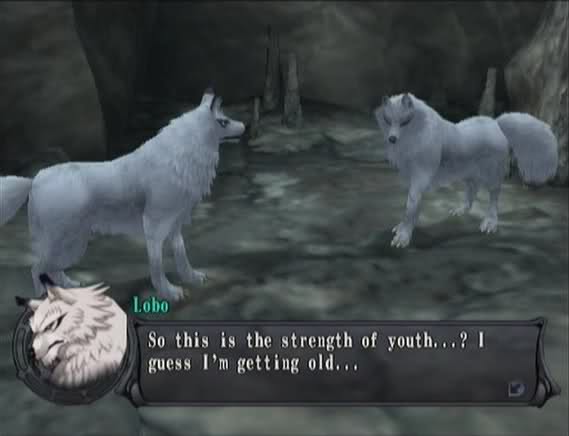 It's the job of the young to carve out the future. Old men should stand aside.

 Awroo... Awroo? (So it's true, then? ...But why?! You were in no shape to fight...!) Awroo... Awroo... (A warrior never stops fighting. But my own son wasn't cut out for battle...) Awroo... Awroo. (He left home, and I hear he lived out his days in a peaceful forest.) *whimper* (But now I see his son chose the path of the warrior...)
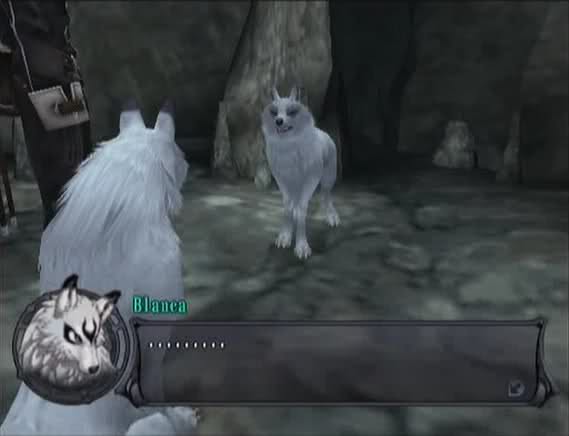 Awroo... Awroo. (I don't have any more time left... Blanca, ask Ernest everything...)
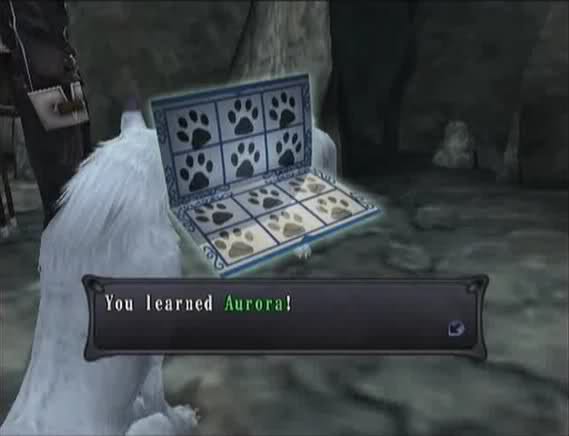
Aurora is awesome; it restores full HP to everyone.
And that is the story of how Blanca killed his own grandpa.
 Awroo... (Ernest...? The one who thought up this whole stupid competition? Ask him...?)
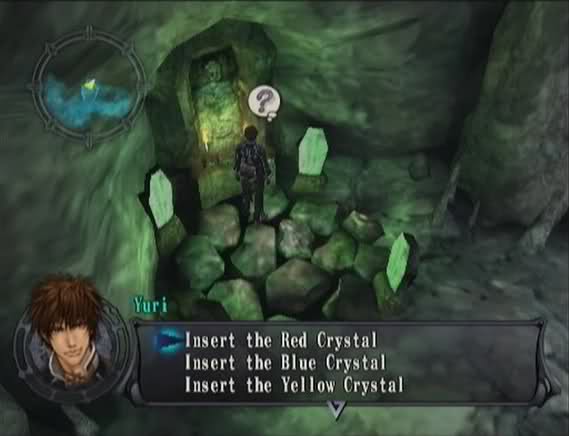
We go back to the beginning and put the Red Crystal back in the first shrine.
In the next area, we pass the first shrine and put the Blue Crystal in the far shrine.
There's a short branch off this path.
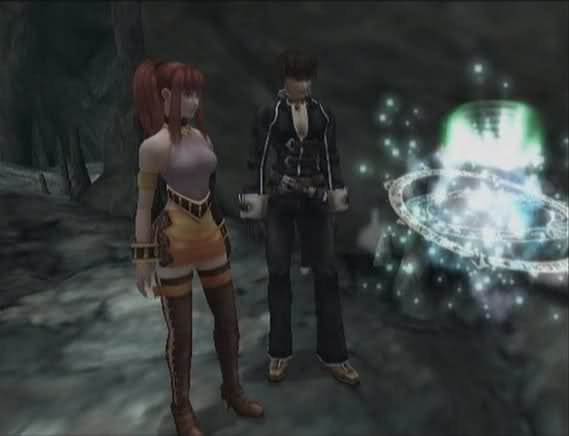
Ring Soul is hiding in it.

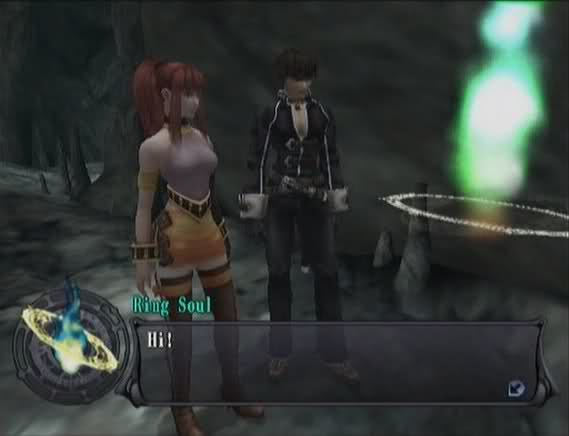 Oh, hi.
 What's up with you? Nothing, I'm fine. Today's the last time, you know. The last time I do this. I've had a lot to deal with recently. But I couldn't have gone on with this Ring Soul job without you. Me? Yeah. At first I thought I just needed to get the job done and go. But then, we had some disagreements, we talked... ...and then we were friends! I think that's pretty cool.
 So, here you are. This is for you. With my thanks.
You got Attack Boost
Thank you! Good luck, okay? Listen, let's go get a drink once I'm done! We could go down to Micha. There are some good bars down there. Sure, you got it! Great! I'm looking forward to it! I'll see you off today, okay? See ya, then!
And that's the last time we'll ever see Ring Soul.

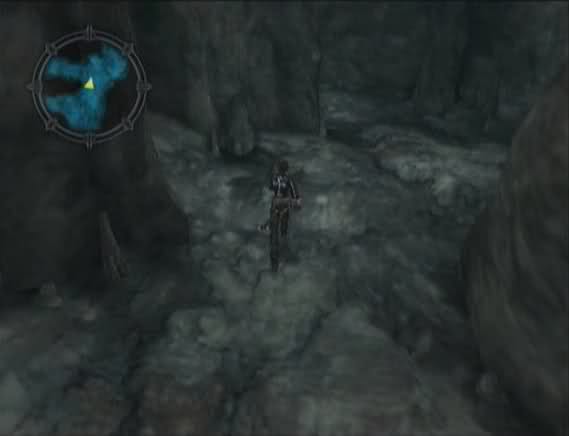
Further down, the path looks like it splits several times.
But both routes end up in the same place, another shrine. There's a Huge Jug hidden here.
Putting the Yellow Crystal in the shrine gets us deeper into Mt. Fuji. It looks distinctly warmer in here. We're getting close.
There are three paths leading away from the teleport. We'll go down the left one first.

There's a Seal of Life hidden at the end of it.

We'll go down the far-right path next.

The chest at the end has a Thera Extract.
Last of all, the middle.
It opens up into a bridge spanning a magma filled chasm. There's a chest in the corner with a new weapon for Kurando, the Kogara-Maru.

We cross the bridge and continue.
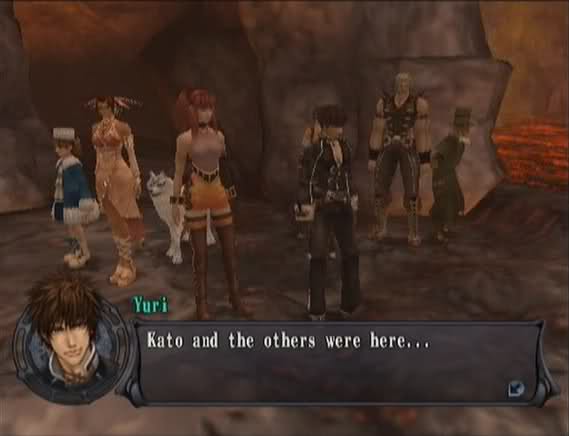
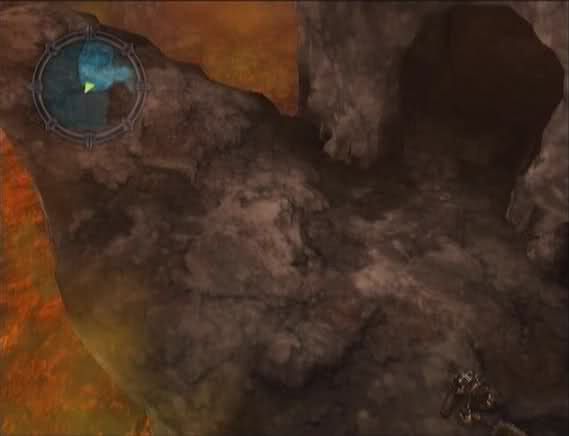
Eventually, we make it to a familiar area.
I wonder where they all went?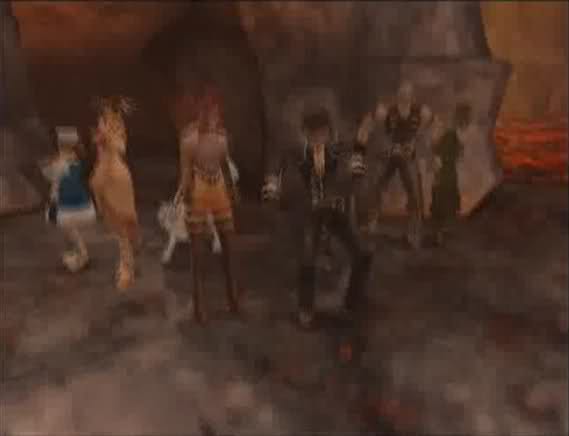
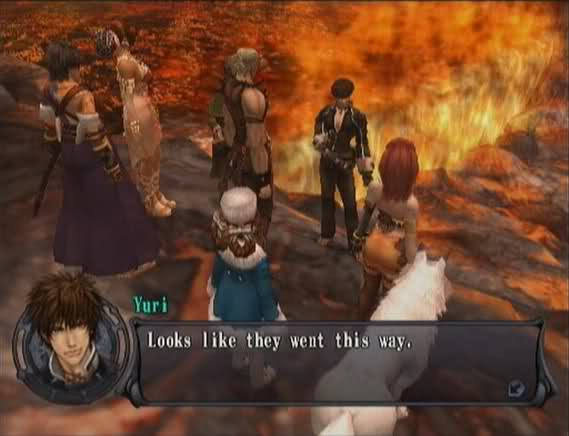
Just like with Kato, the volcano starts shaking.

The chest at the bottom has a Mana Extract.
There's a Flare Brooch hidden halfway across the bridge. It's a unique accessory for Yuri and Kurando that cuts Fusion cost in half.
Well, here goes nothing.