Part 18: Where's a Canary When You Need One?
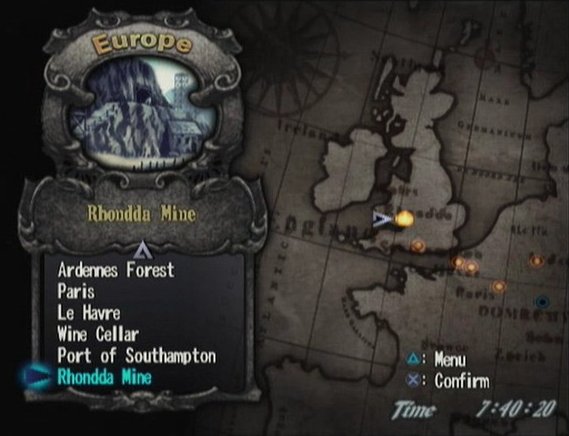
Our only other route into Wales blocked, we must travel through an abandoned, monster-infested mine. I only hope we don't run into any Balrogs.

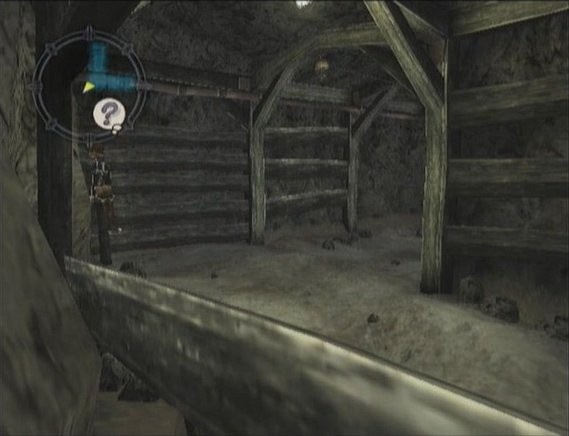
Rhondda Mine is our largest dungeon to date, but it's fairly straightforward. There aren't any real puzzles to speak of, but there's a hell of a lot of easily overlooked loot.
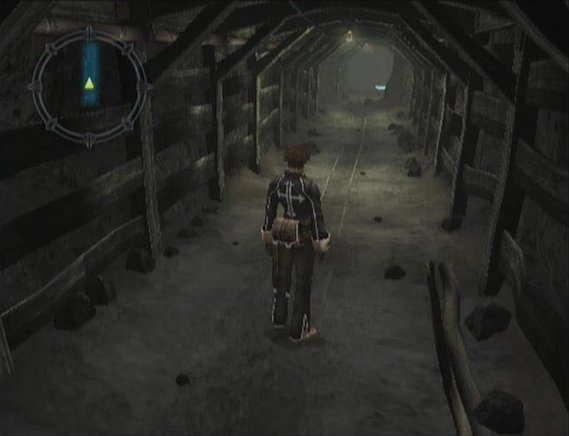
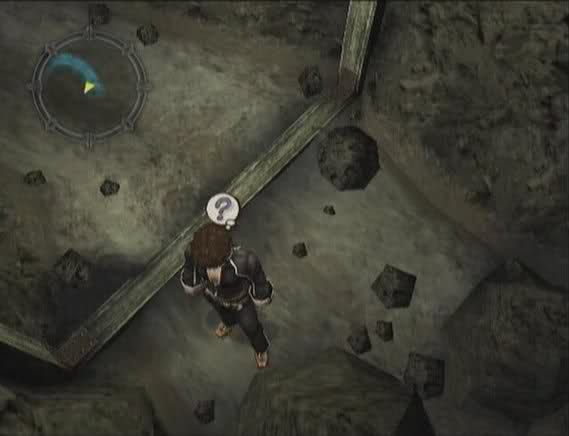
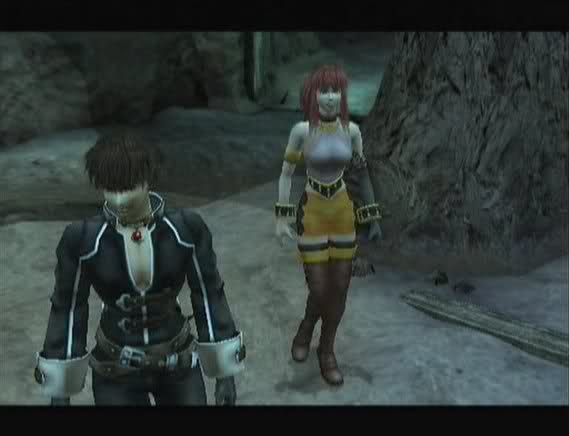
This place isn't nearly as dank and depressing as I thought it would be. There are several nasty monsters wandering around in here. Besides Barghest, Propolis and Tammuz, there's the giant Lambton Worm. And by giant, I mean the characters barely reach his lower set of arms.
1. - The first point of interest on the tour is a Lottery Ticket hidden in the corner of the path that leads off to the left before you get to the Save Point.
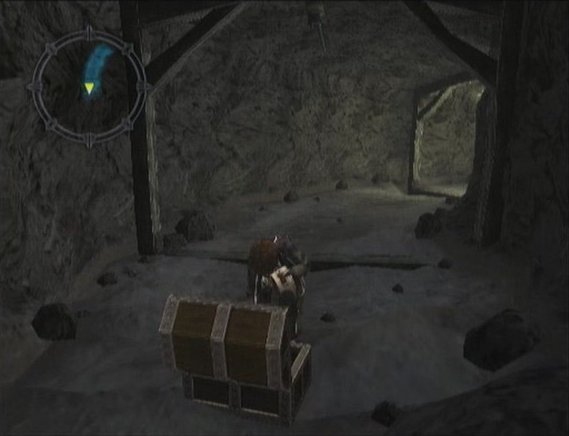
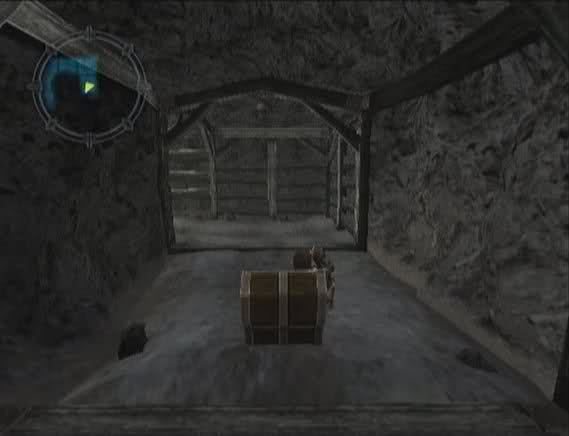
2. - Further down the same path, there's a chest with a Mana Seed.
3. - Continuing on, there's a Thera Seed hidden in another dead-end path.

4. - Along the path to the lift, we run into another chest, this one with another Thera Seed.
5. - Taking a short side trip, we find Blanca's new weapon, Whetstone!

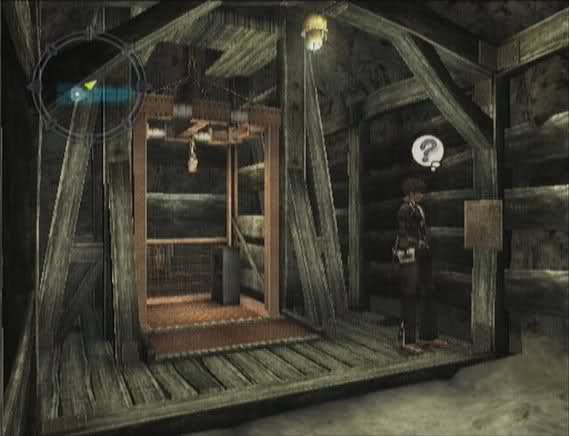
6. - We soon come to the lift, but before we take it, there's another Lottery Ticket hidden behind the sign.
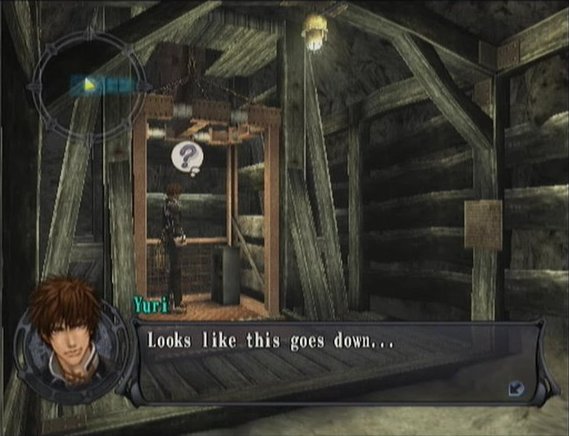

The lift lowers us down to the second level of the mine. So far, so good, but we've still got a ways to go.
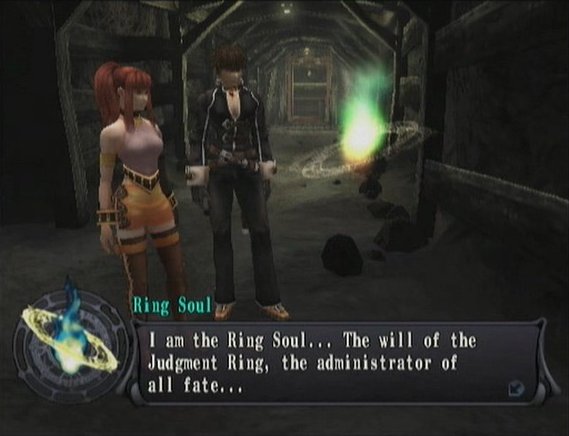
7. - We immediately run into Ring Soul again.

 You sure are!
 I can see it... I can see your... Bring it on, baby!
I see Yuri is being his usual charming self.
 .........
 Yuri! Stop being mean to the poor Ring Spirit!
 I'm not the "Ring Spirit"! Stop it, Yuri!
You ever have a conversation with someone and walk away from it feeling like they didn't hear a single word you said?
I'm a kid, now, am I?!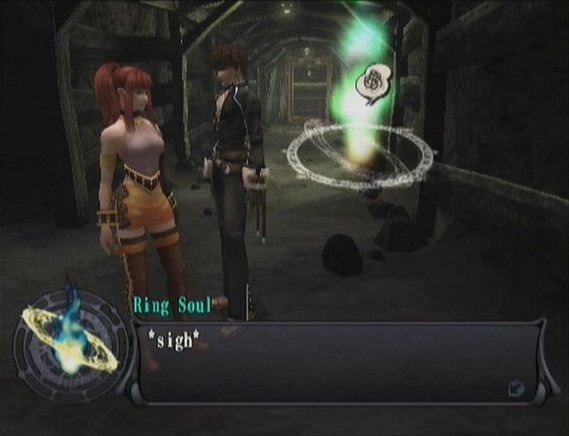 Did you hear that?! Now he's sighing! I entrust this to you...
You got Attack Boost
The power to command the Judgment Ring. Such power will help you carve your way through destiny... Thanks! I will appear again to give you more power, and I'm watching to see if you are truly the one to command destiny. ...He's gone! He's hurt because you were mean to him! What were you thinking?!
Not a damn word.
You really think so?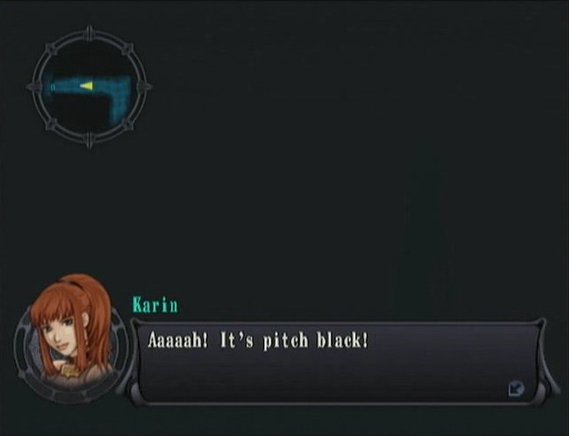
8. - Eventually, we come to a place where the lights are out, preventing us from continuing.
 We're not gonna get anywhere like this. We need some kind of light...
9. - We encounter the same thing on a second path, leaving us with only the route south.
Hmm... We're gonna have to find another way to go.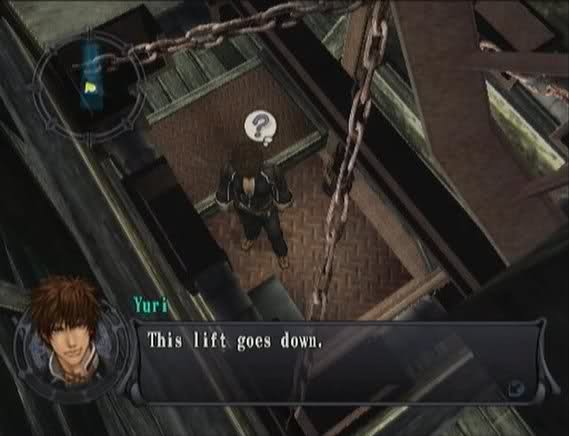
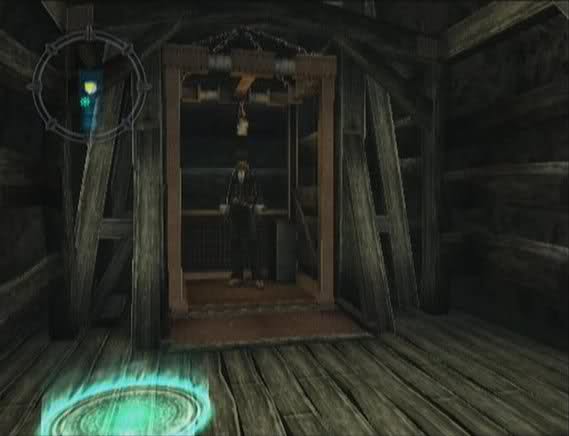
Going south takes us to another lift.

10. - Going down takes us to a Save Point and a shed at the end of a short path. Inside the shed is a Lantern!
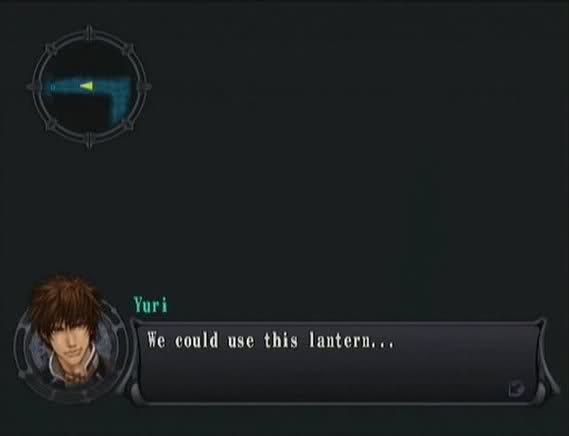
Now, we can explore the dark areas of the mine.
That's it! I can see!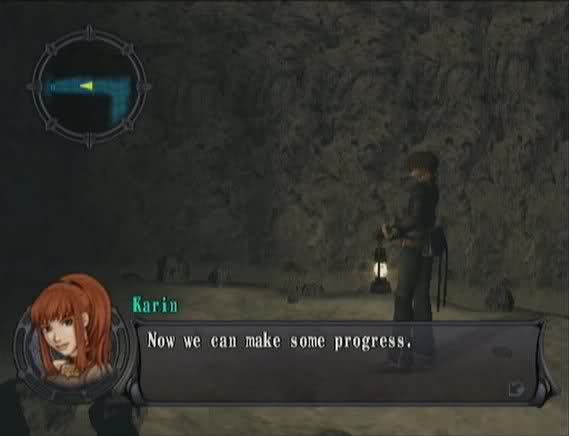

11. - At the end of this path, there's another shed.
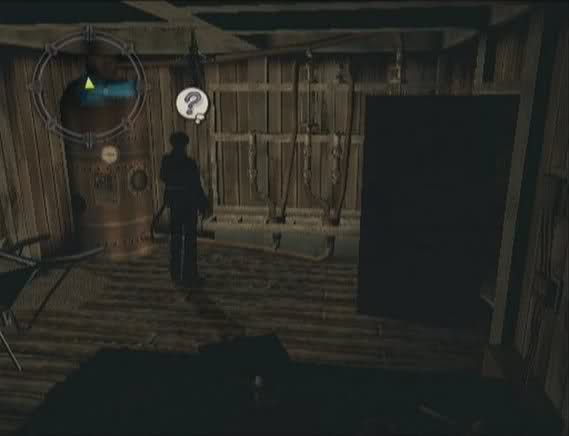
Inside, we find a Seal of Speed.
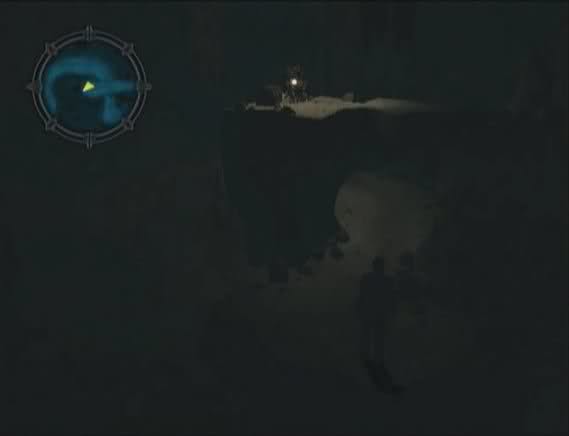
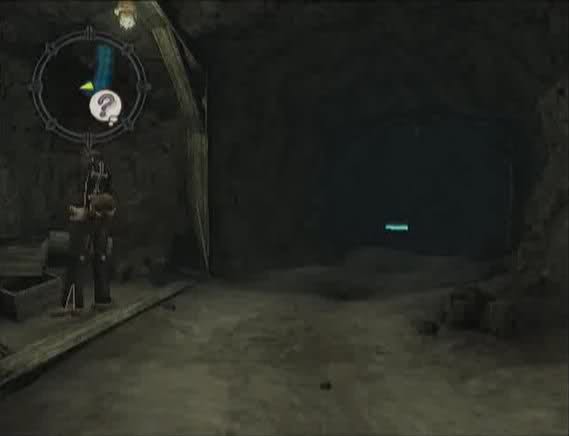
12. - Going deeper into the mine, we take a right at the fork, and then a left at the next fork to get to a large, dark cave. You might be able to make out a man standing underneath the ledge, but we can't reach him from here; we have to go around the long way. We can, however, reach the chest that holds Karin's Fine Rapier.

13. - We backtrack to the first fork and take a left at the fork after that to get a Pure Seed hidden in the dead-end path.
14. - Now, we follow the long, winding path, ignoring a couple side branches. This eventually brings us back to the cave, and we're able to reach the man we saw earlier.
Lottery Member 14: Oh, hold on a minute! Have you come to do the lottery?
And of course, he's a Lottery Member. The weird ones always are.

Member 14's gimmick is that the Ring is invisible. You get one brief chance to see the positions before they disappear and the indicator starts spinning.

If you manage to hit one of the segments, you get a brief flash of whichever color you hit. I actually managed to get red on the first try this time.


You won Third Key.
Keys are very nice to use against bosses. The Third Key, for example, makes the indicator travel around the Ring three times when you use it, as long as you don't miss any of the Hit Areas. If you have Gamble Ring set up, you only have to hit the single area once as normal, and then you attack as if you hit all your areas three times. (Example: If you had Yuri's Standard Ring set up with 5 Hit Areas, and then switched to Gamble Ring and used the key, Yuri would hit the enemy 15 times.)
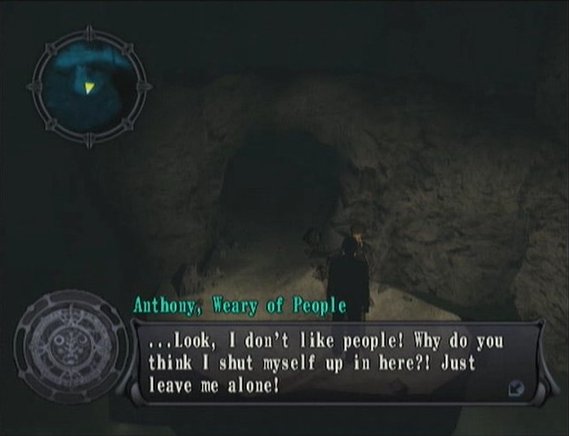
Lottery Member 14: Can you leave me alone now, please...?

15. - We backtrack a little bit and then make our way to the end of the tunnels. There's a chest here with a Studded Belt.

16. - Following the north path, we enter another path, only to find that Gerard is still stalking Yuri. He is sans Pierre and has the same stock he had in Southampton. If you used up all your healing items in the mine, this is a good place to buy more before facing the boss fight.
 Jeez?! What do you mean, jeez?! That's pretty rude, you know! There's a penalty for being rude. You have to buy something! Otherwise, I won't forgive you!
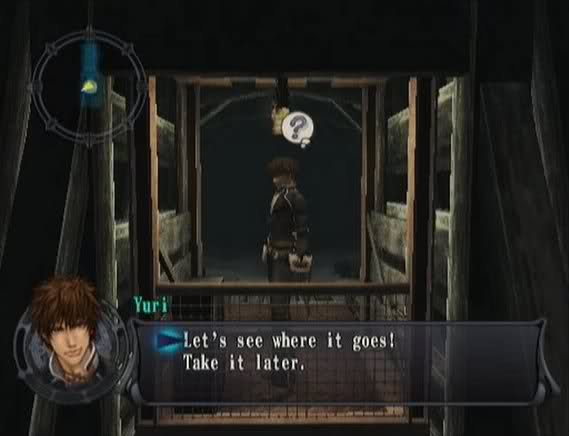
Following the south path, we come to the final lift.
It deposits us by a Save Point. This is a good place to save before trying to do 14's lottery. And before the boss fight, I guess. If you're worried or something.
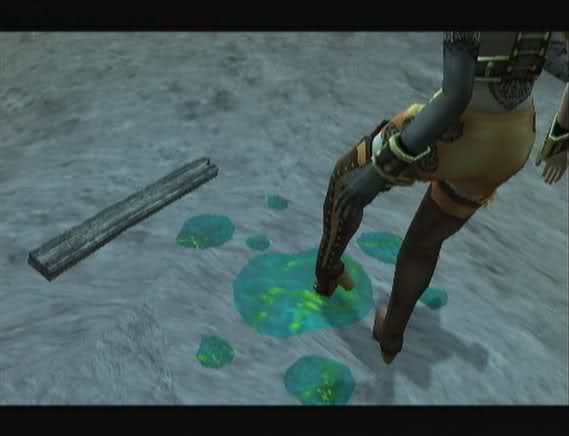
There's a little alcove along the way to the boss with another Pure Seed hidden in it. Continue south from this point, and a cut-scene soon takes over.

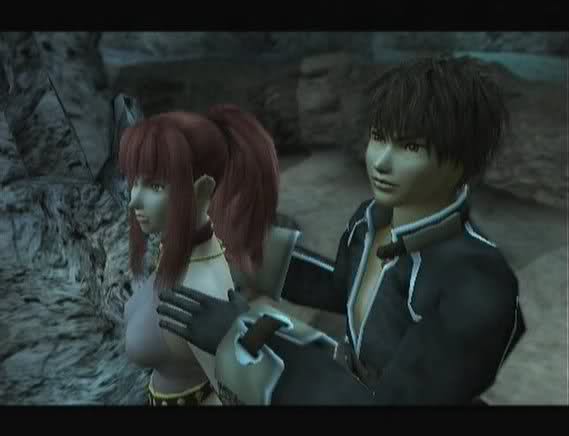
The gang ends up in a large cavern with several bits of debris lying around.
Eeeeewww!

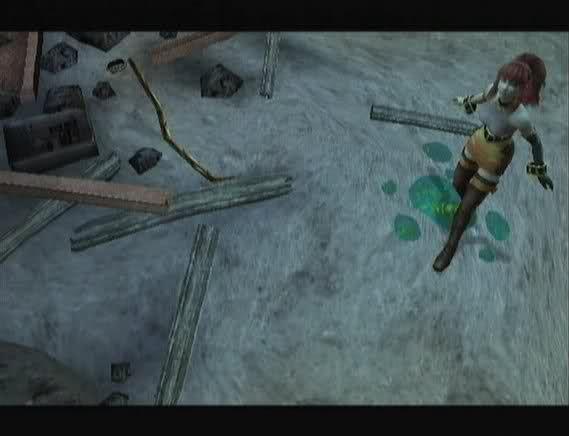
I'm not sure if she heard something or if it's just instinct, but Karin quickly turns around and looks up, finding the source of the slime.
It ain't any prettier than its droppings.

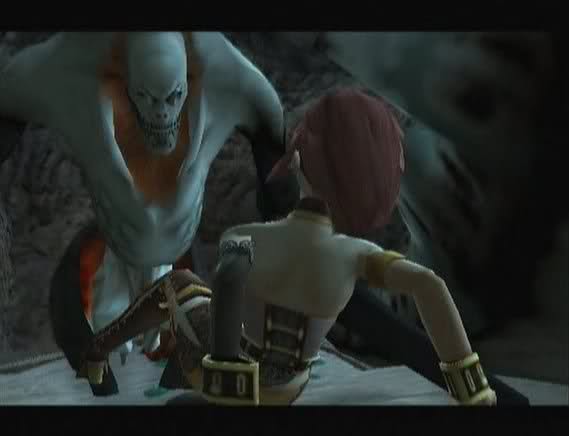
Yuri rushes in to help Karin up, although he probably didn't need to. This...thing...seems to be rather enjoying looming menacingly at the moment.
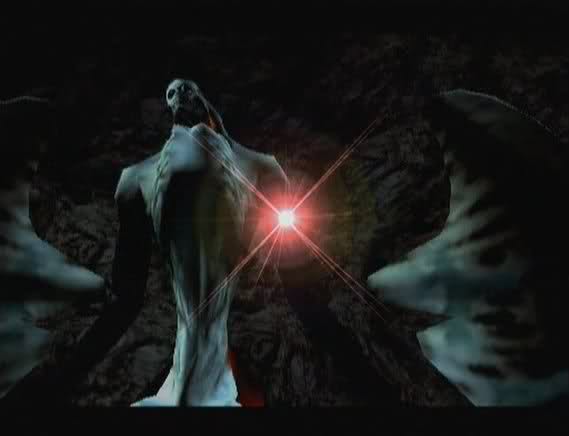
Ah, there we go. Fight time!
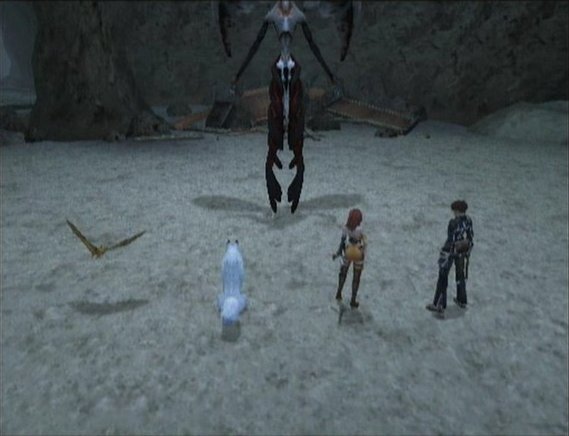
While I was exploring the mines, Joachim morphed into his Golden Bat form, so I pulled him out of the party to use him in the boss fight. Unfortunately, I forgot to look at the Golden Bat's profile page, so I'll have to grab a shot of that the next time Joachim transforms.
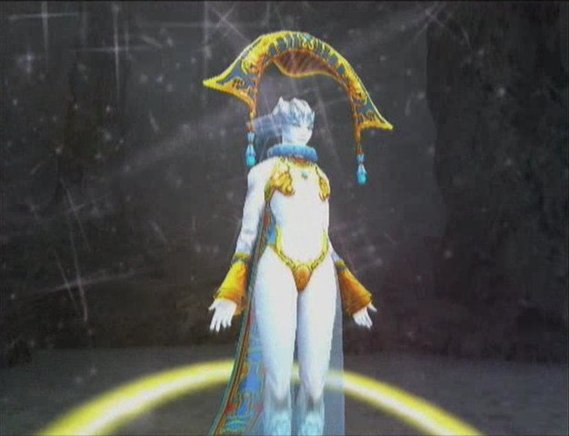
The boss, Grimlock, is Darkness-based, so that meant that Yuri's Puera gets to come out to play.

If you were wondering why I wanted to use the Golden Bat in this fight, one look at this screenshot ought to tell you all you need to know.

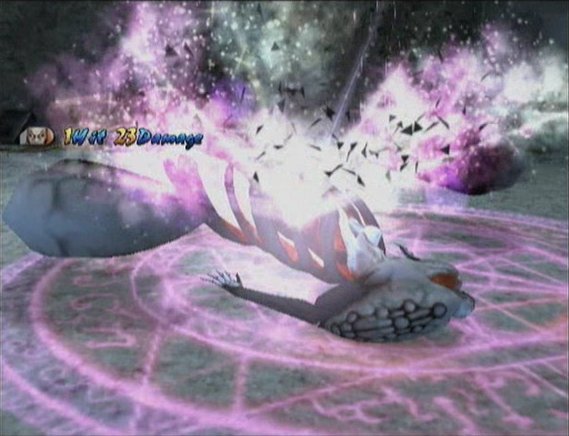
I pound on Grimlock for awhile, and even manage to pull of the Light Combo Magic, Holy Pulse. It's pretty. *sparkle* *sparkle*
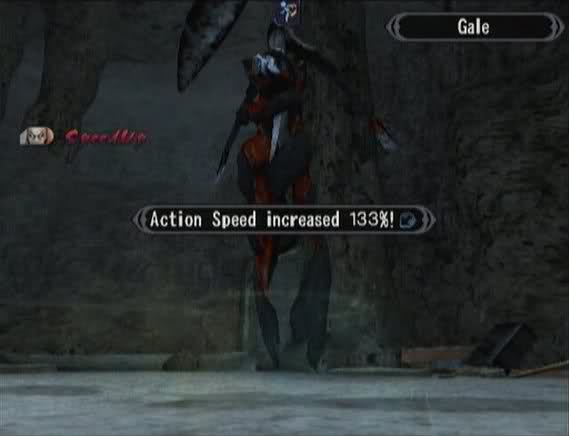
The bastard used Gale right after that, so I wasn't able to get off any more 4-man Combos.

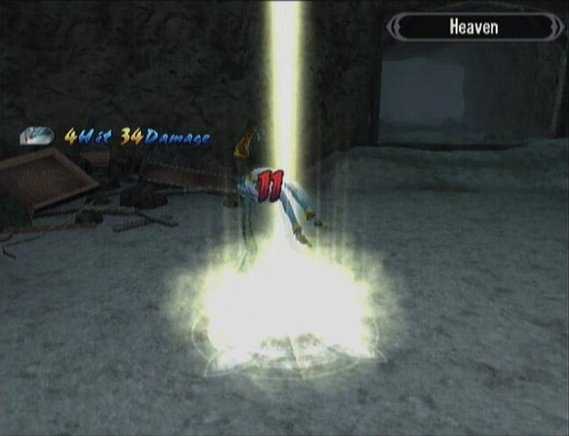
Even though his element is Darkness, Grimlock has the Light-based spell, Heaven. Of course, he uses it on Yuri, whose current fusion is also Light-based. Don't you love enemy AI?

I also tried Karin's new skill, Bullenfogel, although it's more suited to taking out multiple enemies standing in a line.
For some reason, I always manage to get the bosses down to a sliver of health and then take them out with one punch.

We get the crest Murmur (Raise Up) for winning and get extra experience for taking him out quickly.


Oh, come on, Yuri. You've been a video game protagonist for how long now?
I bet this was the spot where the explosion was. Let's go, you two.We could leave now...
...but then we'd miss getting the Seal of Strength in the chest over here.

Okay, time to go. All in all, I'd say this little side trip has been quite profitable.