Part 64: Idar Flamme

Now that everything else is taken care of, it's time to go after Rasputin.

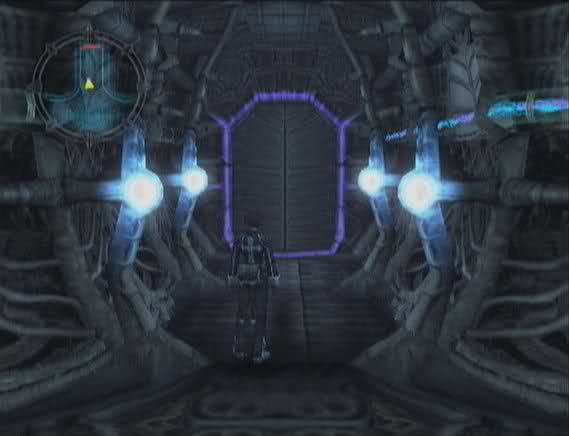
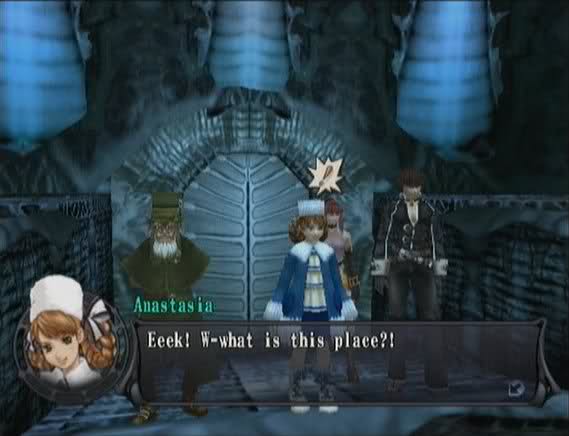
 This is Rasputin's temple...?
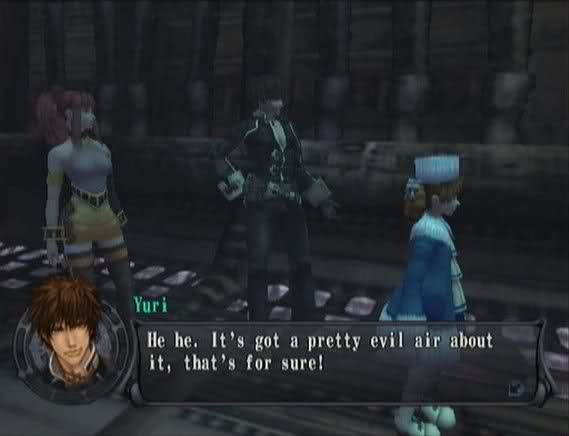
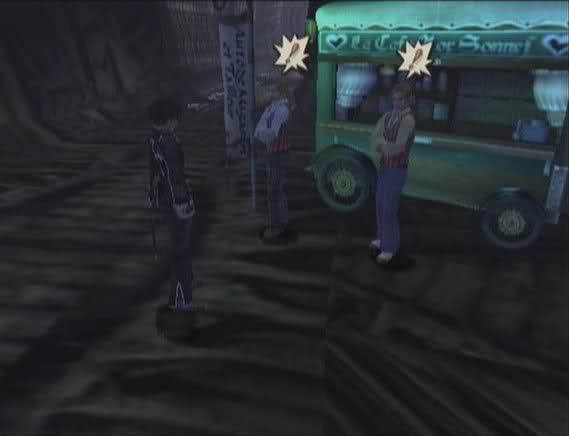
 What's with you? You seem happy.
It's the prospect of violence.
 Yeah, well... I'm really gonna enjoy ripping this building apart!
 Okay!
Okay!
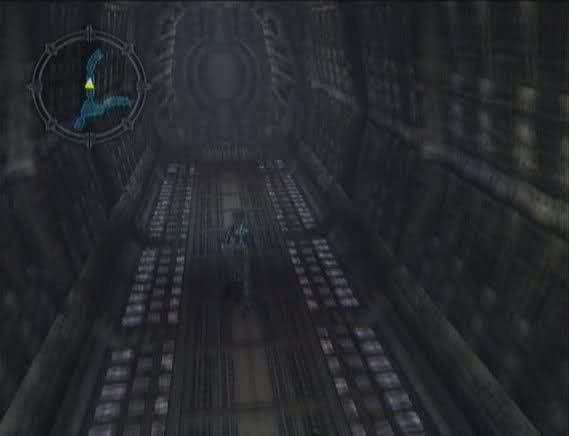
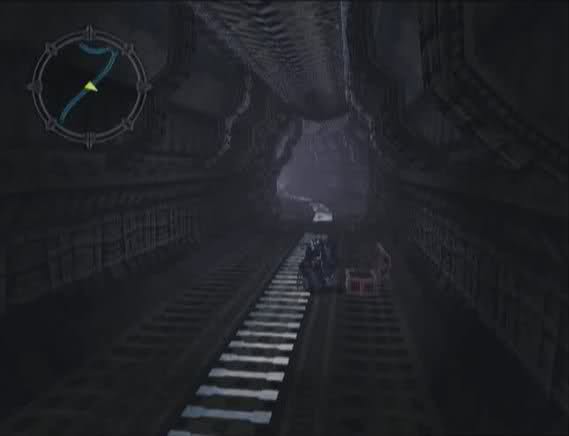
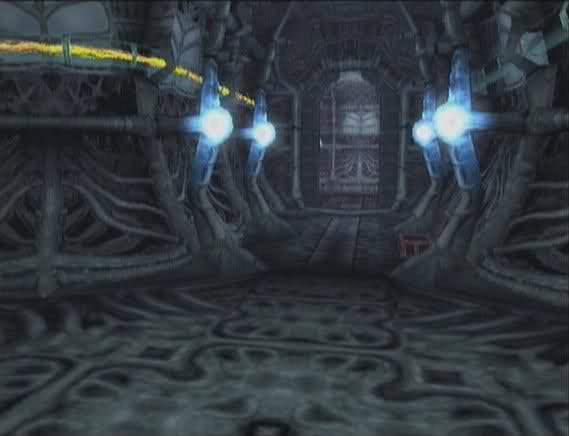
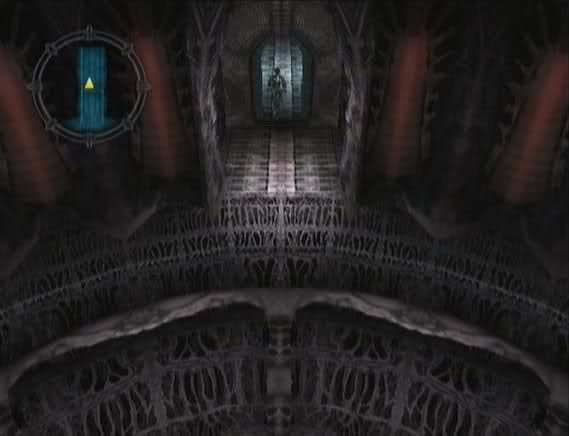
The first half of Idar Flamme is a twisting, branching labyrinth. This is a somewhat simplified map of the area.
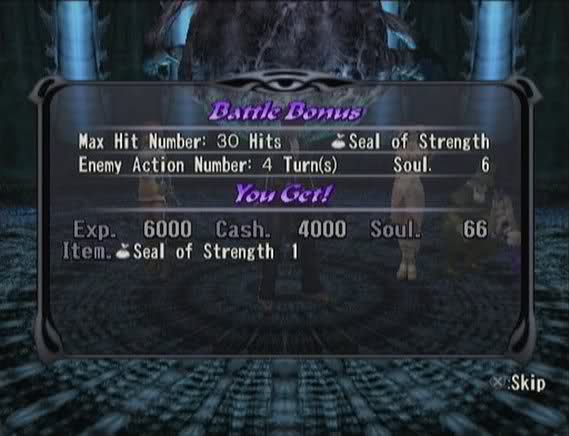
There are four monsters wandering around the tunnels: Megafilaria, Zamuza, Echidna and Hati.
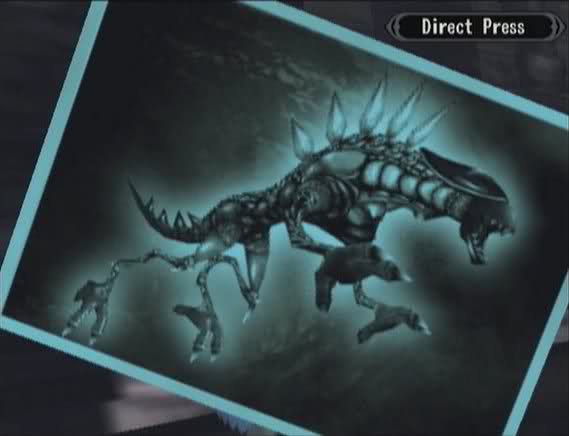
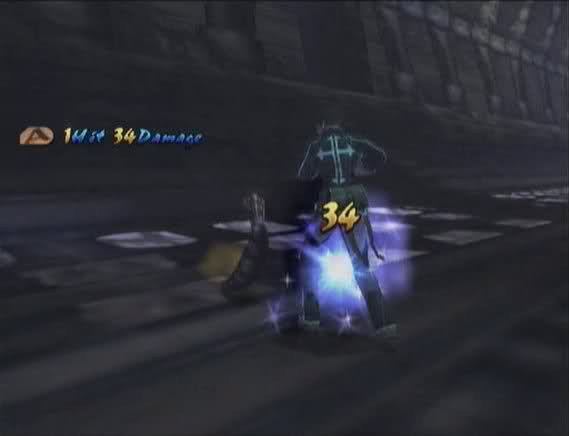
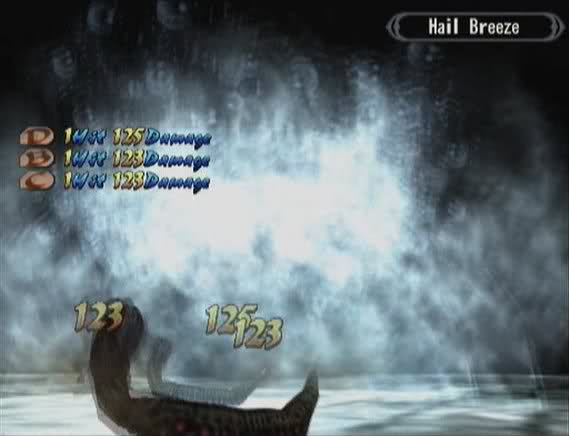
Taking a Snap Shot of Hati gives Anastasia the Direct Press Album. Direct Press drops a heavy weight out of the sky onto an enemy, taking away half their health. Hati himself is immune to the skill, as are all bosses.

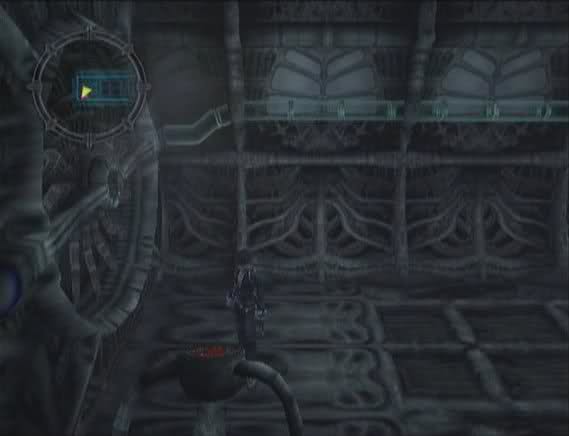
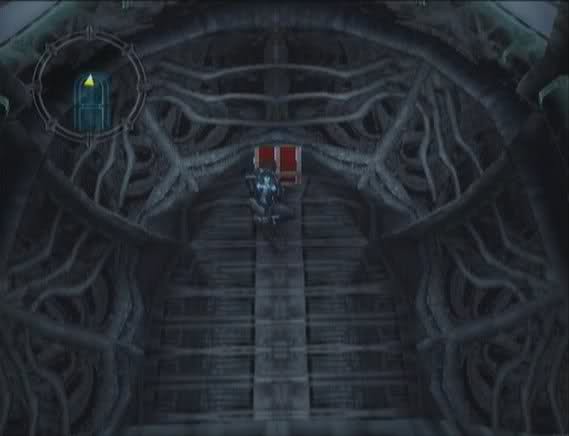
1. Traveling along the passage, we soon come to a blockage.
The "eggs" trigger an encounter with an enemy called Gigafilaria. You always face six of them, and they like to cast Arc Gale. As long as they don't surround you and you cast Arc Gale on yourself first they shouldn't be any problem. If they go first, you're pretty much screwed, especially if you're under-leveled. There are several of these eggs along the central corridor (four or five, I think) and you'll also face at least one trying to get to the chests in the passages on either side.

 This temple's alive, I'm sure of it...
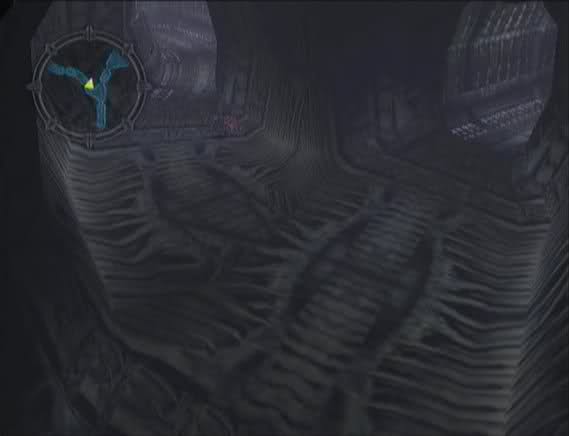
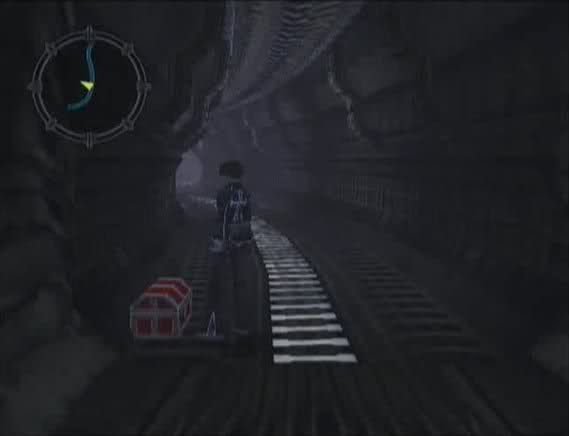
2. Just past the first split in the path, there's a chest with a Mana Root.
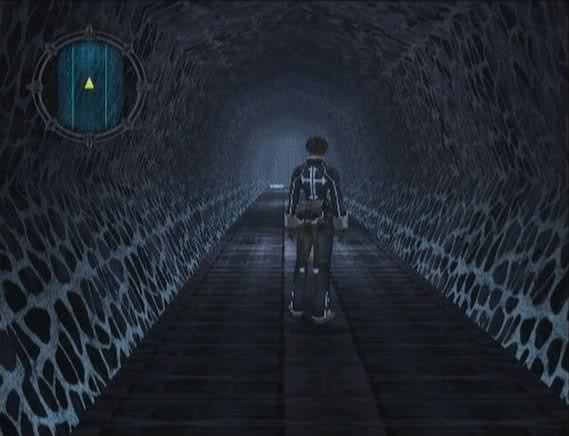
Sometimes when you're going down the tunnels, you'll see what looks like a dead end.
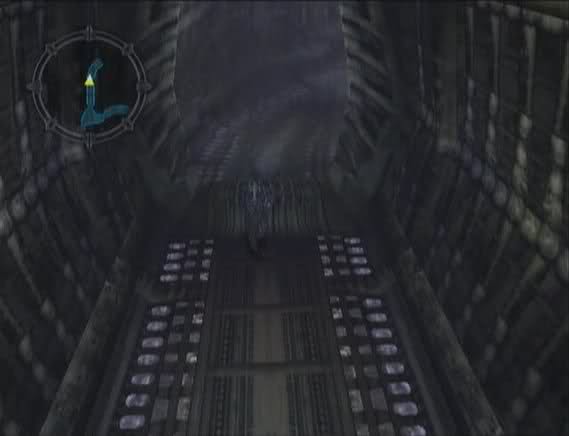
But when you get close to them, they shimmer and disappear. I guess the developers decided the twisting, identical hallways weren't confusing enough.
3. Heading off to the right (and fighting another group of Gigafilaria from an egg) we find another chest. This one has Paralysis 2.

4. There's three chests down a dead-end on the far right. They hold a Strike Expand, a Cosmic Bracelet and a Soul Benediction.
5. Heading back toward the middle, there's a chest with Bat's Gold.
6. Over on the left, there's a chest with a new weapon for Lucia, Jupiter Fan.

7. There are two chests at a dead-end further up. They've got a Thera Root and a Silver Bracelet.
8. Returning to the central passage and going all the way up, we come to- Seriously, how do they DO that?!
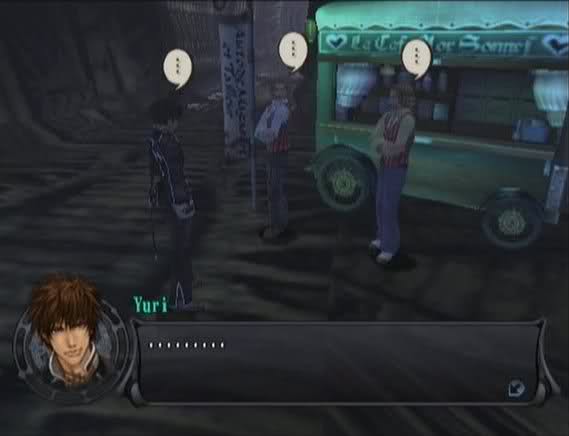
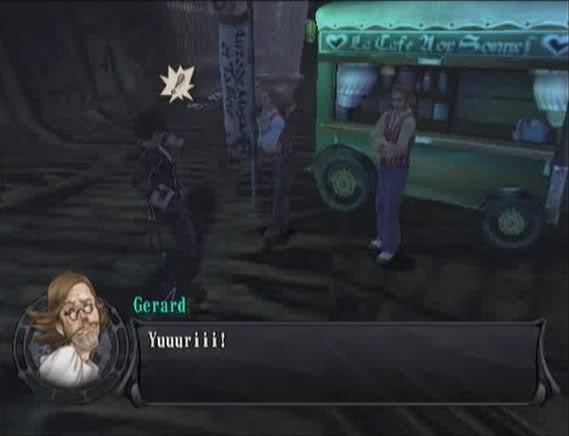 Huh?! What are you doing here?! How did you get in?
 Oh, come on! Why act so surprised? You people were here. Surely you knew we would show up eventually!
 We had to come and give our support! This is do-or-die, right?! Aren't you even a little pleased to see us?!

 You idiot! What did you have to go and spell it all out for?! Well, what about you?!
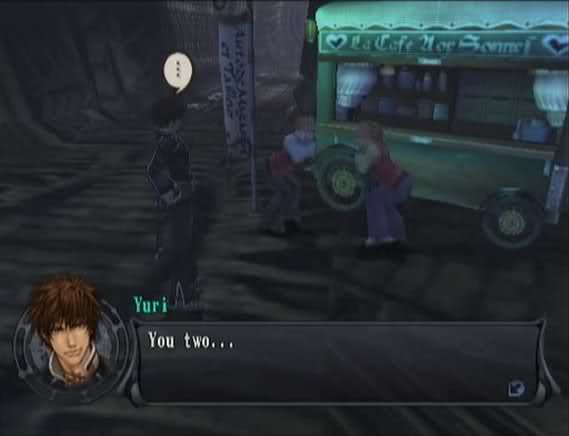 Oh, listen to us blurting out things! It's not true! Don't worry about it! Don't let it get you down! You just shout when you want to go back. We'll give you a ride back to the entrance, okay? Right, Pierre? Y-yes, of course! Just say the word! Ha ha ha! Ha ha ha ha ha!
Ooookay, moving on.

Continuing north, we go through another of the false dead-ends.
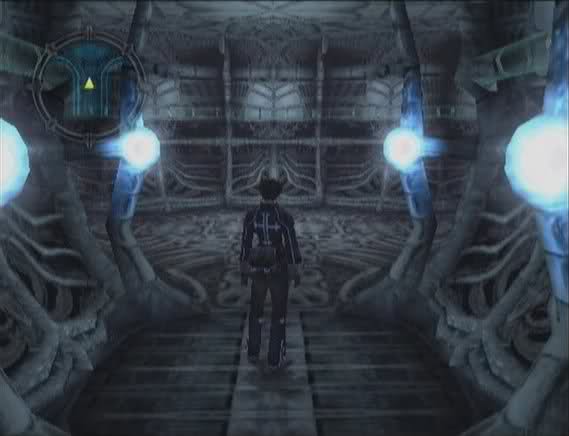
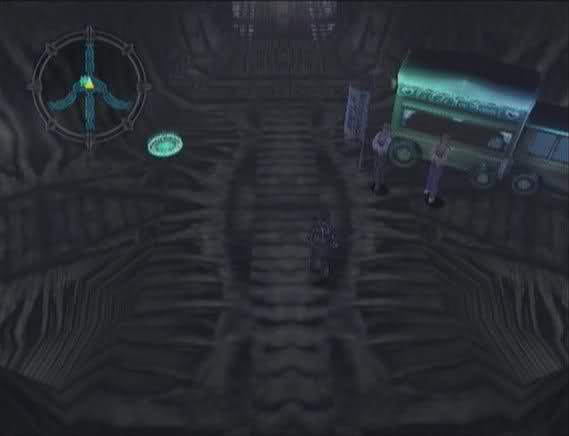
And then we end up in a different area.

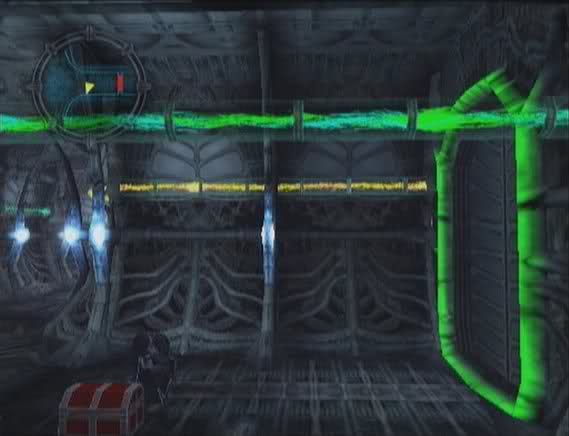
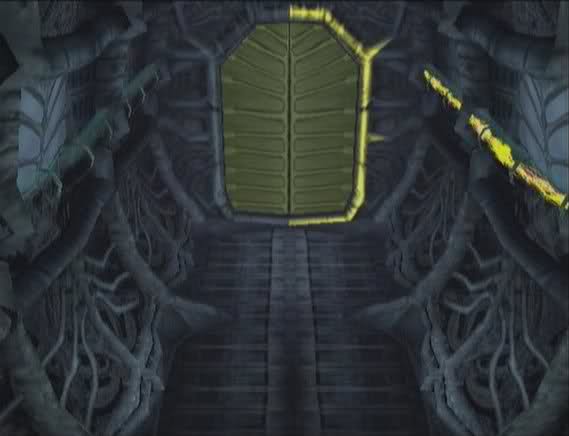
The layout is very simple. The twist here is color-coded locked doors.
The passages are blocked at several points by doors surrounded by different colored lights. To open the doors, we have to turn out the light.
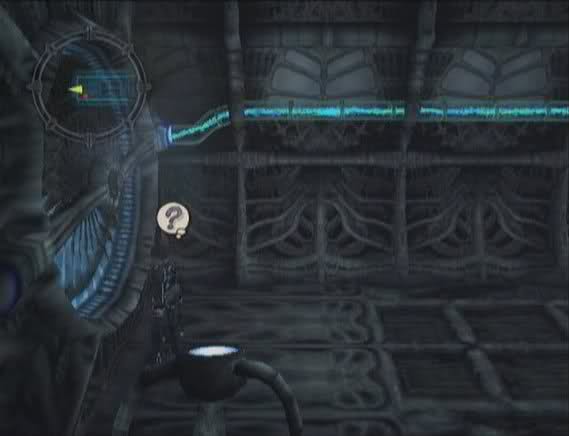
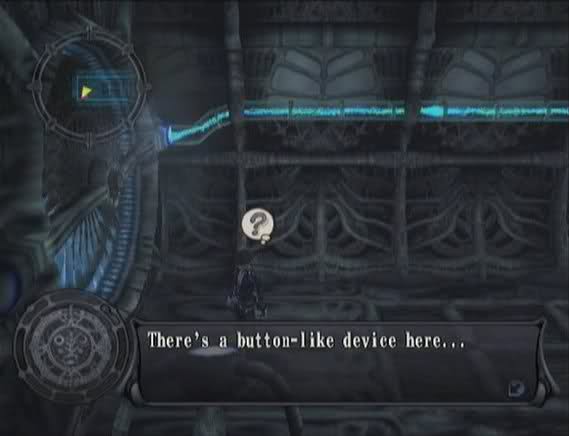
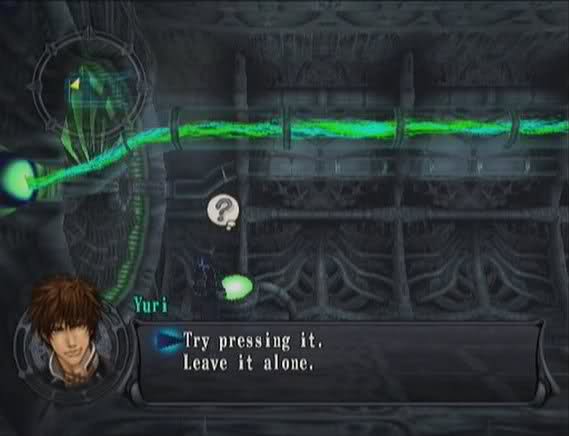
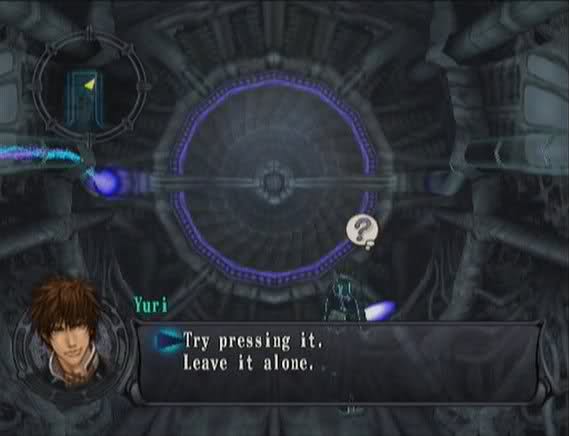
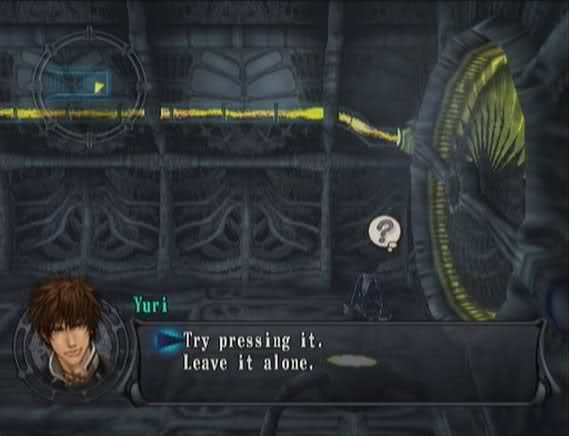
Going all the way left from the entrance, we come to an industrial-sized demonic fan. This one has a blue trail of light leading from it and a button nearby.
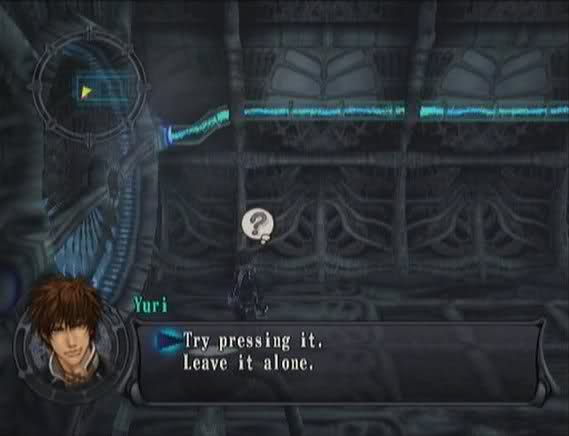
Why, yes, I would like to progress through the dungeon.
Pressing the button (or in this case, Yuri waving his hand in the air vaguely in the button's direction) stops the fan.
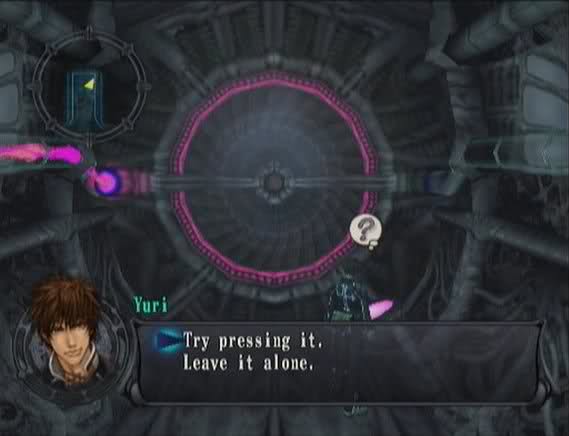
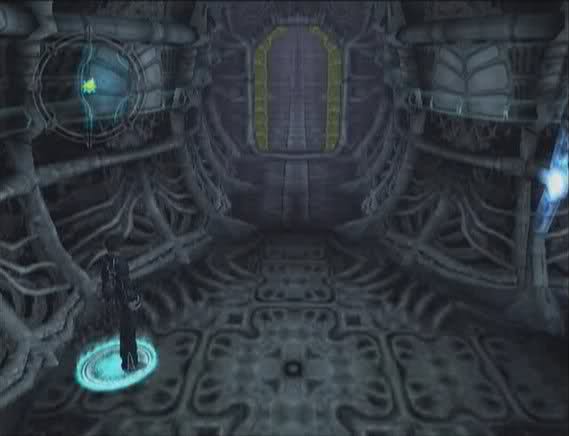
The light around the light blue door flickers off.

Then the door opens.
Going through, there's a chest with a Feather Bracelet next to the green door.
The button for that door is a bit further up the hallway and to the left.
That door is now open, but before we go through it, we go straight right to reach another button.

This one controls the yellow door.
Unfortunately, it only controls half of it; we have to find another button.
Going through the green door, we find another chest. This one has a Hit Area Expand.
We go back to the entrance and head all the way right to grab a chest with a Third Key.
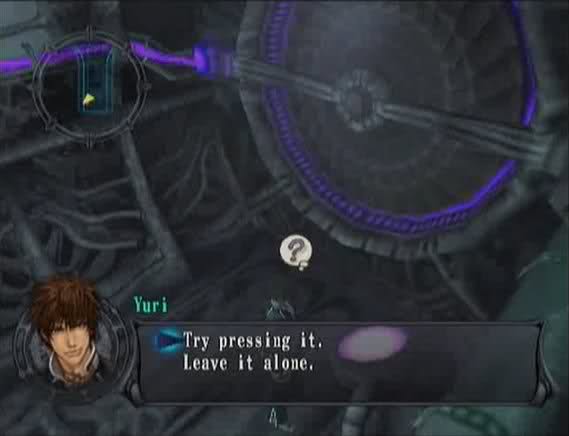
We go back one intersection to hit the button for the purple door.

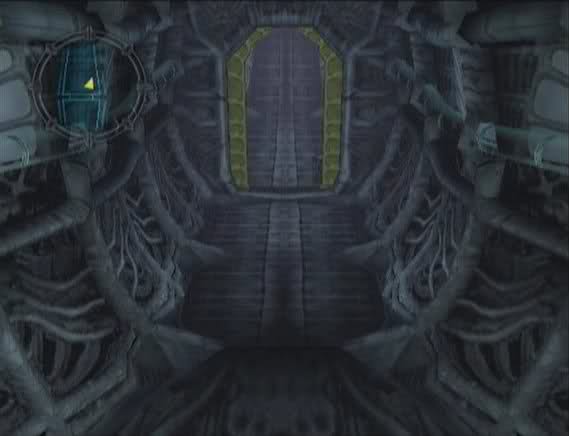
Now that the door is open, we can go through it and take the next right.
On the way, we stop to hit the pink button.
This opens up a short-cut back to the yellow door.

Continuing right, there's another purple door.
The button for this door is directly south.
With the door open, we can access this chest and get a Will Power.
Going left, up and right brings us to the last switch for the yellow door.

Bingo.
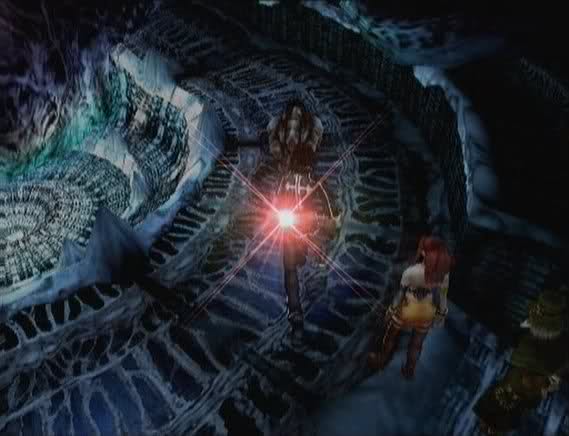
Heading straight left from the switch brings us to a Save Point in front of the door. I make sure everyone has something equipped to stop Paralysis (Bhodi Bracelets or the Cosmic Bracelet I just found) and move forward.
But first, there's a chest just past the door, hidden on the right side. It has a Pure Root.
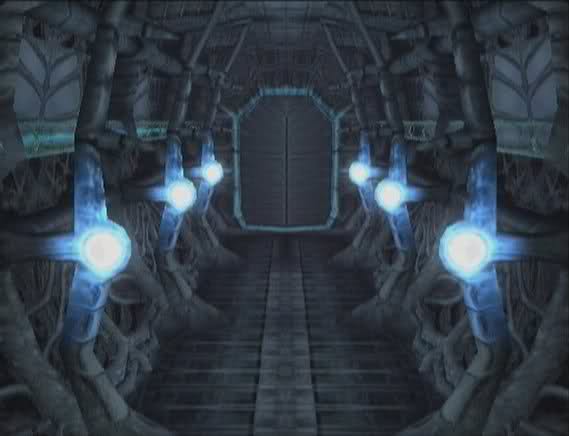
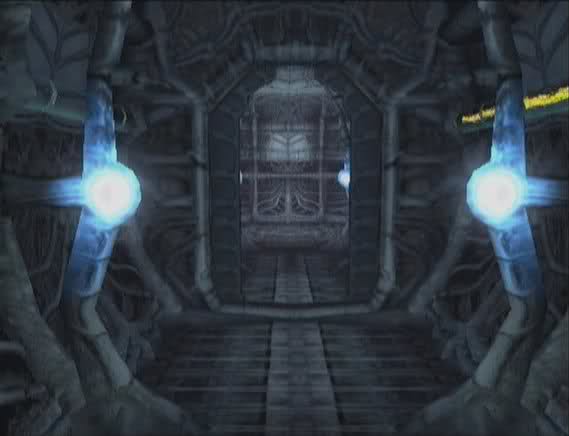
Following the passage brings us to a large room.
A large, creepy room.

 Huh?!
Huh?!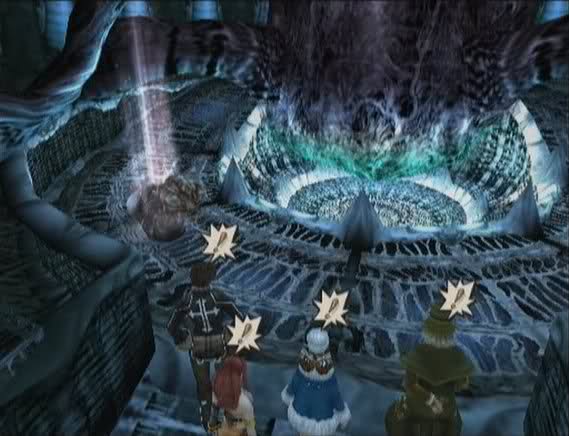
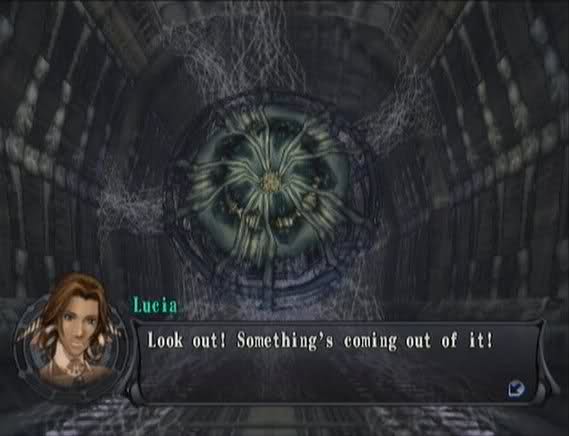
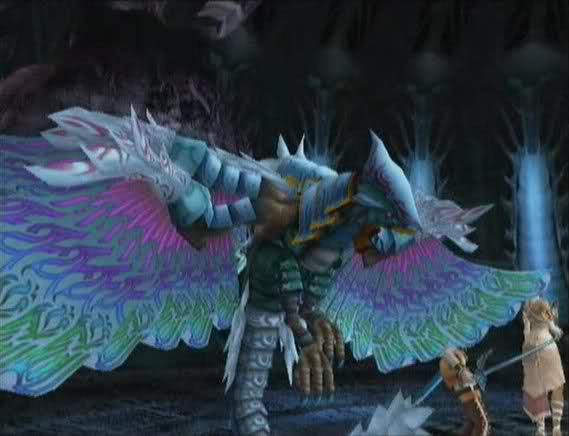
A Mother Filaria draws near! Command?
>Fight
Spell
Run
Item
It doesn't wanna let us through, huh?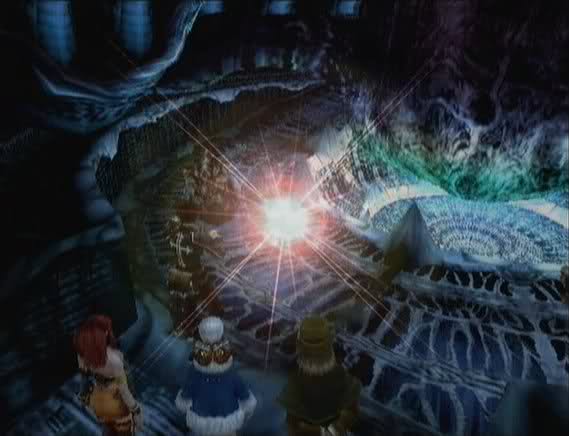

We now have to fight two of these things. I'm using the B team that didn't make the cut for the fight with Rasputin.
I use Libertis this time since we haven't seen him in action yet.

Libertis casts Arc Gale, and then I have Lucia cast Arc Surge.
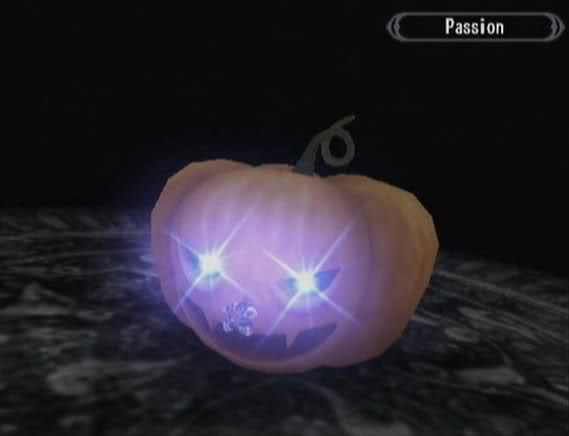
I also have Gepetto use his new Marionette skill, which drops a giant exploding jack-o-lantern on an enemy.

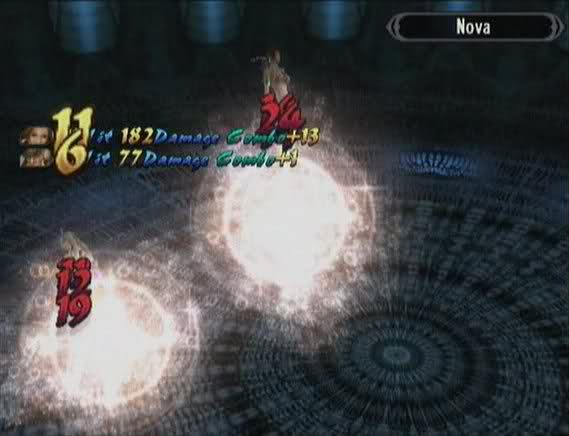
Mother Filaria is Light aligned, so it has Light spells, like Nova and Bright Crime. They also like to use Combo attacks.
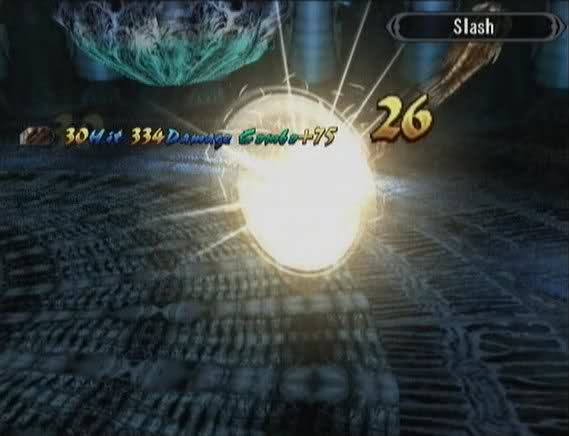
The best strategy is to concentrate on taking them out one at a time.
It doesn't take long.


There's still one left to fight.

I Fuse Yuri into Libertis so I can cast Arc Gale, then I Fuse him into Fides on his next turn, just for some variety.

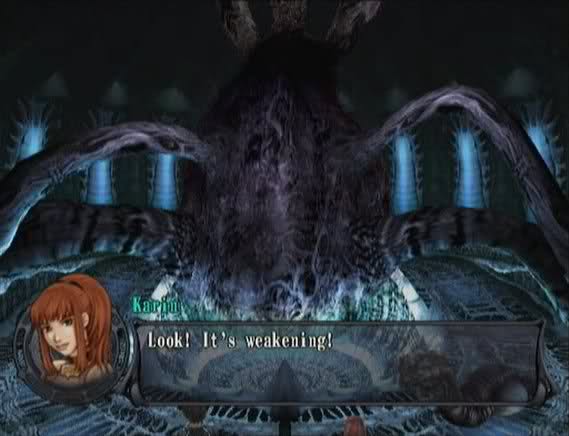
The fight goes much the same as the last one, but the Mother Filaria pull out a trick they didn't use in the last fight, casting Cure on themselves.

It only slightly delays the inevitable.

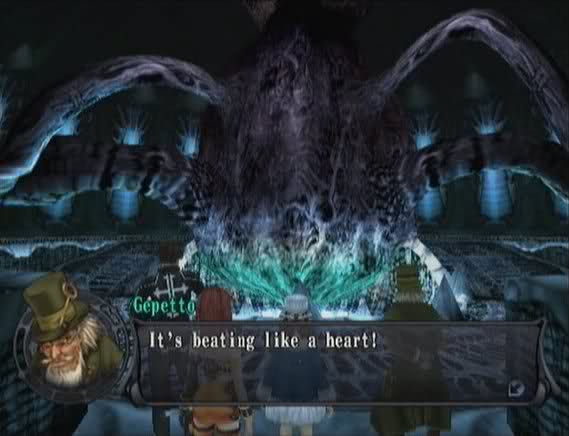
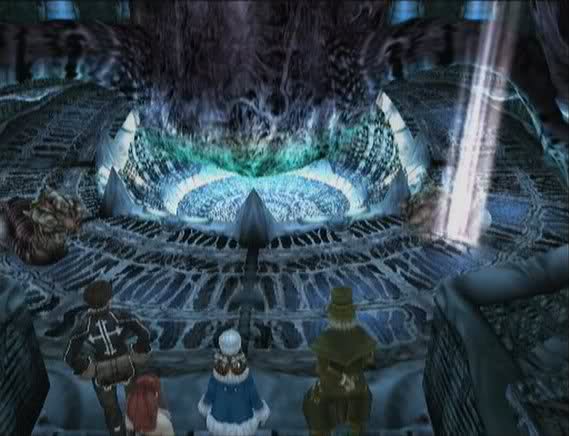
The "heart" slows, then stops.
 Let's go, then! Okay!
Before we go on, there's a couple things to collect in this room. A Replacement Man is hidden along the wall to the right of the exit.

Left of the exit, we find a chest with a Seal of Speed by hugging the wall.
I make sure everyone has a Will Power equipped (stops SP Lowering attacks) before leaving the room.
At the end of this hall, Rasputin waits.