Part 19: A tale of two Black Forts
A tale of two Black FortsOr “Something something, how the fuck did you park a carrier there?!”

Now that we’ve stolen military equipment from Black Hole, had the brick-on-treads donated by Green Earth, it’s time to see what Orange Star has up its sleeves. These will be our last two new units of the game as both Blue Moon and Yellow Comet were quite happy sitting on their ass and let the other countries cover their R&D.
 If we make it across this sea, we should arrive at Red Rock Desert. There's a good chance we'll find the enemy HQ there. However, to get there, we'll have to topple a floating fortress.
 A fortress? That's like a heavily armored building, right? Are we up to the task?
 Colin, you shouldn't doubt your abilities. You should know by now that Rachel always has a plan.
What the hell do Colin’s abilities have to do with Rachel having a plan?
 That's right--I do. Actually, it's still classified, but... We're scheduled to introduce new units to our arsenal.
 New units? What kind of new units?
 Are they tanks? They're tanks, right?
 You're killing me, kid. What're we supposed to do with tanks at sea?
Jake would probably sink, Sweet Jake would make his tanks tread water.
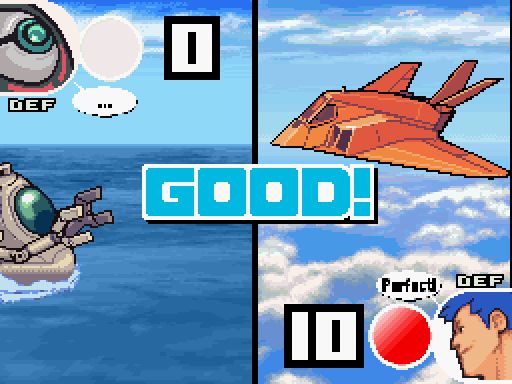
Oh. Dude...yeah. There are actually two new units. The first is a carrier, a naval unit capable of transporting air units, and the other is an invisible air unit called a stealth fighter. Invisible? The details are still classified. I'll fill you in when we arrive. Let's move out!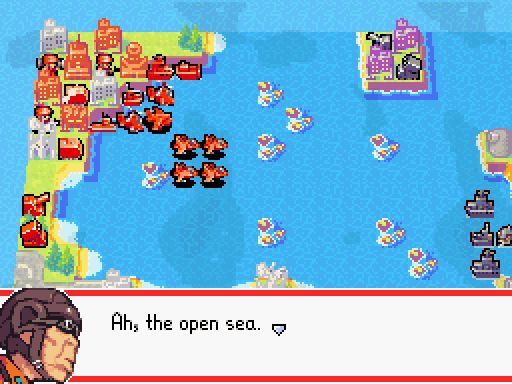
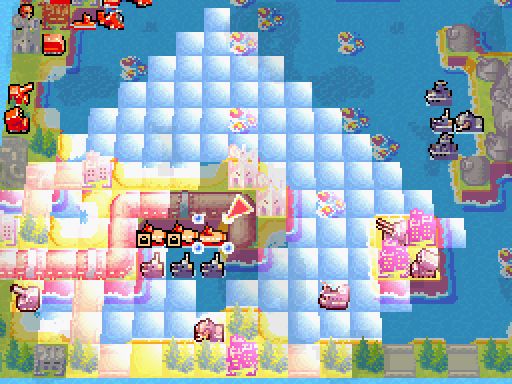
Well, deployment looks good so far...nothing too out of the ordinary.
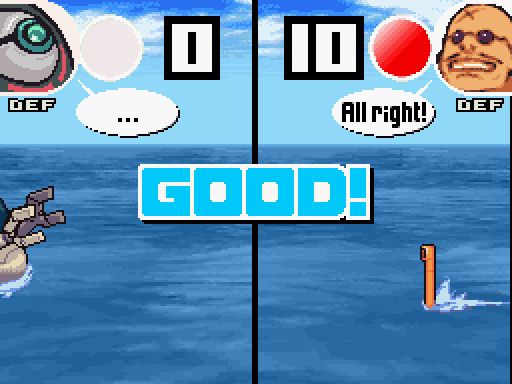
 May our joys be as great as its depths and our lives as tasty as its residents. So, Rachel, where's our fresh new gear?
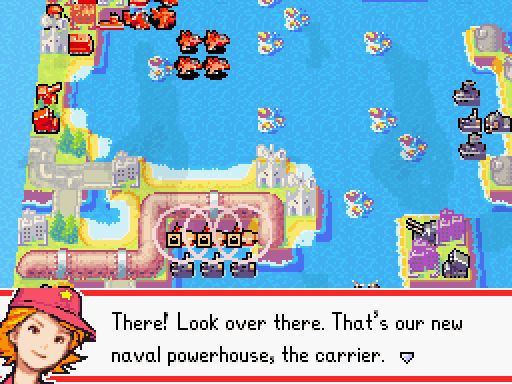
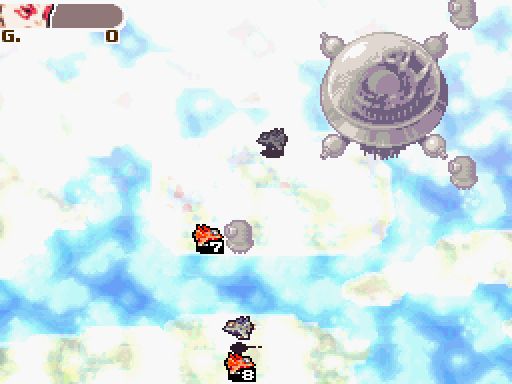
Wait...something seems a bit off about this...
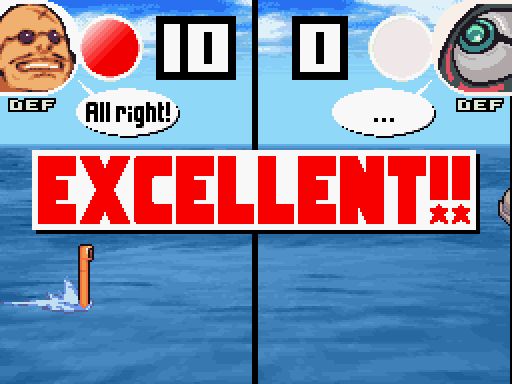
As I mentioned, it can secure, refuel, and relaunch air units. Now, about the unit inside the carrier's hangar... Rachel! Enemy forces are headed this way!A bit late on the pickup Colin, and yet you were still the first to mention something so I still have to give you a gold star.
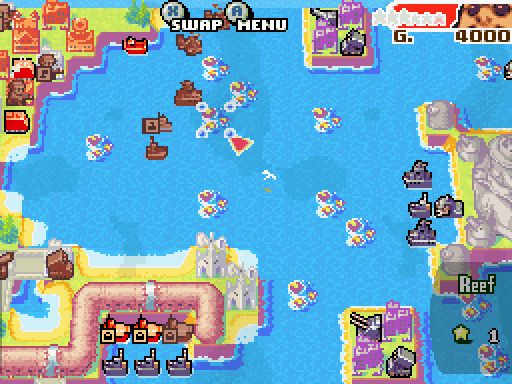
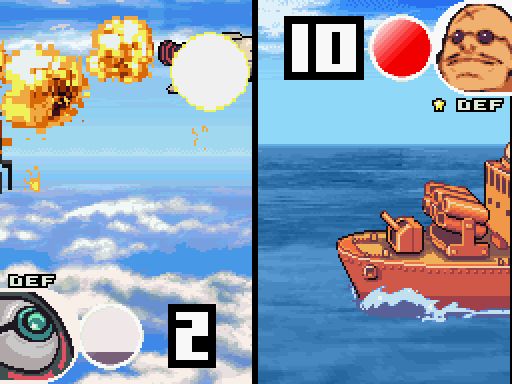
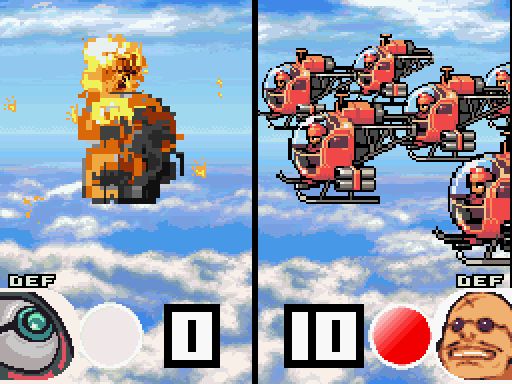
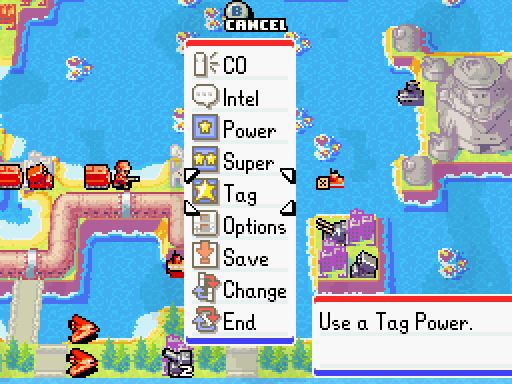
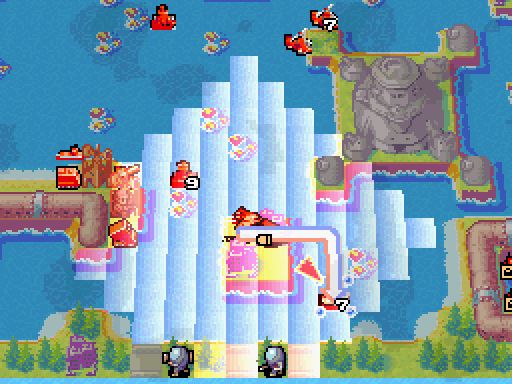
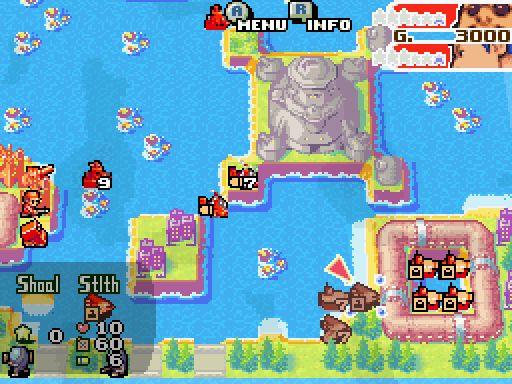
Well, we don't have much of a choice. Let's meet 'em head on! I'll continue my explanation as we go. OK, we've got two fronts to manage. I'm bringing one up on the top screen now. That's the secondary front up there--the main front is on the lower screen. We better split up and tackle each front individually. Remember how we fought the flying fortress? We're going to us those same tactics again. We'll send air units from the main front to the second front and make that thing crash and burn! 
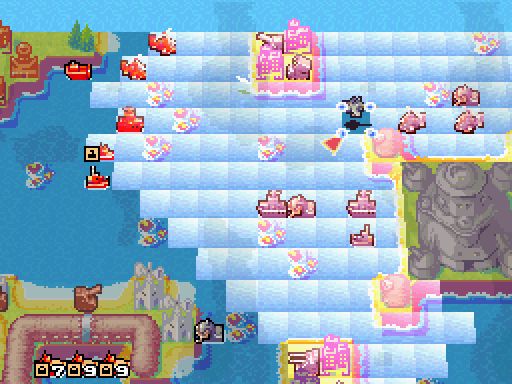
Right, what was that Rachel? I stopped caring. Anyways, two-front battle, we’ve got our first new unit, the Carrier, already shown on the screen. The second new unit we get are the Stealth Fighter. You don’t see any on the map right now because they’re all trapped on the flight decks of our Carriers.
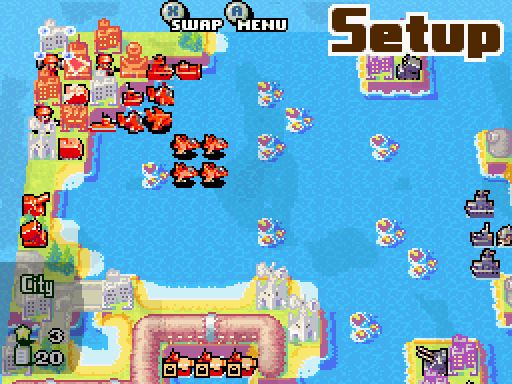
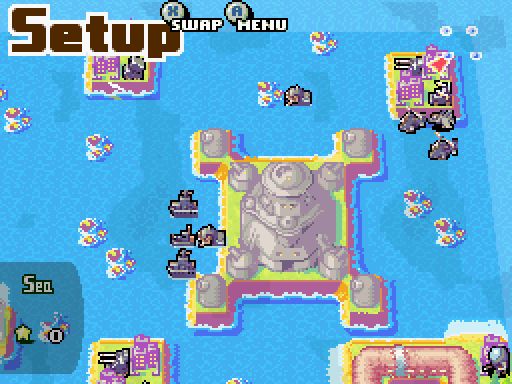
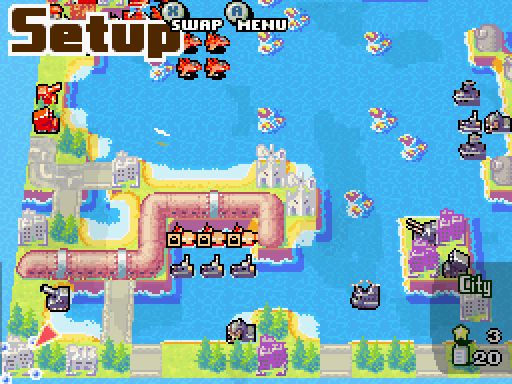
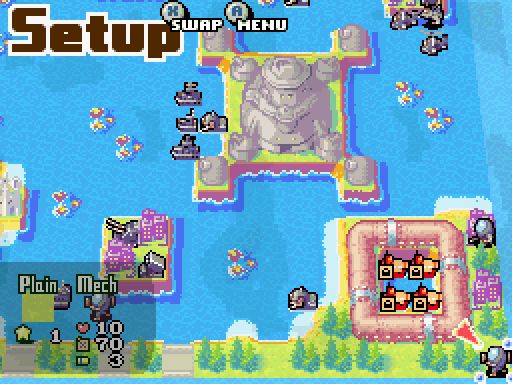
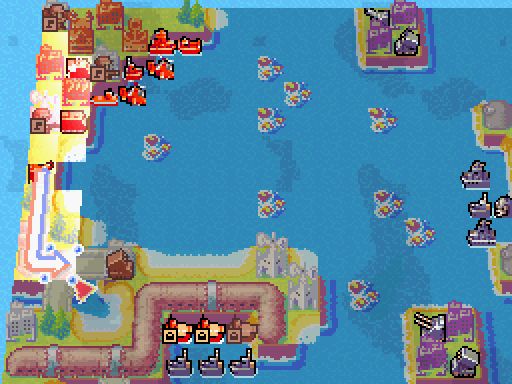
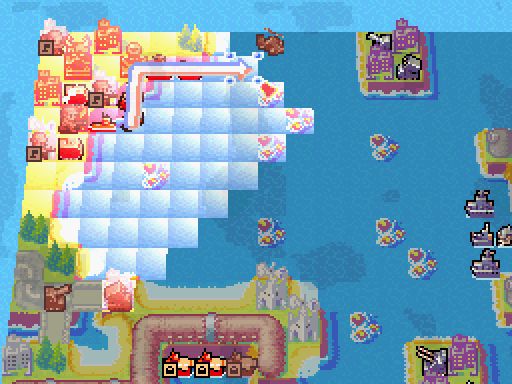
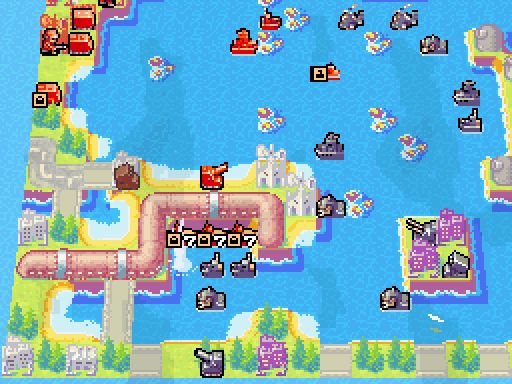
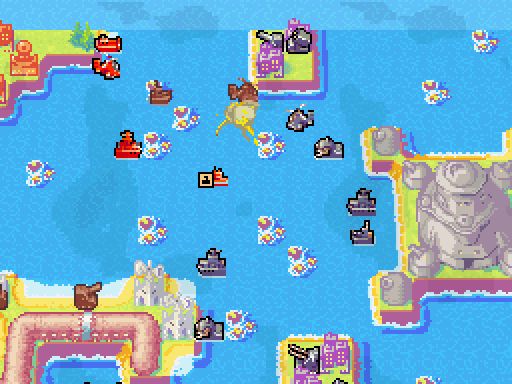
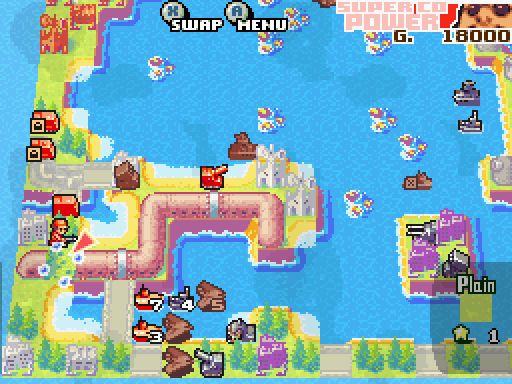
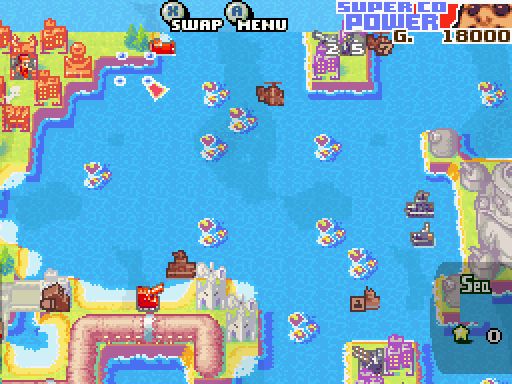
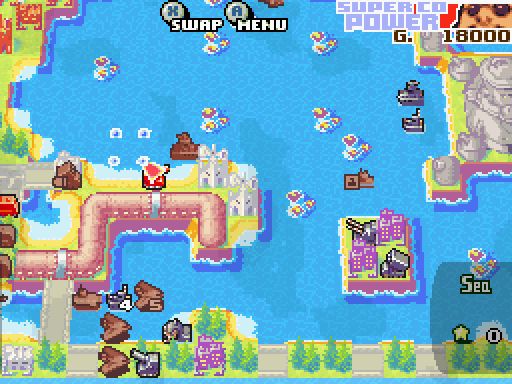
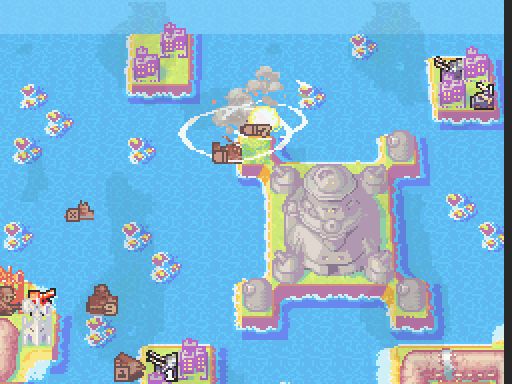
As you can see, we’ve got a sizable force to start off with, a good mixture of air and sea units. Of course, the Fighters and the Bomber will be sent straight away to the second front, which really isn’t notable at all. Just a Black Ar surrounded by 8 Minicannons in an “X” pattern, the only thing of note about it is that the cannons on the ground are invincible until the Black Arc is brought down, so Max is going to get plenty of support from us. We have seven carriers on the map, the ones on the left seem to have been caught in port by Black Hole Cruisers. They’re blocked in and unable to escape or launch the Stealth Fighters on their decks. Being caught in port happens and is reasonable, but how do you explain the four Carriers in the bottom right? Is there a Chronosphere around here?
I’d say Koal/Jugger just went and built a pipeline around the pond to trap them, but even if you accept that there’s enough brains between the two of them to come up with a plan like that, it still begs the question of how they got in the pond in the first place. And given the carrier’s firepower, I’d love to know how they got boxed in by the cruisers on the other side of the map. Like, were all of our admirals drunk?
Freakish unit placement aside, this is a really fun mission, I find. Black Hole has no production (unless you let one of their two infantry walk nearly the whole length of the map), but a pretty sizeable force and a defense we need to prize them out of, including minicannons for area denial. Our seven carriers provide some nice area denial of their own against Black Hole’s air force (as we’ll see when we look at the unit), and the four inexplicably trapped ones are a great place to use a command that otherwise will basically never see use.

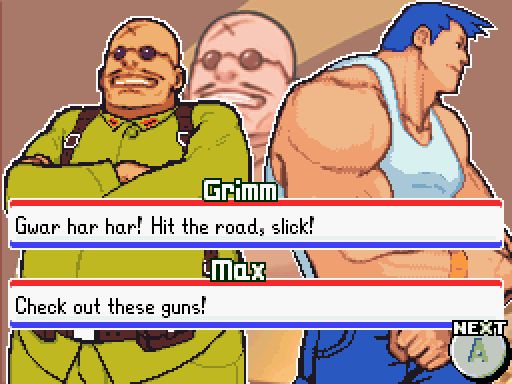
Anyways, due to cooler, more sane heads prevailing, we will use the hot-headed team of Grim and Max. Grimm’s going to take on the main front while Max takes on the Sky Fortress.
Look out Black Hole! I’m gonna crack some heads! Fortress, stronghold, hideout--whatever you call it, I’m bringin’ it down!Anyways, since I did it last time, I think I’ll share some more alternate starting lines with you guys. Here are some of the gems:
Rachel & Jake
Yo! Rachel! Give us the word on these new units! Hold your horses--I'm still reading the manuals!Look at that, someone learning what they do before using them! Max and Jake could learn from her example.
Remember that she’s the only one who even had heard of these things until now. And all the effort put into a gigantic, powerful 30,000-price unit and its 24,000-price payload is, apparently, a manual apiece. 378,000 total over them all, and...
Jess & Jake
I'm down with new units and all, but I still wanted a new tricked-out tank. As a fellow tank enthusiast, I share your opinion.
Sensei & Grimm
Hey, Sensei! I'm leaving the whirlybirds of destruction to you! Very well. Then I'll leave the rest to the fists of your fury, Grimm.Javier solo:
 A true knight relies on weapons of honor, not on sneaky daggers in the back!
Sensei solo:
What's all this about? A stealth unit? Is that some kind of sky ninja?Solo lines are just if you didn’t chose a pair that had lines together. Both the Max and Grimm lines earlier were Solo lines.

As I said earlier, we send all the air units we can to the second front. Since we’re lacking airfields we should send them all and make sure Max has as good a chance of winning as possible.
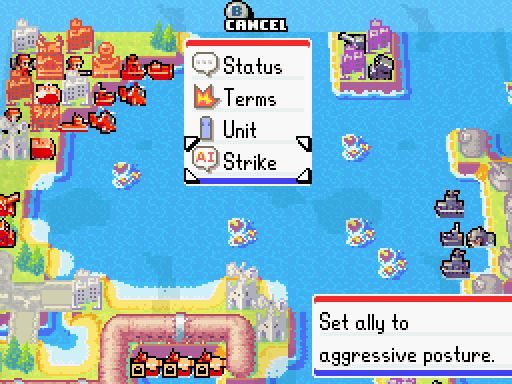
Since we’re playing with the punchiest pair of COs, let’s set Max’s AI to the punchiest setting.
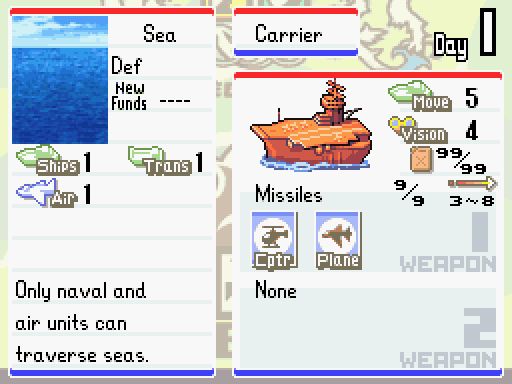
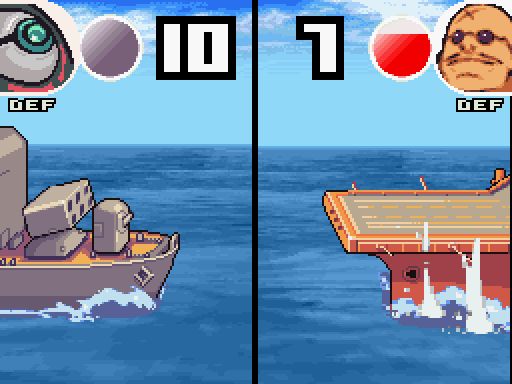
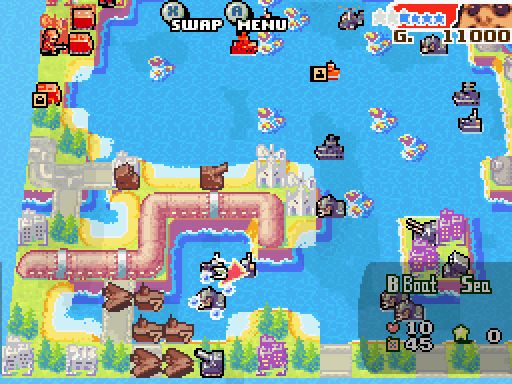
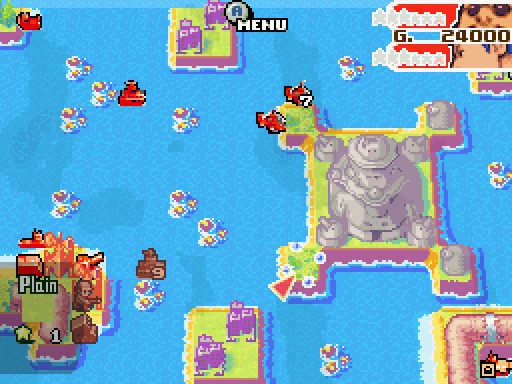
Now that we have control over the game let’s take a look at our new Carrier. It’s a big, expensive (30K monies) floating Missile unit. Its weapon is basically a bigger version of a Missile’s anti-air launcher, complete with a longer range. The carrier also has the ability to act as a floating airport, much like real life, allowing it to carry, rearm and refuel up to two airborne units at a time, everything but repairing and buying new units. Of course, unlike real life every single military vehicle in service can land, take off and fit on one.
As I said, a Missile but better. Carriers have a massive area of denial that air units have no choice but to respect, hit hard enough to generally one-shot their targets. Also, as a naval unit, carriers actually have the speed to move into position rather fast compared to Missiles. They have the same number of movement points but naval units don’t have to worry about getting bogged down in muddy fields or forests.
These things are pretty awesome. Massive hit and massive range are what you’ll use them for; the refueling is typically as easily handled by APCs, and the loading and unloading of air units slows their ability to reach the front, though it’s situationally useful for avoiding certain damaging powers. The only downside is the cost. These are the most expensive unit you can deploy, so it’s usually not feasible to deploy them yourself.
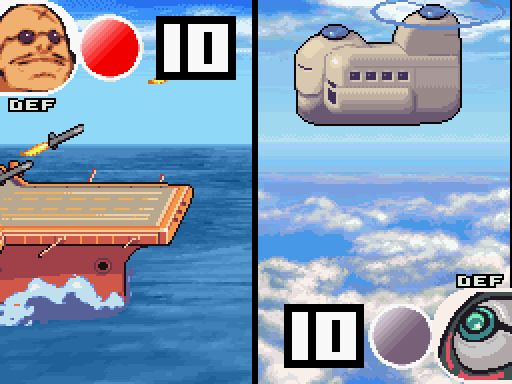
Also, the Carrier’s attack animation is impressively lazy. Up to five missiles just fly out from off camera depending on the Carrier’s health.
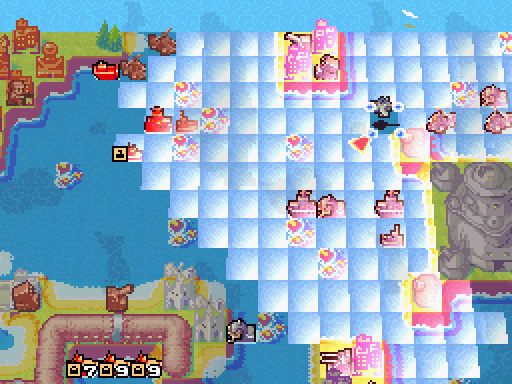
Next we start capturing properties and sending our artillery units down to free the trapped Carriers.
Over here, it’s good to keep the stealths in the carriers; if you did manage to let one out in range of the cruisers, they’d just get one-shot.
Copters are sent up north to take care of the enemy artillery on the top left island. Sadly, we lack airfields and T-Copters so we can’t actually capture these cities for their delicious funds.
The Navy’s sent out as well since they’re not going to do any good hanging back by our port.
 Oh, this is choice. These neophytes genuinely believe they can defeat us with this shabby force? It's enough to make me break into laughter. Yes... I laugh at them. Aha ha ha...
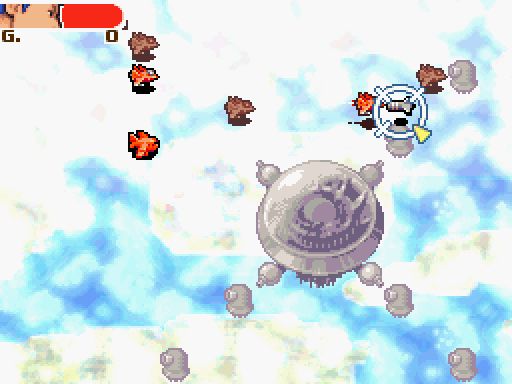
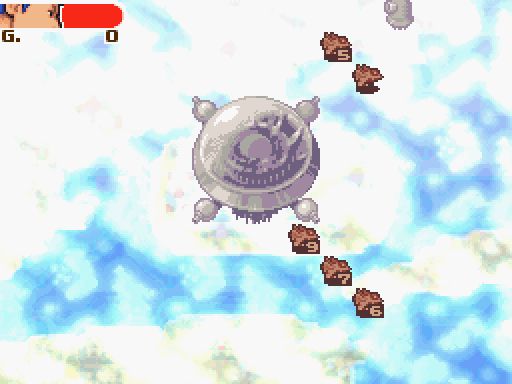
 Unknown ordnance detected. Hmmm? Yes. You are correct. They are fielding units that are unfamiliar to me. If they intend to shake my confidence, they have failed. The Black Arc has been refined--nothing the enemy possesses can match it! Come, Jugger. The denizens of the deep are hungry, and I would feed them!
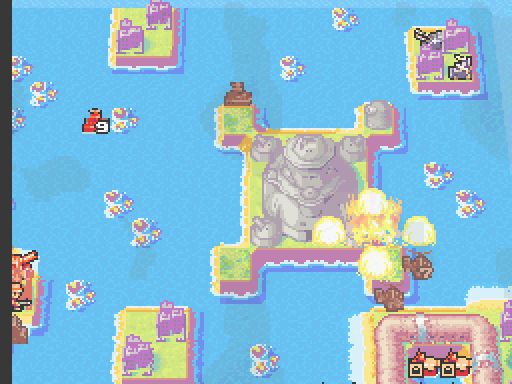
As Koal mentioned, the Black Arc (or the aerial fortress) has been refined and changed since the last time we fought it. Before it dropped huge bombs on our forces. Now it’s projecting an energy shield to cover the minicannons on the ground we need to destroy to win. Of course, the game doesn’t actually tell you this until you attack the cannons in question.
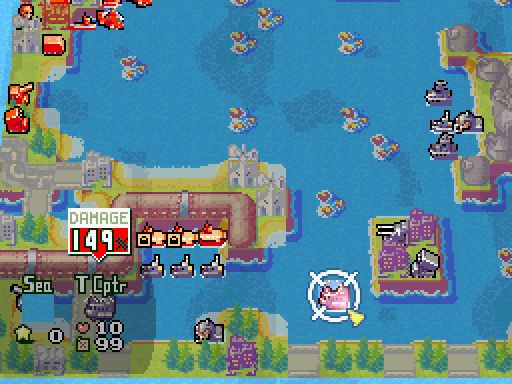
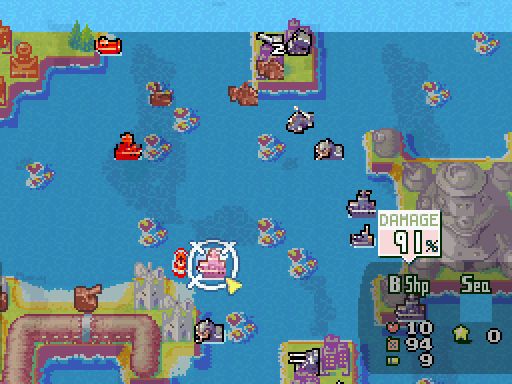
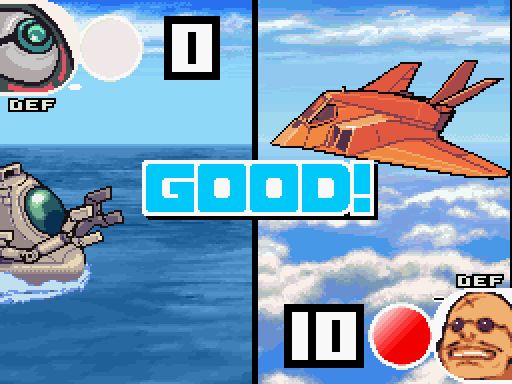
Oh, and another reason we need to free our Carriers: unlike in the previous games, Cruisers are no longer limited to attacking only Subs and aircraft. They can straight up punch other boats. It’s not much, but it’s enough to be expensive. Also, Grimm’s low luck on defense bites us here as the other two Carriers took only one damage from the Cruisers attacking them.
Carriers are, as you might expect, fairly tough. They’re only just barely weaker than a battleship.
Max does what he does best and punches things, taking out a quarter of the Arc’s defenses already.

Grimm’s low luck hurt us, but his bonus attack is absolutely wonderful. Shame I have nothing else within range to take a pot shot at that Cruiser.
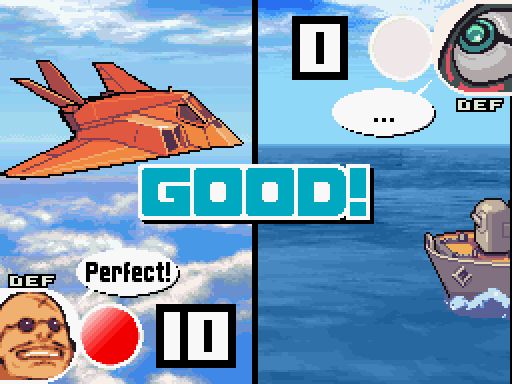
Hmm, that fighter poses a bit of a problem.
That’s a bit better. Just need to lure the Fighter into the Cruiser’s range.
Max cleans up Koal’s air units guarding the Black Arc. Including, thankfully, the Black Bombs. He’ll take some punishment from the cannons, but with Koal down to only one and a half Fighters, I can live with that.
It helps that the Bomber I sent Max can one-shot the minicannons.
Or it could until Koal one-shot it right back.
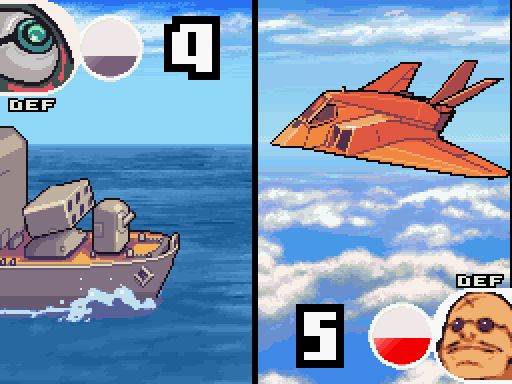
We finish off the damaged Cruiser from before and open a hole for our Carriers to escape and unload.
Be free my invisible bastard planes! Be free!
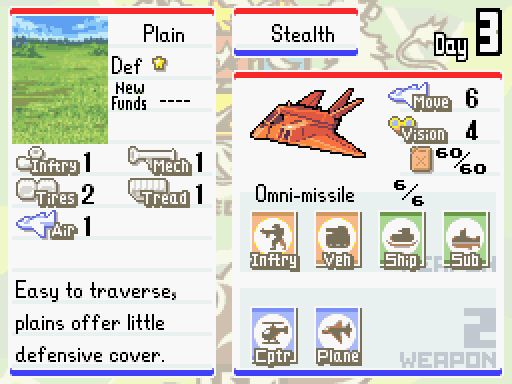
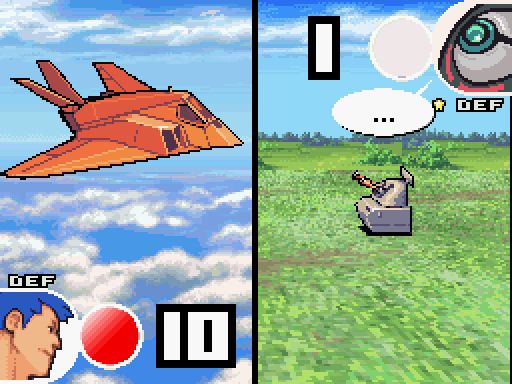
And here’s the Stealth Fighter, or just “Stealth”, itself. Like Piperunners, these little bastards can hit everything and do decent damage. They’re not all that strong but when stealthed only Fighters and other Stealth Fighters can find and launch an attack or counterattack. The big problem is fuel supply. You know how Subs, the other stealth unit, uses 2 units of fuel/day, and 5 when submerged? Stealths are gas-guzzlers, using 5 units of fuel a day, and a whopping 8 when stealthed. This drastically limits their movement and makes having an airfield, APC, Black Boat or Carrier nearby a necessity.
Since units don’t get a turn right when they leave the deck, these guys start uncloaked and thus are vulnerable to cruiser fire. Important to note on this map.
In general, the stealth is... interesting. It’s slightly more expensive than a fighter or bomber, but it can attack anything instead of being limited like those two. It also does less damage. The stealth fuel hit is gigantic, to the point I barely would consider using that. Remember those fuel costs are before movement; move all 6 spaces and you’re chewing up almost a quarter of your fuel just for moving stealthed that turn. I could see these guys having a role in a fog of war map, or if you need to combine fighter and bomber attacks in one shell, but otherwise these are more a novelty than an effective tool.
Anyways, lets continue. Our plan to lure the Fighter worked perfectly and Grimm swats it out of the sky.
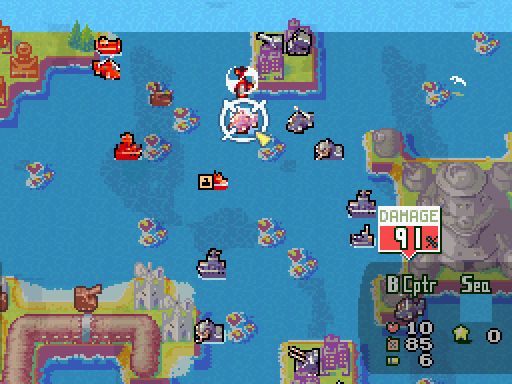
Grimm then gets lucky and his B-Copter knocks Jugger’s B-Copter out of the sky in one turn.
Grimm’s Sub then pulls off the same stunt and demolishes a Battleship.
This might sting a bit though...
 Jugger just hit the jackpot here! I have NEVER seen a B-Copter take out a full health Cruiser before. In fact, 99% of the time the Copter would end up the loser in a big way when attacking a Cruiser.
Well it was on Grimm, which means the damage threshold was lower than usual. Still, quite impressive for the bucket of bolts.

Also, ow! Carriers are expensive!
I told you last mission that he was smart, handsome, and powerful.
 Outta the way! I got crushin’ to do!
Well, two can play the “Hit like a truck” game. Now for a montage of things exploding.

And this is why Grimm should go on every map.

Oh, and my Rockets can pop a Seam in one shot.
Much better, don’t you think? Jugger’s forces are in tatters and, unlike me, he lacks any sort of production facilities.
We’re down to one minicannon left on the Arc, then we can start working on the fortress on the ground.
Off with you! I’m tired of you trying to sink my Carriers.
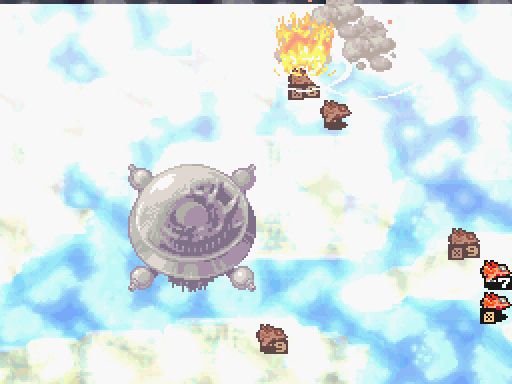
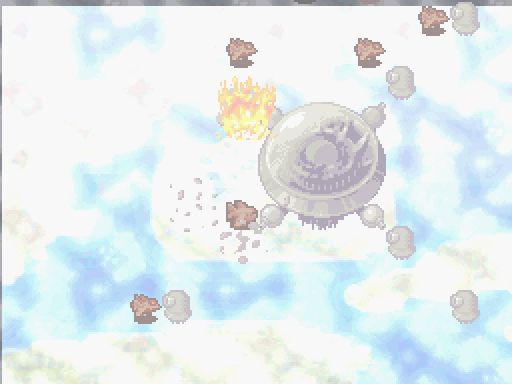
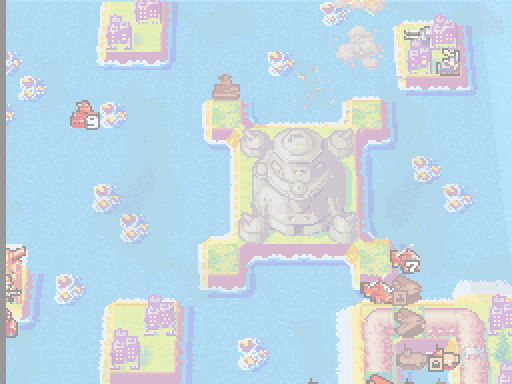
And that’s the last of the Arc’s defenses.
Black Arc fatal error. Ocean fortress barrier collapsing. The shame...it burns like a brand. The minicannon is a wounded beast, and the allies circle like ravenous wolves! They forget that I am the hunter, and I will bring these mutts to heel.And how will you do that Koal? You lost the second front, you’re not longer in this fight.
And guess what winning the second front gives us? Hey Jugger, come over here for a moment, I’ve got something for you!
And that’s one cannon down.
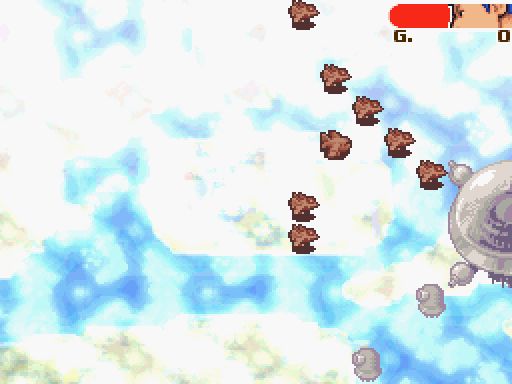
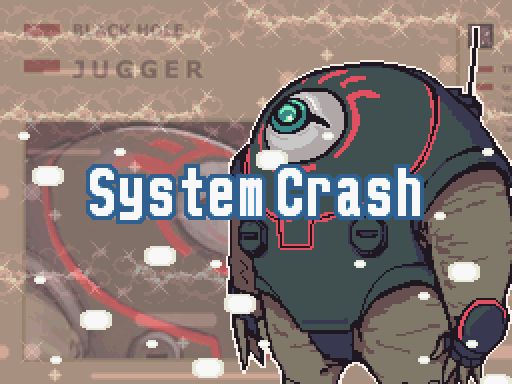
Blue screen of death!And Jugger wastes his Super Power because he’s left with almost nothing to fight with.
My Stealths rearm and refuel on the carrier this turn so they don’t crash and burn when trying to burst the seams around the other carriers. You can immediately unload Carriers after moving, but units won’t get resupplied unless they spend the turn on deck.
Since we’re talking about stealths popping pipe seams, let’s talk about this mission’s secret trick. You might wonder why those four carriers are down here; by the time you can pop them from the outside, it’s just as easy to leave them in there and win the map instead. So why are they there? It’s a trick if you’re really on the ball. If you delete one, you have space to deploy another stealth in there.
And stealths can two-shot pipe seams.
So on turn three, these guys can extricate themselves and you can have three carriers and their stealths marauding around the map to clean up just that much quicker.
Of course, since some people found my stealing the HQ out from under Jess and Javier’s Megatank a bit too cheap I decided not to do that.
It totally wasn’t that I didn’t know the trick. Not that I have problems with this mission anyways.
Two cannons down.
Fun fact I just found out about : If you load a Stealth on a Carrier when it’s hidden, it will unload still in hiding.
Three down, one to go.
And that’s all four.
Yes! We sank the floating fortress! Next up, Red Rock Desert! Thanks to our new units, the road ahead just got a heck of a lot smoother! Overconfidence will get us all killed. Huh? What's up with that? Black Hole has seen our new technology. It won't be long before they reproduce them through reverse engineering. She's right. We have to assume Black Hole will deploy carriers and stealth fighters soon.elsewhere:
 Boats carrying planes...that’s brilliant! A perfect place to store my Black Bombs, and it fixes their short range problem!
Wrong unit, Alky. More like:
Stealth planes? Just imagine what we could do with invisible black bombs... We’d smash those losers in no time if they couldn’t see us approaching!You’re both wrong.
New units? Start looking for the inevitably-dropped map to their lab. Blast! I'm tired of playing games with these goons. Just one more reason to drop these fools once and for all. C'mon let's bounce--we've got sun to catch in the desert.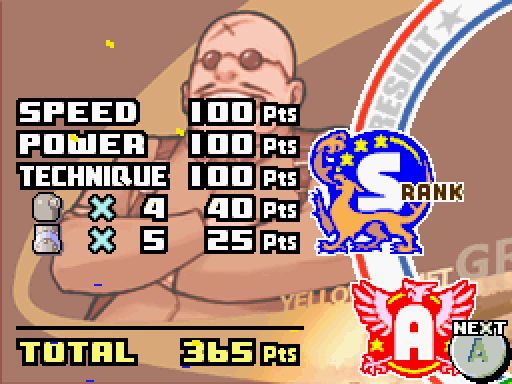
A perfect score, with a nice 65 point bonus for blowing up the cannons and random pieces of pipe.
Next time, Lash and Kindle unveil Black Hole’s newest, newest weapon! Who’s ready for a Fog of War map with Oozium? Who’s ready to find out what Oozium is? We get two armies to fight with, so you get four votes this time!
I have been informed of what Oozium is mechanically. I can’t wait to see how they justify this one, story-wise.

And, to influence the voting, I’d also like to note that there are comm towers on the map, and only one production facility which is kind of hard to get to.
Said production facility is an airport, but as ZeeToo said it’s kind of hard to grab in a timely manner.