Part 9: Field Training Missions 10 and 11
Field Training Missions 10 and 11 (or "You might enjoy the challenge!")Only doing two missions this time, but the good news is that you get to see one of them twice.
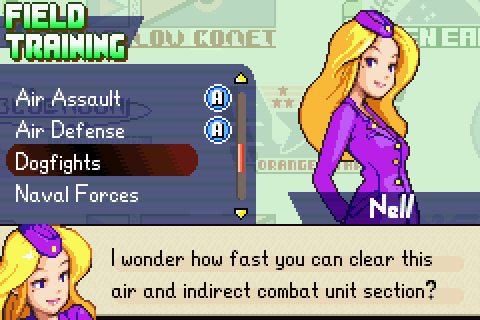
Back to Field Training for another classic mission.

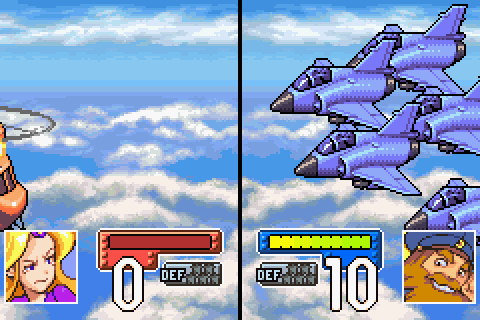
 We've finally got bombers and fighters ready to go! Three units each!
Nice. But I bet there's a catch. There's always a catch.
 You've only got them for this mission, but...
Yeah, figures. Still, it's better than nothing.
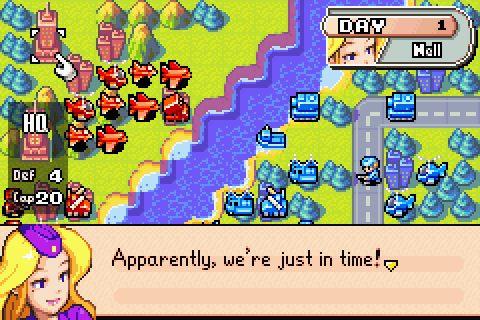
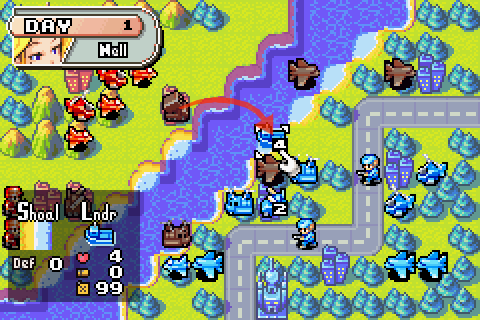
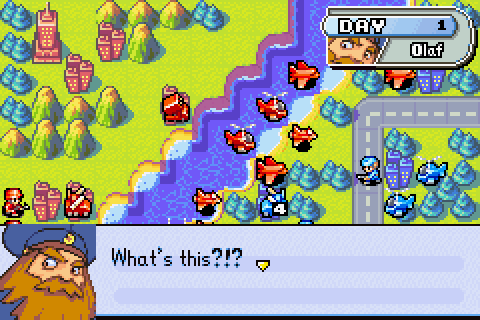
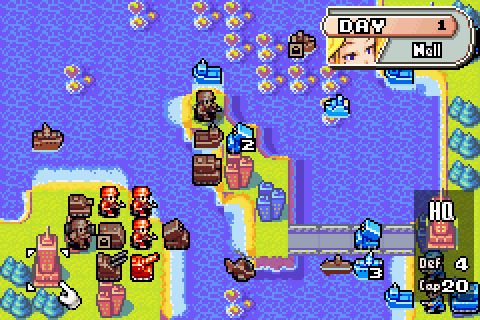
 It seems Olaf's troops have appeared on the far shore. Your job is to get over there and take them out in one fell swoop! Let's get moving!
Quick, let's get in there before Olaf gets mobilised!
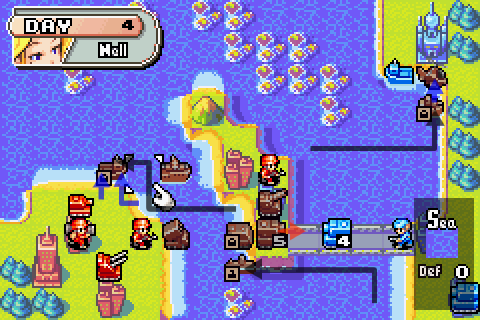
Day 1
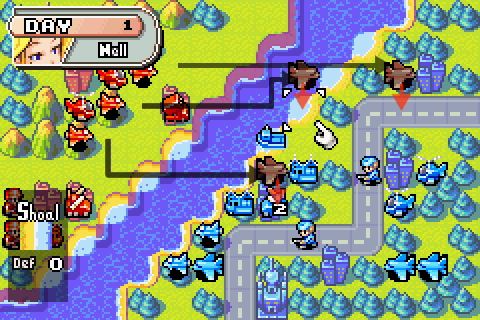
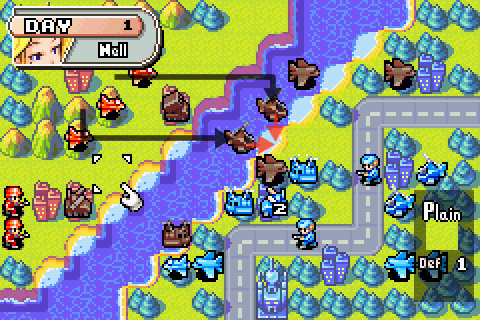
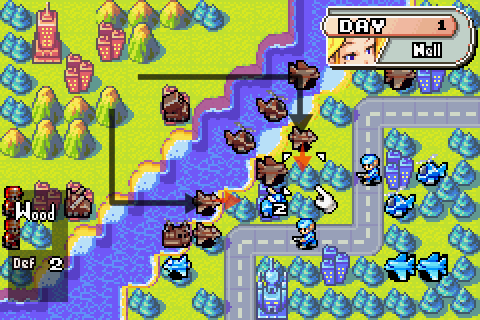
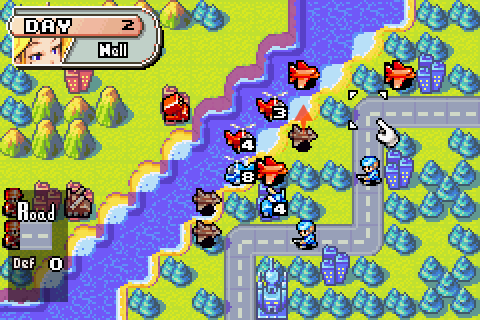
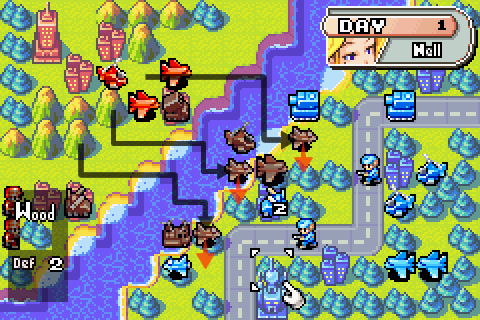
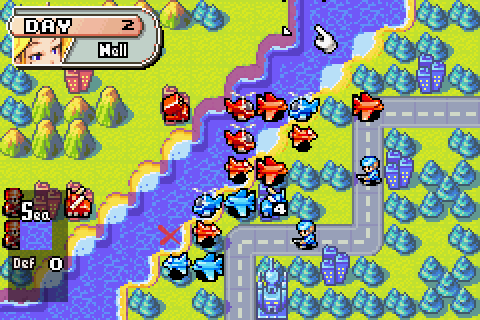
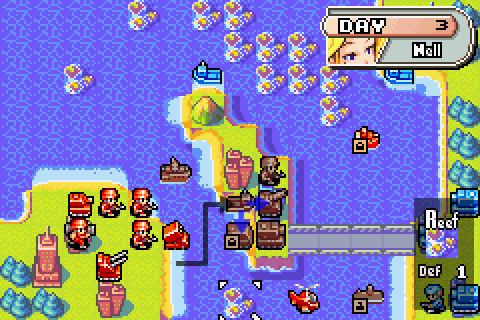
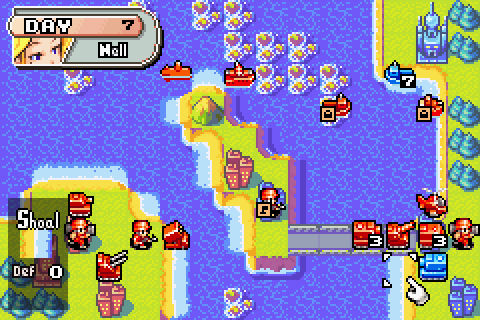
 We were able to prepare our troops before Olaf's troops came ashore, so all we need to do now is attack! It's always smart to check your data. You know which units can Attack which units, right? If you forget... Just check the unit's data. You know to move the cursor to the unit and press the R Button to check its data, right? OK! Good luck!
R button, shmaR button. Let's get to work. And since Nell's interested in how quickly we can win this, we're going to keep an eye on the clock even more than usual here.
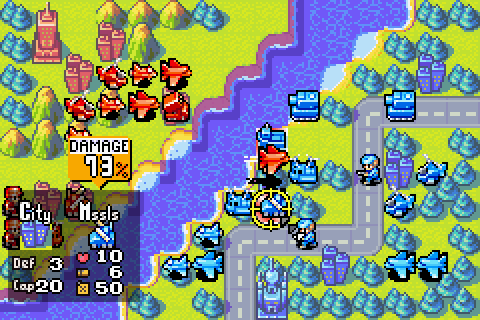
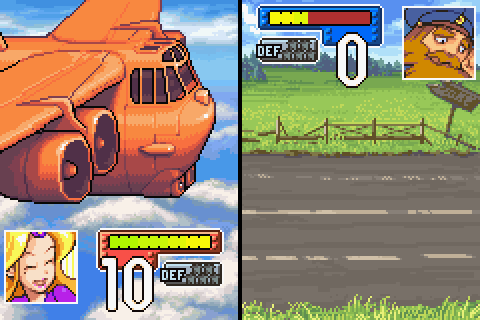
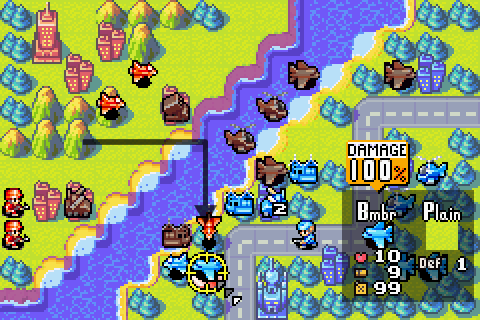
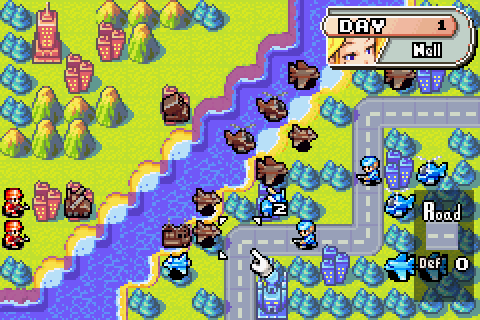
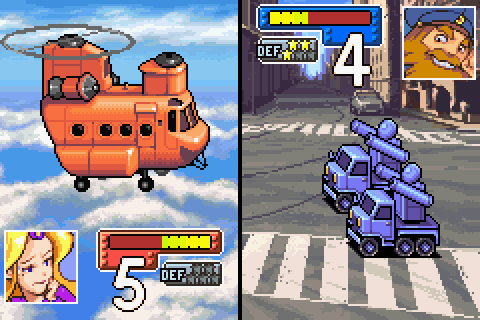
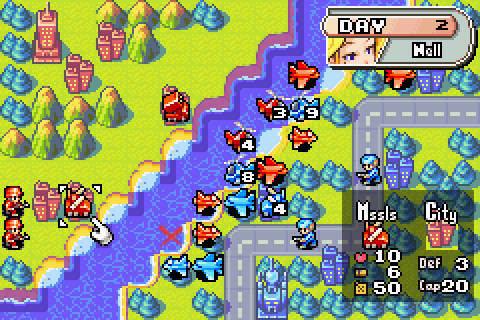
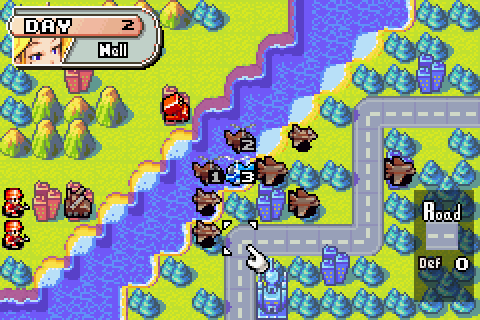
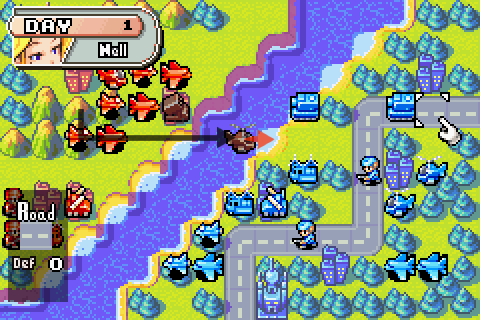
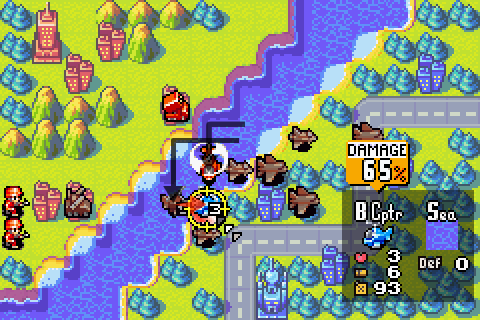
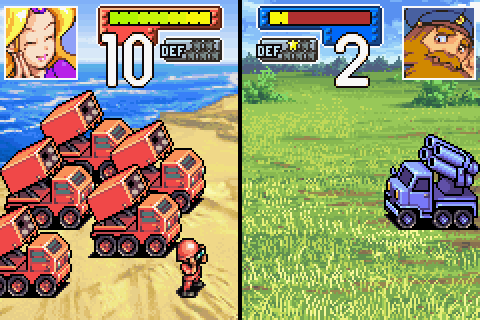
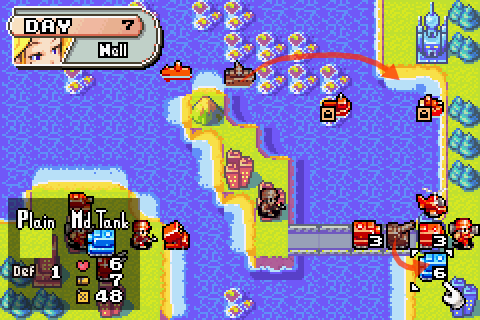
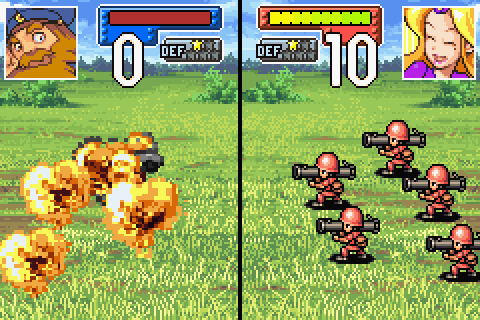
Olaf's got a missile launcher in the heart of his defence. Better get rid of that, or at least heavily damage it. I send in a bomber to take it on.
And yeah, like I say, missile launchers are useless unless you keep them protected - which is tricky when you're dealing with air units.
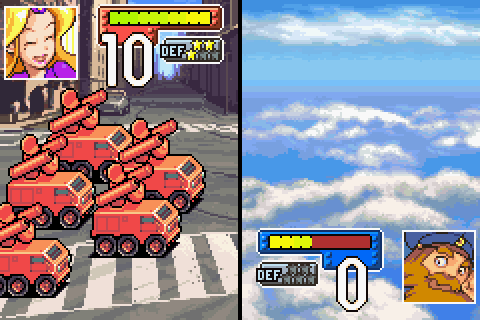
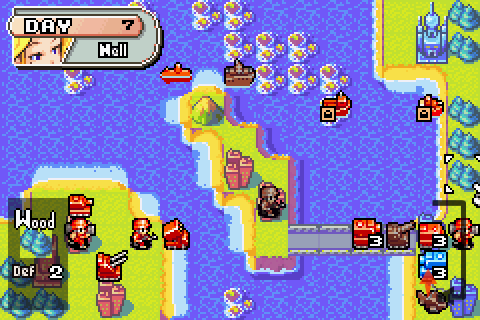
I also get some sweet, sweet revenge for Mission 8 by targetting Olaf's medium tanks with my other bombers.
So far, so good.
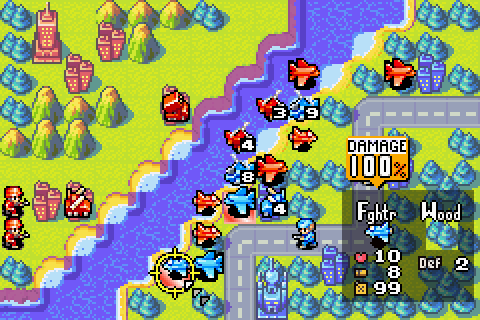
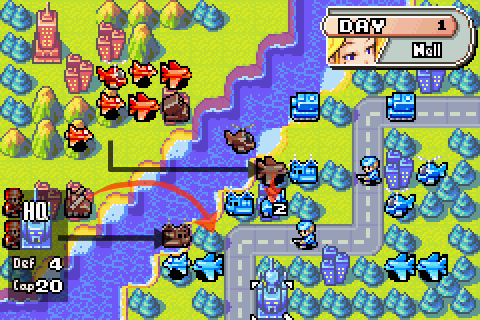
The best unit I have for dealing with fighters is my own missile launcher, though. I can use it to take one of Olaf's fighters down this turn. But he still has another fighter. I could engage it with my own fighters, but I'd need two of them to bring it down, and one of them would suffer counterattack damage.
So instead I'm going to keep that fighter busy with my T copter (thanks for the tip, Rorac!). The AI should prioritise targetting it, and that means the fighter will stay in range of my missiles. It should also distract Olaf's damaged missiles, too. It's another sacrifice ploy, but time is of the essence.
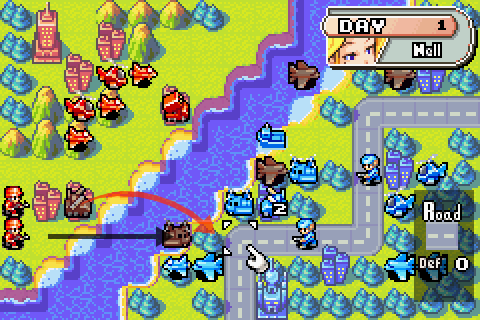
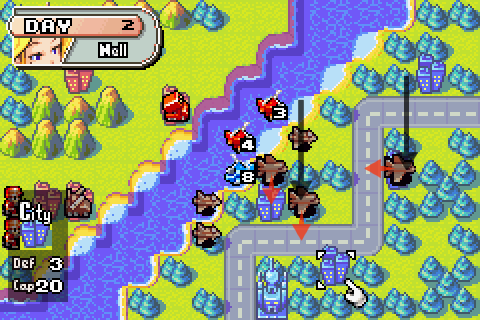
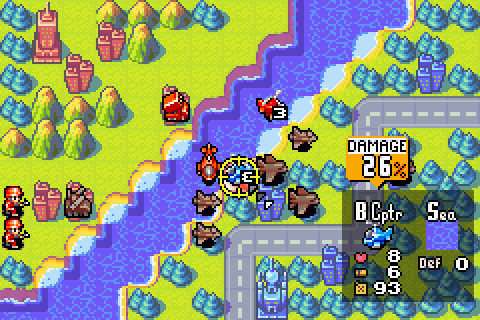
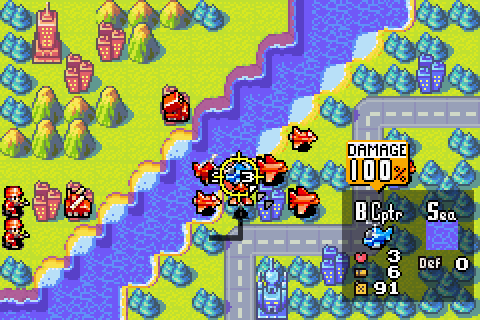
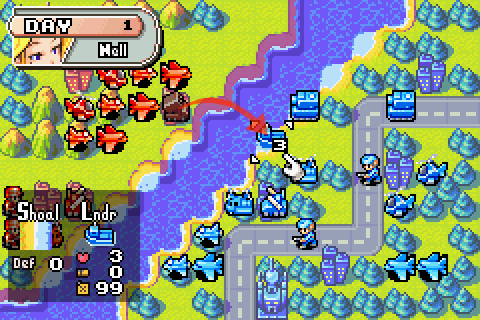
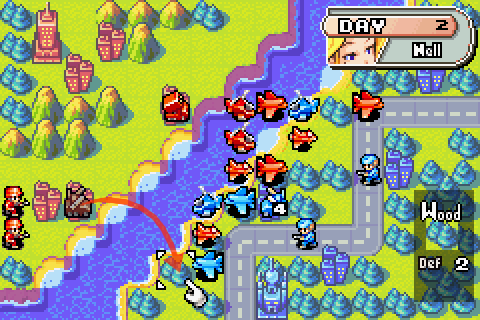
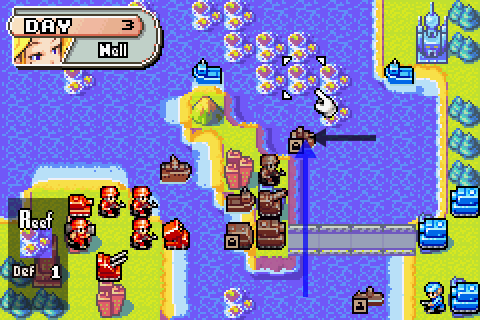
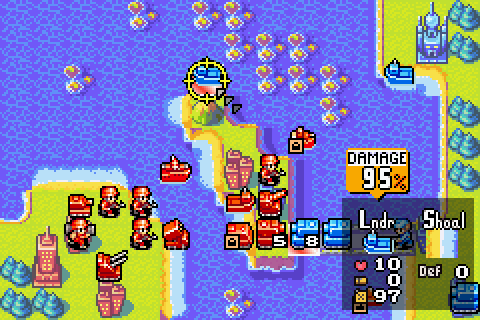
So what about my other indirect, the rocket? Well, I reckon the best use of my resources here is to use it to target Olaf's lander (I've just realised he gets a lander here before the next mission formally introduces them - curious, that). Hmm... it's still got 4HP left. That's going to need two B copter shots to finish off.
So let's do that.
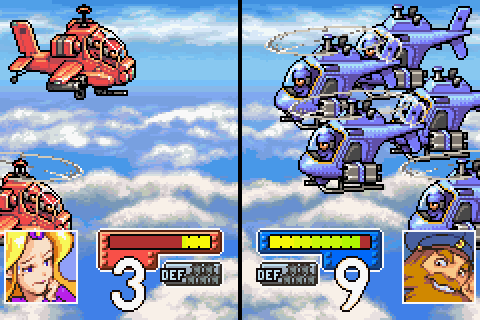
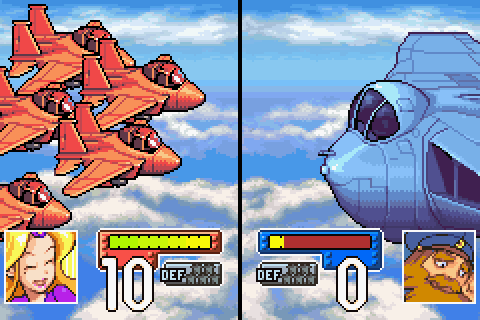
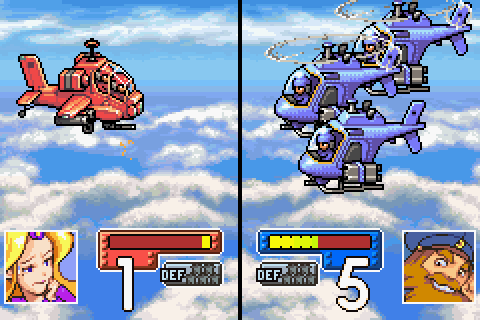
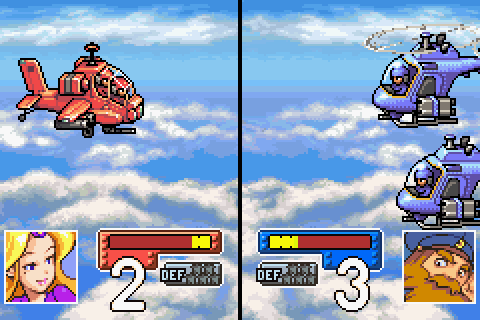
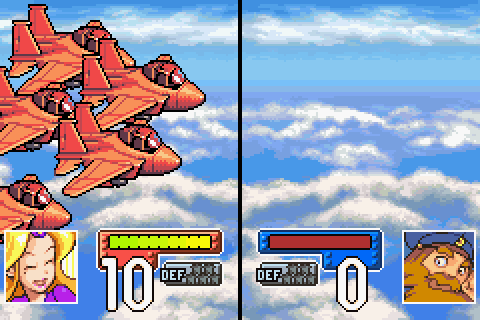
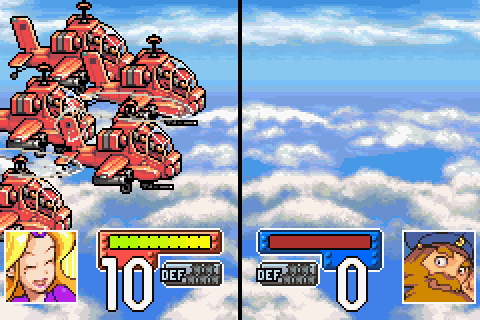
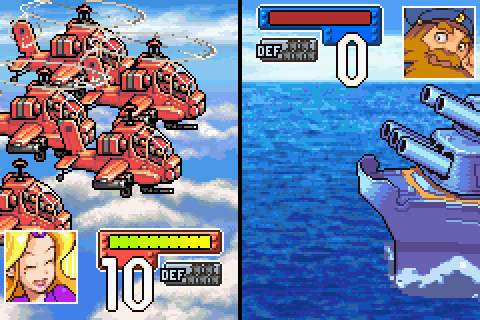
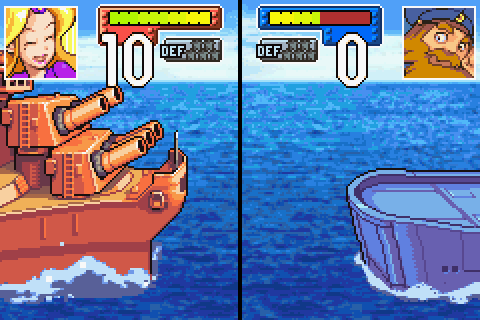
Now let's move on to the fighters. One of them gets to clear out a bomber...
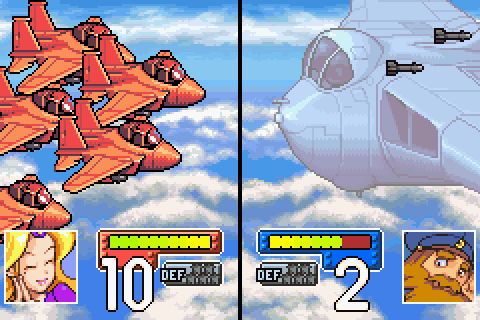
Boom. Don't worry, I know it says 2 there but that's because I took the shot when I did. That bomber got one-shotted.
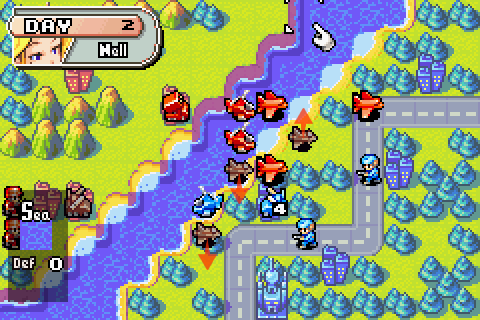
The other two fighters get the less glamorous duty of getting rid of Olaf's T copters. But it's got to be done.
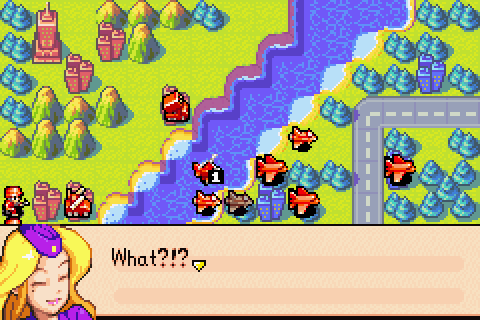
And that's the turn. Went pretty well, I thought. But I've made a mistake. A really dumb mistake. See if you can spot it.
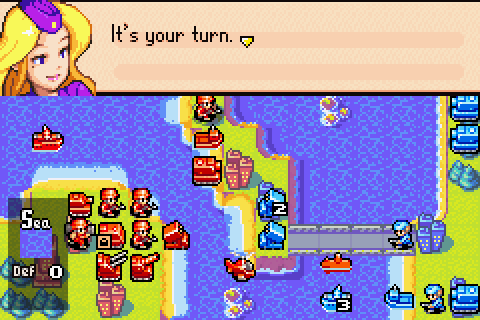
 They found my landing forces? Augh! There's no way around it! We'll have to make due with what we've got!
Isn't it "make do"?
Olaf takes the bait of the T copter. He attacks with the missile launcher first (the AI likes to attack with indirects first) which is just as well: because the missiles are damaged, the T copter survives, which means that the fighter also targets it.
But here's where the really dumb mistake creeps in. I let Olaf's B copters attack my own B copters. I should have been paying more attention to shielding them. It's not going to stop me winning, but... it'll probably slow me down...
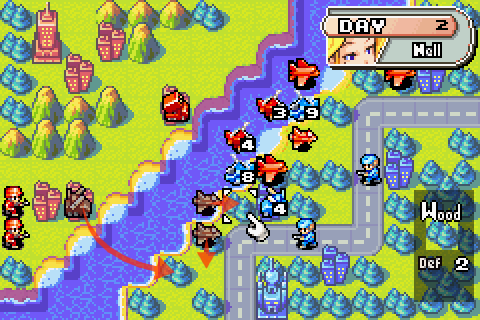
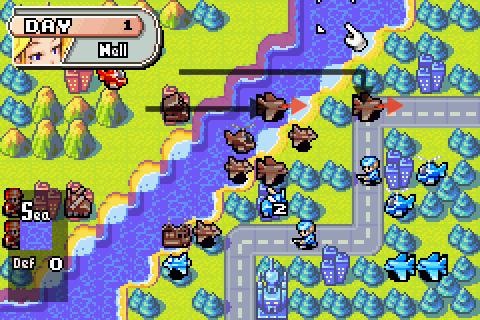
Day 2
Oh well, might as well keep going. We're still in a good position here.
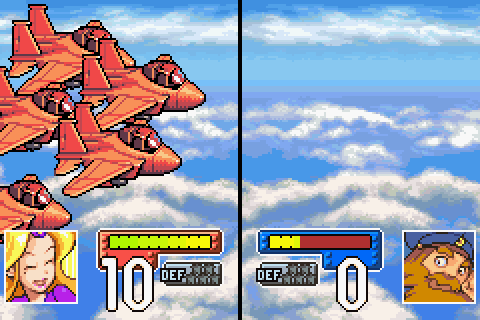
The fighter stayed in missile range thanks to the T copter, so let's clear it out.

Whoosh.
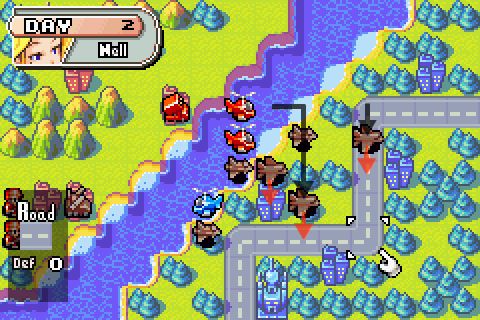
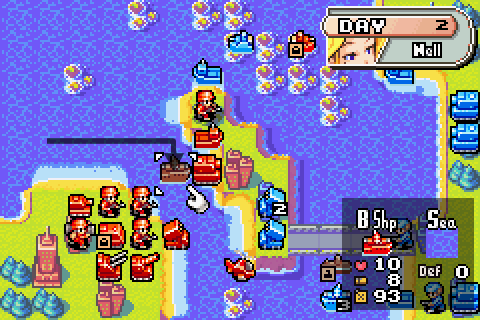
Olaf's bombers come in for a world of hurt, too.
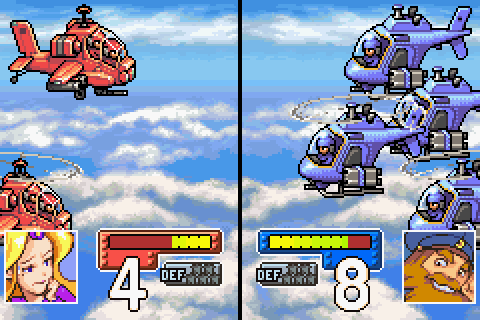
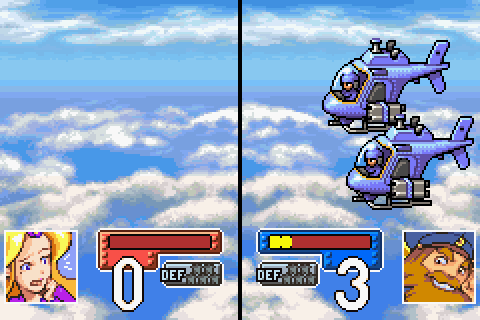
At least I can take out one of those B copters with my third fighter. Although that leaves the other one...
Bombers roll down and take out what's left of Olaf's ground troops. But that still leaves that one 8HP B copter. So close to a two-day finish, here.
Maybe I'll get really lucky? I doubt it, but you never know.
Yeah, no.

Even Nell's luck can't save me here.
3HP away from a two-day finish.
Olaf rubs some salt into the wound by taking out my 2HP B copter.
Day 3
Well, may as well finish this.
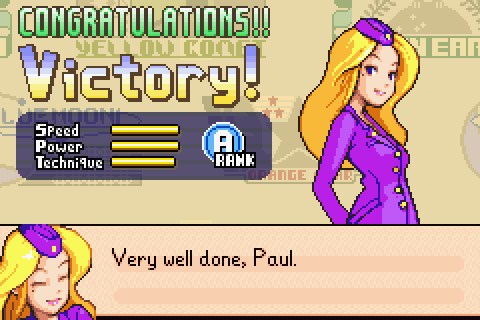
A victory. A good victory, even. We've got Olaf running off with his tail between his legs. But still rather bittersweet.
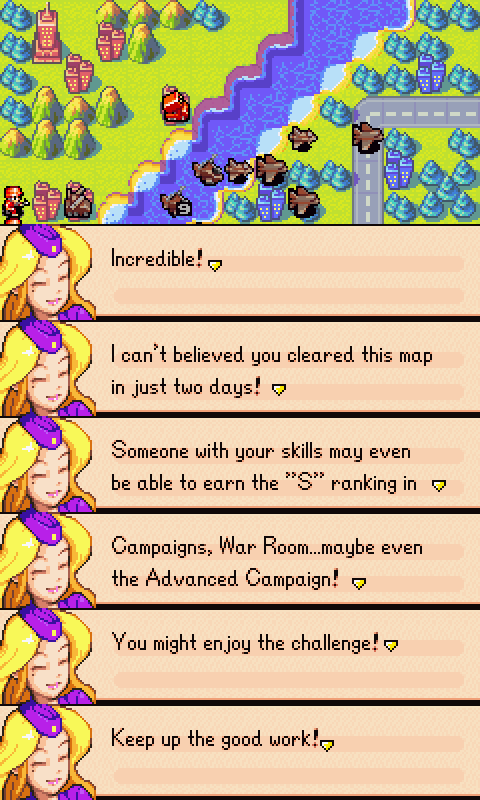
 You cleared this map in three days?
Should have been two. Should have been two.
Incredible! I'm really impressed that you've developed your skills so much! Keep up the good work!Thanks, Nell, but it's not helping.
Augh!!! How could my landing forces be defeated?!? Now I'm in trouble! Just wait until next time!And don't you start, Olaf!
But I know I can do better.

So let's try this again.
goddamn finally bombers and fighters my superiors weren't asshats for once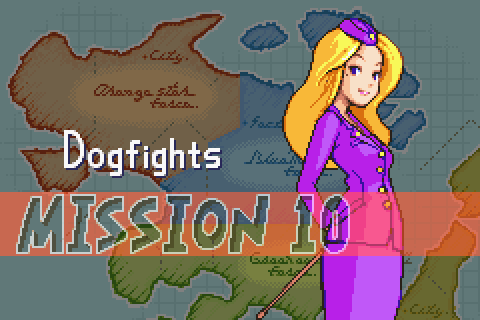
*deep breaths*
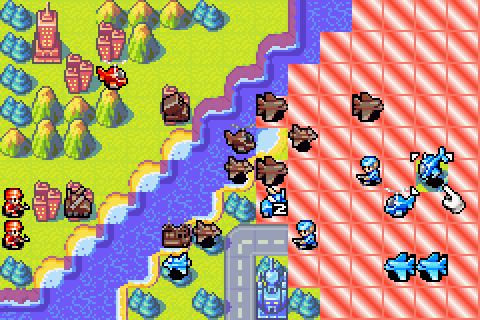
Day 1
i sure love words did you know words are made of letters? they can also be formed into sentences too! let me tell you about homestuck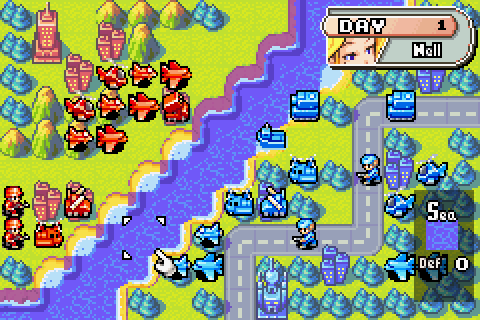
All right, let's do this.
Going to start by attacking the lander first, this time, and then build around that. Hmm. I did more damage this time round. Maybe it'll only take one B copter to finish it off...?
Well, what do you know. Maybe it was just a bit of bad luck last time? No. There must be something more to it than that.
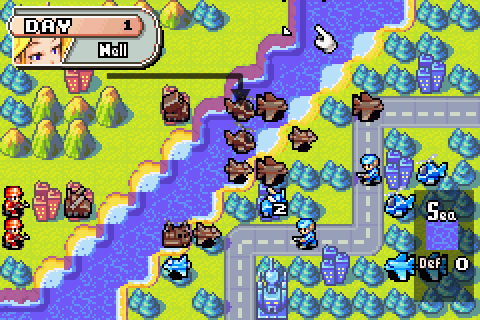
Once more my missiles destroy a fighter, one of my bombers takes on Olaf's missiles, and I leave that T copter out as a decoy.
Fighters swoop in and take out the T copters and a bomber.
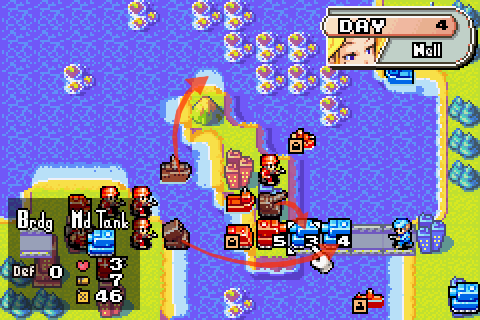
Bombers remove the medium tanks, being more careful about their positioning this time.
And this time my positioning's better. I can screen my B copters from Olaf. I think the luck did help a little: not having to use my second B copter to take out the lander meant I could put the bomber on that square instead.
Moving the other B copter up to a safe square.
and i would have gotten away with it too if it weren't for you meddling co's and your blasted advisor!Day 2
T copter down, but its brave sacrifice will not go in vain.
There goes the offending fighter.
My fighters don't even have to move as they remove Olaf's bombers and one of his B copters. How considerate of them.
Bombers finish off Olaf's ground forces, and all that's left is that one B copter.
This time I make no mistakes.
Ta-daaa.
Woo-hoo! Nell has three different victory messages for this mission: a two-day win, a three-day win, and one for wins in more than three days. She's still fairly happy if you take that long, but she's extra happy if you win quickly.
i don't understand basic strategy grr i'll get you next time! somehow!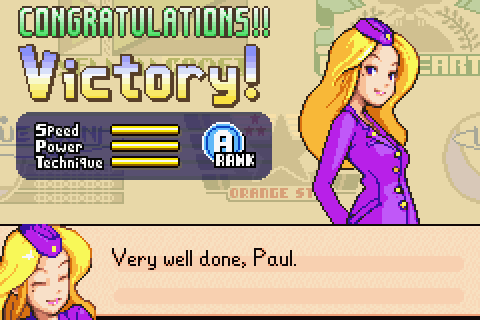
And this time, I deserve it.
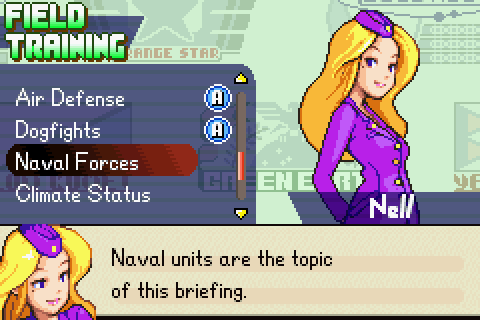
But that's enough planes for now. Time to move on to ships (and yeah, as with the air units, we're learning about ships after we learnt about ships. Oh well). We're heading from the sublime to the ridiculous here, because I think this might well be Nell's most talky mission yet.
 There are two units that require aid or they'll be destroyed. One of these is a T copter, which we've discussed before. The other is a lander unit. This is a naval unit you haven't seen yet.
Well, except for that random lander that Olaf had in the last mission...
 You need to protect these units and secure the land on the far shore. This is the mission that's been entrusted to you, Paul.
Protecting transports is serious business. Except when using them as bait.
Unfortunately, I was unable to get any bombers or fighters this time. But I did arrange for other units I think will be necessary to our success. I'll explain about these other naval units once we arrive. Time to get moving!
Time to do some naval gazing... sorry, sorry.
Day 1
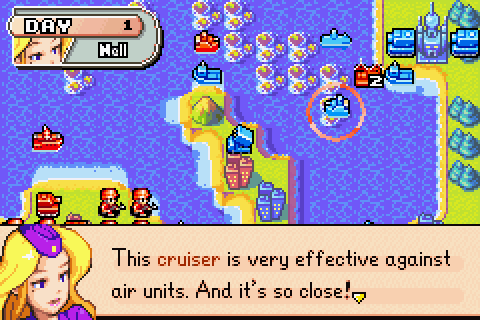
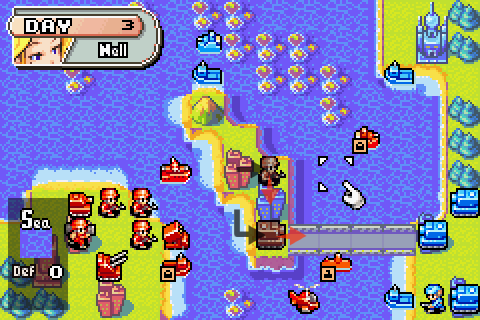
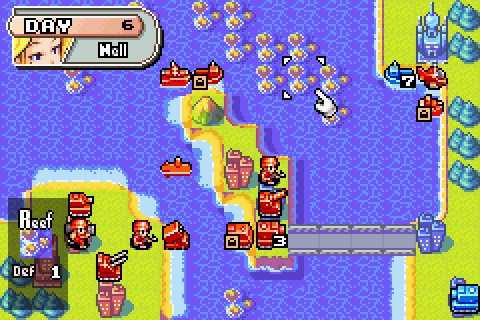
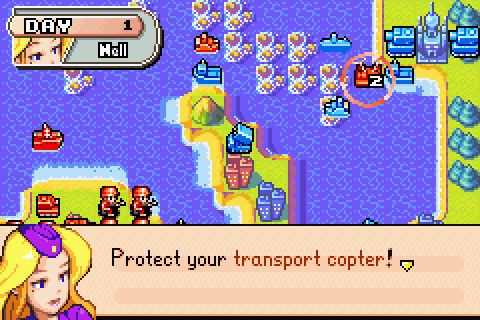 ...Easier said than done, huh? It looks like it's almost done for...
Yeah, it's not in the best of condition. I wish I could get a hold of the guy who's in charge of all these units that get damaged up before we show up.
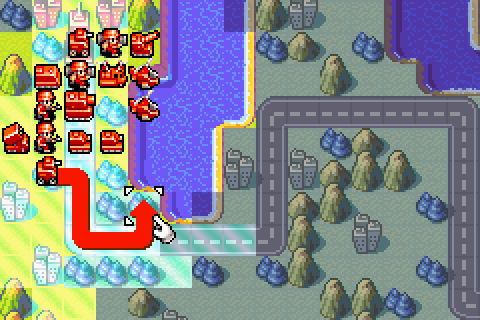
 If you leave the copter here, it'll be destroyed immediately. Hurry up and get it out of there! Can you select it?
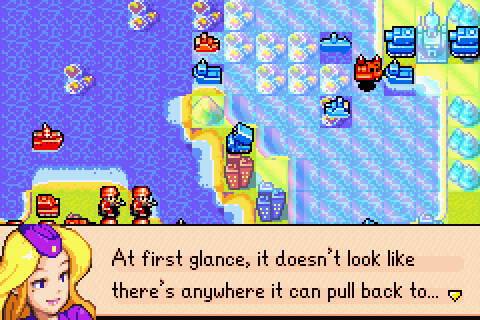 But there is a way to save it! Move it here!
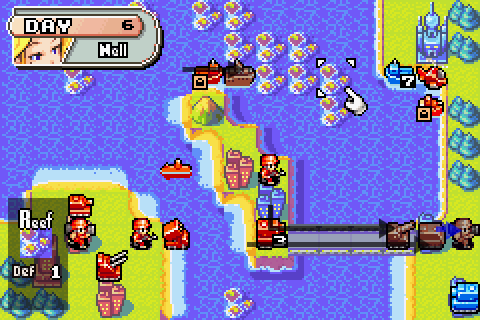
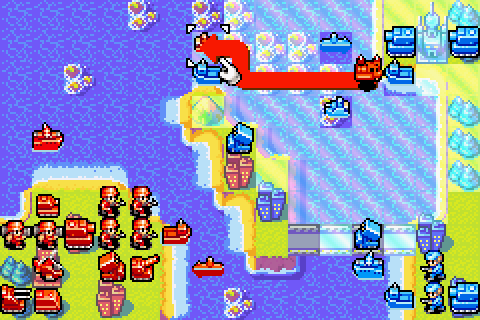
What, you mean on to our own cruiser? Okay.
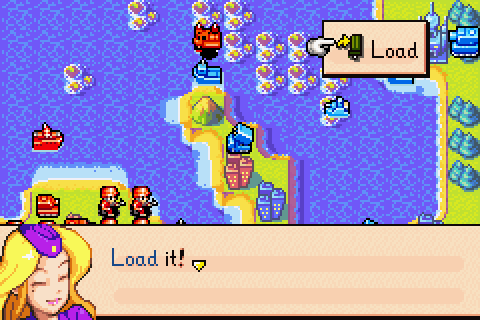 Now the transport copter can't be attacked. That's right! You can puttransport copters onto cruisers. If you Load it, it'll be safe as long as the cruiser isn't destroyed! You can also Load battle copters onto cruisers. Cruisers can hold up to two units at one time. And by loading units, you resupply those units with fuel and ammunition. You have a battle copter, too. You should try it sometime.
I dunno, that sounds like something I wouldn't use very much... but okay. Maybe.
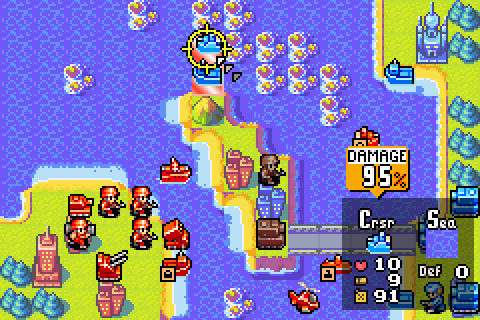
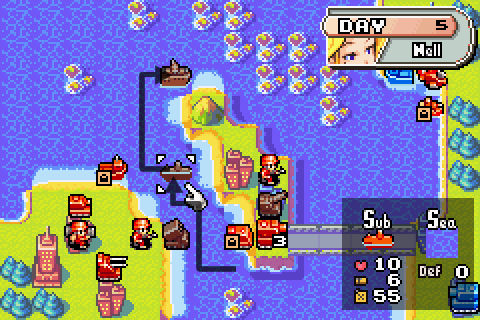
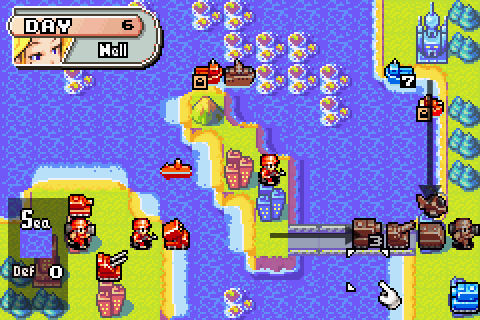
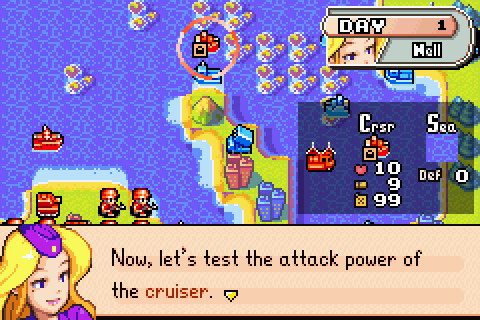 Select it!
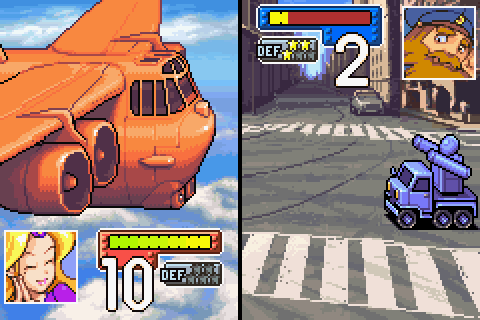
 You might be surprised by the kind of units they can attack. They can only Fire on air units and submarines. As for right now...
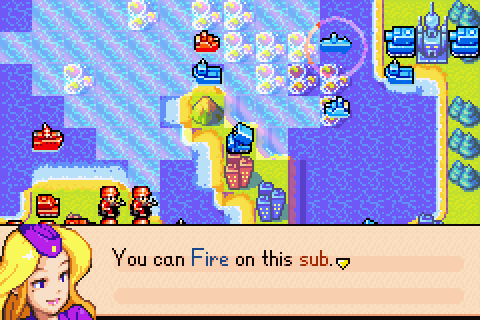 Let's attack!
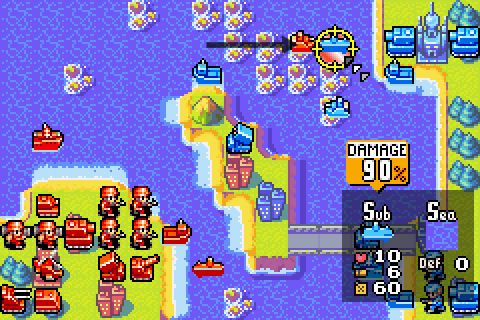
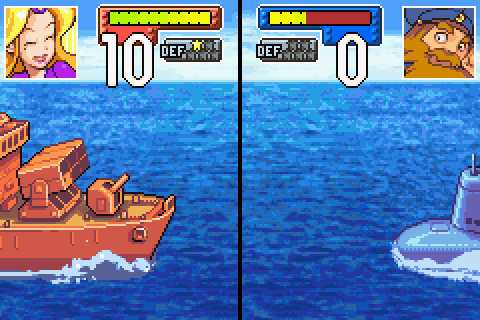
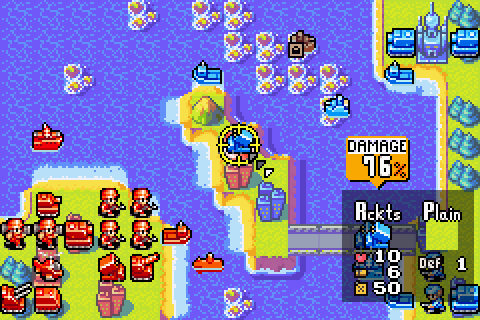
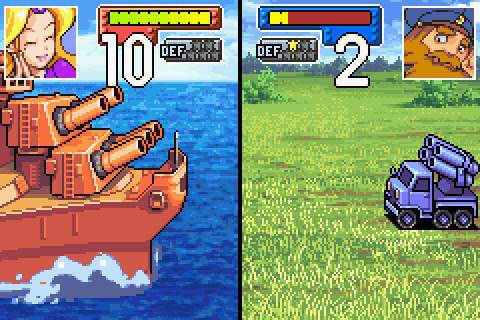
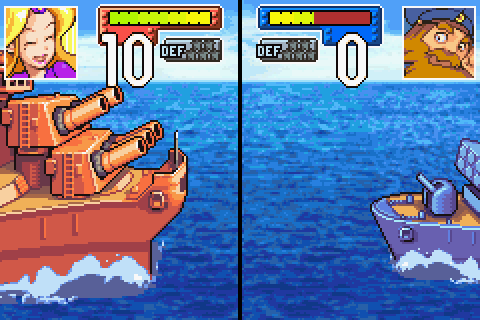
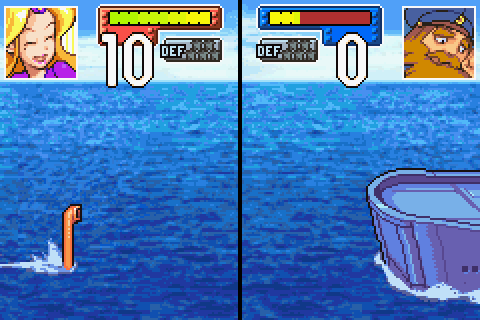
Yeah, that's some very good damage. Although again Nell's luck gives us the edge we need for a one-shot.
Cruisers are very effective against subs! And like I said earlier, they're also effective against air units. Since they can only attack certain units, they are a bit limited. Once you learn their intricacies, thought, you'll be glad you have them! But learning that right off the bat is pretty hard. If you forget which units they can Fire on, press the R Button. The ever-helpful R Button! If you remember that, you'll always be able to get the intel you need.The ever-not-used R Button! Anyway, yeah, here's the final unit that we haven't met yet:
 Cruiser (18000G). These are the anti-air and anti-sub naval unit, designed to protect battleships and landers from their main predators. Trouble is, while they're pretty good at dealing with subs, air units are more of an issue. Bombers do serious damage to them, and even B-Copters can knock them down below half health. A little-remembered fact about Cruisers is that they can also carry two helicopters, protecting them from Fighters and stuff and also refuelling them. They have no ship-to-shore capabilities.
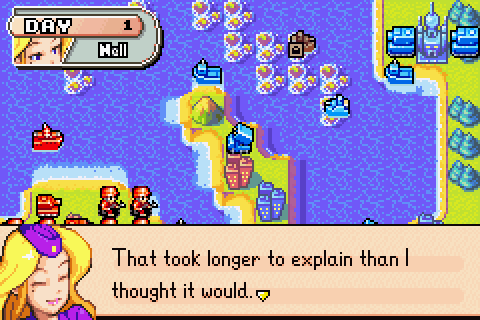
IntSys hanging a lampshade on Nell's talkative nature here. And as I say, I think this is her most wordy mission yet.
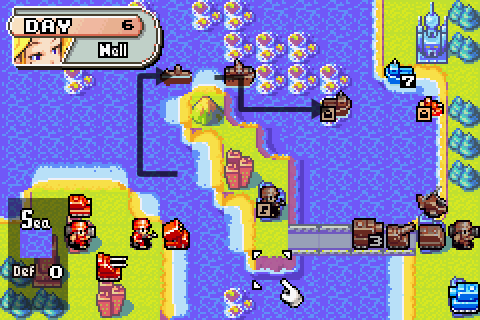
Well, let's move on to the next unit's capabilities. Next is the battleship.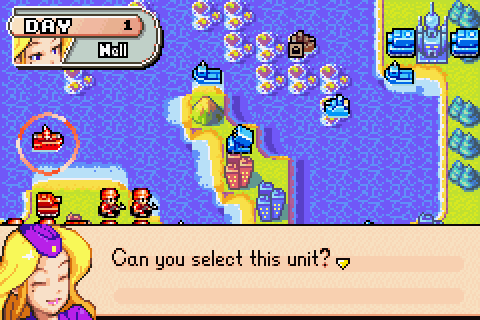 Battleships attack from a distance, so, don't move it... Just open the Command Menu.
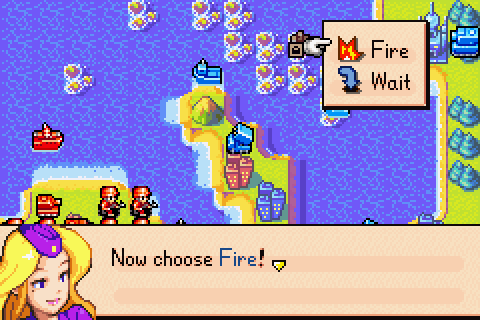
Pretty good damage there. And it's hitting a long way away, too - six spaces.
Did you notice that it has a large attack range?I did, actually, I was just telling the readers about it...
That's right! Battleships have an attack range of two to six spaces! Rockets have a range of three to five. You may think it's only a little larger, but it's quite a big difference!True. Assuming neither unit is up against a side of the map or something, a battleship can hit 80 squares to a rocket's 48. 32 squares is a pretty serious difference.
You'll understand better as you start to use them more. That's all on battleships for now.But I understand them now!... oh well, whatever.
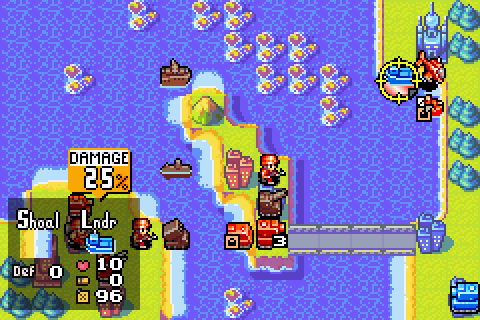
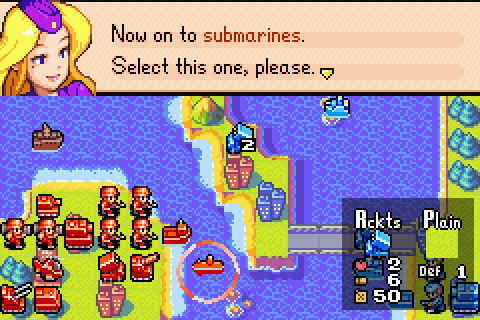 Submarines use direct-fire to engage the enemy. They can only Fire on other naval units.
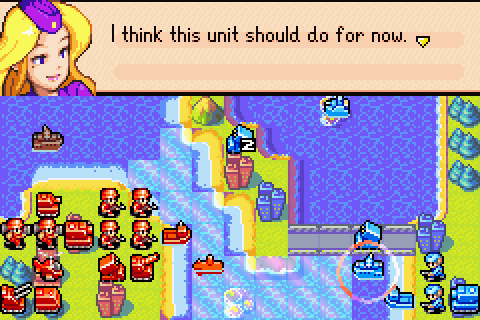
Yeah, that battleship could mess me up if we let it go unchecked.
Fire!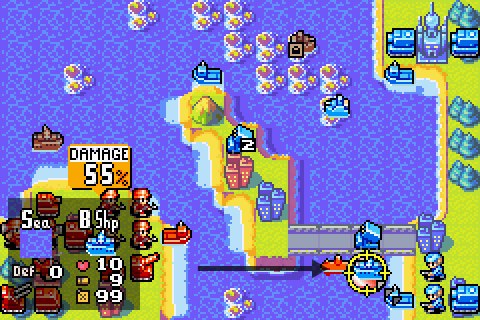
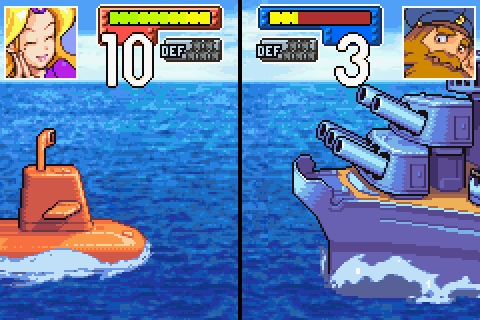
This is the kind of damage subs inflict on battleships when we aren't Max. Although again Nell's luck takes us into almost-Max territory.
As you can see, subs can inflict heavy damage! Subs also have other distinct abilities, but I'll tell you about those later.Can't wait. Okay guys, brace yourselves because Nell has a lot to say about landers:
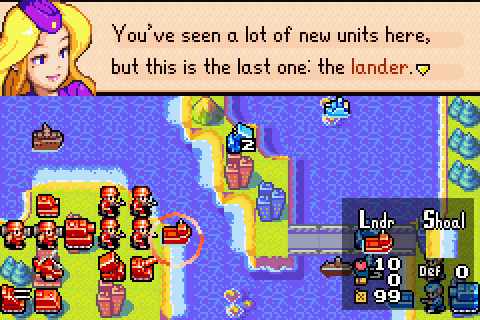 You remember APCs and transport copters, right? You use landers in basically the same way. Like the others, they can't attack. Let's try this one out. First, select this infantry unit. Now just Load that unit into the lander.
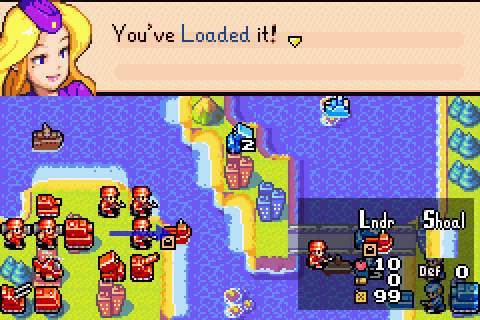
That I have, Nell. That I have.
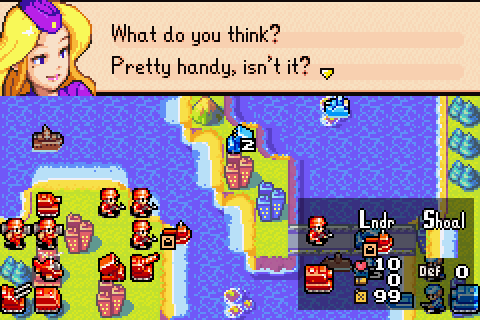
So, landers and T copters are basically the same. That's what you're thinking, right? Actually, there's a big difference. You can load two ground units at a time onto a lander! Landers carry land units, and cruisers carry copters. That's what I said, right?Sorry, what? I think I drifted off.
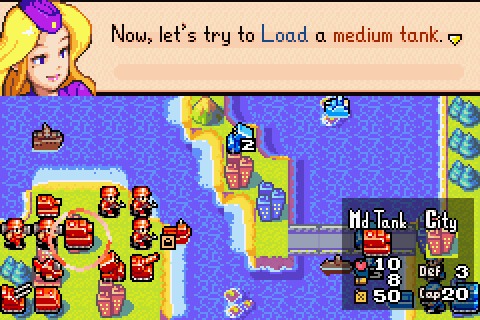
A medium tank? In a lander? Okay, I guess that's worth a shot.
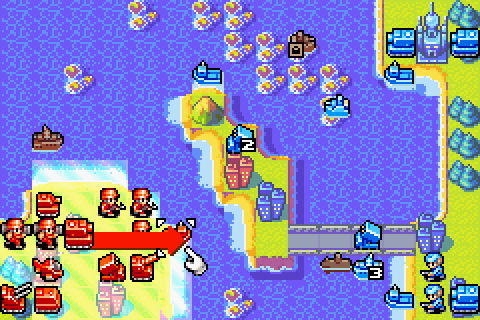

Huh. What do you know.
Okay, you know what, fair enough, that is pretty handy.
But there's one thing you have to pay attention to... On this map, you can only Load units onto a lander at a shallow shoreline. Eventually, you'll be able to do this at a port, but there aren't any here. Just be careful, because it's not like you can Load just anywhere. Next let's try to Drop the troops. Move it over here.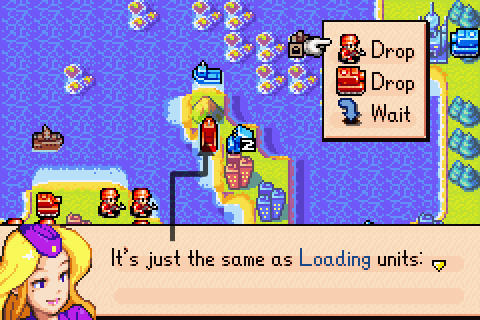 You can only drop them at ports and shallow shorelines.
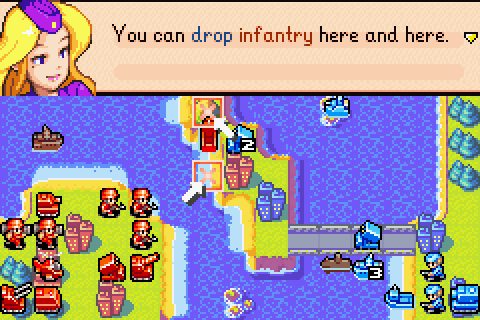
True enough.
But wait a second... There's a medium tank on this lander, too, right? Medium tanks can't move in the mountains, remember?It'd be a bit weird if I forgot that, to be honest. Medium tanks scaling mountains is certainly a scary thought.
So, you can't drop Medium tanks in the mountains. If you're going to Drop both units at once, you'll have to think about it... Which terrain can you Drop them on?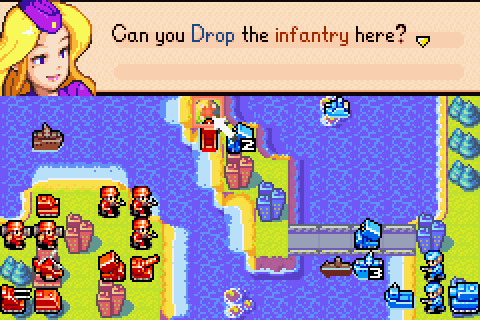
You know, previous times Nell has asked a question like this, she's actually let me decide for myself - which is a nice touch. Here she's spelling it out. Kind of a shame, really. But whatever.
OK, now Drop the other unit. You can only Load and Drop at ports and shallow shorelines, so pay attention to where you can Drop when you're carrying two units. If you can just remember this, you'll have no trouble using Landers.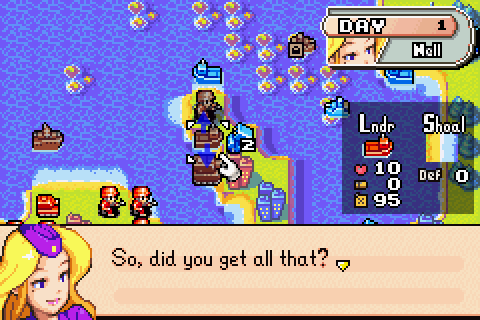
If it gets me through this any quicker, sure.
Oh, there's one more thing I have to say about sea units in general.Oh Glod.
Like air units, sea units use fuel every day. Battleships, subs, cruisers, and landers all use one unit of fuel per day. If they run out of fuel, they'll sink, and you'll lose them. If you want to resupply them, select an APC and choose Supply -- the same as with other units. To recover its HP, you need to move this unit to a port. Unfortunately, there aren't any ports nearby. Well, you can do as you like with the rest of the units. When you're done, choose End.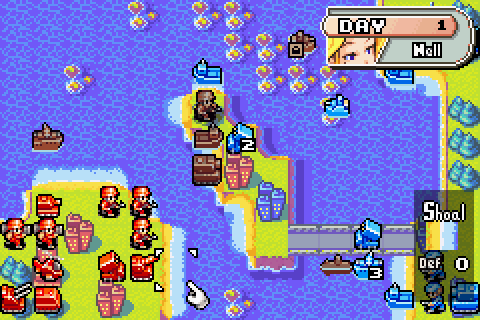
All right, are we done? We're done. For this turn, anyway. Nell's still promised to tell us something else about subs.
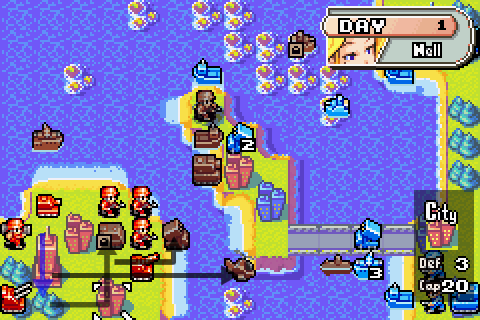
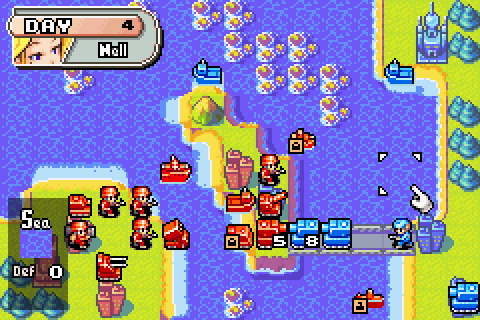
There's not much we can do right now. For now let's move my rocket and B copter up so we can do some attacking with them next turn. Let's also put a mech in the APC.
The other guys move up a bit.
 If Nell hadn't taken out my air units, victory would be so much easier... But they can't use most of their troops, so that puts us on equal footing. To battle!
Well y'know I do have a lander, Olaf. I can get a fair number of my troops over there...
Day 2
"It's your turn." Count: 5. Fair play, Nell says this less than I remember, 5 missions from 11 so far. Figures it would come up in this mission though.
Let me tell you one more thing about subs. Can you select one?Go on, then.
 being attacked, so let me show it to you. Can you press the A Button and open the menu? Now choose Dive!
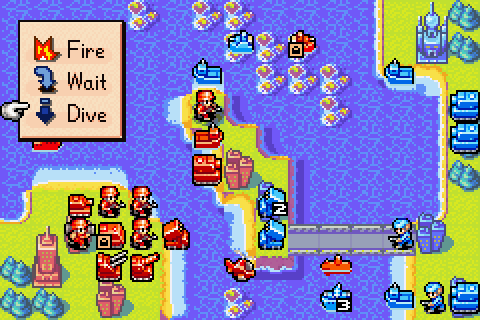
Dive! Dive! Dive!
That's right! When a sub Dives, it can only be attacked by cruisers and other subs. Plus, since submerged subs can still attack this is very useful.Yeah, as we saw in Max Strikes!, submerged subs are very handy to have. They're also a real pain if you're on the receiving end. They have a problem, though:
But there is one thing I have to warn you about, and that's fuel. When a sub Dives, it uses five fuel units per day. That's about a one-day supply. If it runs out of fuel, it will sink, so watch your fuel closely. I'll leave the rest up to you. Good luck!Finally.
Okay, first up, my battleship can't hit anything back there. Let's move it up a bit.
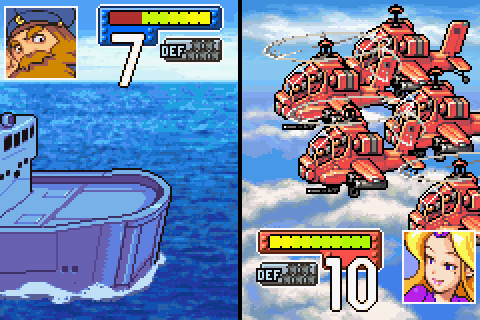
Now let's celebrate my liberation from the tyrannical tutorial text with some battle screenshots!
And here's the main map version of that, complete with my medium tank finishing off one of the rocket launchers as well.

Lander moves back to pick up some more troops. I now have a mech loaded into an APC loaded into a lander. Fun times! There's also an artillery in there, too, making a grand total of three units inside that lander oh god i'm starting to sound like nell.
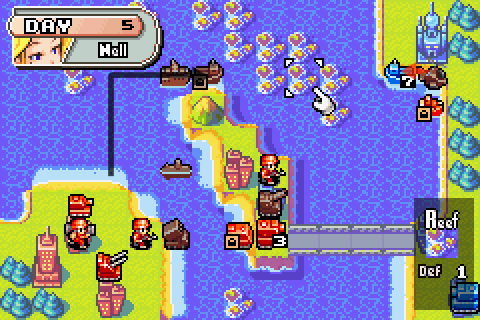
I move my cruiser about a bit because, I don't know, maybe Olaf has some submerged subs in here somewhere? Seems unlikely given this is Field Training, but you never know.
Day 3

Right then.
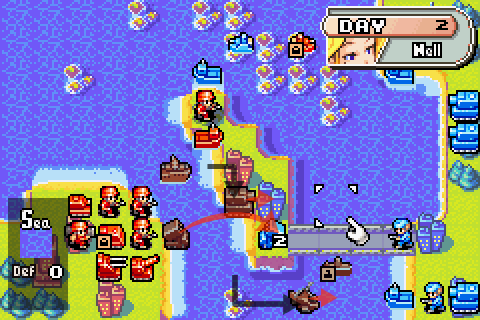
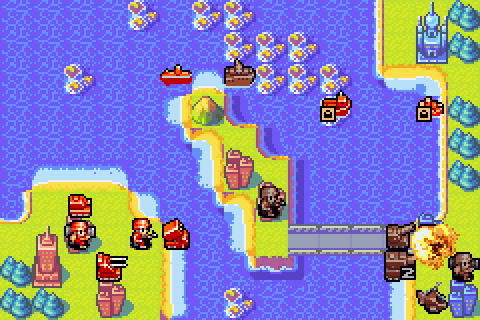
My landed troops take out Olaf's stuff on the island. Next is the bridge.
Battleship takes out a cruiser. That's some good damage.

And continuing the naval theme, my sub takes out a lander.
Dropping off some more troops on the island. Got a nice looking chokepoint here.
And you know what? May as well appease Nell and try out putting this B copter in the cruiser. Well, that's that done.
Olaf's turn - he rolls up to my medium tank and dishes out some damage.
Day 4
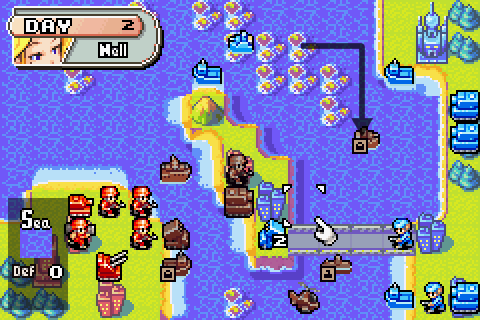
He's right in the firing line of my indirects, though.
There goes another lander.
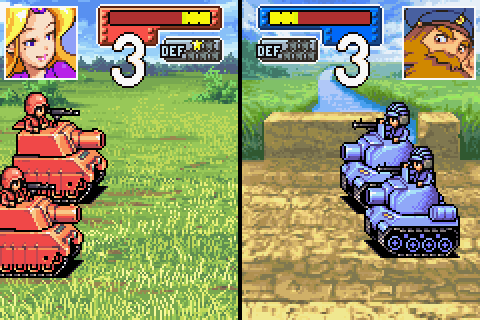
And while we're on an indirect fire theme, let's dish out some damage to these medium tanks.
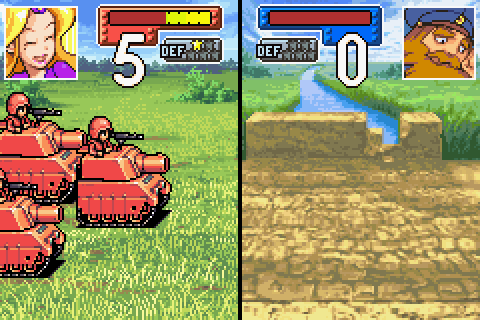
And use my damaged middie to finish off the front one.
Busy screenshot, although it's mostly just logistics. Cruiser unloads B copter, lander loads infantry (in case I want to go for Olaf's HQ), sub heads over to the APC for supplies. It's not in trouble yet, but an ounce of maintenance and so on.
He's in pretty dire straits here, but Olaf wants to keep attacking.
Day 5
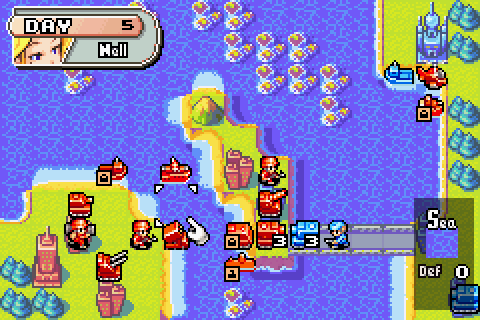
Oh well, more fodder for the indirects.
Rockets kill the infantry in one shot, artillery finishes off the medium tank.
Let's move these ships around towards the last lander. May as well surface the sub given there aren't any threats to it at the moment.
Since my B copter's up here, I'll attack the lander with it. Arguably it'd be achieving more attacking the medium tank in the south. On the other hand, that middie's on a city, and would probably heal up any damage the B copter did right now.
Lander moves around, although once again it's looking like the rout will be faster.
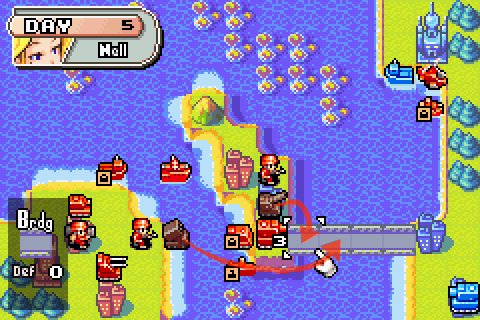
Day 6
Olaf sat there doing nothing. We're going to have to draw that medium tank out, I think.
So I send up the APC and arty, unloading the APC. It's not great chokepoint management, my artillery's exposed after all. But with a 99.99% chance of Olaf attacking that APC, the arty's pretty safe. I also move my battleship up so that the lander's in range.
Moving the B copter and medium tank up as backup for my arty.
Sub and lander continue their journeys. I also start capturing a city because hey, might as well liberate some more of Orange Star.
Like clockwork.
Day 7
Nearly there. Once more we find ourselves with a bunch of ragtag units having to finish off a medium tank.
First up, the indirects do their stuff (and I finish capturing that city).

Then the B copter weighs in. Actually from here it should be pretty straightforward.

My own medium tank gets it down to 1HP...
... and the mech applies the coup de grâce.
Boom!
 Thanks to you, we managed to block his assault! Thank you! Keep up the good work! I never expected them to make it this far... Augh!!! Just wait until next time!
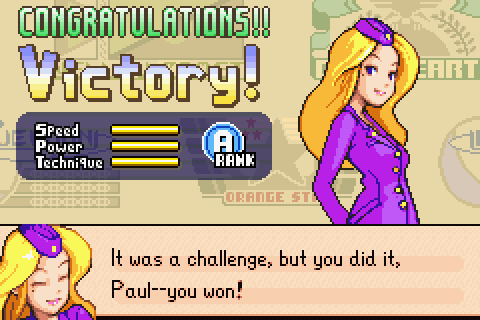
Even her victory screen message for this battle is long. Geez.
All right, so Max won the vote for the next campaign mission. Tune in next time for...
... me being a bit too panicky and overcautious about dealing with Grit.
Eh, they can't all be Dogfights.