Part 8: Thank God for Maps
As you can probably expect from the title, these next few missions are gonna be a bit lengthy and take place in rather labyrinthine locations. An AC head part with an auto map function is recommended.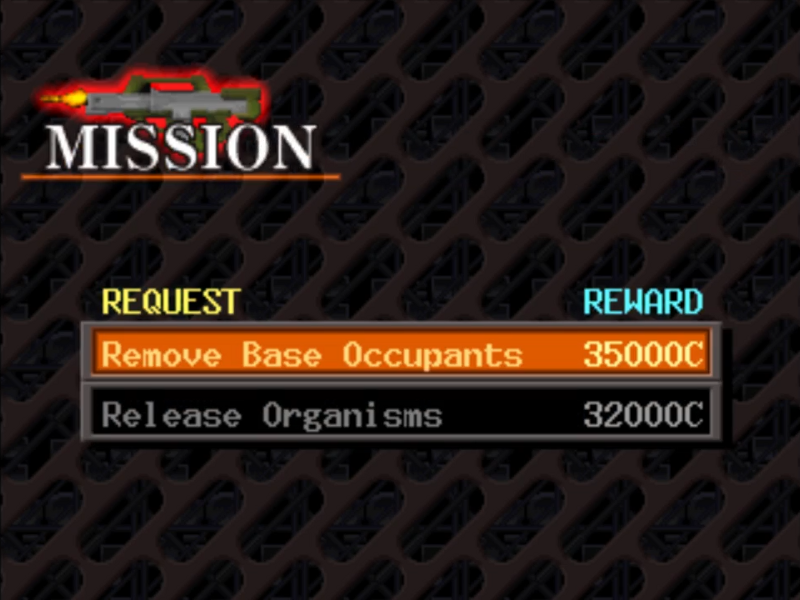
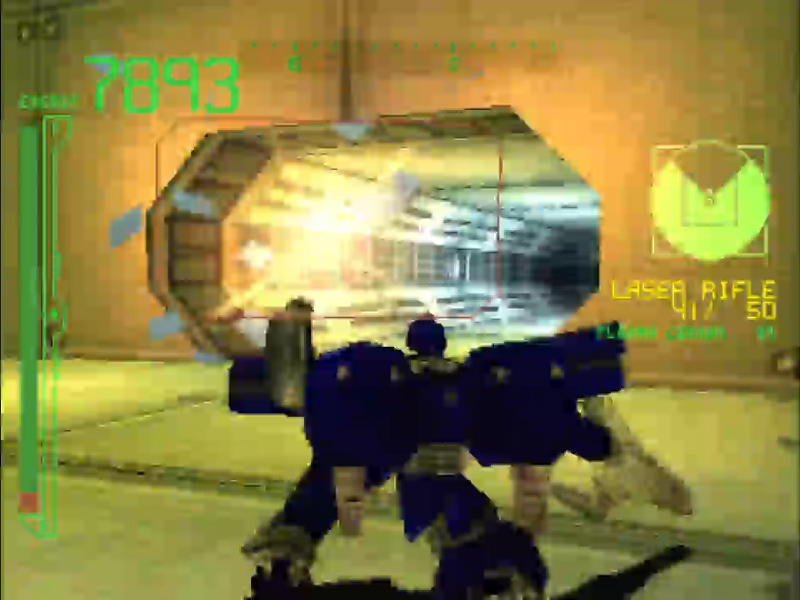
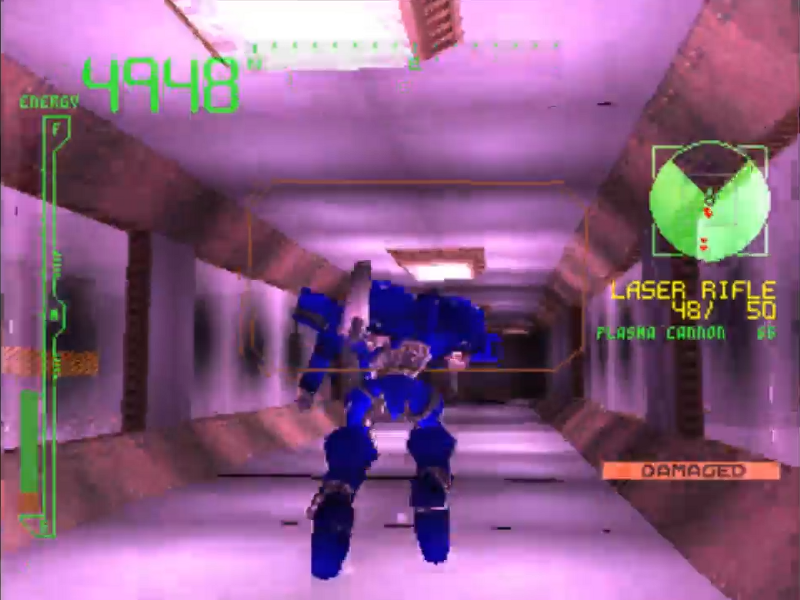
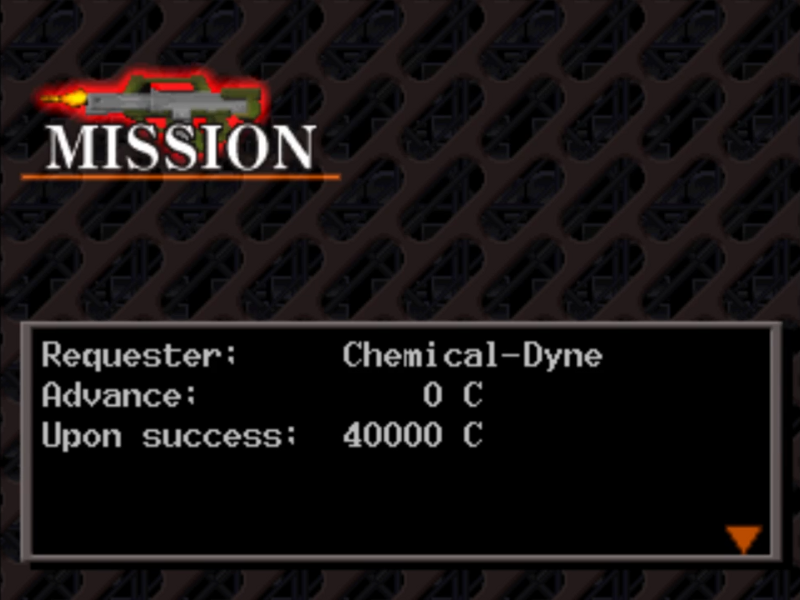
First mission on hand here is Remove Base Occupants.
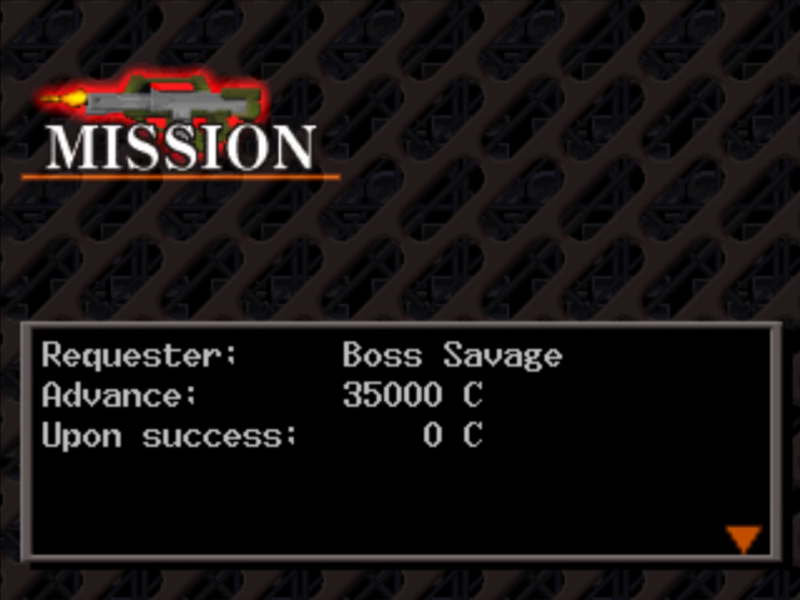
Wadja say youse helps me out wid a li'l job I'd taken. I tink I'm over my head on dis one.
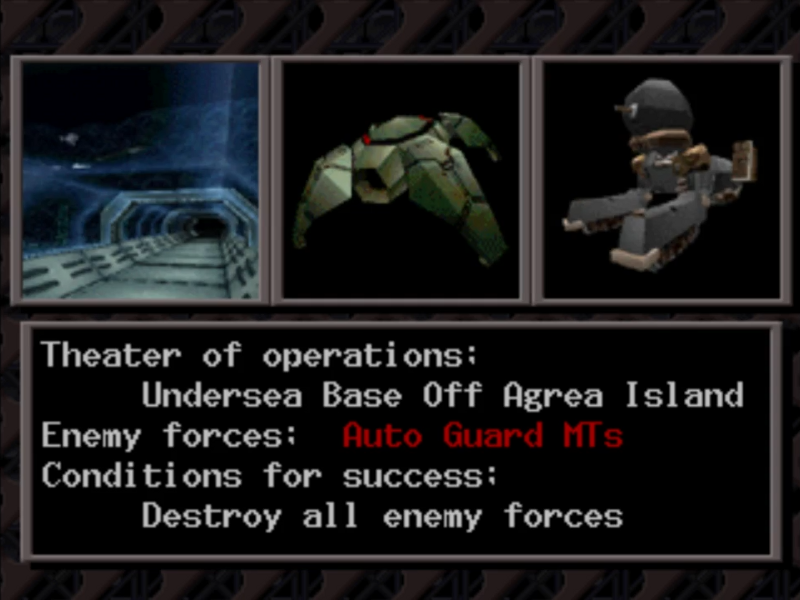
Ya see, it's at the bottom a' da sea. Yeah, an abandoned undersea base northeast a' Agrea. I wuz supposed ta get rid a' all a' the guys who'd moved in.
Dey sez it wuz an easy job, so I takes it. But deez guys are weird. Ya take 'em down but dey keep comin' back. Nuttin' to do but get outa dere, but I can't just leave it.
Pay ya 35000 C for da job. Can't tell ya who I'm really workin' for. Look, I'm given' ya all I should a' been paid. All in advance.
Dis time its not just fer da money. I gots me a reputation to keep. Anyone who can fight'll do. I'll be waitin'.
...I really do not get what they were trying to go for with making the briefing like that, considering that Boss Savage in game talks nothing like that at all.
Remove Base Occupants
See? Sounds nothing like how the briefing sounds. What the hell?
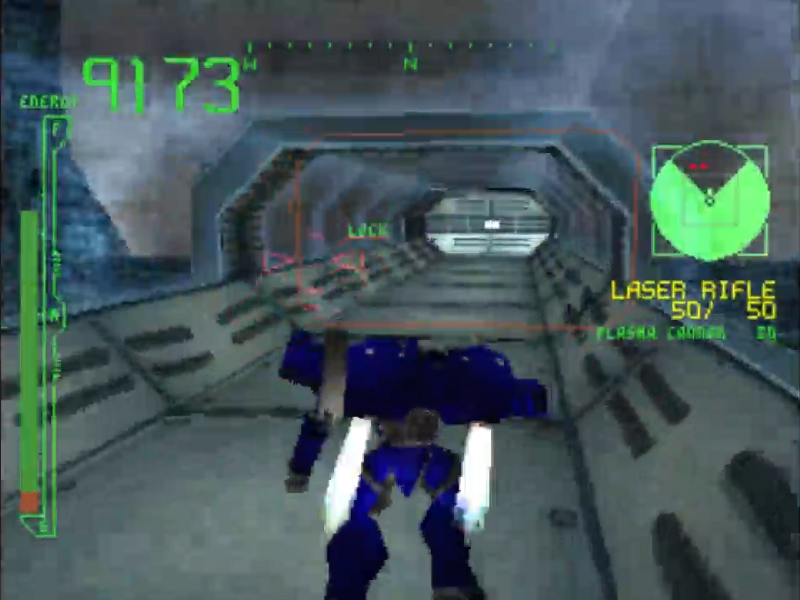
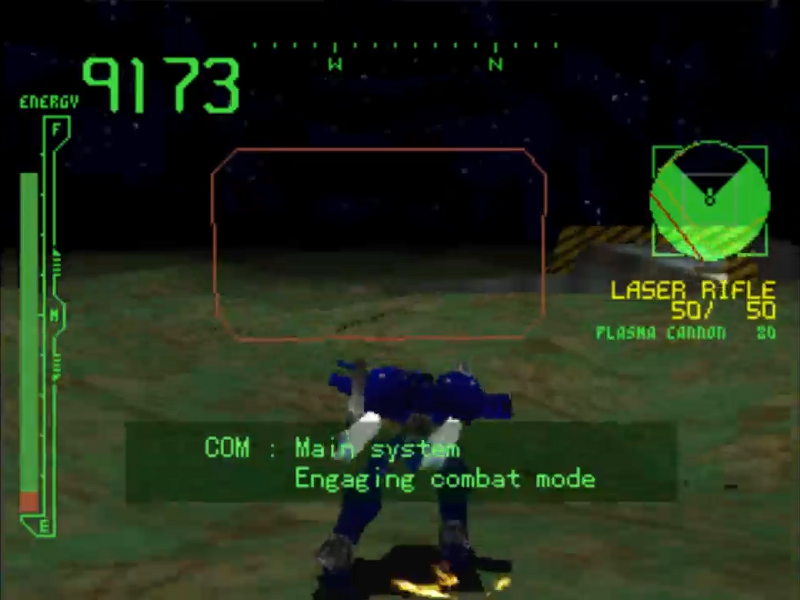
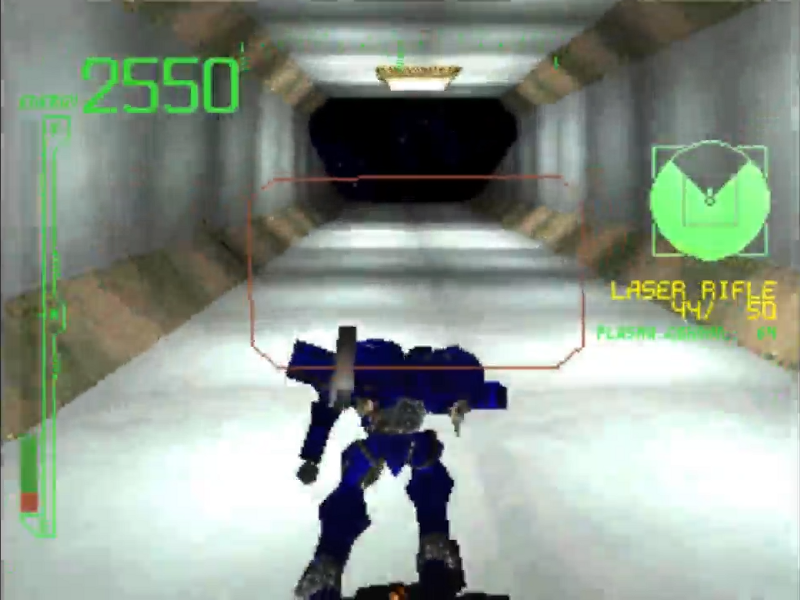
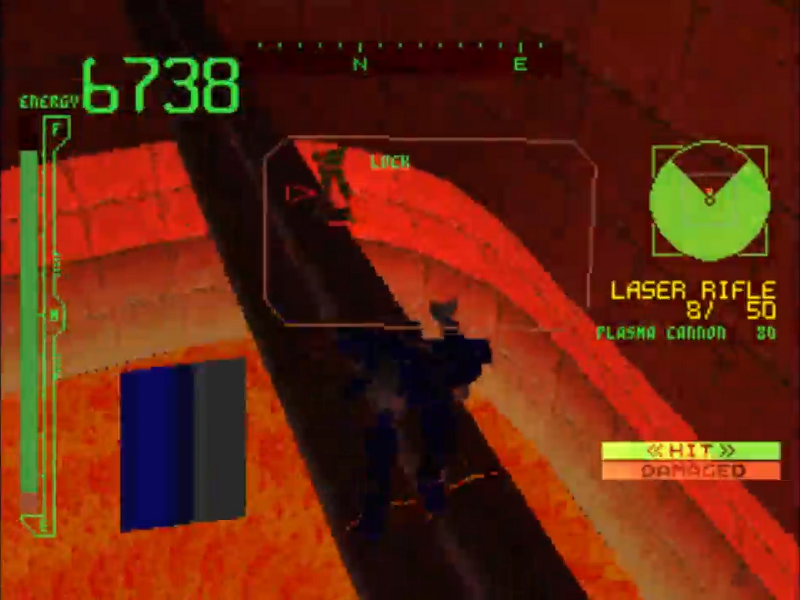
Anyway, the majority of enemies in this level are the Crusaders, those MTs with extremely high energy resistance, and in keeping with my all energy weapon
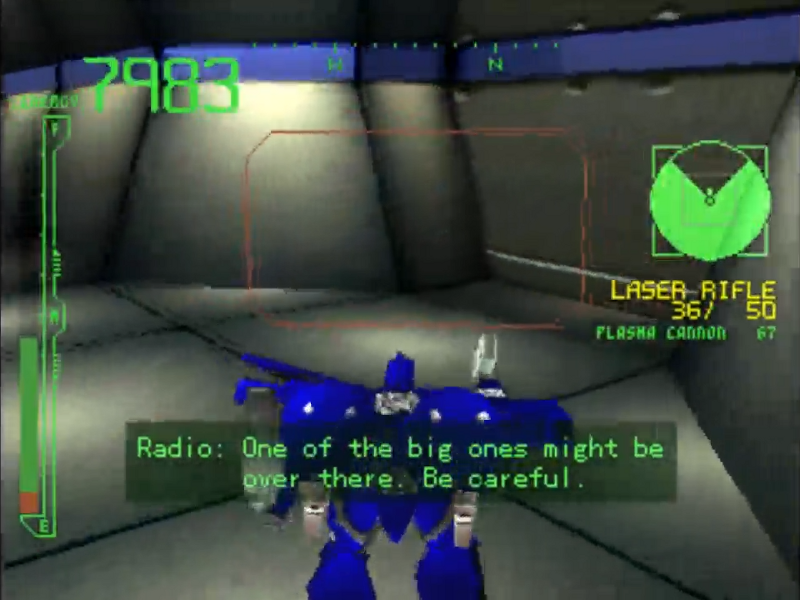
Now, if you had paid attention to that horrible briefing and the circumstances surrounding this, something must be off about the mission. The money was given to us all in advance, and our client just ups and disappears right as we start the mission. Well, as it turns out...
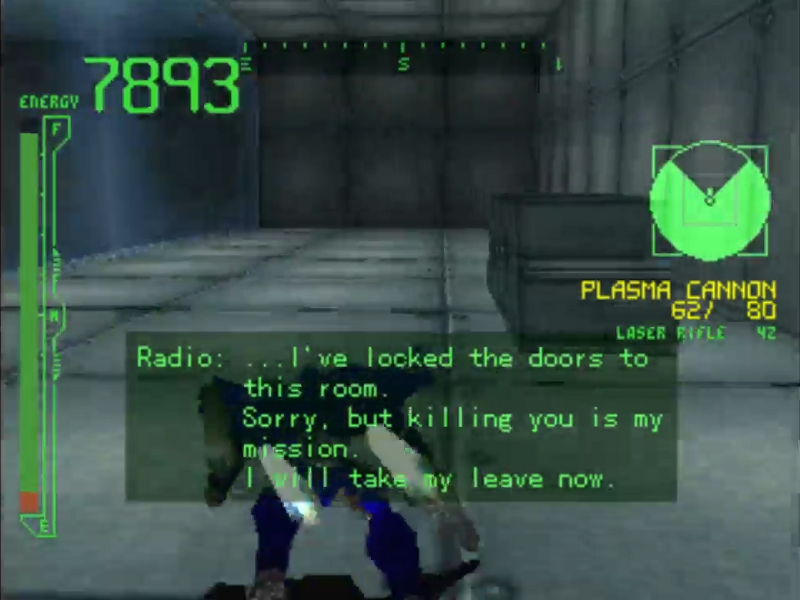
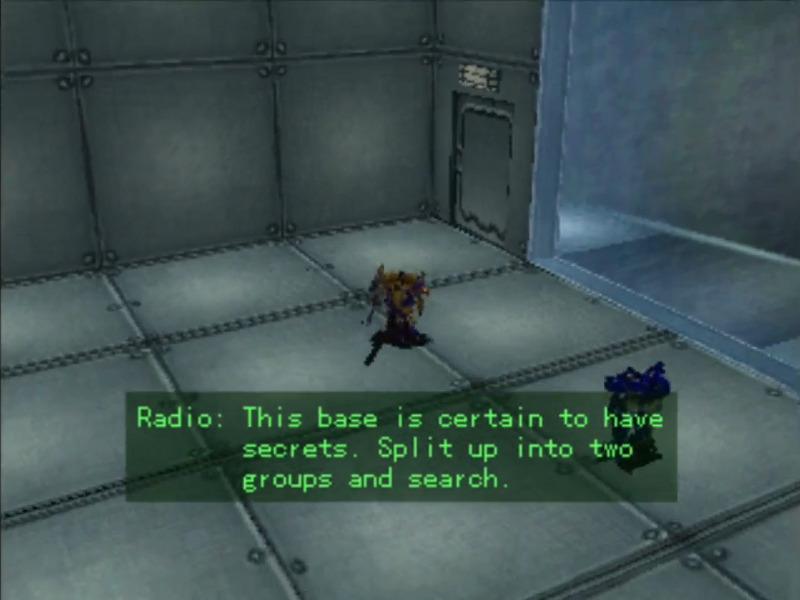
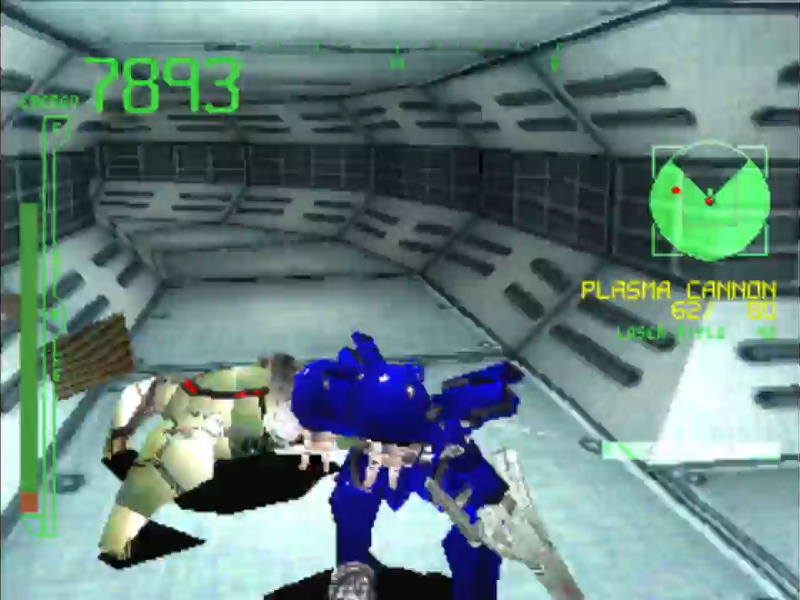
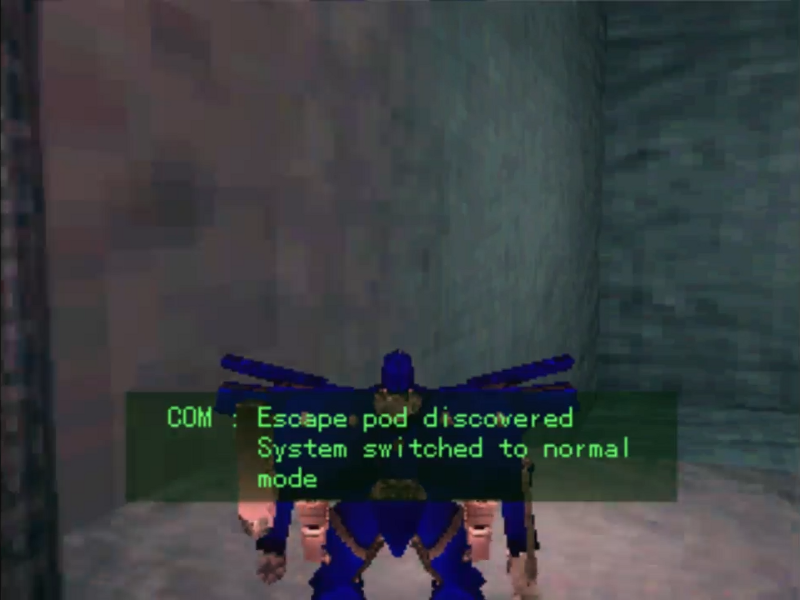
...it was a trap. Upon entering this room (which is similar looking to several other rooms), Boss Savage says it's his mission to kill you, but it seems odd that all he'd do is just lock you in a room with NO ENEMIES and just leave the premises.
However, at far end of the room, there is a portion of the wall that can be blown up, giving us a chance to escape.
Now to find our way out of this base.
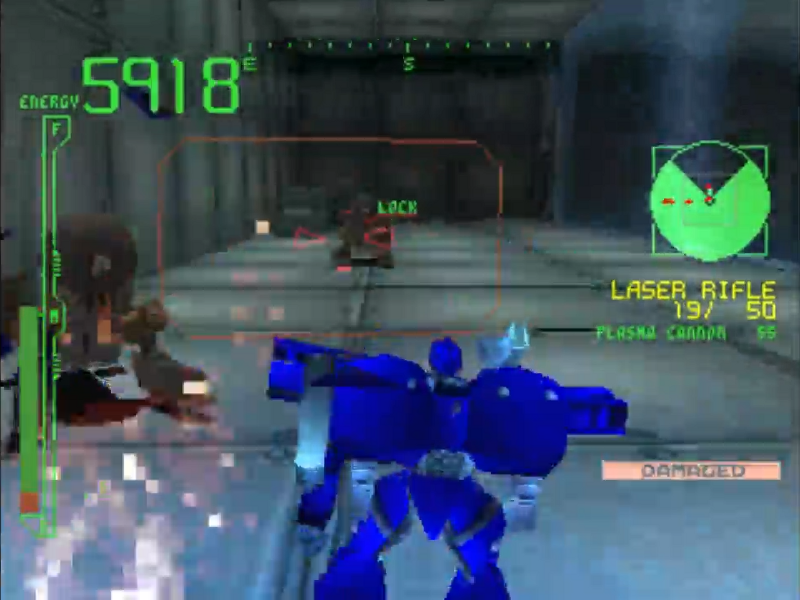
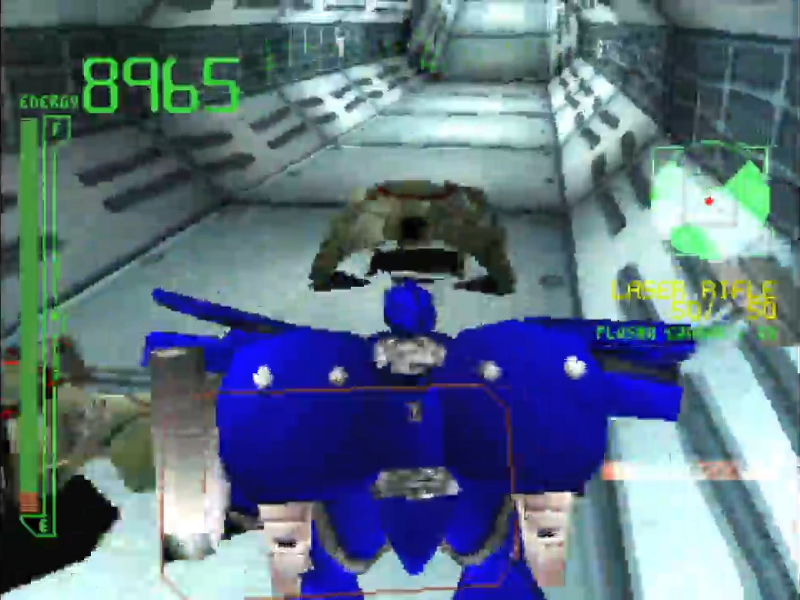
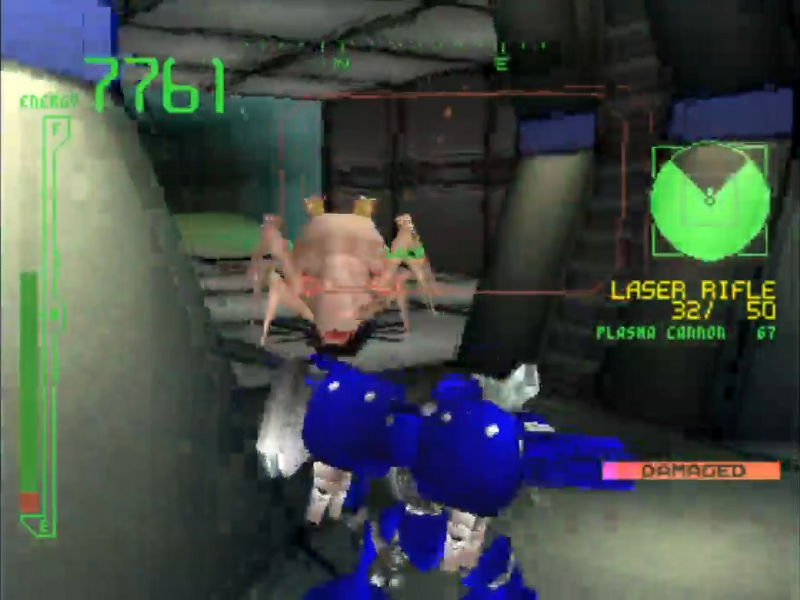
Besides the Crusaders, there are also Cerberus MTs. These are the bigger, more annoying versions of the Cerberus MTs we fought at the airfield. Thankfully, they don't have high energy resistance so they go down very quick.
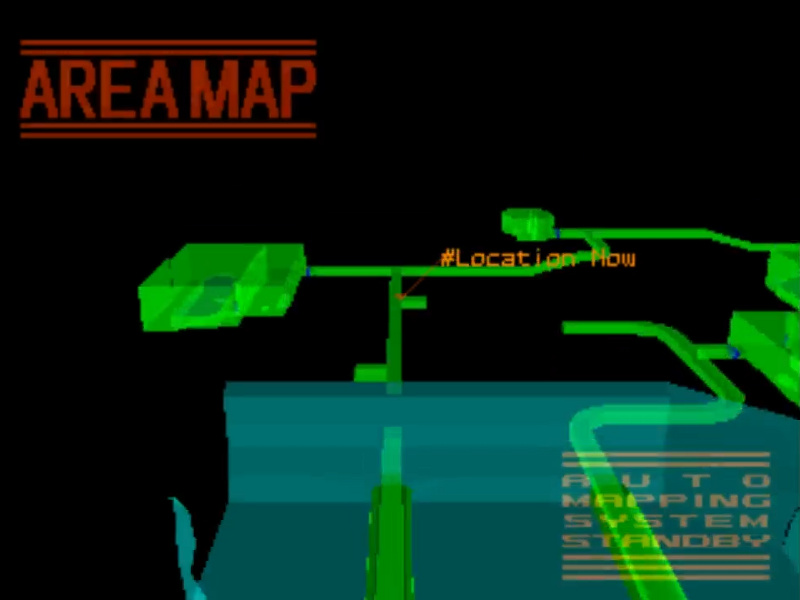
Once again, having map can be very helpful at times.
Also, as you could probably tell, killing any of the enemies actually isn't required. Just have to escape and deal with the expenses that accrue.
Returning to the Nest, we receive an email from a mystery sender.
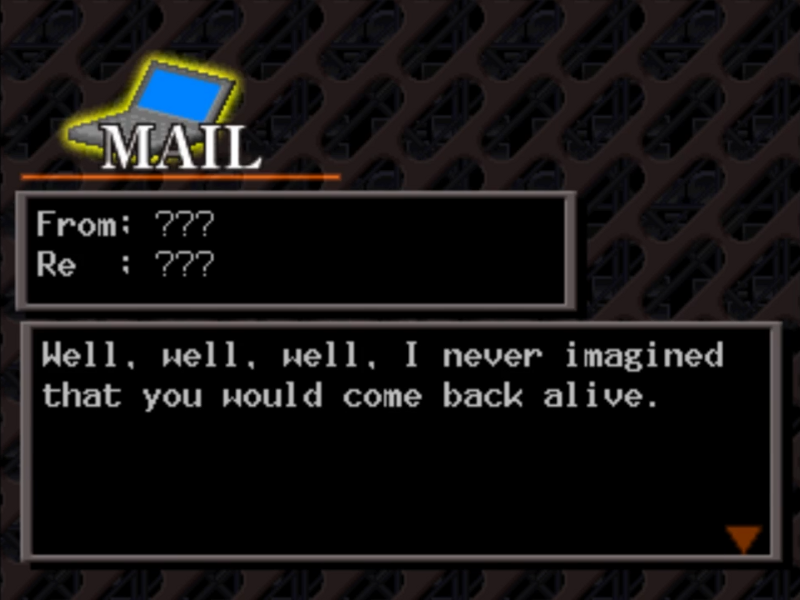
It seems that I underestimated you. Well, you certainly showed me.
We shall meet again some day. I look forward to that day.
Yep, this is not the end of Boss Savage. You can expect to see his sorry ass again real soon.
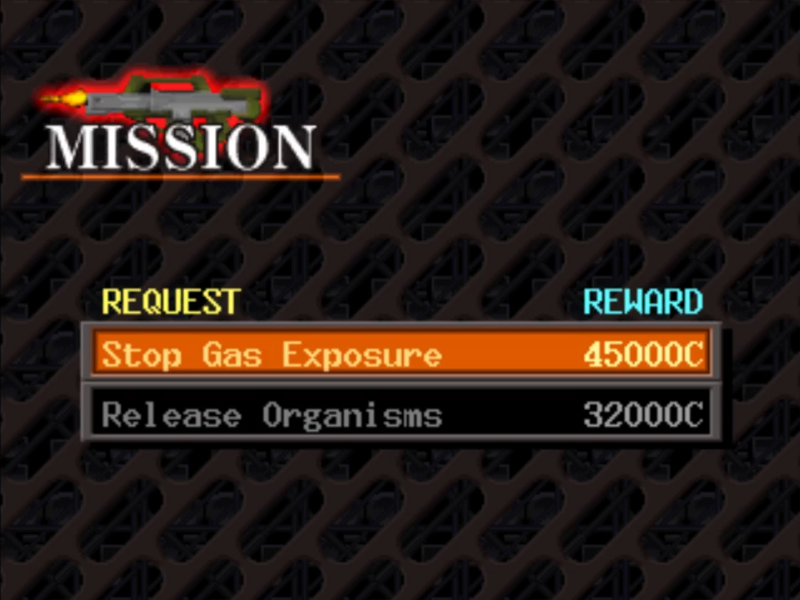
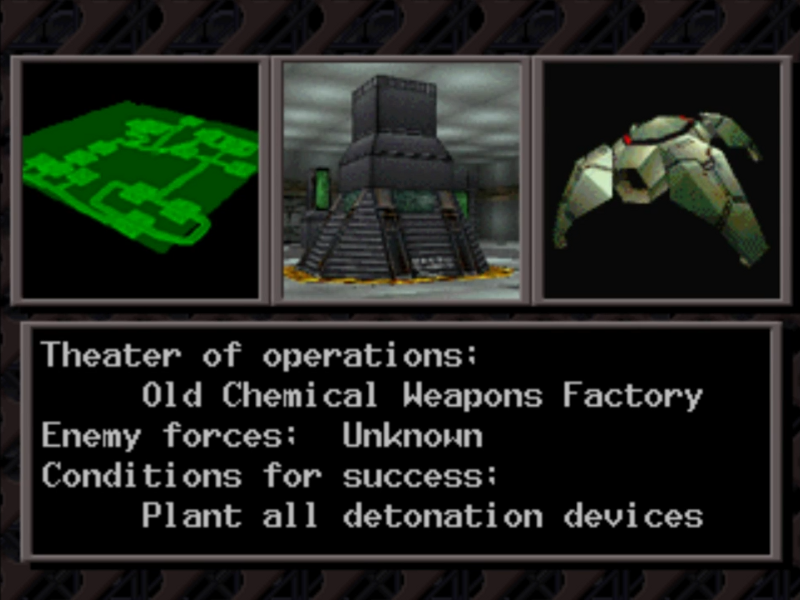
Let's start the next mission with a very large map layout, Stop Gas Exposure.
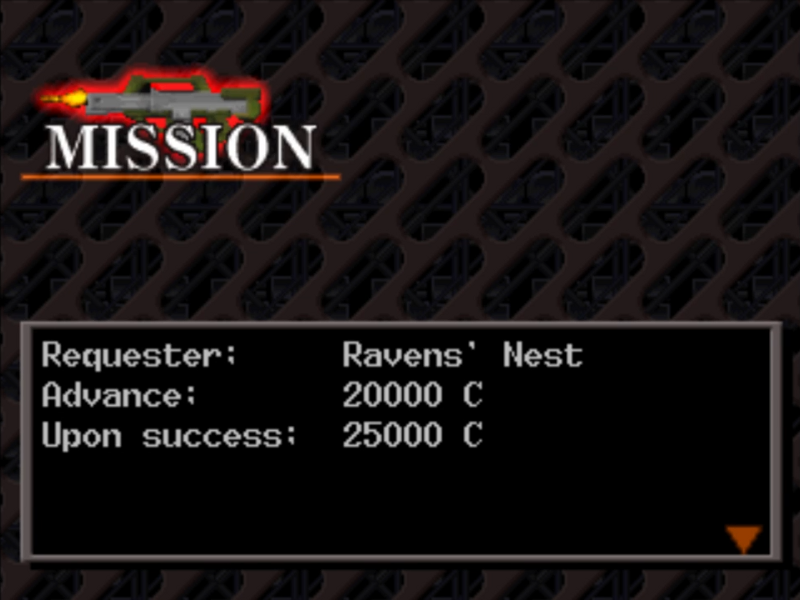
This mission is extremely dangerous. A problem has occurred at one of the ruins from the Old Generation. Namely, a military facility.
This facility was used to develop chemical weapons, and it seems that someone has secretly entered and tampered with the control panels. It is now full of some kind of gas.
This gas corrodes metal, no naturally your AC will take damage. Unluckily, all of the equipment within the base is resistant to the gas, so the defense mechanisms are operating.
Of the five control panels, only one appears to be working. Even so, just destroy all of them. We will provide the detonation devices. Just plant them on all five panels.
When you are finished, get out of the base immediately. If you dawdle within the facility, your AC will suffer a dangerous level of damage. Be careful!
Yep, a level that does constant damage to us and requires us to take no breaks. Let's get to it.
Stop Gas Exposure
Now, there are two entrances into the facility, but it's best to take the one on the left. The right is fine though if you already know about the shortcut in there, but we're going left for now.
Once you've entered the part of the facility that is tinted purple, you'll begin taking damage, and you cannot afford to stay still. The amount of AP you can lose during this mission is a hell of a lot. However if you can, kill whatever enemies you come across as you will get additional credits to help offset the expenses.
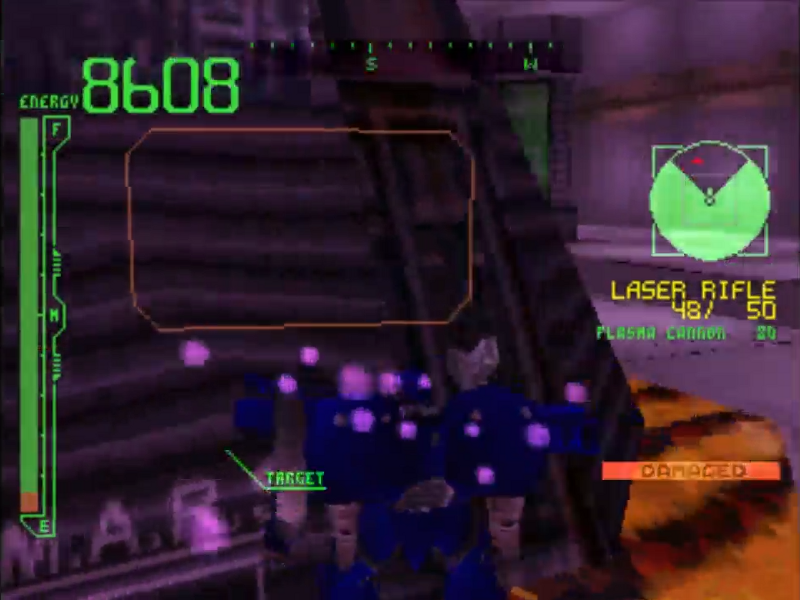
This is one of the control panels that we need to attach a bomb to. The first of five.

I check the map periodically to make sure I'm still on the right path, though I still manage to get lost very briefly on my way to the 4th and 5th control panels.
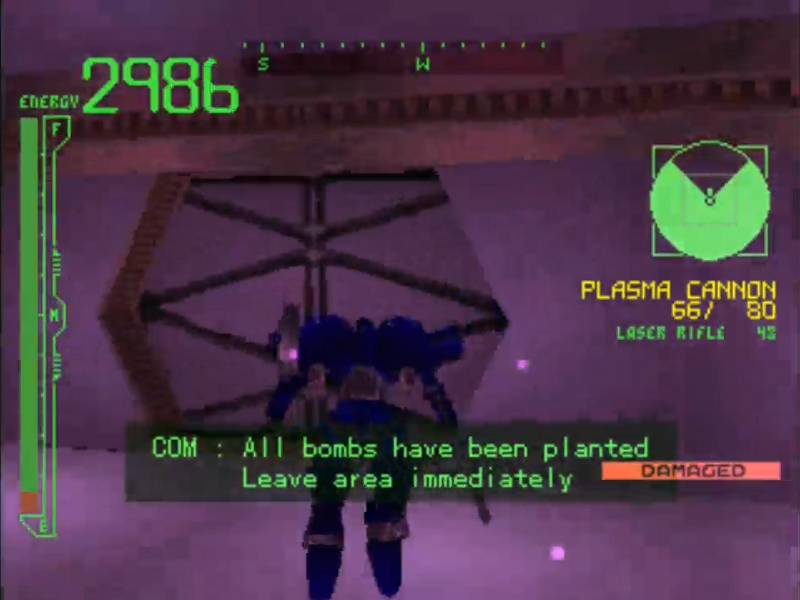
Upon planting all the bombs, we get this message and have to get out of the facility ASAP. However, with only just under 3000 AP, that's not enough time to get out of the facility by backtracking the way we came. This is where the short cut comes in.
At the intersection that leads to control panels four and five, there is a portion of the wall that can be blown up to reveal a hallway that leads us to the other entrance to the facility.
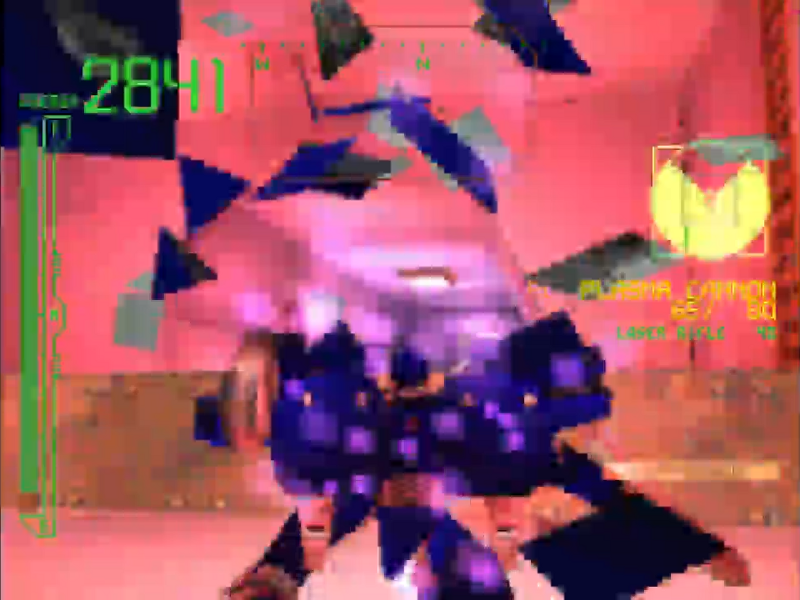
As you approach the exit, you can start to hear a beeping sound. That's a hint that the bombs are about to be detonated, and right as you get back to the surface...
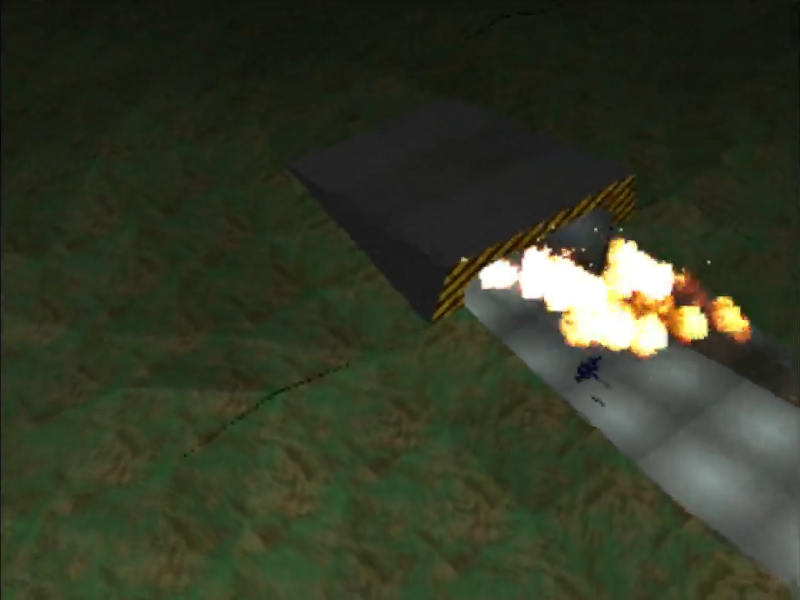
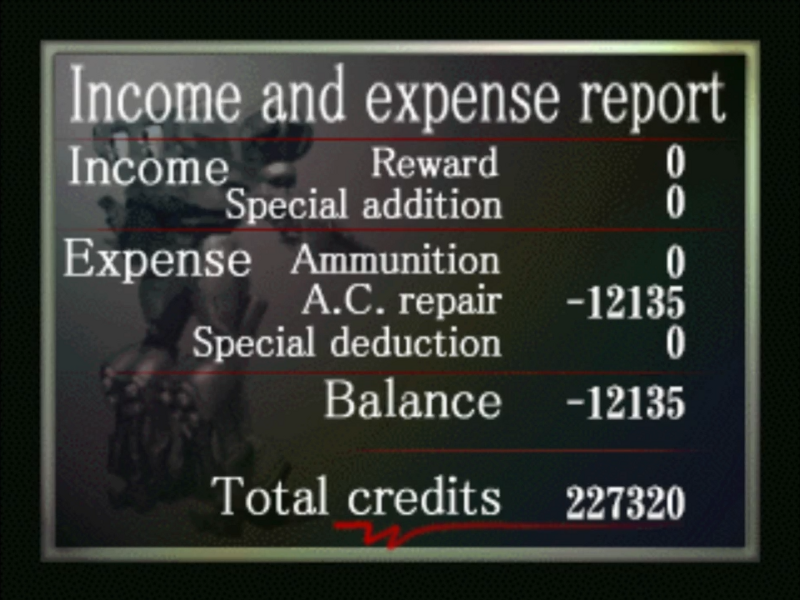
Boom! Mission completed.
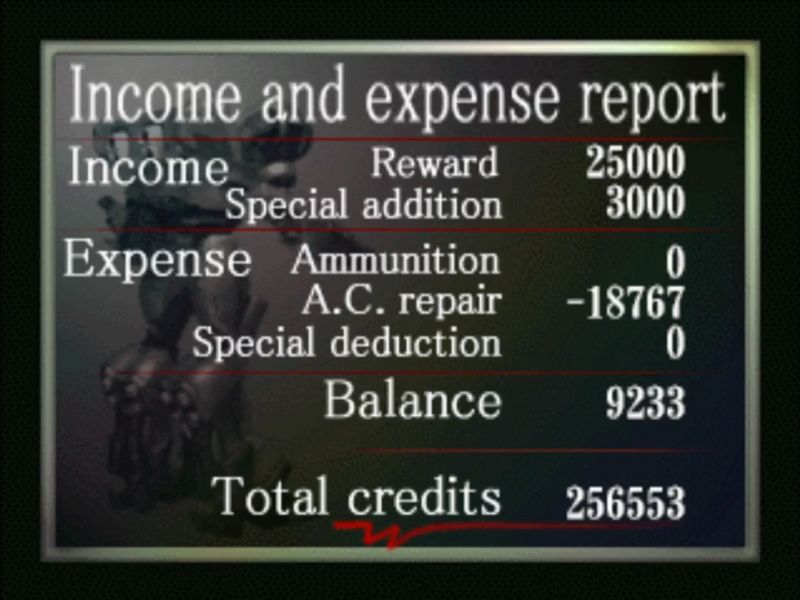
We only killed a few enemies because of them being Crusaders, and only got an additional 3000 as a result. Still, the balance was positive in the end, so that's good.
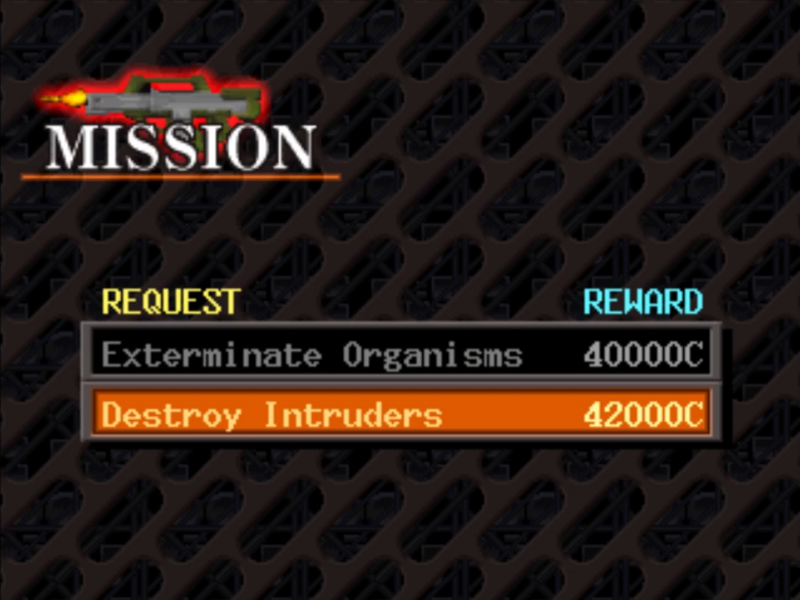
This next mission will actually serve as a nice change of pace from what the last couple were. Destroy Intruders.
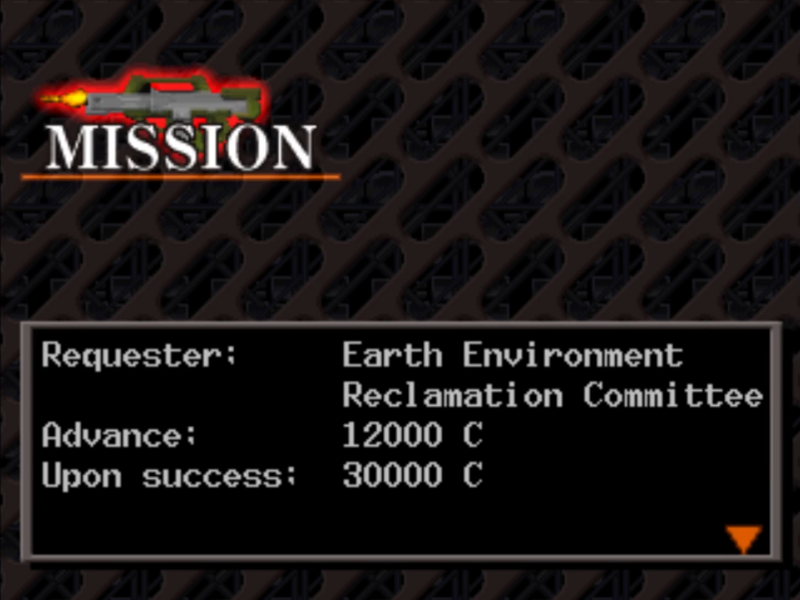
Several armed MTs have broken into a resource reclamation plant owned by the Committee.
They are probably terrorists employed by those who want to distort our activities.
We have taken out several MTs but with heavy damage. So we are asking the Ravens for help.
We have closed the gates within the plant to push them gradually into a large blast furnace in the center. We want you to pound them there.
Naturally, the blast furnace is very hot. If you fall, your AC cannot survive. Making good use of the geography will be the key to the battle. Good luck.
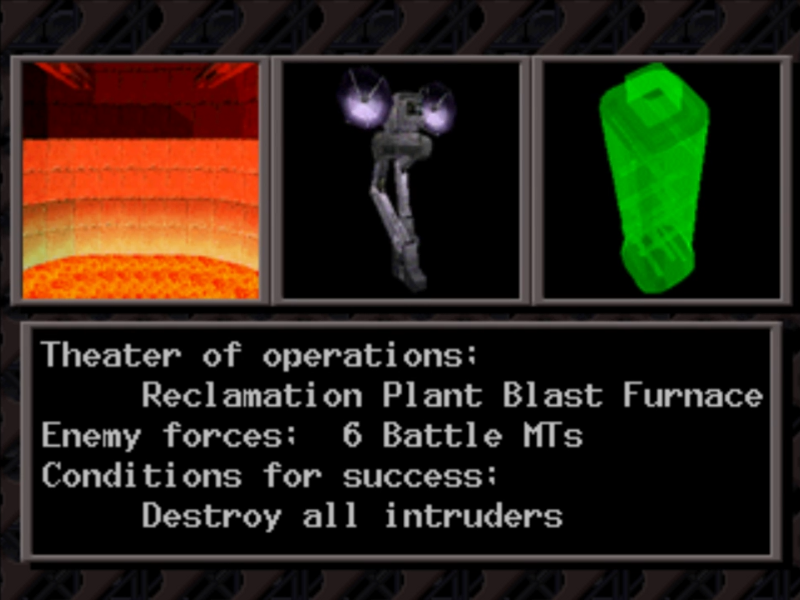
A small map with a few enemies to eliminate. And there's a secret part here as well, we haven't run into any of those for a while now. Let's begin.
Destroy Intruders

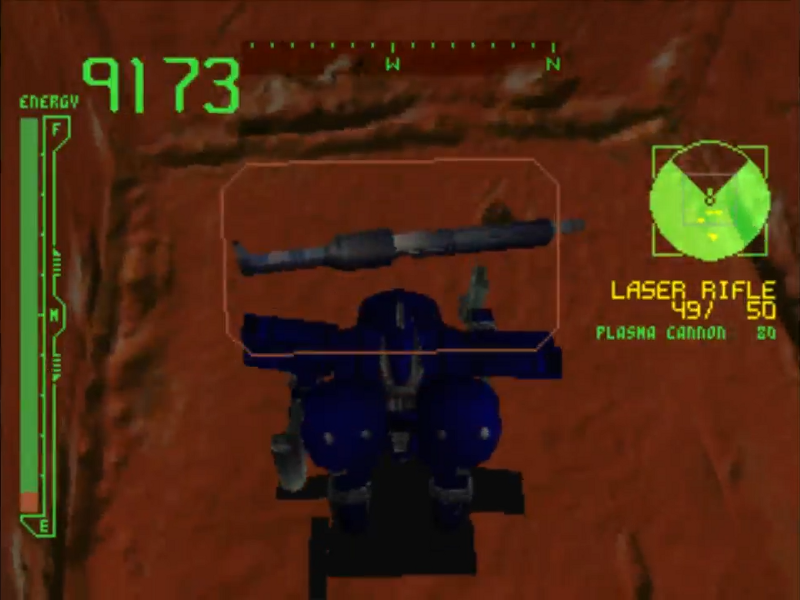
Starting out, there's a hole on the left side underneath the bridge you start out on. There's a box containing the hidden item, a flamethrower.
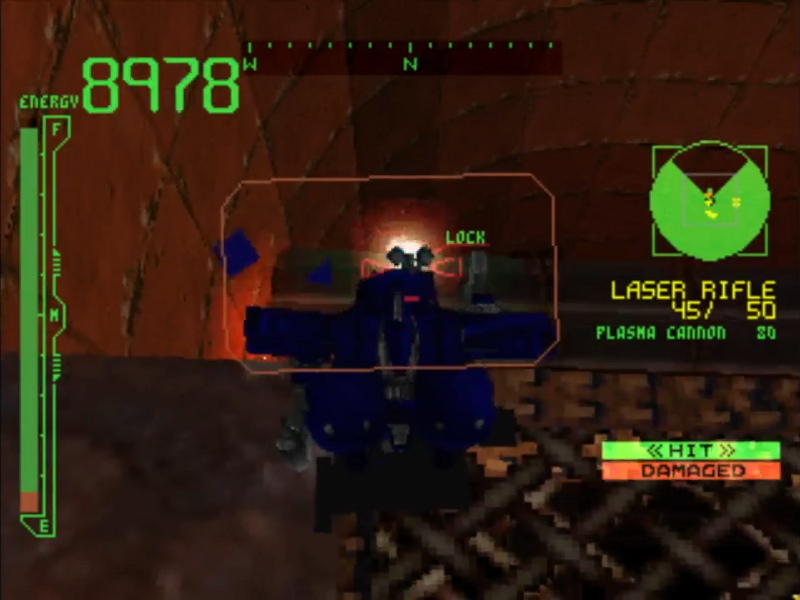
So this area can be tricky to navigate because of the vertical nature of it, not to mention that falling to the bottom will deal a lot of damage to the AC. There are only six enemies to deal with here, two of them are Lightnings, the MTs that are 1.5 times the size of an AC, and a new type of MT called the Mimi. They're similar in former to the Storks and other reverse jointed MTs. Destroy all of the enemies without falling to the bottom, and the mission is done.
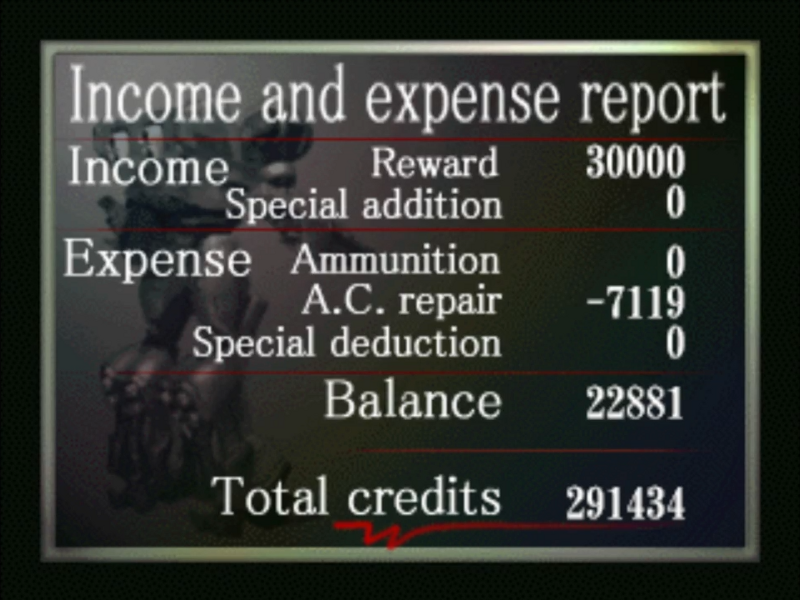
Man, to think we're that close to three hundred thousand credits. We've been making quite a lot of money.
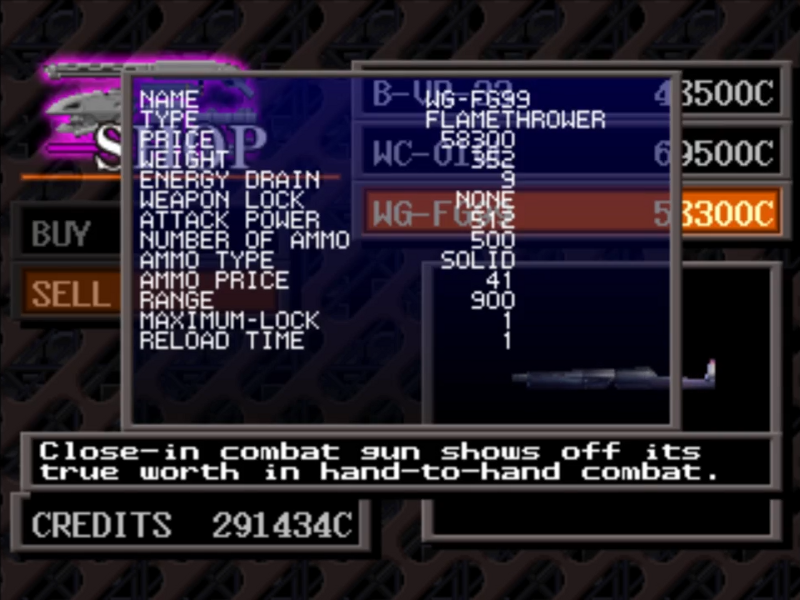
So this is the weapon we acquired in the last mission. This flamethrower is the only one of its kind in the entire game, but since it uses solid rounds for its ammunition and has a somewhat short range, we aren't gonna be using it. And selling it will now put us over 300K.
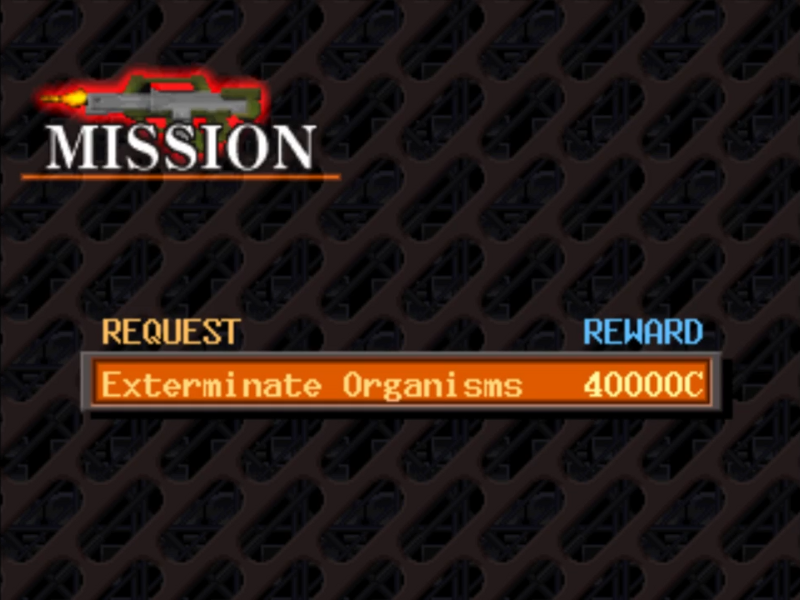
This last mission for today also has a very familiar title, Exterminate Organisms.
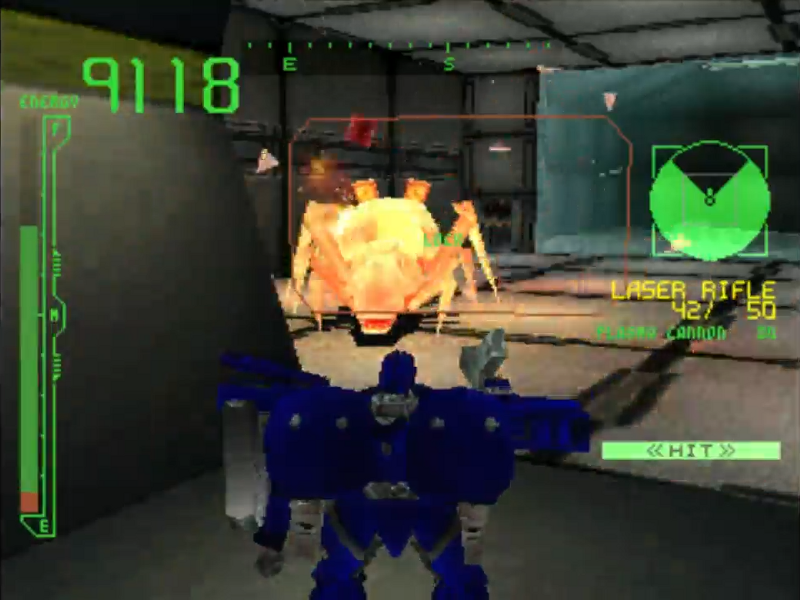
Someone has entered our lab and destroyed a test vent. The lab is now overflowing with biological weapons. The worst problem is the queen organisms are able to reproduce.
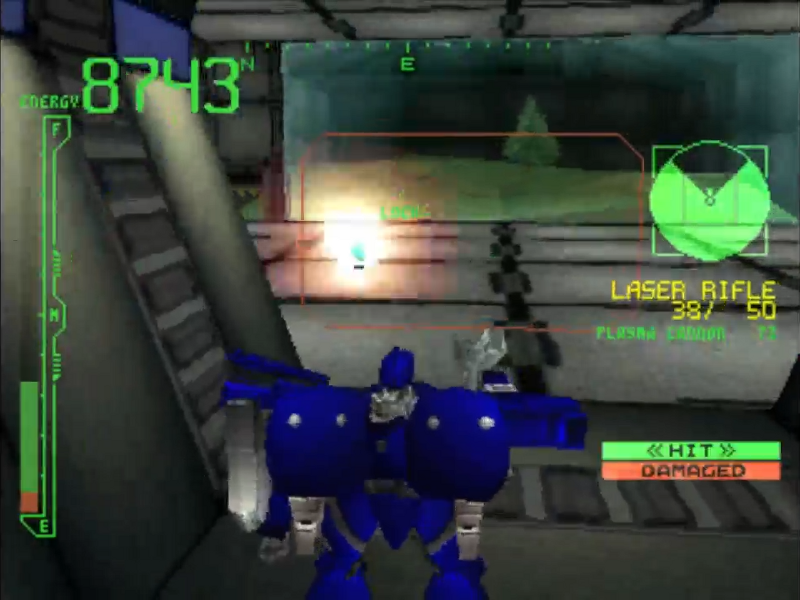
Upon leaving the test vat, the cell tissue becomes activated and begins reproducing in no time. If it has already begun reproducing, there may be an overwhelming number of them.
If so, they are certain to try to break open the outside wall sooner or later and escape to the outside.
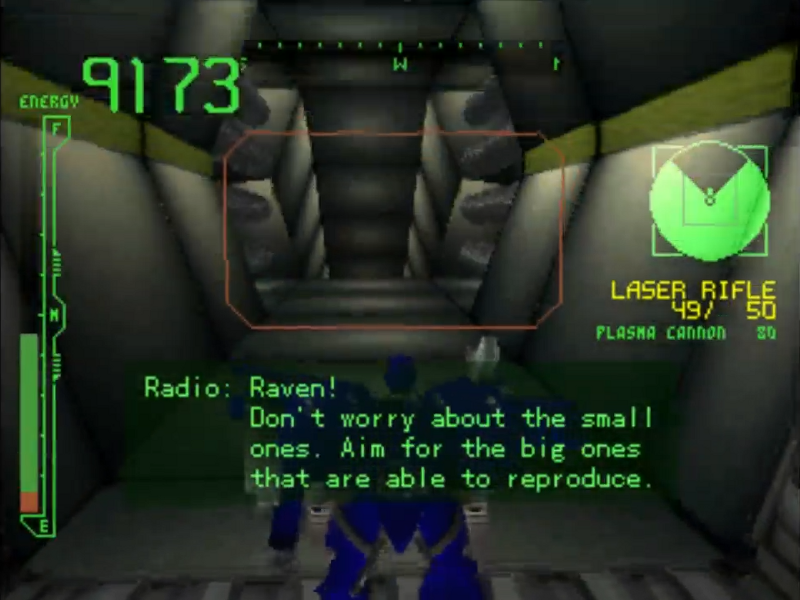
We can deal with the small types later, so your target is only the four queen organisms. Be sure to bring down all of the beasts.

Well, time for another bug hunt.
Exterminate Organisms (2)
Just like in the last mission with this title, the smaller bugs aren't as much of a priority compared to the queens, but killing them still gives us some extra money.
These rooms are where the queens can be found, but not all of them contain a queen. Sometimes there will just be regular fodder, in which case just kill them and move on to the next room. Once again, this is a pretty large map, and having a head part with an auto map function is recommended.
As you get deeper into the facility you'll get a tip as to where a queen may be located, though by this point we have already killed three queens and only need one more to finish the job. That's also another thing about this mission, is that there are actually seven queens in the facility, but you only need to kill four in order to finish it. Considering there's another mission that has you going through this ENTIRE facility to complete it, the conditions for finishing this mission is generous in comparison.
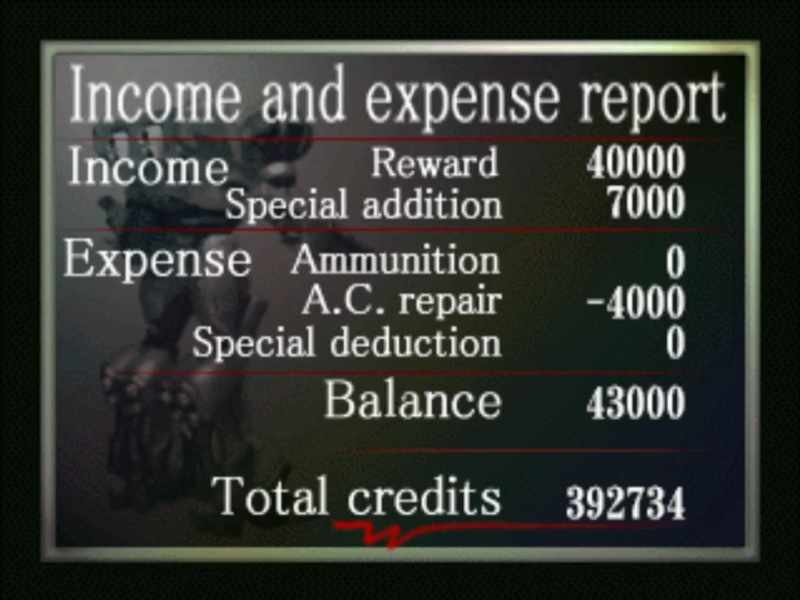
Well isn't that nice, our balance came out higher than the initial reward. That's always nice.
Now, up to this point, the missions we've been doing haven't contributed a lot to the corporate war in any real meaningful way. It's just been taking jobs and getting rich. But next update, things are about to kick off and get real exciting. Yep, it's about that time for the finale.
I'll be in touch.