Part 11: Battle 5: Fundraising
Battle Five: FundraisingMechanics Explanation
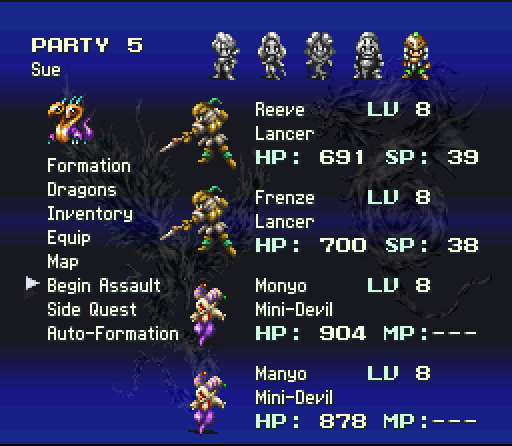
Now that we've reached this point in the game, a little bit of freedom has opened up as far as battles go. As you can see, we've not got another option on our menu after the exploration phase of the chapter. Basically side quests allow you to go fight as many battles as you want before going on with the storyline battles, giving you a chance to level up, get some equipment, raise some money, or so on.
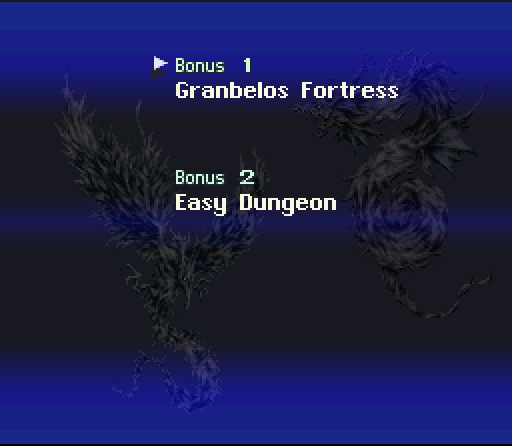
Right now we have two options. The first takes us to some unnamed Granbelos fortress so that we can kick the empire troops around while the second takes us to a cave full of monsters like the ones that were dealt with on the way to Valitora. Of the two, I tend to prefer the Granbelos fortress since it gives better loot. Once you complete a battle you're returned to the dragon deck on the DamnShip so that you can feed the dragons and buy and sell equipment. There's no way of going back inside the ship.
Granbelos Fotress
Task Organization
Main Effort
Fires and Effects
Medical Services
Reserves
Situation
The Granbelos empire has stationed soldiers in scattered areas around Campbell in order to maintain control of the population and defend against challenges to their authority.
Enemy Forces
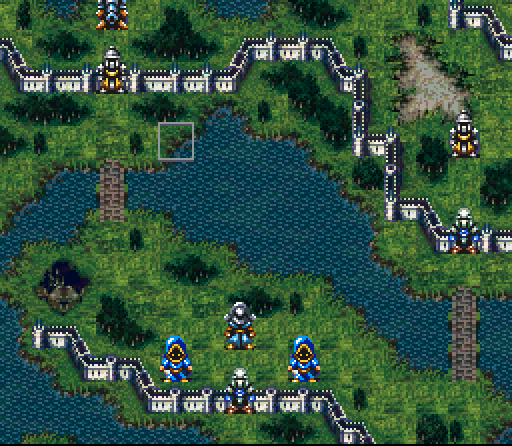
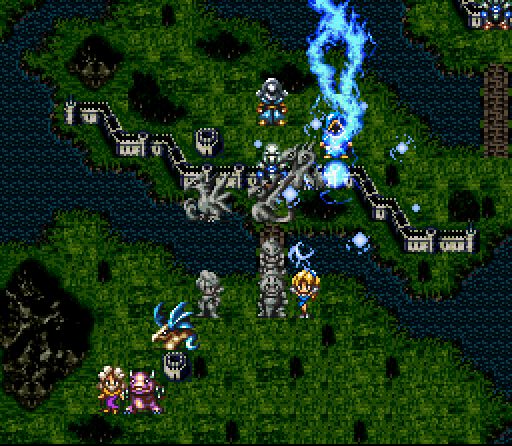
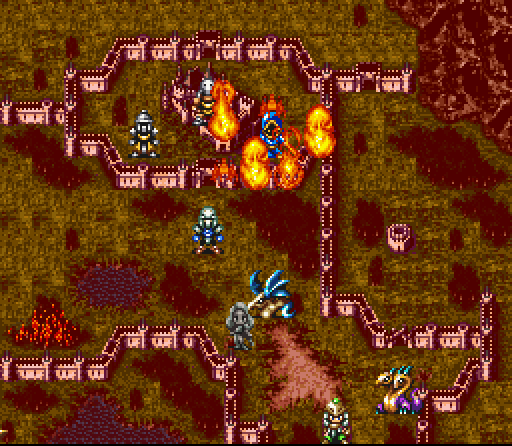
Terrain: The enemy is stationed behind fortifications and is occupying at least one island and the opposite shore of a river. The fortifications and the bridges crossing the river will restrict our movements, but this difficulty can be overcome through the use of ice magic. The area is heavily forested, which can be exploited through the use of fire magic.
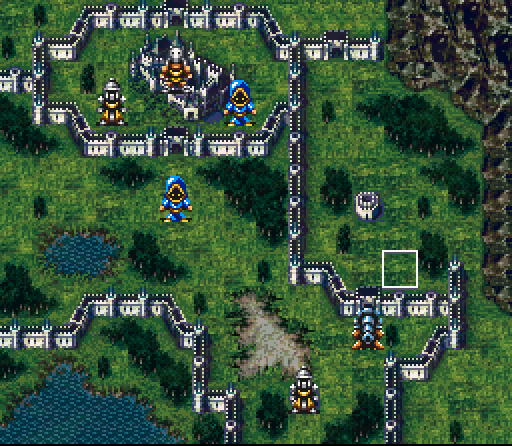
Disposition: The enemy has two squad sized elements operating independently, with one occupying the central island and the second element guarding one of the numerous small castles around Campbell. The first element is composed of light troops, an indirect fire capability, and supporting mages while the second has large numbers of heavy infantry also supported by mages. In addition, small numbers of heavy infantry and a few light infantry are guarding the bridges from the central island. The enemy has two cannons in place with good fields of fire on the bridges and on the ground in front of the central castle. The enemy is loosely organized, and will not retreat or surrender.
Enemy's Most Likely Course of Action: The enemy will likely remain in place to defend their positions, although they may move to attack if we approach closely. The main defensive force will not come forward to assist the rest of the troops.
Enemy's Most Dangerous Course of Action: The enemy could severely inconvenience our forces by bringing forward their heavy infantry from the castle to contain us in the kill zones while their cannons and mages decimate our forces.
Mission
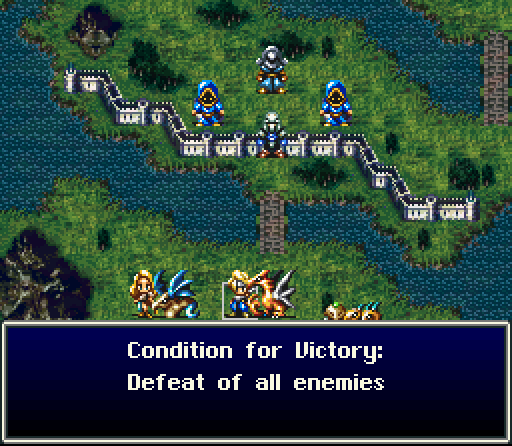
The Kahna Resistance Force (KRF) will conduct an assault on the enemy's fortress immediately in order to weaken the enemy's overall strength on Campbell while securing needed equipment and supplies.
Execution
Concept of the Operation: Our forces will advance en masse in order to overwhelm the enemy forces on the island and then split into two groups. Each group will fight their way toward the main objective and reunite to attack the remaining enemy forces. If the enemy comes out of their fortifications, we may be able to catch them in a pincer movement.
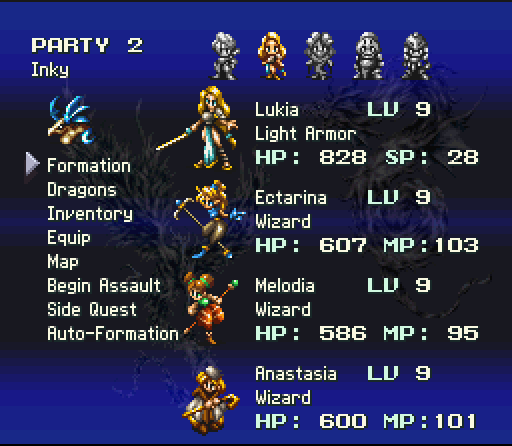
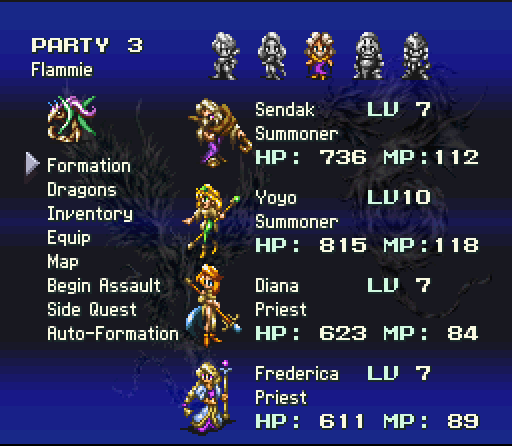
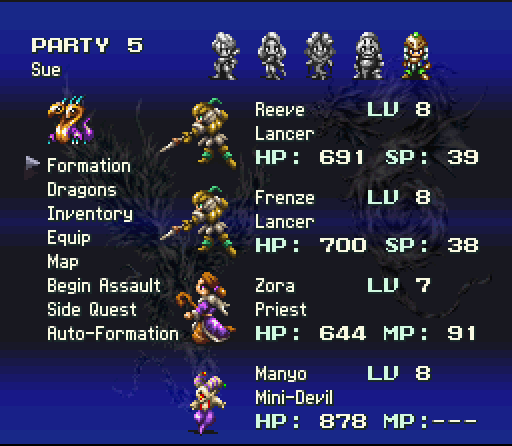
Scheme of Maneuver: The westernmost bridge group will be composed of Sendak and Matelite's group, owing to their slower movement as this will give them a relatively shorter distance to cover. Myself, Lukia, and the lancers will assault across the east bridge.
End Order
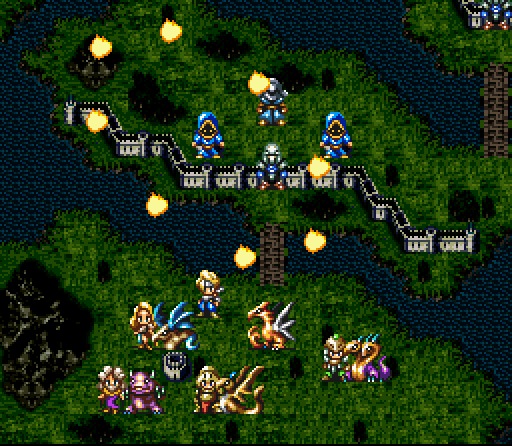
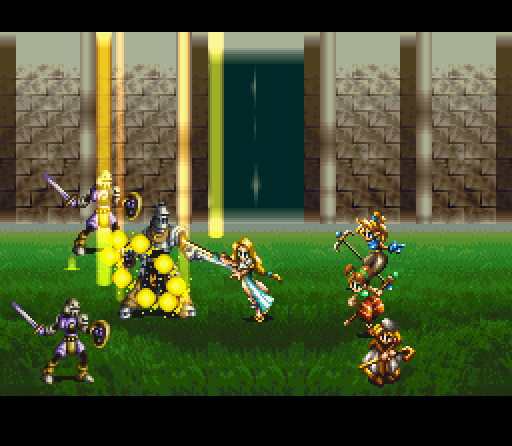
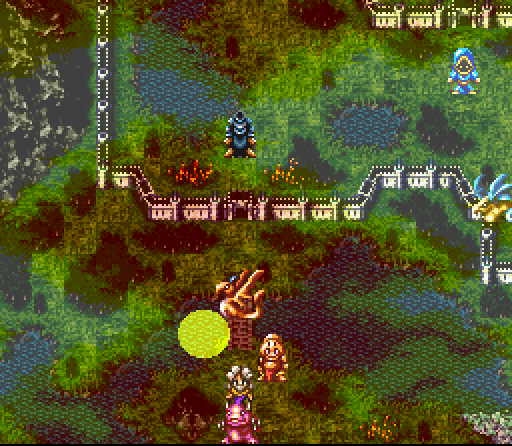
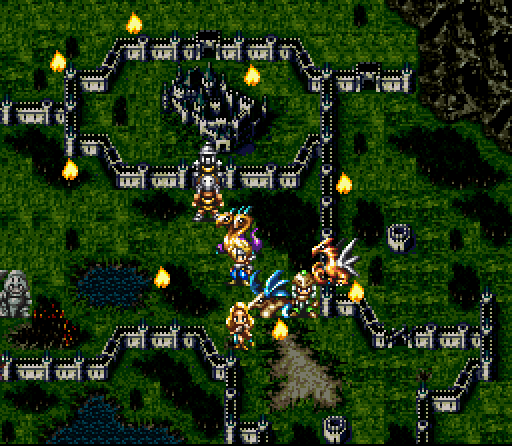
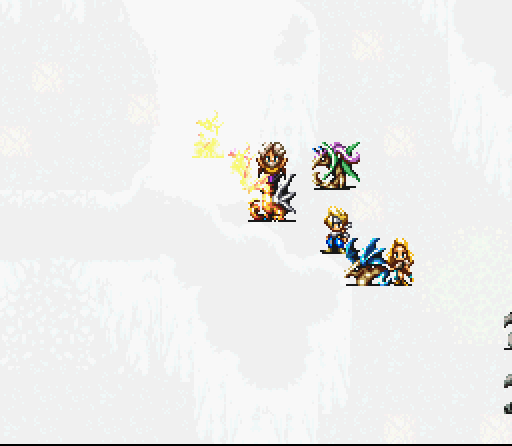
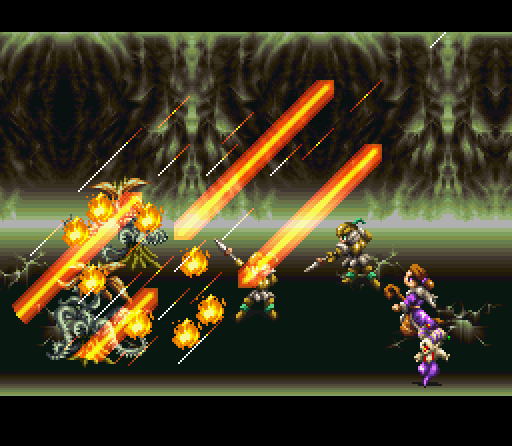
As soon as the battle begins Byuu starts doing what he does best, decimating one of the enemy's mage groups with fire from across the river. In the face of that kind of power, walls don't help very much.
While Matelite moves up, Clyde engages the enemy's light infantry. His armor is thick enough to make him proof against their attacks, making for a very one sided battle.
A combination of Hellfire from Pinky and lightning from our mages eliminates the enemy magi and severely weakens their mages. Inky finishes off the light infantry from a distance, but some enemy forces remain in possession of their defenses.
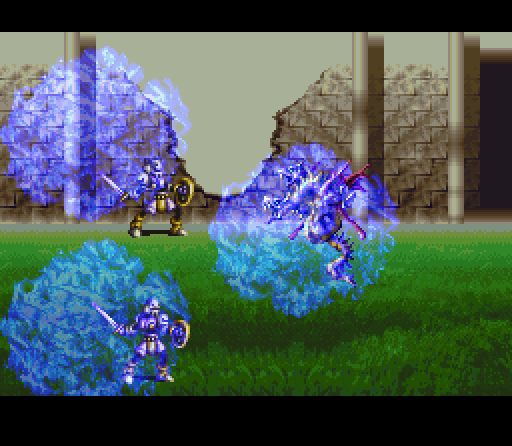
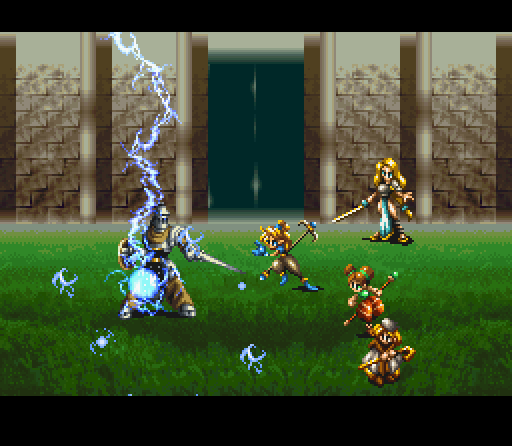
The troops that were protecting the enemy magi make a fatal mistake in attacking Sue, who promptly freezes them to death.

Unfortunately this still leaves their javeliners free to attack, although their offensive capabilities are so limited as to not be a threat.
A barrage of attacks destroys the final enemy forces on the island, allowing us to move on to the next phase of our strategy.
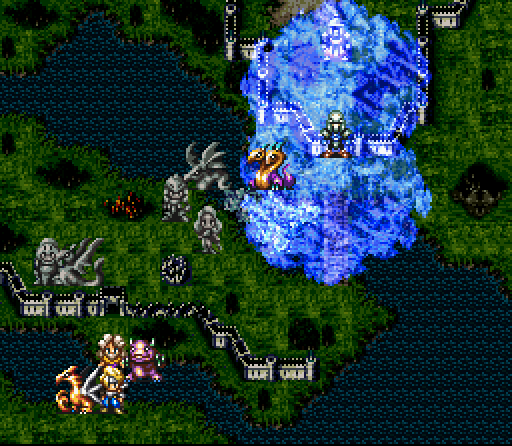
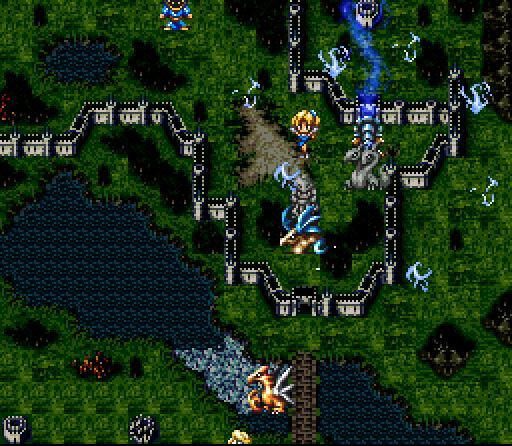
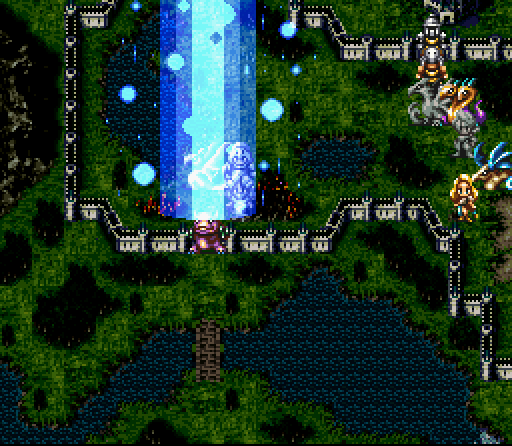
In order to ease movement across to the other side our mages construct an ice bridge. At the same time, Inky and Sue work together and eliminate the light infantry guarding the bridge.
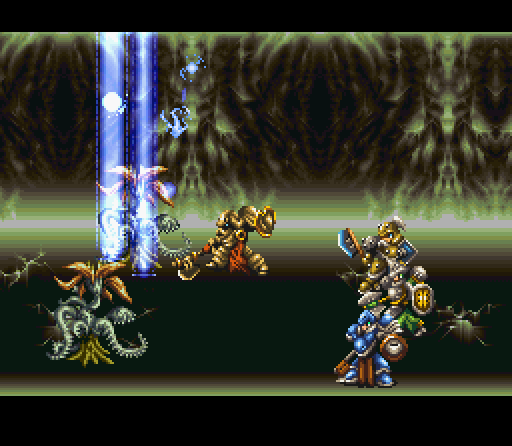
The enemy's heavy infantry is able to reach Lukia and the mages, but the result is not what they might have imagined.
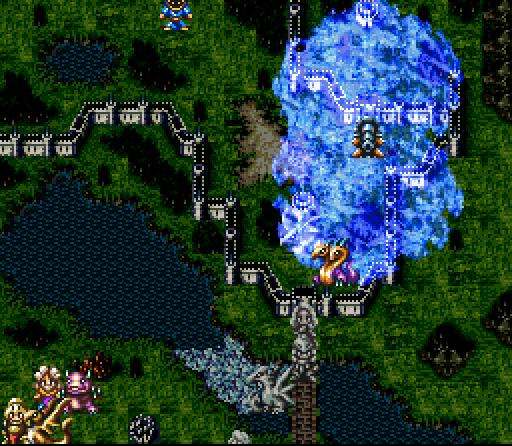
After decimating the heavy troops, our forces begin to attack the first cannon.
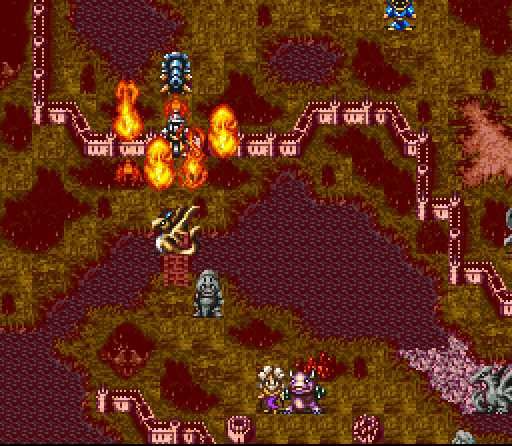
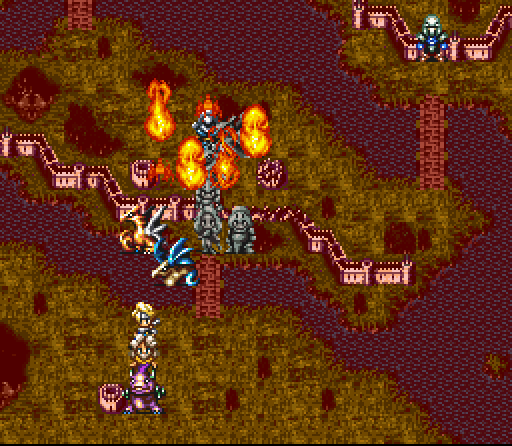
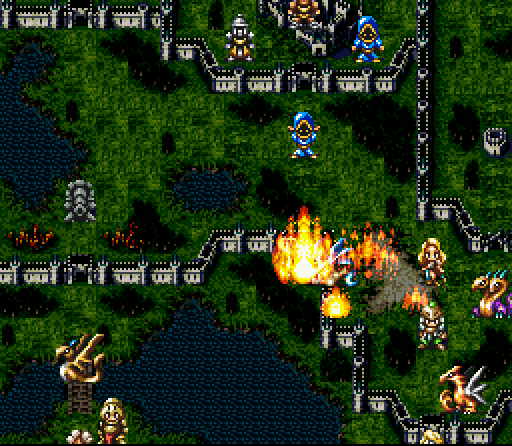
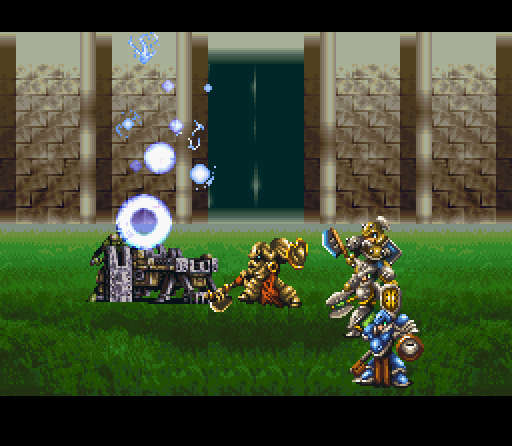
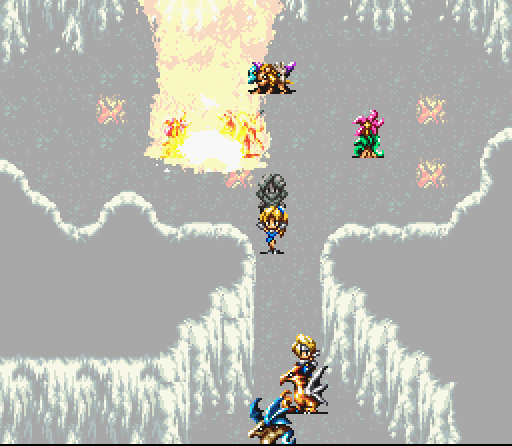
At the same time Matelite and Clyde begin their approach to the second cannon. Clyde places a beautiful shot of Hellfire on the enemy, hitting the heavy infantry and the cannon while setting the cannon on fire.
Even the enemy's heavier troops are still harmless to Clyde. Clyde, on the other hand, is anything but harmless to the enemy. Immediately after the failed attack he uses a thunder attack to shock the enemy to death.
The enemy's cannons open up on us, but they're now unprotected and won't be a problem for much longer.
The first cannon is destroyed by lightning from a distance, although this prompts the enemy mages to come forward and start attacking us.
Their attacks, however, are weak compared to the strength of our dragons.
Our counter strokes destroy their mages, leaving them with nothing more than plain troops to oppose us with. The conclusion of the battle is foregone, but like a severed lizard's tail the enemy is still twitching.
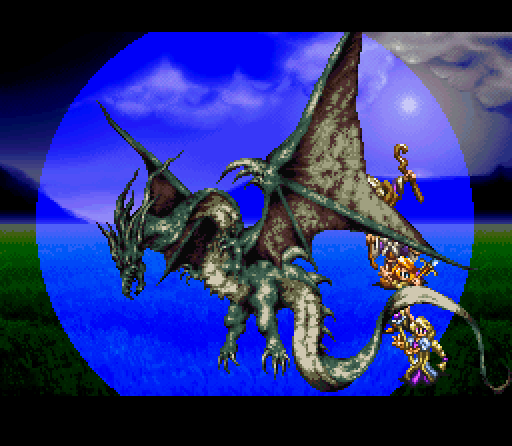
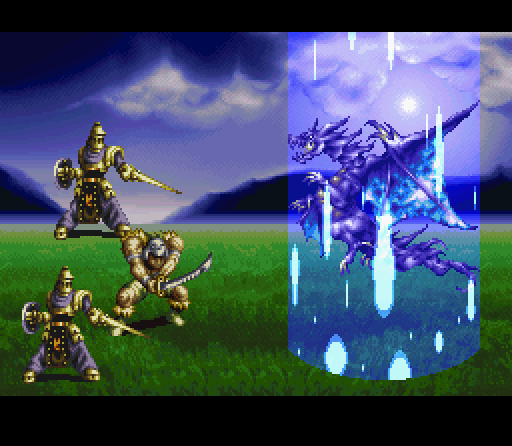
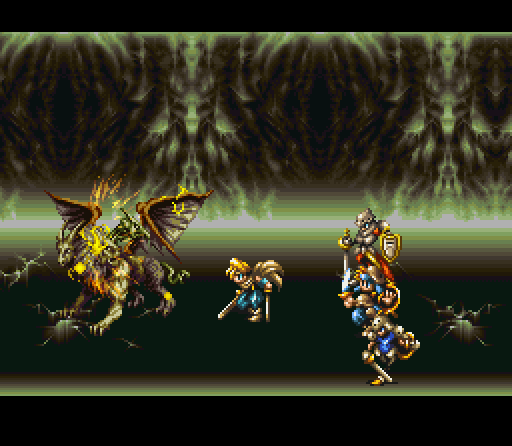
The Holy Dragon Valitora can now be called into battles, but as of yet is fairly unimpressive. This may, however, be due to the inexperience of our summoners.
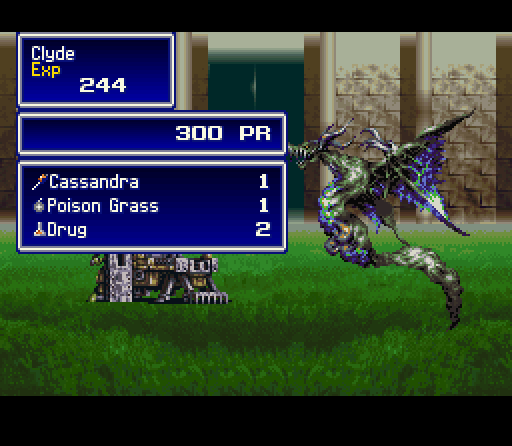
Clyde removes the troops guarding the other cannon with poison and makes an interesting discovery. The Cassandra is a huge improvement over Lukia's current rapier.
In the end Matelite and the Heavies go in and smash the cannon personally.
The enemy's forces have come out from behind the walls, and are steadily being battered by our troops.
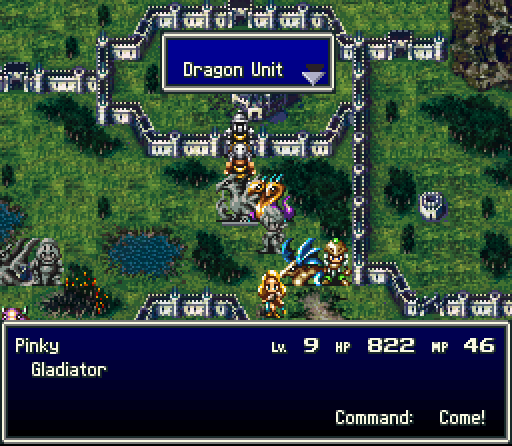
Unfortunately the enemy's counter attacks ruthlessly batter at Pinky. He's in serious need of help, but the enemy isn't in much better shape.
Luckily Matelite and Sendak are on their way, healing themselves on the way.
The enemy attacks Pinky again and we all fear the worst, but luckily the enemy's accuracy tells against them and Pinky survives. He's actually badly enough injured that he chooses to heal himself rather than attack the enemy.

Eventually our superior numbers tell, and the last enemy troops are eliminated by Clyde.
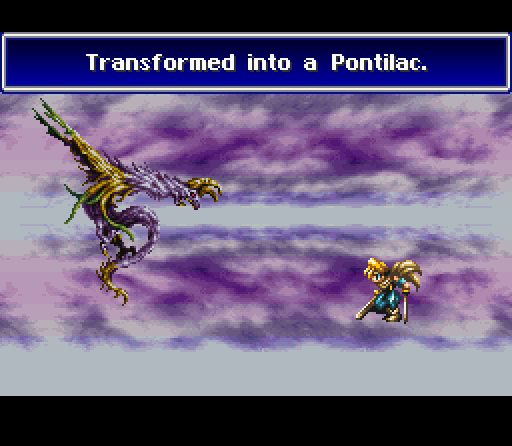
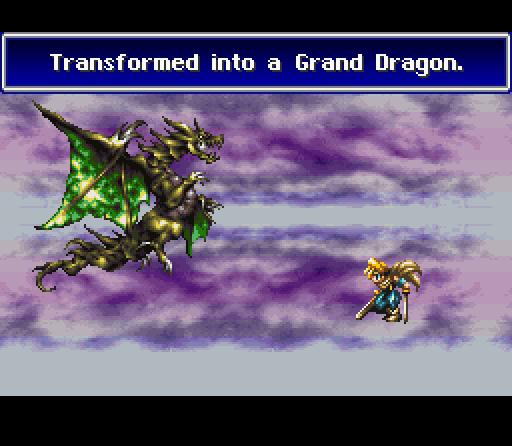
We return briefly to the deck of DamnShip before continuing on to our next objective, taking a moment to feed the dragons. Flammie's bulk elongates to a more serpentine form, while Pinky might need to be renamed to Greeny at this point. Once the dragons are fed, we're ready to continue.
Easy Dungeon
Task Organization
No change
Situation
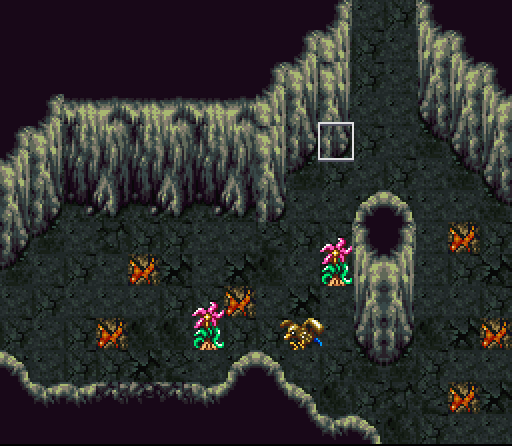
A large number of monsters have made themselves at home in a large cavern on Campbell and are threatening the local citizens.
Enemy Forces
Terrain: The creatures in question are located in a large, expansive cavern with a few narrow corridors and multiple lobes. The terrain is otherwise unremarkable, with the exception of some lava vents in the floor.

Disposition: The monsters are arrayed in four small groups throughout the cavern. Species observed are triphids, vampire bats, large predatory birds, and chimera. The creatures are disorganized, and are likely to act in an independent and disorganized fashion. The enemies have no significant capabilities beyond basic attacks.
Enemy's most likely and most dangerous course of action: The enemy will likely attempt to overwhelm us with sheer weight of numbers, with no attempts at strategy and no attempt to exploit any favorable conditions that might occur.
Mission
The KRF will systematically search the cavern and eliminate any and all inhabitants in order to recover whatever supplies can be extracted from them and in order to demonstrate our goodwill to the people of Kahna and win a moral victory over the Empire.
End Order

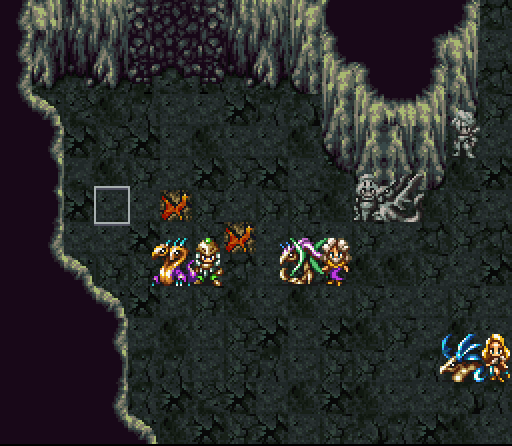
Our advance begins with a forward rush into the first small group of enemies. Fire has been effective against these creatures in the past, so it will be liberally employed throughout the operation.
Our forces concentrate on individual targets in an effort to destroy each group completely. Clyde still likes to get up close and personal, but the enemy is weak enough to allow this.
As we move through the caverns, are faster units start to outpace Matelite and the lancers. As a result they end up heading east to deal with the small group of enemies situated off in that direction.
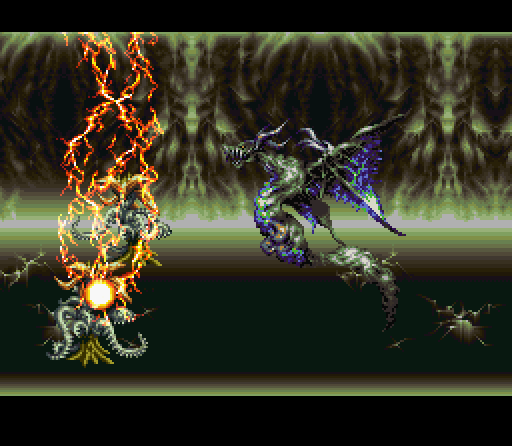
Some vampire bats had the temerity to actually attack Pinky, and received an appropriate response.
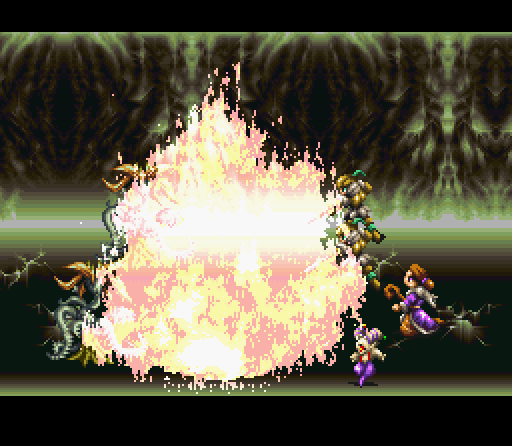
Inside the cavern the glow of our fire magic is incredibly bright. After the enemies are weakened by the flames, our mages finish them off with an ice spell.
On the other side of the cavern Matelite and crew engage the enemy hand to hand, destroying them in short order. Axes are a fairly appropriate choice for dealing with large plants.
For some reason Clyde is utilizing fire in his battle against the birds of prey rather than lightning. Nevertheless, his attacks are effective.
For once the mini-devils actually do something useful, although the attack is more flash than actual fire.
The opposite is true when it comes to the lancers. Their lance attacks have become very impressive as of late.
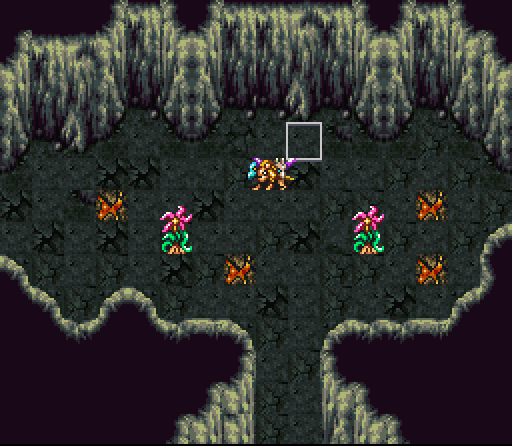
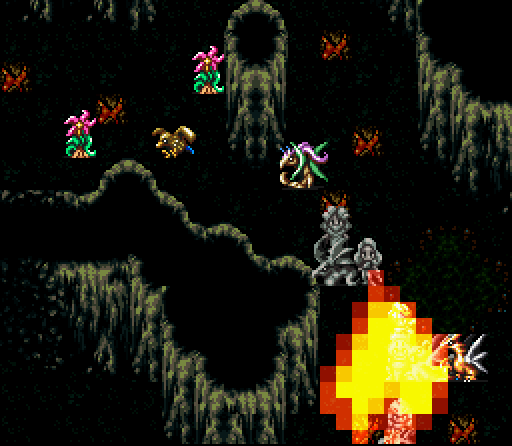
While Matelite and the lancers finish off the other group, Byuu and the rest of the force have reached the last concentration of enemies in the cave.
The knights get in close to end the plants, doing heavy damage with their focused attacks. While they can't use these attacks from a distance, they are among the most powerful attacks in our arsenal.
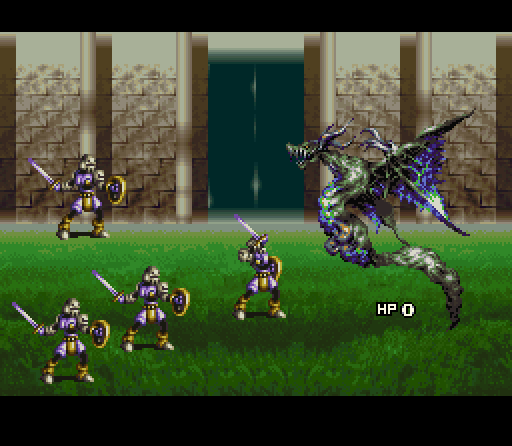
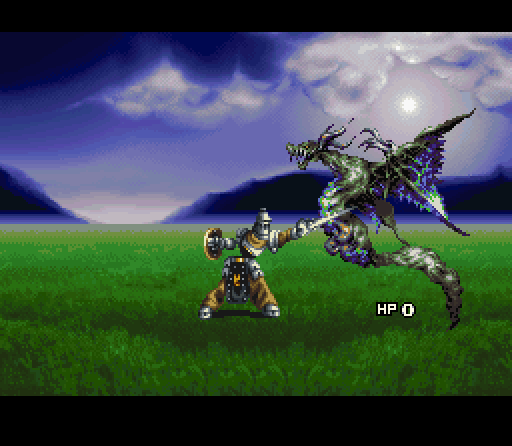
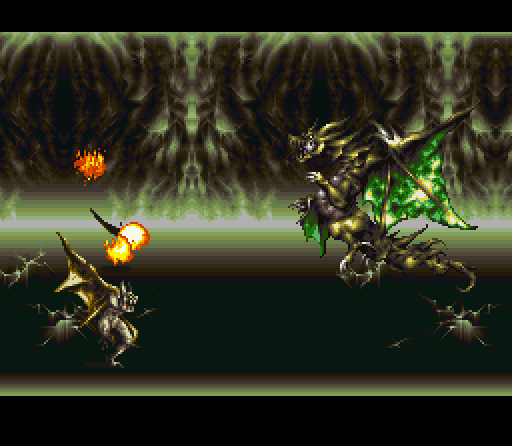
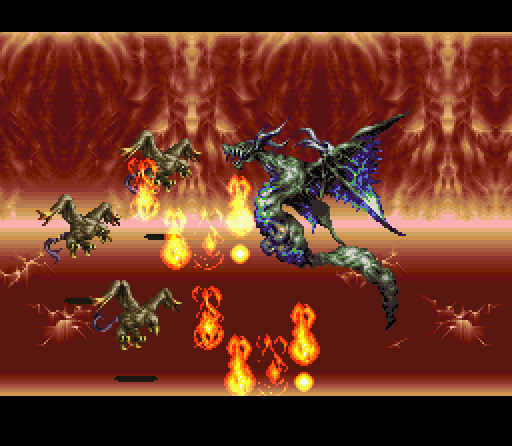
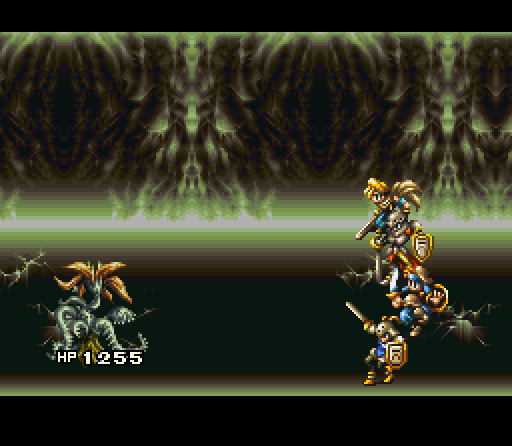
The chimera in the depths of the cave is strong enough to hold up for a considerable length of time under our heaviest attacks, and to make matters even worse is resistant to flame attacks.
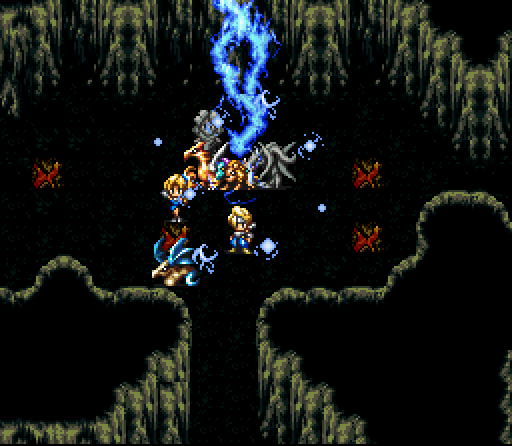
Eventually close quarters combat is required to end the threat and finally cleanse the cave. Byuu successfully uses a lightning attack to defeat the beast, even though lightning is far from his best skill.
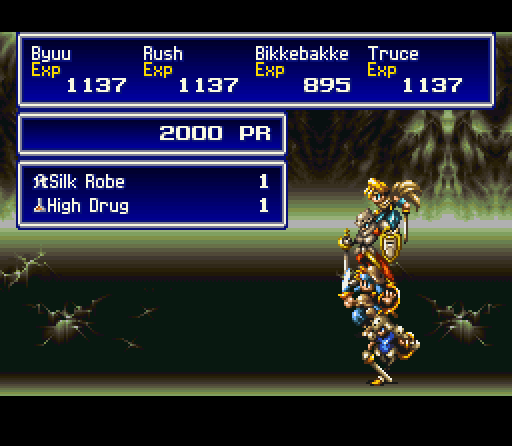
We reap a considerable reward for our efforts, giving us more than enough resources for our next battles.