Part 17: Zavod 311 and Battlefield 4 Technical Stuff
Zavod 311 and Battlefield 4 Technical StuffNo guest for this video, there are a few things I wanted to mention about netcode, differences between platforms, scripts, servers and whatnot in addition to the map itself in this video. Let's talk about those things before we talk about the map:
Servers and Scripts
Scripts are things server owners and admins can run to enforce or display certain things. Most of the time these are server wide messages in the chat box, messages across the screen and input scripts like letting people vote on the next map, warning and autobanning players for using inappropriate (for the server) language or requesting players get kicked for whatever reason. There are also autobalance scripts that may break completely if they conflict with the base game balancing systems.
Servers for the PC are like people's own little fiefdoms, I've logged into servers that are Racism-Free and others that are Racism-Encouraged where everyone types in the slur of their choice if someone so much as looks at them like they are children who have been left alone and want to swear a bunch because it makes them look cool. Generally, though, servers are usually pretty much the same: Maps rotate, players type things in chat, vehicles respawn at set rates and people enjoy the games. There are always outliers. Servers that have a single or a couple maps in the rotation, servers that ban the use of anything but the starter kits (I kid you not I found one of those), no explosives servers and so on.
Most of the above is done through scripts, but for the less technically inclined admins you can change parameters of the servers pretty easily. Servers come in three flavors based on your settings: Official, Ranked and Unranked. Official servers are basically default settings for vehicle respawn time, tickets, number of players and so on. Ranked servers let you mess with a few things, and Unranked just means you've messed with a couple parameters within the game mode you shouldn't have. When picking servers you'll run into far more of the first two than the last one, but it is worth checking to see what the setup is before you join. If you expect normal vehicle spawn times and end up on an instant respawn server you won't be happy.
Netcode
BF4 at launch had some serious netcode problems. Part of this was related to the number of bugs and glitches sending extra information or resending data that had already been sent. As DICE has weeded out the issues things have gotten way more stable and playable on the PC at the least. The PS4 apparently has really bad rubber banding (Console resending the same data causing you to move backwards in space/time over and over)and the other consoles aren't immune from networking issues. One of the things people really harp on across the platforms is the number of times they can round a corner and fall down dead due to a guy who couldn't have possibly hit them. Most online gamers will recognize this as lag compensation kicking in. BF4 has some serious client and server side lag comp going that has led to things like shooting a little bird in the face with a tank shell and watching it fly unaffected, or shooting directly at someone who turns and fires into you and takes no damage. It's all part of modern online gaming and probably isn't getting better anytime soon, but it is worth noting that I have died and will continue to die to situations like that.
In addition, a number of people have complained about the server "tick rate" or the number of times a second the server updates the world. Currently, it is believed this rate is set to ten Hz, so once every 100ms the server sends out new information. The problem with this is that DICE hasn't confirmed or denied that this is the case, but they have said that BF3 and 4 have the same tickrate, and BF3 ran at 30Hz. This is important because a lower tickrate means a lot more lag compensation, interpolation and so on. The lower rate also means your connection isn't getting overwhelmed with all the physics objects, players, vehicles, statuses, destruction and so on. DICE has gone on record as saying they won't increase the rate.
Zavod
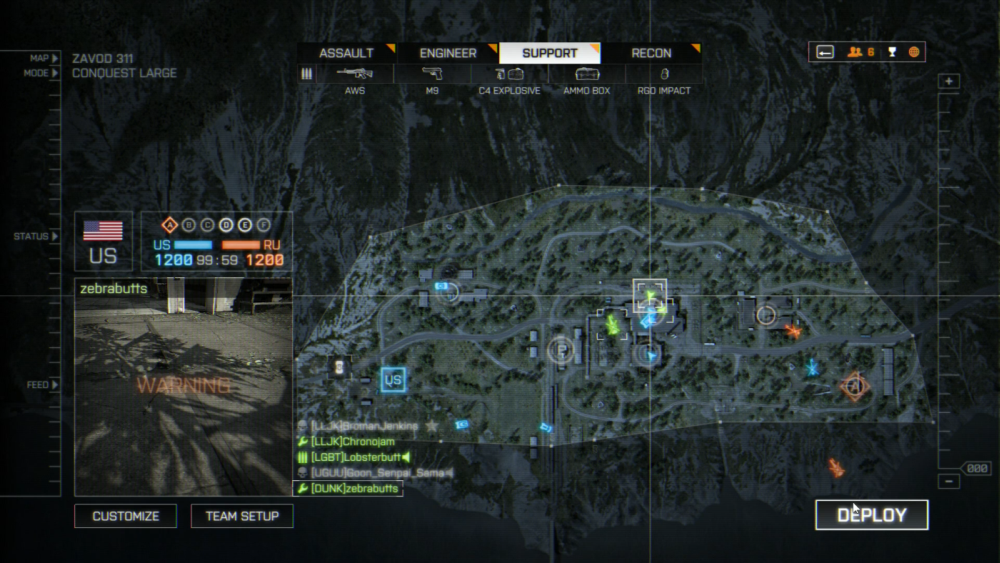
Zavod's main features are the two factories that house C and D in the center of the map. These two points are contentious in nearly every game that isn't a complete stomp of one team. The other points are related to the factory, like the living quarters, the bunker at the edge of the map and the railyard that would bring the tanks made there to the army. Overall, it's a fun map with some pretty good atmosphere. I really enjoy the flow of the map, which allows for players to get behind enemy lines with a vehicle or on foot or to be competitive on either of the middle points at any time. I also like that the map is near symmetrical. If you have either side of the map at the start you don't have any distinct advantages in my mind, and the layout is nearly equidistant between your "gimmie" points and the C and D points. A quick look reveals that isn't quite the case, as between B and D there is a pretty large gap, and between E and C the gap is less pronounced. This is mostly because the B to D run is mostly unhindered by terrain aside from the hill outside B. The E to C run takes you through a ton of unused tanks which both provide cover and slow you down by forcing you to take set paths through the area.
C and A can be capped from underneath where the flag lies, which is good and bad for both sides. I've successfully hidden in A before and killed the people looking for me, but I've also been the guy to die looking for the person capping the point, and the guy who died trying to cap. B is a pretty large point and the building provide plenty of cover to cap or defend from. You can knock them flat if you want to, but it takes some effort and may not be worth your time. D is one of those points I don't like defending, a number of entrances, the roof above is generally rife with snipers and vehicles make frequent drive throughs. It's great for fights an contention, but never wracking at times. E is one of the more confusing points, the radius on the cap is small, but the number of train cars and such in the area, along with the cover provided by the tanks and wreckage nearby. F can go to hell, it's often contended only by snipers and back cappers.
Assets and Paths
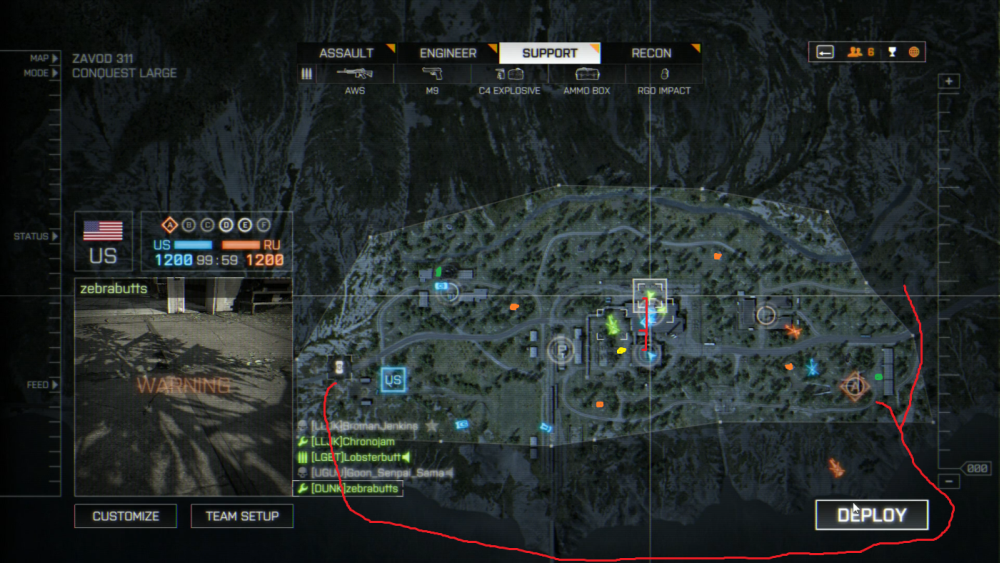
The green blotches indicate where LAVs spawn for the team holding the point, The Orange dots are where you can find some pillbox bunkers scattered on the map. The Yellow splotch is where the Rocket Truck spawns at C and the Red in the center of the map indicates the entrances, exits and paths in the tunnels between C and D. The red on the outside of the map is the best option for helicopter pilots trying to make an opening move. It's better to go around the map completely than try to fly through the center for a number of reasons.
One, the buildings at C and D are often populated by snipers and engineers. The roofs have two levels, the one you can make it to via ladder in a couple seconds and another level that you can either be dropped off on or climb up from the first level. From the first level you can look into either point and gun people down, so it's not a bad idea to have a couple people looking into the points while they are up there. Secondly, each team gets a Mobile Anti Air tank on this map, so flying right into their sights is a bad idea. Staying low and following the river on the outside of the map keeps you out of trouble for the most part. You make yourself low enough to be hit by a good tank driver or outgunned by the other team's helicopter, but most people don't think to use the river bank for cover so it is unlikely you'll have issues.