Part 2: Magic Knight
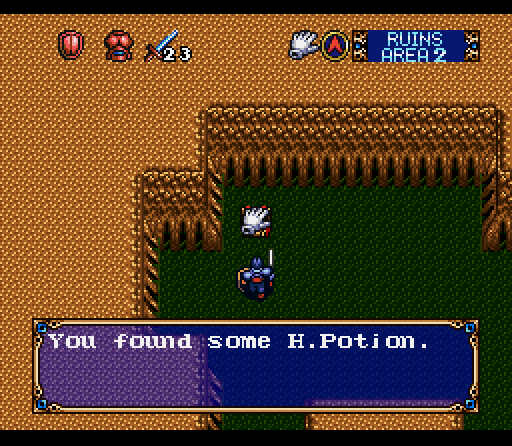
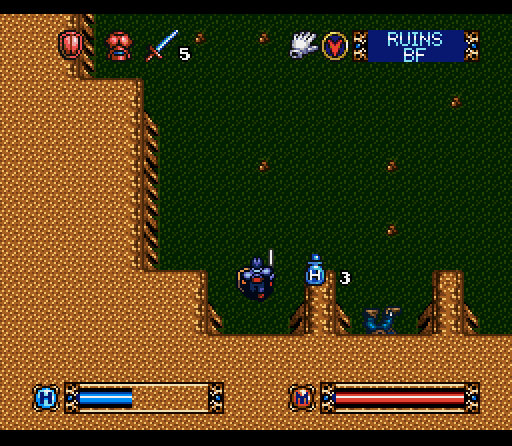
Our sojourn in the second area of the caverns starts off pretty well with some health potions. I haven't mentioned these before, but they're a kindness the game tosses at you pretty frequently early on. I'm not sure what their absolute limit is, but right now they're enough to heal us from near death to full health.
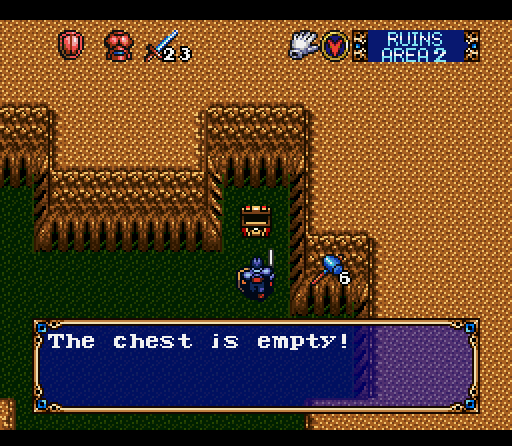
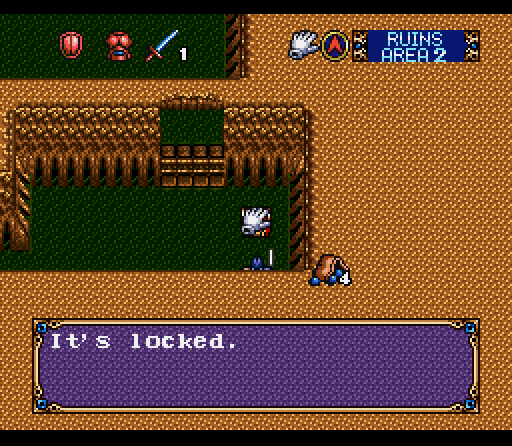
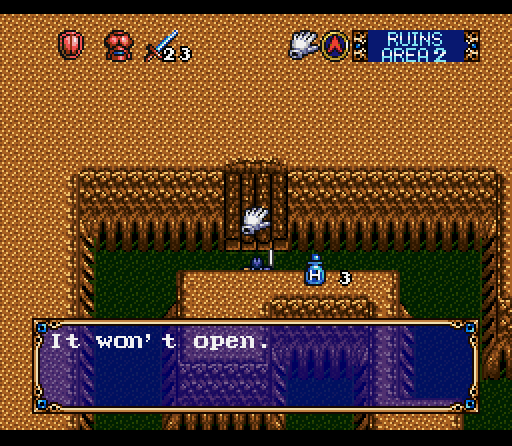
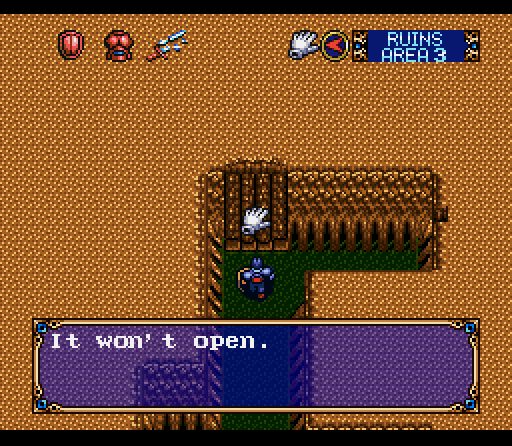
The second chest is a bit less helpful, and if I remember correctly also contained an arrow to the face. Chests in Brandish can be trapped, and there's really no way of knowing until you actually open them.
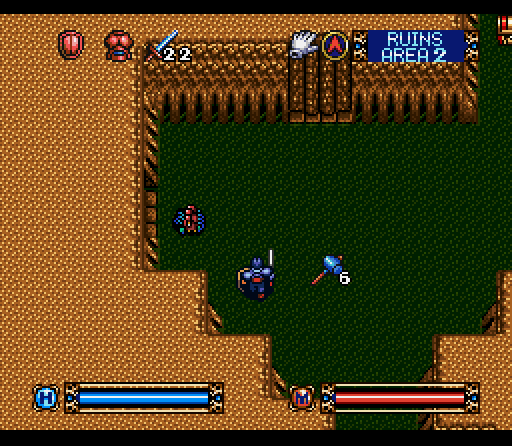
 "Huh, that's the second biggest scorpion I've ever seen. Squish goes the bug!"
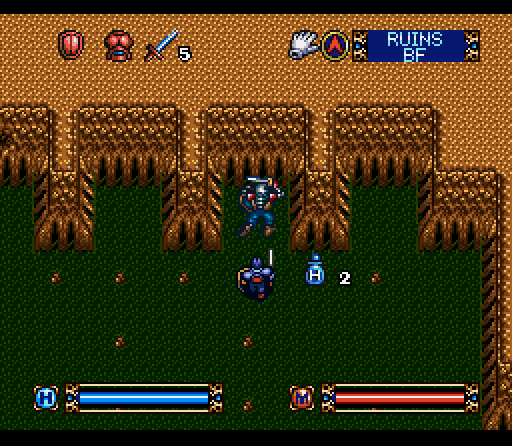
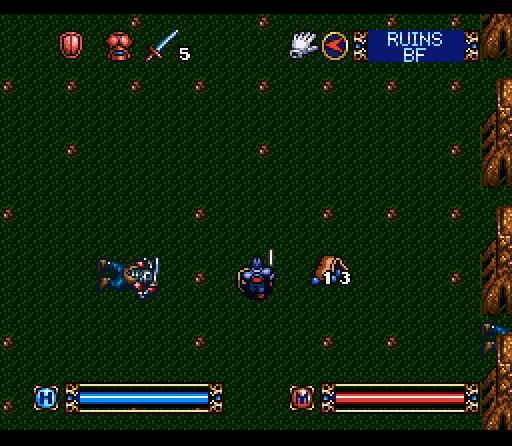
New enemy time: the scorpion is a fast little bugger who likes to do hit and run attacks. He's not much more than an annoyance, however, and Brandish doesn't have a concept of poison so at least there's that.

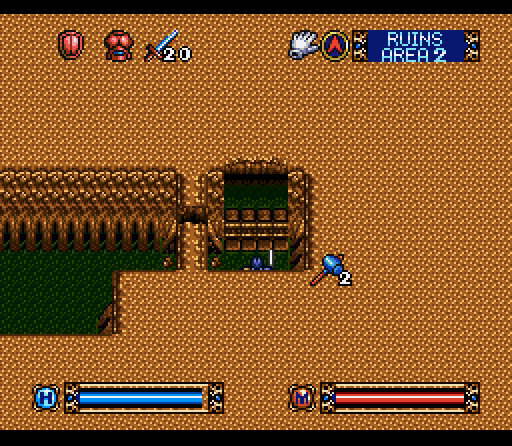
Nearby we've got some more very welcome gold pieces and a not-so-welcome additional sledgehammer. I've already got enough sledgehammers to take me through the next couple of floors, and I'll probably find more by the time I'm running low.
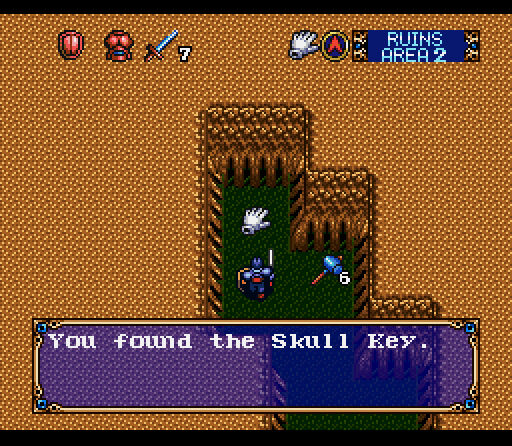
We also find our first named key. These are single use keys that will only work in a particular door. It's nice, actually, since you don't have to worry about accidentally using up the key you need to move forward on a chest or something like that.
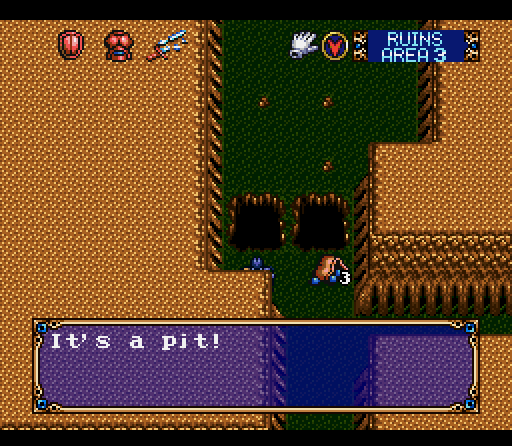
A careless step along the way ends up dumping me in the basement. The Basement floor actually runs through the ruins, but individual areas aren't connected. The markers on the floor right there are actually marking where other pits can dump us in here… the area we fell from is going to be FUN to navigate.
 "Ouch, man. Did you not find the exit? It's right over there."
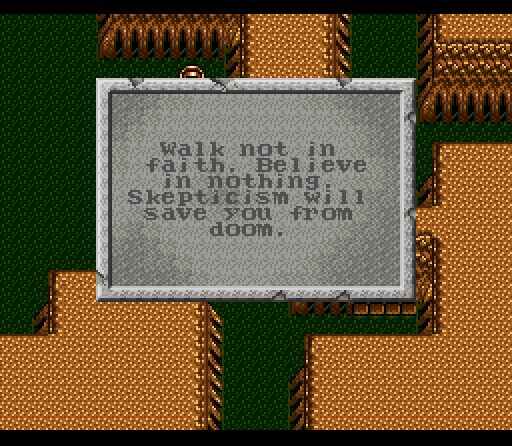
A grim reminder that we're not the first people to pass this way.
 "Or maybe he just didn't have any sledgehammers. Well, I guess it pays to be prepared."
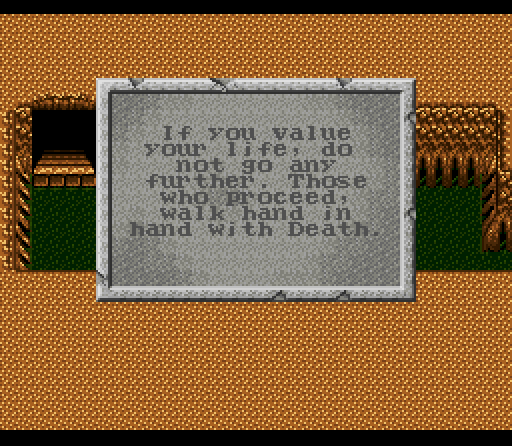 "Pffft. Tell me something I don't know, buddy. Besides, I'm pretty used to it."
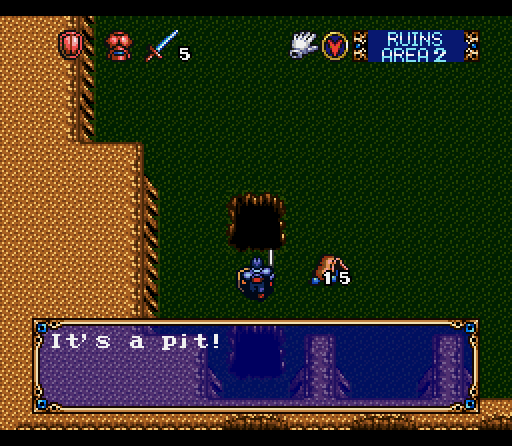
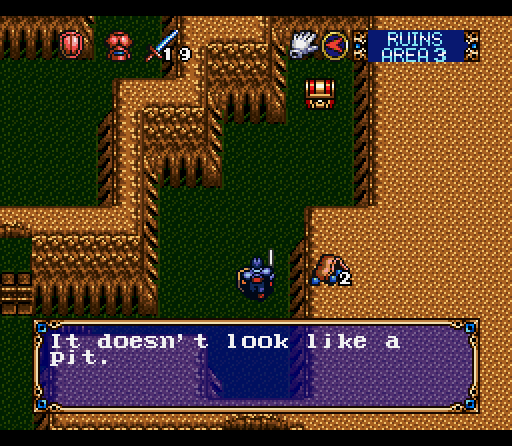
We can either remember where all the pit squares are, or just use our steel balls to trigger them. Kind of like playing minesweeper, however, this sometimes requires a leap of faith.
Eventually we make the wrong leap and fall into the basement again, only to stumble across another dead guy. At this point, I just hope that neither of them ended up eating the other.
Our rewards include gold, another short sword, and some health potion, although the last causes a bit of an issue.
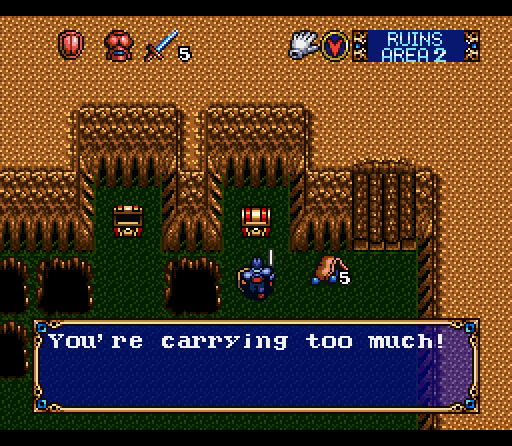
We have to do some inventory shuffling first. Our inventory is only 12 spaces at this point, and right now we can't combine stacks. Both of those things will change a bit in the near future, but it's always going to be a bit of a juggling act.
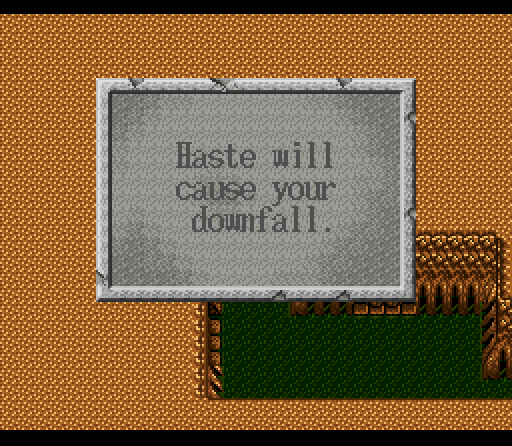
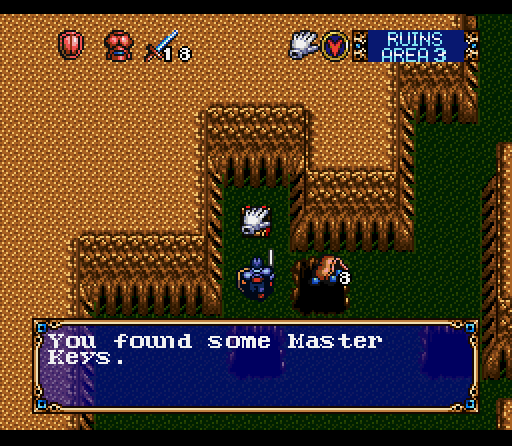
A sure sign that we're going to be finding some master keys soon.
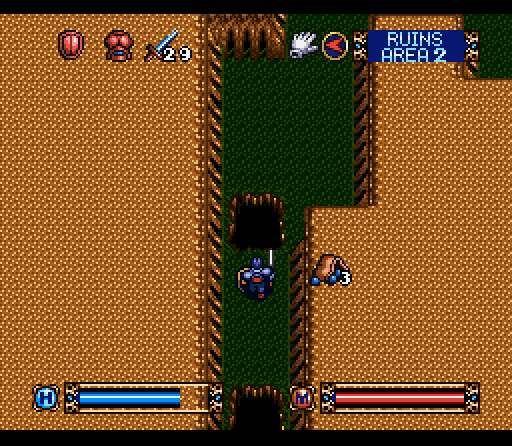
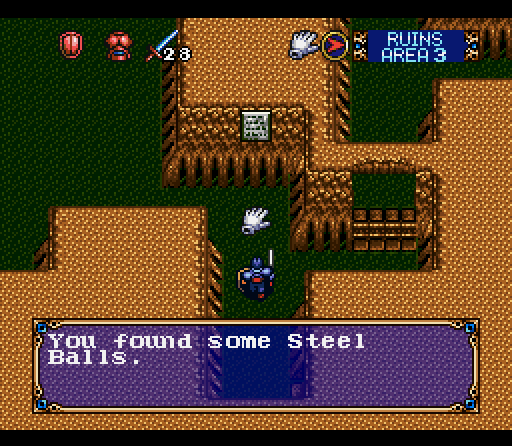
They're just a bit crazy about pits in this area. It's kind of thematic. We're also starting to run a bit low on steel balls.

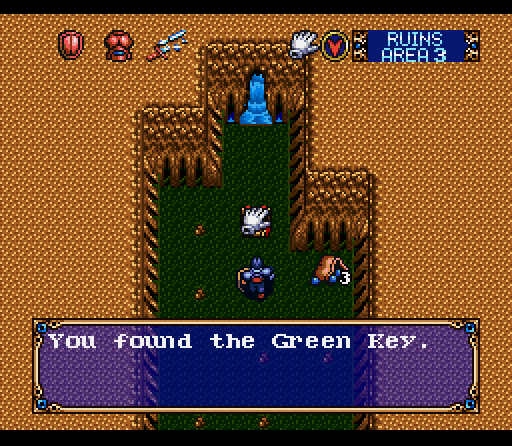
Shortly after the pits we stumble onto a treasure trove. In addition to the potions there's even more gold, but that's not the real prize..
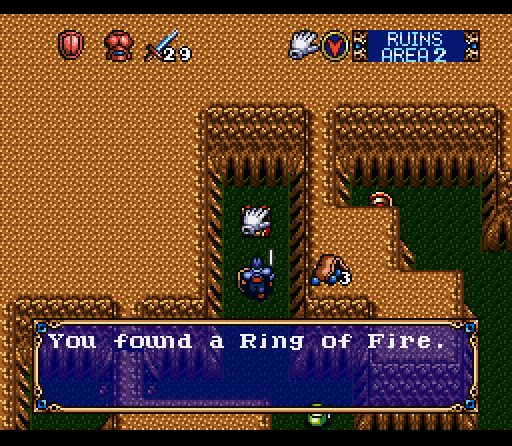
The Ring of Fire gives you a few uses of a fire spell that's about 1.5 times as powerful as the standard fire spell we've seen in shops. Unfortunately, it still uses our knowledge as a base and we don't gain knowledge by using the rings. They can still help out in a pinch, though, and don't require us to get close to the enemy.
Eventually we come to a door that's linked to a floor plate some distance away. This stands in direct contrast to...
 "Seriously, guys? This is the most pointless lever arrangement I've ever seen."
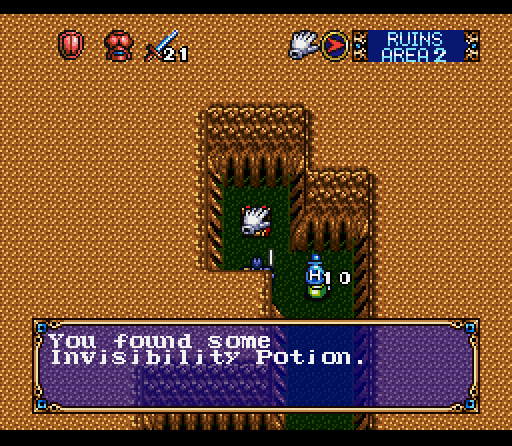
Invisibility potion makes enemies essentially ignore you if you walk near them. I've never found much use for it, because

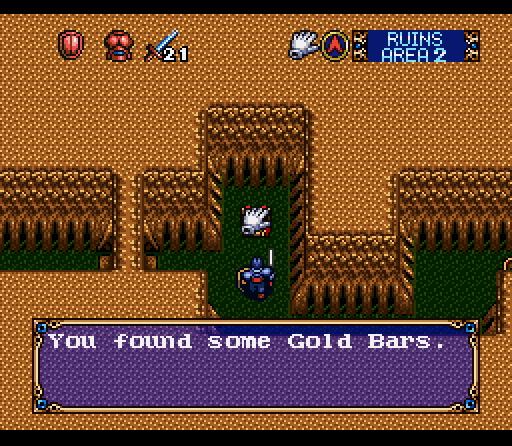
Gold Bars are much more welcome. Some treasure chests have semi-random contents. The item will be fixed, but the quantity will vary. We've got a similar short sword nearby as well.
Finally, however, we escape from Area 2. I use the term Area because the game does, and because there's no indication that these are anything more or less than a single linked area. It's not like this area is stacked directly on top of the previous area, for example.
 "Aww, c'mon! That's even less helpful than the last one."
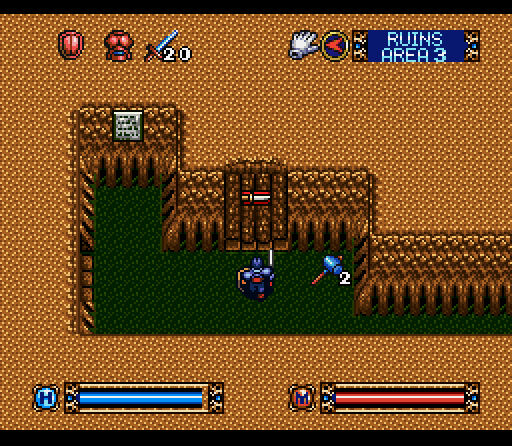 "Yay, human contact!"
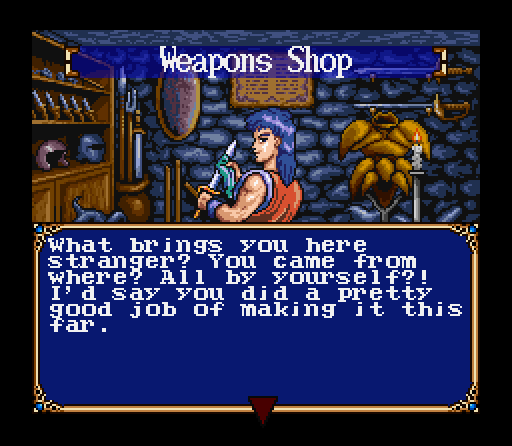 "Well, thanks! I spotted two guys on the way here who didn't do nearly as well."
 "If you've got anything valuable, I'd be happy to take it off your hands. If the monsters don't get me first that is…" "Ahh, cheer up. You've got all these weapons! You'll be fine."
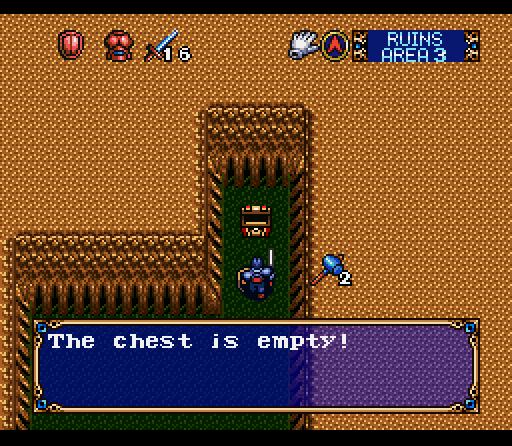
Unfortunately, the next thing we find isn't any more heartening.
"Damn you, Alexis! I know there are other people down here, but this is still your fault!"
An illustration of how important perspective is. This is one of the few things you'd completely miss if you weren't facing the right way. After a while checking the surrounding walls becomes second nature.
 "Well, you look a bit more like a person… but you're not, so you're still going down."
Meet the water demon. He's substantially more powerful than a goblin, but has his own special gimmick.
 "Never hit a guy so hard he turned into a puddle before… wait, he's back up. And back down. And back up. Screw this, I'm leaving."
Water demons are indestructible. You can take them down, but if you stick around they'll just pop right back up. They only exist to drain resources and slow you down.

An example of how convoluted the areas can get. One of the best things about water demons is that they tend to stick around within a fairly small and distinct area. Once you leave the area, they usually won't pursue you. Also, I have no idea what this switch goes to, but it's usually better to flip a switch than not.
At this point, more steel balls are pretty welcome. Now, about that sign...
 "A pile of steel balls and this sign? You couldn't have been much clearer about this room being full of pits. Thanks, whoever wrote this."
 "They grow 'em bigger here, don't they? Don't think an axe and some better armor is going to save you."
Next enemy: Goblin Chief. They're about as tough as the water demons, but don't possess the same regenerative capacity.
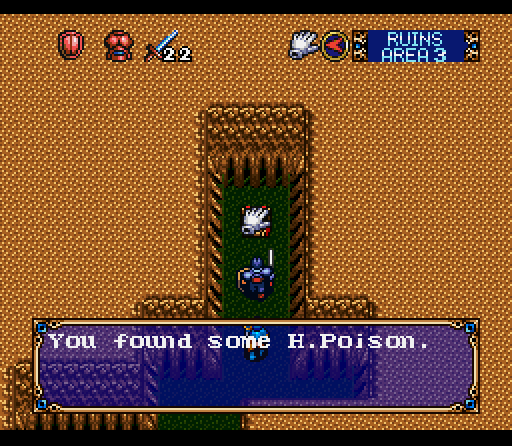
Right ahead of the Goblin Chief, we find a nasty trick on the part of the developers. H. Poison actually damages your health instead of restoring it, and if you don't pay close attention you can miss that it's only one letter different. If you combine it with health potion, the two cancel out and it reduces the number of health potion you have. Its only possible use is for selling, but unless you're right next to a shop there's no point in hauling it around.
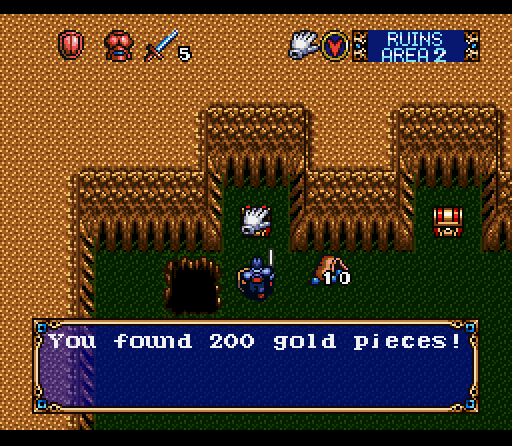
Eventually you start to get pretty paranoid about pits being everywhere. Luckily, steel balls don't depreciate when you use them in an area that isn't a pit. Only stands to reason… if you chuck a steel ball at the ground and nothing happens, you just pick it up and keep moving. The treasure up there, by the way, is only 200 gold.
 "That's what I'm talking about… now where were those locked chests and doors…?"
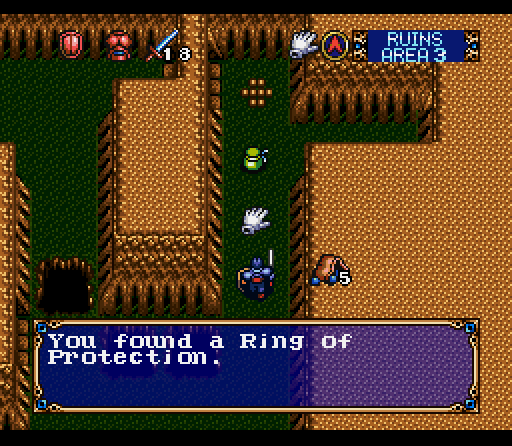
Sometime afterward we find a pile of loot, including a Rapier. I've not used a Ring of Protection, but the Rapier gives twice as much attack power as the Short Sword and is a pretty welcome addition to our arsenal.
 "They must have had the laziest contractors ever in this place… unless the point was to be able to close the door in the face of pursuing enemies?"
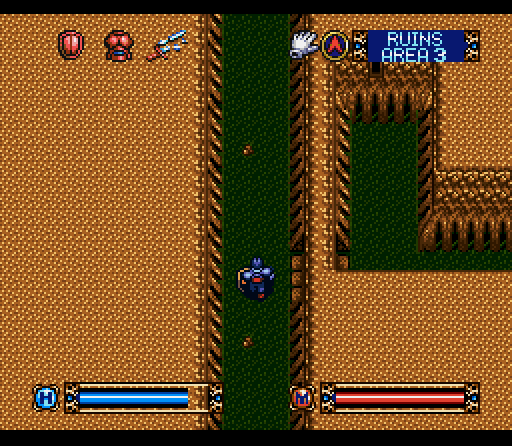
The designers like to space pits at odd intervals, or have pits arranged so that you can't just jam on the jump button as soon as you see a pit and have it work out well. Some of them even approach the level of being jumping puzzles.
Our reward is a unique key and a very welcome health spring.
 "Even I'm not dumb enough to step on that plate. This can wait for later."
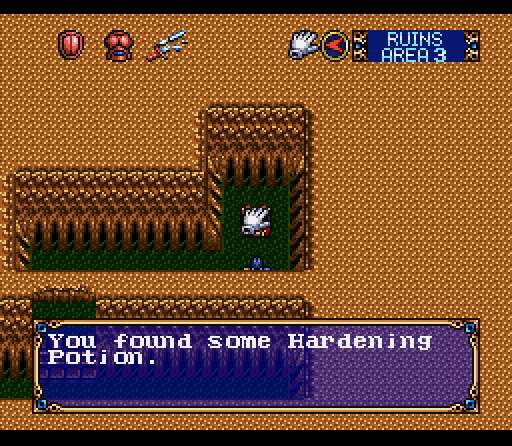
Going the other way, we come across some Hardening Potion. Rather than being a Viagra substitute, it actually increases the number of uses a weapon has before it breaks. It doesn't do anything for already broken weapons. Also in the same region there's 500 gold pieces. We might be able to buy something soon!
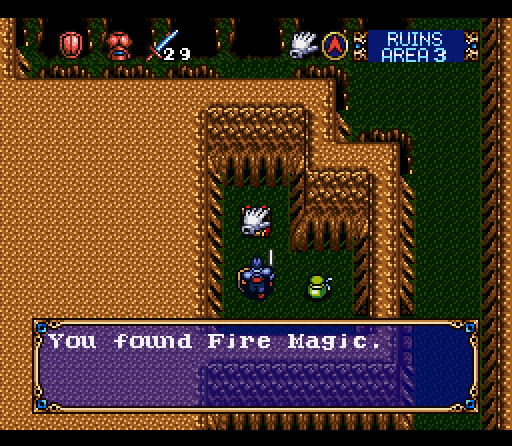 "Hah! I'll show you and all the magic you bought, Alexis!"
So, our first spell. Fire Magic does about what you'd expect and shoots a ball of fire across the screen. It uses knowledge rather than arm strength, but differs from using weapons in that fire magic doesn't degenerate. It uses our magic points, but unlike health these will gradually regenerate. This means that in a pinch, you can use magic to conserve weapon uses. Also, since it works from a distance it's pretty convenient.
 "That's quite a gap… I really shoulda done more squats. I don't think I'm going to be able to clear that. Wait, a switch? I wonder if..."
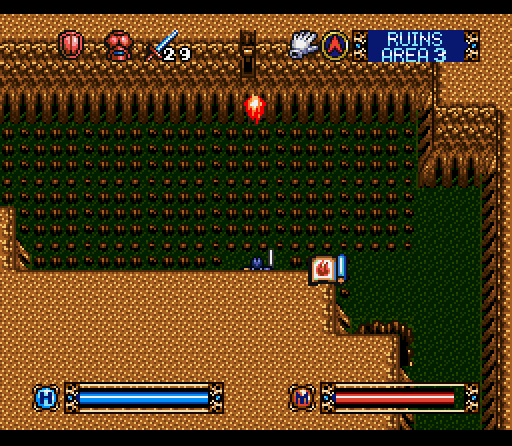
Yeah, for some reason that actually works. It's not even like the switch is down and we're forcing it up! You'd think this would become a major puzzle mechanic, but it won't be seen for a while.
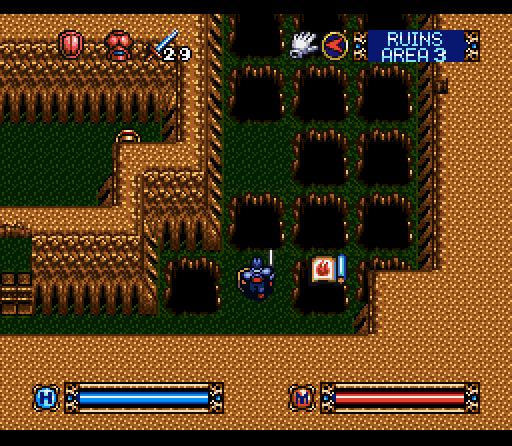
Our reward for completing this puzzle is a Ring of Protection, a Ring of Fire, and some Invisibility Potion. So not worth it. Going back, we find...
 "Yeah, that would have been a lot of help five minutes ago!"
 "Yeah, keep rubbing it in."
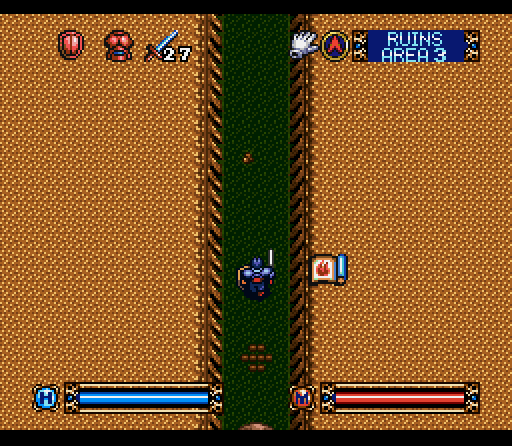
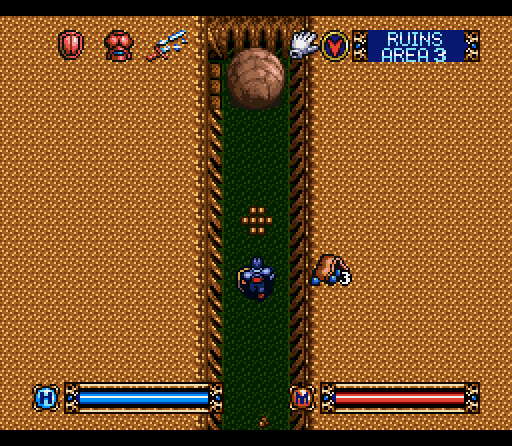
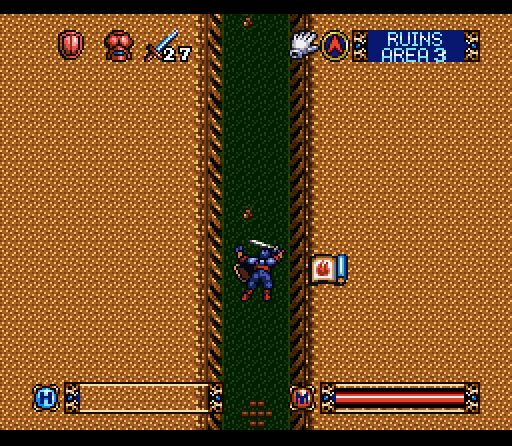
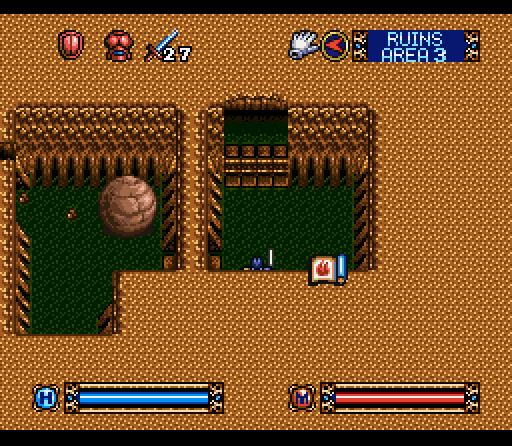
It's finally time to go deal with that boulder and the Indiana Jones scene.
My first attempt… didn't go so well.
"Oww.. my everything…"Getting run over by the boulder is instant death. The game taunts you by putting a little alcove down the hallway, but you can't actually reach it in time. Instead, you have to duck down the doorway you entered the hallway from.
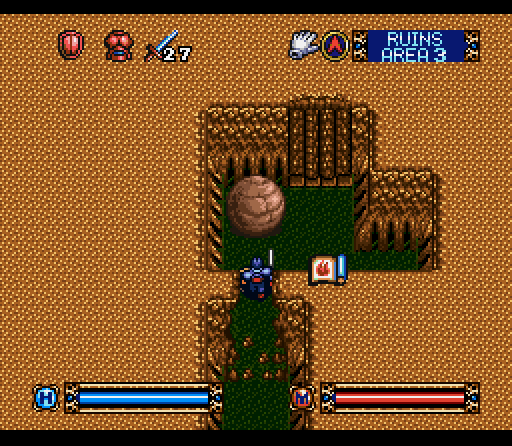
Success results in the boulder coming to a rest here, next to a locked door. I don't know if the boulder would crash through that broken wall on its own, but it's possible it would. The game is pretty good in the early levels at not letting you screw yourself over by accident.
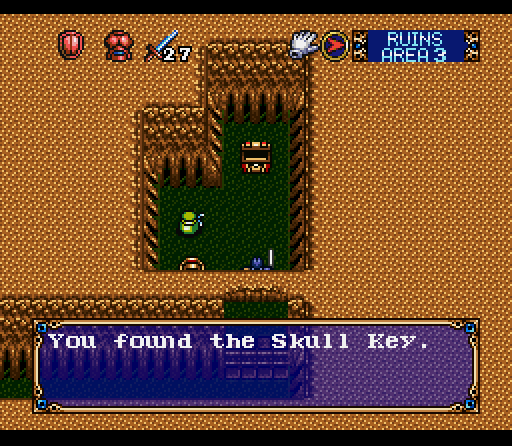
The doorway that the boulder was blocking contains a key to get through that door, but that's nearly insignificant compared to the next treasure:
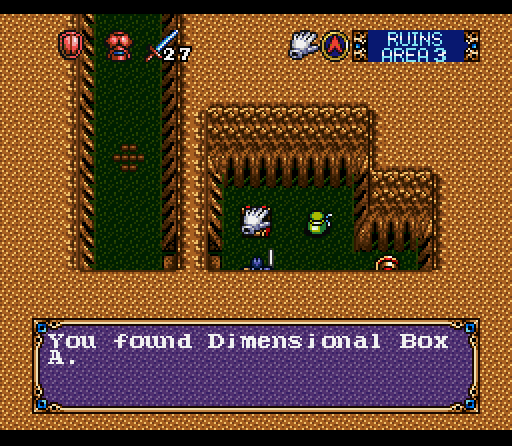
The Dimensional Box is an extra 12 squares of inventory compressed into one, basically a bag of holding that you can arrange. We now have 23 spaces of inventory instead of 12, and by opening up the box you can move items around and stack them together to compress space. It's the most significant development thus far, and something you REALLY don't want to miss.
On the other side of the door we find the exit to the next area, which we'll hit next update.
Next update: A familiar face, a kind of map, and the Training Room.