Part 4: Gimmicks Aplenty
Since there's more floors than plot, we're going to speed things up and cover multiple floors today. It's actually going to be some time before we run into Alexis again, although there are some interesting things coming up.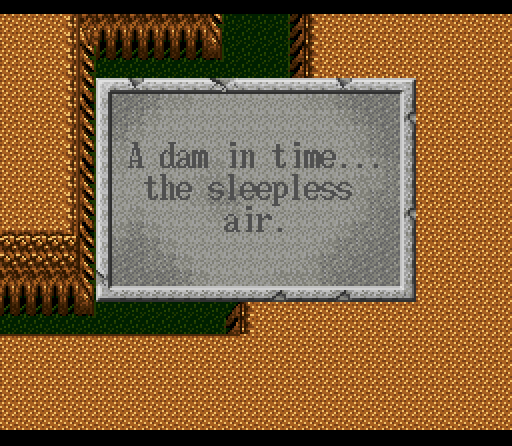
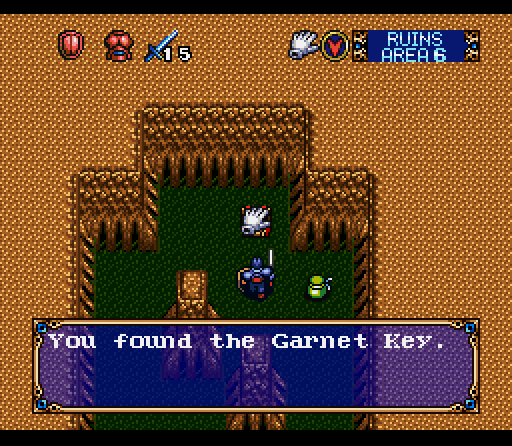
 "This might be the worst Haiku I've ever read in my life. Stupid amateur poetry night…"
It's also a key to the gimmick of this area. The 6th section of the ruins is "frozen in time" which in practicality means that we can't use the rest command here. As I mostly tough it out with potions and healing springs, this is hardly noticeable.
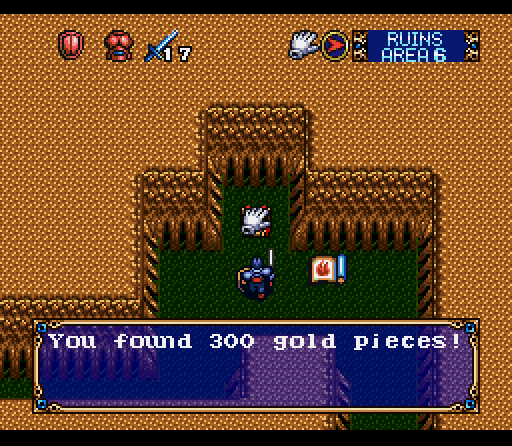
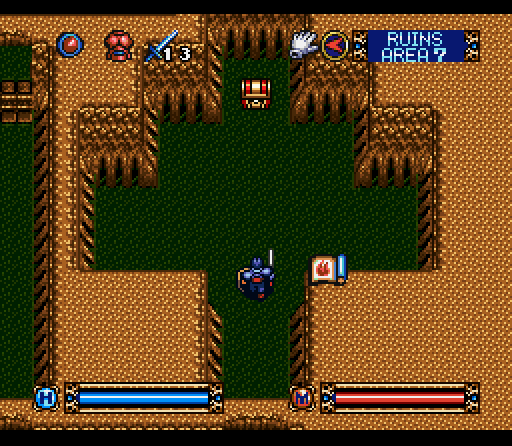
Being frozen in time doesn't stop us from looting 600 gold pieces and a Rapier, though.
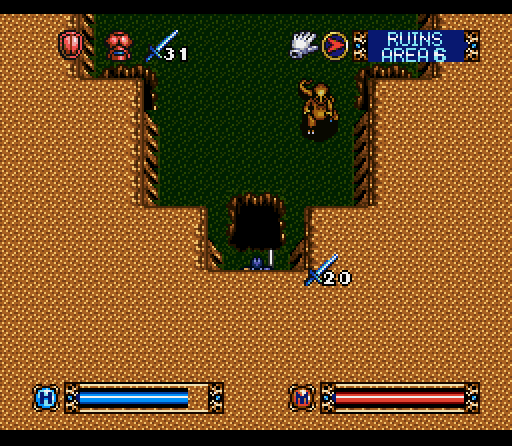
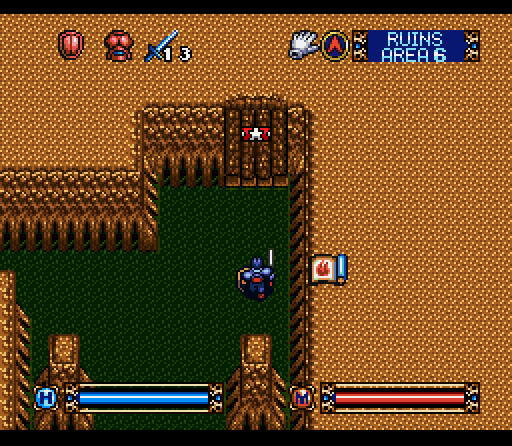
And that, across the way there? That's a T-Rex. They're big enough to take up two squares, take a whole lot of killing, and cause knock back effect when they attack. You actually have to be quick to take them out, or use magic from a distance.
"I've never been happier to see a pit in my entire life."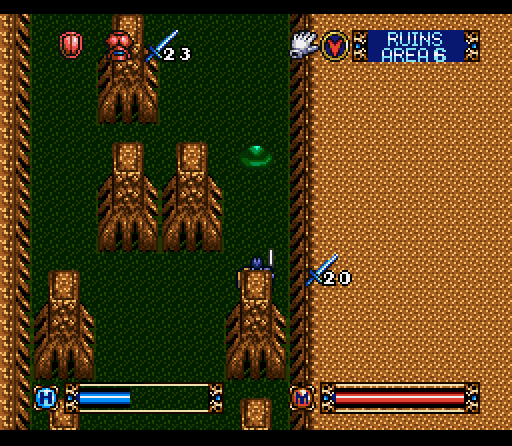
There are also green slimes in this area, which are pretty much identical to their blue cousins except for having a few more hit points.
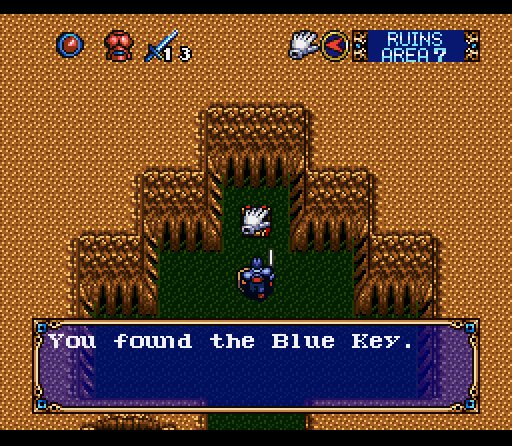
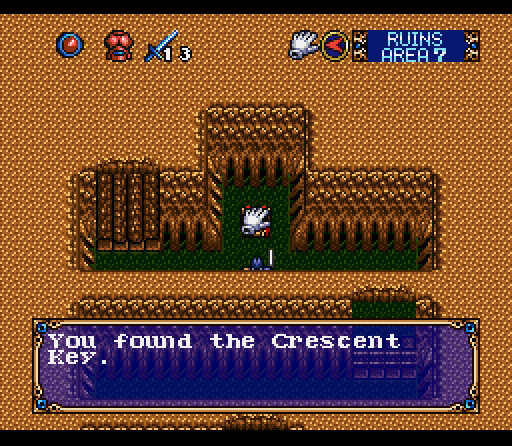
I can't even remember what was in the other jar pictured here. Can't have been that important, especially compared to another valuable gemstone key.
You have to wonder how the whole frozen in time thing works, especially for somebody living here. Do you need to eat, or drink? Is it that subjective time passes while objective time doesn't? Do the surroundings decay, or are they fixed in stasis? These might be good questions to ask the shopkeep here.
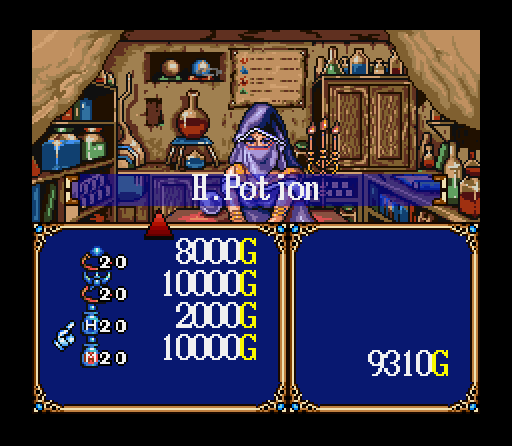
In the usual pile of junk, we actually have a pretty good buy here for bulk health potions. 20 health potions is a LOT of refills. It's important to figure out how you want to spend your money, however, as the amount of gold in the game is finite. Once you've sold all your gold bars and opened all the chests, that's it. Anyway, let's chat!
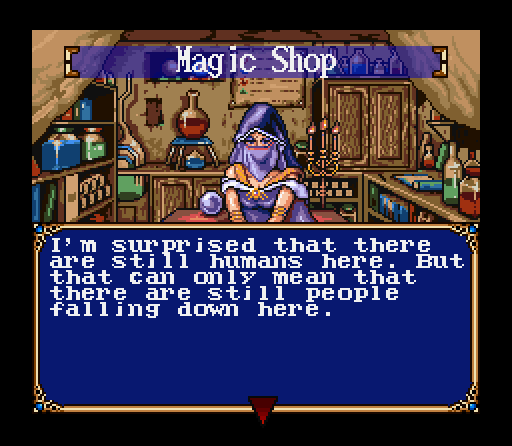 "Only spectacularly stupid people who have a talent for falling down holes and dragging other people with them."
 "Which would also mean that there are still people who live on the surface… well, try to enjoy yourself while you're here." "I… don't know what kind of person you'd have to be to enjoy yourself here. Then again, I did just kill a dinosaur and that was kind of awesome…"
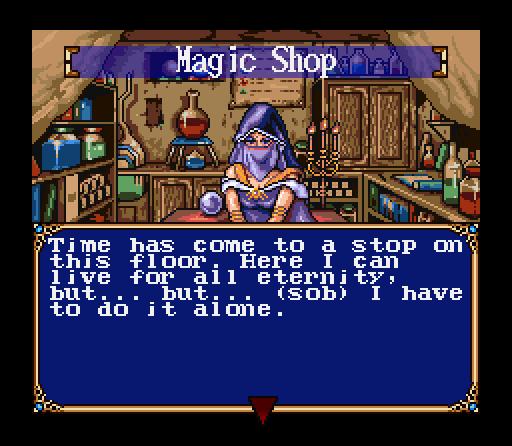 "That's… well, that's pretty rough, especially down here with the monsters. Are you sure you don't want to leave?" "Why don't you give up fighting monsters and stay here with me? Just the two of us, forever…" "Lookatthetimegottagobye!"
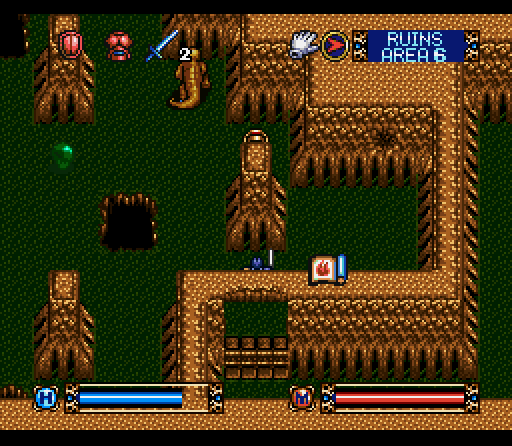
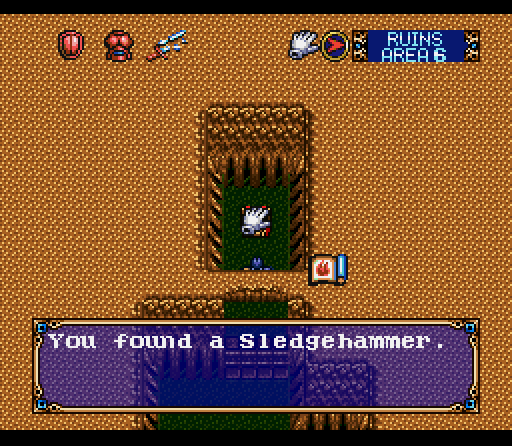
Escaping from the terrible clutches of a pretty magic shop owner, we run into our first free range T-Rex. We're also still getting a lot of mileage out of our sledgehammer, as you can see from the weak spot to the right.
 "Never fails, as soon as you spend money you start stumblin' over whatever you bought…"
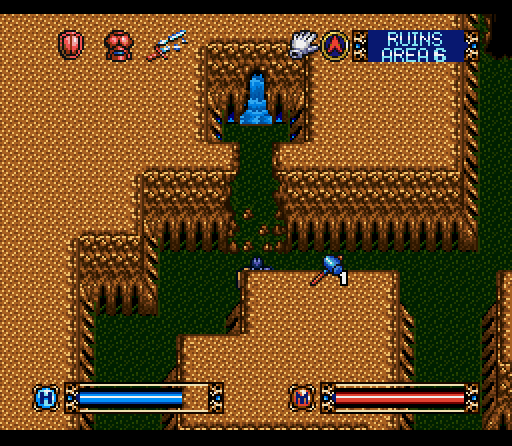
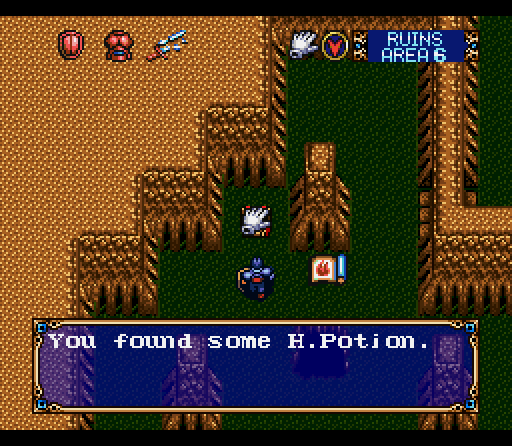
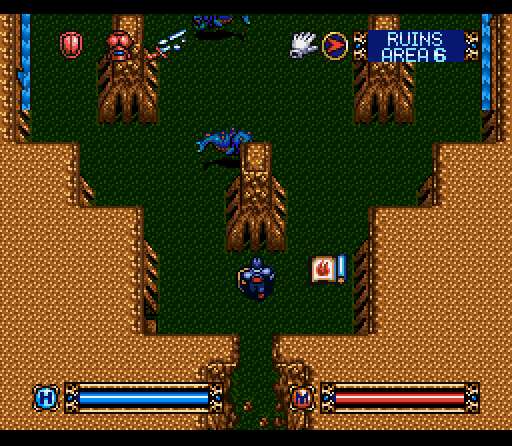
There are also health springs scattered around the area in little nooks and crannies. Is the water frozen in place, or does it flow…? Do you just scoop out handfuls?
Now they're just mocking us.
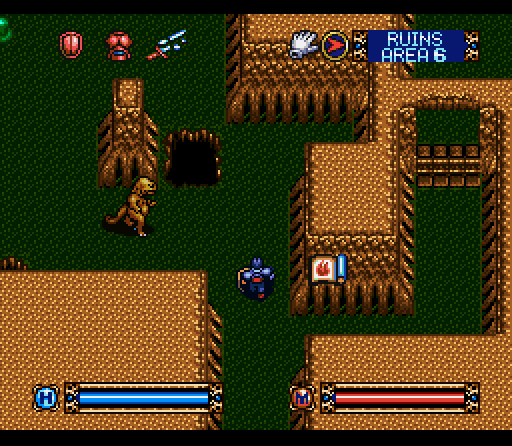
Side view of the T-Rex. I love these guys, just because of the incongruity of seeing them here. Put in a dinosaur? Why not!
"Huh… sword's broken. This is going to be hard on my knuckles."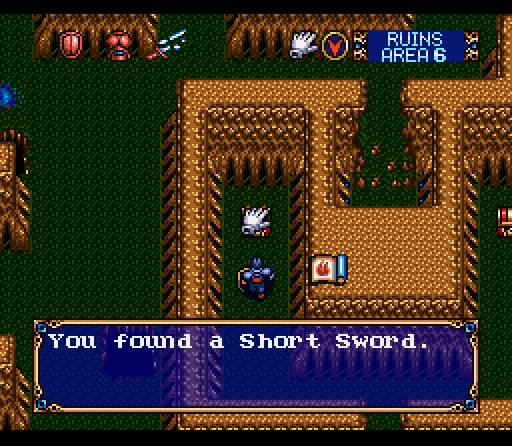
That solves that problem! And the additional 400 gold along with it is a nice bonus.
This room right here is probably one of the best places to train magic endurance in the early game. You've got a good population of magic worms, as well as multiple recovery springs. Since magic endurance increases as you get hit by magic, you actually have to let yourself get pummeled in order to toughen up. Magic endurance hasn't been an issue thus far, but it will be soon.
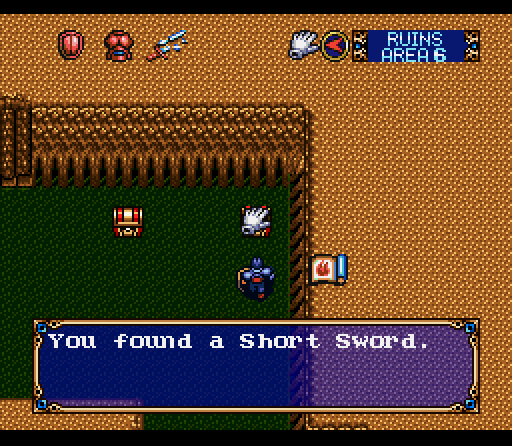
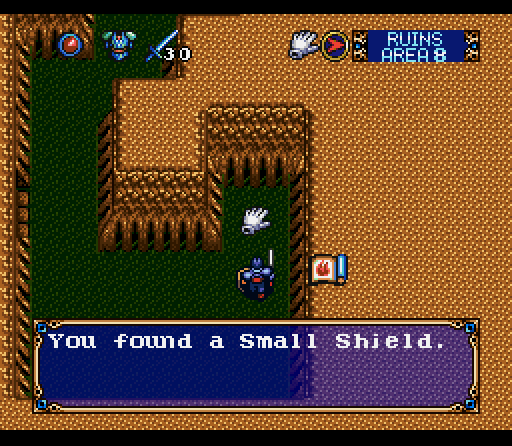
A Short Sword, a Gold Bar, and a Gold Key are concealed nearby, along with a Small Shield, which is our first armor upgrade. In addition...
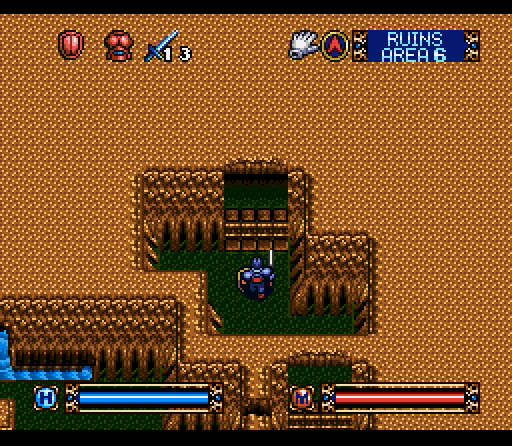
We find the exit, which was locked behind the door that required the Gold Key. This was kind of a short floor, but definitely interesting.
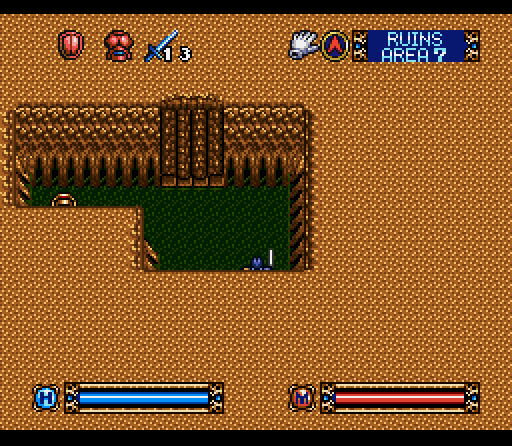
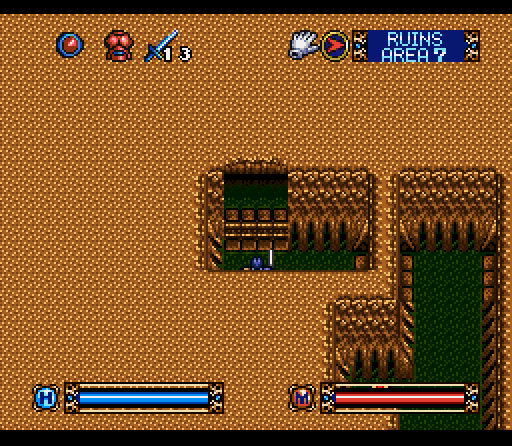
The next floor is another gimmick floor, although it's one with no enemies. What's the gimmick? Well, it'd be easier just to show. Nothing seems funny here, right?
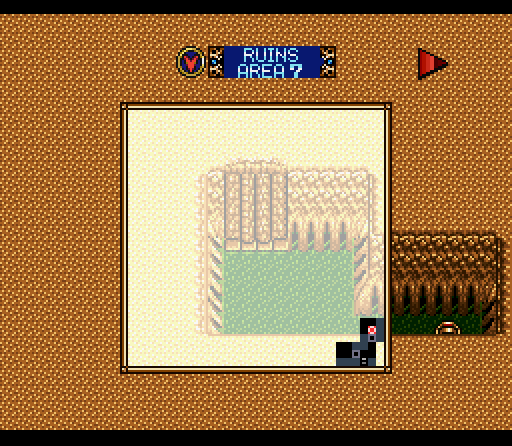
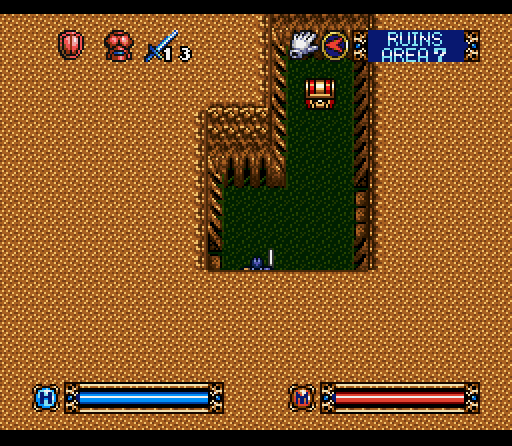
A quick glance at the map shows the real story. We're actually about 5 squares away, facing a completely different chest. That's right… it's a teleporter maze.
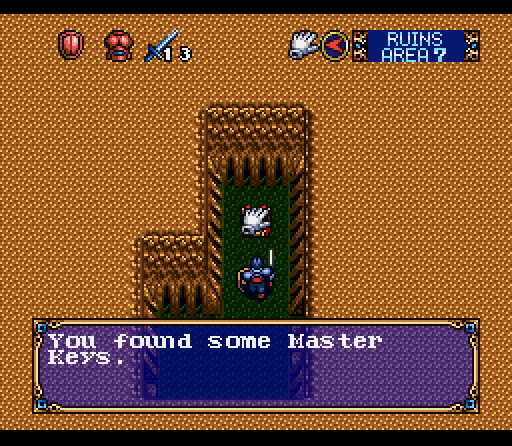
We'll be needing these, and the number of keys you're given is an important key as to how many chests and doors are around.
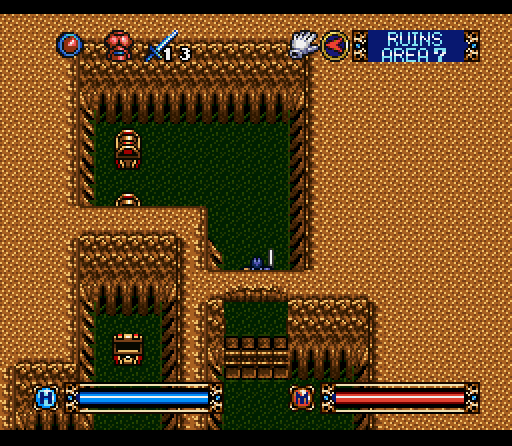
You might be looking at this and think "oh, there's got to be a teleporter around here somewhere," but you'd be wrong.
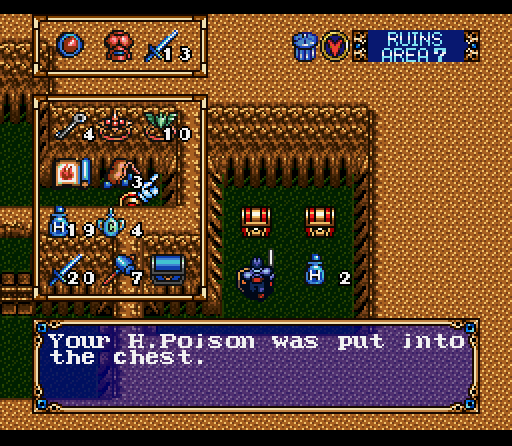
Not that the reality is that much better. You can actually put items back into chests if you want, which is a good way to get rid of items you don't have space for and really aren't going to need. The H. Potion in the neighboring chest is much more useful. We also find an Amulet of Protection, which has the effect of increasing your luck to the maximum value when used.
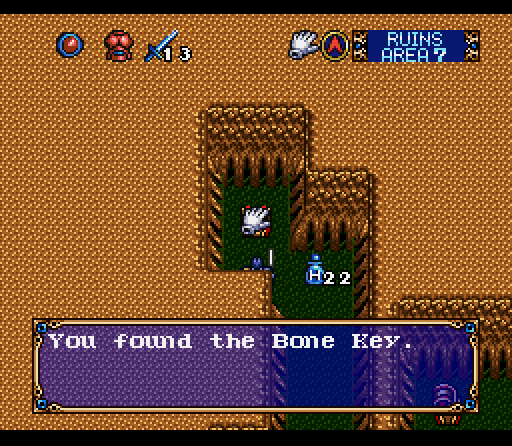 "Ugh. I don't even want to KNOW whose bone this was made from."
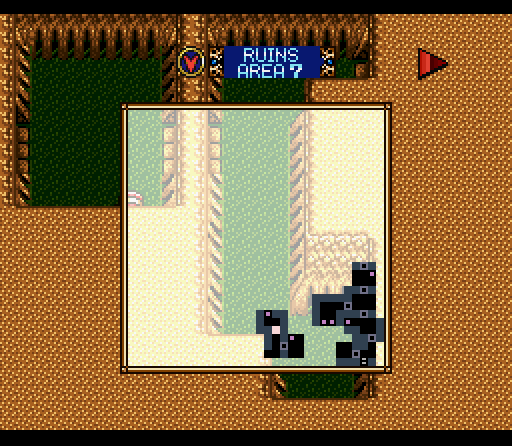
The more you wonder around this area, the more disconnected the map can get. If you haven't quite figured out what's going on by this point, the map makes it painfully clear considering that we're in an area that's disconnected from the rest of the area we've been exploring.
Side note: There are a LOT of keys to this area. It's a way to amp up the annoyance factor, since you have to try and navigate to previously unopened doors.

This area is pretty much tailor made for a teleporter, especially since you can't really go from side to side in any way.
And… that's perfectly correct. You can't use the jump key to skip over teleporters, either. They'll still teleport you even if you're in midair.
These rooms are some of the worst culprits. You can avoid the teleporter tile if you walk around it, but the rooms they teleport to you are completely identical. If you're not checking the map constantly, you won't even notice the difference. It was only after I found my way to a room I swore I'd already looted and saw a closed chest that I figured out what was going on.
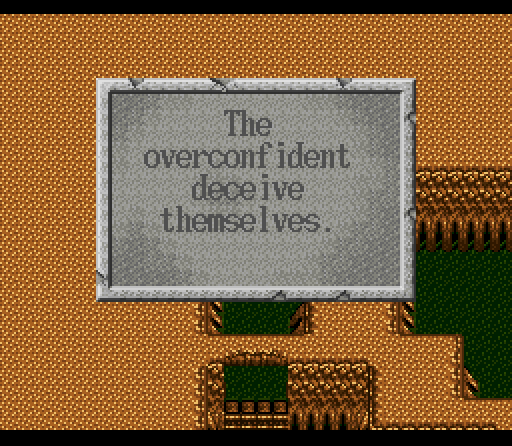 "Oh, we'll see about that. I'm not about to let some stupid sign talk back to me!"
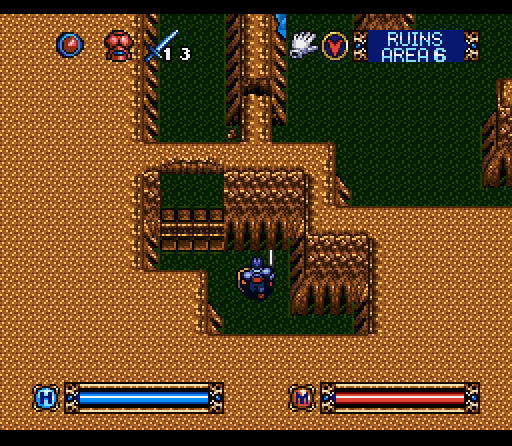 "Ha! That'll show… wait, I've seen this before…"
Yep, right next to that sign is a teleporter that takes you directly back to the entrance for the area, complete with a perspective switch to make it so that you won't recognize the teleport.
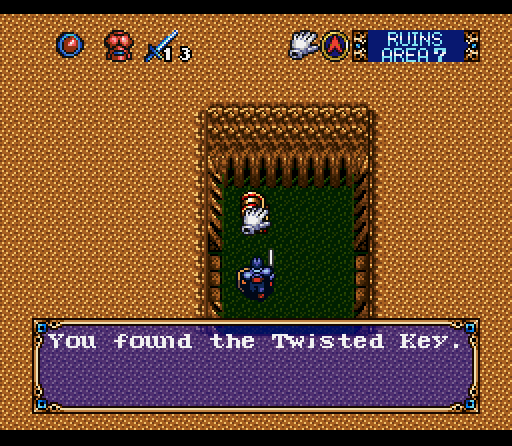
The previous version of this room had an Emerald Key.. haven't we seen that before?
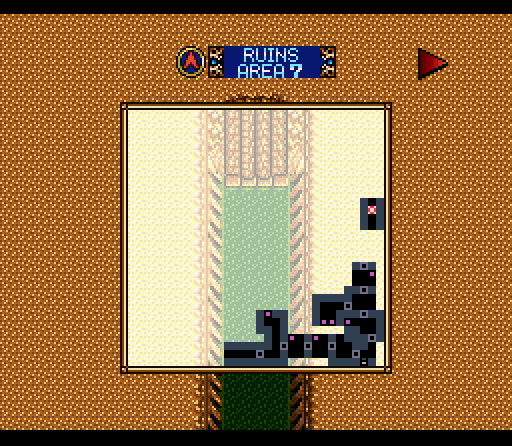
Okay, this is just getting over the top. A gold bar and about 900 additional gold pieces helps take the sting out of it, though.
Other than that, there's not much you can say about this floor. No enemies means that it's an exercise in tedium and memorizing the various teleport spaces to get to the places you actually want to get to. Not having enemies might have been meant to be a mercy, but it also denies those who are stuck in the area the sweet relief of death and a game over.
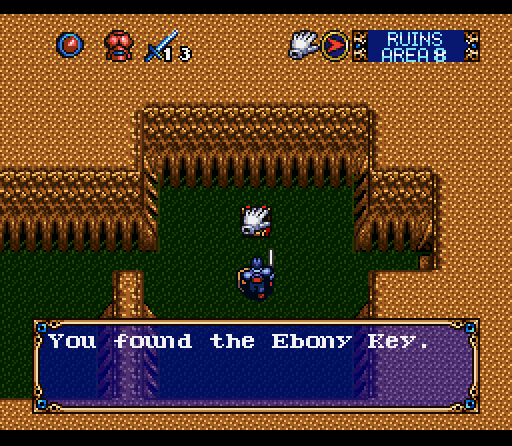
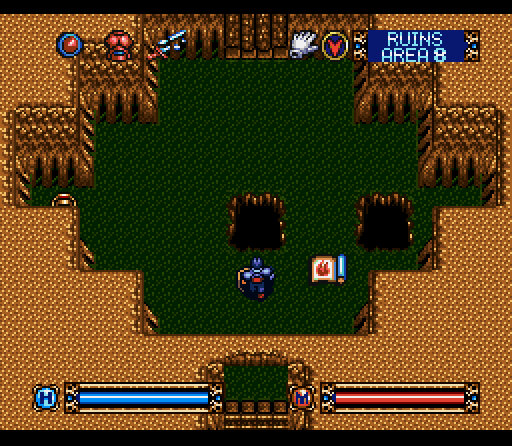
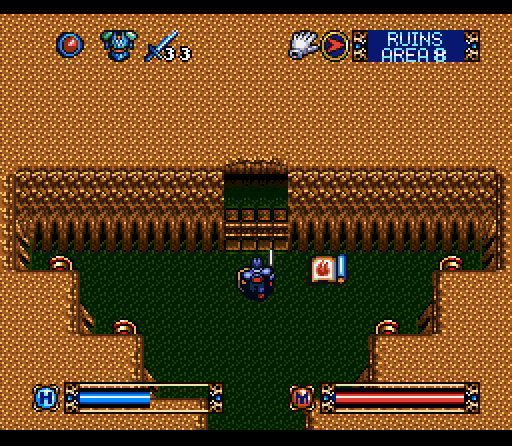
Our first step onto Area Eight… looks a lot like the previous one, although it is a bit more open. I think the sheer number of doors was something that was added to make Area Seven a bit more confusing.
 "And the significant owl hoots in the night. What else to you have to say?"
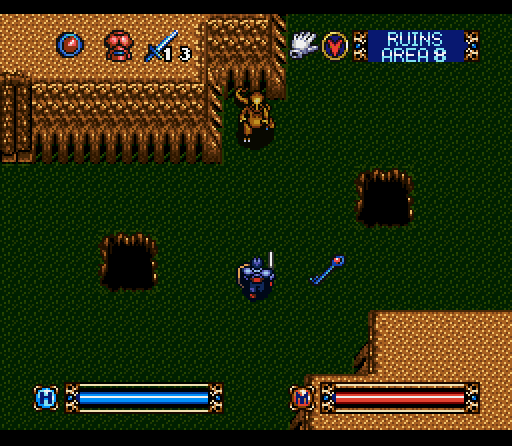
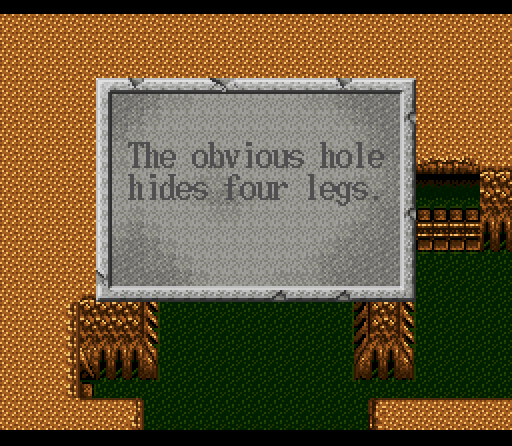
To elaborate a bit, this floor has a special thing going on with its pit traps. Ignore the T-Rex for a moment, and look at the two pits. Each one is surrounded by four other pits, placed diagonally to the original. That means that right now there's a pit to Varik's northwest, southwest, and east, as well as one directly to the east of the T-Rex. It's really got nowhere to go other than toward us, since monsters can't trip pit traps.

We could use our remaining supply of steel balls to uncover them, but that would be prohibitively expensive considering that there are a LOT of pits on this floor. I find it easier to just remember where the pits are supposed to be… but I also used to beat Minesweeper without marking the mines.
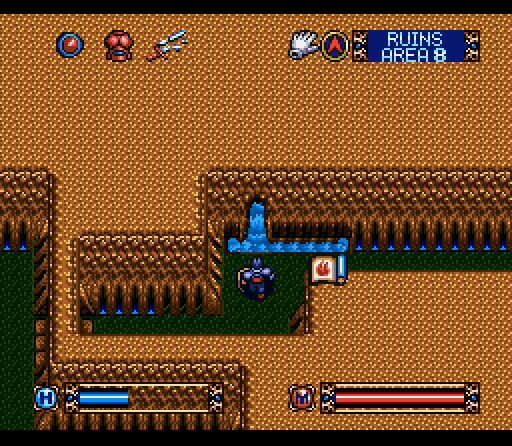
Random spring! Very oddly placed, but welcome. I don't even know how the watershed works in this area.
 "Weapons shop? Don't mind if I do!"
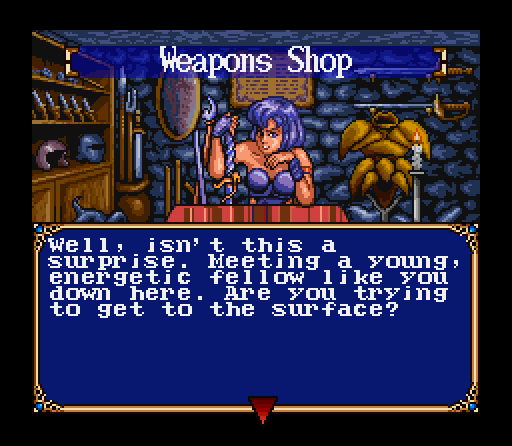 "Well, it definitely beats the alternative… especially the one I was offered on the last floor."
 "Usually the only people that come here are old men who know their days are numbered. It's so exciting to see someone like you!" "As long as you don't want me to stay here forever, I think I like where this is going." "Say, looks like you got quite a nice bunch of loot with you there. Tell you what, I'll buy some off you at a special price." "…that wasn't what I was expecting. How special are we talking?" "Oh, and don't you think you ought to get more swords? There are a lot of monsters around these parts, you know." "You're a saleswoman to the core. Alright, let me see what we have here… although I do have a LOT of swords already."
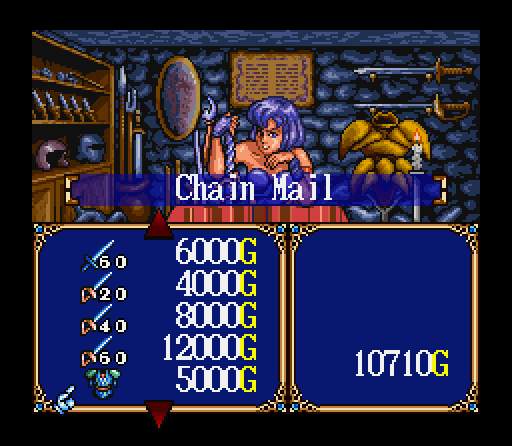
This shopkeeper does have some interesting loot, but it's still not worth spending cash on. We're actually going to find some more armor in the near future, so there's no point in blowing most of our gold on it. Actually going ahead and punching things to death or using magic will reduce your need for swords as well, and helps to build up your Arm Strength and Knowledge that much more quickly.
The setup with all the pit traps in this area changes relatively simple puzzles into something at least slightly challenging. We're actually having to navigate six pits here, instead of two. Our reward is the Amethyst Key.
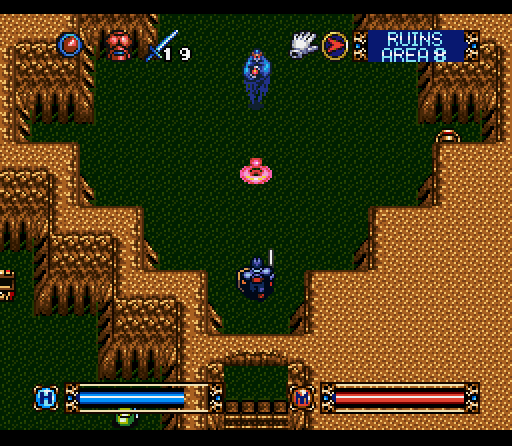
We also get introduced to our next enemy, the Conjurer. These guys start flinging spells at you as soon as they see you, which would be problematic if their spells weren't so SLOW. You can literally dance around them, or just straight up jump over them. Despite that, they're also quite powerful and can provide a way to train magic endurance as well.
 "I don't know who's in charge of setting up these chests, but whoever you are this isn't funny!"
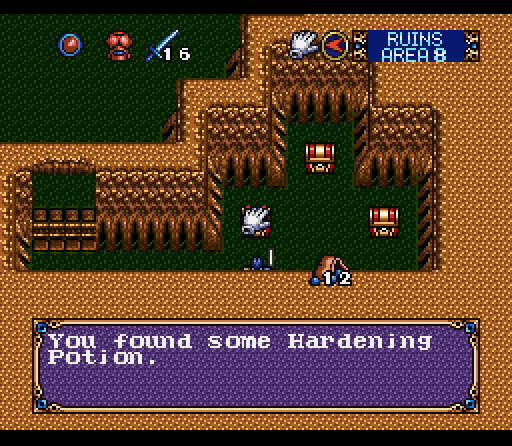
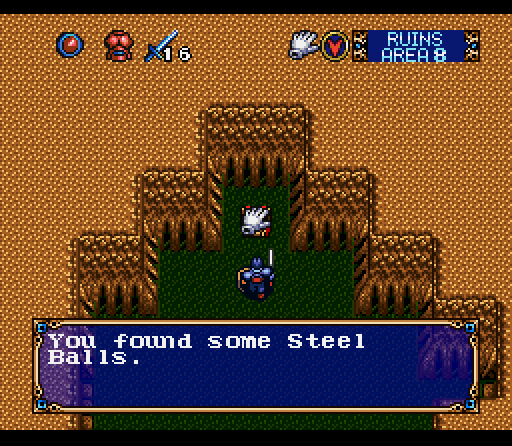
Less insulting treasures include this Hardening Potion, a Rapier, M. Potion, and some more Steel Balls (okay, that's still insulting).
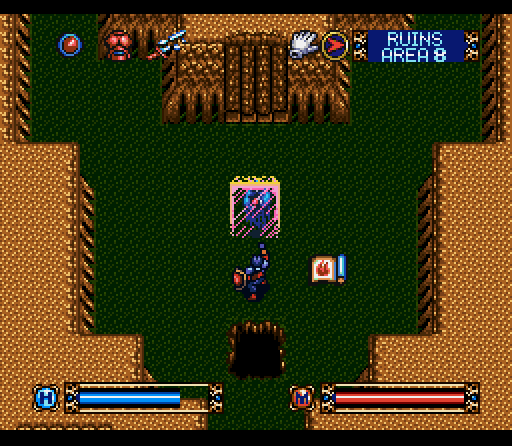
You have to be quick dealing with Conjurers, however, as if they catch you too close they'll throw up a magic barrier. You can batter through it in a few strikes, but they'll be throwing magic at you the entire way.
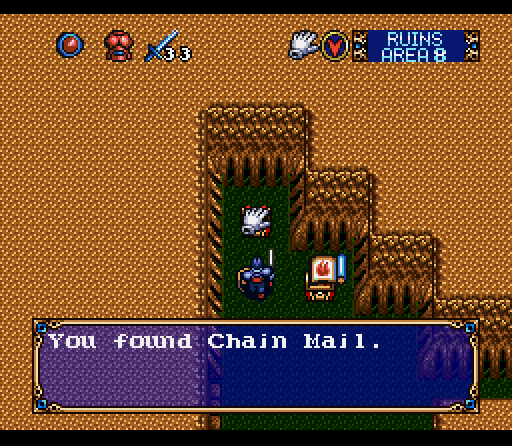
Just beyond that door lies a treasure trove, including our first armor upgrade, some invisibility potion, 500 gold pieces, and yet another Short Sword.
And with that, we're at the next stairway… if I hadn't missed a turn and a number of treasures. Can't have that!
One more change at a Small Shield, 500 more gold pieces, some Hardening Potion, a Gold Bar, some H. Poison, and a Ring of Protection (casts a defensive barrier that improves your defense), and some H. Potion. Okay, now we're done!
Next time: Samurai, Ghosts, Wizards, and Crabs! Our first two boss battles!