Part 7: Bigger Than Life and Twice as Ugly
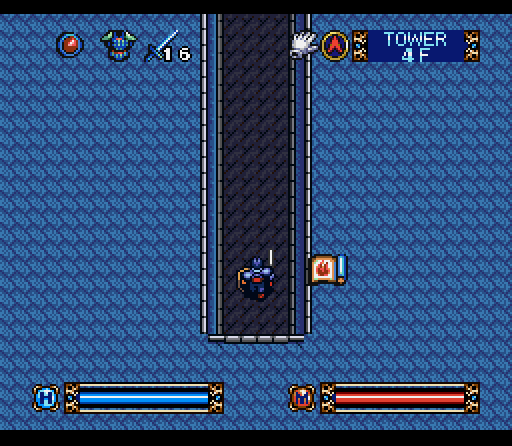
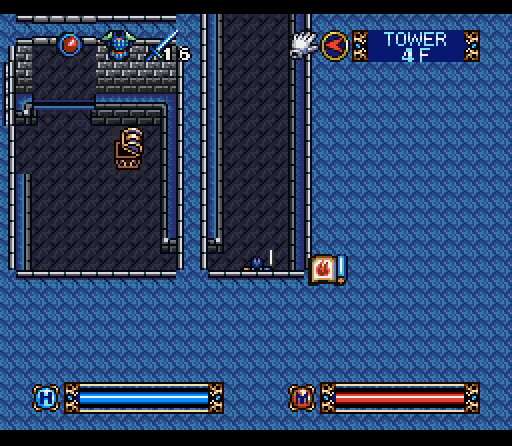
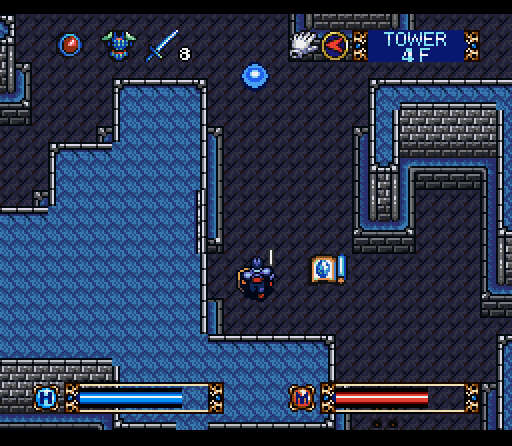
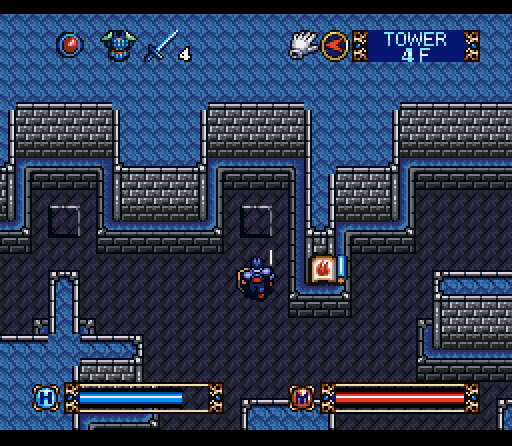
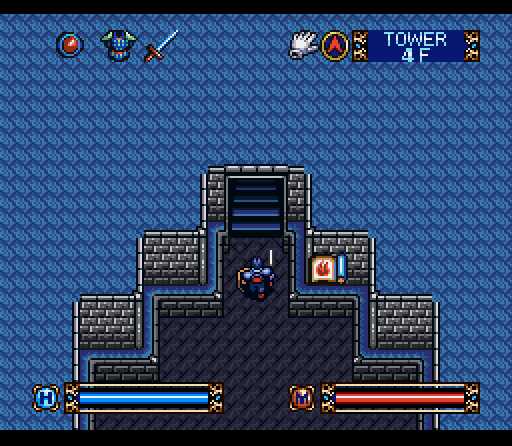
Climbing up onto the fourth floor it's not exactly impressive. The only thing to see is one narrow corridor, and if you're not paying attention that's all you'll see.
Our exit is a weakened wall off to our right, so it's mostly a matter of occasionally changing the camera angle… with one minor twist.

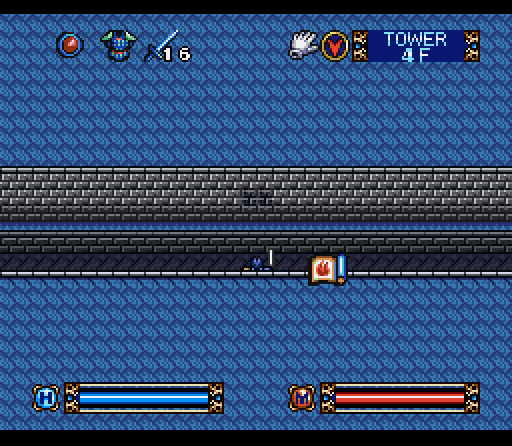
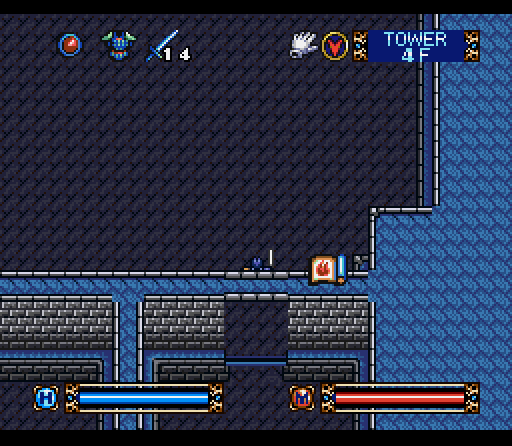
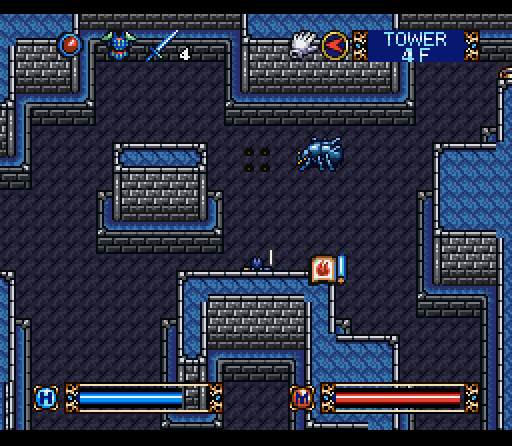
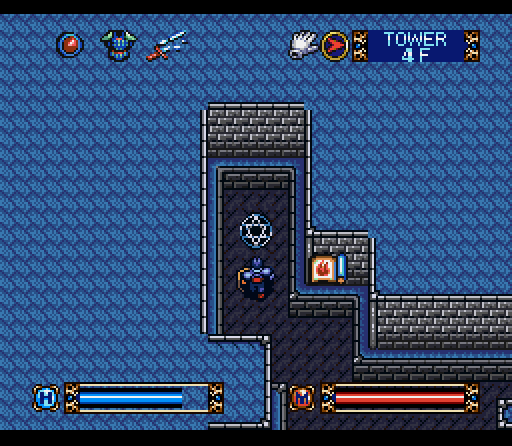
This is our position a few steps down the hallway after the wall...
And this is our position a few steps after that. There's a hidden teleport square that undetectably teleports us back to near the beginning of the corridor. If you don't realize what's happening, you could find yourself spending a very long time getting nowhere.
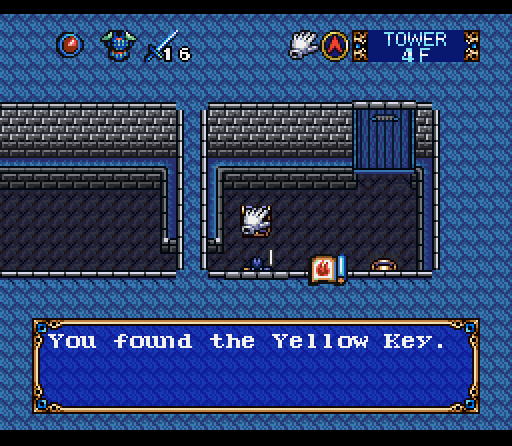
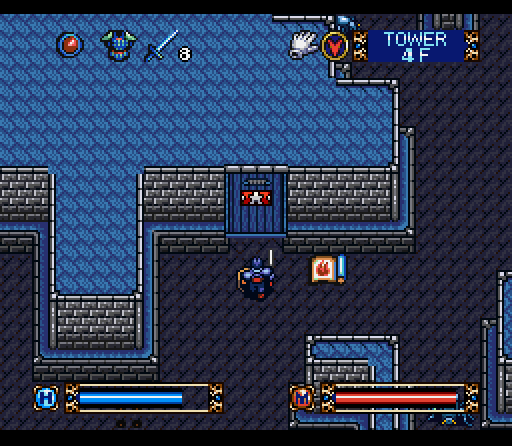
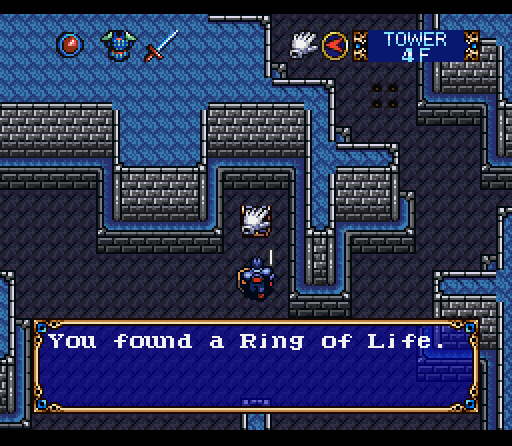
After breaking through the wall we collect a key we'll need shortly as well as some Gold Bars. There's also a goodly number of giant spiders wandering around, and we've got three doors to go through.
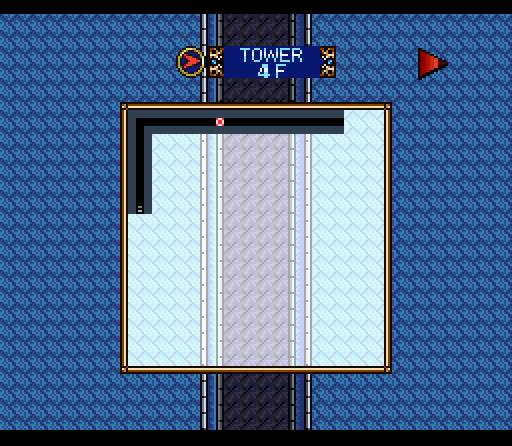
The first one, in the room with the Yellow Key, takes us back out to the end of the starting corridor. That teleport square is bi-directional, by the way, so if you go very far on this route you're going to find yourself taking a long walk back.
Our second option leads to an empty room, which is only empty in the sense that it is full of teleportation squares and not enemies or treasure.

The goal is to reach this switch and open the doorway, but nobody's got time for that. Also, this one and our final option actually lead to the same place so it's really a choice between what you want to deal with. I chose not to deal with finding the one safe path to this switch through trial and error.

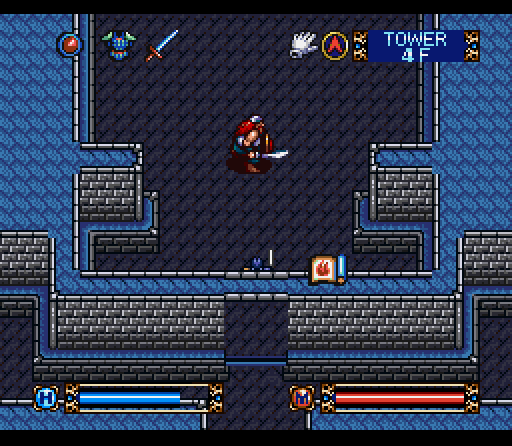
Instead, we'll go for door number three. You can see the main threat here in the upper left corner. Archers are pretty much exactly what you'd expect given the name. The key here is to kill all the archers, at which point an announcement will come out that the spell has been broken. I panicked a bit, since I somehow thought that I'd broken my fire spell. What it actually means is that we can open the exit door from this room.
Next stop, Magic Shop! It's down a couple of insignificant corridors, but.. eh, whatever.
 "One of them wouldn't happen to be a blond in a leotard, would they? Name of Alexis? She's already been hitting all the magic stores before me."
 "Now don't get all bent out of shape there. Kids like you, they get all worked up, but don't have the experience to back 'em up and more often than not end up getting themselves hurt." "The only one getting hurt is anyone between me and the exit to this crazy place."
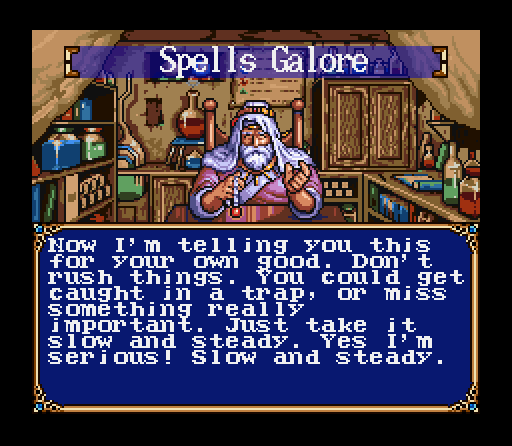 "Thanks. I suppose unlike you I've actually got time to take it slow and steady."
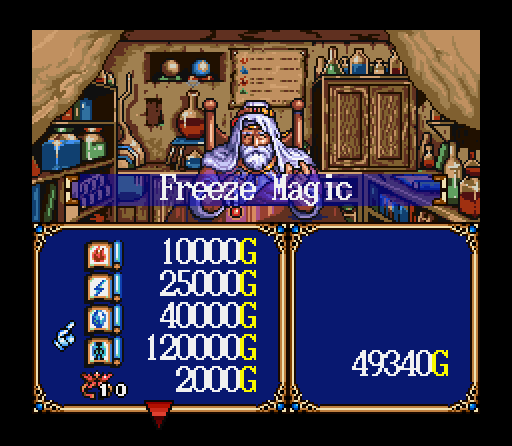
While we're here, it's time to blow some cash on a new spell. Freeze is one of the spells that you absolutely won't find in the dungeons, but it can come in pretty handy.
This is what it looks like when you fire the spell off. It doesn't cause damage, but instead freezes enemies in place so that you can follow up with other types of attack.
The area around here is full of giant spiders and spike traps. For added comedy, sometimes the spiders will blunder into the spike traps and commit suicide.
There's 500 gold pieces knocking around here, but the real goal is to find this plate and its two neighbors and press all of them.
Doing so reveals a warp panel, which takes us to a mirror area with a few more interesting goodies.
This is the main prize, but we've also got a Saber and a Ruby Key. The last item allows us entry into our main goal for the floor, but it's not exactly clear sailing.
 "Whoa. That's a big bastard."
Meet the Giant Warrior. They're big and slow, and they can cause a good bit of damage if they catch you with physical attacks. Hit and run attacks are your best bet, along with magic. Killing him grants us yet another Saber. I've really got to start burning through these.
Naturally, the giant warrior was the final guardian between us and the steps to the next floor.
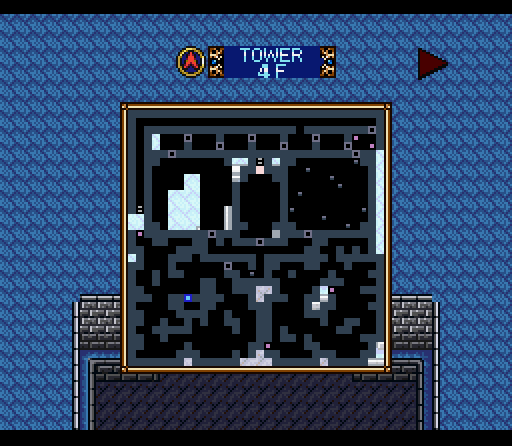
This area is pretty well dominated by the two open areas. If you look to the left side, you can see about where I gave up on the teleport room. Really, this is one of the most basic floors.
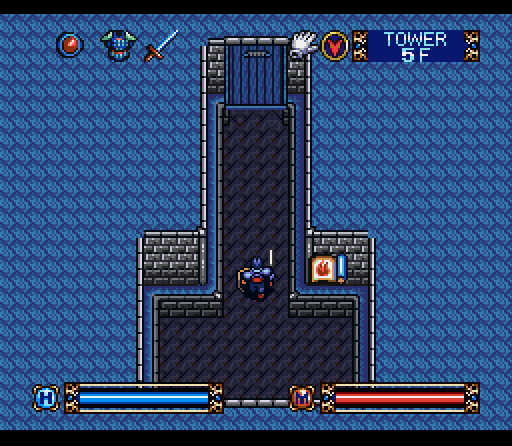
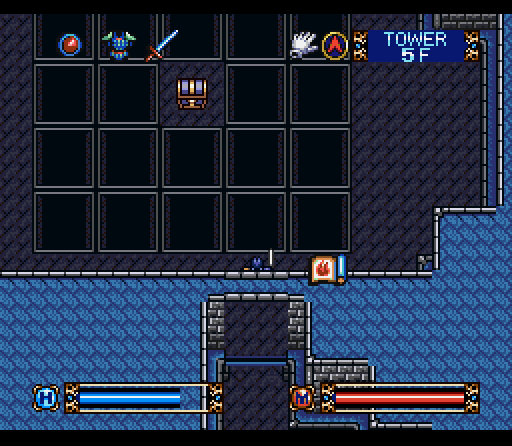
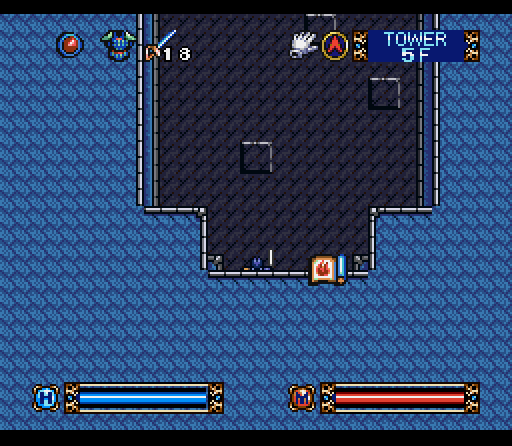
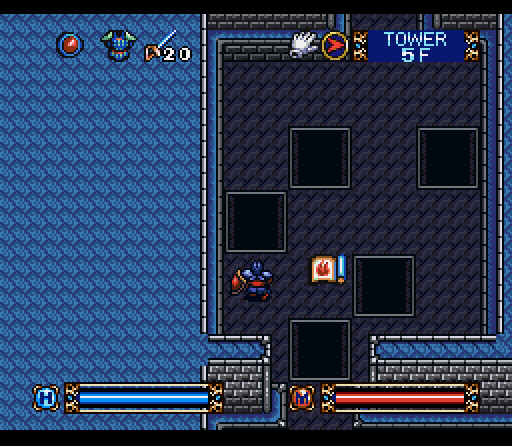
Our first glimpse of floor five isn't terribly interesting. This is a small mercy, though, as there are some tough times coming up.

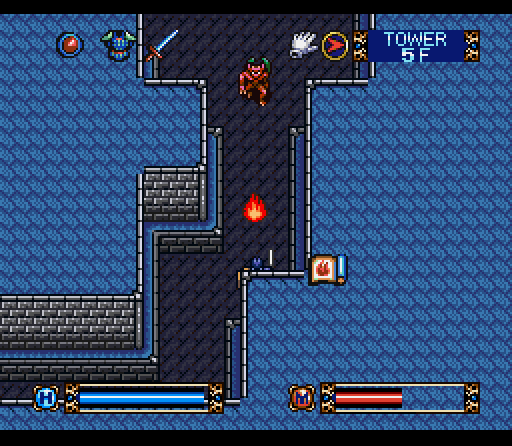
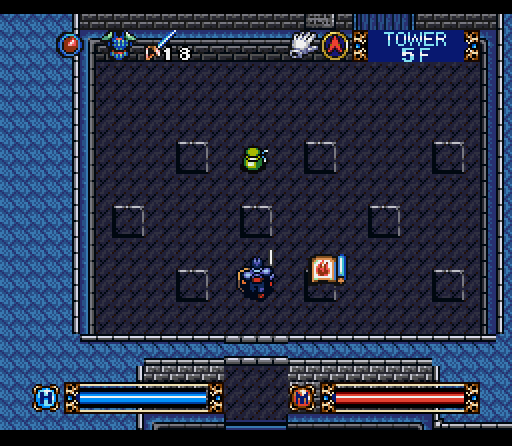
They love their spike traps here. It's actually not terribly difficult to avoid, but it's definitely a pain if you're trying to map an area out so that you can display it in a screen shot. Between the spikes we also have some H. Poison and a weakened wall that hides some more Gold Bars. Always welcome.
On the other side we get another enemy, the Gargoyle. I don't know if that's exactly a proper name, considering that they look like demons and love to throw fireballs at you, but they're a change of pace. I paused to gain some magic endurance at this point, since the location was so convenient,
The gargoyle is guarding this tricky looking area, but it's actually much simpler when you scout around and find a lever that closes all the pits. Our prize is a Ring of Ice, which is a lot less useful now that we have the Freeze spell. There's also some H. Potion, but we've got a pile of that.
Continuing around the area, we get something much more useful: a method to keep going forward. Oh, and also another Saber.
Proceeding forward, we've got another area full of pits, but these are just for decoration. Without any enemies to put pressure on you, it's a simple task to maneuver around these.
Once past that we're pretty much home free to move on to the next level… but there's an extra area available to us here, including an optional boss, so we're not going anywhere yet!
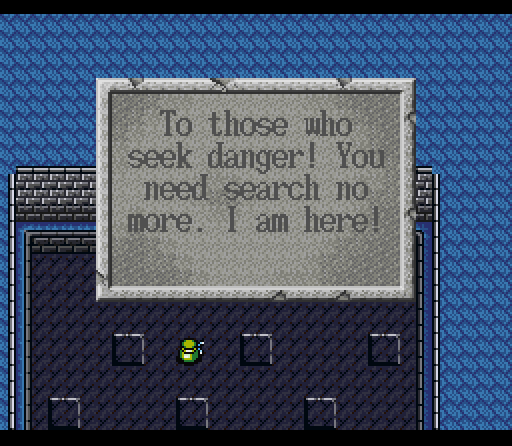
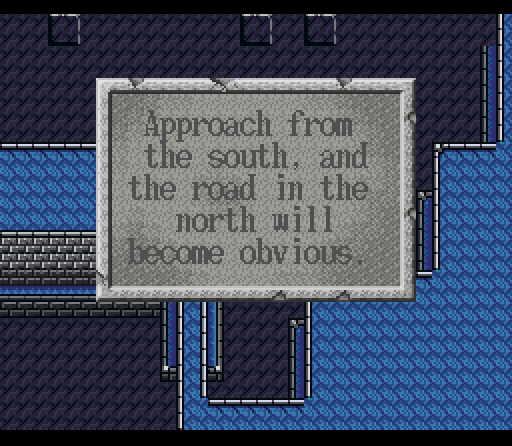 "Well, THAT's cryptic."
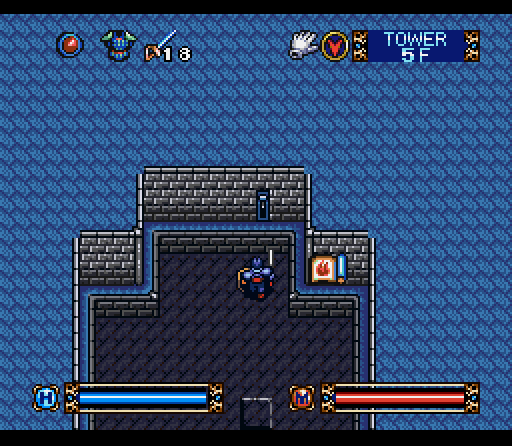
The actual meaning is that we have to go to this lever and press it, then turn around.
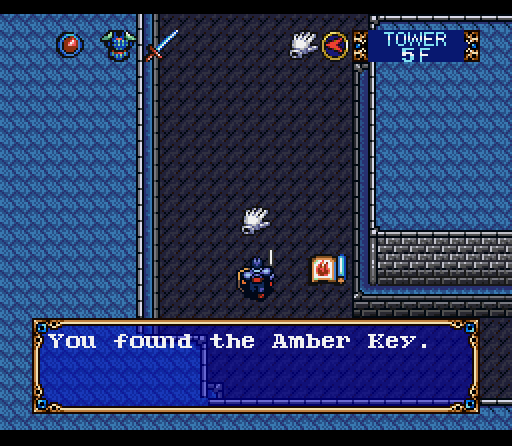
Now that we're at the southern end, we just have to proceed north and step on each trigger as we come to it to open the door at the end of hallway. Along the way we'll open a side door to open the Amethyst Key, which is necessary to proceed.
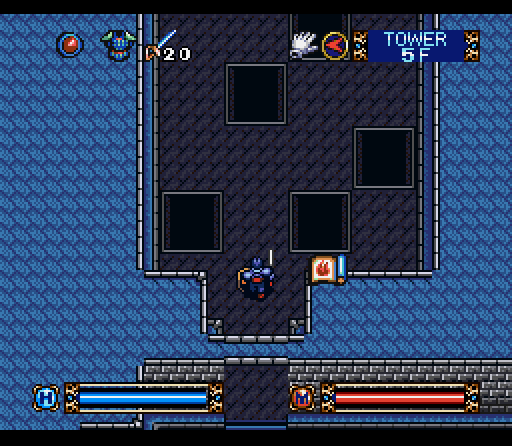
This area is a bit tricky after the one where we had to step on every square, since you REALLY don't want to do that here. The item here is a useless Short Sword, and each of the squares triggers an arrow to come and shoot you in the head.
 "That's not ominous in the least."
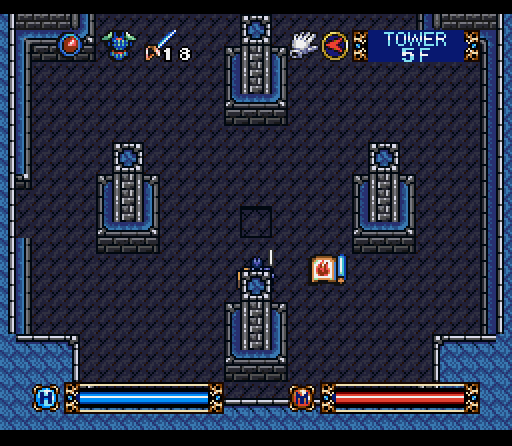
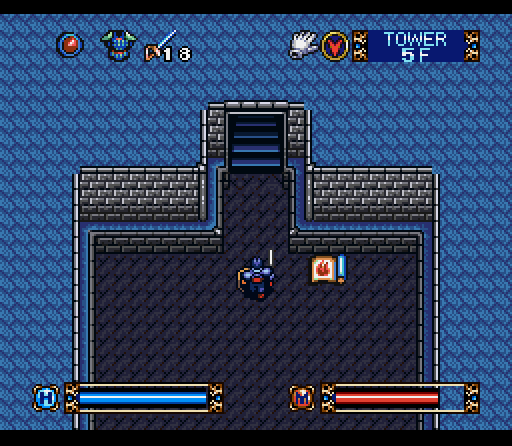
Next stop, this room. If you think a single pressure plate in the center of the room is a really bad sign, you're not far wrong.

Stepping on the plate summons these four guys, who are known as the Headless. Appropriately enough, as you can see. This is an optional boss fight, although it's a bit strange.
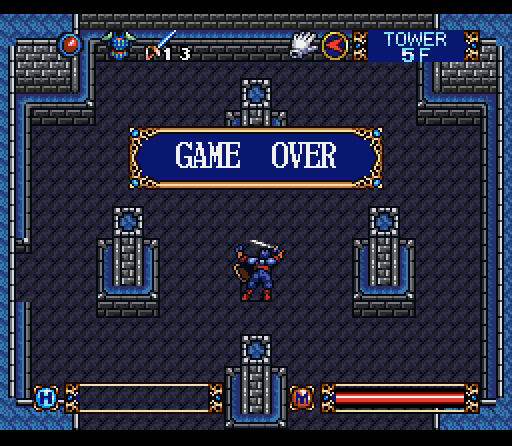 "That could have gone better."
Long story short, we're going to have to come back for this one. There are two ways to deal with this: using teleport magic to escape the circle, or being bad-ass enough to kill one of them and escape that way. We can't do either of those things, so we're kind of stuck at the moment.

With that, we've completed yet another floor. Hopefully new weapons and a couple of additional levels will help us escape that trap and find out what the Headless are guarding.
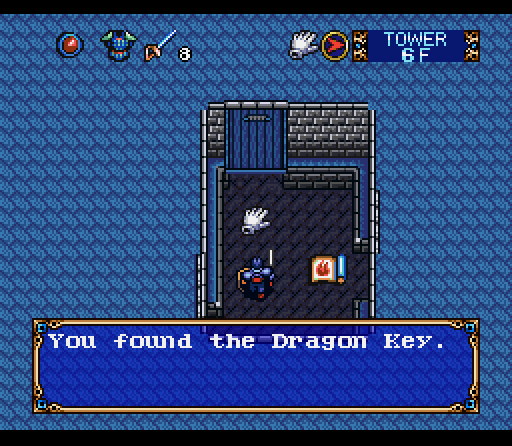
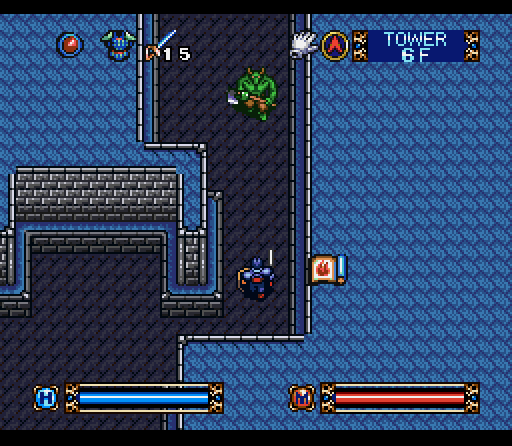
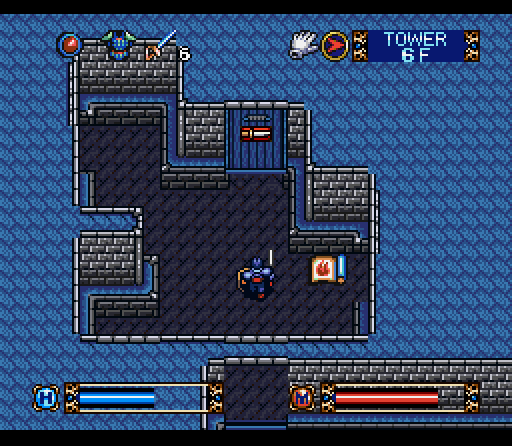
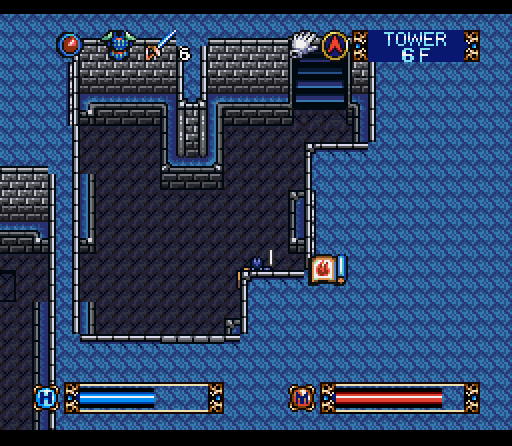
The first room on the sixth floor presents us with a key, and a choice.
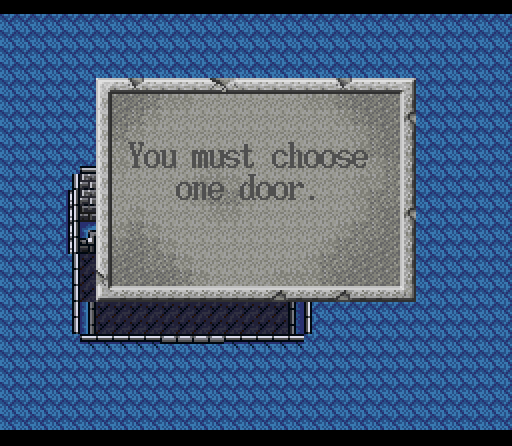
There are three exits from this room, all locked by the same key. They all lead to the same place, but the treasure and encounters we'll get are different. You can access the alternate paths later, however, so we're just going right down the middle.
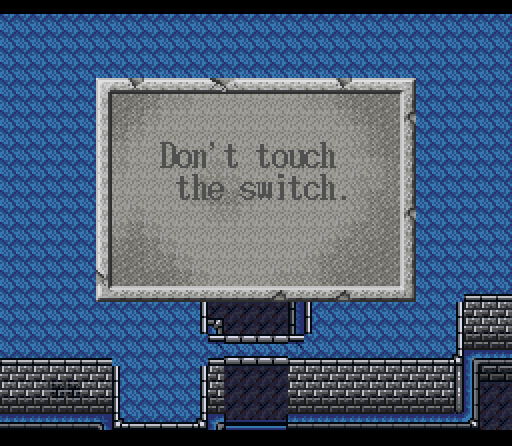 "If I don't listen to well-intentioned advice from people who actually living here, I'm definitely not listening to a suspicious sign!"
The switch also has a spike trap right in front of it, so you have to be quick and use a lateral sidestep to flip the switch without dying.
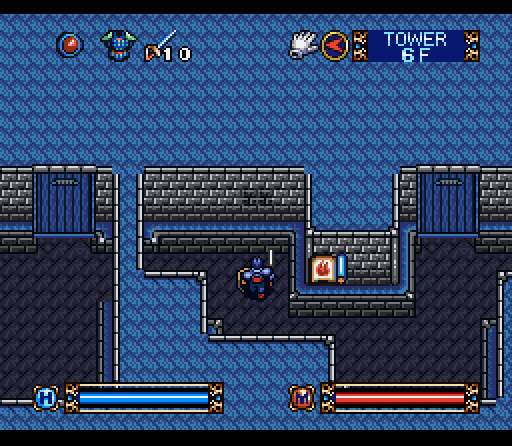
The designers liked hidden rooms in this section. In this case it's an illusionary wall, hiding some always welcome Hardening Potion. We've also got some Gold Bars and a Falchion hidden away nearby, the latter of which is a pretty substantial upgrade: 14 attack power as opposed to the Saber's 8.
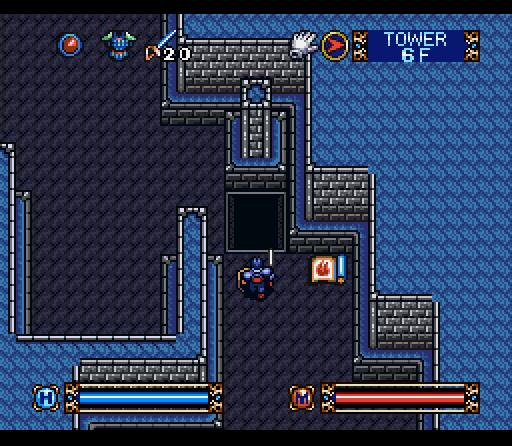
No alternative here but to just jump and take it, right?
 "Wait a second… this looks kind of familiar..."
Only problem with that is that the pit actually leads down to the floor below. The trick is that the switch we pressed earlier actually created that pillar. Flipping the switch again will clear the way.
 "From now on, I'm obeying all the signs I find whoa that's a big axe!"
The big guy is an Axe Raider, which are pretty much grown up goblin fighters. They're tough hard hitters with decent armor who are pretty easy to peg with magic. This one is guarding a switch that will let us out of this pathway.
 "Oh sure, you couldn't have been back at the beginning of all the monsters."
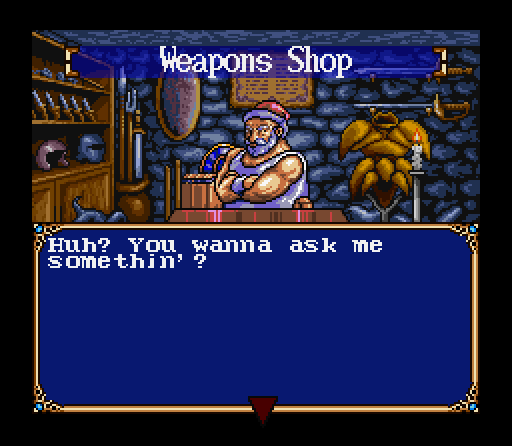 "…Santa? Is this where you stay the other 364 days of the year? Where are your elves?"
 "Well, there's nothing real important in this noggin' of mine, but I know for sure that the floor above us is full of crooks. So keep a close eye on your valuables."
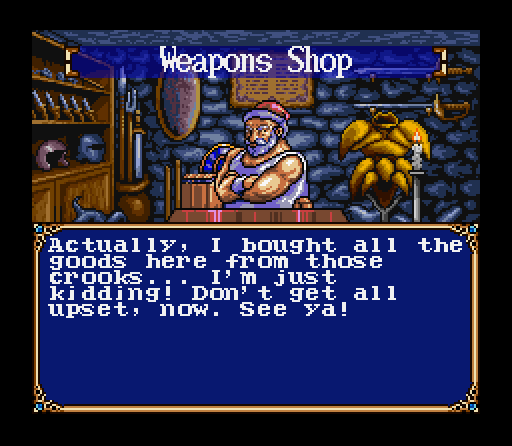 "Are the crooks your elves? You're really confusing me here…"
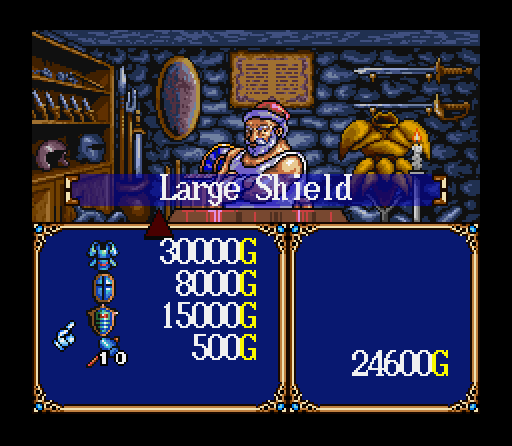
This guy's actually got some pretty nice gear for sale, but spending money on armor or weapons goes against my principles. This is actually more of a preview of things we're going to find in the next couple of floors.
Also, we're right next to the exit here. It's just a bit hard to see from when you're facing the weapon shop.
As you can see, there's a lot of white space on the map yet. We could go without ever exploring those branches, but that's not what true treasure-hunters do.
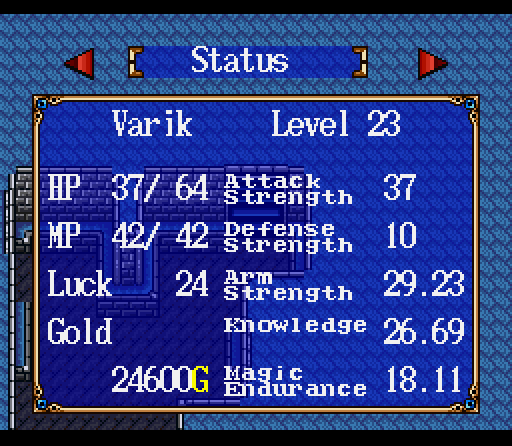
Not very much change in Varik in these couple of floors, but steady progression. Defense strength is still lagging, however, so we really need to find some armor.
Next Update: Those other branches, Bandits, warp floors, and possibly the end of the Tower.