Part 11: Two and a Half Floors
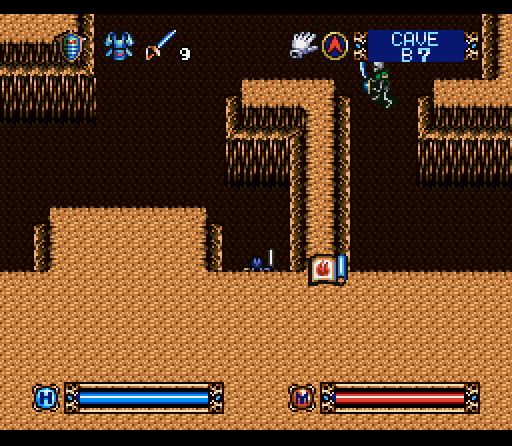
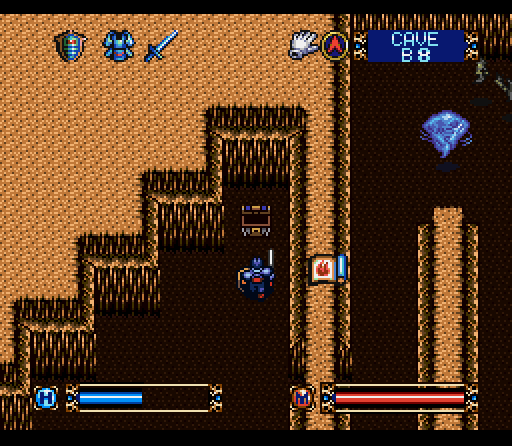
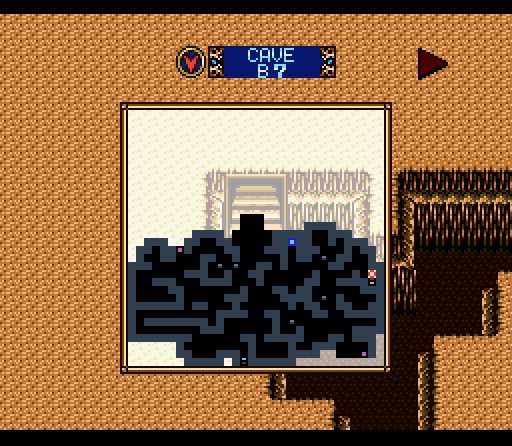
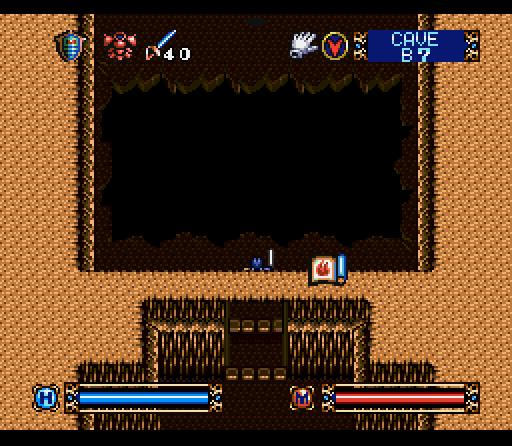
Starting on to floor B7, it's a bit of a weird floor. There are no doors on this floor, it's just one big wide open maze like space full of skeletons and bats.
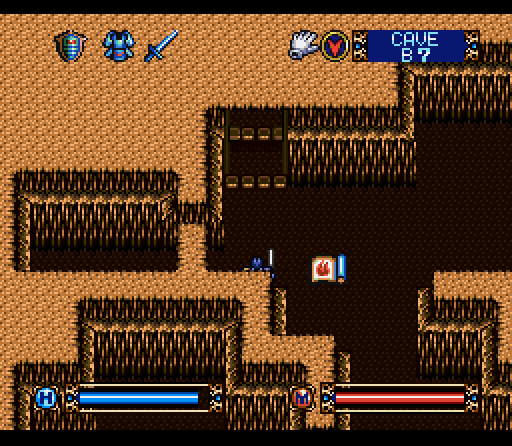
Mysterious treasure that we can't get to!

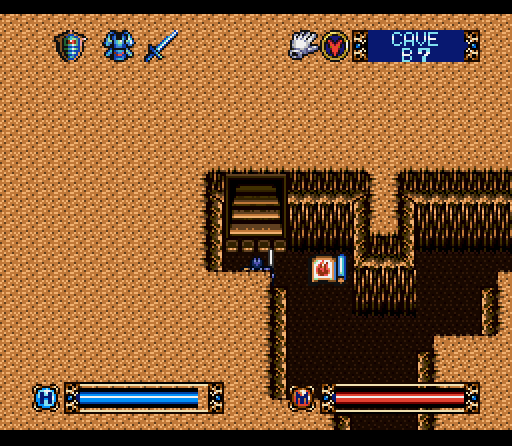
Except that we can get into it as soon as we hit this switch and remove the pillar. The treasure behind the pillar is 2000 gold, and there's some H. Poison tucked away as well. I'm at a point where I just want some cash, so that's sticking around to be sold.
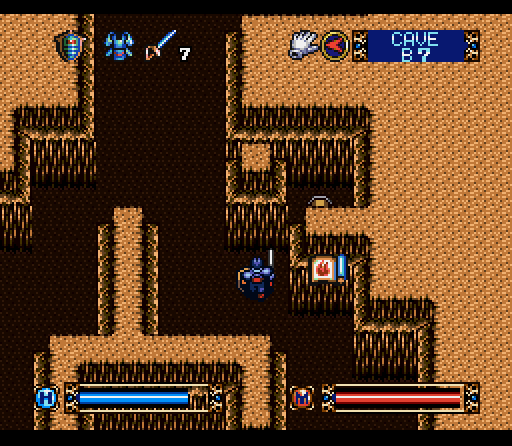
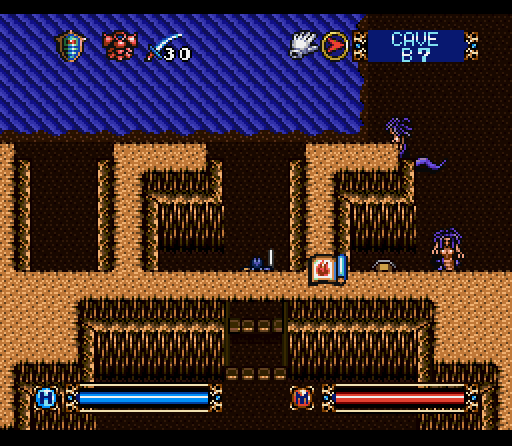
Our progress north is blocked by this giant pit, so we'll have to find another way around. There are bats nearby, who can fly freely across the pit and attack you.
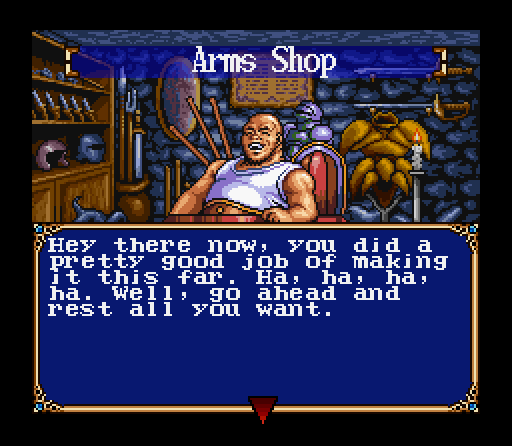
The other major feature of this floor is our first magic shop in a while, which would be welcome if we could actually afford anything. Soon!
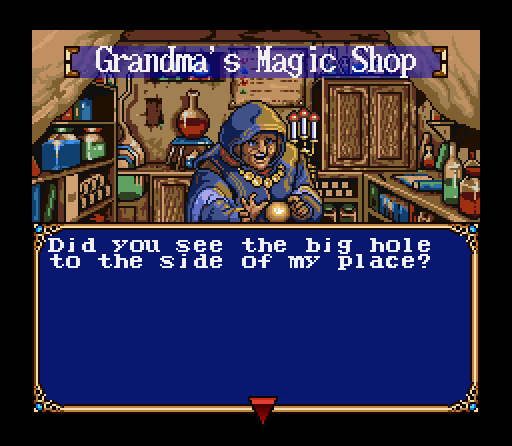
 "Couldn't have missed it, granny. My eyes haven't started to go yet."
 "Don't even think about trying to jump that baby. Sometimes taking the long way does have its advantages. Only… I've heard that there's a place that you can only get to by going down the hole." "You had me at 'don't even think'. Time to go do some hole-diving, if you know what I mean."
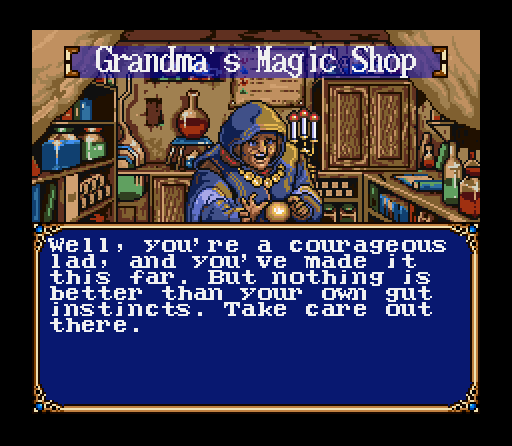 "Thanks. You wouldn't happen to have any helmets in stock, would you?"
Five seconds later...
 "This looks awfully familiar… damn it granny! This isn't a secret at all!"
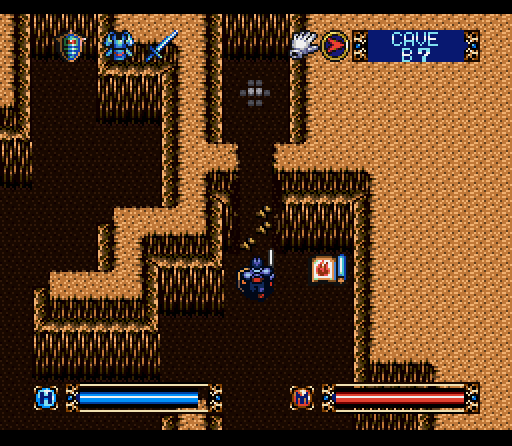
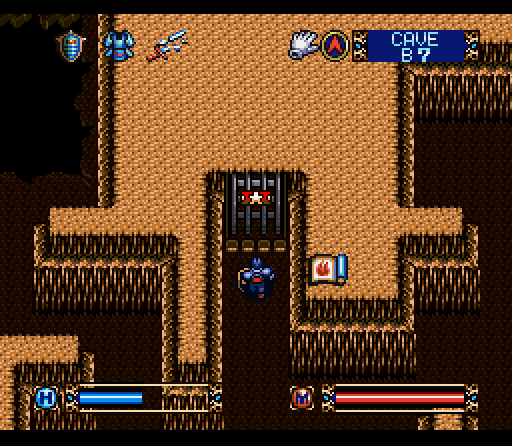
Returning to B7 there's a concealed switch behind a wall just to the east of Grandma's shop.
Rather than doing anything mysterious, it just opens a hidden door right here and lets us get a couple of Gold Bars.
It also takes us to the exit. If floor 7 seems short, there's a reason:
We only actually explored half to it. There's a whole additional section north of that pit, but we'll have to get there from B6. Don't worry, though, we will explore it before the end of this update.
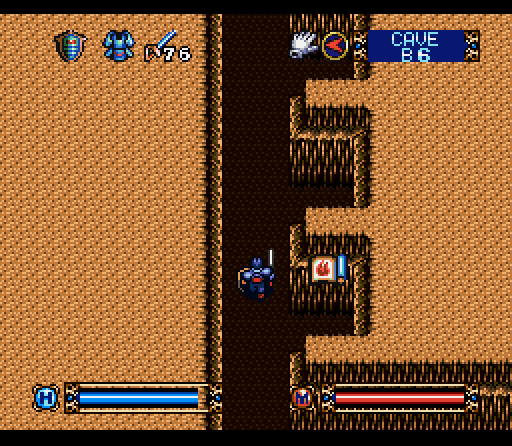
Climbing up the stairs, B6 starts out with a series of mysterious notches carved into the side of the wall. None of them have treasure or hidden doors, so they remain a mystery...
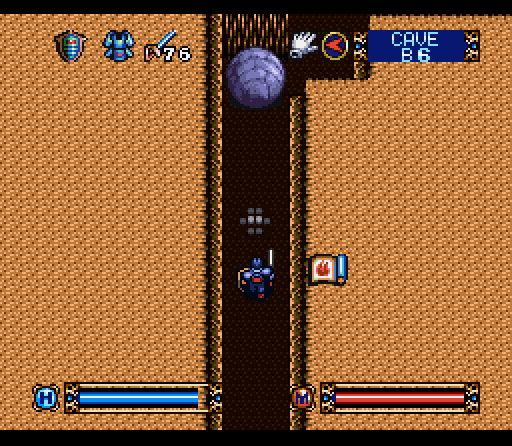
For about five seconds.
"Oh bugger all, not again!"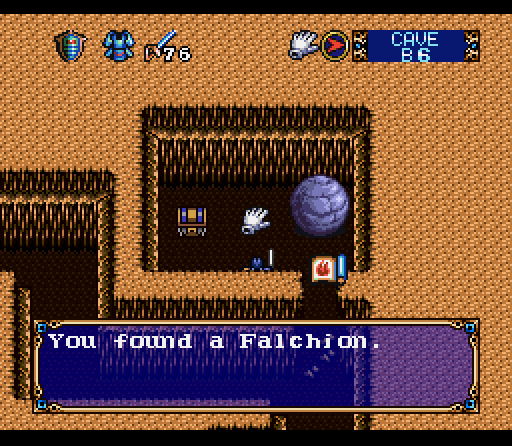
You pretty much have to trip that switch facing toward the notches we passed earlier. Running isn't going to do it, though. You pretty much have to start jumping and have pretty good timing. Once the boulder crashes through the wall we get some Gold Bars in addition to this Falchion.
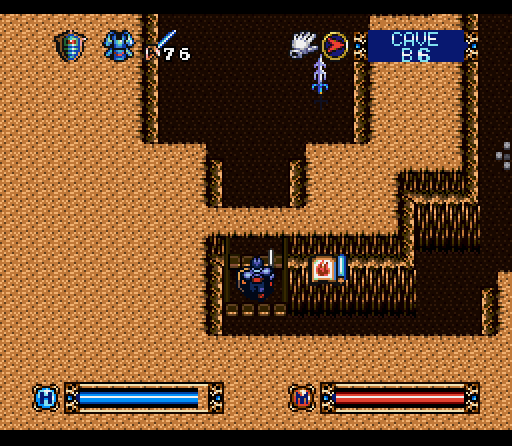
Right next to the bolder's former resting place is a room full of these Enchanted Sword enemies. They're fairly slow, but can take off about 3/4 of our HP. They ignore magic, and they take about one damage from our best weapons. It's really a gauntlet that you want to run and then make sure you close the door at the other end.

We only have to pass it once, though, since this switch opens a hidden doorway that leads us back to the stairs to B7. The other door, however, is much more interesting.
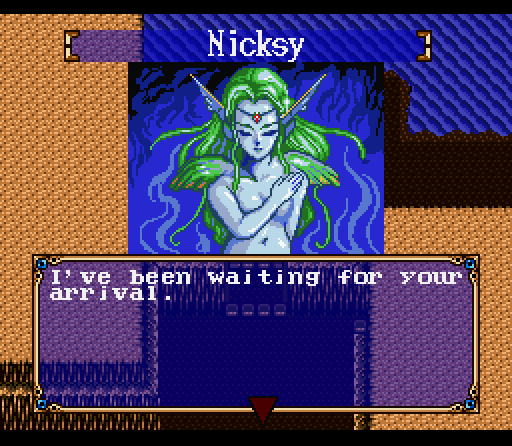 "…I guess I'm sorry for keeping you waiting? This is a little bit weird, but I guess…"
 "You did a marvelous job of finding the armor at the bottom of the spring. And since you saved the spring. I would like you to take this armor with my gratitude." "I don't remember finding any armor, but you're not going to hear any argument from me."
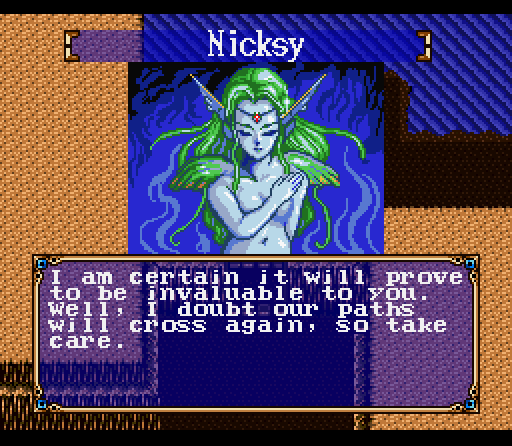 "Let me know if you need any help with those monsters again. Especially if you've got more armor to spare."
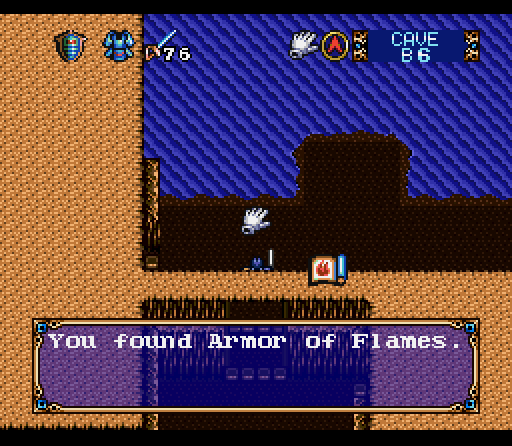
The Armor of Flames is a considerable boost over our current armor, and is even a boost over plate armor. Technically it's about the third best armor in the game.

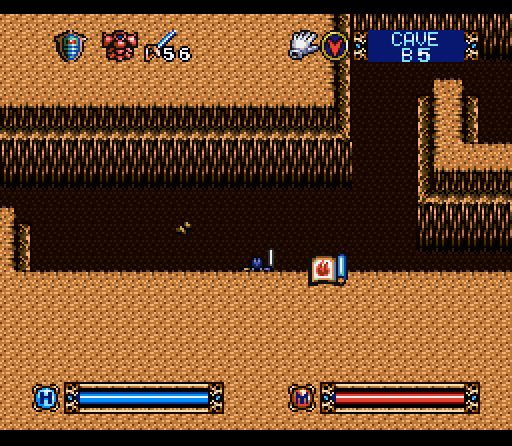
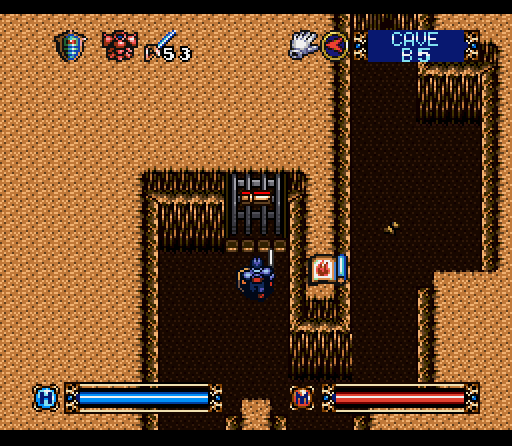
One thing we haven't seen at this point in the caves are spike traps, which are REALLY hard to see with this tile set. There's one directly in front of me at this point, as well as three spaces in front of me.

Once we hop to the end of this path we've got two doors to go through, but we've missed something important so we'll be hitting one and then coming back for the other.
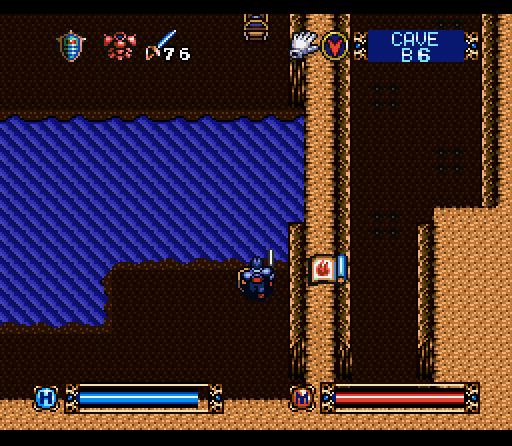
The right door leads to a room with an uncrossable waterway. No way of crossing this yet, so it must be reached from B5. Now, about what we missed...
 "Sure, it's kind of what I do. Also, you sound kinda hot."
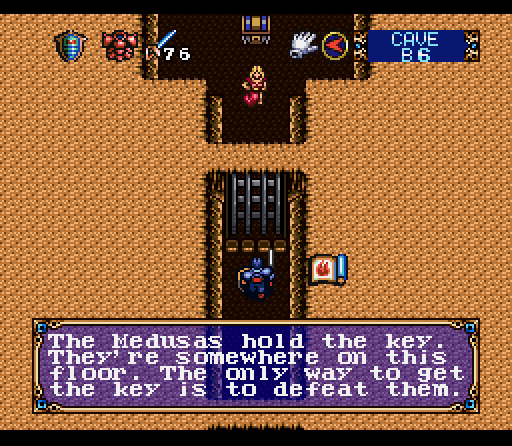 "Par for the course. If the only problem is a couple of monsters, I'll be back here in a few minutes."
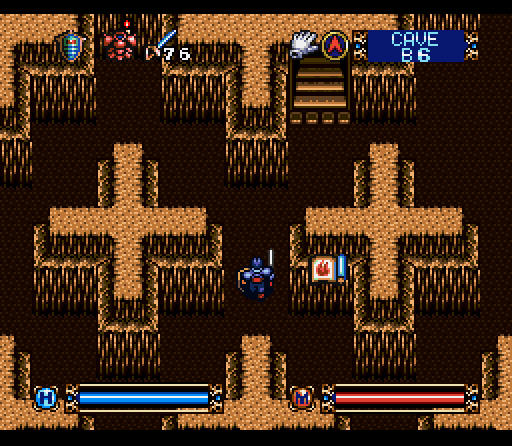
Going back to the door we skipped so we could go back to the door we skipped (it gets confusing, I know) the first thing we stumble across is the exit. Since we're not done that'll have to wait, but the bigger problem is that this is another Room of Wander. These are purposefully designed to be as similar as possible across the totality of the room, and this one is MUCH bigger than the last one. There's 2000 gold pieces, a Ring of Anger, and some M. Potion for compensation.

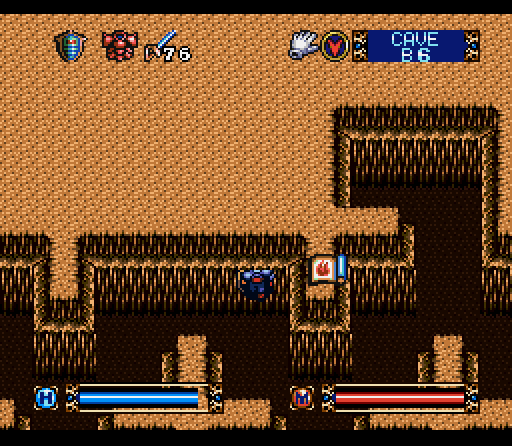
There are also a pair of Medusa. These guys are, in a word, nasty. They've got a paralyzing stare attack that will freeze you in place like their own personal ice magic spell. Once they've got you, they'll just proceed to beat you to death while you're unable to move. Given that we're in very narrow and cramped corridors this is difficult to avoid, and the fact that we might also have our perspective flipped by moving onto the wrong square. They're vulnerable to magic as well as sword attacks, but that only helps so far.
While we're dodging around the medusas (or killing them) there are also a couple of concealed rooms behind illusionary walls. These rooms hide a very welcome Sledgehammer and H. Potion.
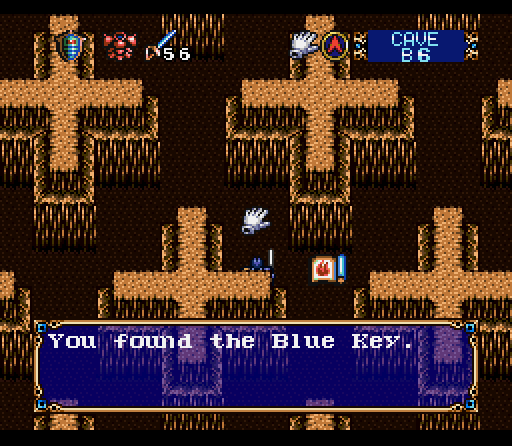
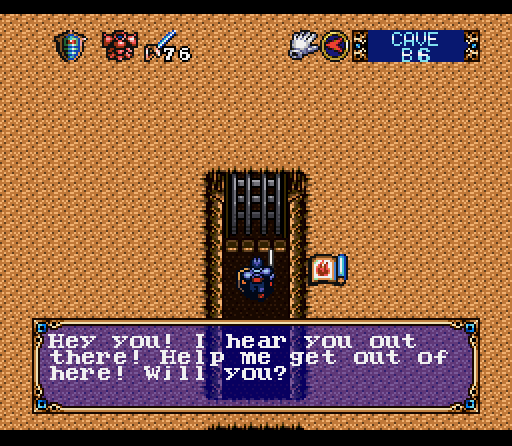
Killing both Medusa results in the second one you kill dropping a key to the prison door. If you should kill them before finding the imprisoned woman they won't drop anything, but will respawn once you've found her.
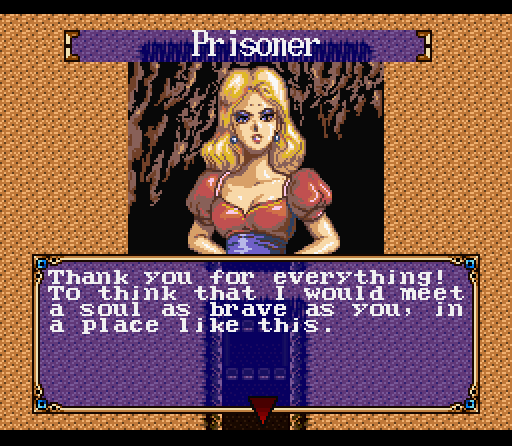 "Well, you shouldn't feel like you have to reward me, but…"
 "Say! As my way of saying thanks, let me show you something really interesting. But I need you to turn and face the opposite way until I give the word. OK?" "SURE! Oh boy oh boy oh boy…"
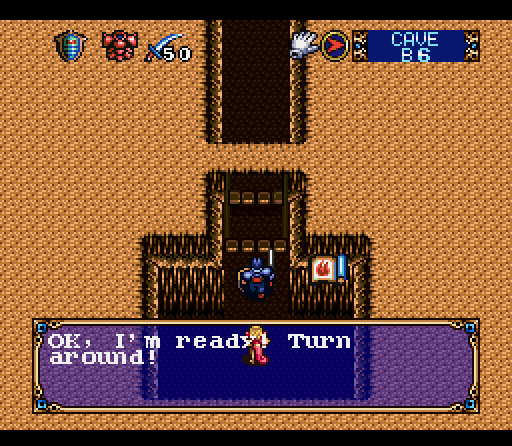 "Here I come…"
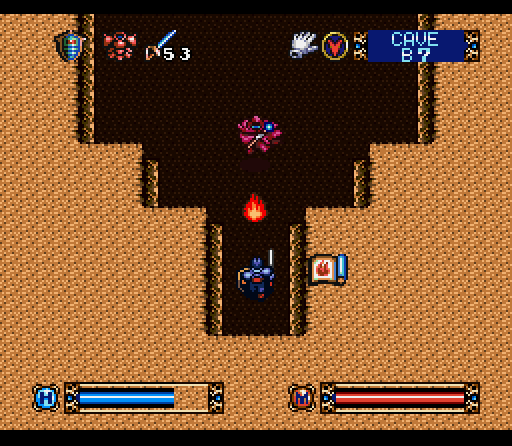
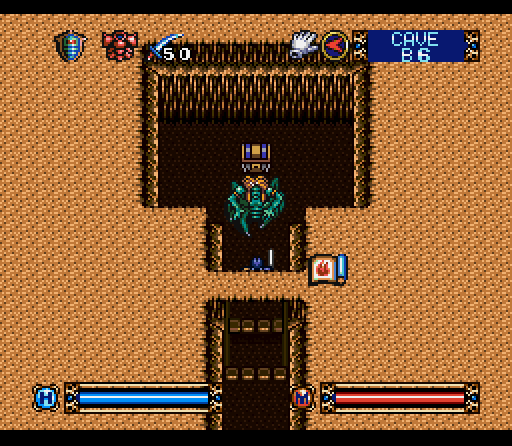 "Oh GODS! FIRE! Kill it with fire!"
Surprise! Dick move. This is essentially a surprise boss fight, in a narrow corridor with no room to maneuver. To make things worse, Arachne here can shoot paralyzing webbing and freeze you in place while you try to escape. The door behind us was closed as well. Your best bet is to simply start swinging and try to do as much damage as possible as quickly as possible. Magic isn't as useful as swords, and you want to chug healing potions in order to survive.
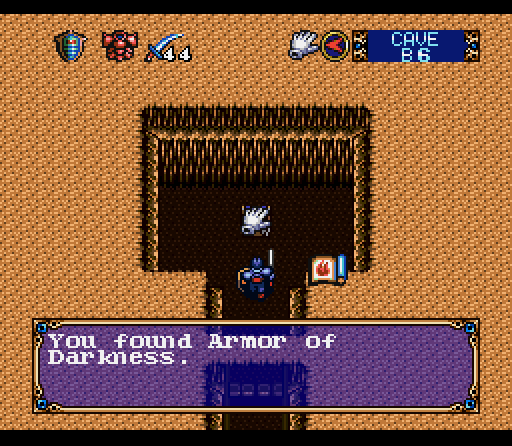
Victory grants us the Armor of Darkness, which is distinctly different from Army of Darkness. The Armor of Darkness has the second highest defense in the game, but it's only useful in very limited situations. If you use it in the wrong place, like here, it'll paralyze you.
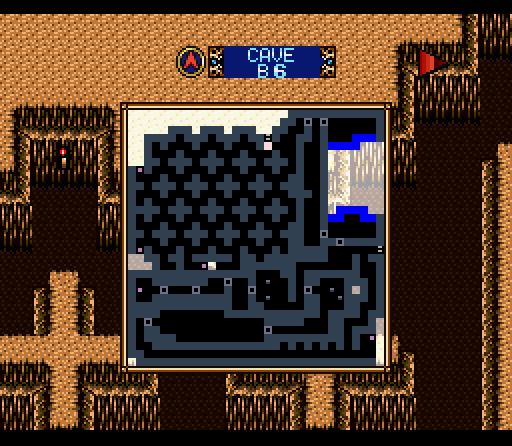
With that we're done with floor B6 and can make for the exit. This is a pretty simple floor when you look at it, especially considering that the Room of Wander takes up more than a third of it. Still a few empty areas to fill in, however.
As soon as we come onto B5, the floor splits in two directions that never meet up again. The main part of the floor is to the left, so we're obviously going to be heading right.
This decision is immediately rewarded by a largely useless weapon shop.
 "Thanks. So what's up with this floor?"
 "Huh? You're asking me for advice? Well, it's nothing special. Everyone around here knows about it but…well, I guess I can tell you. I've that there's a stairway that some monsters hid with a magic wall around here." "Wait, who's this everyone you're talking about? Are there more people around here?" "Wah, ha, ha. Well, I'm not sure if it's true or not either. Wah, ha, ha ha, ha…" "Or maybe they're just in your head and you've cracked. It wouldn't surprise me."
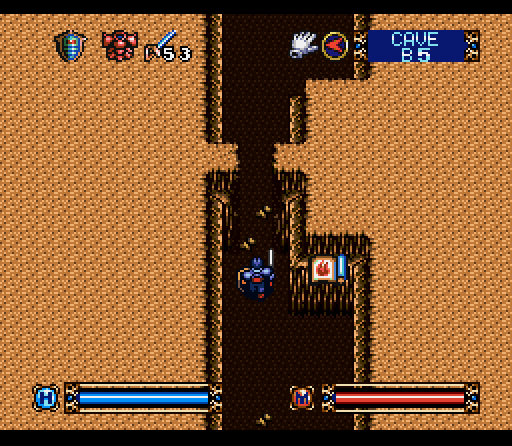 "Magic wall my ass! This is just a regular patchwork job. Between granny and that guy, I'm starting to distrust people."
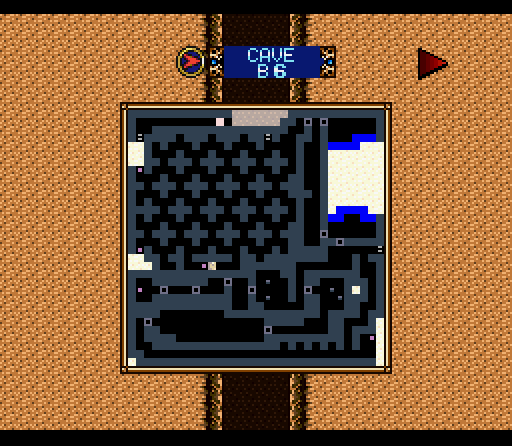
The wall is actually concealing a staircase, which takes us to this hidden portion of B6. Not much of a portion, since it's just a path directly to another staircase to B7.
Immediately upon going down the stairs we're greeted by a Warlock, also known as the Mage and Wizard's big brother. His attack looks disturbingly like our flame spell, and causes considerable damage. It's about 15 or 16 at this point, and that's with me having 20 points of Magic Endurance to take the edge off. If you haven't been training that stat, you're going to be in for some serious pain. On the other hand, he's actually an ideal opponent to use for training. You can simply take his hits until your HP runs low and then back up the stairs and rest. Once the Warlock goes down we have three doors we can go through.

Heading right from our previous perspective takes us to a large open room with a couple of medusa running around as well as some empty chests. The medusa are much easier to deal with in an open area.
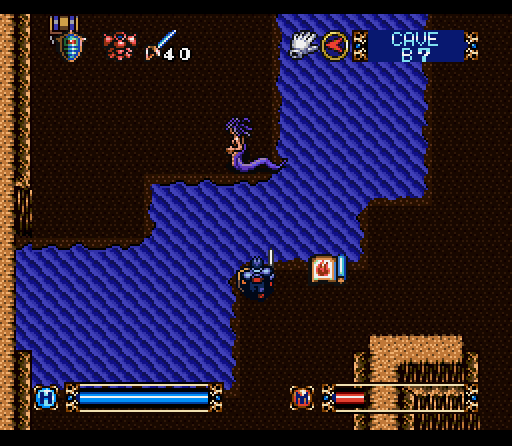
This one is easy prey for magic, and if you remember that you can actually jump across a water gap of this size you can pick up a Ruby Key. The Ruby Key opens up a tiny room in this section which contains a Ring of Protection.
We're done with that path, and going directly forward from where we defeated the Warlock takes us to the other side of the pit we saw last time we were at B7. No help there.
The third and final path has a pair of Medusa and a large spring with an island in the center.
North of our position is an illusionary wall, which contains a tiny room with a floor switch.
Said switch pops up a rock to let us jump across to the island. There's also a chest with some Gold Bars right next to it, but that's almost incidental.
The real point is in the center of the island.
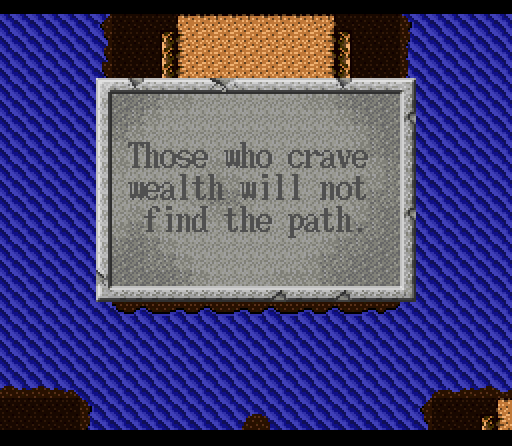
"That's not a hint, that's a fortune cookie!"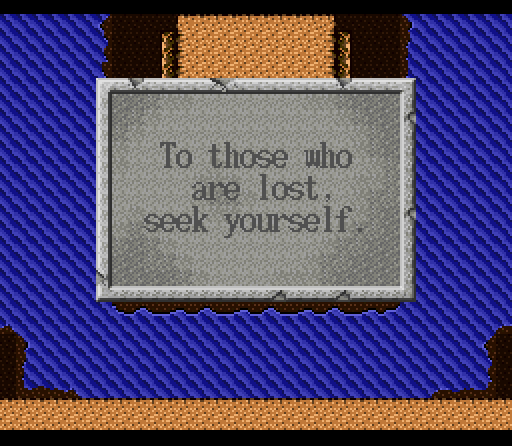 "And this one's even worse!"
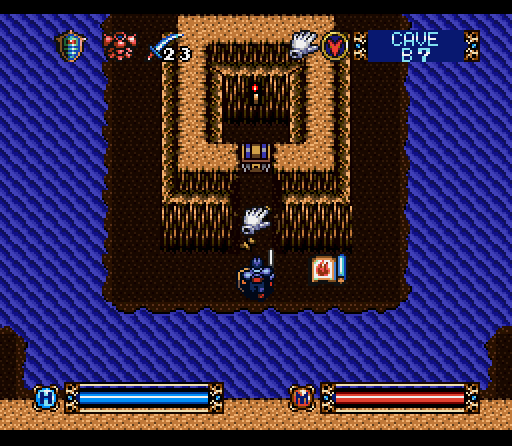
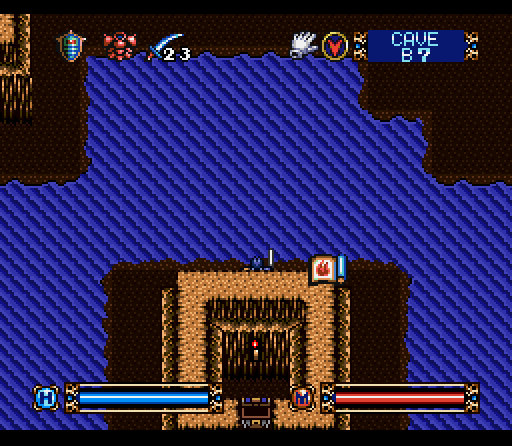
So if you haven't guessed, this is intended to be a bit of a puzzle. By using the action button (rather than the look command) on the the more vague and philosophical plaque grants us access to a single square containing a treasure chest with the third and final Dimensional Box.
 "Well, this is a problem."
It's not that simple, however. The treasure chest is rigged and has to have a valuable item placed in it or the stepping stone we need to escape will vanish. You can't put junk in there either, which indicates that the trigger is gold piece value. Luckily, the Ring of Protection we found in the other room works just fine.
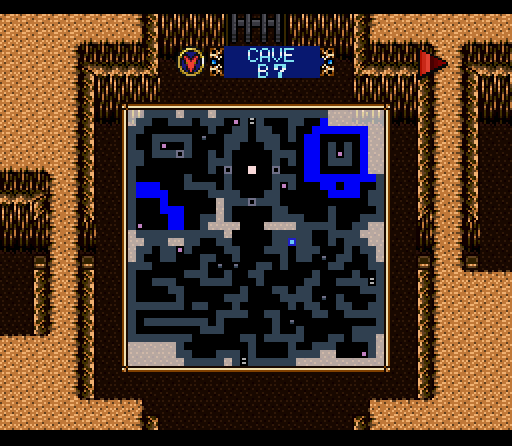
With that we're done with B7, and I must say that it looks much better this way.
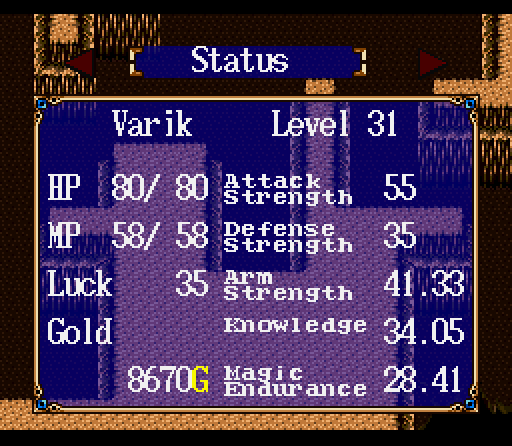
That's enough for now, so this represents Varik's stats at the end of this section. We're about halfway through the game, and although they haven't changed much it's still an improvement. And yes, I did grind out eight points of Magic Endurance on the Warlock.
Oh, and if that gold total looks a bit low… well, we'll talk about that next update.
Next update: New magic, an optional floor, and possibly a boss fight.