Part 13: Who Turned Out the Lights?
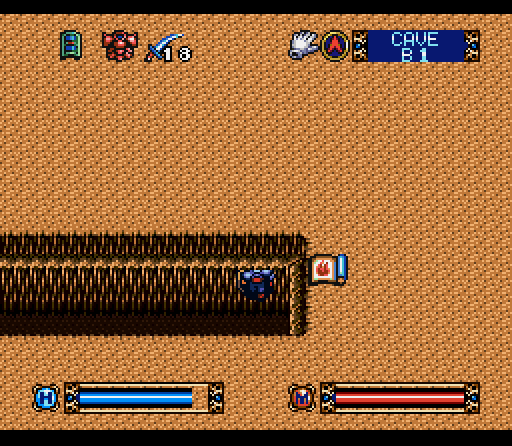
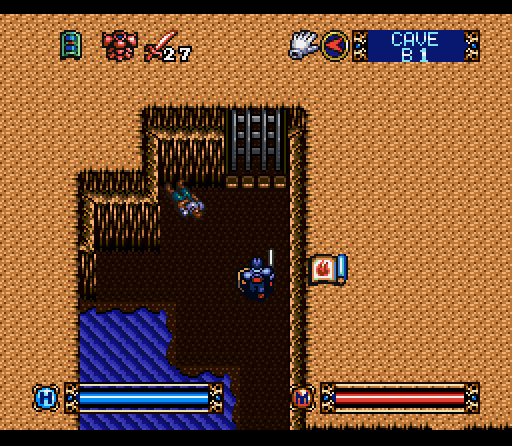
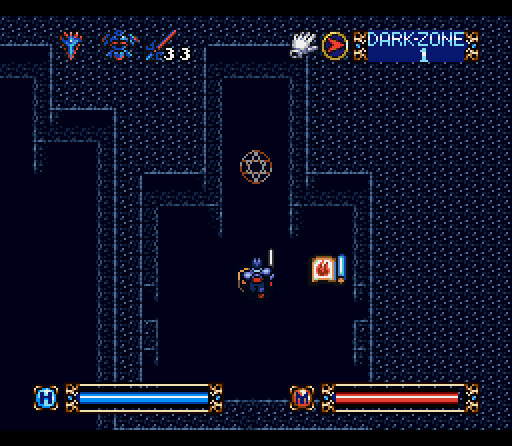
Starting back at the end of the caves it's just a bit confusing if you're already past this section and forgot that the caves count down and not up. We're almost done with the caves, not just starting them. At any rate, the first thing we have to do is find a secret door hidden away at the end of a hallway. Since there's nowhere else you can go, it's not that confusing. There's some M. Potion an an Armored Warrior on the other side.
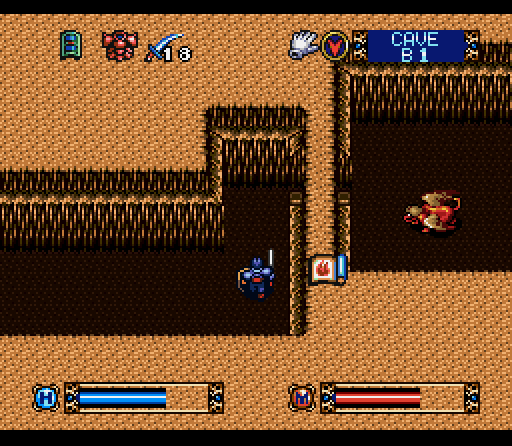
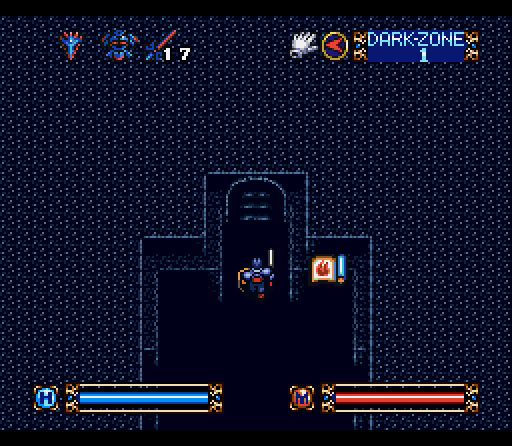
Right down the hallway we get a new enemy, the Chimera. They look a bit off, and you can get them with either magic or weapons but it's usually faster to use weapons. You also don't want to square off with them magically...
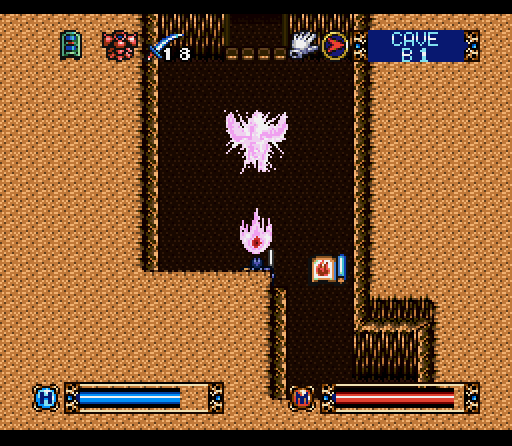
Since they can do this. It still stings a bit, although not too much with our magic endurance. The glow is just a bit unsettling, though. This one has a Gold Bar behind him to sweeten the deal, and there's a couple of them in a row.
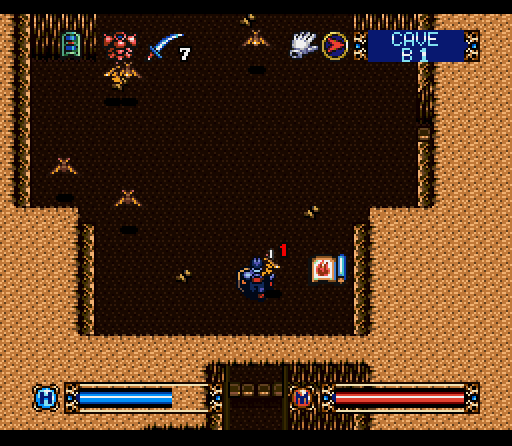
For added flavor, there's a room full of Gold Bats with pits scattered throughout. They're a lot less annoying without a giant pit occupying the room, but there are enough of them in a small space to be annoying. Yet another Sword of Majesty is concealed nearby.
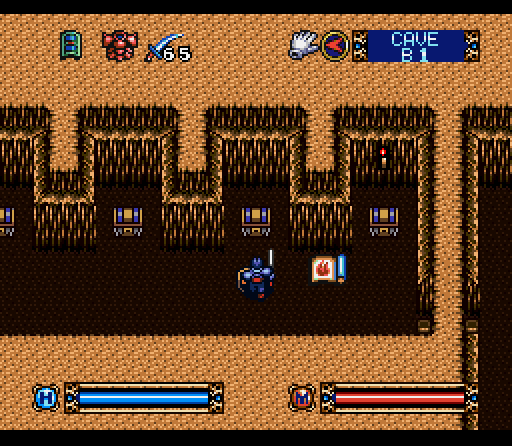
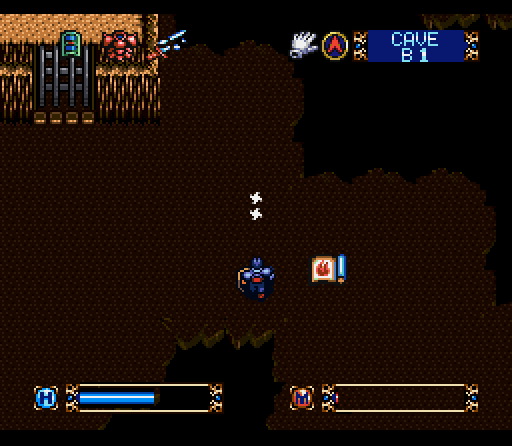
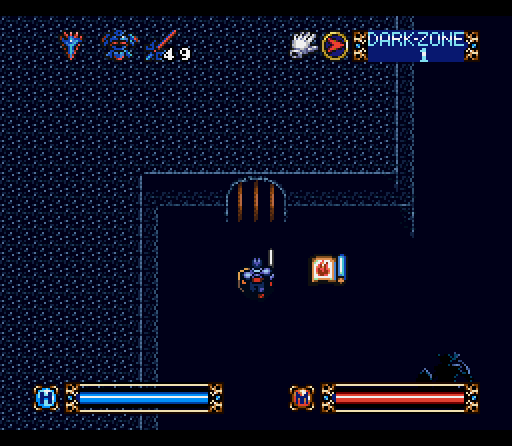
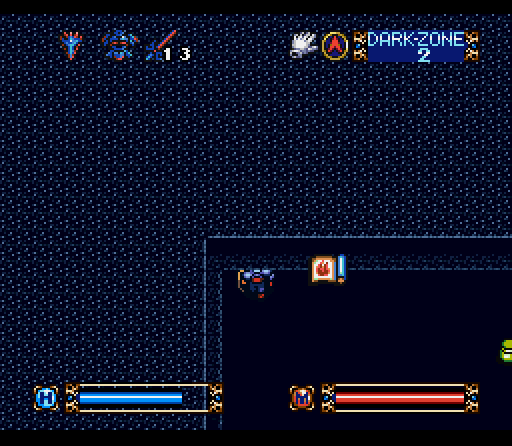
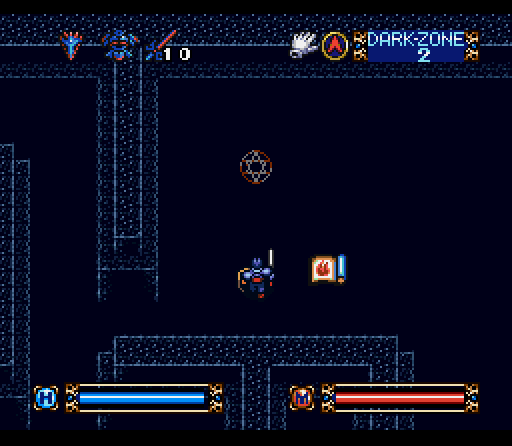
Our next stop on the cave tour is a set of 10 chests in niches along the wall, with an unsettling message.

The key here is that it's also the grave of those who desired and were stupid. It works kind of like this:
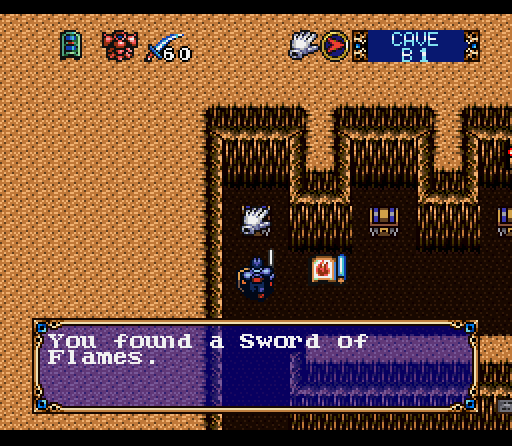
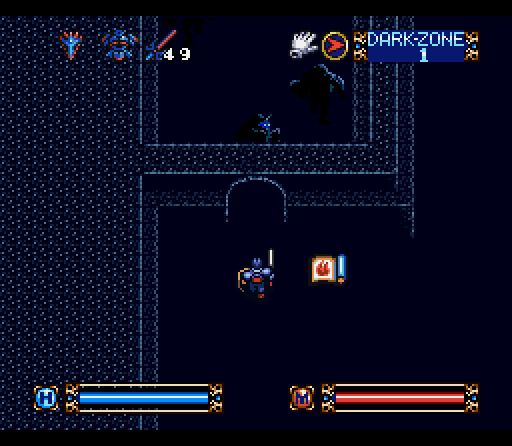
In addition to this Sword of Flames (+28 attack power) there's also several sets of Gold Bars, 3500 gold, and a bunch of empty chests.
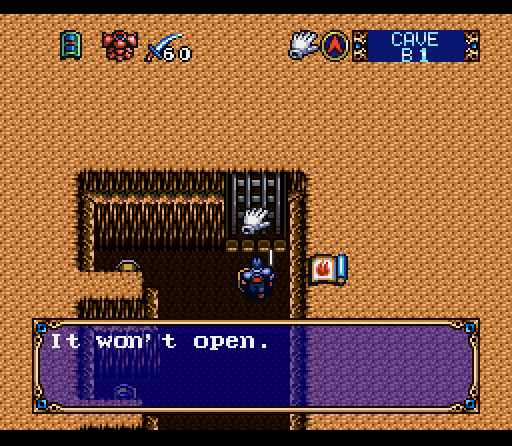
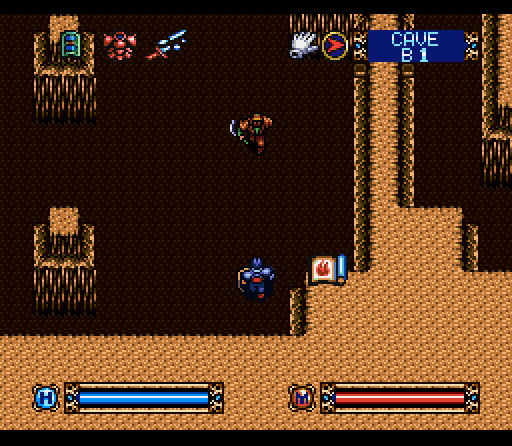
Once you've opened any of the chests, however, the doors close down on both ends and won't open.
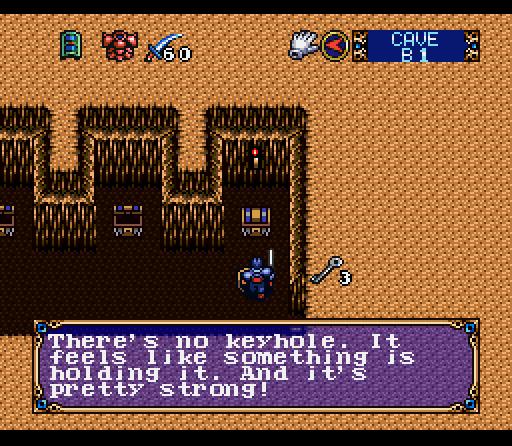
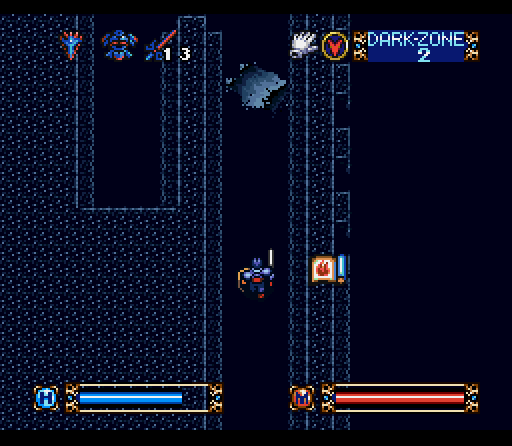
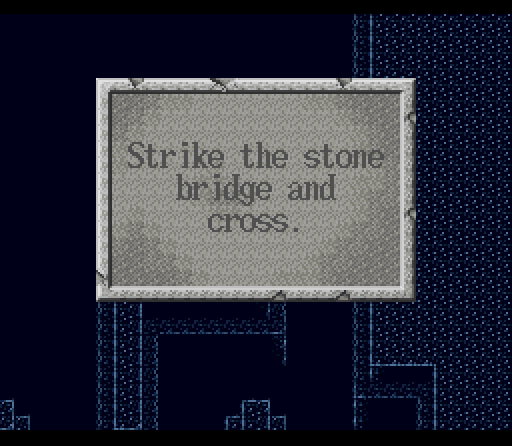
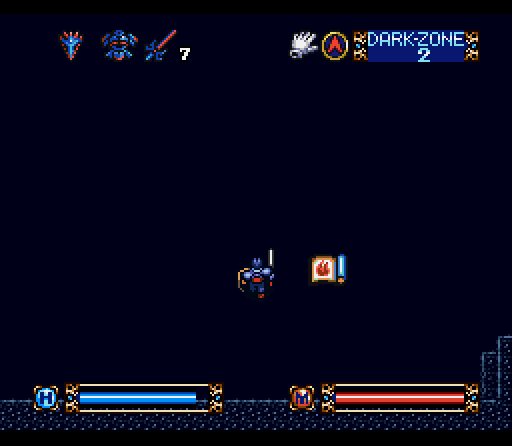
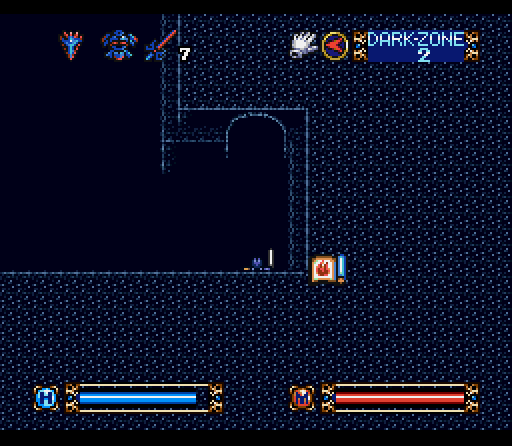
There's another chest that refuses to open with a weird message, but seems to open just fine if you close the other chests. It contains another Sword of Flame, and is kind of a clue… you see, the gates will open again just fine as long as you go through and close every one of the chests you opened. You don't even have to put anything back… just close the lids. It's a very obsessive type of trap.
Shortly after we find the only other living person on this floor, although that might be stretching things a bit.
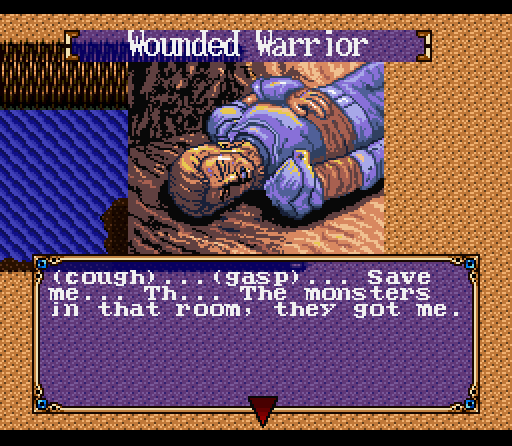
 "Holy shit, they did get you pretty good…um… I don't think I can do much for ya, not a doctor or anything. So, what kind of monsters are we talking about?"
 "To think I made it this far… and now (cough) … this… (cough) "Don't worry, I'll get them for you. And also because I kind of need to if I want out of here."
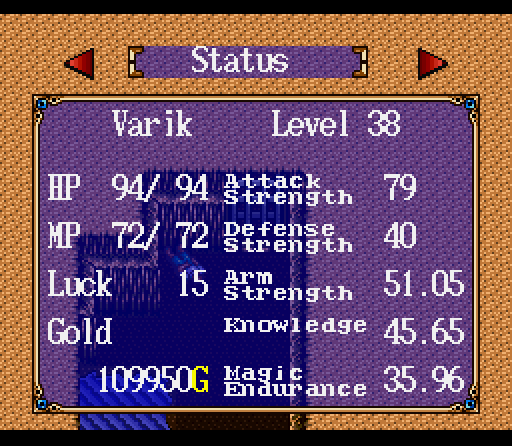
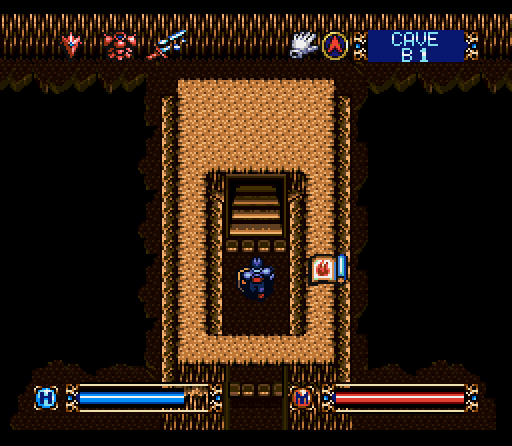
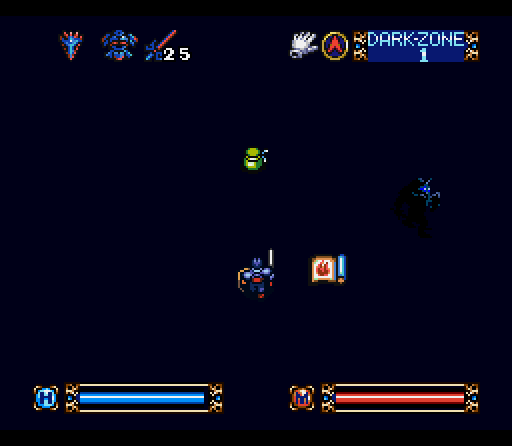
So this is another boss fight coming up, with an accompanying snapshot of our stats. Varik's picked up a few levels dealing with the enemies in here already, but it's not really been dramatic.
This is the best shot you're likely to get of the boss. Meet the Ninja! He's fast and he loves to throw shuriken at you if you give him half a chance. Getting close isn't necessarily a good idea either, though, as he's got near perfect defense and can hit you back for about 35-40 damage at this point. 2-3 hits is enough to kill us, and to make things even better he'll create a double if you get too close. The double has a lot less HP, but retains all of his killing power and loves to get you from the side while you're distracted by the actual boss. The two are absolutely identical, however, so good luck telling them apart.
I probably died a good eight or ten times trying to get through this boss, but eventually succeeded. Unlike most bosses he's actually vulnerable to flame magic, and he's quite willing to stand a few spaces from you and throw shuriken while you throw magic. The damage is absolutely terrible, but it's actually somewhat easier than trying to engage him with weapons. You just have to pay attention to your HP and refill when necessary… which isn't exactly easy when you're picking up magic levels on a fairly regular basis. Beating him opens the way to the stairs and the way to the back room, which contains...
 "Another one? That's got to be breaking some kind of rule!"
This guy seems a bit weaker than the Ninja we just dispatched, but he's in a smaller area and tends to run in and out of an illusionary wall while fighting you.
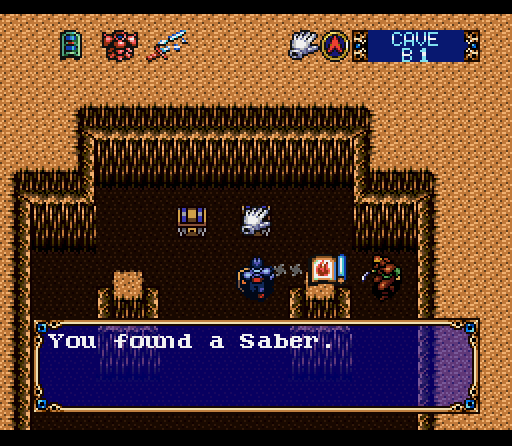
Fighting him was taking quite some time, so I decided to go ahead and open some chests in the meantime. The chest on the left has some Gold Bars, and this Saber is actually the permanent variation.
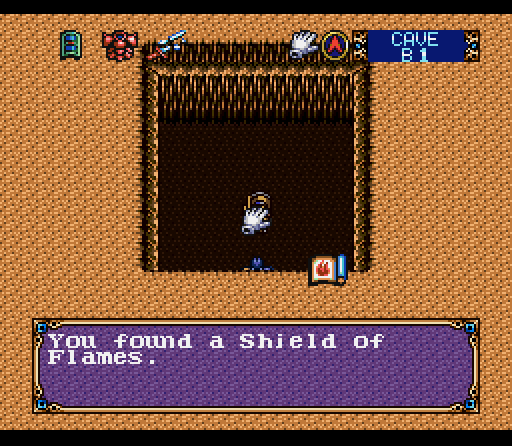
The secret room I mentioned has this, which provides an additional +6 defense. It's handy, but defense really does lag behind attack in this game.
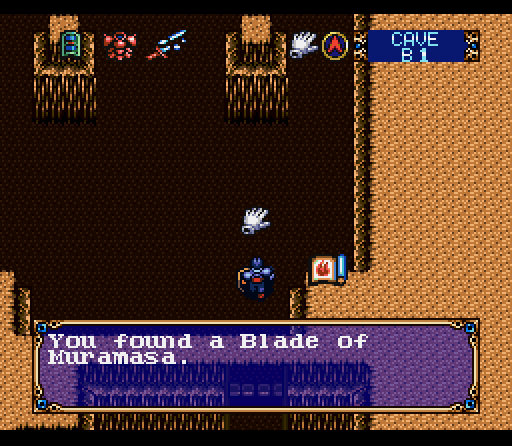
Eventually the second Ninja dies as well, dropping a small present. There aren't many uses left on it, but this Blade of Muramasa is the third strongest weapon in the game with +38 attack power. We'll be finding more of these in future levels, but it's definitely worth investing a couple of hardening potions to make it usable. For some reason, however, the Blade of Muramasa won't go higher than 60 uses no matter how many potions you use.
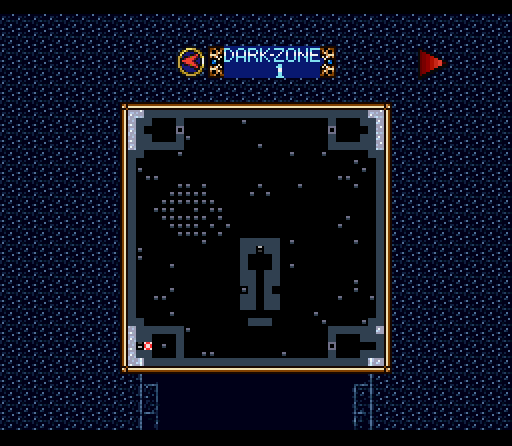
With that, we're done with this floor. You can see off to the side that the fight with the Ninja actually took place on a narrow portion of land in the middle of a giant pit. On several occasions I ended up falling off of there, which wasn't necessarily a bad thing as it was one sure way to get space to heal.

The map is thus rather incomplete, and will remain so since I didn't feel like jumping off a cliff multiple times to fill in little tiny squares. When all is said and done, though, this is actually a pretty simple floor in design. Going up from here….
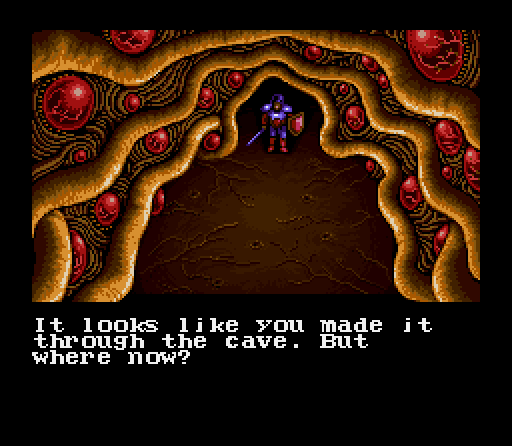
 "Okay, either somebody turned out the lights or I've gone completely blind… and I'm not sure which is worse."
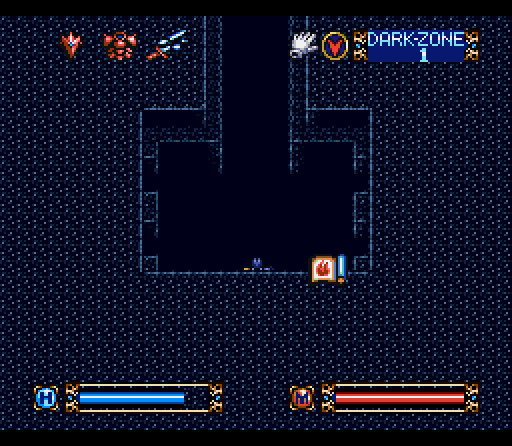
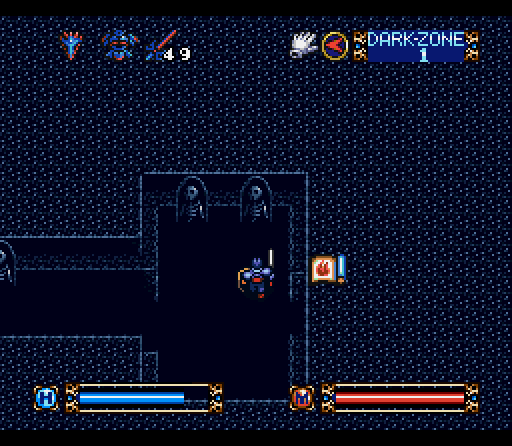
Welcome to the Dark Zone! The gimmick is exactly what you'd think here… other than the walls and a few select other objects, this area is completely dark. It doesn't show much here, but believe me… it will.
Before we get started, though, it's time to make a few equipment changes. This is Varik with a Broken Sword and his latest armor. You can also see that I gained a shitload of magic from fighting the Ninja, but other than that our stats aren't much different.
This is Varik with all the Darkness equipment we've been saving for this very moment. The Darkness equipment is the second strongest or strongest equipment in each class, giving +40 attack power and +35 defense power for each piece of armor. It's got a drawback we can discuss a bit later, but here in the Dark Zone it's incredibly powerful equipment.
Fully equipped we can begin exploring. The walls have a lovely interred corpse motif going on when viewed from the side.
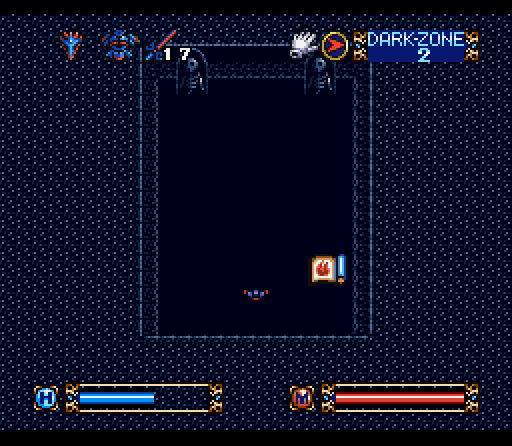
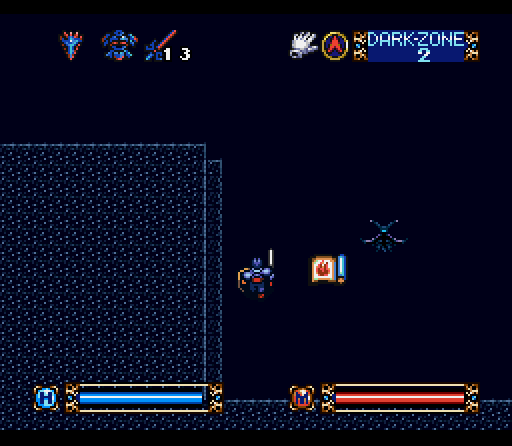
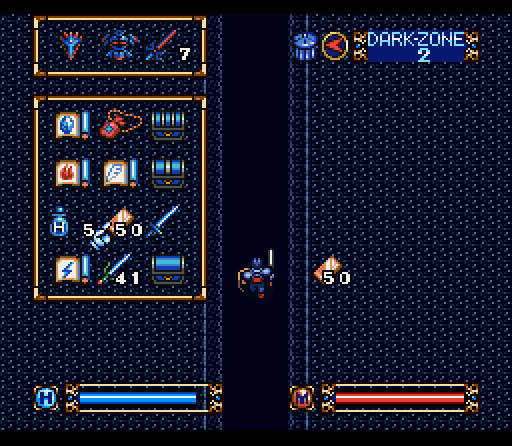
We're going to need our new weapons and armor for dealing with the denizens of the Dark Zone. They're much more dangerous than what we've dealt with before, and give correspondingly greater rewards. These big bruisers are similar to the Armored Warriors, but you can actually attack them if you want. They're much easier to take down with a fire spell.
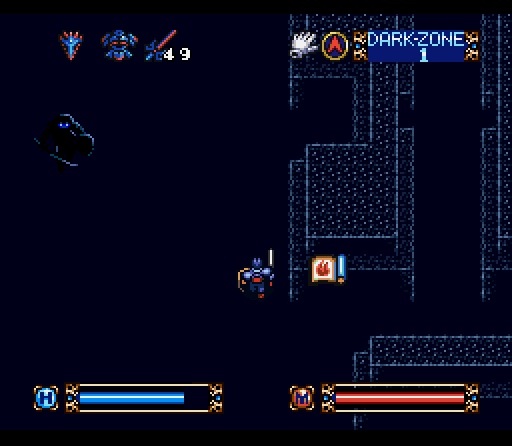
The Chthuloid horror scuttling through the dark basely visible here is the inverse, fairly easy to take out with an attack if you can get close to him but very dangerous from a distance. They can throw Fire magic of their own at you, easily doing upwards of 30 damage. Oh, you might have noticed from the screenshot that I've fallen into a pit. There are a lot of them around here, and no real way of finding them other than through trial, error, and constantly checking your map screen.
The easiest solution is to find your way to the perimeter of the room and follow it around. Heading north will bring us to the first of three rooms, which are sealed off by what passes for a door in the Dark Zone.

Barely visible off to the side is a switch to operate the door… easy enough to miss, but a small mercy provided by the game in this case.
Although mercy is a relative term, considering that there are three enemies packed into a very small room for us to deal with.
Behind the three is a glowing floor switch, although it isn't actually visible until you've stepped on it. To escape this floor we need to hit another switch, then find the exit… conveniently enough the other switch is directly to our west on the other corner of the north side of the floor.

A handy sign (how is he reading that again?) gives a hint about the Darkness equipment. Everything else will work just fine, it's just that the Darkness equipment really is a big step up.
Going down to the southern end necessitates some exploring and detours around pits, which provides a good chance to pick up some loot. Treasure is perfectly visible in the Dark Zone, but it's often surrounded by pits so that you can stumble into them while trying to pick it up. The treasures available on this floor are a Sword of Flames, Sword of Majesty, and Sword of Darkness… y'know, in case you've used all of yours up already.
Once we end up in the Southeast corner with those two floor switches tripped we get access to this teleporter, which is the only way to the exit.
It's just a short step ahead from there, although I believe there was a monster in the room for a few seconds.
I made a point of exploring the entire room for completion's sake, and for the experience benefits. The giant mass of pits in the northwest corner had a treasure in the center, although there's no way to find it without making a few blind jumps into the darkness.
Going up to the second Dark Zone we make it two steps before falling into a pit. This is an omen for the rest of the floor. The exit from the entrance room is an illusionary wall, which as you'd expect looks just like the other walls.
Outside we've got the dark equivalent of the bat, which goes down just as easily as its equivalents.
This large room is full of pits which drop you back into the previous floor. The easiest way to advance is the most tedious, simply by using the map and checking after every step to spot new pits.
This treasure, for example, has about 2-3 rows of pits we have to navigate to get to it… which you'd never recognize from the view.
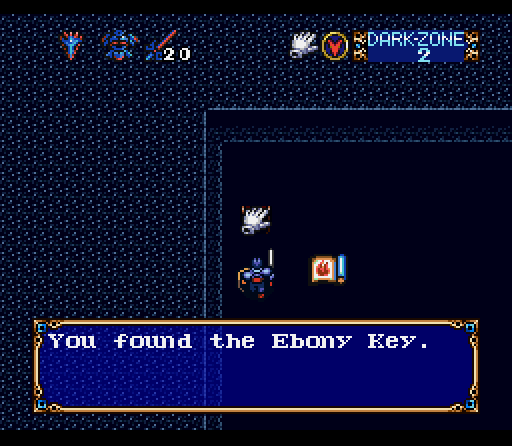
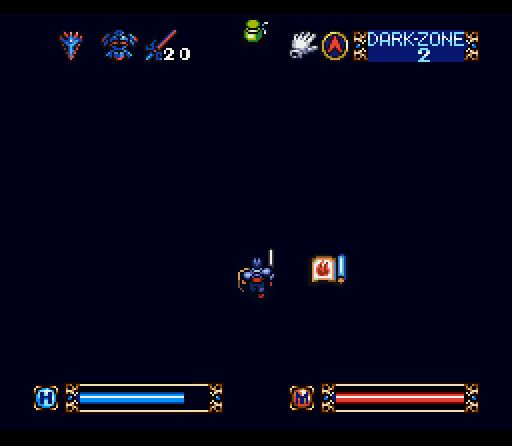
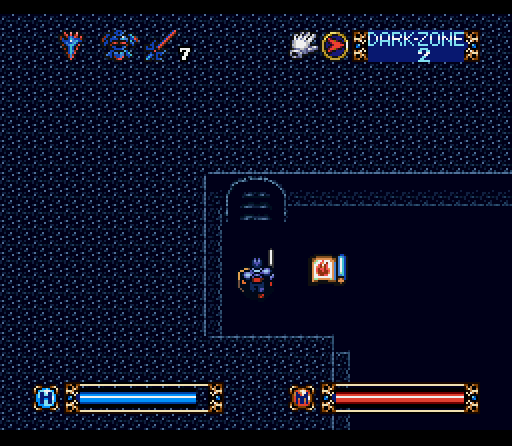
Nearby an actual chest contains the only key you'd expect to get us out of here: The Ebony Key.
A nearby hidden wall grants us access to a floor switch. This is actually a key to a secret room, which we'll be getting to near the end of the floor. We can also grab a permanent Falchion from that bag that was hidden behind a few rows of pits.
After that pit room is a narrow corridor with a new feature, which may or may not be some kind of flowing water obstacle. It's kind of hard to say for sure, as dark as it is. A Sword of Majesty is hidden away down one of the branching paths.
Exploring thoroughly will reveal a couple of hidden switches, which are necessary to open doors and progress through the floor. They're completely invisible until you stumble on top of them. There's also another Sword of Majesty and 1500 gold pieces tucked around.
This teleport tile is a trap leading us back to the earlier pit room. We could have found an invisible teleport square back at the first room, but that would have required skipping a few treasures and the hidden switch.
Nearby this sign is meant as a cryptic hint that one of the nearby walls is false, allowing us to loop around some nearby pits. We could have tried to go the same general direction from the teleport switch, but would have run directly into an impassable row of pits.
Eventually the path winds its way to another pit room, a wide open space with a very narrow winding path that leads to the end of the floor. There's a couple of false leads, but at this point you should have the hang of the Dark Zone.
Directly opposite of the exit is the secret door I mentioned earlier. Inside is a long tunnel leading directly parallel to the top of the map screen containing a Ring of Life and some Gold Bars.
And by some Gold Bars, I mean 50. It's quite a windfall, although we're running a bit short of things to spend it on at this point. At the very end of the path...
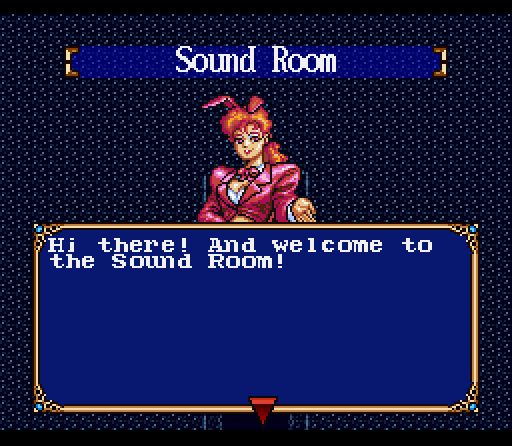
A bunny girl with 80's shoulder pads. Welcome to the Sound Room indeed. It's just the kind of weirdness you'd expect from a game like this.
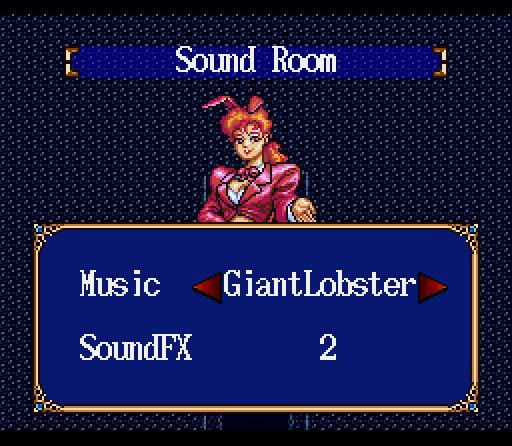
This gives us access to all the music from the game, including some tracks specifically for monsters an areas we haven't been to. Giant Lobster sounds particularly promising.
With that, we're done with the Dark Zone and technically done with the Caves as well. For some reason these areas also count as part of the Cave meaning that it actually has 12 floors.
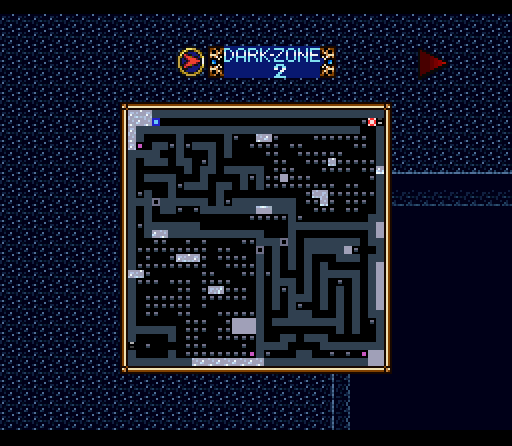
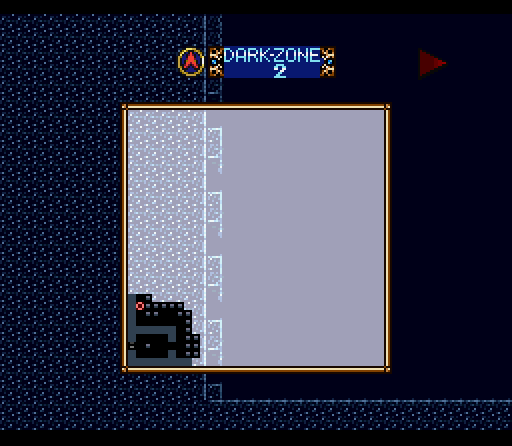
You can see the convoluted setup of the Dark Zone pretty easily with the map. After the first room the two sets of twisting tunnels lead back around to the second pit room, with the Sound Room at the northwest corner of the map.
 "Oh Gods, what did I just put my foot in?"
"Here and there on the floor, strange bubbles pop and release their putrid gas. It looks like you can go a little further, but does this path lead outside?"
"I'm less worried about whether it leads outside than about what orifice I'm going to be walking out of."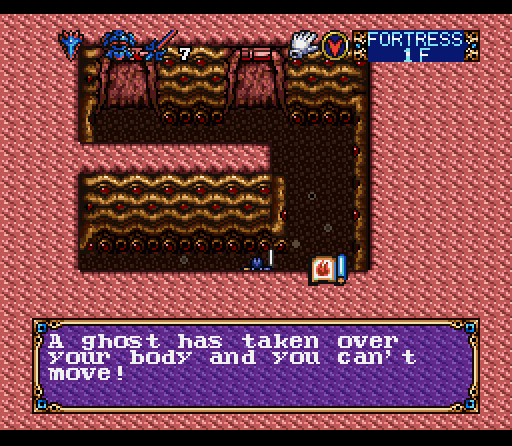
As a note, you're going to want to pull off your Darkness equipment before climbing up the stairs. The Dark Shield drains your HP, while the Dark Armor paralyzes you and keeps you from healing. Using the Sword Darkness outside of the Dark Zone will cause damage to the user.
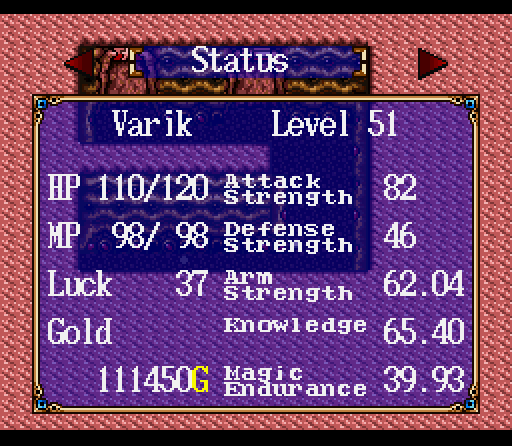
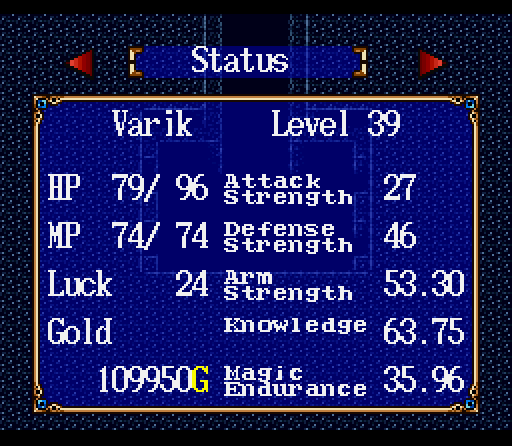
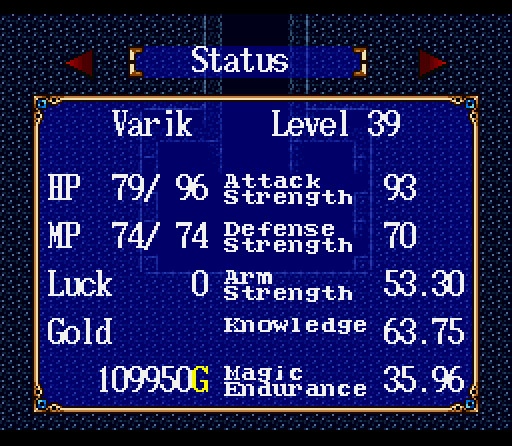
Our stats as of the beginning of the Fortress. The Dark Zone has been good to us, resulting in 12 levels and 9 points of Arm Strength. It's nearly enough to catch our Arm Strength up to our Knowledge… you can get out of the Dark Zone without fighting a lot of enemies, but why would you?
Next Update: Former Bosses, tons of treasure, and the two most evil things I can imagine.
Also, this is about where I realized that 50 levels might have been a bit of an exaggeration. There are actually only about 43 or 44.