Part 15: The Maze and the Megafloor
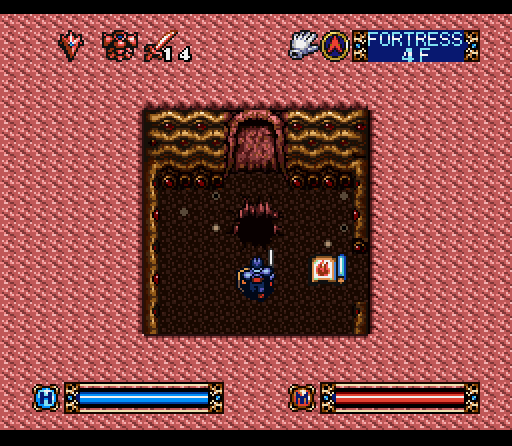
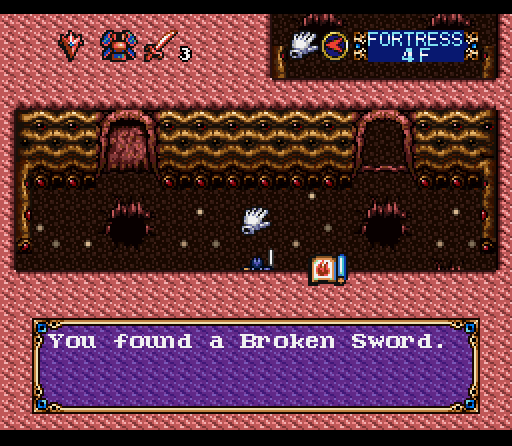
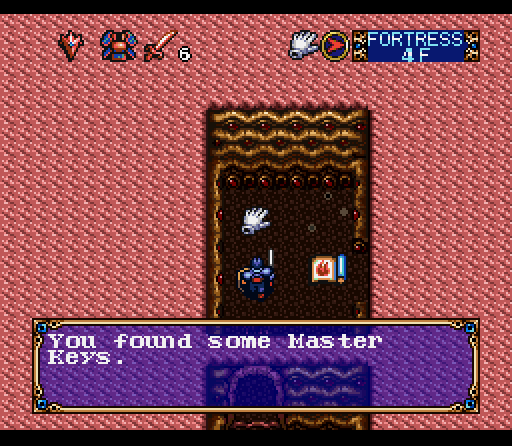
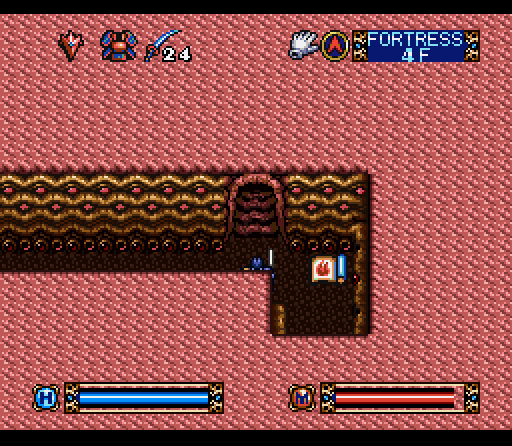
Our first experience of 4F is this tiny room, which is a definite sign of things to come.
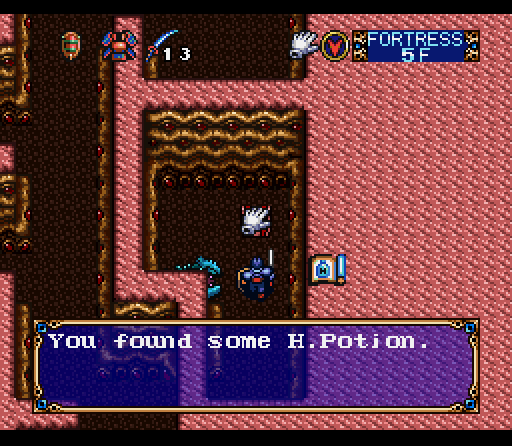
The majority of 4F is made up of 3x3 rooms, all of which have a combination of pits and damage floors blocking off some of the exits. This creates a maze that you have to navigate by looping around to approach the doors by another angle. You're going to have to take some damage from the pits to get to this treasure chest, for example, but that's okay because it's full of H. Potions.
A few larger rooms are off to the sides have enemies, including some new faces. This is a Fallen Retainer, who are pretty much straight melee physical types that more or less ignore magic. They also always drop a piece of armor and a sword of varying quality. This one dropped a new Blade of Muramasa and a set of Warrior's Armor. For those keeping track at home, that's the third best armor in the game with 34 defense power, nearly as good as the Armor of Darkness we had in the Dark Zone.

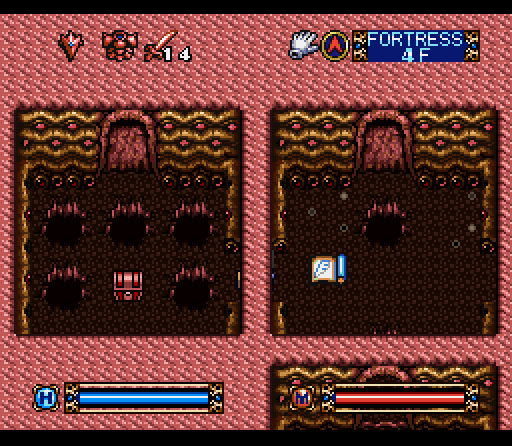
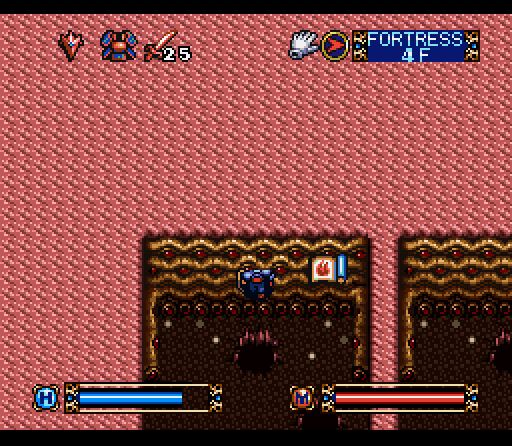
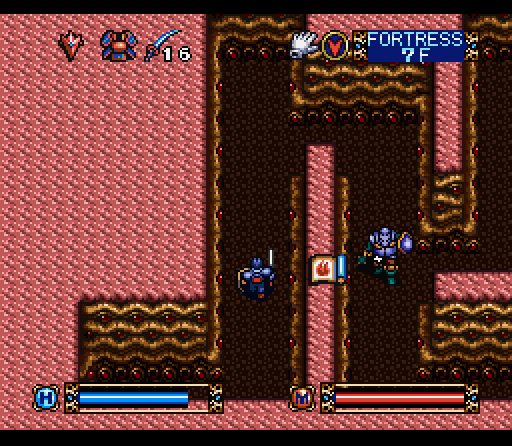
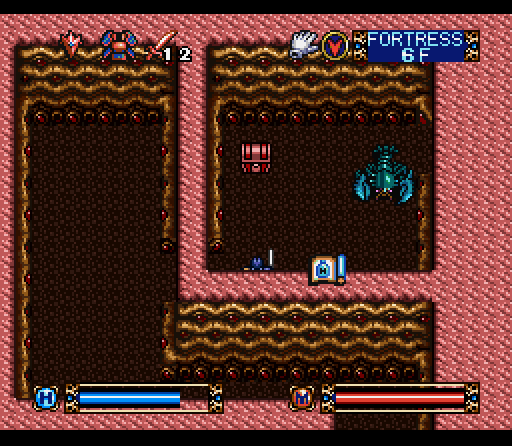
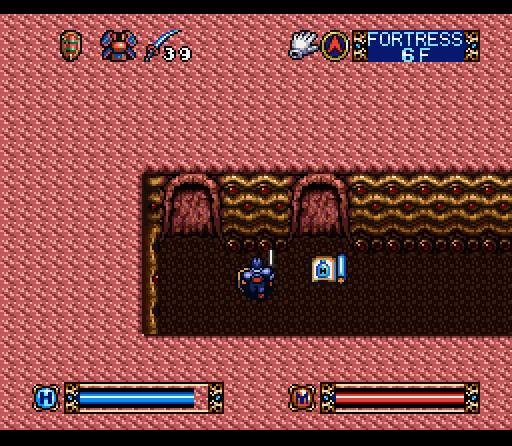
If you think that you see a damage marker above that chest, you're not wrong. This is the second new face on this level, the Mimic. They can't move, but if you come within range they'll take a bite out of you to the tune of 45-50 damage. Since you can use magic on them, it's just usually better to toss a flame spell at any chest you see and watch for damage. Regular chests won't react at all, so there's no risk associated. In this shot both of those chests are mimics so walking between them is likely to net you about 100 damage, and kill you if you don't react quickly.
Sometimes Mimics will drop treasure as well, meaning that they're regular chests that just require a bit more forceful opening. Those two have some Gold Bars and a Falchion.
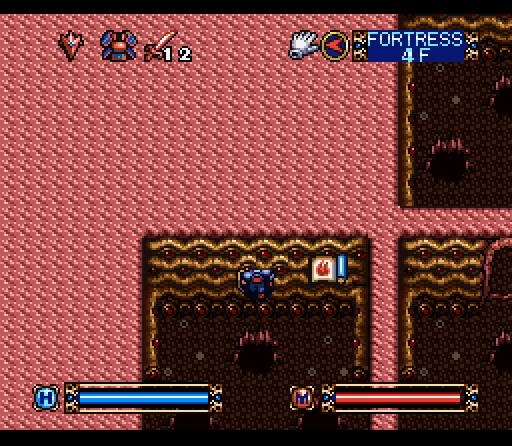
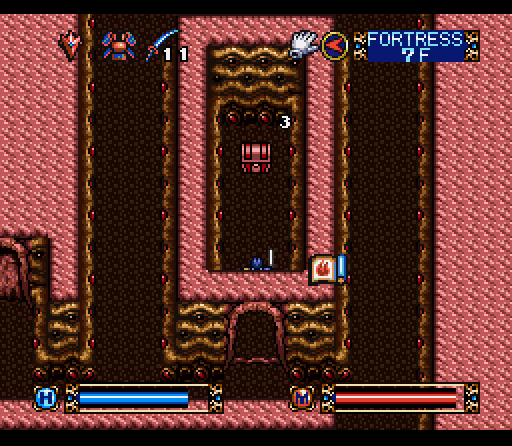
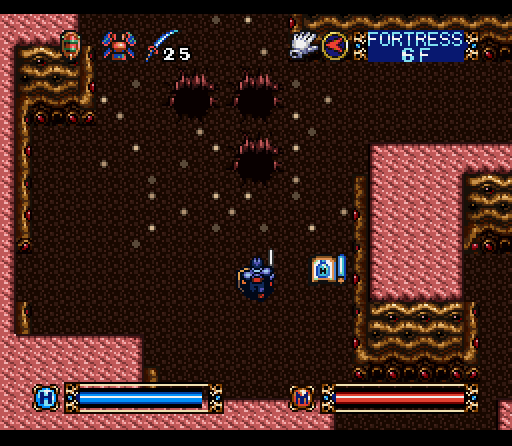
Since they introduce the Mimics in this section, they're all over the place. If I wasn't using the fire magic test in this case I'd have to step into the pit right in front of me, jump out and then over to a damage floor, and then walk in front of the chest before I realized what it was. Without stopping to heal in-between, this would probably be fatal.
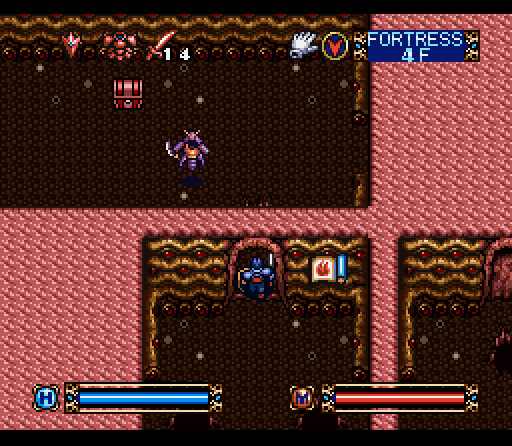
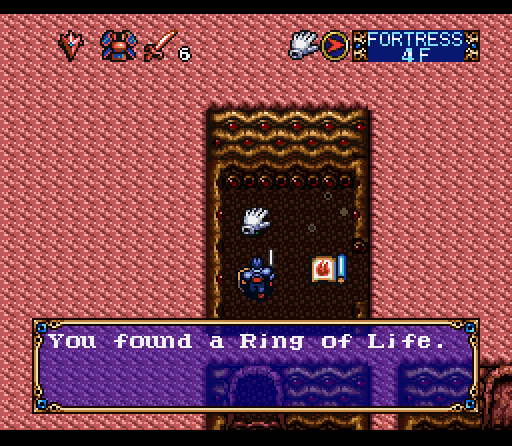
As a note, sometimes the treasure in a Mimic drives home the point that they're assholes. Other than that there's a considerable amount of loot here, much of which will be sold. By this point I'd picked up two Swords of Flames offscreen, a Shield of Flames, and another pile of Gold Bars. Going forward from here to the next significant screenshot there's a Ring of Protection, Sword of Majesty, more Gold Bars, M. Potion, and Plate Mail.
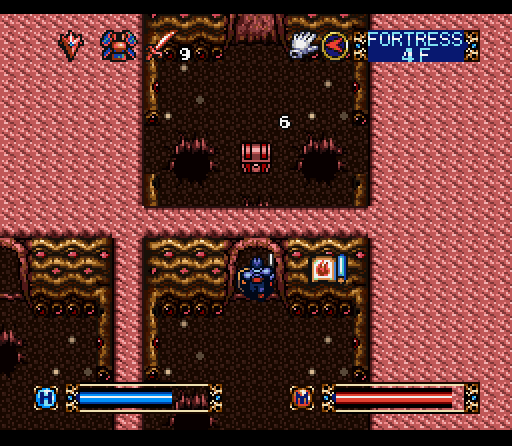
There are also fake walls in this section of the dungeon, which you either have to discover by carefully looking at your map and noting where walls don't fill in correctly when you're diagonal to them, or through attempting to jump over pits and seeing whether you slam face first into the wall or not. This wall conceals another Falchion and a Ramela, making it essentially pointless.
There's about 3-4 fake walls in here, some with much better treasure than others. This one conceals another Blade of Muramasa (if you haven't been using Hardening Potion and have actually broken yours) and there's some nearby Hardening Potion for just that purpose as well as some more H. Potion. This floor is actually kind of loaded.
The best treasure, though, is probably this one… especially since I burned one of these up while trying to get a screenshot of the two mimics attacking simultaneously.
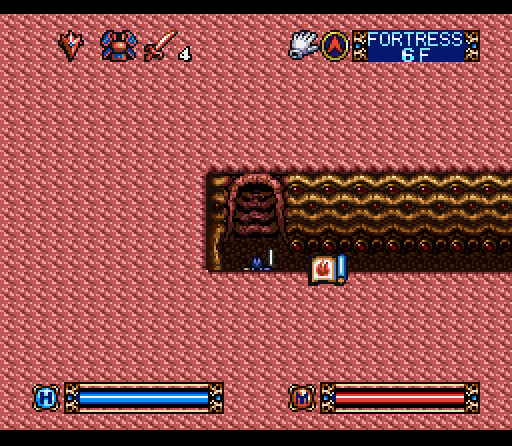
Unfortunately I also found these, which gave the level designers an incentive to start locking almost every door from here forward.
A couple of the hidden walls are actually necessary to progress, although you can usually figure that out when you run out of doors and have nothing but blank walls in front of you.

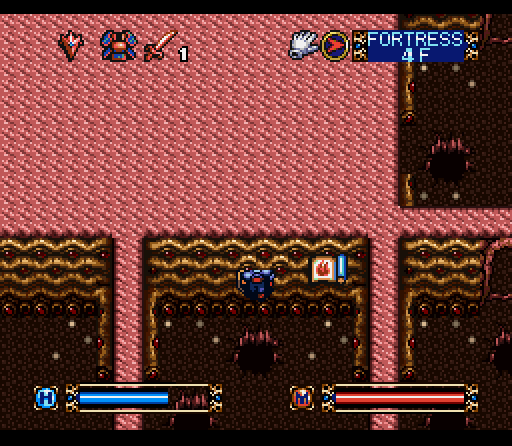
I'd honestly expected these chests to be Mimics, but instead we get these Hardening Potions and M. Poison, as well as a Sapphire Key. This is the only colored key here, which means it's time for a special door and some very special enemies - a semi-boss fight, in other words.
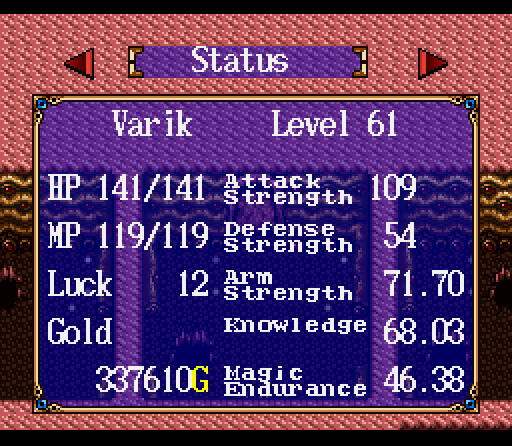
This section of the game is beefing Varik up a bit, and he's keeping his Arm Strength and Knowledge at a pretty even level. It looks like a lot of HP and Defense, but we're about to have that tested.
 "I'm going to need a lot more butter."
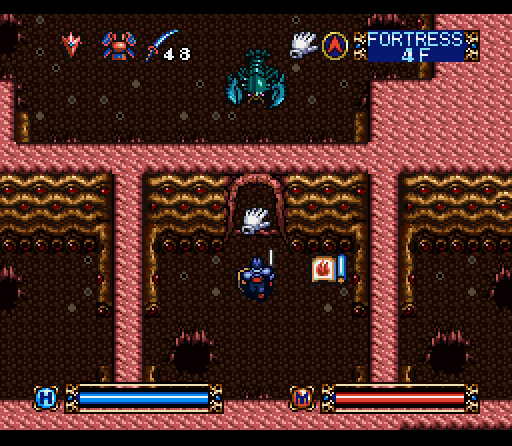
For our next boss fight we've got three of these guys in a moderately sized room, with pits around the edges and damage floors inside the pits. the Giant Lobsters are tough, ignore magic, and do ridiculous amounts of damage. 95-100 isn't uncommon, which means that these guys can two shot us. Dancing around three creatures that can half-kill you with a single strike and taking damage is far from easy, but once all three are dead the door on the other side opens and the pits disappear.
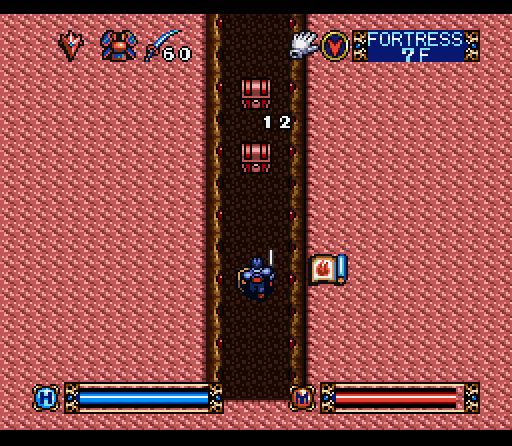
Directly behind the Lobster Room is a narrow corridor containing the stairs to the next level, along with a third Blade of Muramasa and some H. Poison.
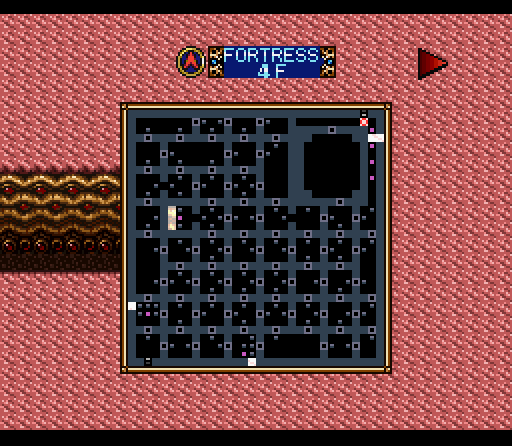
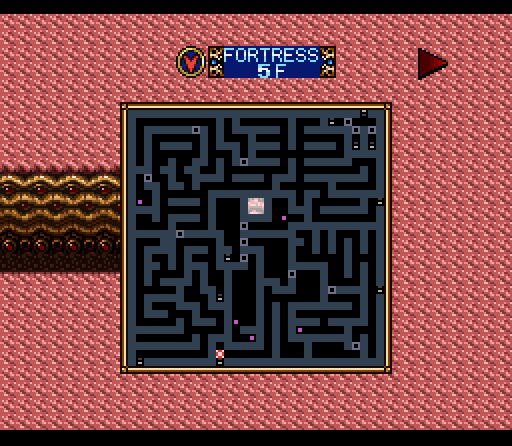
Behold, the maze of 3x3 rooms in all of its glory.the Lobster Room is obviously that giant room just southwest of us, but otherwise this place is completely unremarkable albeit jam-packed.
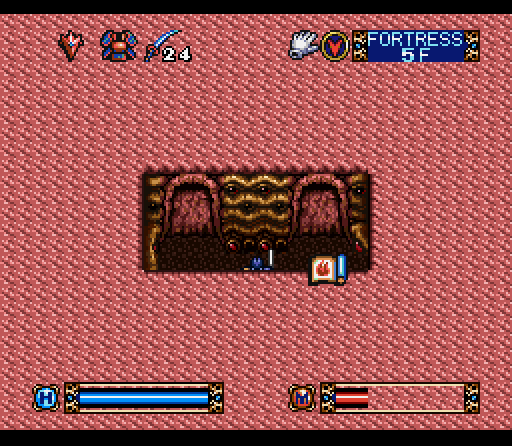
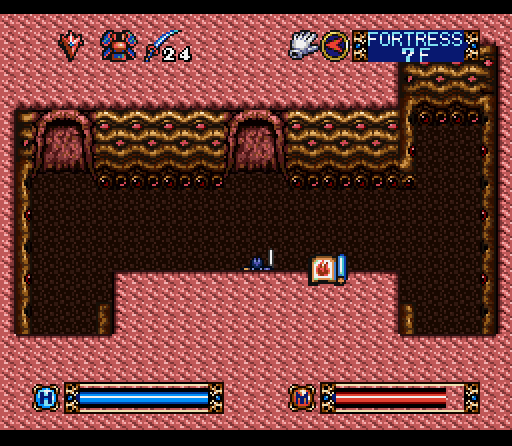
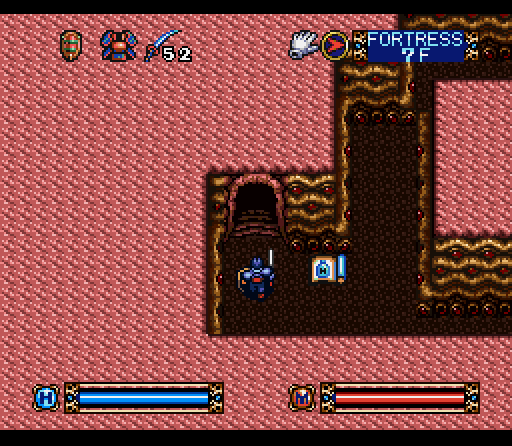
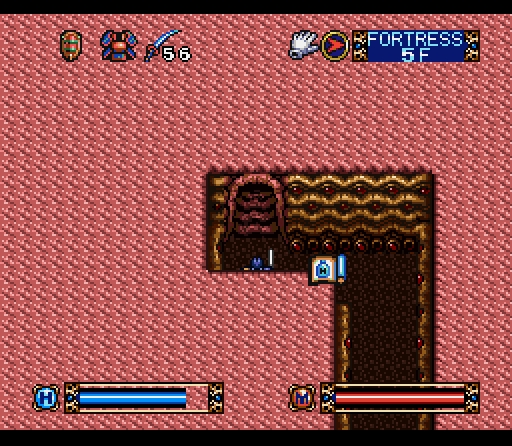
5F starts with three closed doors, and you'd think that we were facing something like the Tower level where we had to pick a route and come back later. There's no room for a key, however, and the truth is to some degree actually worse. But first, a plaque!
 "I can't help but feel that these plaques have only gotten less friendly the further into this Fortress I've gone."
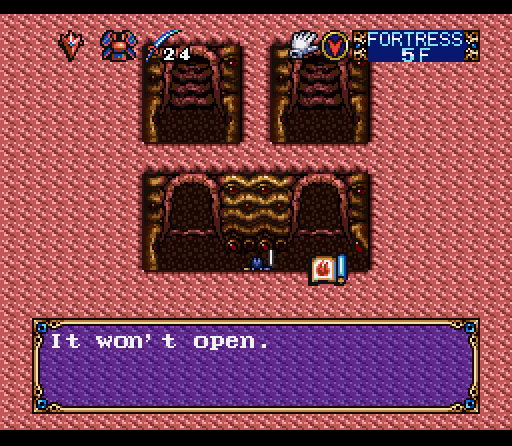
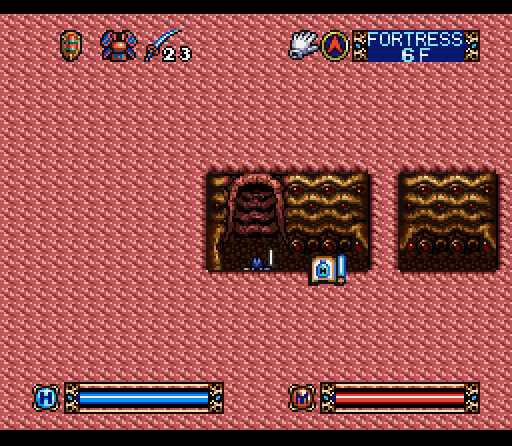
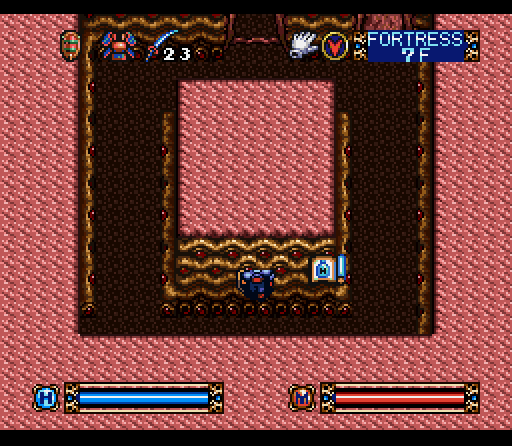
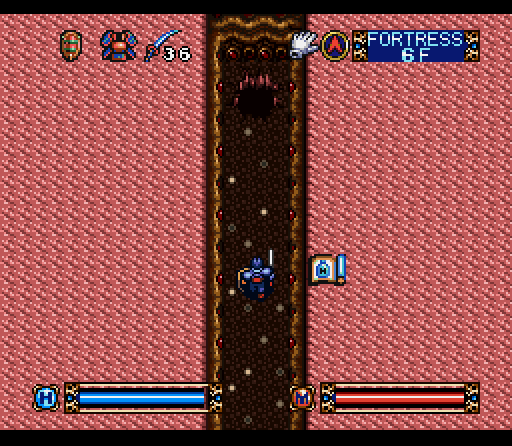
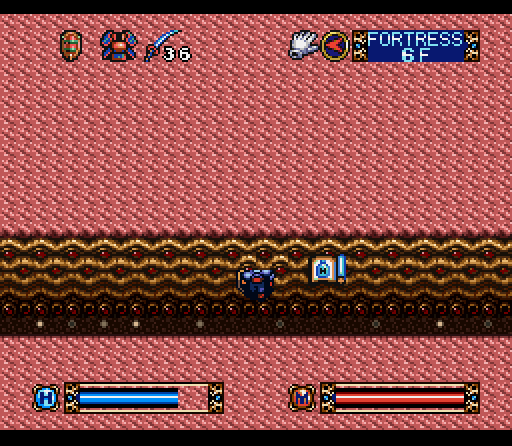
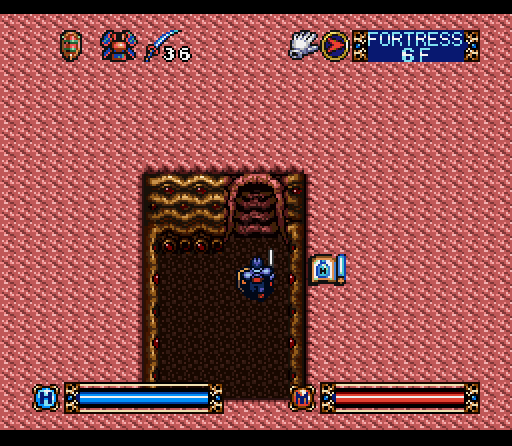
Two of the doors can be opened right away and lead to stairs up to 6F and 7F, while the third door is locked for the moment. You can explore freely in those areas, with keys serving to control your progress.
The stairs up to 7F lead to a small room with two treasure rooms containing a Crescent Key and Dragon Key along with some Invisibility Potion. Only the first Key is immediately useful, so we have to hang on to the other for a while.
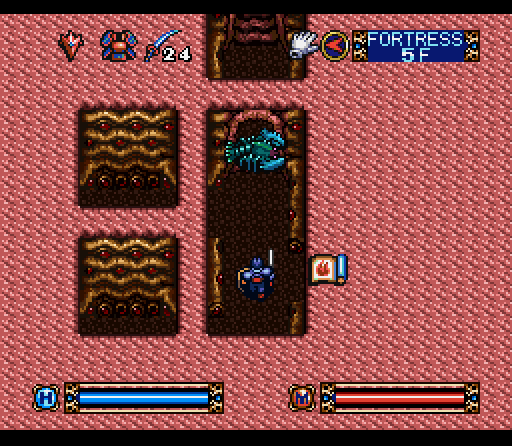
Going back to 5F and using the Crescent Key gets us a Lobster in the face. Just five minutes ago these were a boss enemy, and now they're ordinary enemies who can still kill you in two attacks. It's a very tight space, and I'm pretty sure this guy killed me two or three times.
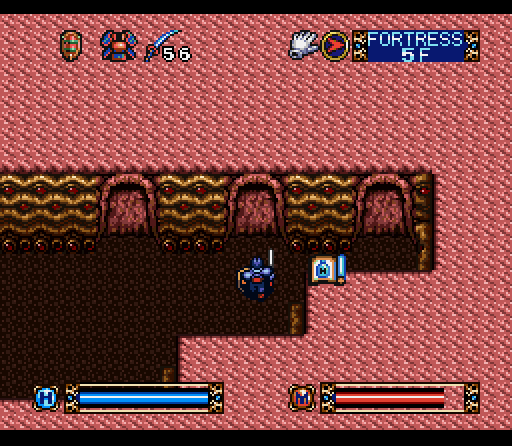
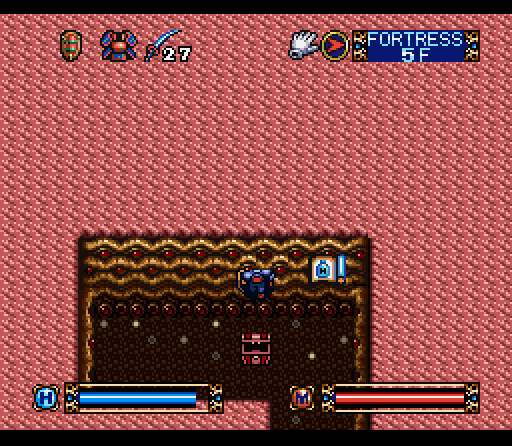
Once that's done, it's time to take a quick look at 6F before going up the stairs behind the Lobster. A small maze contains a Steel Ball and an Amber Key that we're going to save for later.
It also contains a small hidden room with a damage floor, because that's just the kind of game this is. Other than that, nothing to see here.
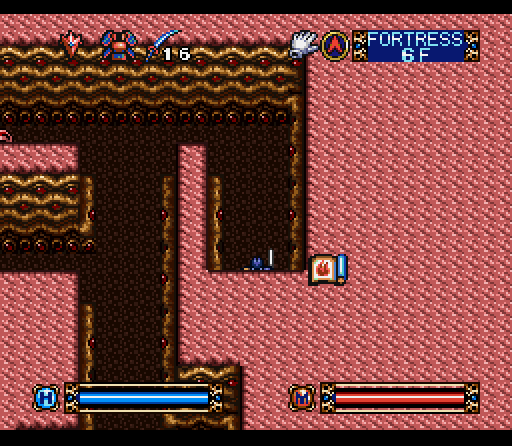
The Crescent Key stairs take us up to 7F again, this time with a new enemy. These are the second generation of Armored Warriors, and are actually a bit weaker than their compatriots. They're vulnerable to physical attacks and melee attacks, but have a pretty solid defense and swing a ball and chain that can knock you back a step.
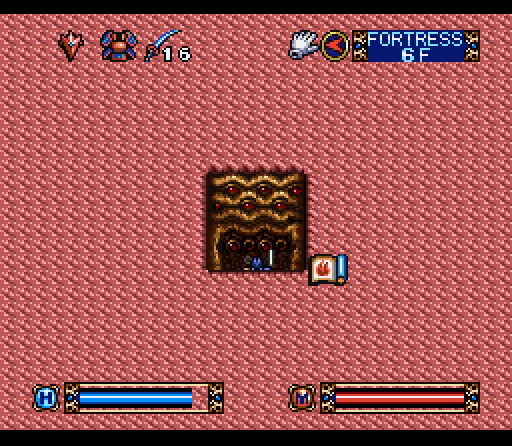
The Mimic makes its return just down the hallway, if you thought you were done with those. Another nearby doorway has a Lobster for added variety.
The pathway winds back around to a set of stairs down to 6F. All three of these floors are densely intertwined, meaning that we're constantly going to be going up and down stairs like this.
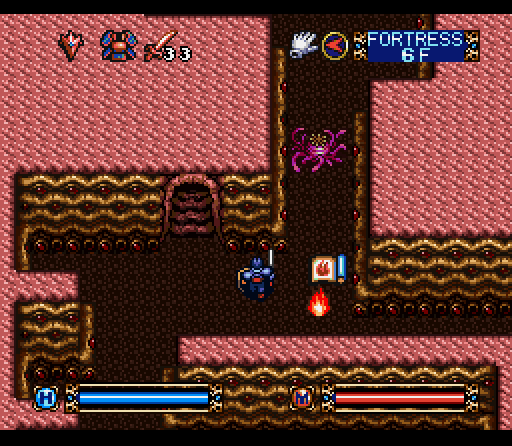
6F introduces a new enemy as well, the Magic Octopus. They tend to just continuously fling fireballs in random directions, but if you're in front of them they'll gleefully focus on you. The fireballs are a bit painful at this point, but this is a very good way to get magic endurance. There are also Fallen Retainers, but they only drop Short Swords and Leather Armor on these floors.
The path eventually leads to this room, which has a double whammy of a Lobster and a Mimic, in case you felt even vaguely safe opening a door.
Right past that is an other set of stairs up, which means we're heading up to 7F.
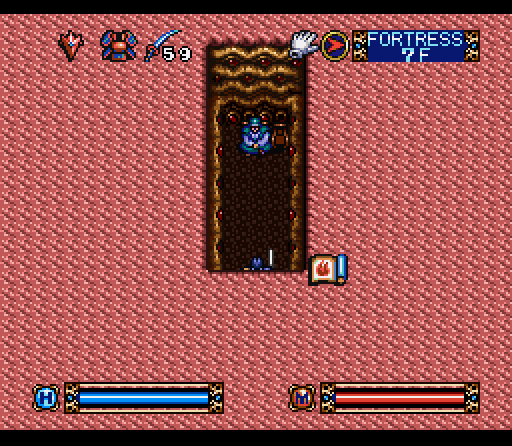
This segment of 7F starts out with a narrow corridor with two successive mimics, followed by a small room with some Hardening Potion.
Past that there's a couple of hidden walls nearby, one of which leads in a spiral path to a small room...
Which houses a familiar and welcome face, considering the amount of crap we've picked up in the past couple of levels. Inventory management is still a major concern, even with three boxes.
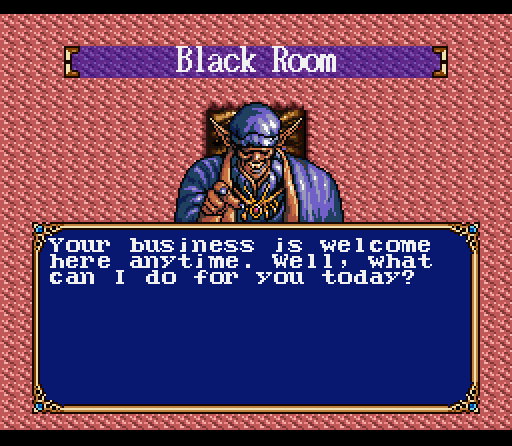 "Y'know, I don't want to say that all of you guys look the same but… all of you guys kind of look the same."
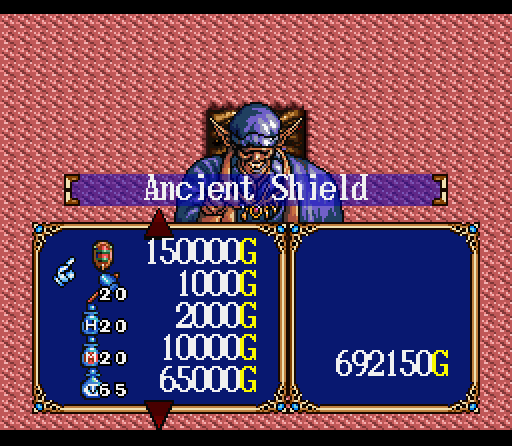
With all of the lucre we've accumulated, I go ahead and pick up an Ancient Shield after confirming that we won't find one between here and the end of the game. It's got a defense of 27, 7 higher than the Shield of Flames.
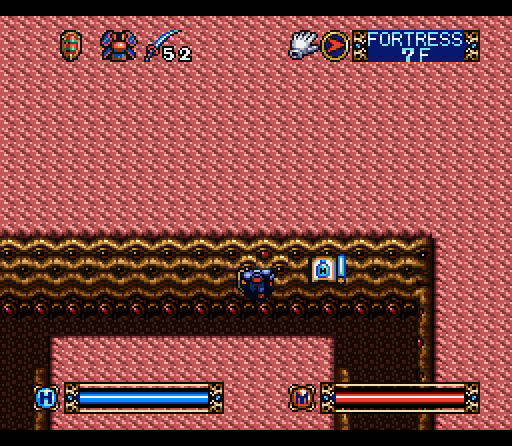
The actual pathway is through this hidden wall, just around the corner from the Black Market...
Which leads to yet another set of stairs down, as well as some M. Potion. This time we're going back down to 5F.
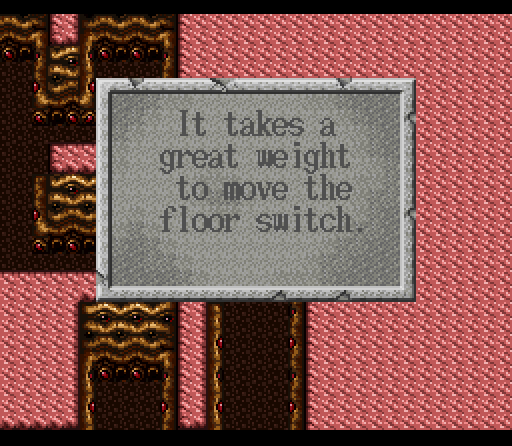
The first thing we find is a floor switch, accompanied by a moderately helpful plaque.
"Any tips on where I can find that kind of weight? No? I didn't think so."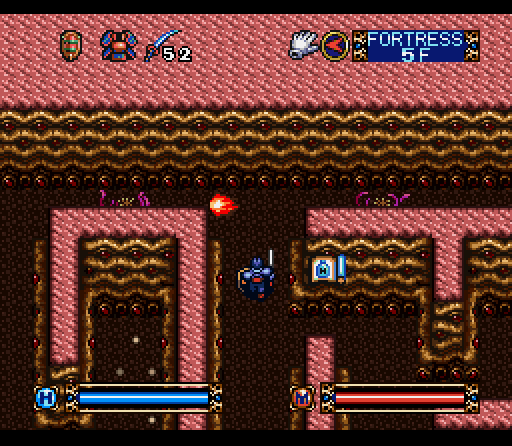
There's also a pair of Magical Octopi happily tossing fireballs back and forth at each other, meaning that you're going to have to step into the crossfire to deal with these. Unfortunately these guys are immune to magic as well, so you can't just let them shoot it out until they both die.
Immediately afterwards, another set of stairs up to 6F. Varik's going to have thighs of steel by the time this segment is completed.
6F has two parallel paths at this point, which pretty much lead to the same place. One has a Lobster while the other one has a Mimic, and the two cross back and forth so the choice of doors here is pretty much irrelevant.
Eventually this leads to this section, where those three pits are part of the key to flipping that floor switch that needs a heavy weight. Instead of increasing our weight, we're going to press it by increasing our velocity. One floor, however, isn't enough to do it.
A nearby stair leads us up to this tableau, which confuses the picture a bit further. All but three of these pits will just drop you back down to 6F, while two of them will drop you down to the wrong spot on 5F and make you climb back up two flights of stairs to try again.
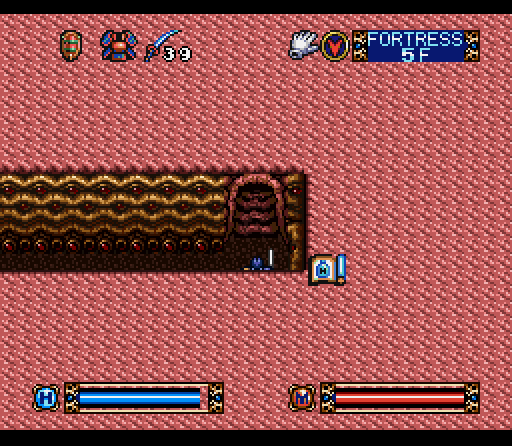
This is the right one, and it's pretty amazing that Varik doesn't break a leg trying this. Also, that goody bag had a couple of Gold Bars.
Passing through the door that opens after the switch is pressed we find a couple of small rooms, including yet another close quarters encounter with a Lobster. As a note these guys can and will chase you out into the corridor.
From there, it's directly to this set of stairs up to 6F...
Where we've got a teleporter and a door to choose from, except that the door is currently locked. Instead we have to take the teleporter to another set of stairs and get a Gold Key to open the door, then hit a switch to change the destination of the teleporter.
This leads to another section where an unimportant chest (I seriously can't remember what was in here) conceals a hidden wall with a chest containing the Twisted Key to unlock a door directly behind the one we just unlocked.
And, once again, a set of stairs up to 7F. I promise we're nearing the end.
This room actually has four fake walls leading into it, and conceals a Star Shield… the best regular shield in the game at 34 defense. The Shield of Darkness is still one point better, but since you can't use it outside the Dark Zone that's academic.
At this point things get a bit murky, but we're going up and down stairs fairly rapidly. There's some Hardening Potion and a Blade of Muramasa nearby.
Another fake wall takes us to a set of stairs, and with that we're just about done with 5F.
By just about, I mean we still have one little section to clear up. Otherwise, though, we've covered just about everything. The very first place where we came into this floor is all the way in the northeastern corner.
Going up the stairs takes us to this corridor on 6F with a significant pit that leads to that 2x2 area in 5F we couldn't get to. Heading down there rewards us with the Sol Armor, which is the best armor in the game at 45 defense. That's 11 more than what we've got on, and even 10 better than the Armor of Darkness.
A fake wall conceals the Garnet Key, which we'll be needing. By the way, we still haven't used the Amber or Dragon Key yet.
Shortly after the pathway leads to our final set of stairs up to 7F.
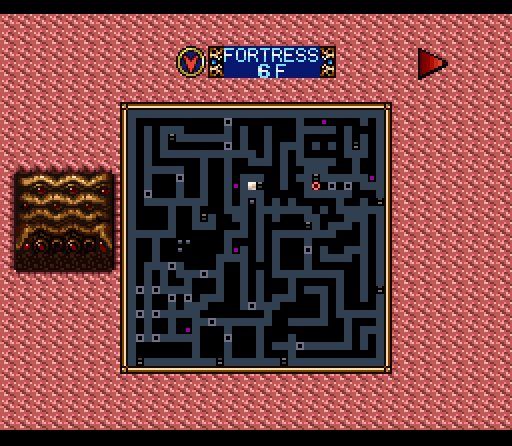
The completed map of 6F, this time with no nooks or crannies left unexplored.
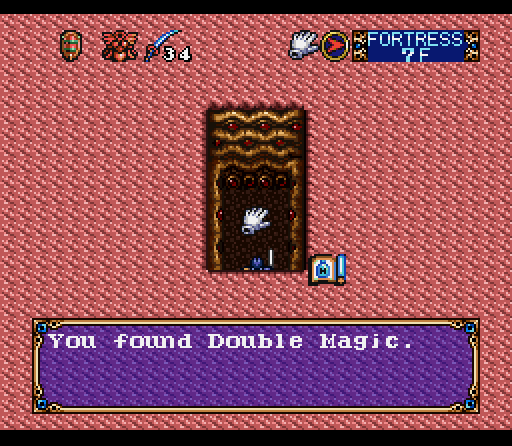
Following the stairs up I stumbled upon this little gem by going through a fake wall. Most of the FAQs and sites I've found believe that this was actually a spell that was dummied out of the game and never put into use. Instead, it's just tucked away here on 7F. Double Magic would actually be better described as Double Attack, since that's what it does. Using it turns Varik reddish and doubles your damage output without affecting your actual Arm Strength or Attack scores visibly.
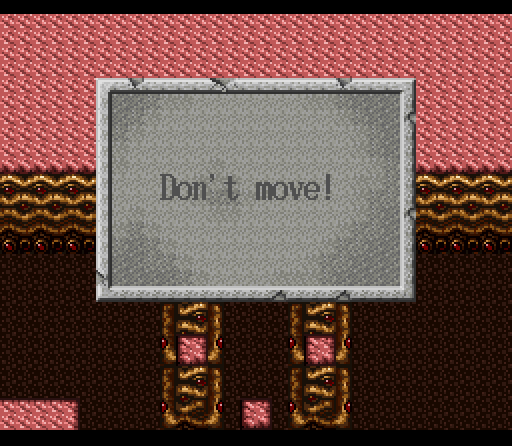 "You're still not the boss of me!"
You can't step forward past this plaque, but if you go and wait between the pillars you will get warped to the final area of 7F.
 "Yes, what it feels like to not be in this damn dungeon. Thanks for reminding me."
This plaque proceeds a series of locked doors, which are all locked by the various keys we've picked up along these three floors. If you're not obsessive about exploring everywhere, this is a wonderful way to find out that you've missed a key and have to backtrack to try and find it.
With that, we've come to the final staircase in this whole series and are done with the Megafloor.
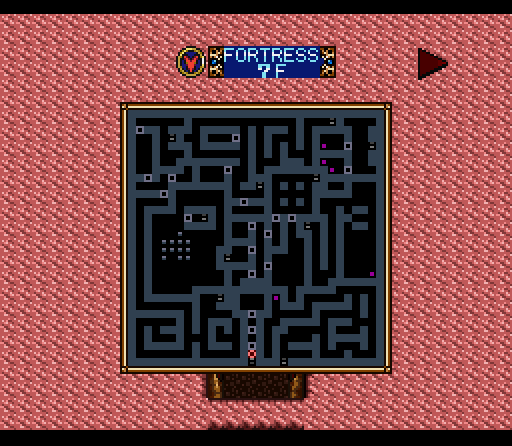
7F, complete and mapped out. It's certainly a mess, and you can pick up an idea of just how complex this whole area is from looking at it.
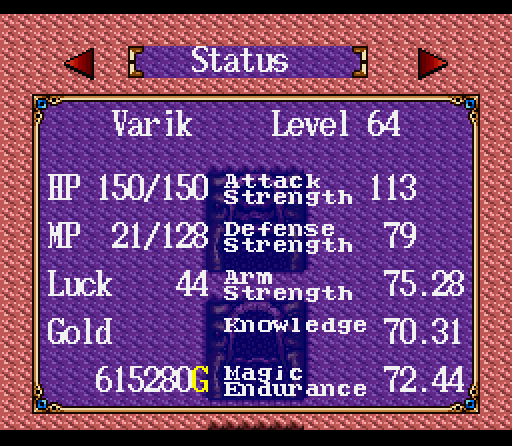
Final snapshot of Varik's stats after this trek. We're nearing the end, and his stats are evening out pretty nicely. All of the Magic Octopi we dealt with massively boosted our Magic Endurance, and we're going to need every bit of it soon.
Next Update: Alexis, the Dragon, and The End.