Part 16: Double Dragons
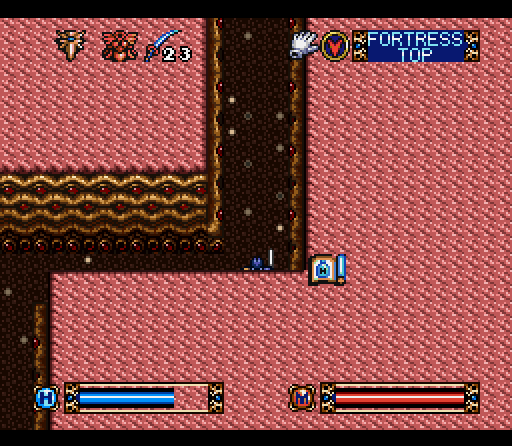
After a long climb, we're finally here at the end of the last set of levels for Brandish. Welcome to the Fortress Top.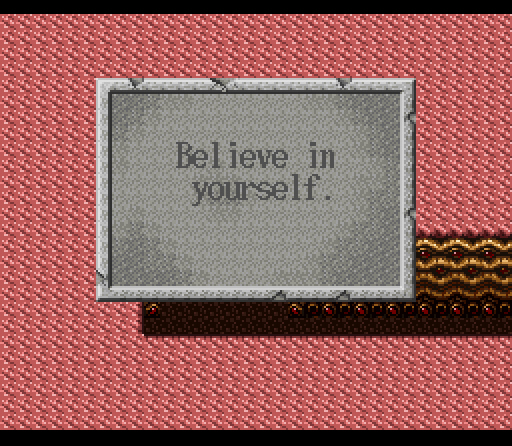
 "Thanks! It's nice to receive some kind of encouragement."
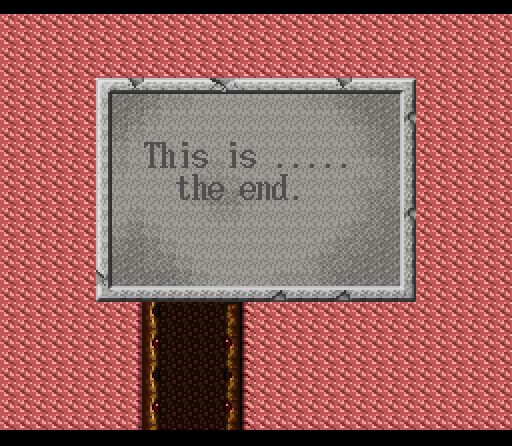 "Although that's not exactly encouraging."
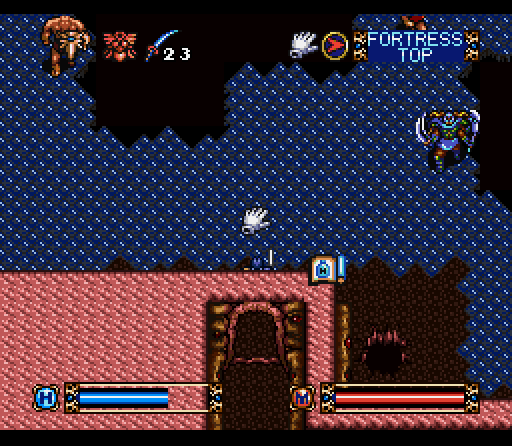
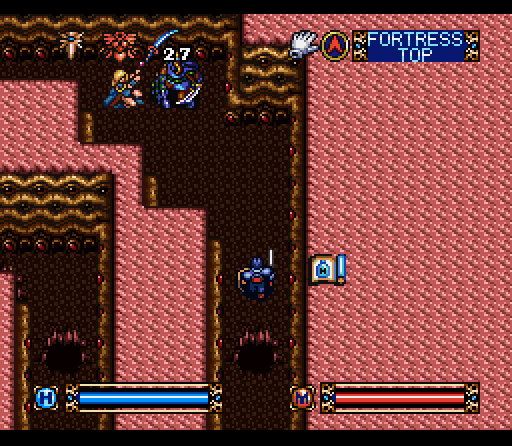
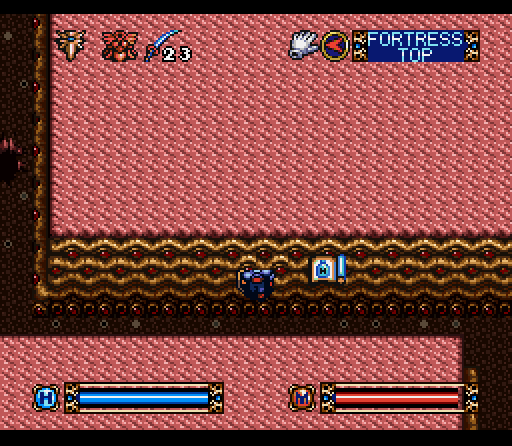
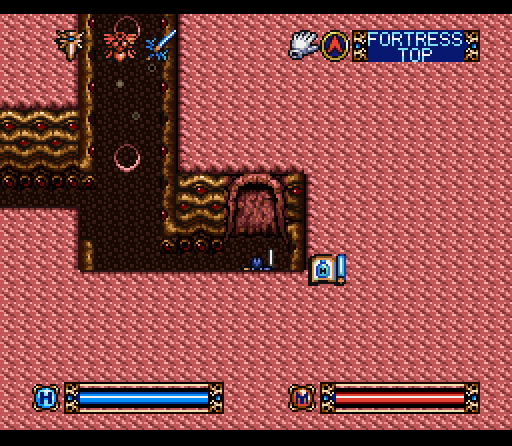
Escaping from the room of encouragement brings us to a new type of floor: Ice. For every step you move on this, you're going to move another step in the same direction. One button press moves you two spaces, and jumping moves you three spaces. You can see a Headless in the upper left hand corner, which are the main enemies here, and who have knock back to make it harder for you to navigate. The lone Rakshahsa drops an Emerald Key to let us move on.
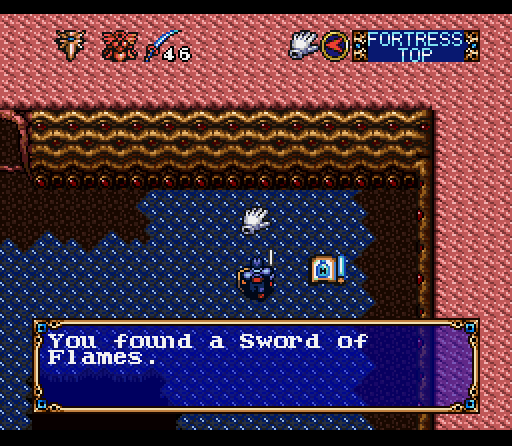
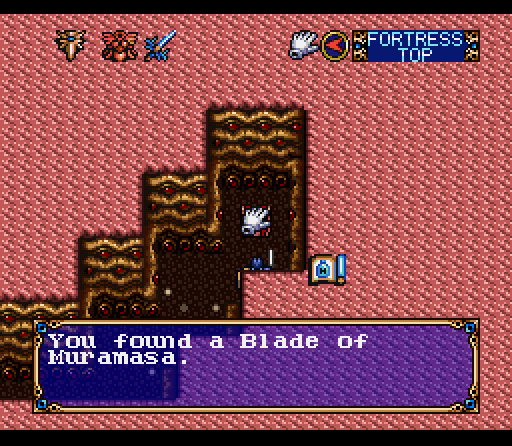
This Sword of Flames is the permanent version, but at this point that's not exactly useful given the copious supply of Hardening Potion and Blade of Muramasa that we've been picking up.

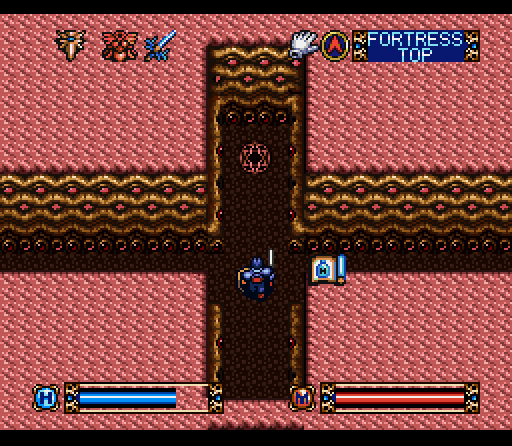
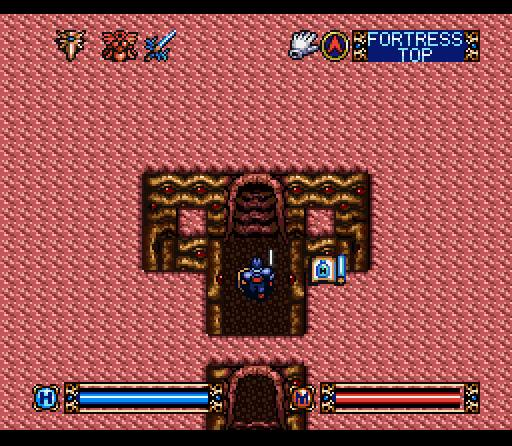
Exiting the ice room takes us to a split in the hallway, with one branch taking us to this line of switches. Each of them is linked to an arrow trap that does a considerable amount of damage. You pretty much need to heal after every couple of steps. Our eventual prize:
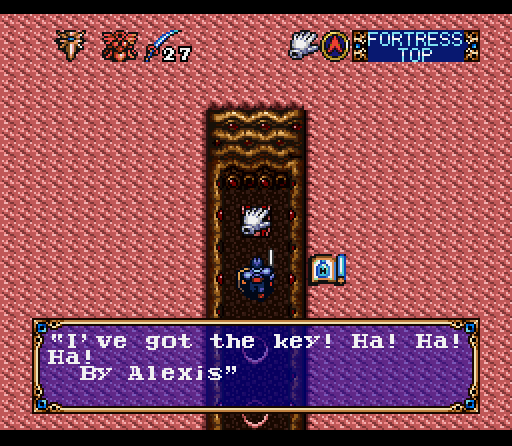 "What kind of nutcase actually writes out their maniacal laughter? I'm just glad she didn't use multiple exclamation points."
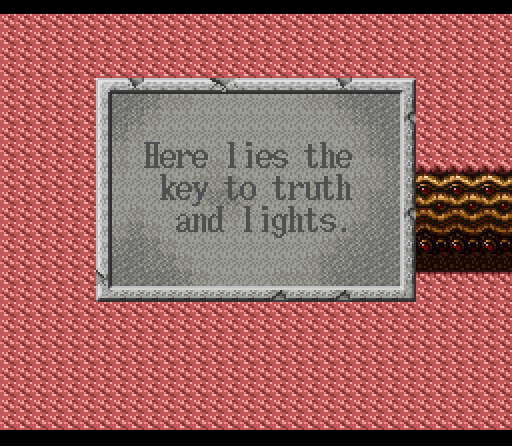 "Not anymore it doesn't."
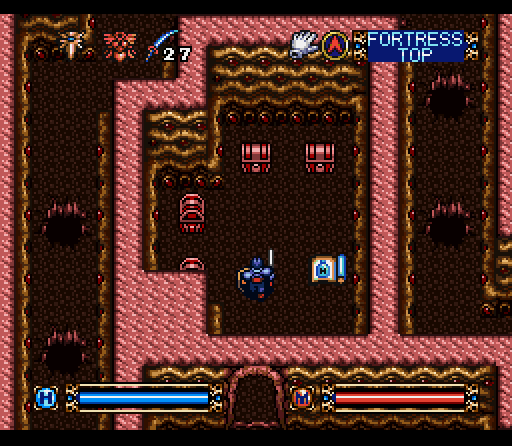
Taking the other branch we come first to a treasure room, and then to a door that leads to that long hallway full of pits. A nearby switch opens the door, but first we have to collect our loot. It's actually a selection of one set each of H. Potion, M. Potion, Hardening Potion, and Potion of Invisibility. They're trying to give you something of a fighting chance here if you don't happen to have any of these.
At the end of the twisting pit road we've got our last in-game encounter with Alexis.
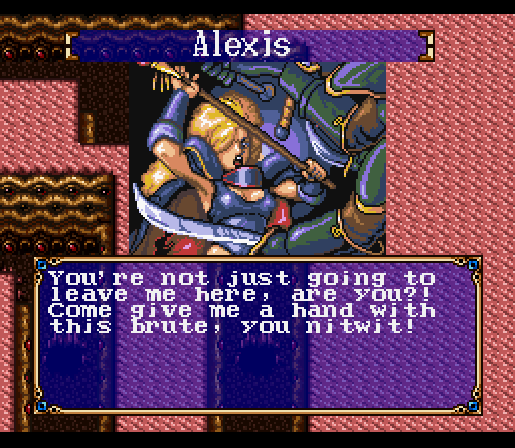 "That's no way to address someone you want to help you. You didn't even use the magic word!"
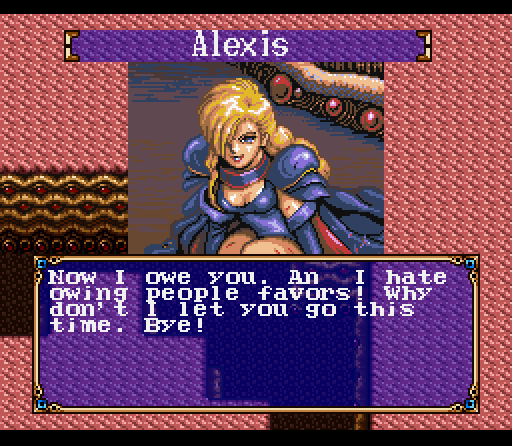 "It's either that, or if you really want to there's a bunch of pits down that hallway you can fall into instead. Really about the same either way to me."
Upon leaving, she drops the Berimya Key, which we'll be needing in a bit.
The next leg of the tunnel is made up of interlaced damage and hidden pit floors, but there's a little surprise waiting along the tunnel.
There's a hidden door in the side of the corridor that it's easy to just skip right past if you're not paying close attention. The pathway takes us up some stairs...
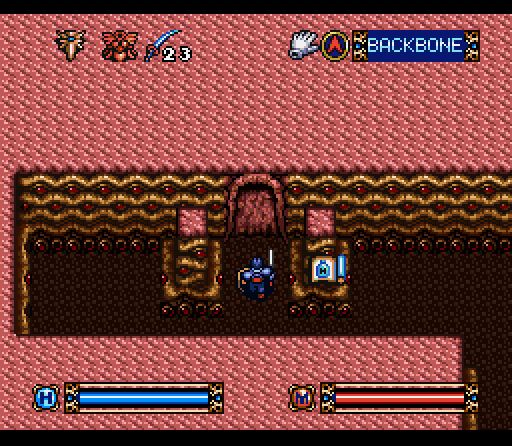
To this door, locked with the Berimya key. Behind it is the second to last boss in the game.
A steady diet of Rakshahsa and Headless has been good for Varik, and we've picked up 3 levels on this floor alone. Other than that we've just about reached the peak of our power, except for needing one more touch.
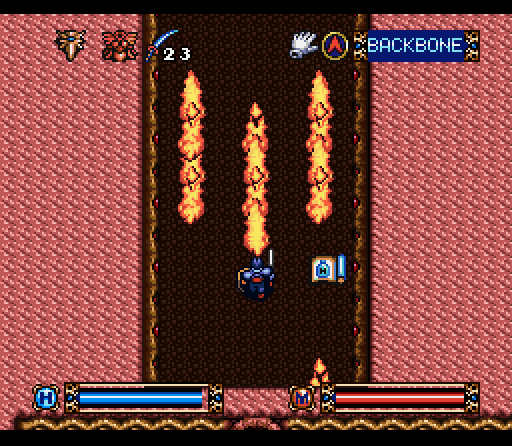
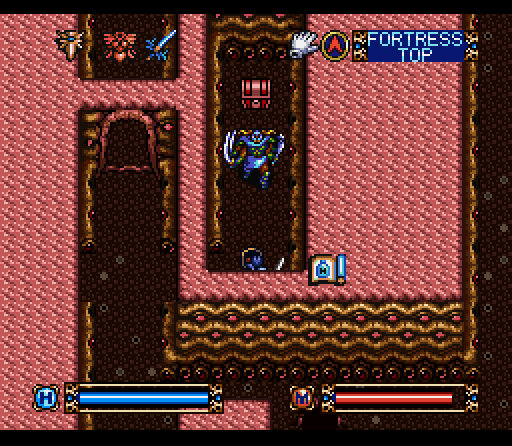
Stepping through the door gets us a stream of fire directly to the face, but it looks much worse than it is. With our magic endurance, these only do 1-2 damage each.
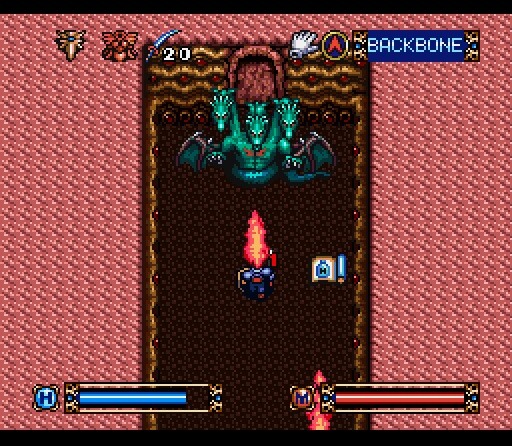
The source of the flames is an immobile three-headed dragon who will continue to flame you as long as you're standing there. You can't avoid damage with this boss, and you pretty much have to walk right up to him and start slashing. Double Magic helps a good bit here, speeding the fight up considerably. It will cost you some arm strength gains, though, as the experience formula for that relies on how many times you swing.
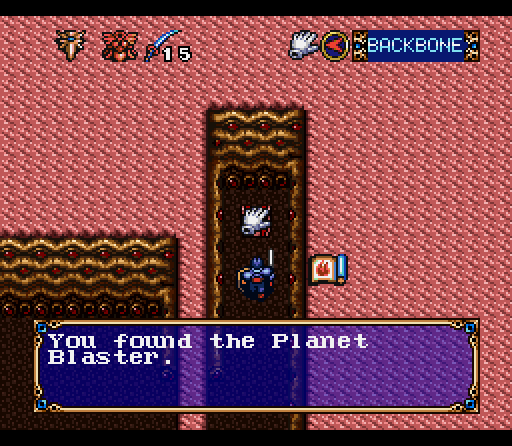
This is our reward, along with the Elmef Key to the final boss. The Planet Blaster (or Buster, sources differ on what the intended translation was) is a permanent weapon, and the strongest weapon in the game. It grants +50 Attack Power, 12 more than the Blade of Muramasa, and is pretty much necessary for beating the game.
Continuing on past that little stop takes us to a series of rooms full of Rakshahsa and Headless. These enemies will respawn as long as you keep killing them, meaning that you can go ahead and grind up your levels and arm strength here if you really want to. I just killed enough to get the treasure, which is a full set of each time of Magic Ring. They're utterly useless, but it's a nice gesture.
Just past those rooms a three way split has a teleporter at the end of each path. The southern branch leads to a Ring of Anger, while the teleporter we were facing leads toward the end of the floor. The northern branch, on the other hand leads to some backstory.
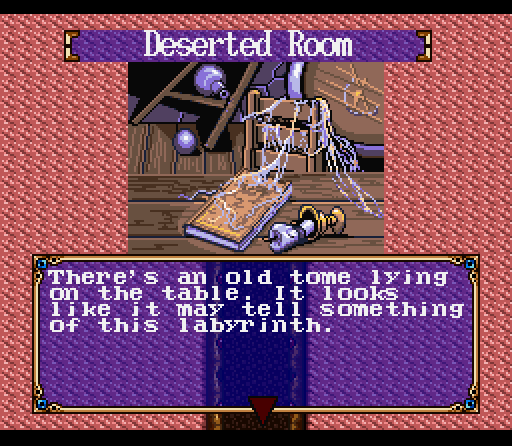
"How many seasons have passed this this, our land, was swallowed by the earth? There is no one left that can answer that now. Our beloved land, along with the cursed King, will spend eternity forever in darkness. We wait. We wait for the one that will free us, free us from our cursed fate…"
"Dark. And yeah, that's not a lot of pressure to put on a guy."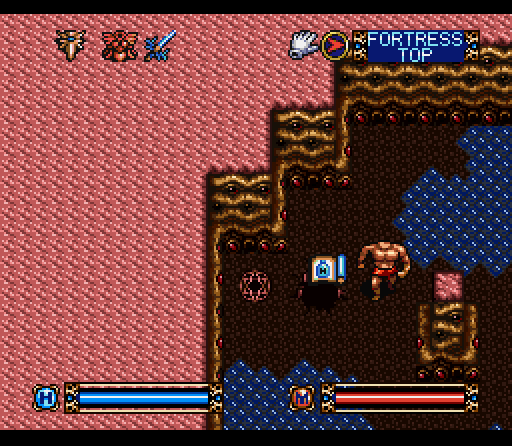
Entering the center teleporter brings us to another ice room full of Headless. The goal here is simple: kill every one of them until the last one drops the Blue Key to let you escape the room.
Just outside that room the path splits, with the path behind this door leading to our destination.
Before that, going down the other corridor triggers an arrow trap every time we hit a switch and eventually leads us to our last permanent weapon. It's kind of pointless since we have a better weapon in every way, but it's good for the completionist in my heart.
With that, we've completed the final regular floor of the game. Up this stairs we'll be facing King Berebus in order to make our escape.
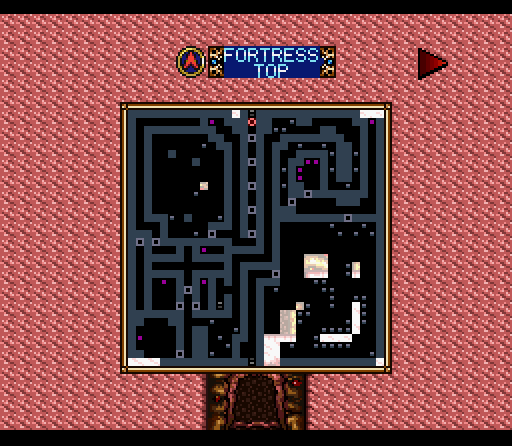
I could possibly have explored a little bit more at this point, but maneuvering around the ice floors and the attendant pits is more trouble than it's worth.
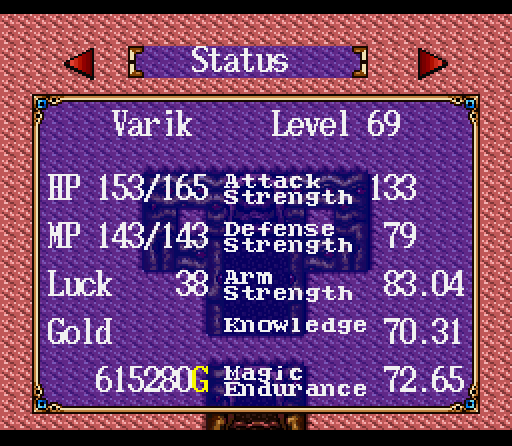
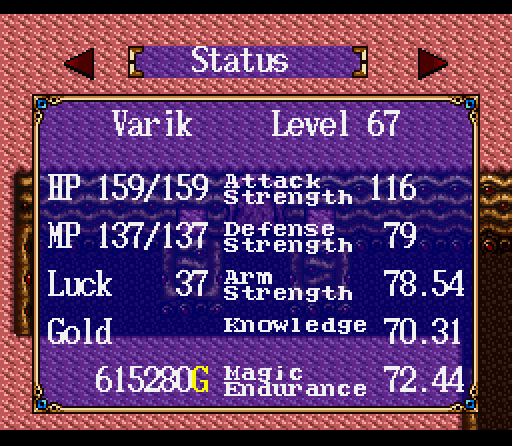
These are our stats going into the final confrontation. These definitely aren't our final stats, though, as it's going to be one heck of a battle.

Climbing up the stairs takes us to a completely different tile set, with a new type of teleporter. It's almost futuristic, and it's definitely different from anything we've seen before. It's also a small break between climbing up those stairs and fighting Berebus, giving us a place to retreat back to and to make our final preparations. For this battle that's going to mean loading every Ring of Life you have in your active inventory, prepping your Healing Magic, and making sure you've got potions and anything else you might need at the ready.
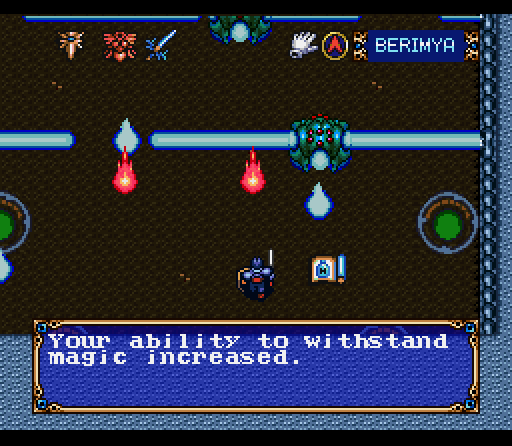
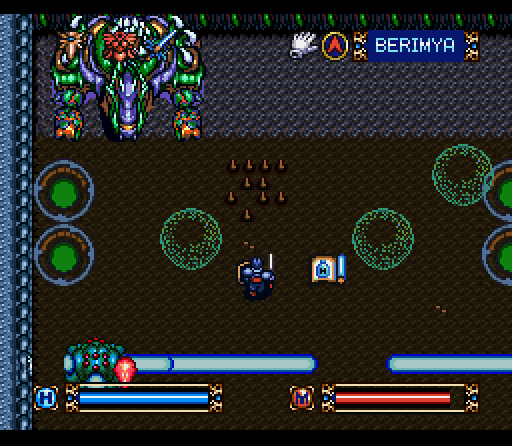
Stepping through the teleporter we get a sudden genre shift. If that looks like some kind of robot shooting our lasers and fireballs to you, that's pretty much what it is. The pale blue fireballs are a joke and the laser only does damage in the teens every second or so you stand in it but the red fireballs are coming from the boss and do about 60-70 damage at this point. You're going to be seeing the increase in magic endurance screen a lot in this fight. Since this freezes you in place, that's a real issue with the amount of firepower being slung around. The entire place is so busy that it already slows down the game measurably.
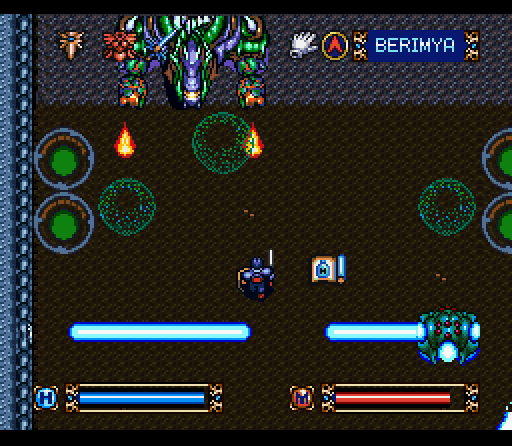
You can hop over the lasers to approach Berebus, in his form as some kind of mecha-three headed dragon. The two heads on either side are the source of the fireballs, while the center head is the target. Those circles directly in front of us are teleporters that will dump you back behind the laser walls. The goal, then, is to dodge the fireballs and the teleporters to attack the center head until it dies. In practice, this also means keeping your healing magic up constantly.
You'd think that the easiest option would be to stand in the front row and just dodge back and forth, but he'll pop up spikes under your feet if you try that. Instead, you've got to move up and down and try to time it between everything else. If you look in the lower left corner you can see the other complication - fireballs will bounce off the robots and come back at you from behind as well as from the front. The process is long and drawn out, but it's a matter of timing and keeping your health up. The Rings of Life will help the process along as well.
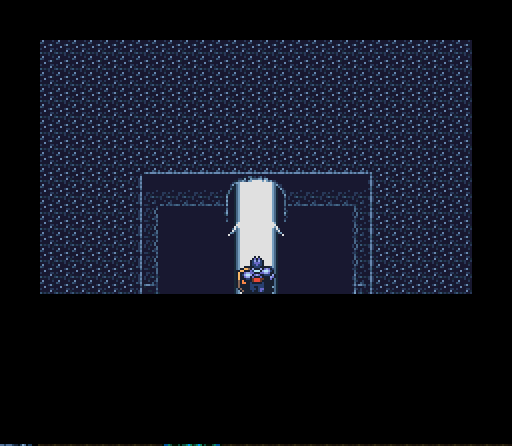
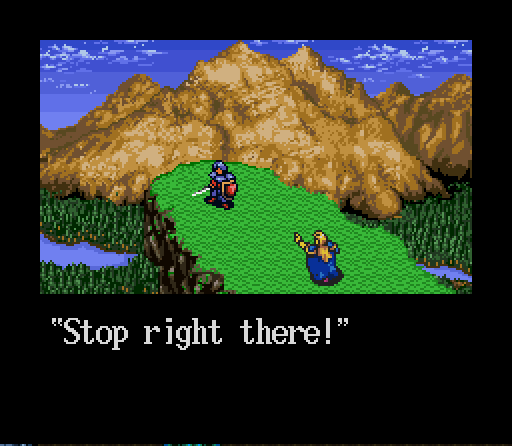
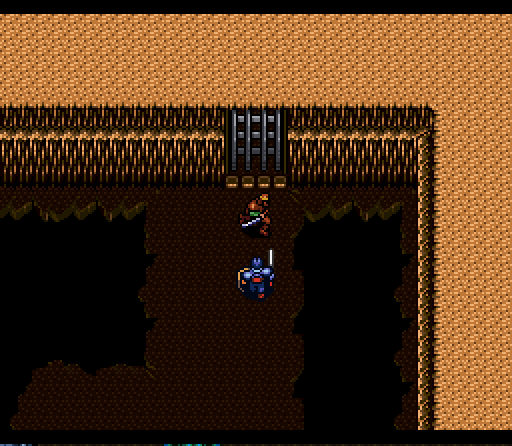
Once Berebus explodes in a technicolor burst we're taken immediately to what passes for a cutscene of Varik making his escape from the Fortress. After running through a dark tunnel he comes out onto a rocky outcropping, but we're not done yet.
 "Oh, come on Alexis. Do we REALLY have to do this now?"
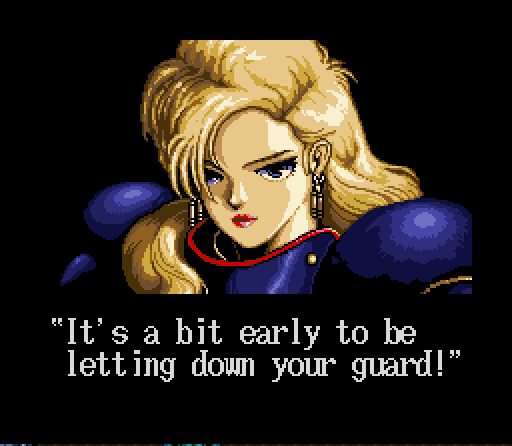 "No, no it's not. Listen, I'm sick and tired of this."
 "I'm not through with you yet!" "Well that's too bad, because I'm through with you."
 "I bet you really regret saving me now, don't you?" "Not particularly. I just killed some kind of machine-dragon-god hybrid creature with nothing but this sword and my own two hands. I'm pretty sure that no magic you're capable of is going to compare to what I just dealt with. Hell, you couldn't even handle a single Rakshahsa and I killed two more than 20 floors ago."
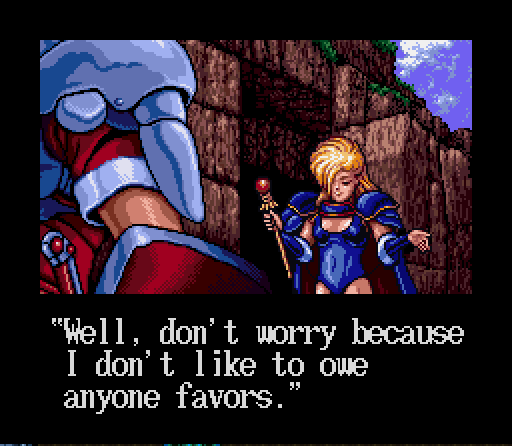 "So are you saying we're square now?" "I'll let you keep your head a little longer. Now neither of us owe the other anything."
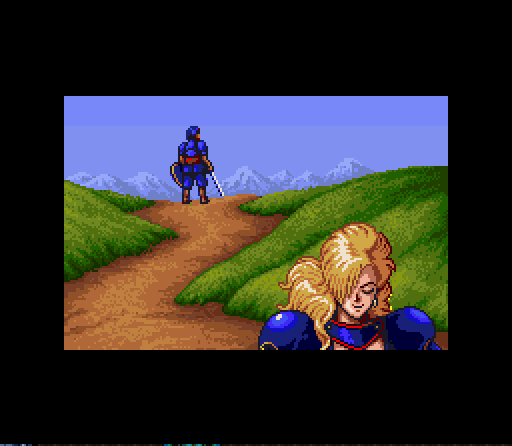
And with that, Alexis walks off and leaves Varik to enjoy his freedom and wonder when she's going to decide that she's given him enough of a reprieve and come back to kill him.
Following that little exchange we get a little montage of Varik fighting various enemies and then showing artwork of the enemies in action.
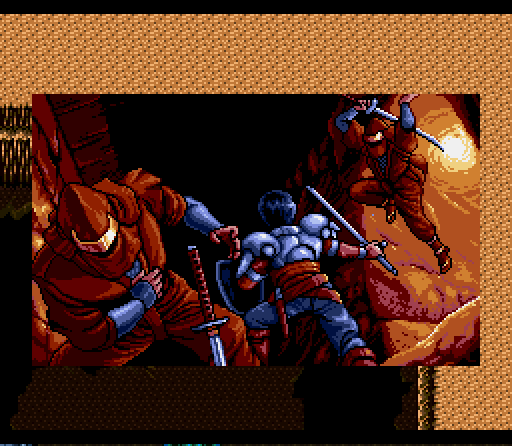
The Ninja look a lot more intimidating this way, although it pretty much looks like one of them is on the way out in this image.
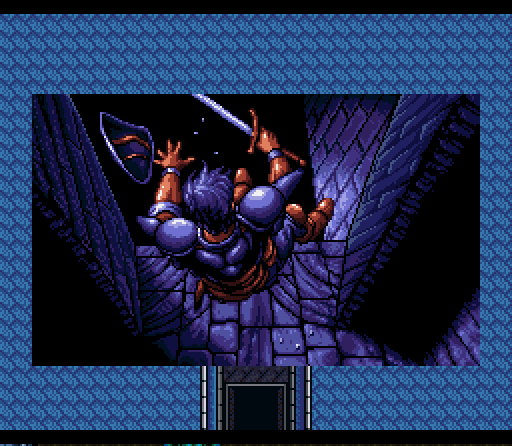
Varik falling into a pit, which is a bit ironic since this should really be Alexis falling considering her history.
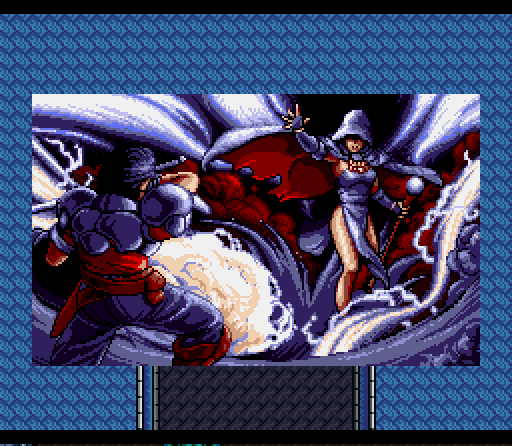
This could almost be Alexis, but it's actually one of the female mages from the tower. She looks a lot more intimidating from this vantage point.
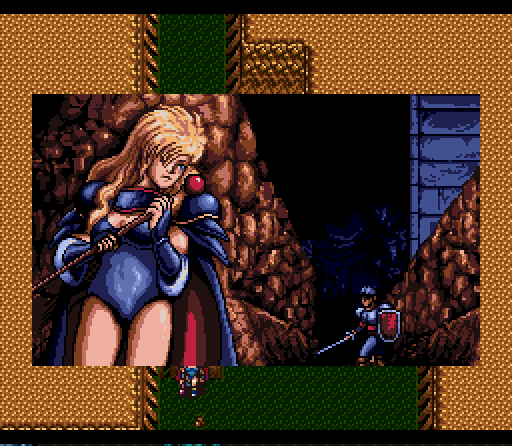
She's always watching. This image suggests that Alexis spent large portions of the game trailing us just out of sight, rushing ahead to set up an ambush when we doubled back or went off a side passage.

I don't remember the three-headed dragon being quite so purple, but that could have just been a matter of lighting.
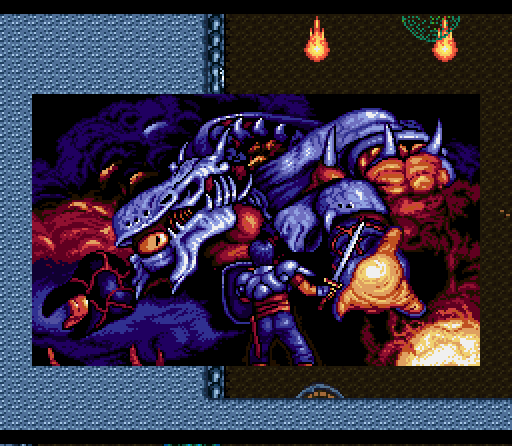
Finally, we have King Berebus in his mecha-dragon form. It looks even more intimidating from this angle. After dealing with that, I can't imagine Varik being scared of anything ever again.
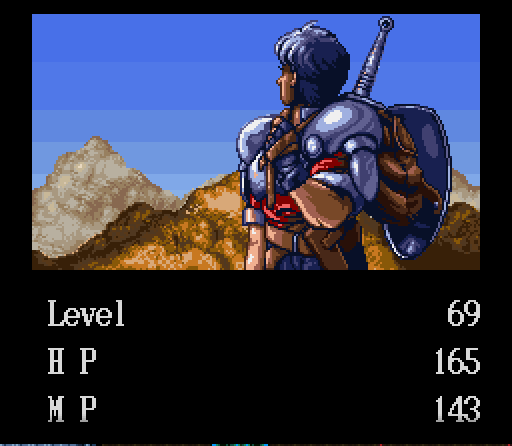
After the final image we get our completion stats for the game. Dealing with Berebus wasn't enough to put us up a level, but that's a pretty respectable level to finish at.
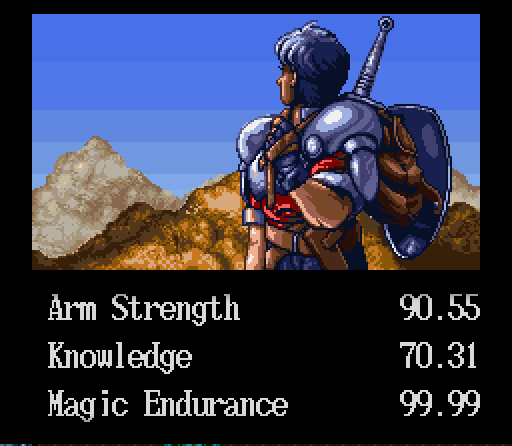
We did, however, pick up 10 more points of Arm Strength and 27 more points of Magic Endurance in that final fight. If you're going to survive that battle it's pretty much guaranteed that it'll max out.
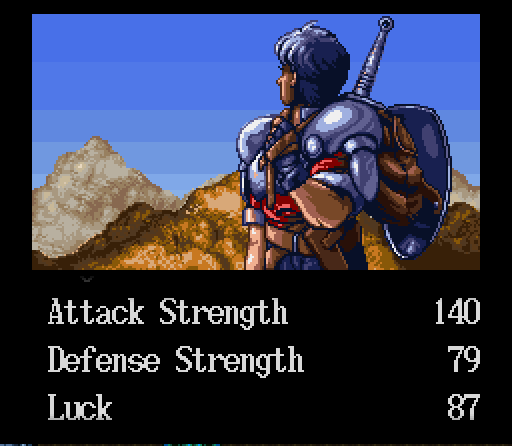
Our final stats with all weapons equipped. Considering where we started at the very beginning of the game, that's quite a bit of progress.
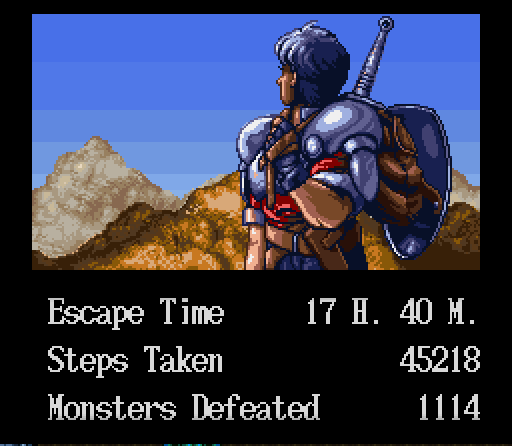
Completion stats. 17:40 is a pretty decent gameplay length for an older game like this, and the various restarts I had to do would have lengthened that even more. Kind of amazing to realize that there were even that many monsters in the game, too.
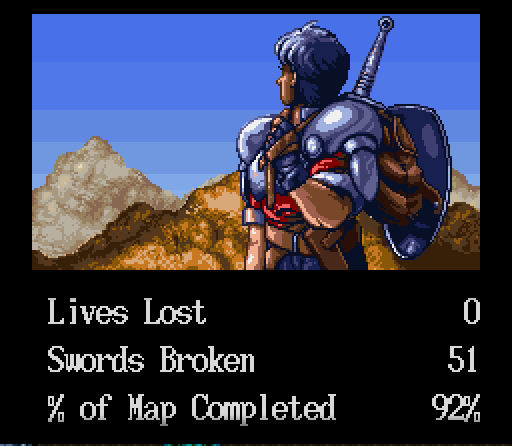
I'd also have probably explored more thoroughly if I'd realized they were going to actually track a completion percentage. 0 Lives lost proves that they don't count lives you lose with a Ring of Life equipped. And with that, we've reached:

Or not. Next update: Extras.