Part 4: Mostly Tutorials
Entry 4: Mostly Tutorials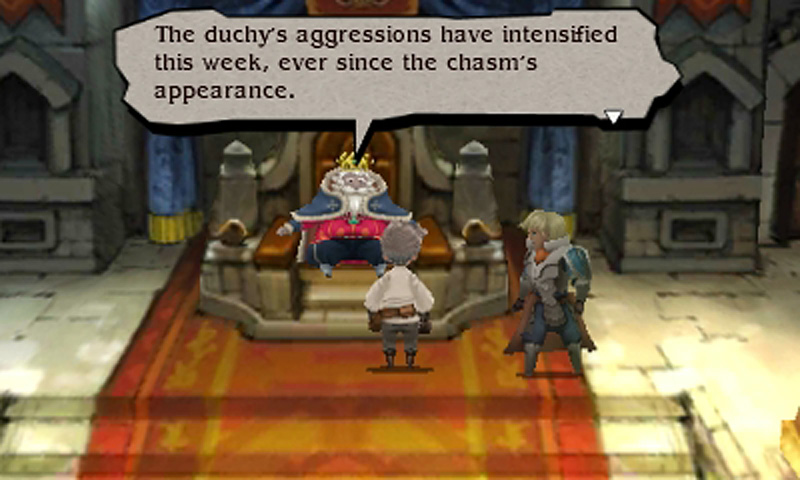
This duchy/Sky Knights/Knights of the Eternian Sky seems to be giving the kingdom of Caldisla a lot of trouble. Nothing to do with us, though.
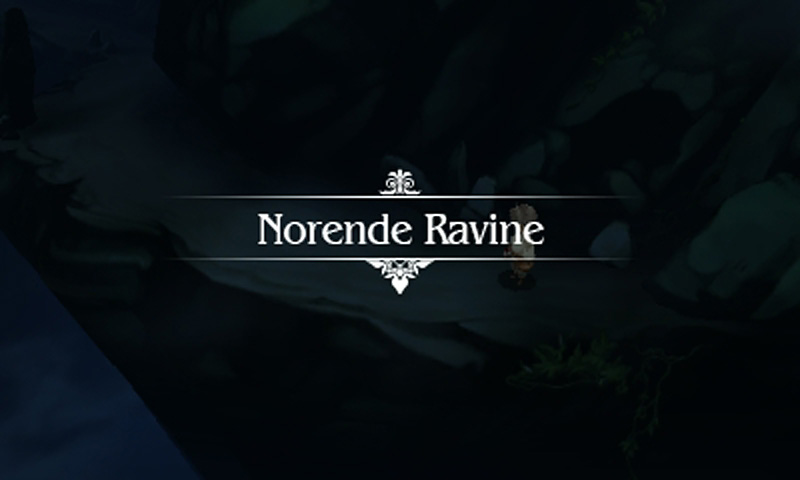
Now, how to get back to ex-Norende?
 Hmm, it's a bit dangerous, but if you make for Norende, use the canyon pass.
Thanks, Captain Owen.
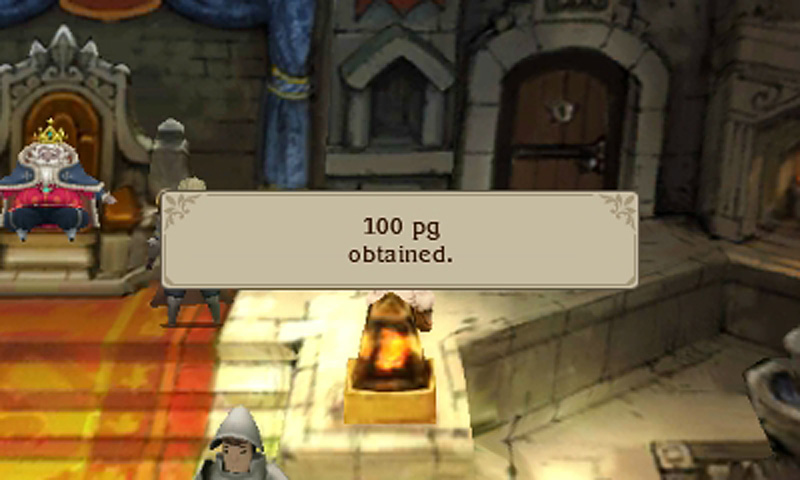
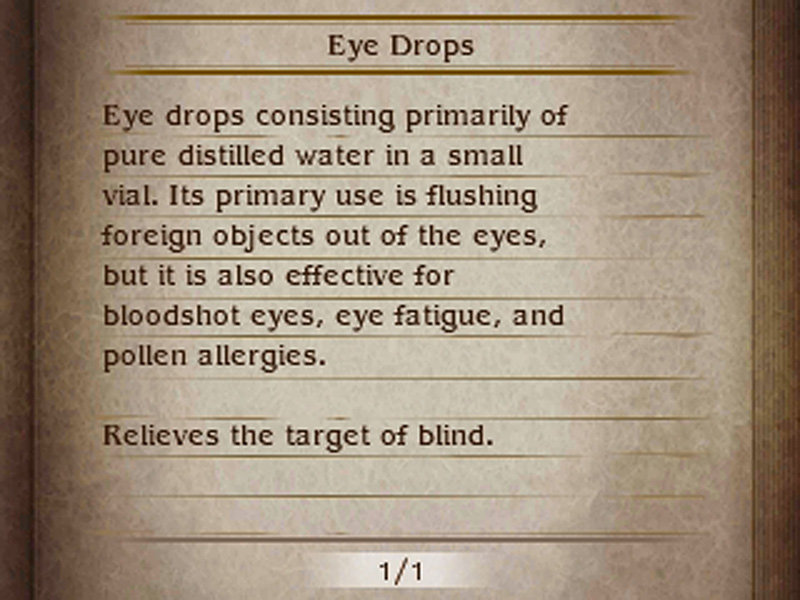
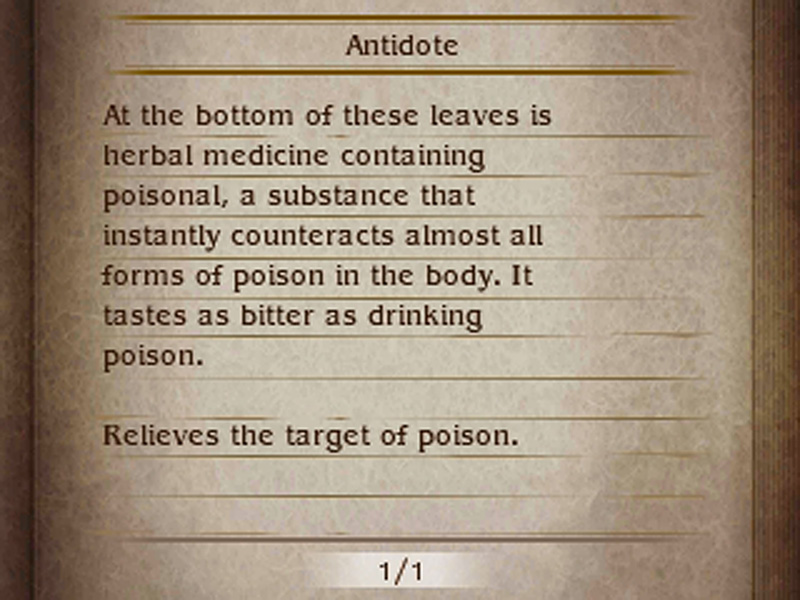
To prepare for the journey, Tiz risks catching fire to scrabble out some more cash from a torch. A vial of eye drops are stuck in the throne room's western statue. He also takes a complimentary potion from his former bedside, and finds an antidote someone stashed in the bush outside the inn.
They may be grubby, but no sense passing up free items and money.
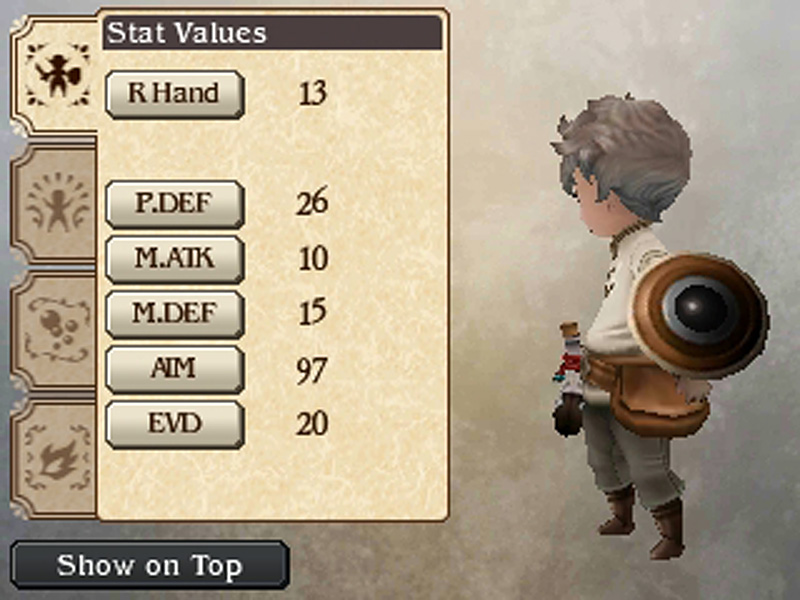
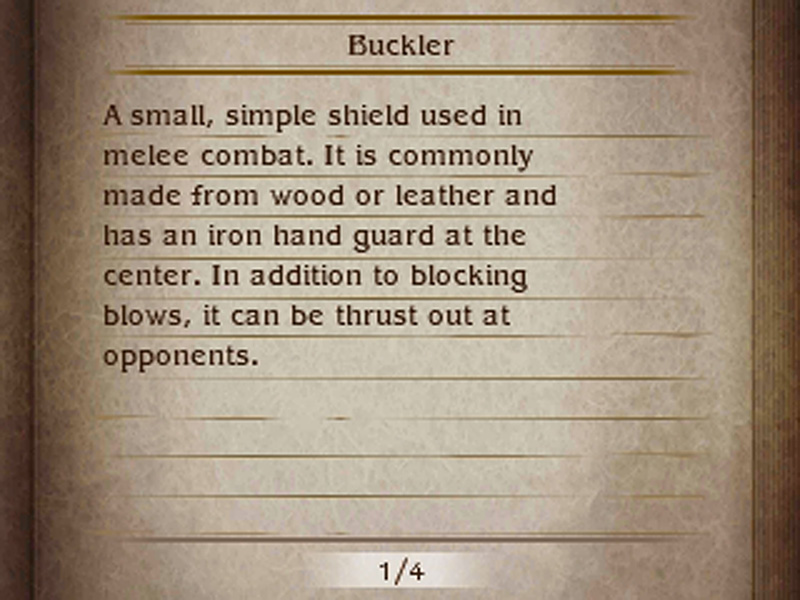
A trip to the armory gets some upgrades, including the shiny new buckler seen here. Main and off-hand items are visible during battles. Our gear situation now includes:
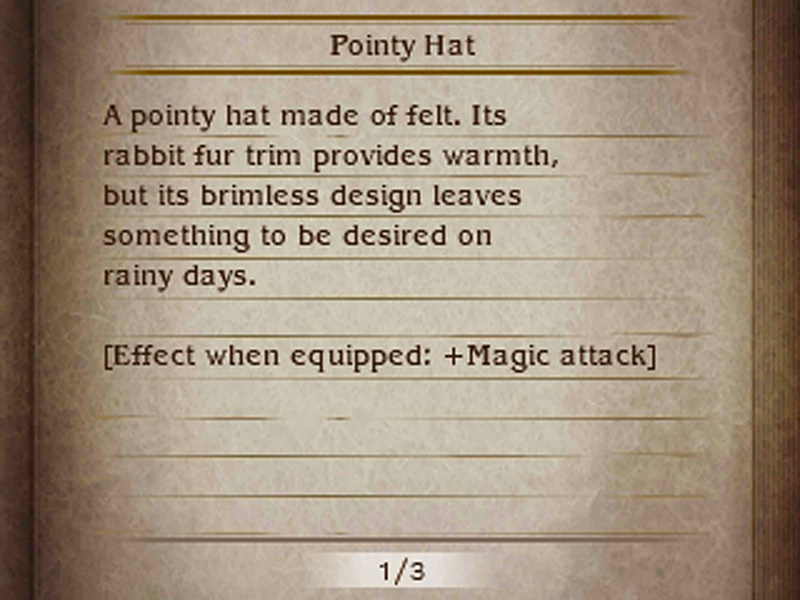
Tiz has no need to equip The Best, he's still in tutorial land. Besides, that invisible rabbit fur trim pointy hat is snazzy.
Time to head out. but before that, what about the guy from the opening movie who was hanging around?
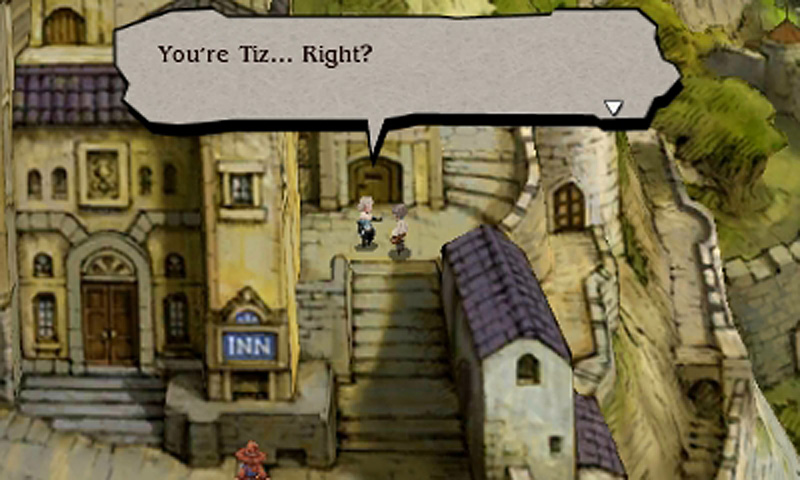
! He's knows Tiz!

...Nevermind, time to go.
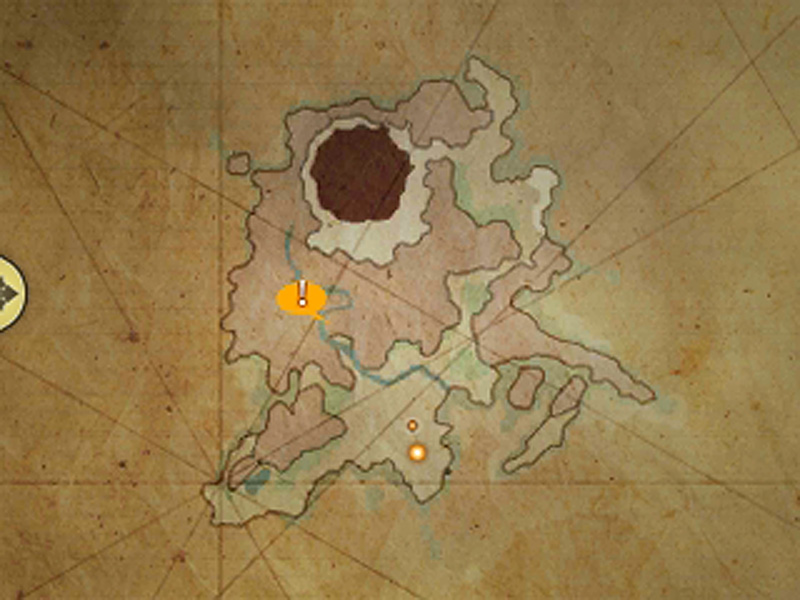
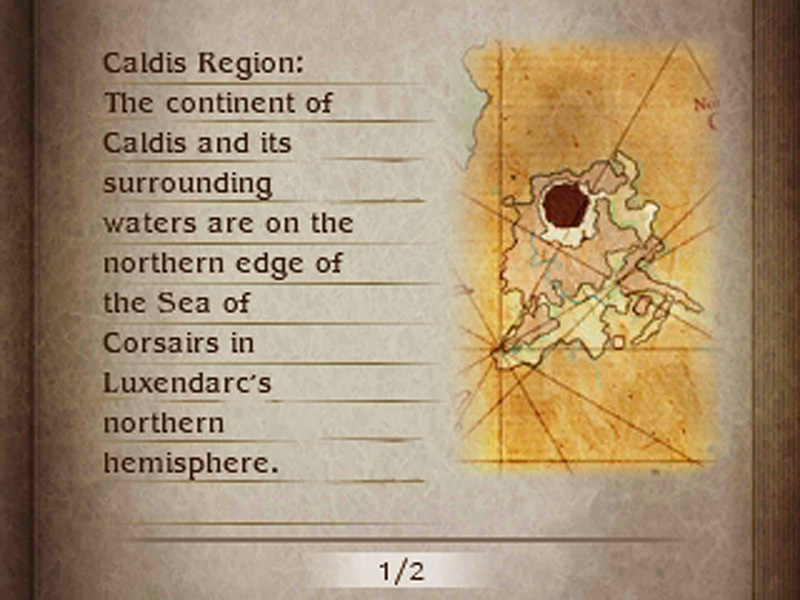
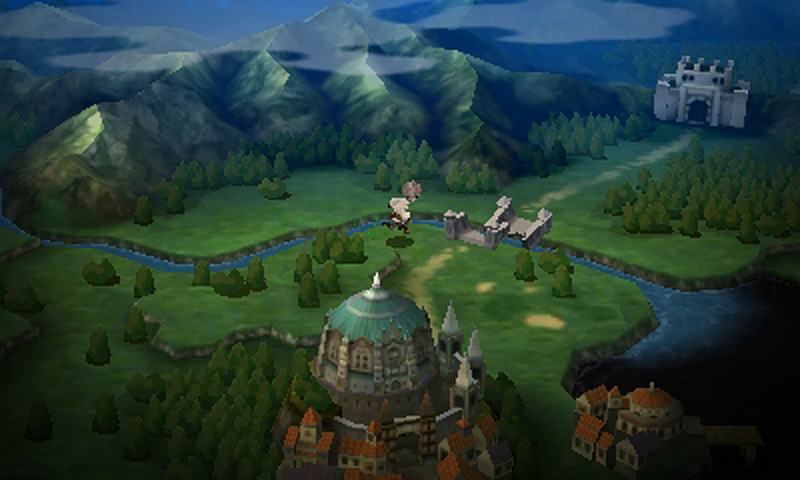
Safe guess the giant black circle is ex-Norende. We're the fuzzy yellow dot, so we've got a ways to travel.
Tiz pauses to ponder the oily-looking ocean...

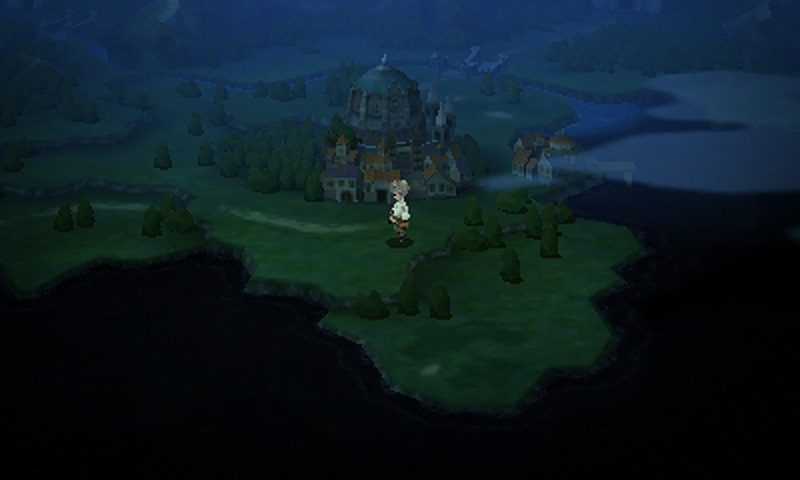
Until night falls. Enemy and town NPC availability vary depending on whether it's day or night.
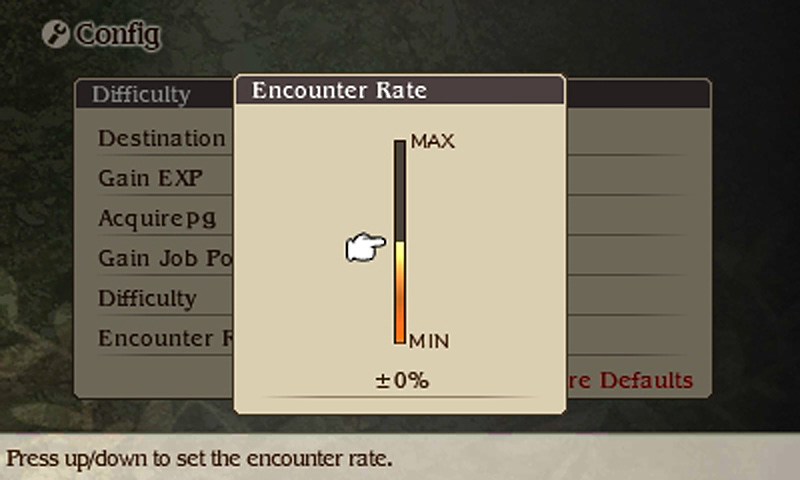
This game has random encounters like many JRPGs. Where this game improves is in the ability to change, at any time with menu access, without penalty, the rate at which random encounters occur. This includes switching to -100%, which will stop random encounters from occurring altogether.
This feature will eventually be a necessity to keep the game tolerable. But for now, random encounters are fine.


Tiz finds a zombie. The basic battle system is the JRPG turn-based standard, with Attack doing a basic weapon attack, Abilities doing fancier stuff, Items allowing access to inventory, and Run (away).
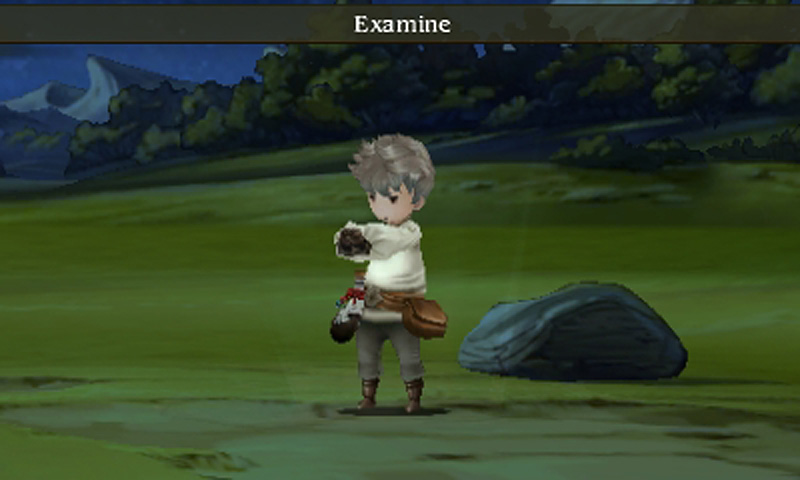
We start with just one ability: Examine. Tiz decides to get a closer look at the zombie.
Examine shows HP, weaknesses, family (as in type of monster), and more. Zombie doesn't like fire or light, and is undead.

Zombie protests its privacy being invaded with its own special attack.
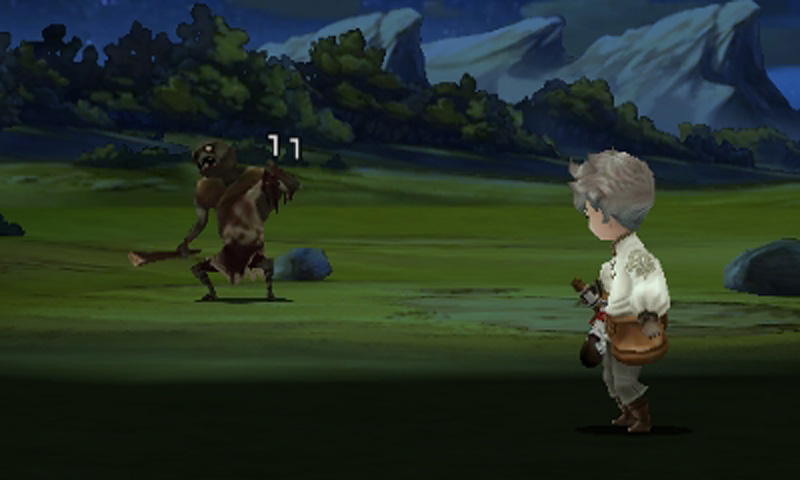
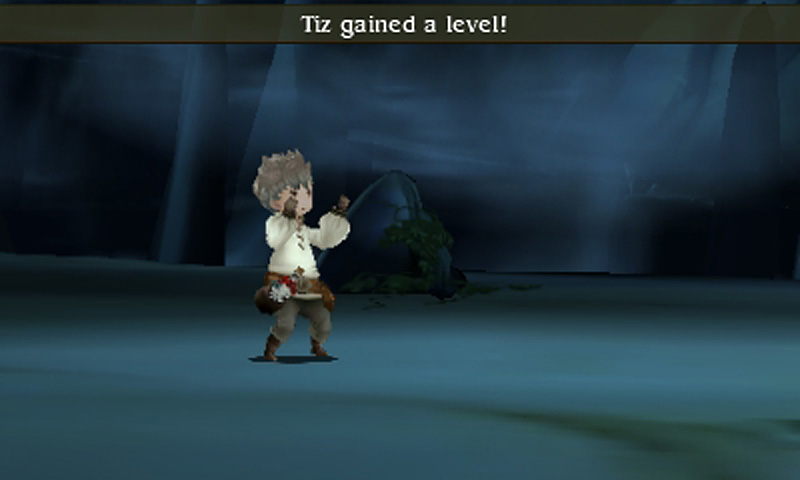
Luckily, Tiz the shepherd took out sheep thieves regularly, so this is no big deal.

6 money, 3 experience, and 1 job point. Although money and experience are good as ever, JP is key.
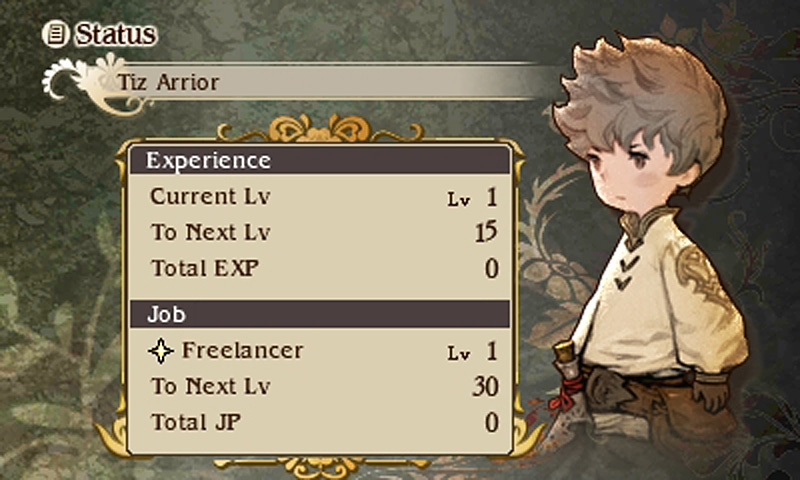
Jobs are what the game is all about, gameplay-wise. There are many jobs, you level the jobs using JP, you learn a new ability with every job level.
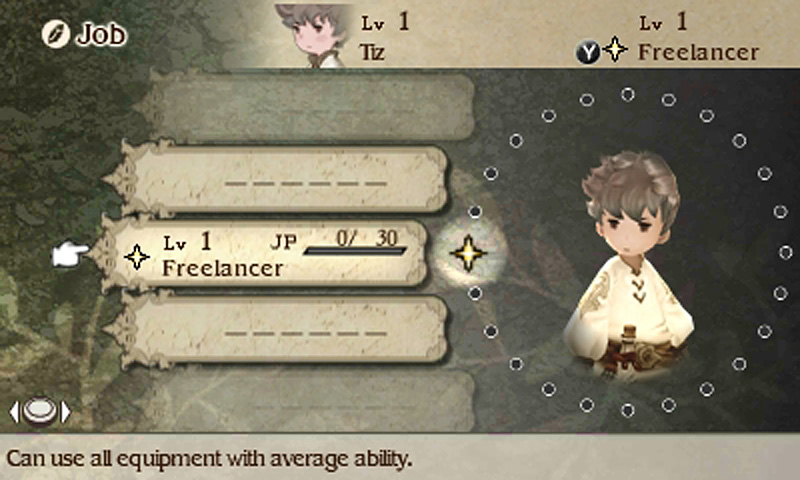
The dots on the wheel indicate how many jobs we'll get, eventually. But for now, we're stuck with Freelancer.
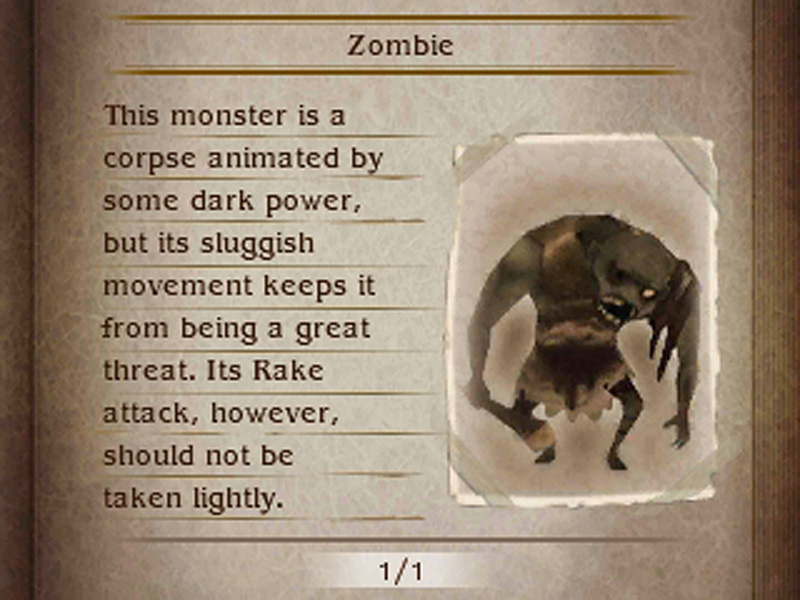
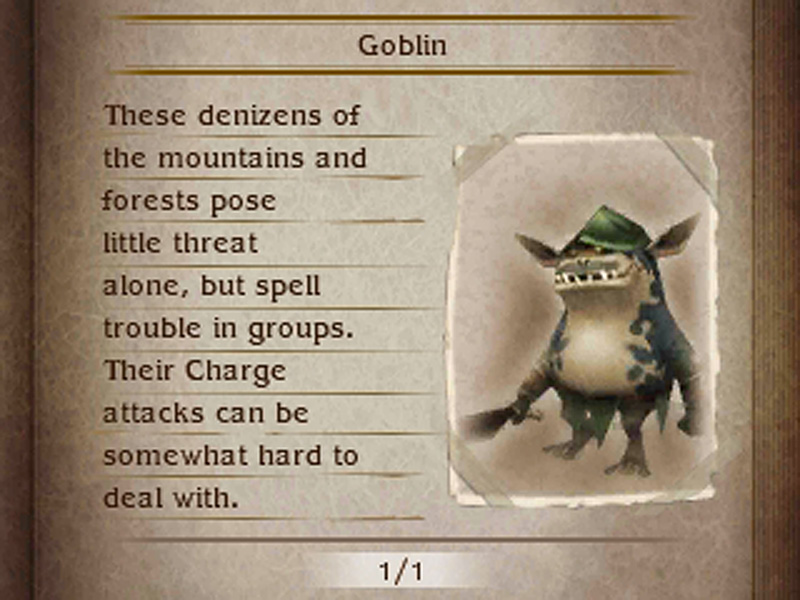
As with items and equipment, every enemy type defeated gets its own description.
North of town is the broken bridge we were told about.
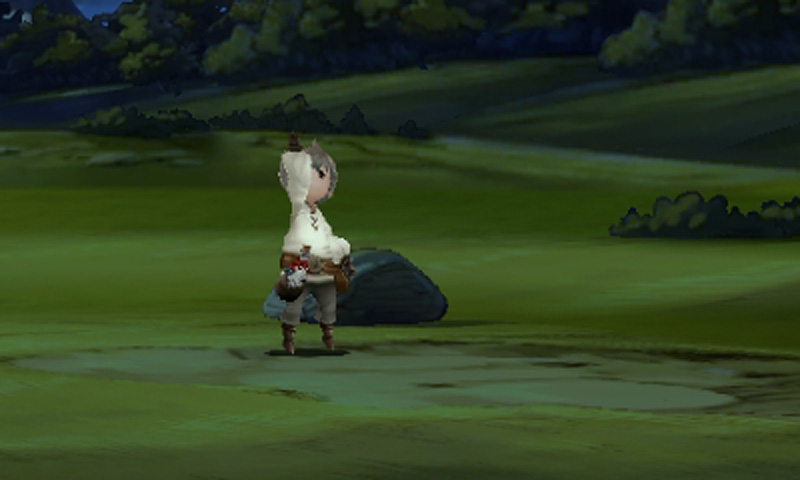
Tiz takes his warm-up stretches very seriously.
He probably faced these when he herded sheep.
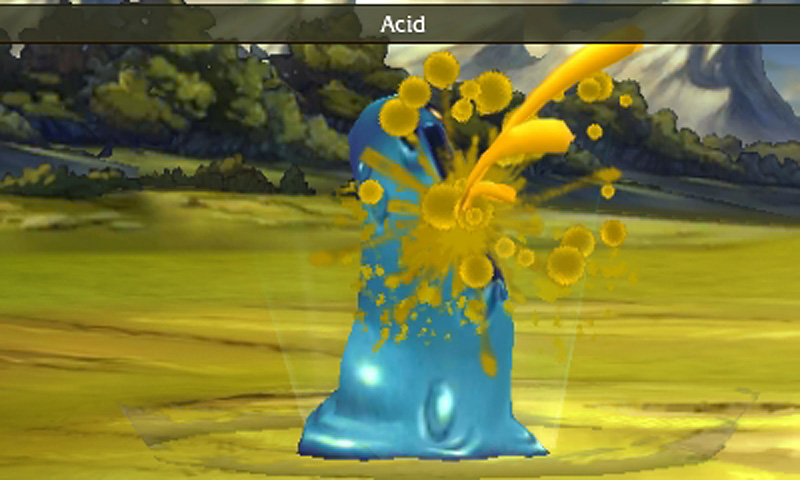
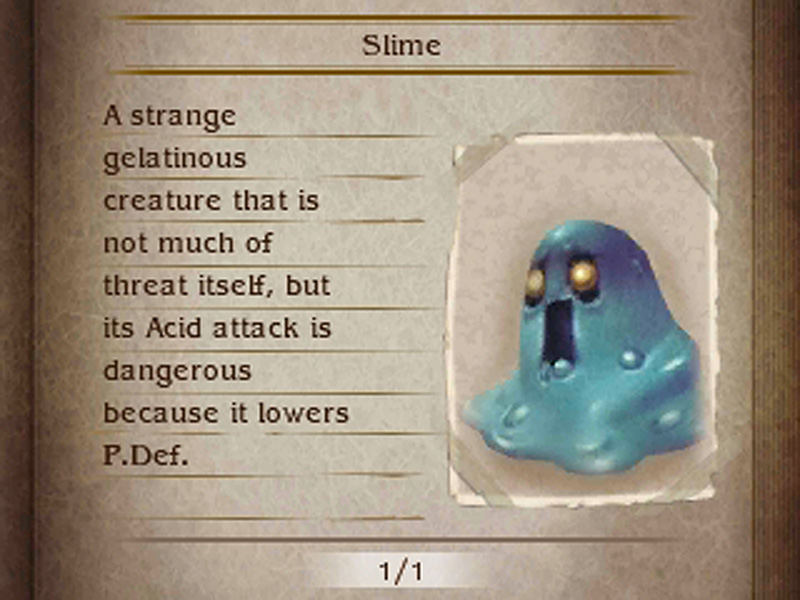
A basic slime. The enemies at this stage are not very exciting.
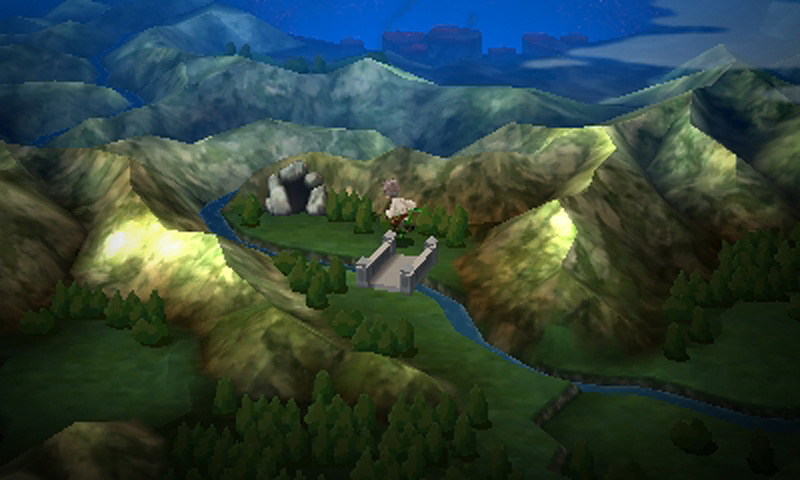
Here's the canyon pass Owen told us about. Norende should be just beyond.
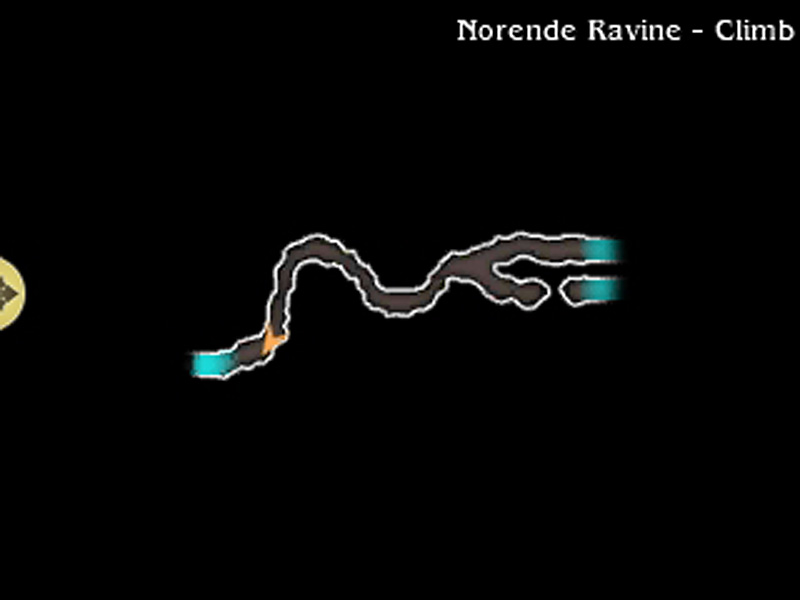
Area maps fill in as we explore.
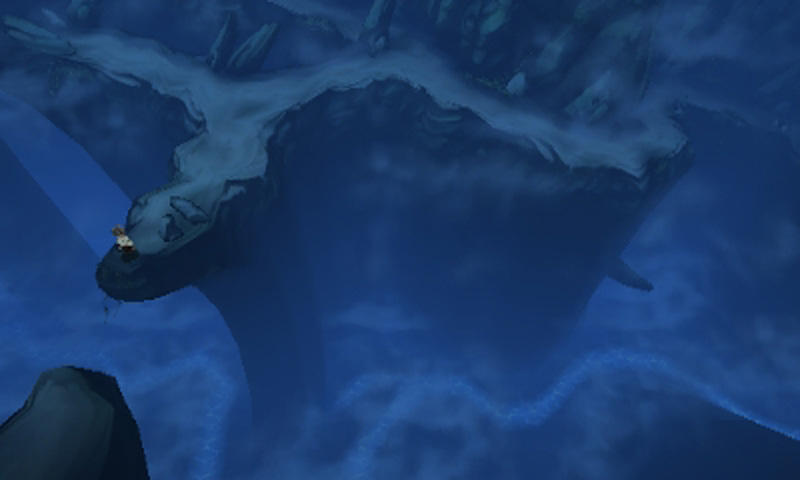
The ravine is mostly a single path.
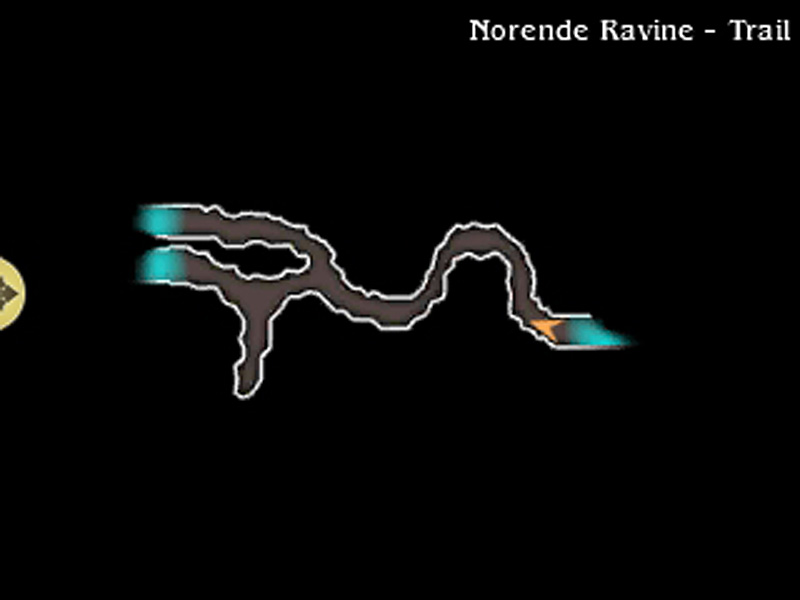
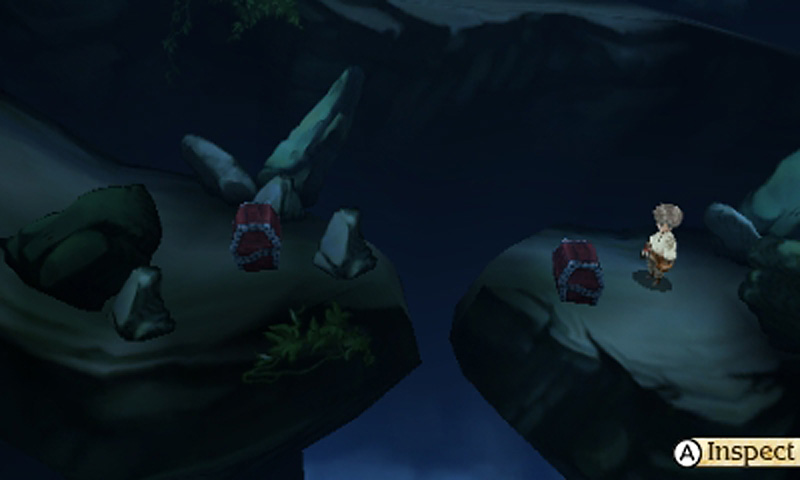
The lower path leads to a potion in the chest.
Along the way, the game opens the Brave and Default battle commands. These allow a character to take up to 4 turns in a row (Brave) or save up to 4 turns while taking less damage (Default).
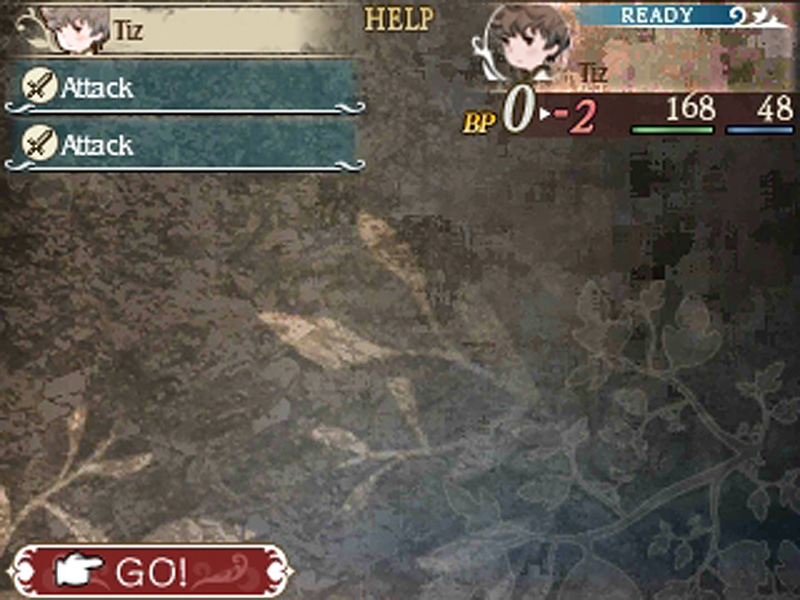
The BP counter under Tiz's face shows how many extra actions he can take that turn. With Brave and Default, that BP counter can be manipulated.
Normally, an action like attacking brings the counter down to -1, then every turn adds +1, allowing a normal attack every turn.
Tiz -> Monster -> Tiz -> Monster.
If we Braved once as shown, taking two attack actions in a row, we'd then have to wait 2 turns to get back to 0 BP.
Tiz -> Tiz -> Monster -> Monster.
It'll really shine once we get more abilities.
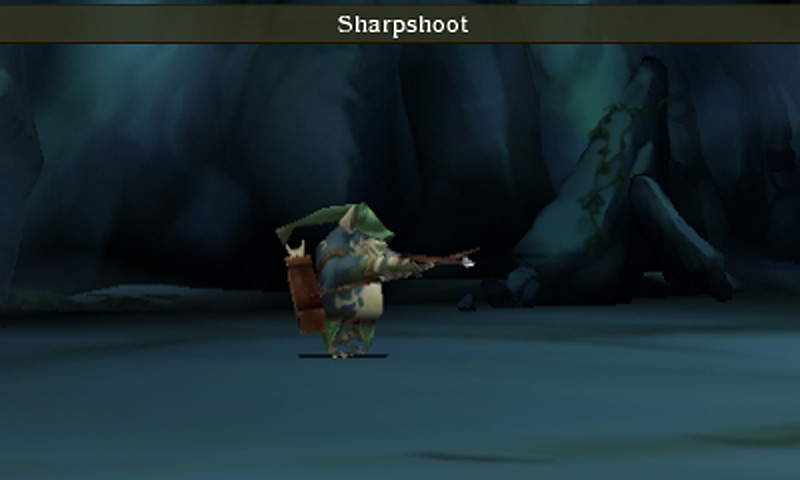

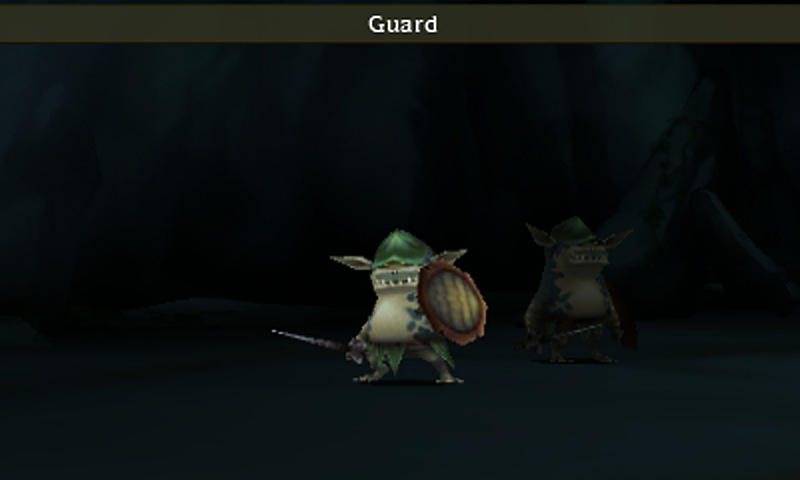
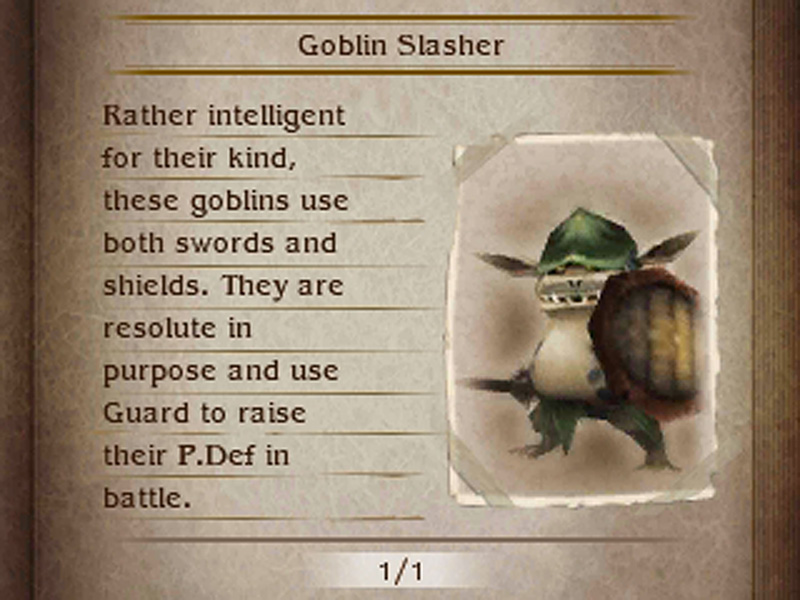
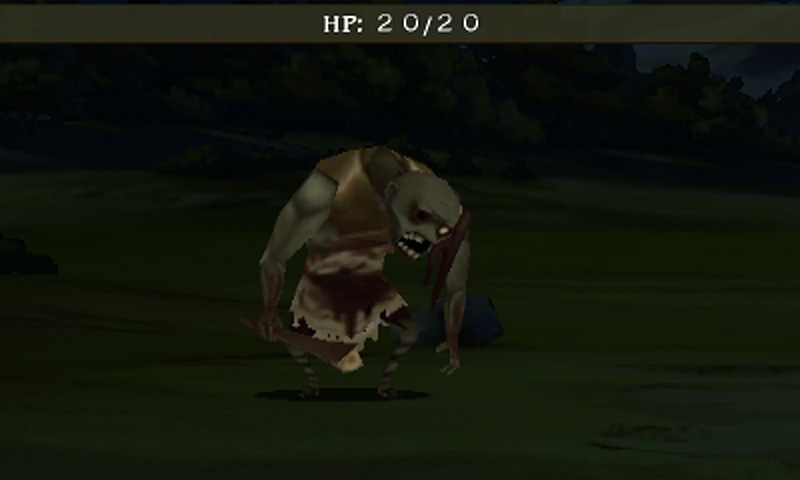
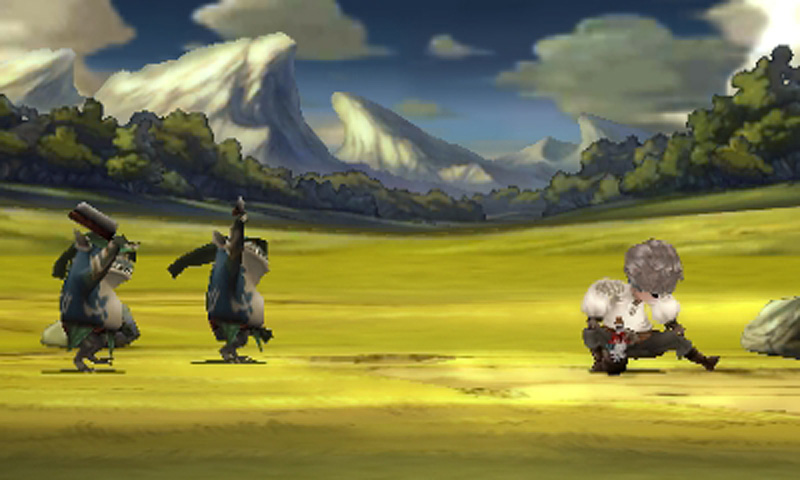
The place is littered with goblins, including their more advanced brethren.
Tiz vanquished all who dared get in his line of sight.
Second area map. The treasure opposite the first contained 200 pg, a valuable donation to the buy-one-of-everything-in-the-shops fund.
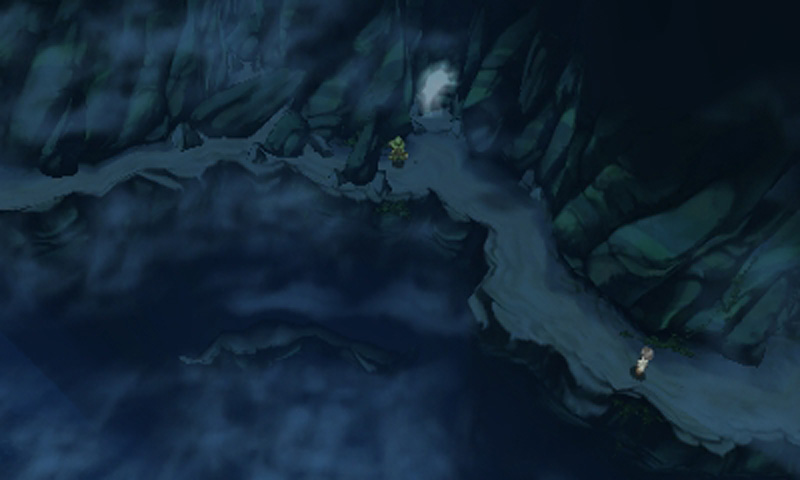
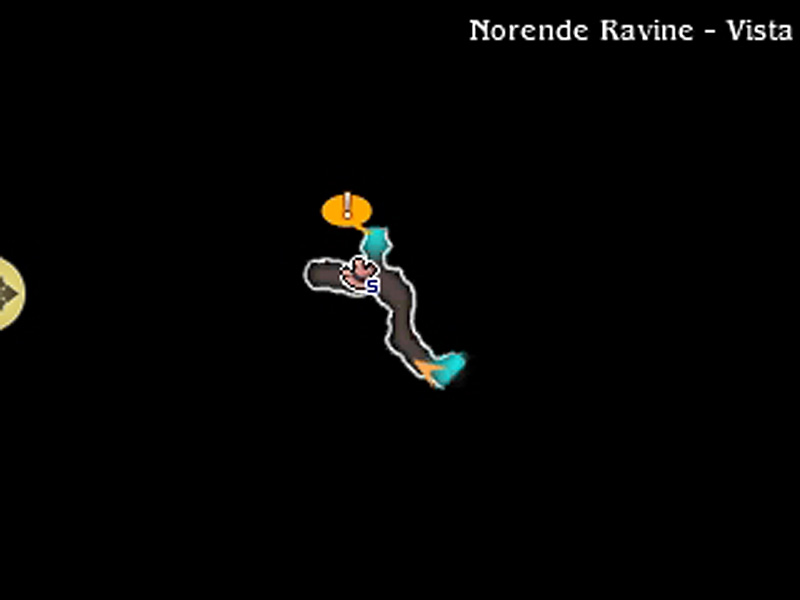
In the third and final area, a green adventurer and the yellow plot marker await.
Next time: The second playable character and a boatload of double entendres.
--
Event Viewer scenes watched:
None
quote:
Continent of Caldis:
Surrounded by the North Caldis Sea, Etersen Sea, and the Sea of Corsairs, this small continent is almost completely covered in a mountainous region known as the Norende Heights, but on the east coast, there is a narrow flatland area with a thriving city.
Blessed with a mild climate and warm ocean currents, this land has four beautiful seasons and bountiful fishing and forestry.