Part 13: Frozen Road
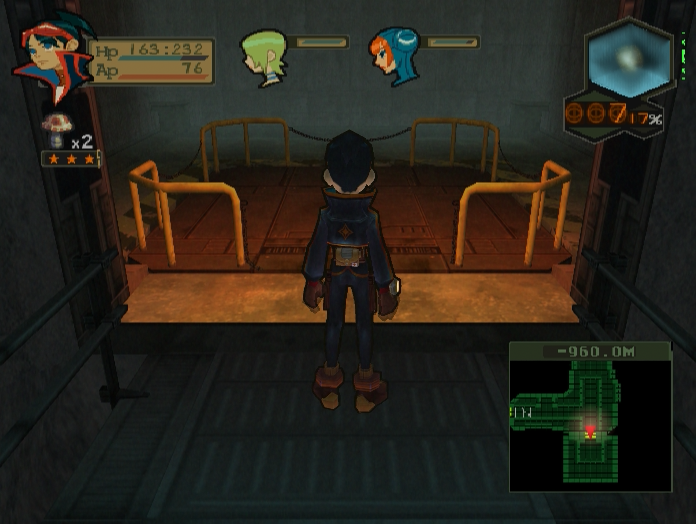
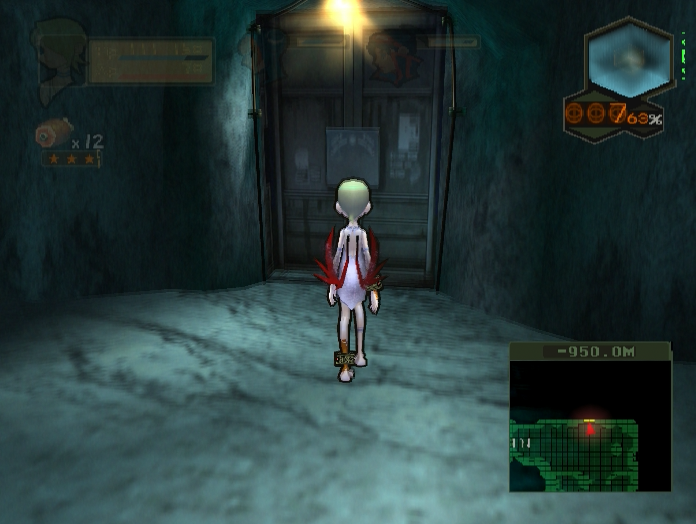
Update 13: Frozen RoadWelcome back. Last time we finished our trip through BioCorp and learned the awful truth about Nina. Ryu resolved to bring her to the surface in the hopes that the purer air will help her to survive.
Music: Waste Shaft
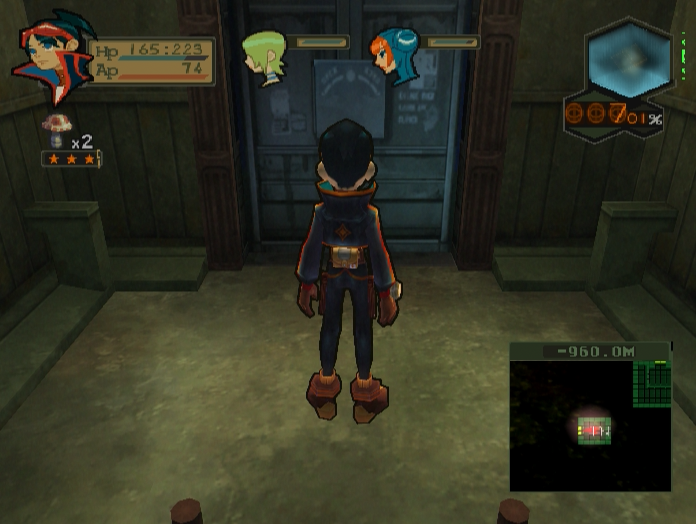
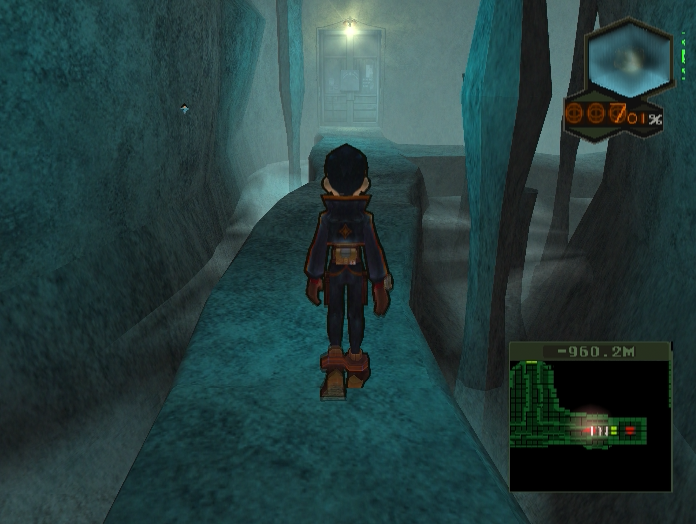
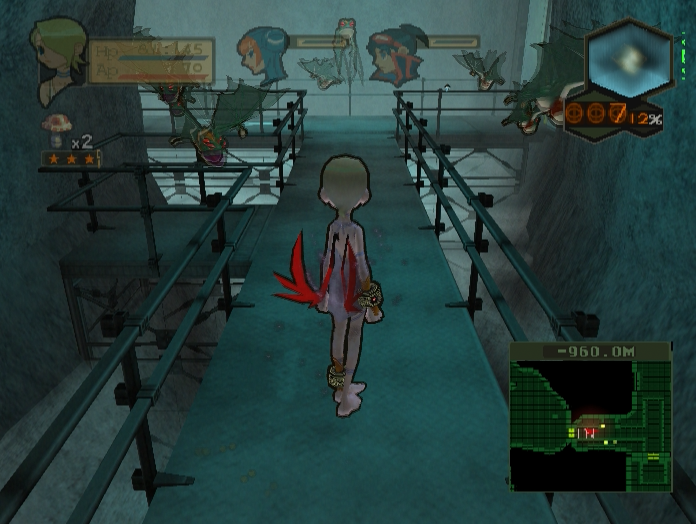
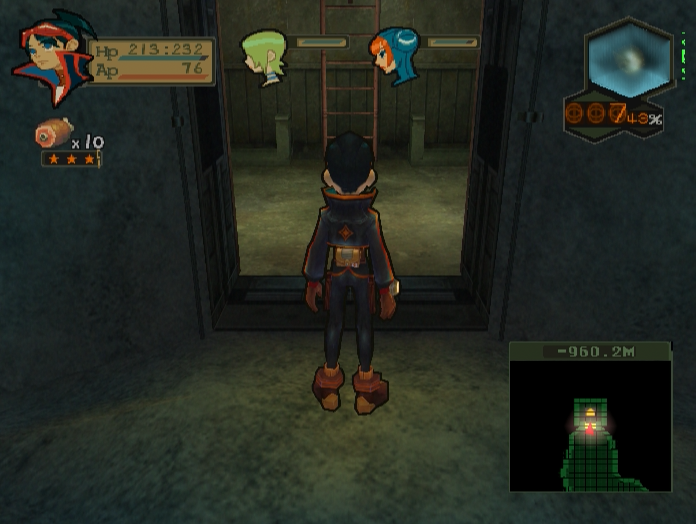
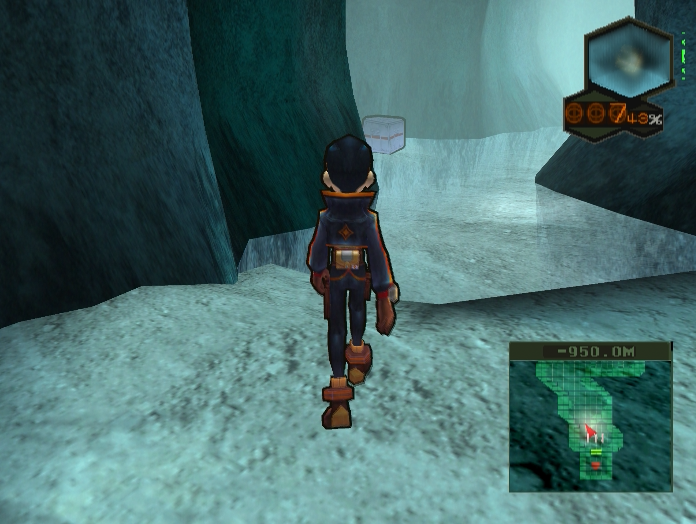
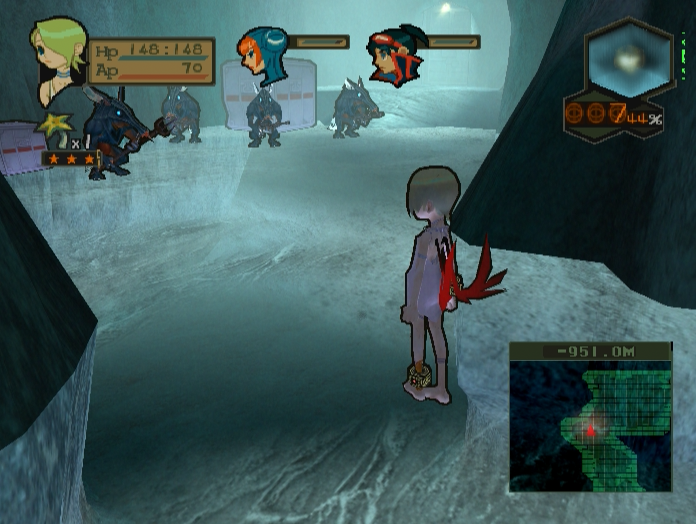
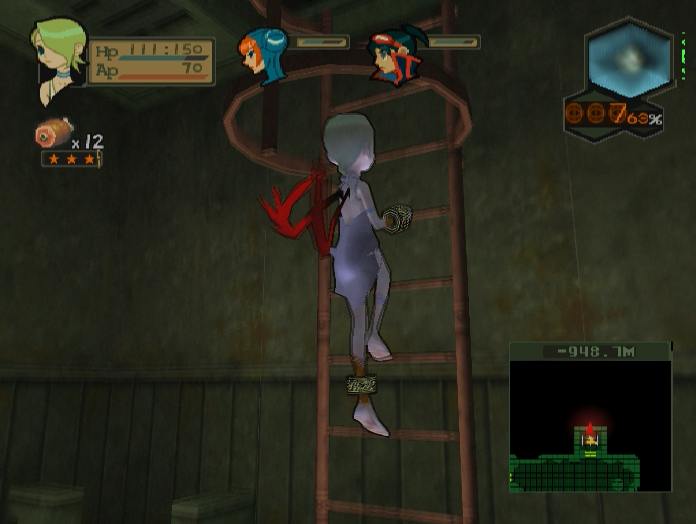
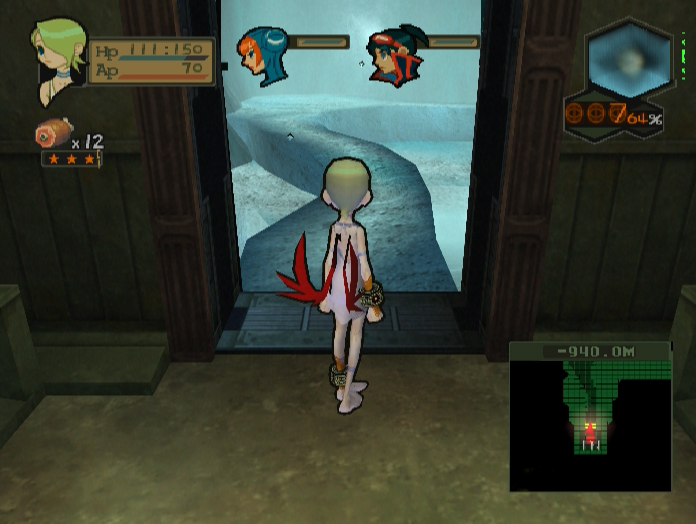
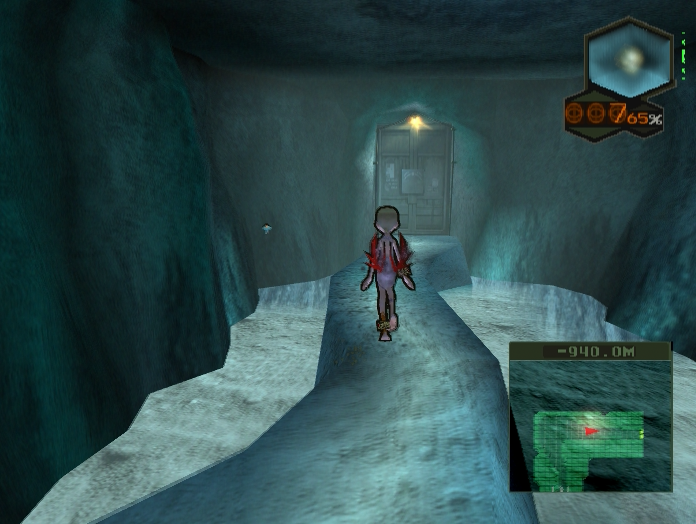
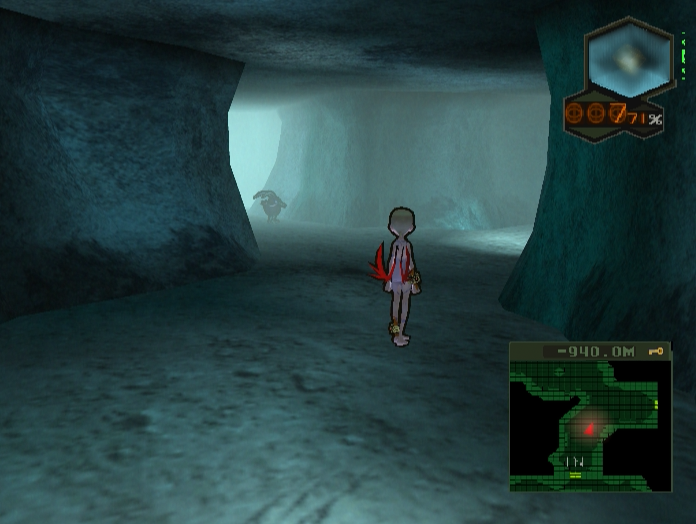
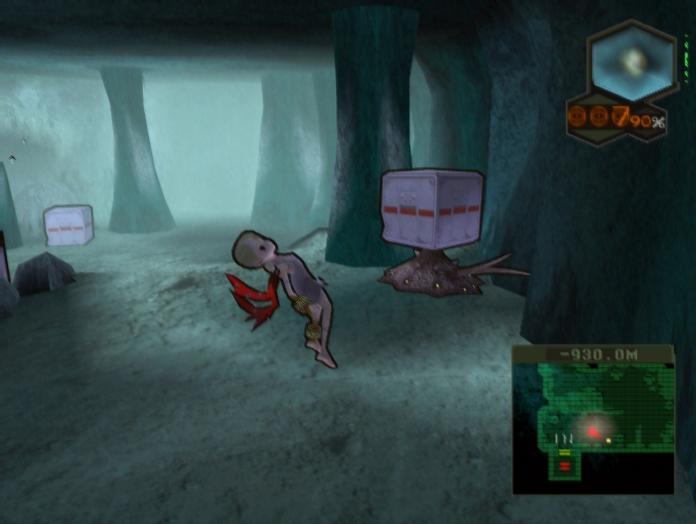
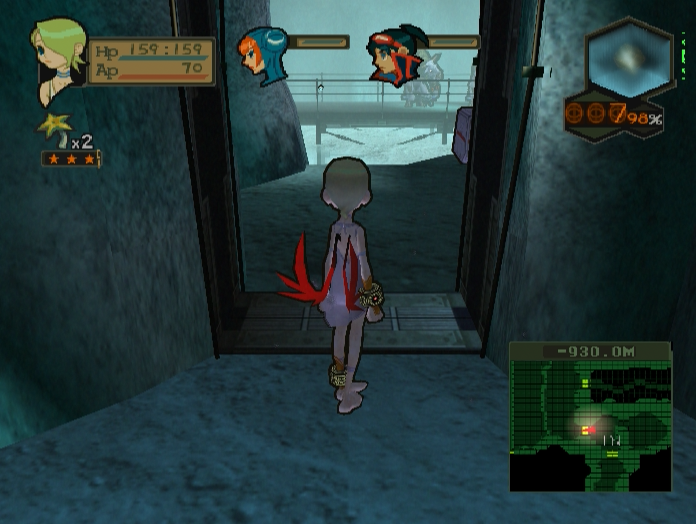
After climbing the ladder Ryu emerges into the Frozen Road, an icy cavern that Sheldar uses for cold storage. This is a very short area, and we’ll be going through all of it in today’s update. The vast majority of enemies in here deal ice damage, which is why buying cold-resistant armour is so important.
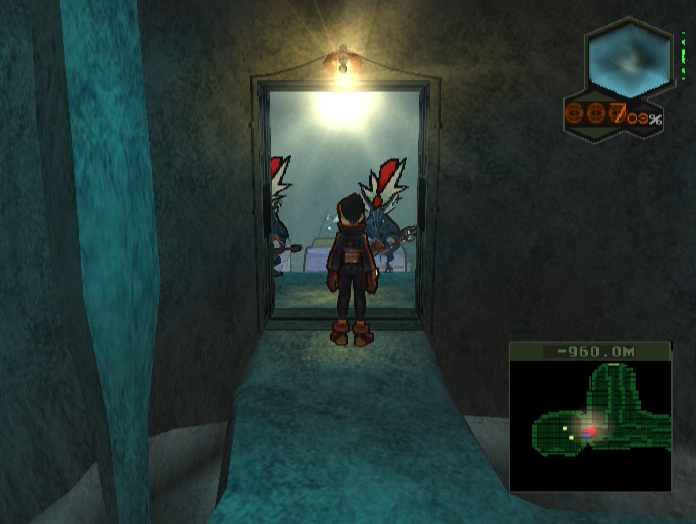
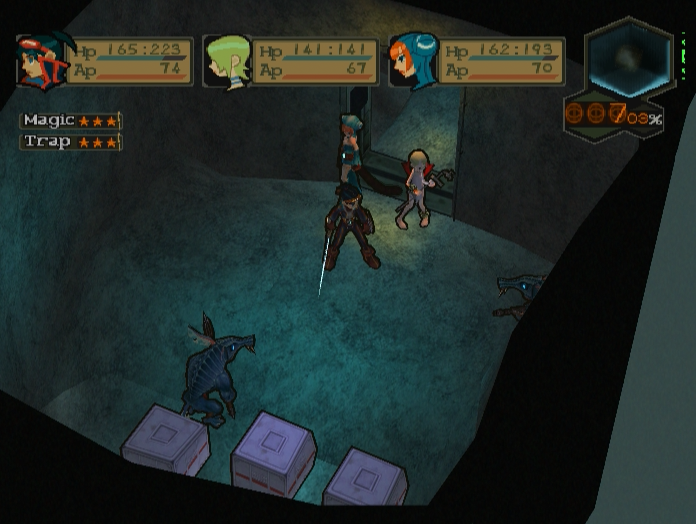
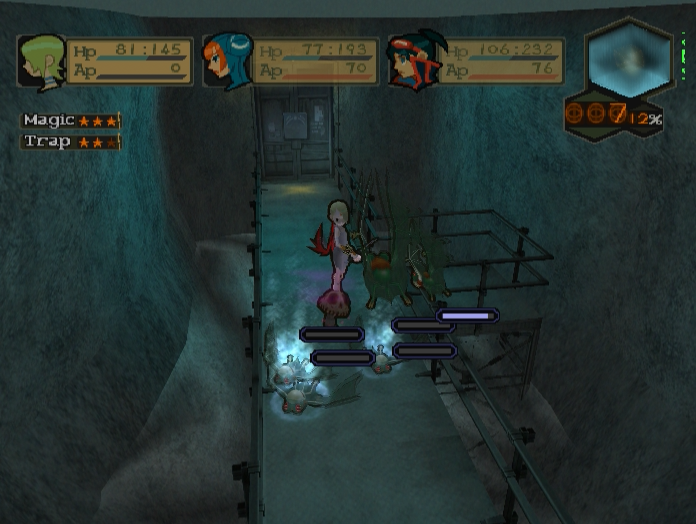
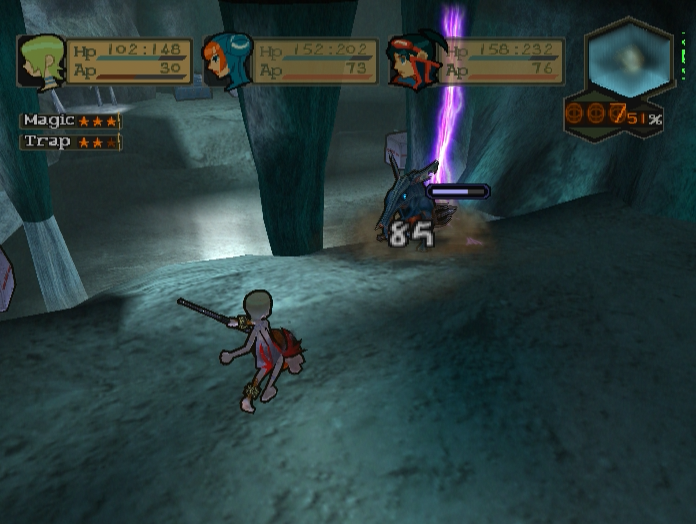
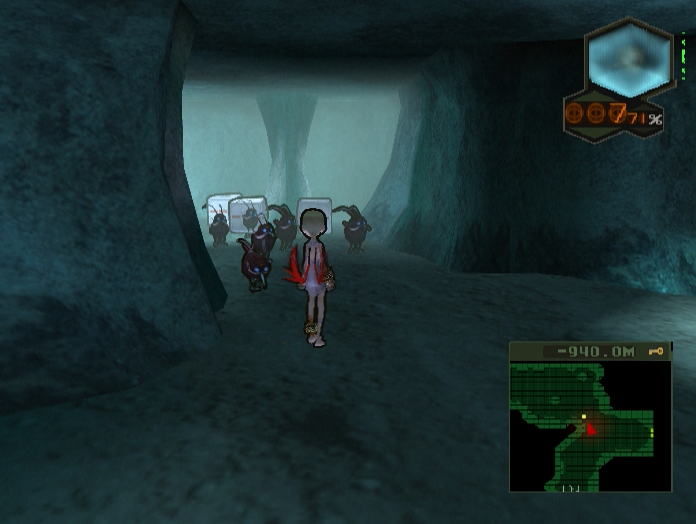
Two of these new enemies - the Garpike and Garsniper - are in the very next room.


Garpikes are melee fighters who come equipped with a plethora of debuff and status skills. They also have enough AP to attack twice per round, which can be a problem if you underestimate their movement range and allow them to target Nina.

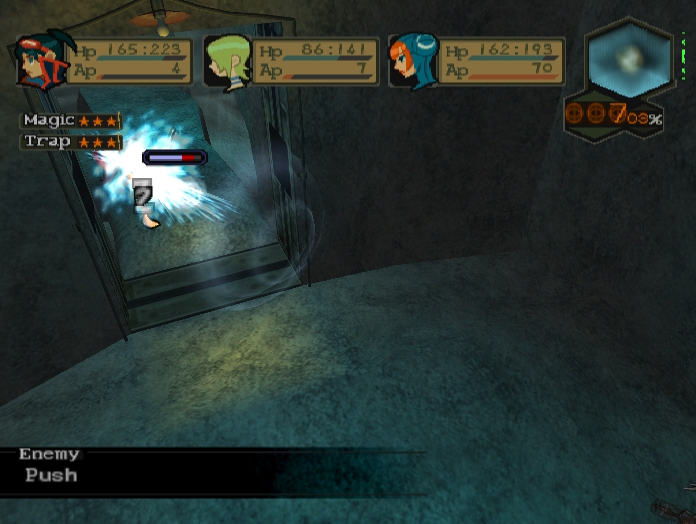
Garsnipers are less dangerous, as they are pretty much reskinned Duke Hunters. They can push party members around, but their damage output is fairly insignificant.
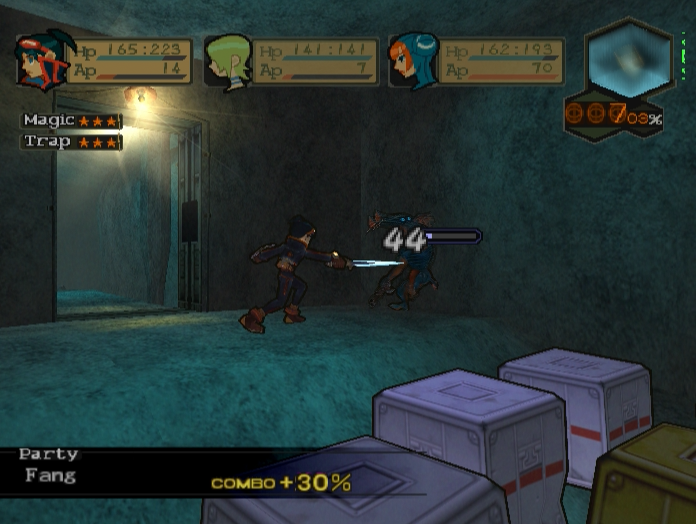
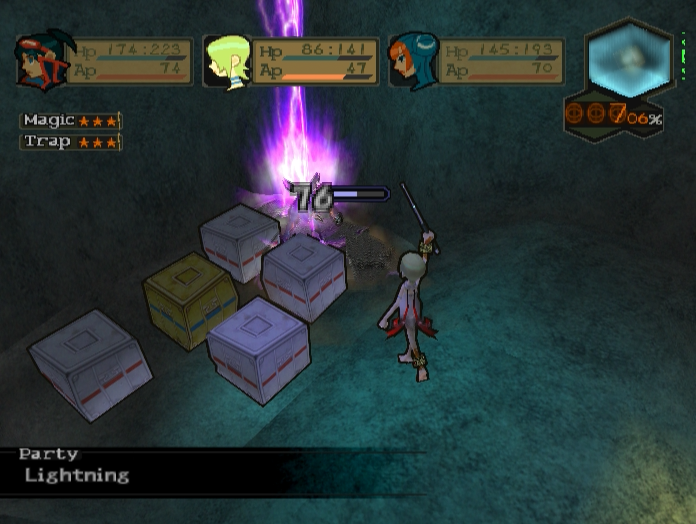
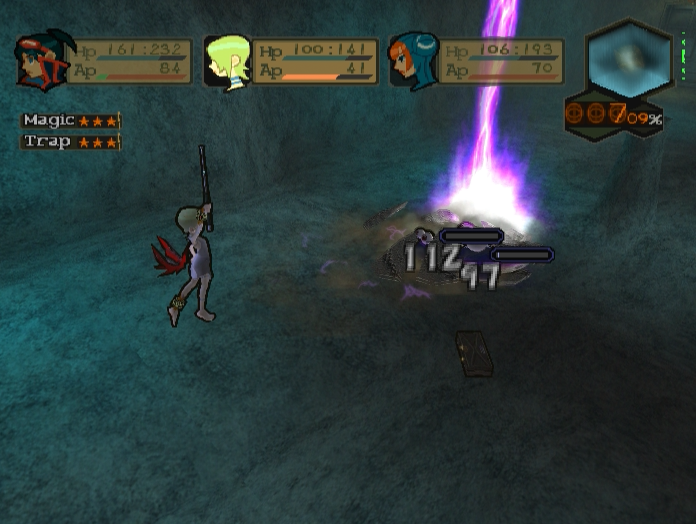
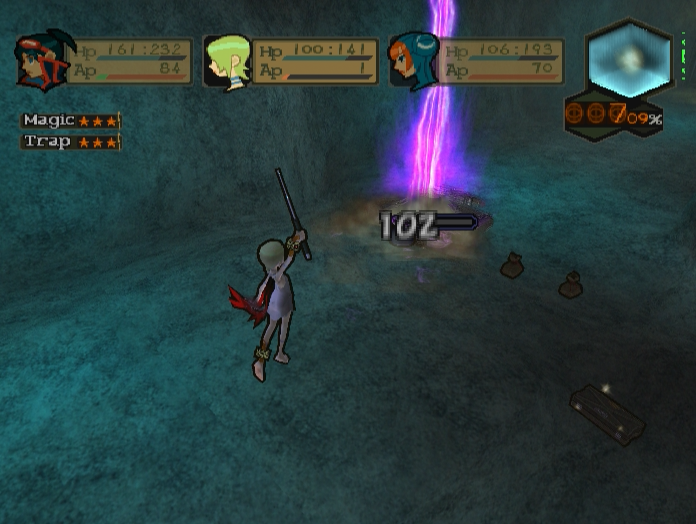
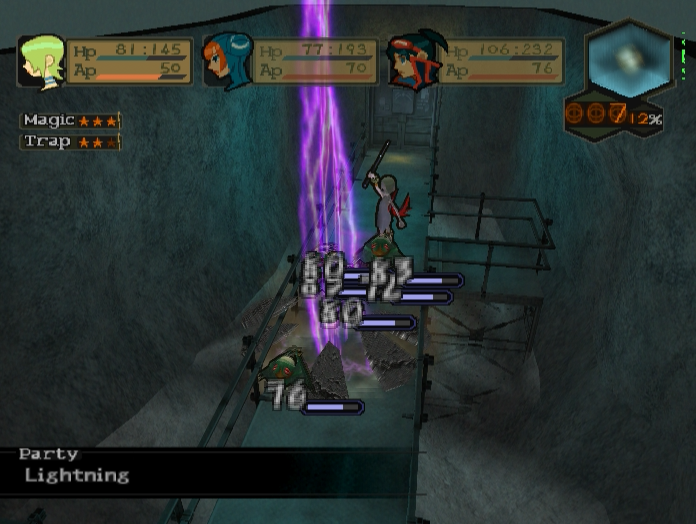
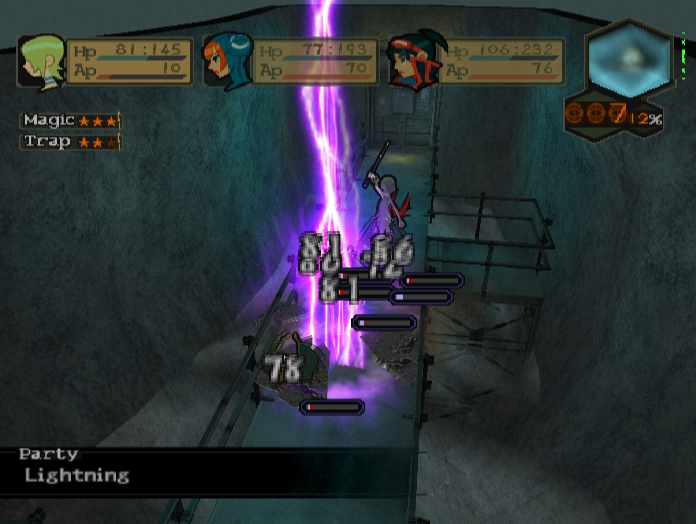
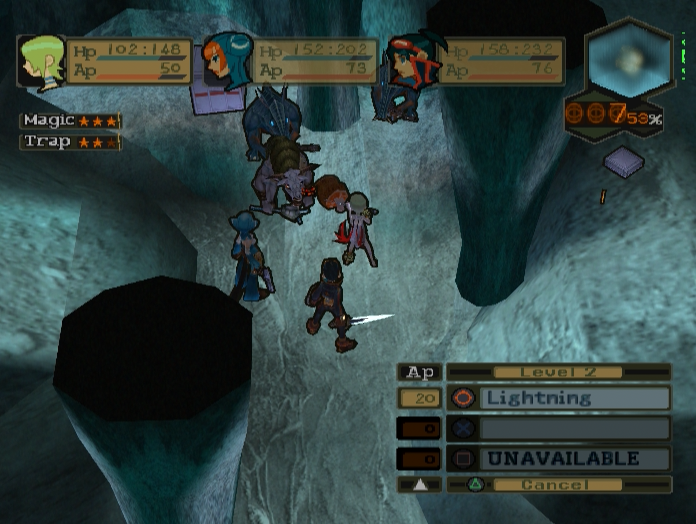
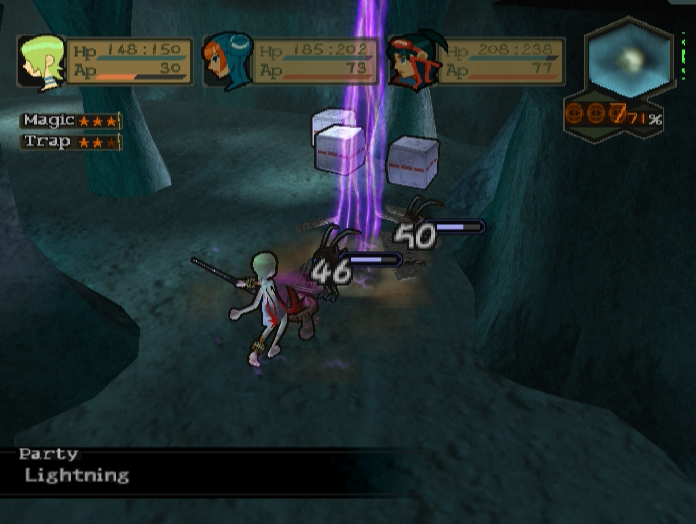
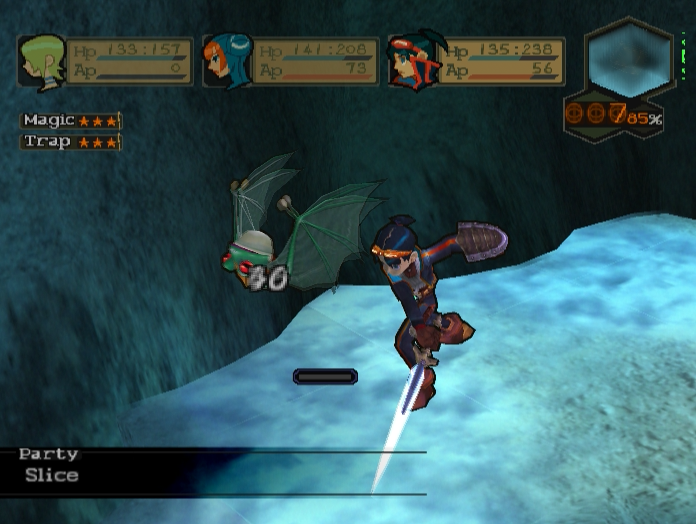
Enemies in the Frozen Road are all weak to lightning damage. This means Nina can obliterate most foes with two or three casts of Lightning. Ryu’s Plasma Maser is also very effective even though it lacks Lv. 3 Skills.
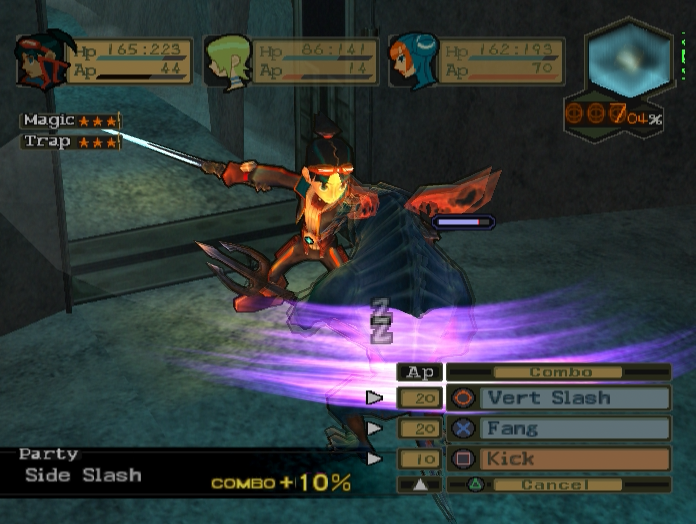
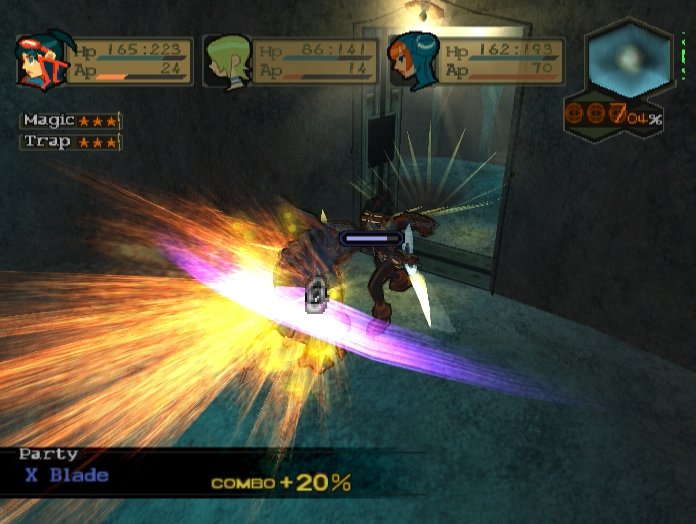
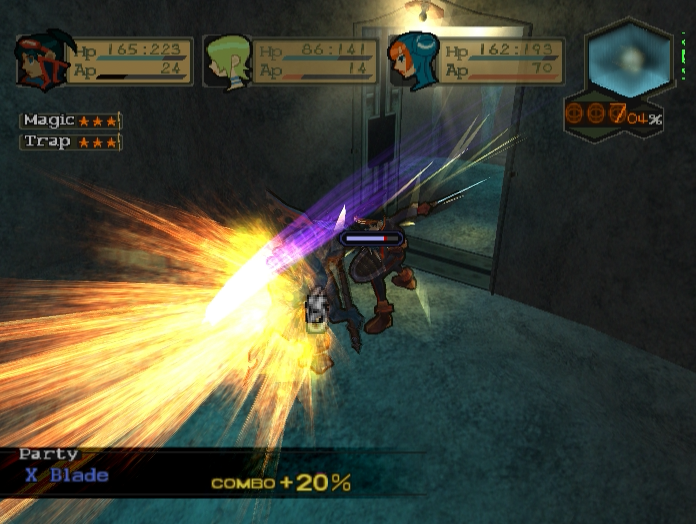
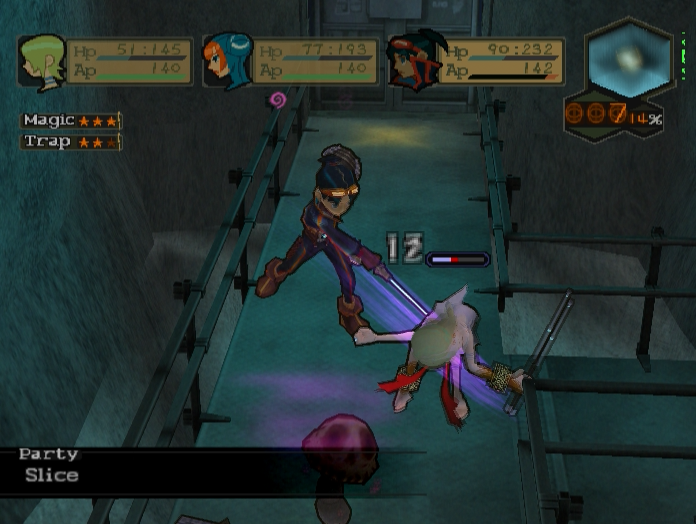
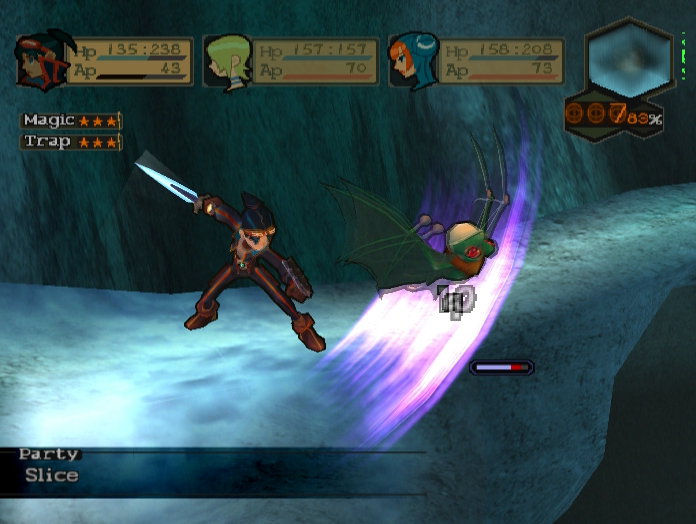
As a result of re-threading Ryu’s skills to account for this I’m able to show off Ryu’s one and only special combo. Using Side Slash and then Vert Slash causes Ryu to use X Blade, which combines the former’s area of effect with the latter’s higher attack power. It also hits twice, although the first hit doesn’t deal much damage.

It’s worth letting a Garpike hit you once or twice since they carry the Thrust skill item. Thrust is basically a Lv. 1 version of Fang. Bosch had both when he was in our party, and now we have them as well.
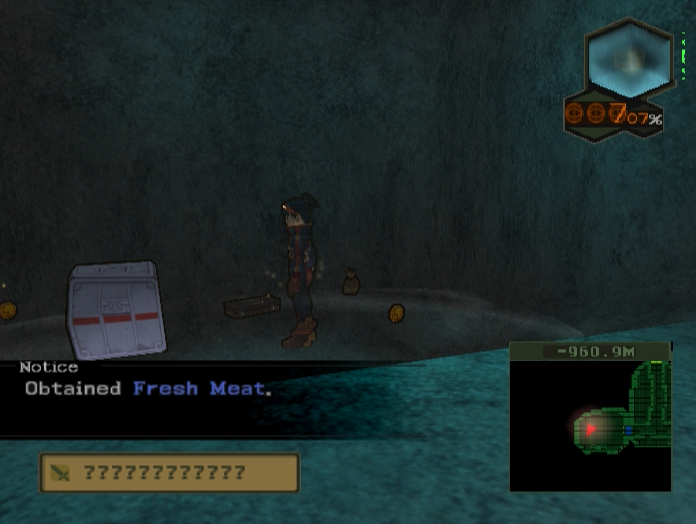
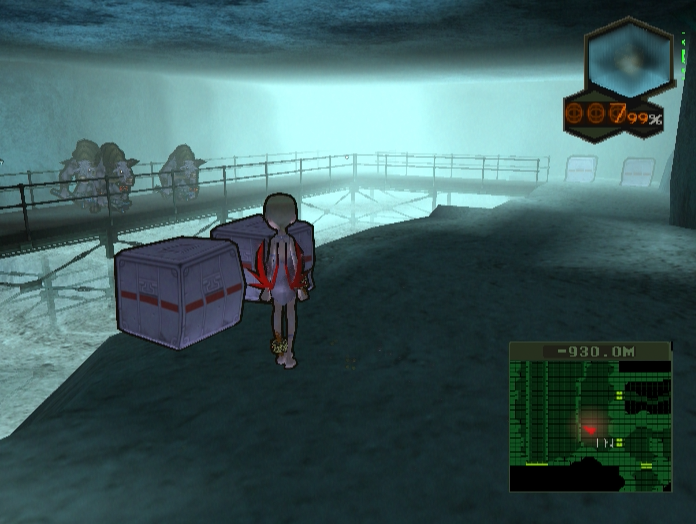
Killing all the Gar-types lets us loot the storage room. It’s mostly money and status cures, but there’s a gold crate with an unidentified sword in the mix.

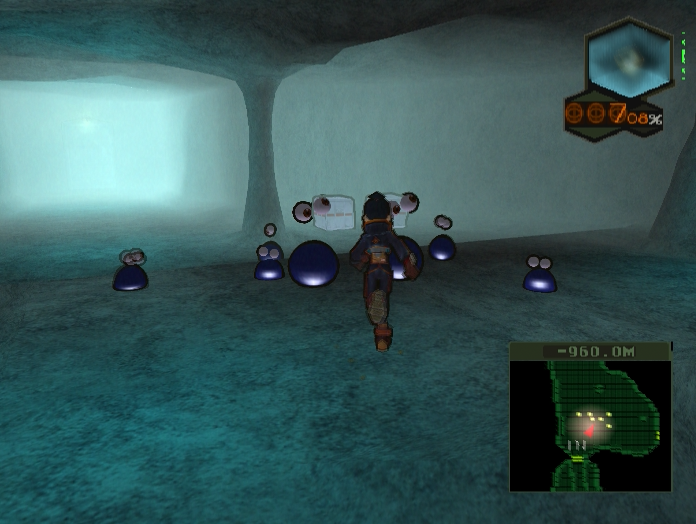
The next room is a large cave with a huge number of Goo Sapphires bouncing around.
Despite their numbers Nina mows them all down like wheat.
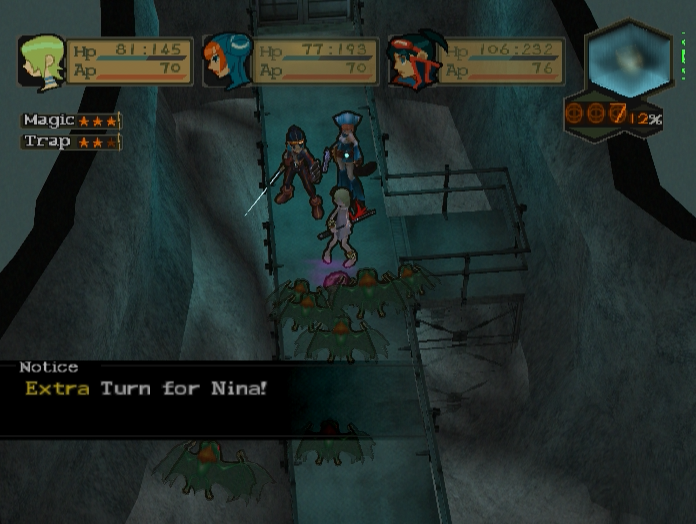
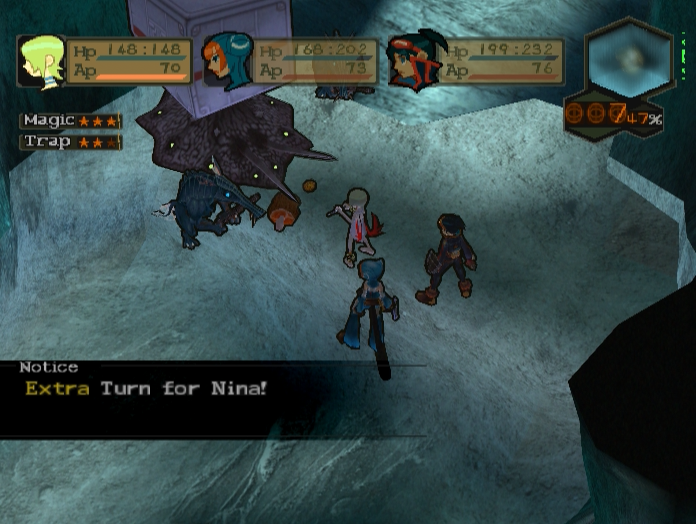
It’s not a bad idea to actually make Nina the party leader during this level. An EX Turn from her can really put the screws on any enemies we come across here.
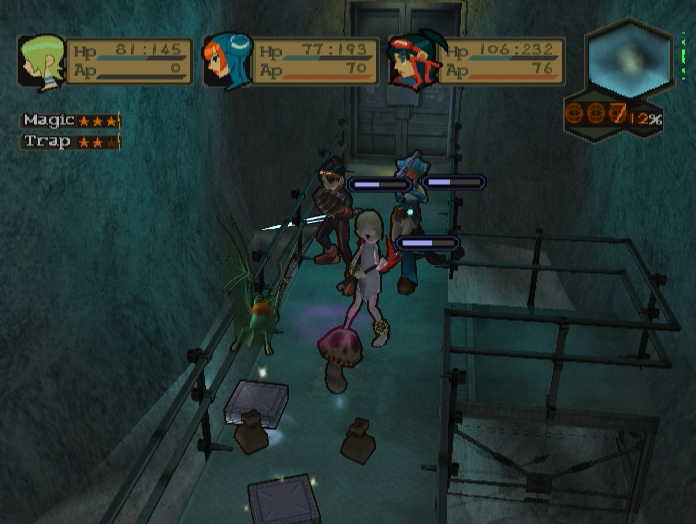
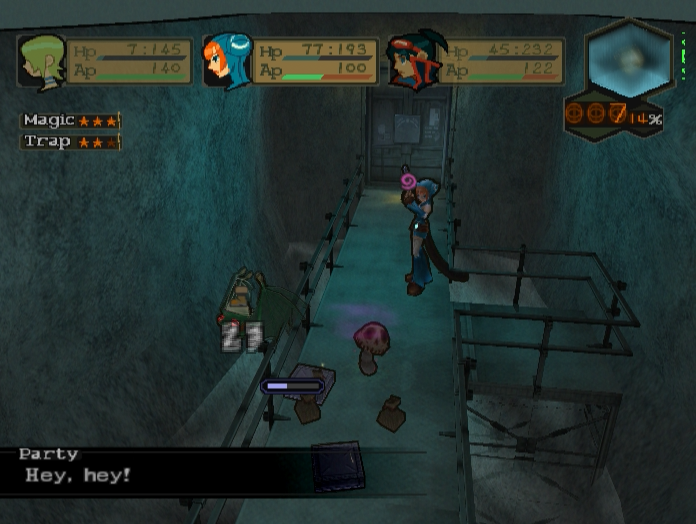
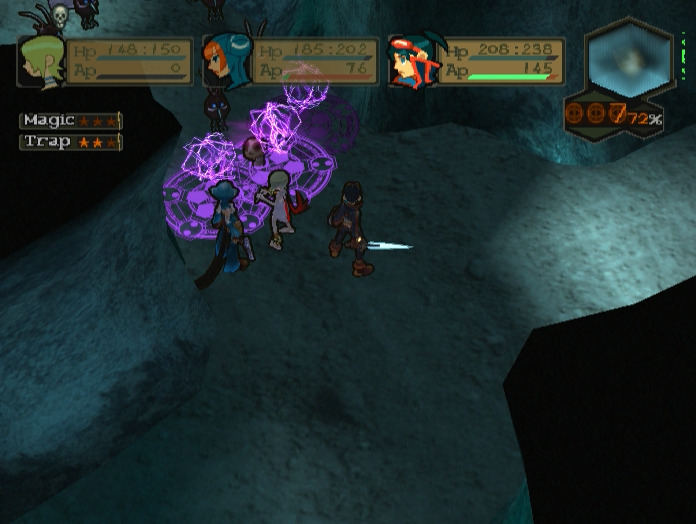
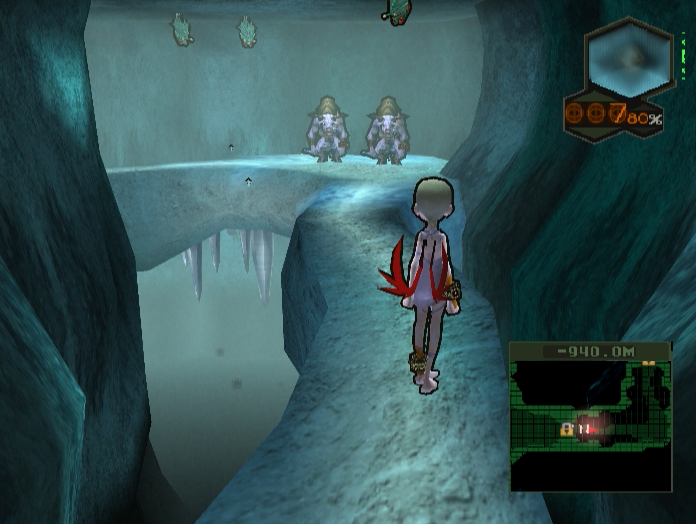
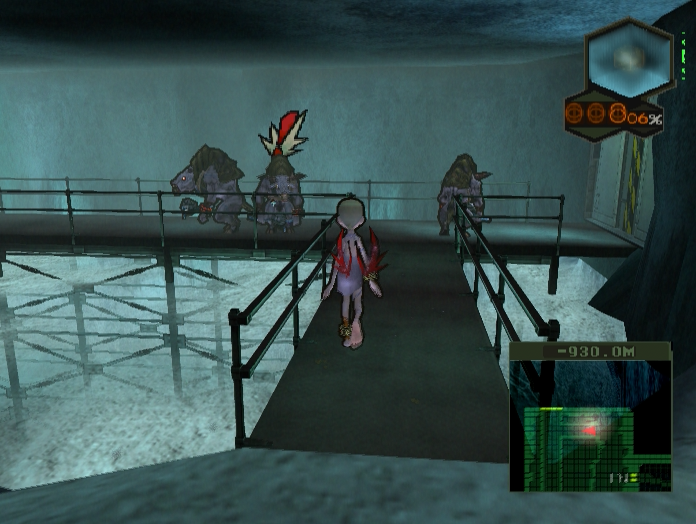
This is especially important in this room. The weird frog-bat creatures circling the walkway are FroGressors, and if you don’t go in prepared they will annihilate you.

Standard doctrine for dealing with clusters of enemies applies. Throw some bait, wait for them to clump up, then attack while they’re distracted. I tried to poison them all by using a Poisonshroom, but wound up attacking too early for the effect to kick in.
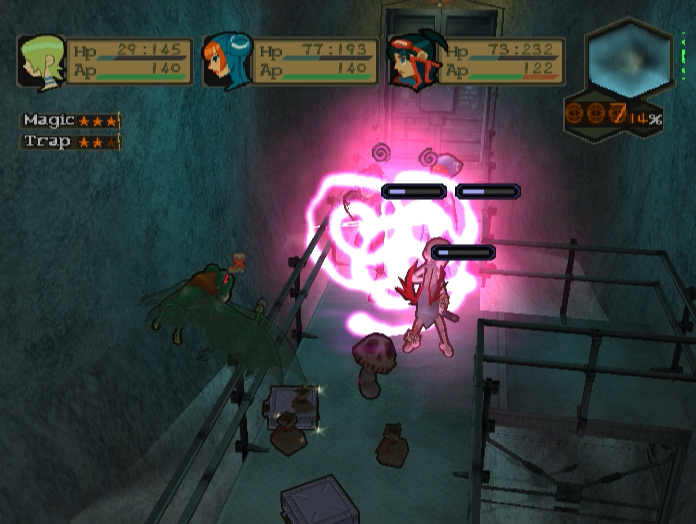
Don’t you just love it when a plan comes together? Four down and we’ve barely even started.
Unfortunately one FroGressor manages to survive my first turn barrage, and it proceeds to demonstrate why you absolutely have to kill them all at once. They aren’t that impressive in terms of health or damage, but they do have access to one of the most dangerous spells in the game.
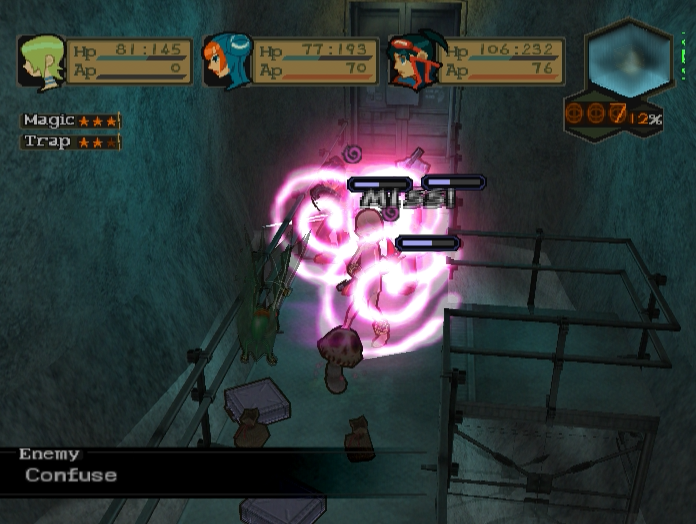
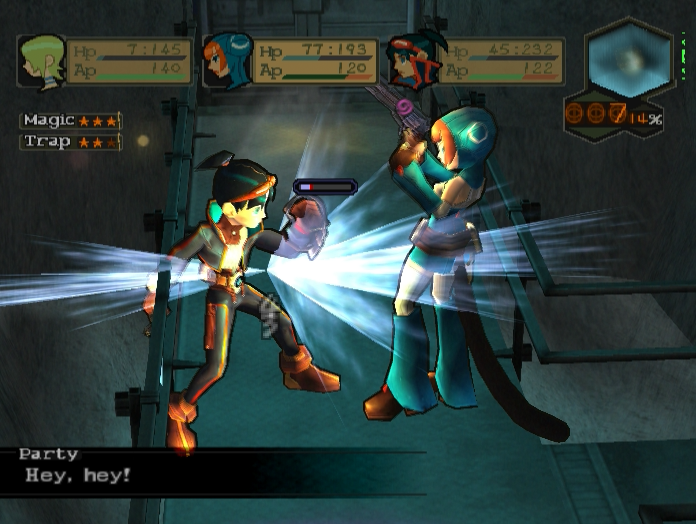
Any enemy that can cast Confuse should be priority one on any player’s kill list. It’s a frighteningly accurate area of effect spell that turns your characters into raging lunatics.
Confused characters will attack their allies…

Themselves…
And, very occasionally, the enemy. Don’t ever count on that though.
Confuse is removed by damage, so it tends to not last long, but that’s cold comfort when FroGressors are fast enough to re-cast the spell before your next turn comes up.

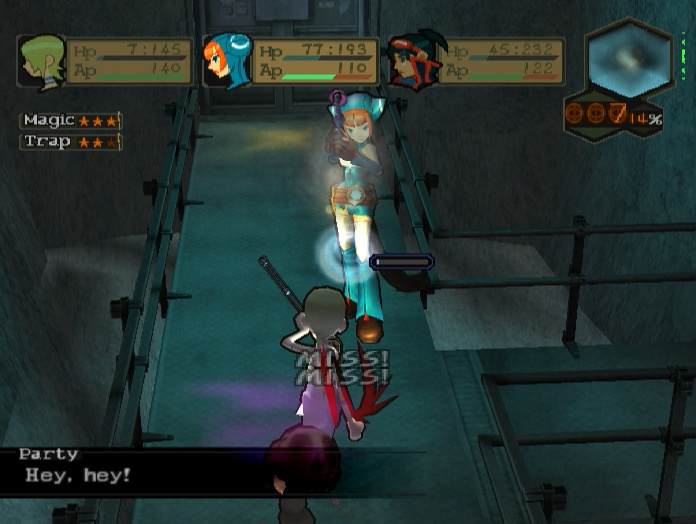
In a confined space like this walkway having two or more characters confused can easily result in a wipe. I was very lucky that Lin’s attack missed here, since Nina was my only hope of pulling through.
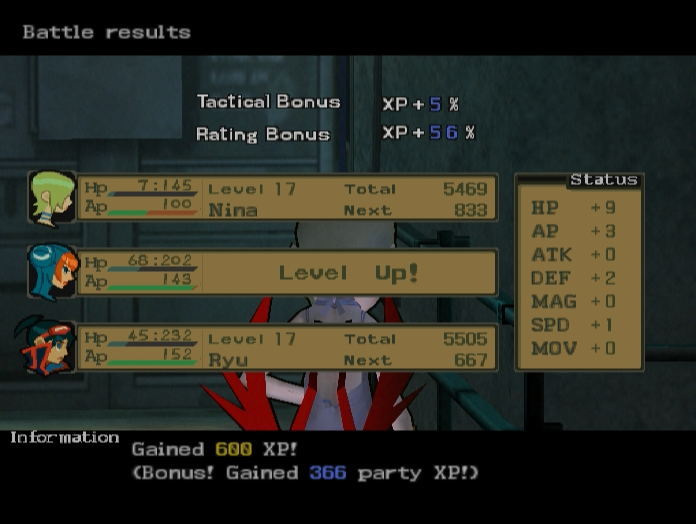
At least taking out all those FroGressors at once earned some pretty sweet bonus experience.
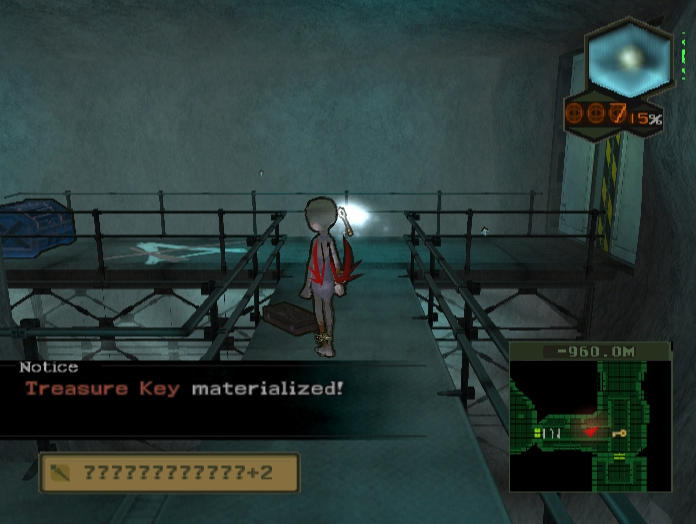
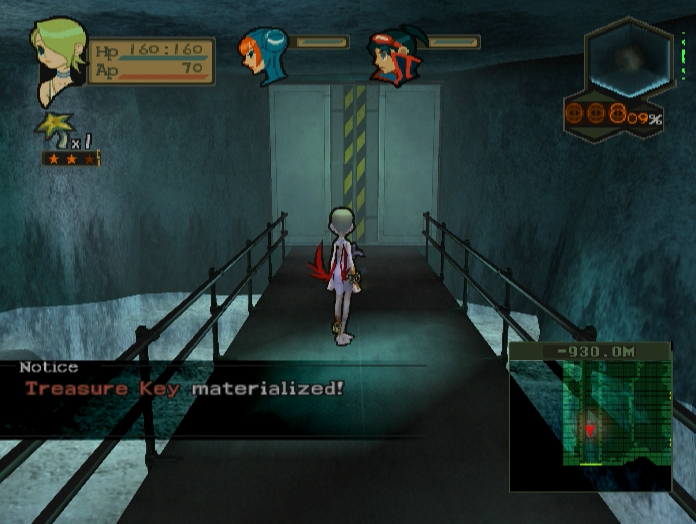
It also causes the Treasure Key to appear, and hey, the chest is right there.
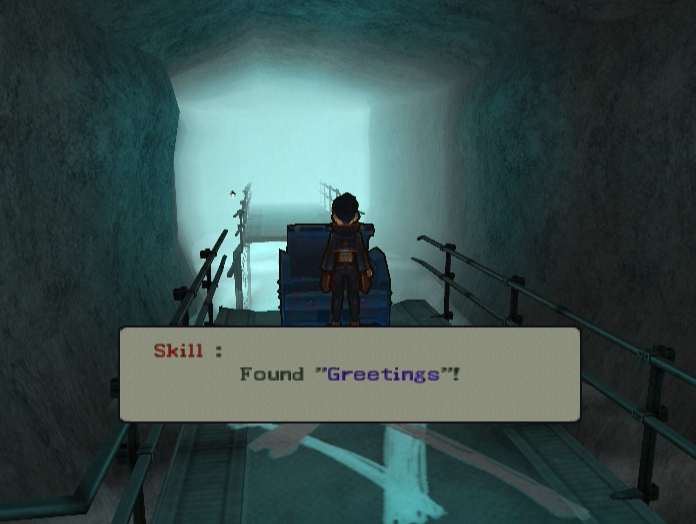
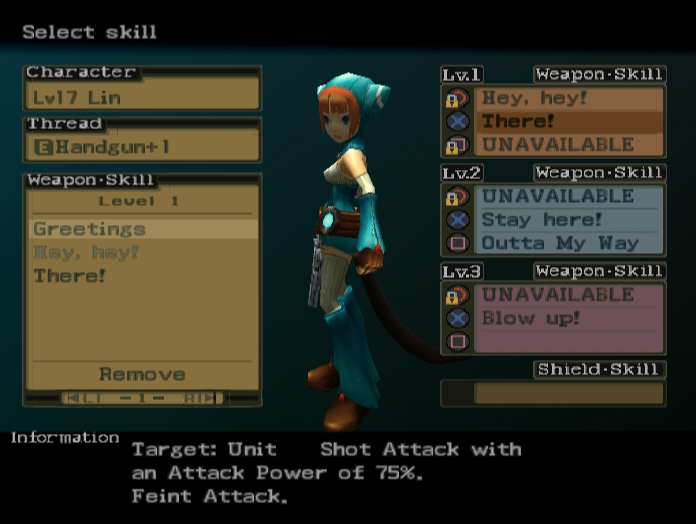
Another skill for Lin, Greetings is worthless on its own but is part of two incredibly useful combos. We don’t have the skills needed for either of them yet, but we’ll definitely be equipping this skill in the future.
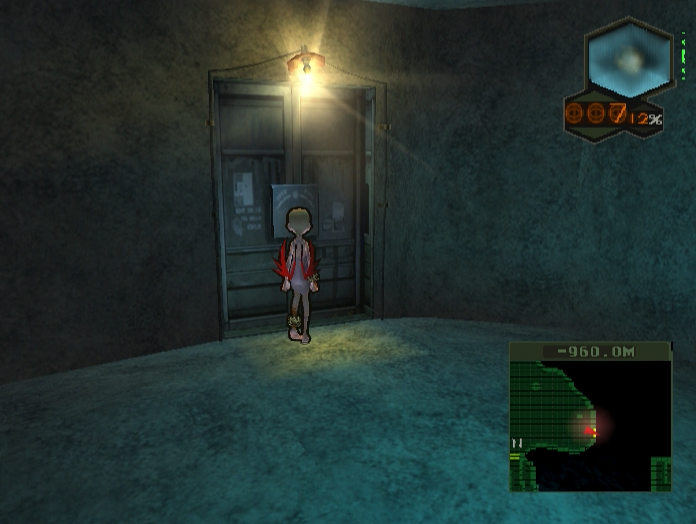
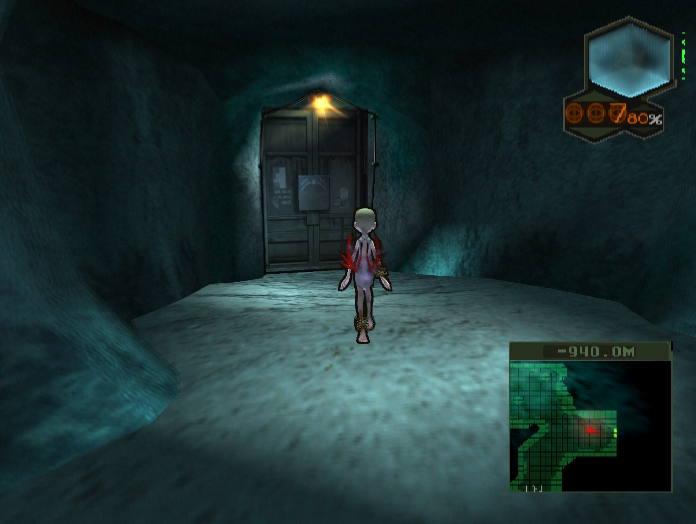
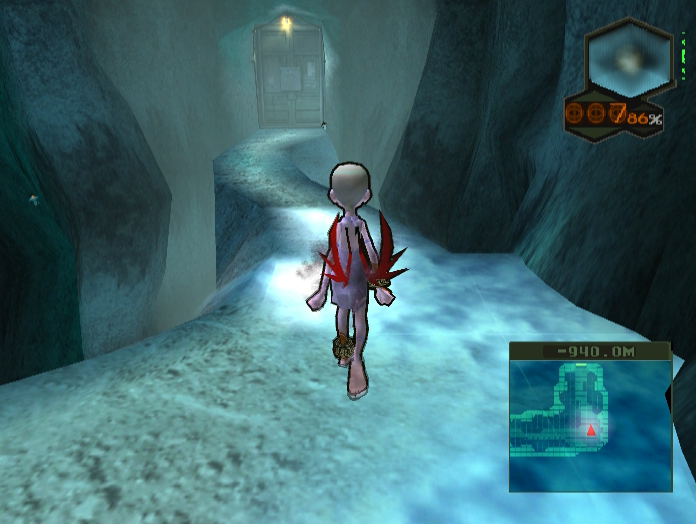
The door opposite the chest leads to this elevator. It’s inactive and we can’t make use of it.

The second floor of the Frozen Road is a very small area consisting of just two rooms, the first being this rather cavernous chamber.
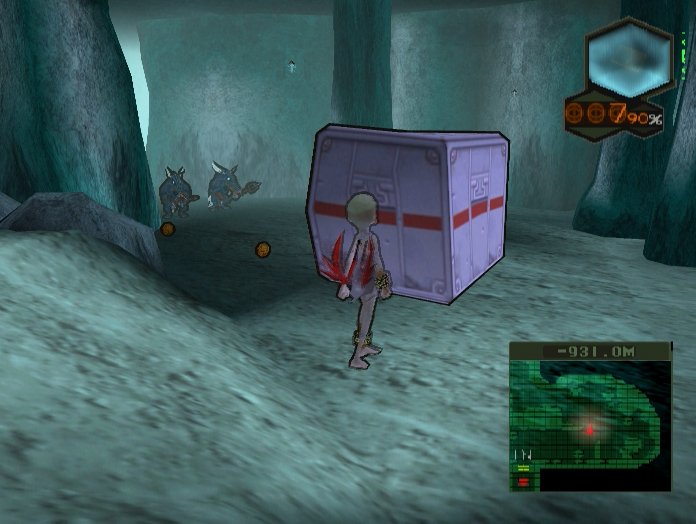
A quartet of Gar-types are hanging out around the corner, along with a giant crate full of loot.
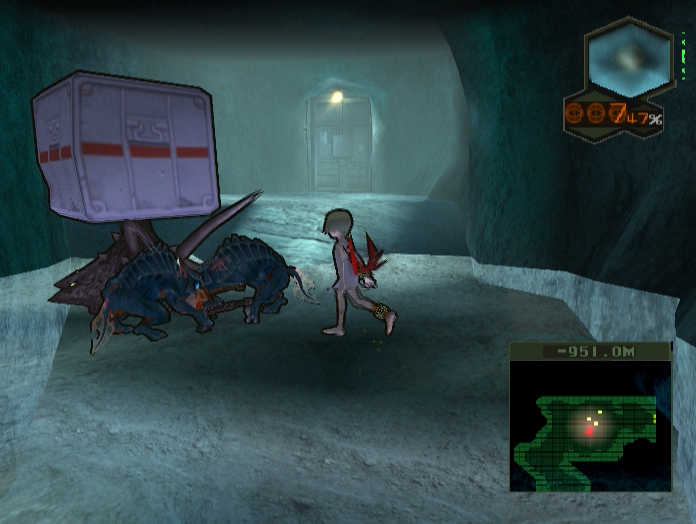
Of course, what looks like a giant crate full of loot is not guaranteed to be.
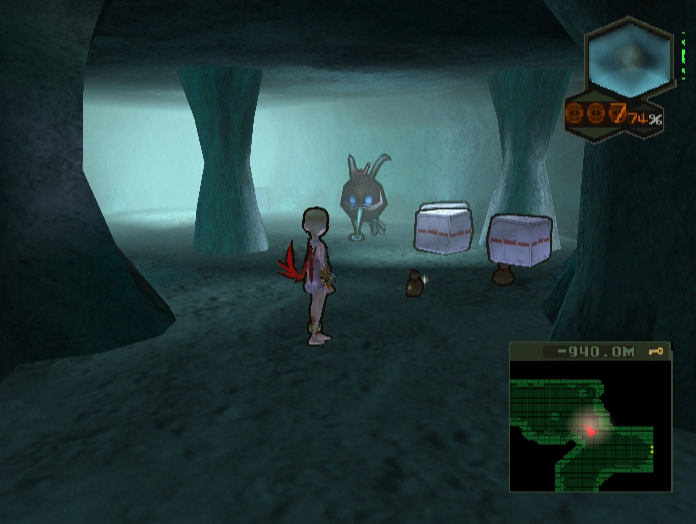
This giant slug-like creature is a Jack Box, and it is another gimmick enemy.
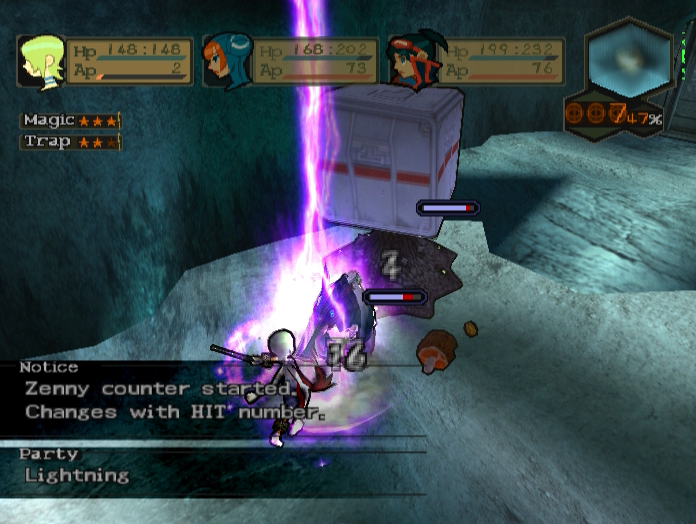
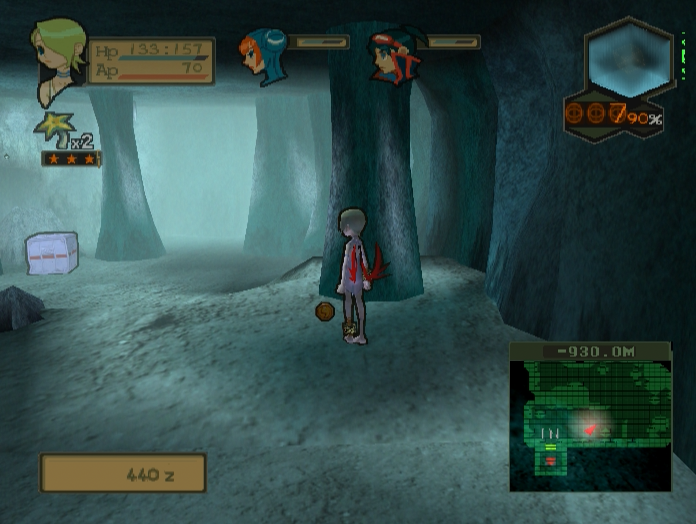
Hitting the Jack Box on the opening turn will give you a message that a zenny counter has started. The more times you hit the Jack Box on the opening turn, the higher the amount of zenny you’ll be rewarded with at the end of the battle.
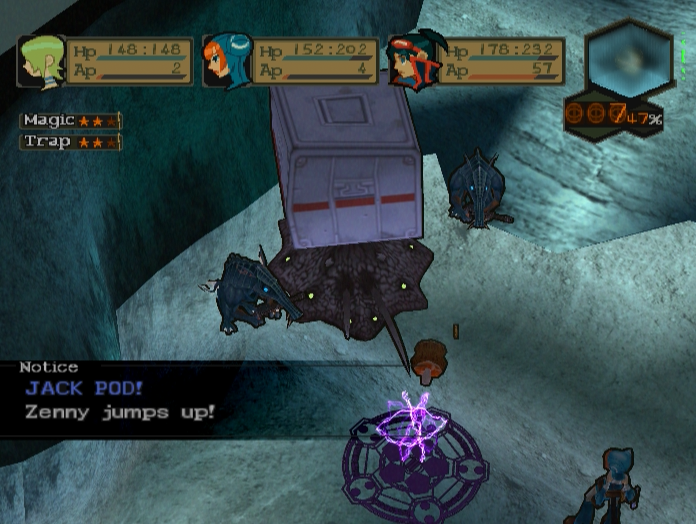
If that sounds a little too easy, don’t worry, there’s a catch. After the opening turn is over you’ll get this message that zenny has jumped up. The player now has precisely one turn to kill the Jack Box and secure the reward.

If you don’t manage it, you get precisely nothing. So, make sure to prioritise these guys whenever they show up.
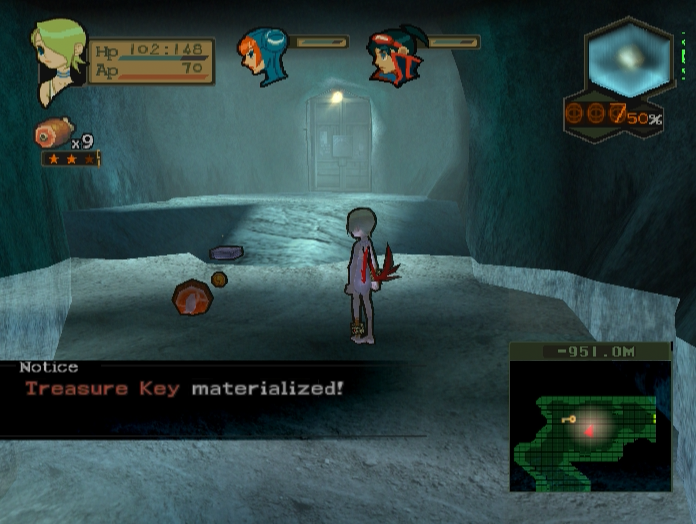
At least we get the treasure key as a consolation prize.
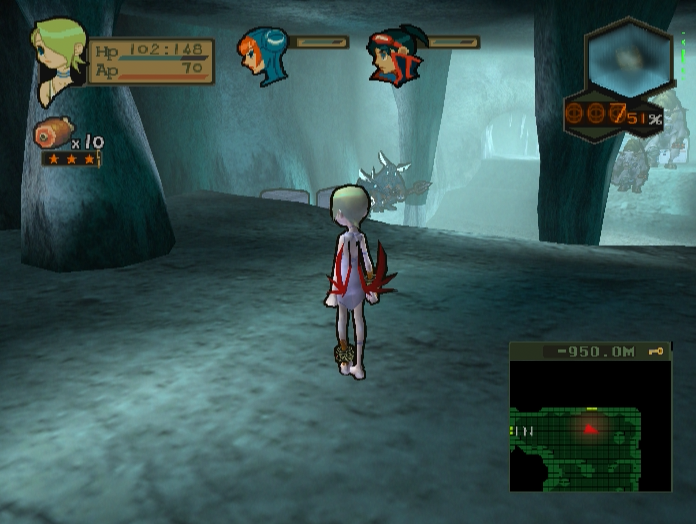
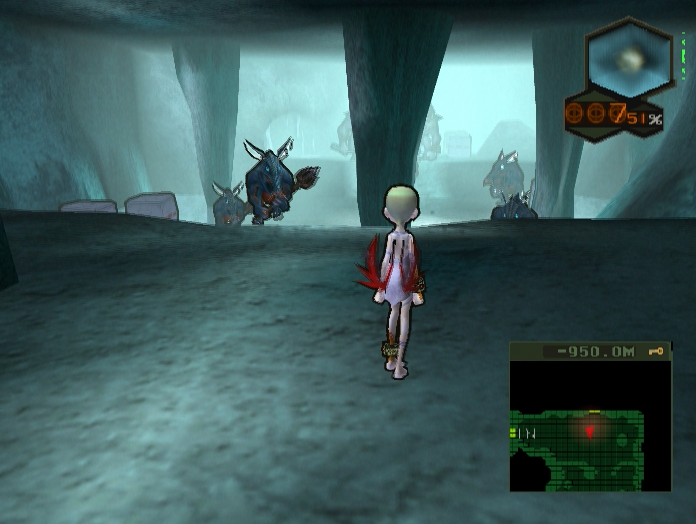
The treasure chest is in the next room, but it’s guarded by a legion of enemies.
We’ve got GarPikes, GarSnipers, Beaks and Death Cows. An imposing army, but nothing we haven’t seen before and as always, careful use of bait items and divide and conquer tactics gives us the edge.

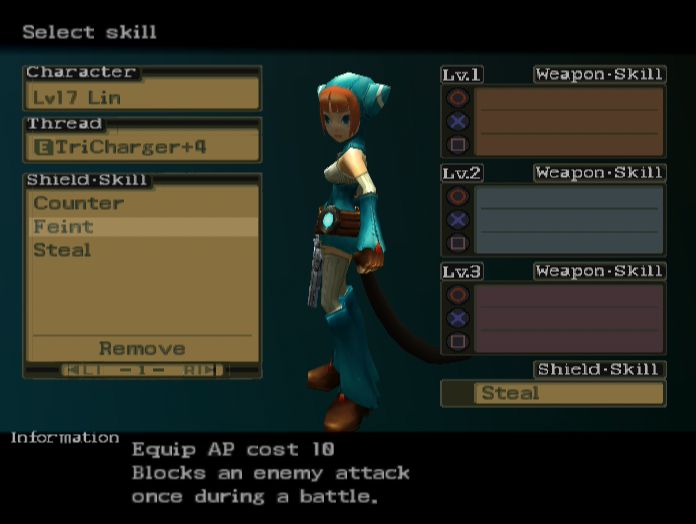
Our reward at the end of it is the Feint Skill Item. Feint is a shield skill that automatically nullifies the first enemy attack against a character. It’s a situational skill.
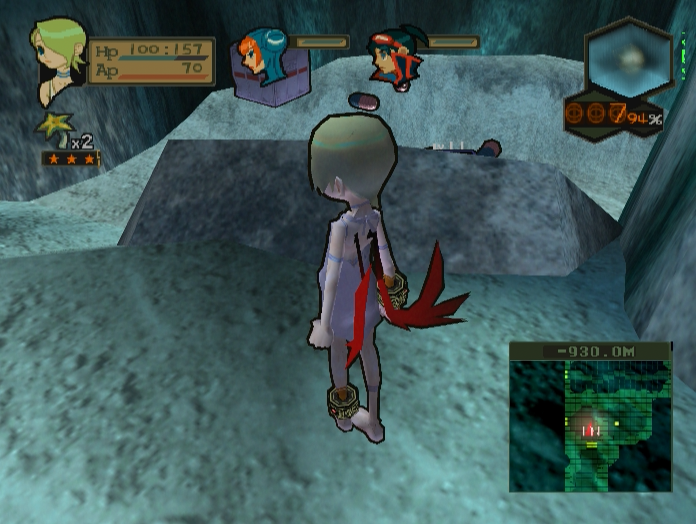
The third floor of the Frozen Road is slightly bigger than the second, but still just as linear.
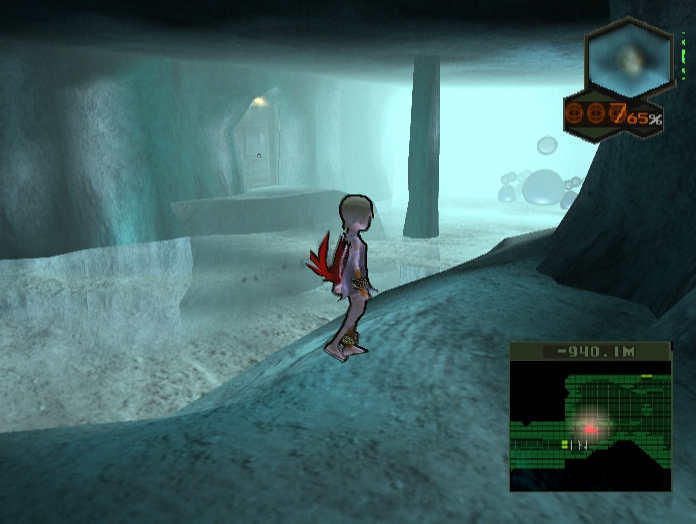
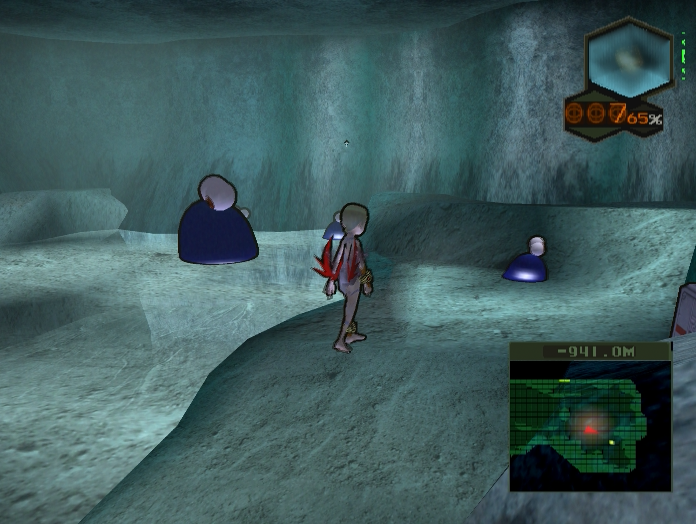
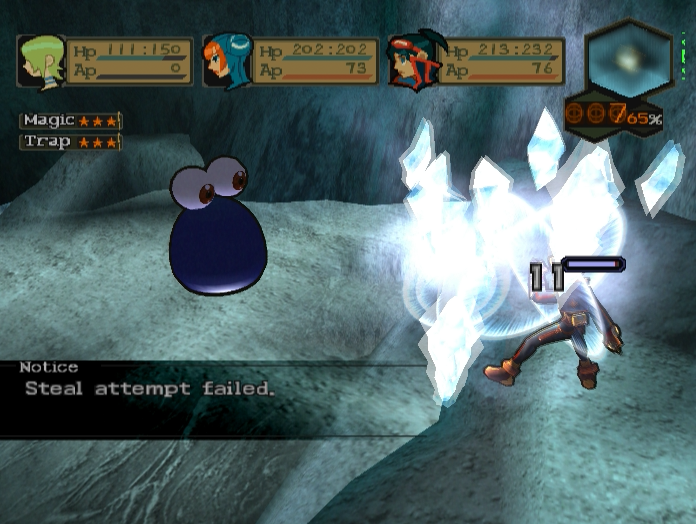
Following the path leads to a large cavern with several Goo Sapphires and a significantly larger Ice Goo chilling out on a frozen lake.
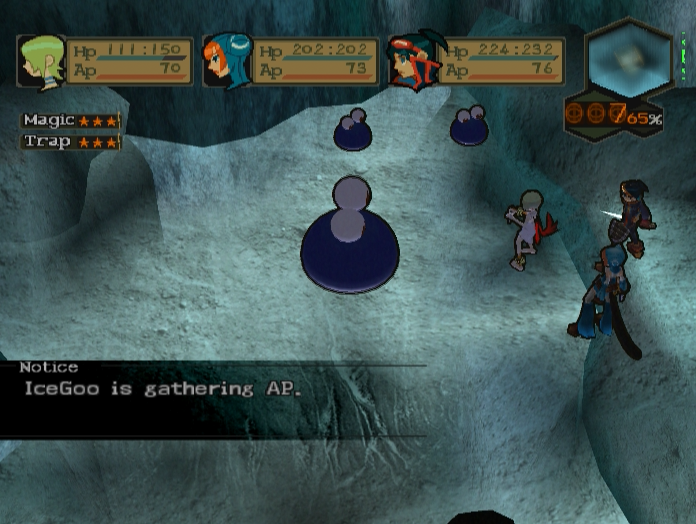
Ice Goos are the next tier up on the elemental Goo scale. They have access to Blizzard, the strongest ice elemental spell in the game, but can’t cast it without storing AP for a turn.
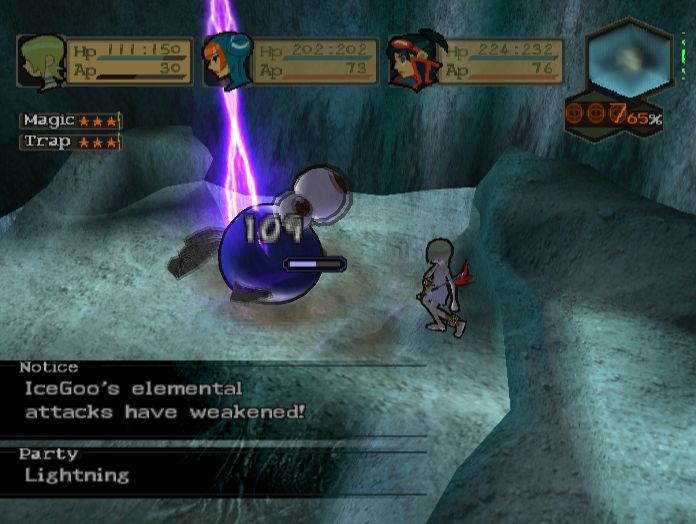
This is good for us since it means Nina can hit its weakness, limiting it to just the basic level Frost spell.
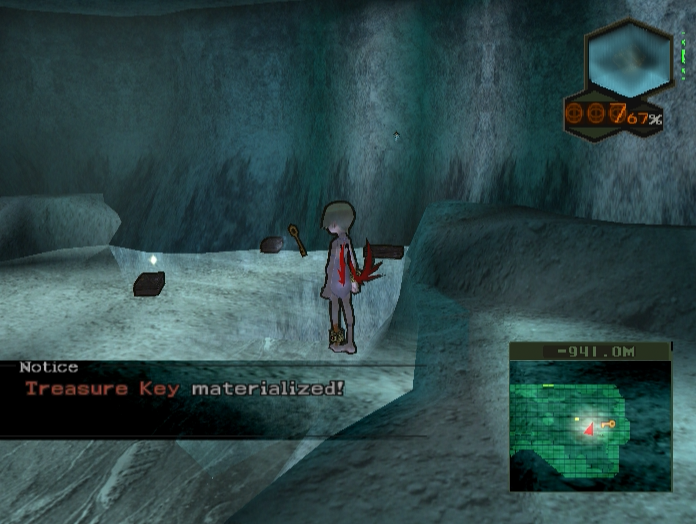
Our reward for winning is the Treasure Key for this floor.
In the next room we encounter these little critters. They’re called Drillbugs and are pretty much Nuggets on steroids.
For one, unlike most enemies here they aren’t weak to electric damage. They also have more health and attack power than their small size would indicate.
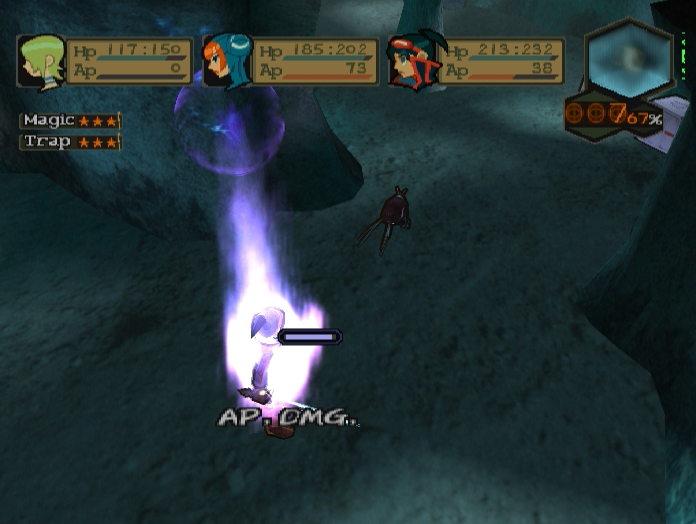
They also have a nasty trick up their sleeve, an attack called Depress that cuts a character’s AP in half.
The best strategy I’ve found is to make use of the natural chokepoint here. Blocking it off with Joltball runes gives the party plenty of time to plink away with ranged attacks while Ryu stockpiles AP to mitigate any Depress shenanigans.
Past the chokepoint is the Bug Leader, the Drillbug version of the Mama Nugget. Unlike the Mama Nugget it isn’t really that different from its offspring.
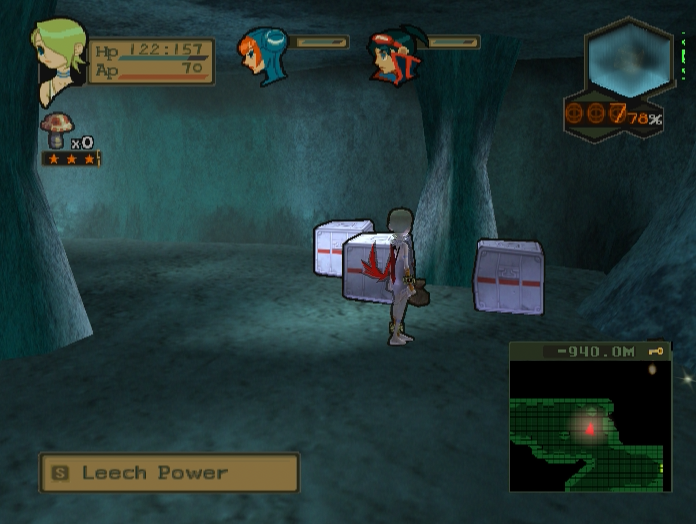
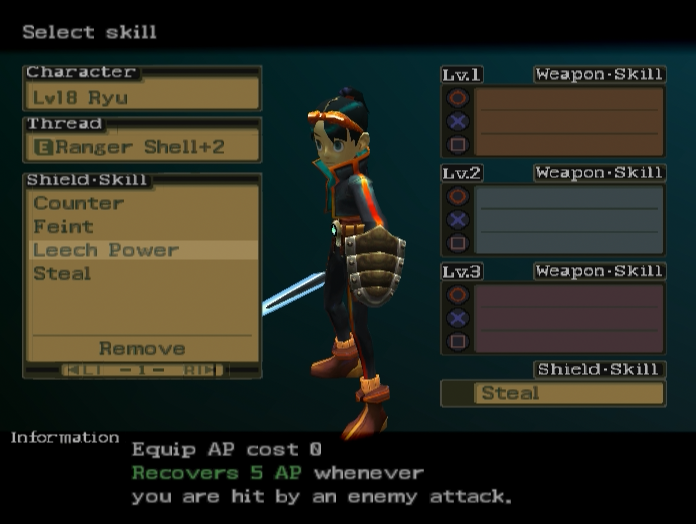
It does drop the Leech Power Skill Item, however. Regenerating AP after being attacked would be great if stealing items wasn’t so important.
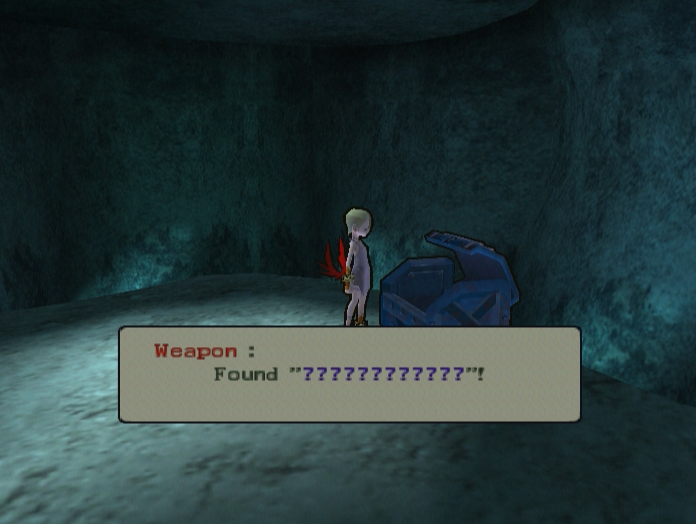
The treasure chest is just behind where the Bug Leader was and contains an unidentified item, in this case a gun.
Music: Imminent Crisis
We haven’t had a Danger Room for a while. This one is full of Beaks and FroGressors.

Thankfully they’re all spread out enough that we can deal with them piecemeal.
Music: Waste Shaft


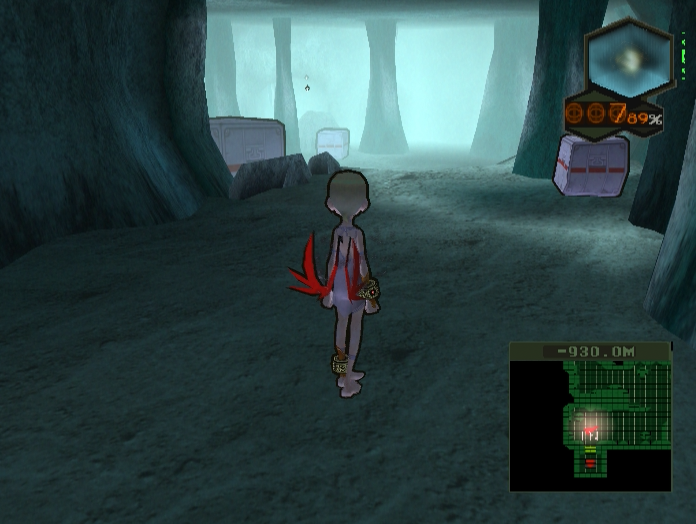
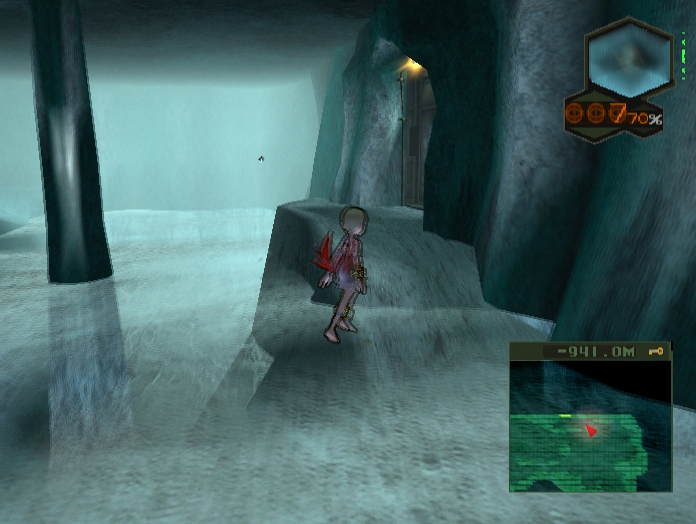
The fourth and final floor of the Frozen Road is a bit more expansive than the others, but still fairly straightforward.
Several of the crates in this large cavern are actually Jack Boxes, so it’s a good idea to be careful when going in to break them.
Still, the encounters can be profitable.


There are also several Gar-types and a larger Jack Box hanging out in a clearing just ahead.

The next room has a small depression with several Hychees and Odd Hychees lounging around.
We’re very close to the end now. The door directly ahead of us on the minimap leads to the exit, but it’s in our interest to dispose of the Beaks on the walkway beforehand.

I get lucky and all of them decide to spam Howling rather than their usual barrage of magic.
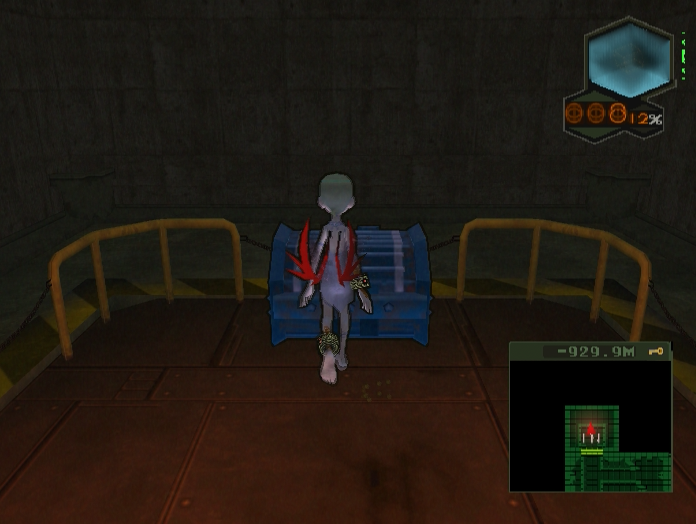
I like this recent trend of treasure chests being right next to where their keys appear.
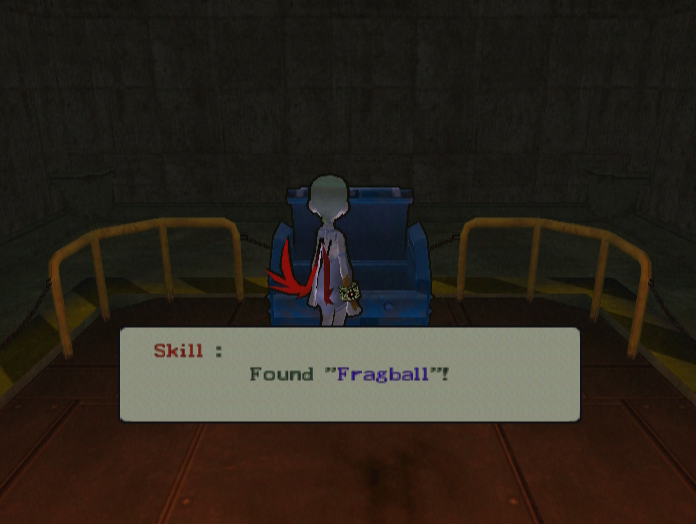
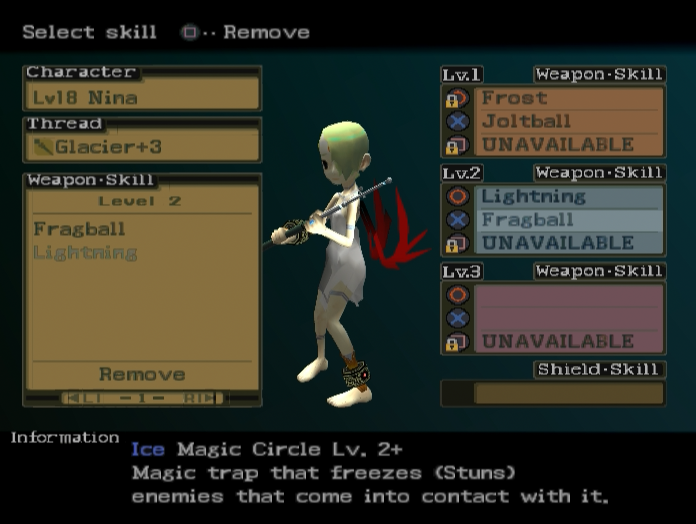
Fragball is a Lv. 2 Skill and the first second level trap spell Nina can acquire. It is extremely useful and I will be using it a lot in the next update.
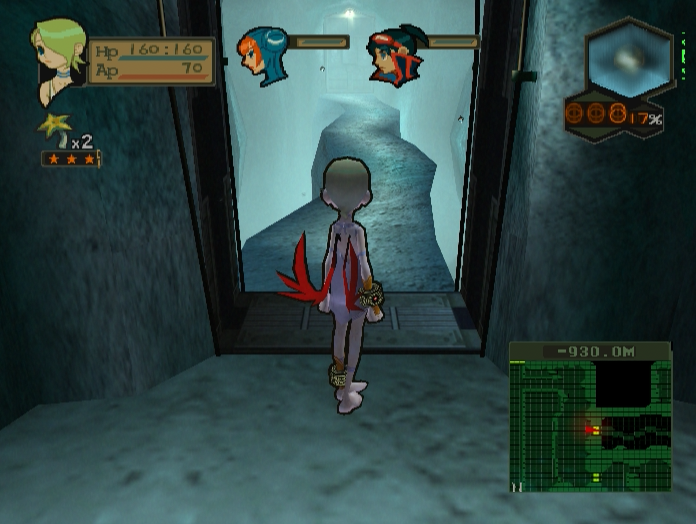
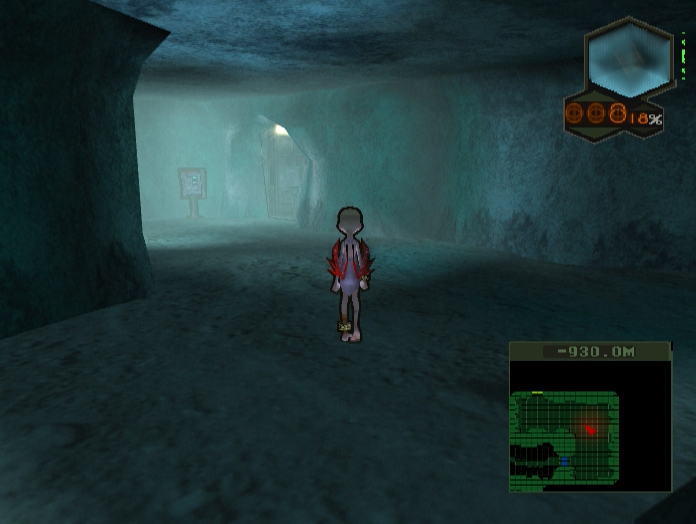

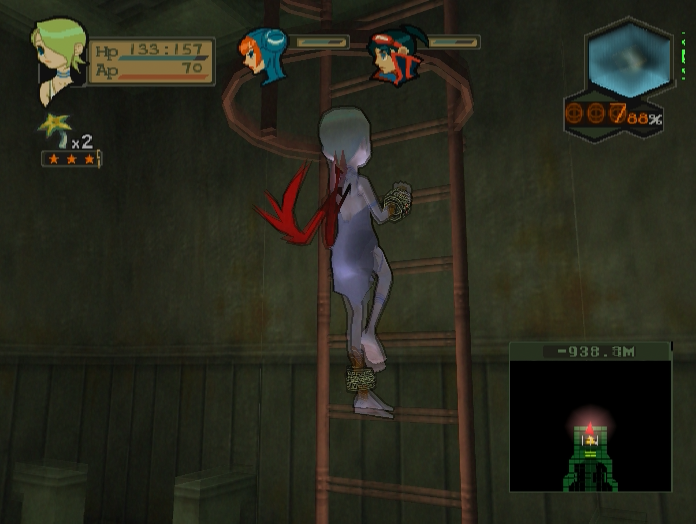
Around the next corner is a save point, as well as Leo and Jaju. I did say this was a short area.
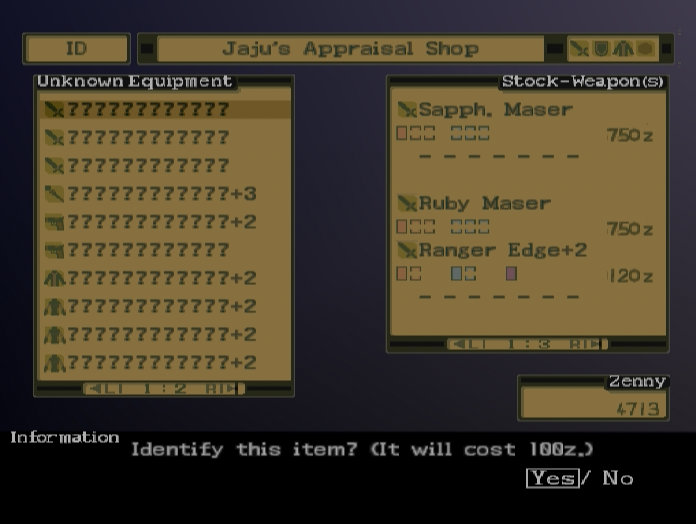
We have a ton of unidentified items to appraise, but most of them are things we already have - three Sapphire Masers, a Glacier+3 staff for Nina, and some cold-resistant gear that’s inferior to the stuff we bought from Arma. However, there are a few new items that warrant further examination.

The Ice Cannon+2 is exactly what it sounds like, an ice-type weapon for Lin. It has a new skill threaded to it, ‘Keep at it!’, which has 120% base power and ‘gives weight to penetration’, whatever that means. Unfortunately this weapon also carries a huge -10% to accuracy, and Lin isn’t the most accurate character to begin with.
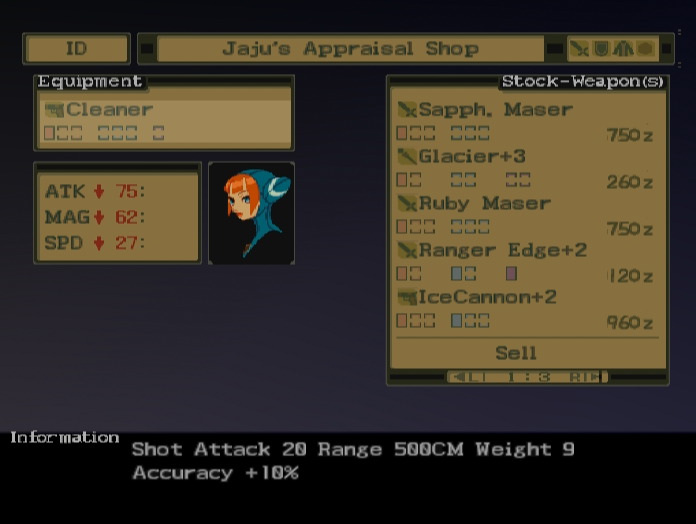
The Cleaner is the opposite in that it boosts Lin’s accuracy. It’s weaker than what she has equipped right now, but it’s worth using because it has another new skill, ‘C’mere!’, threaded to it. ‘C’mere!’ is basically the opposite of ‘Outta my way!’, pulling enemies in rather than pushing them away. This is a very useful skill since it can drag enemies into traps and is also the basis for a very powerful special combo later in the game.
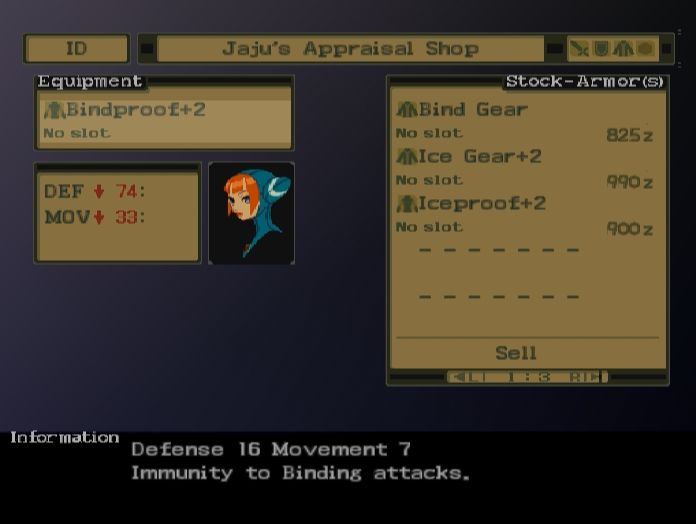
We also find some enhanced versions of Bind-resistant armour for Ryu and Lin.
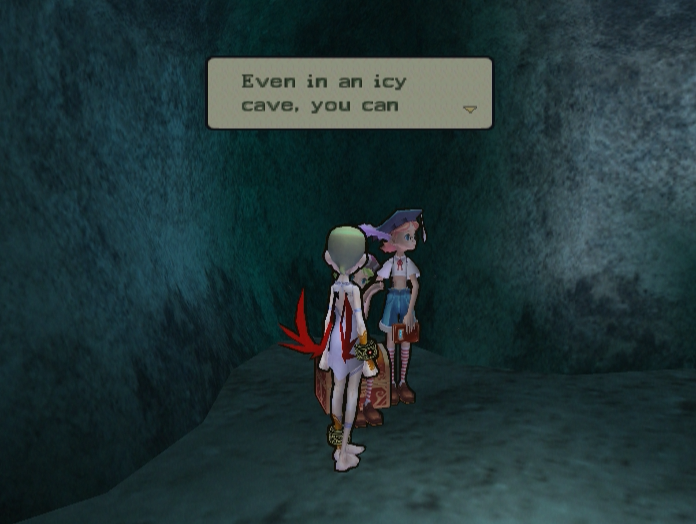
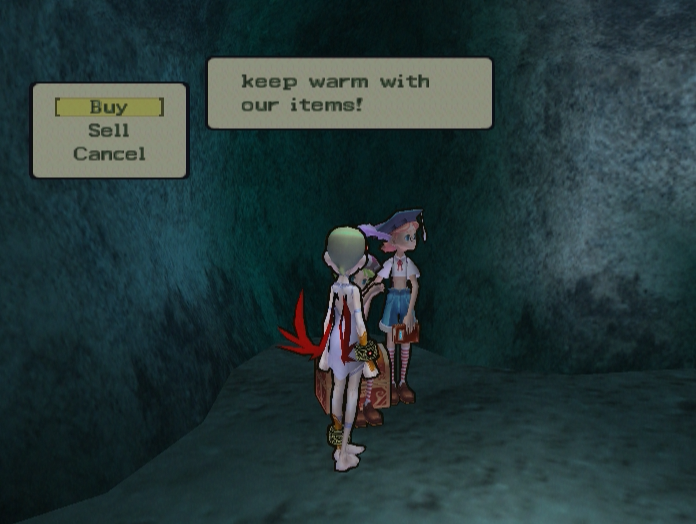
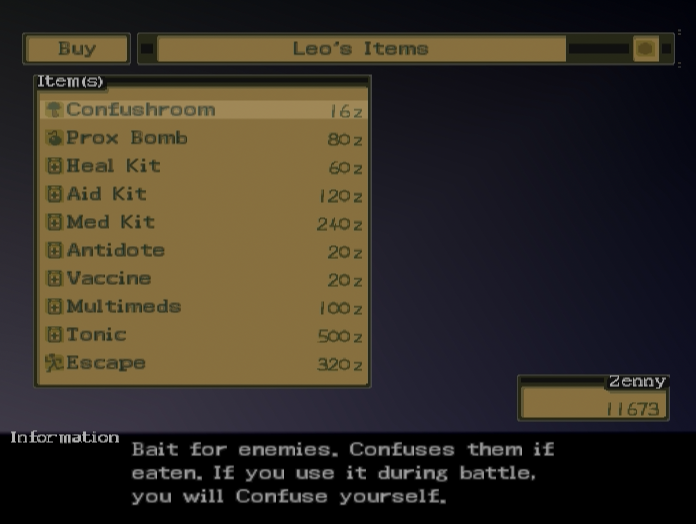
Leo has updated her item list since the last time we spoke. She now sells Prox Bombs, which detonate when an enemy walks near them, and Med Kits, which restore 200 HP to a single character.
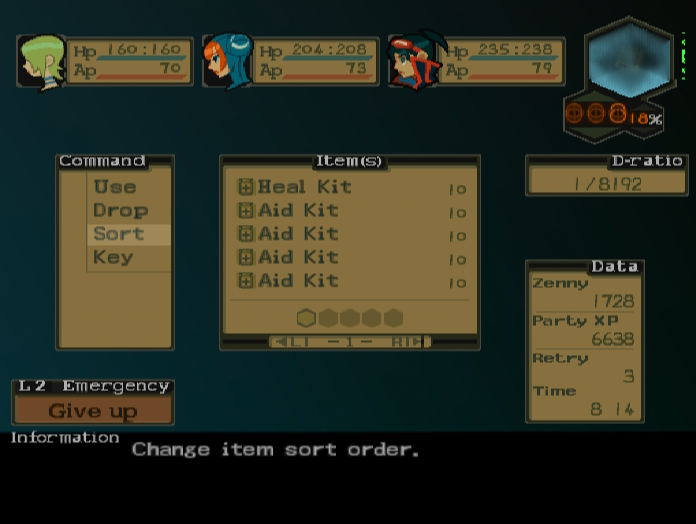

I take the time to buy a mountain of Aid and Med Kits from her. I also take all my Trauma Kits and Armour Boosters out of storage and equip my strongest weapons and best skills.
Oh, and I also save too. Can’t forget that.
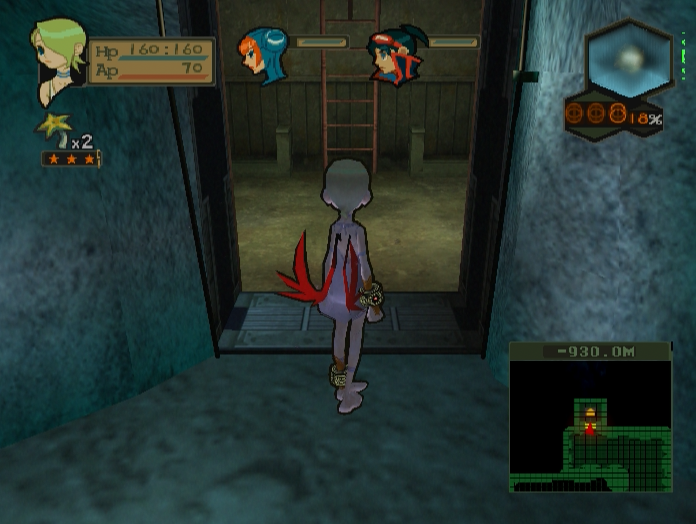
The next ladder will take us up to Storage. We will be exploring it and discovering the reason behind my ludicrous stockpiling of supplies in the next update.