Part 14: Confrontation
Update 14: ConfrontationWelcome back. Last time we fought our way up through the Frozen Road, picking up a number of useful weapons and skills along the way. Now it’s time to leave for warmer climes.
Music: Industrial Sector
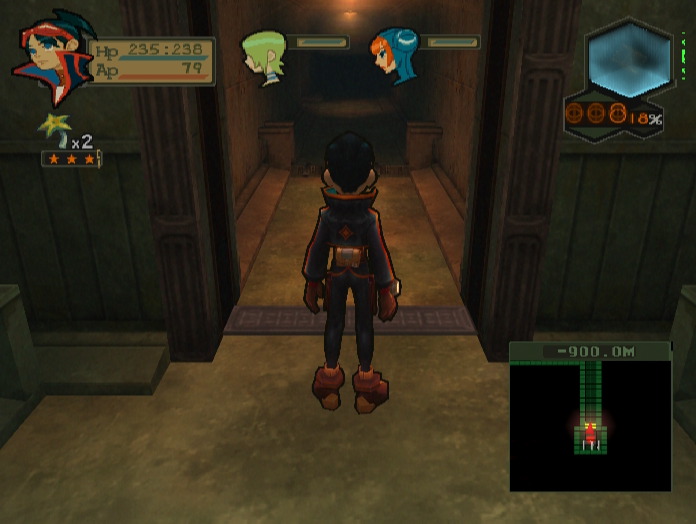
Did you enjoy the vivid colours of the Frozen Road? I hope you did, because we’re back to drab brownish-orange passages for the time being.

We quickly come to a junction, but the path ahead leads to a dead end.
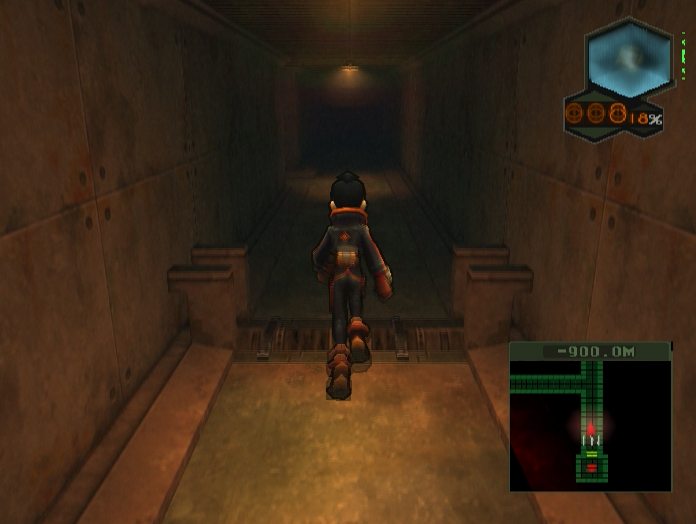
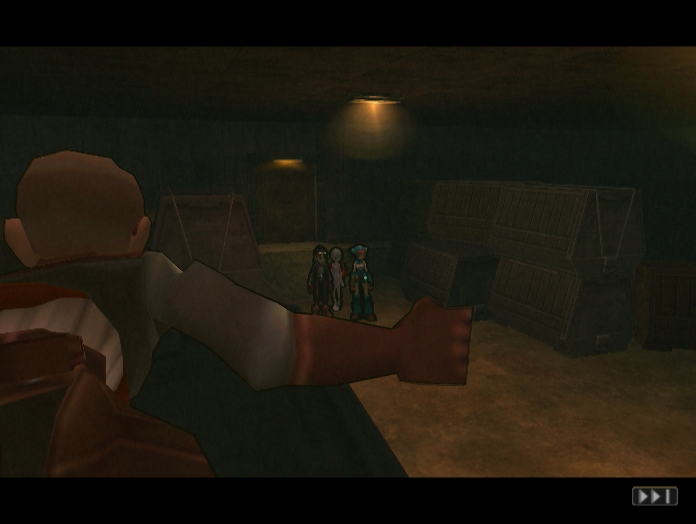
The left path leads to the next area, but halfway there the screen darkens and we get a scene.
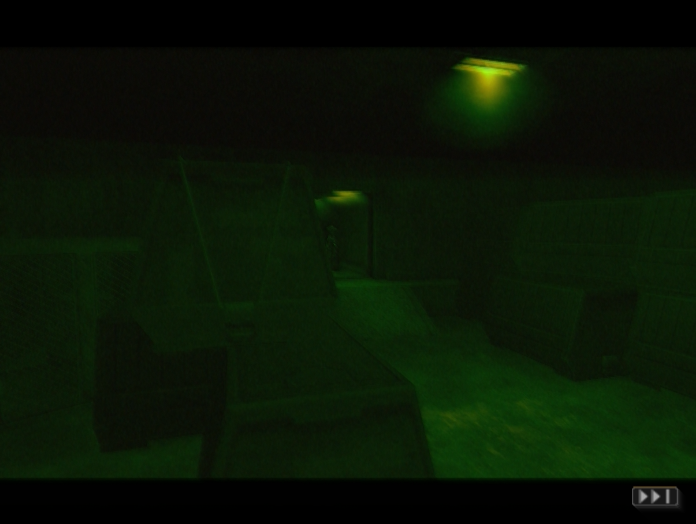
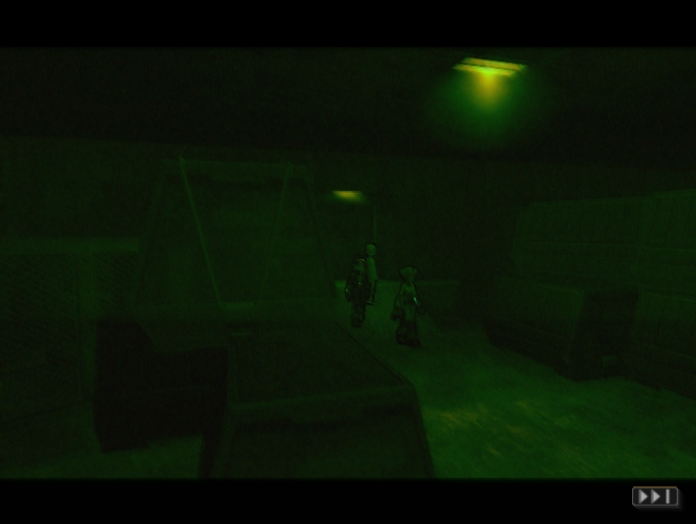
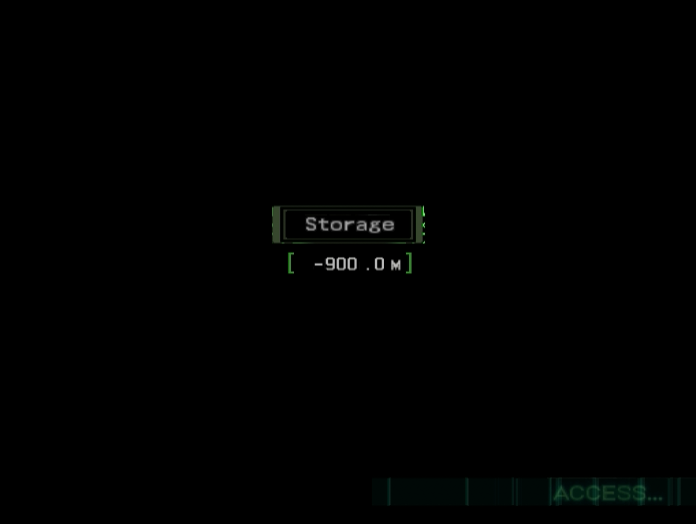
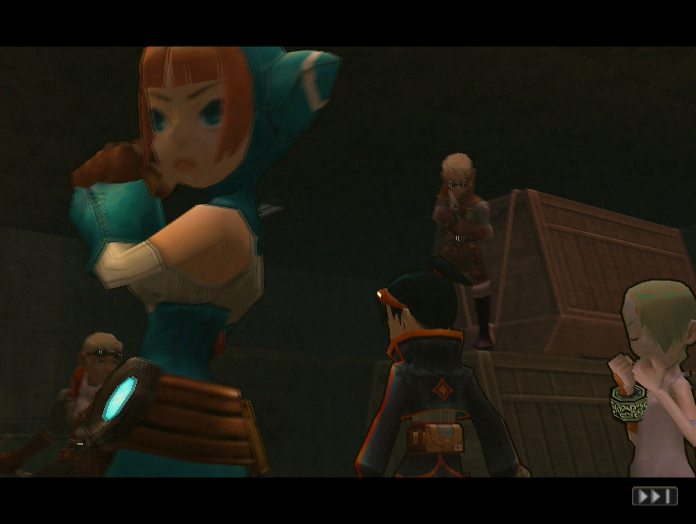
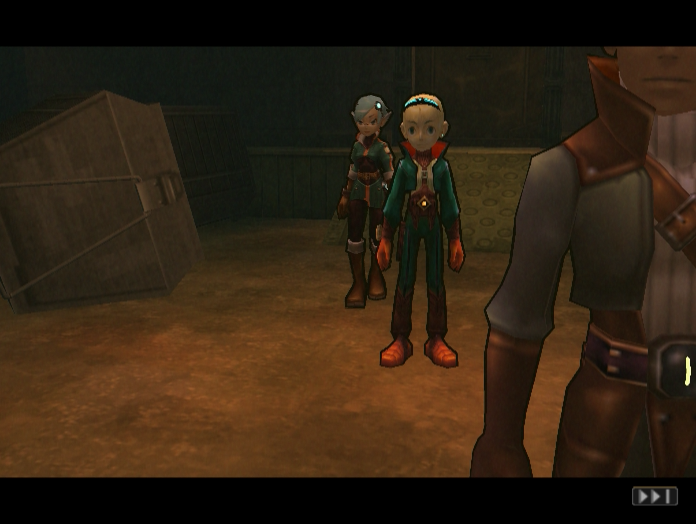
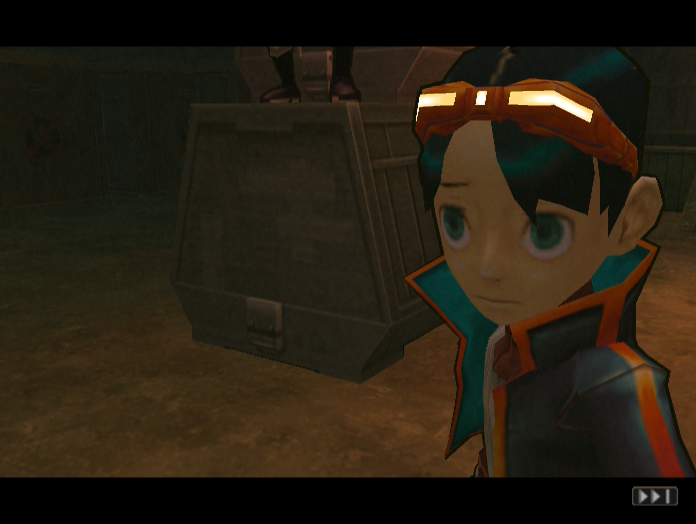
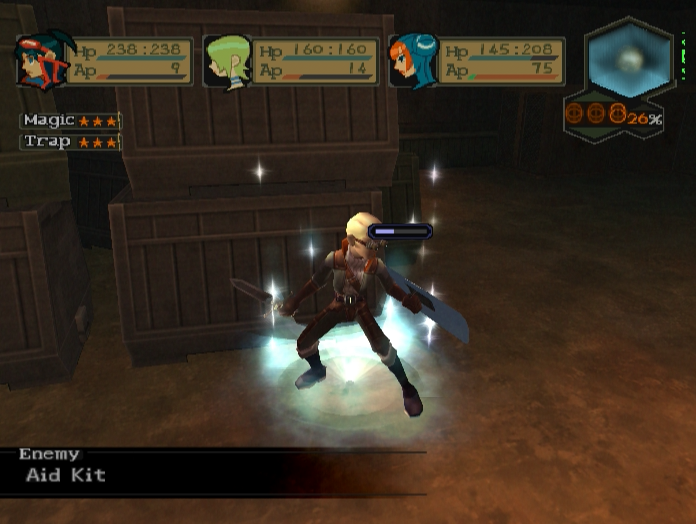
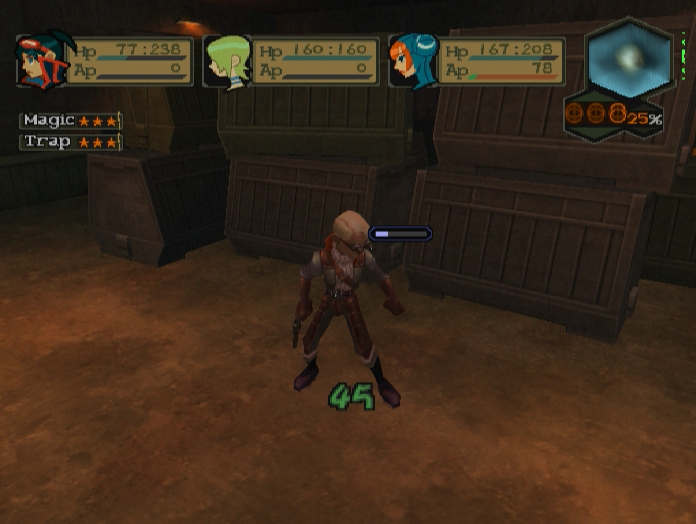
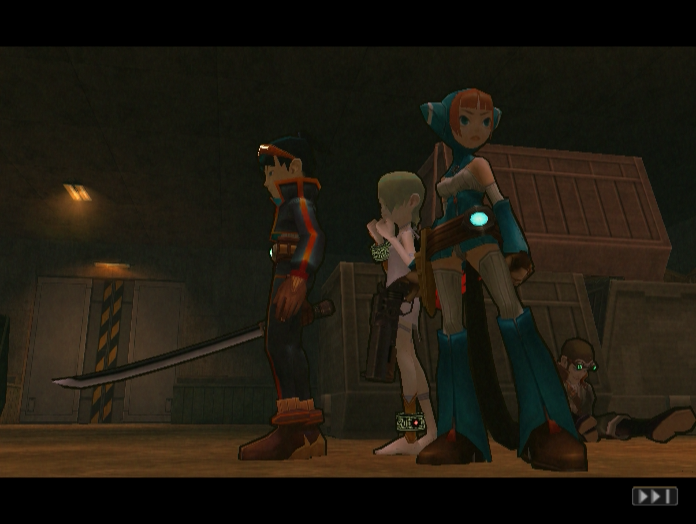
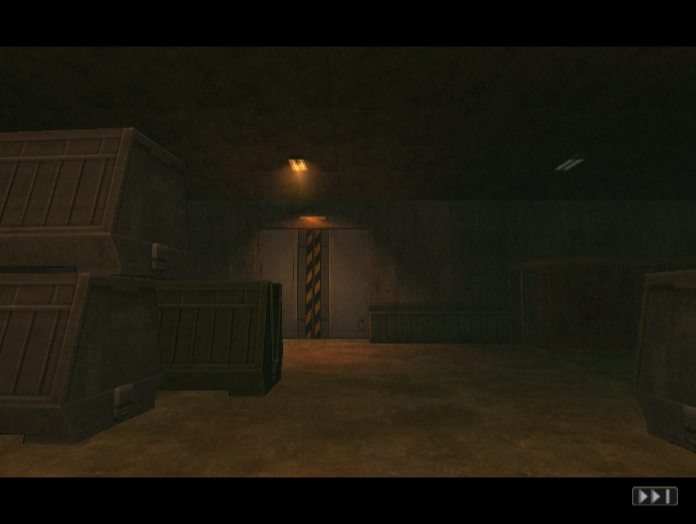
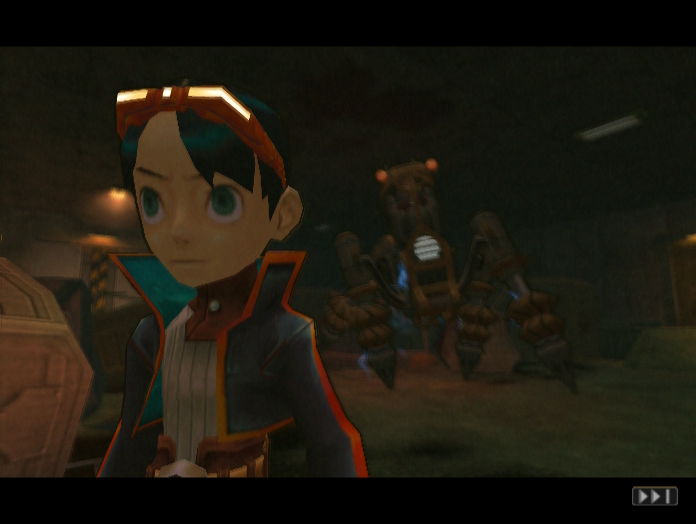
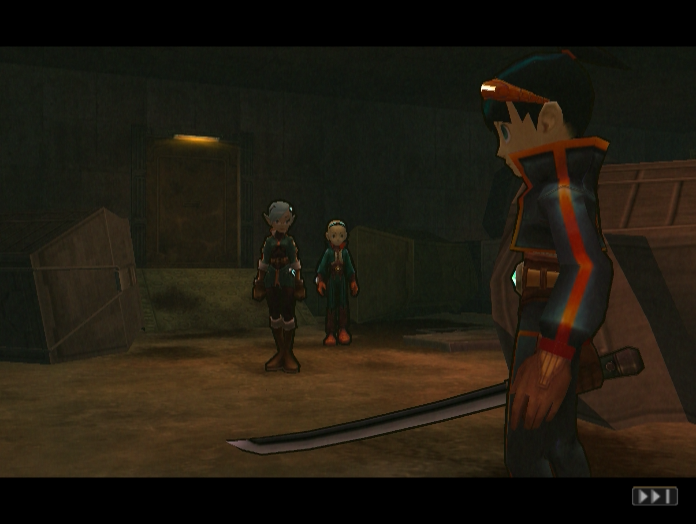
The camera briefly goes into night-vision mode as the party enters the storage area.
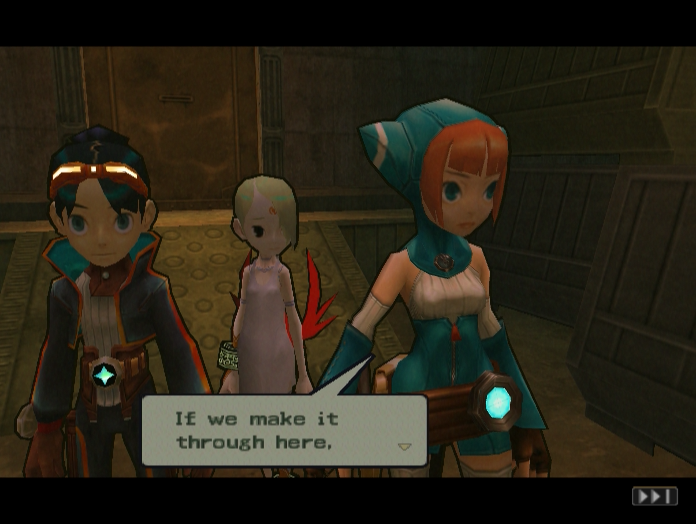
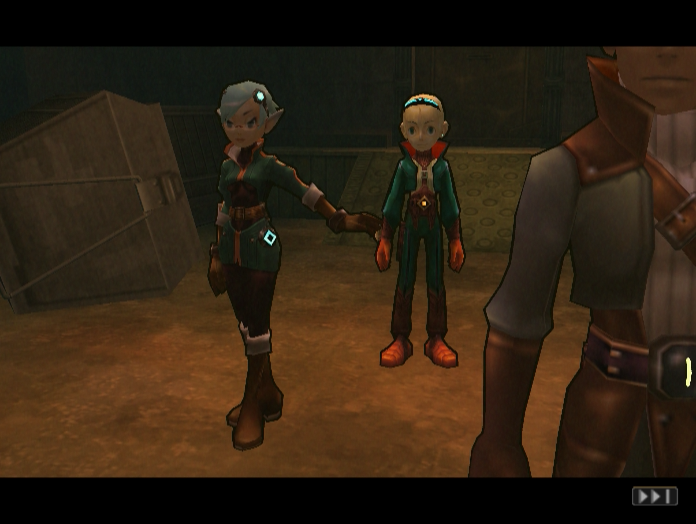
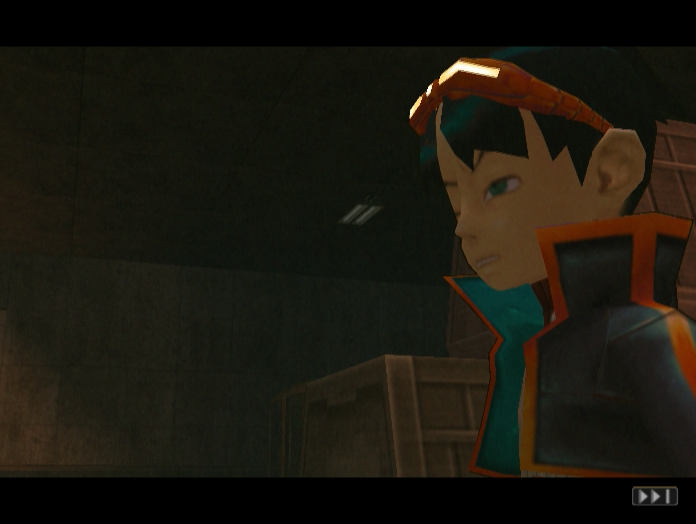
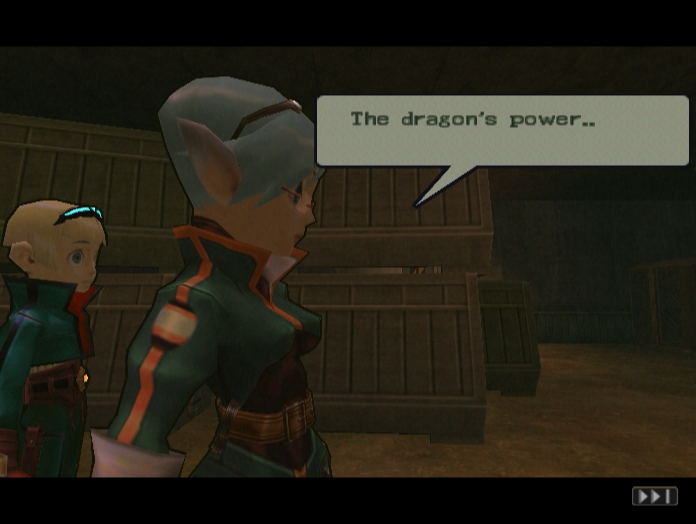
 :…we’ll be in the industrial zone.
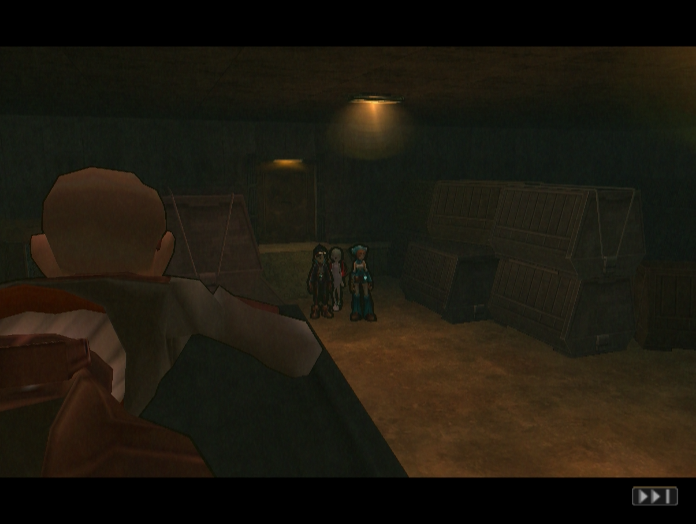
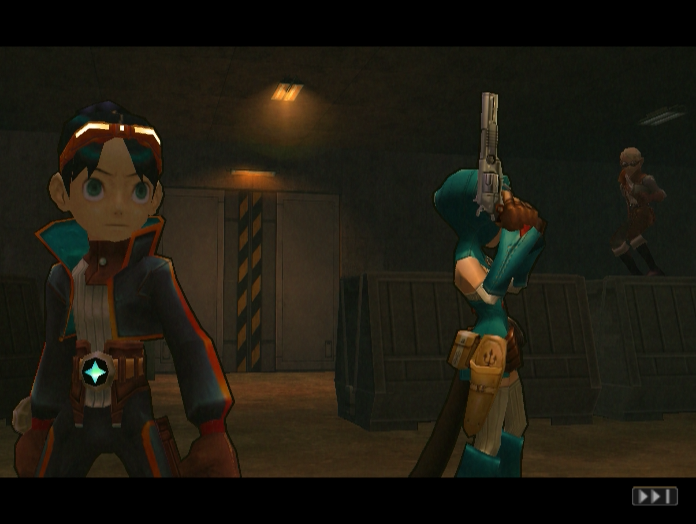
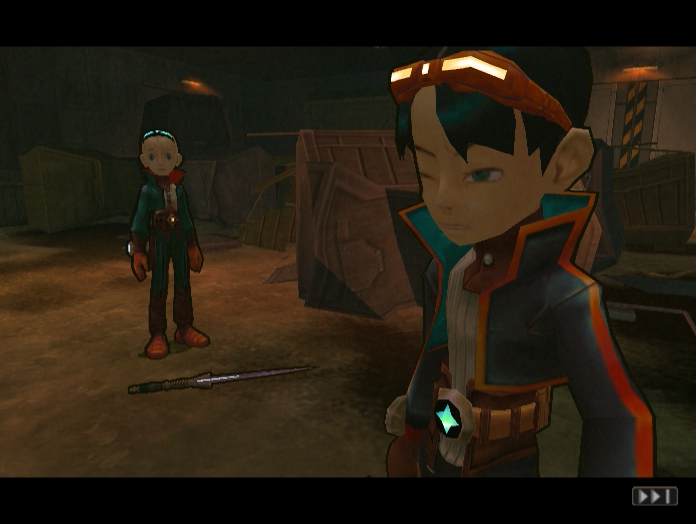
The camera pulls back, revealing a Ranger perched on top of a crate. He quickly signals with his right hand.
Music: Harbinger
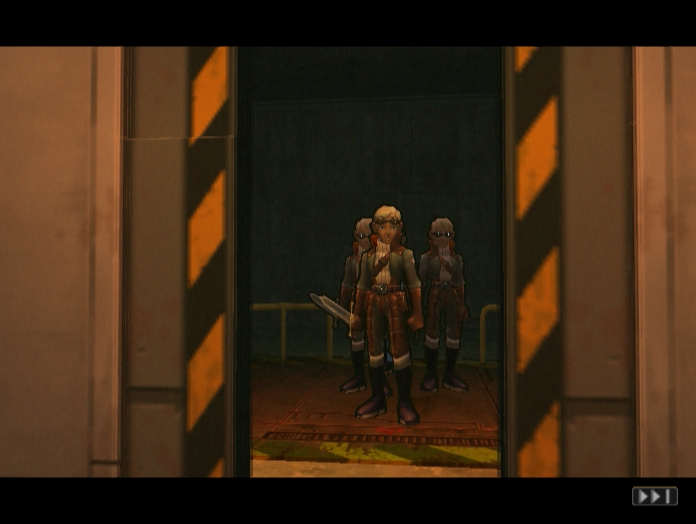
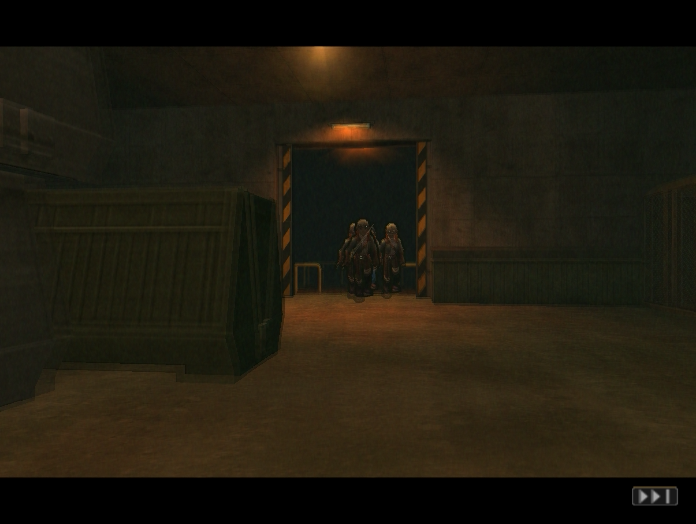

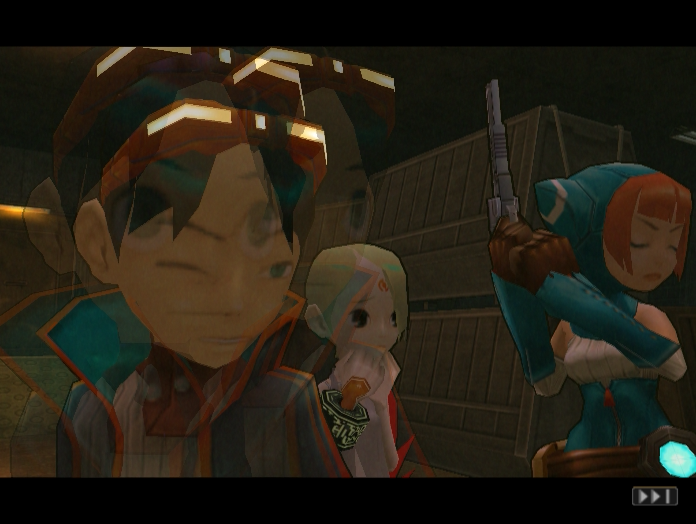
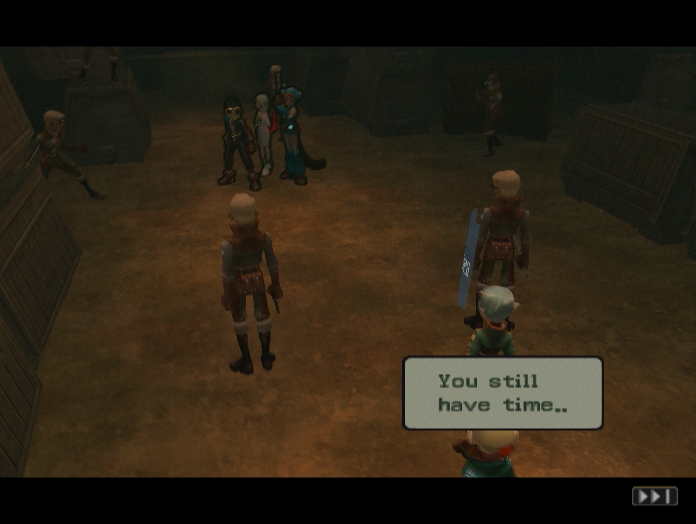
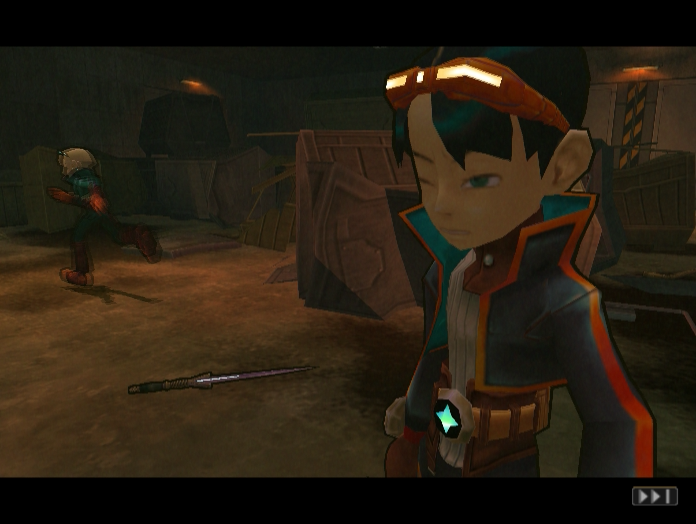
More Rangers appear, pouring out of elevators and leaping out of the shadows.
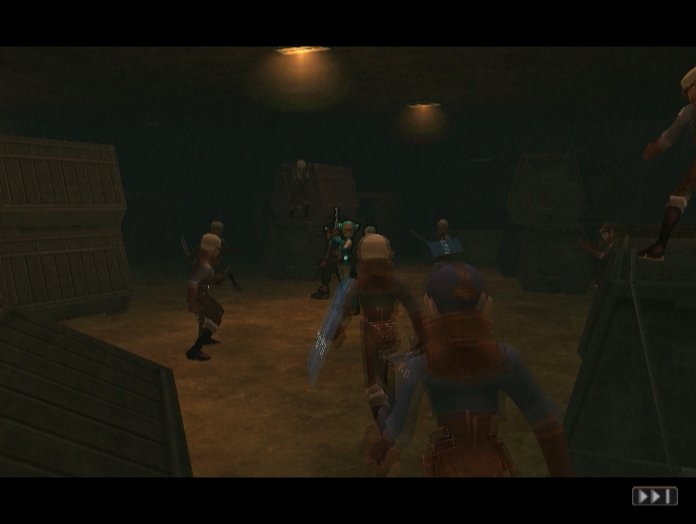
In seconds the party is completely surrounded.
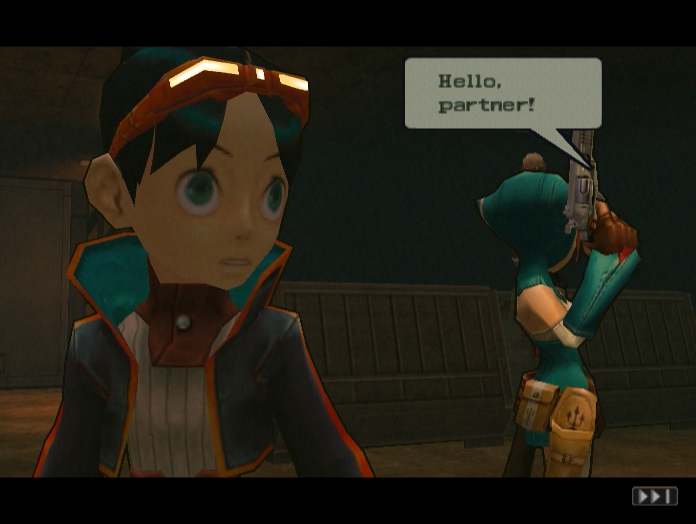
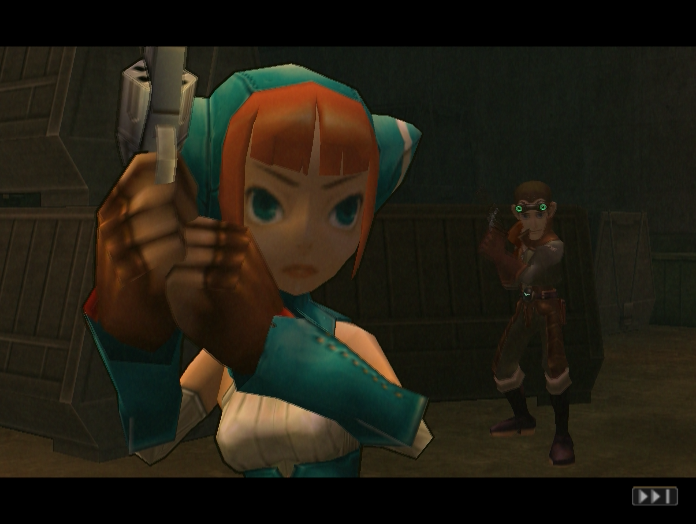
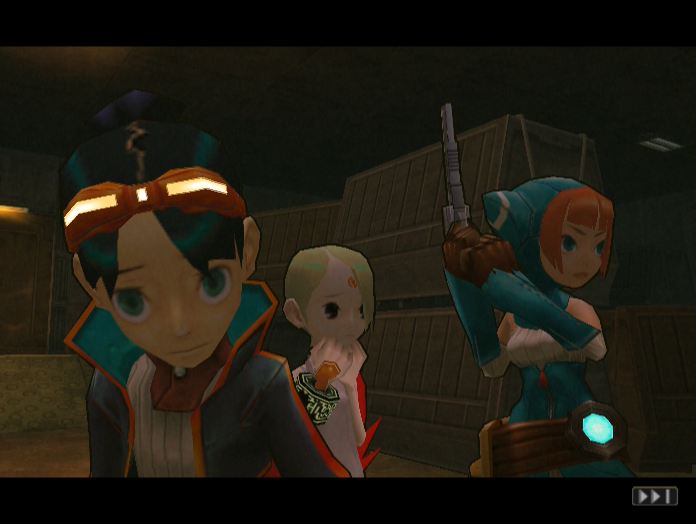
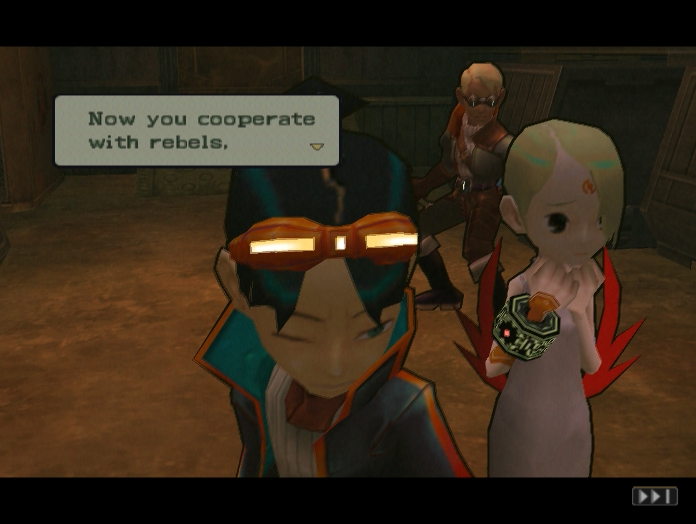
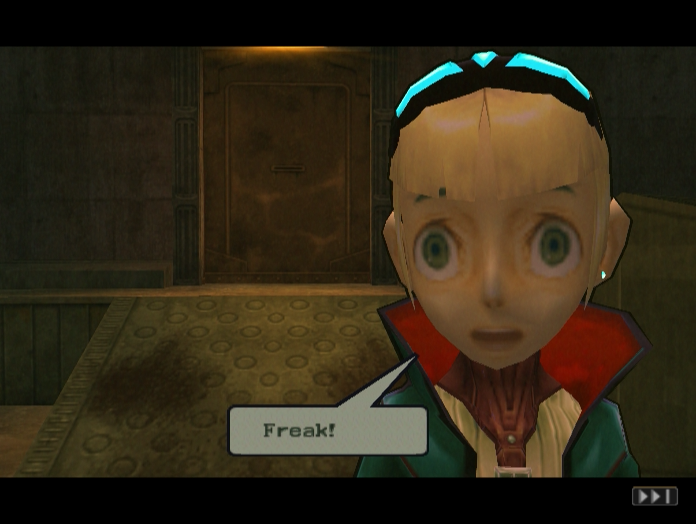
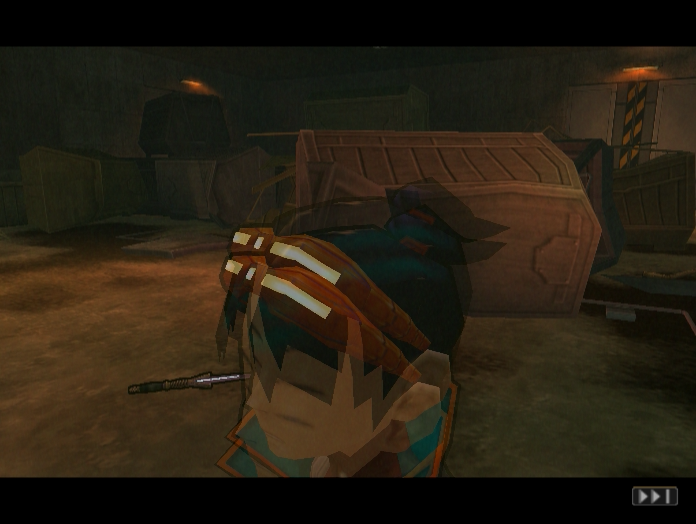
As if things weren’t already bad enough, a familiar voice suddenly rings out.
It’s Bosch! And he’s still just as much of a dick as he ever was! I get the feeling he wouldn’t be nearly so cocky without a platoon of Rangers backing him up though.
 : Bosch…
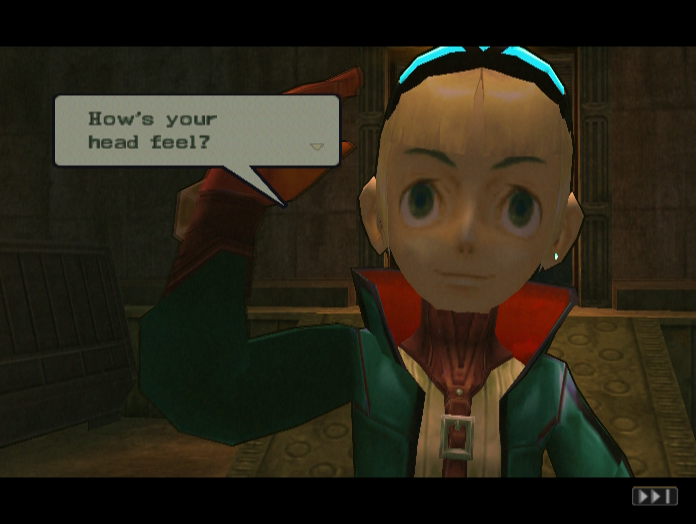
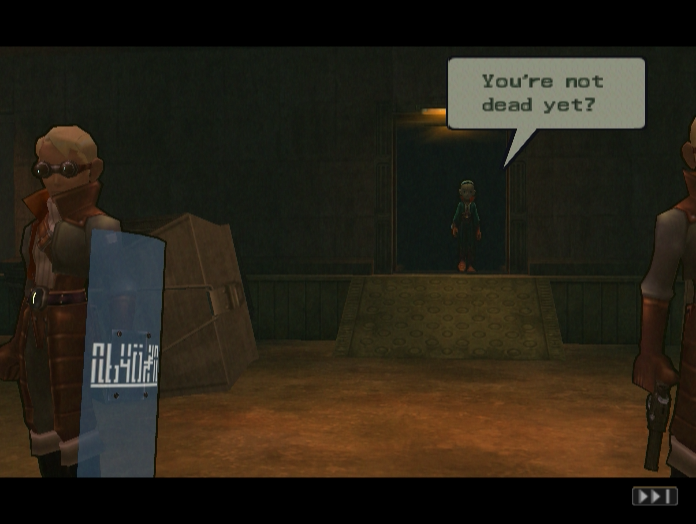
 : Hear any strange voices lately?
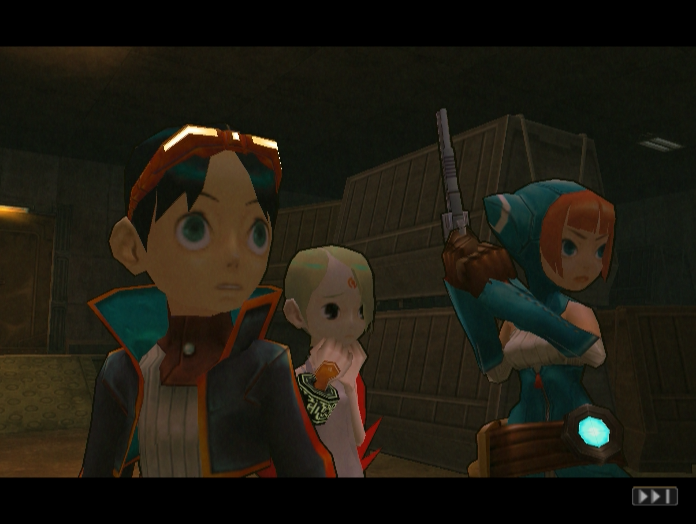
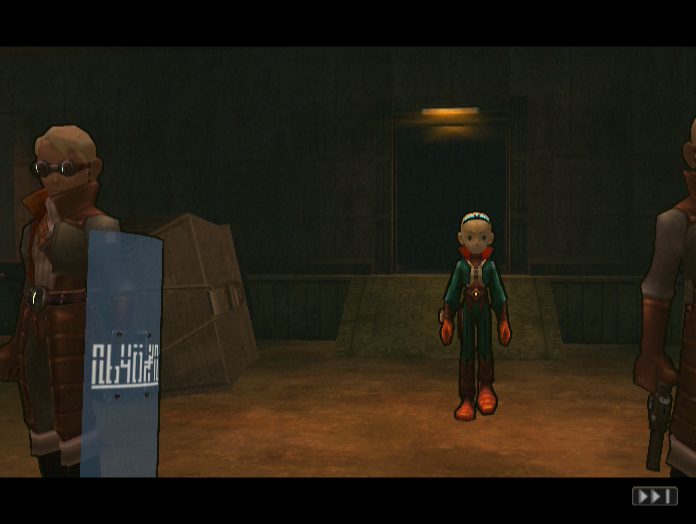
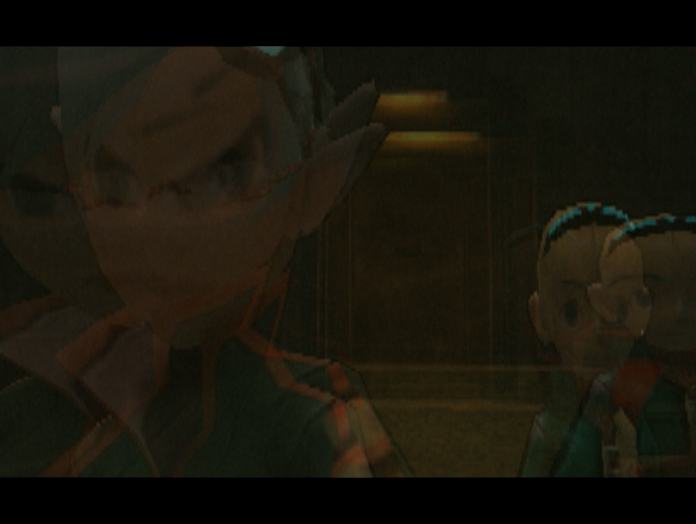
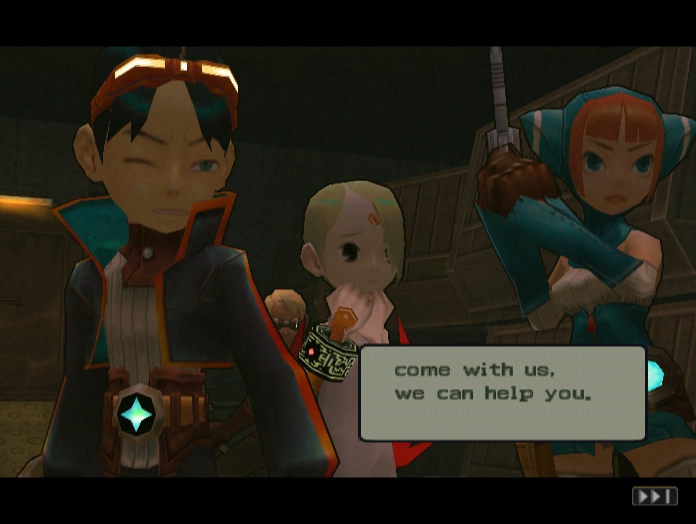
Captain Zeno arrives and quickly puts a stop to Bosch’s taunts.
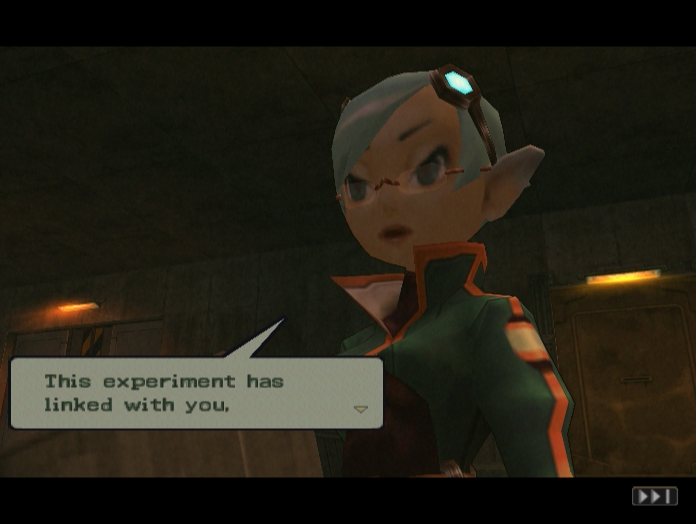
 : In the course of your mission at BioCorp, you came into contact with a highly experimental test subject. As a result, you are having…hallucinations.
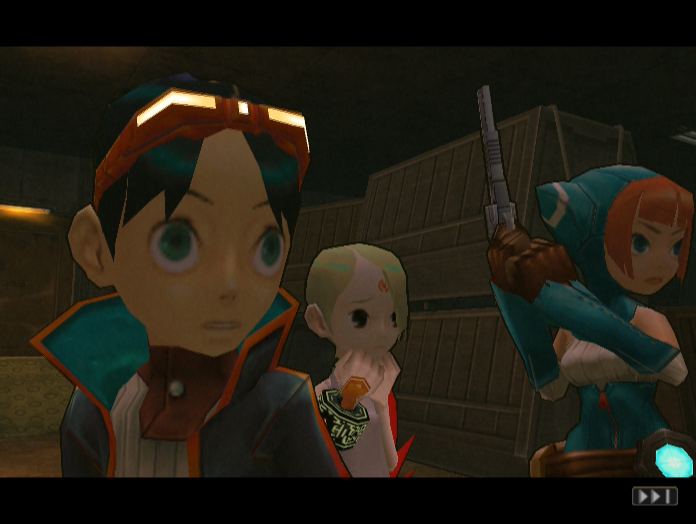

The screen distorts as the dragon inside Ryu voices its incredulity.
 :…and show unusual attachment to an experiment…

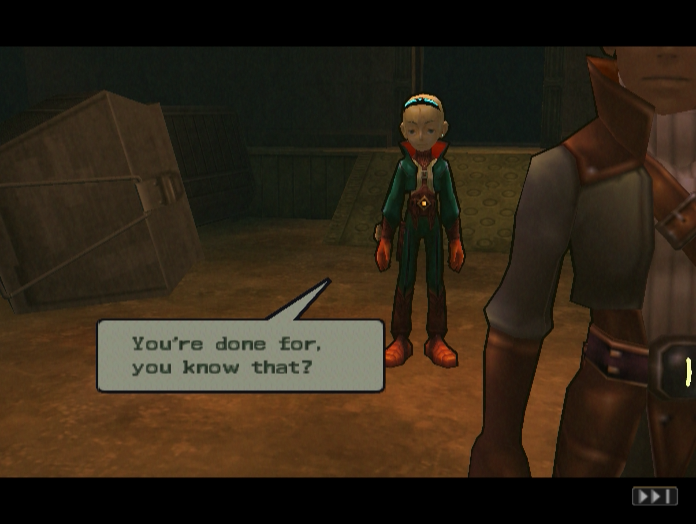
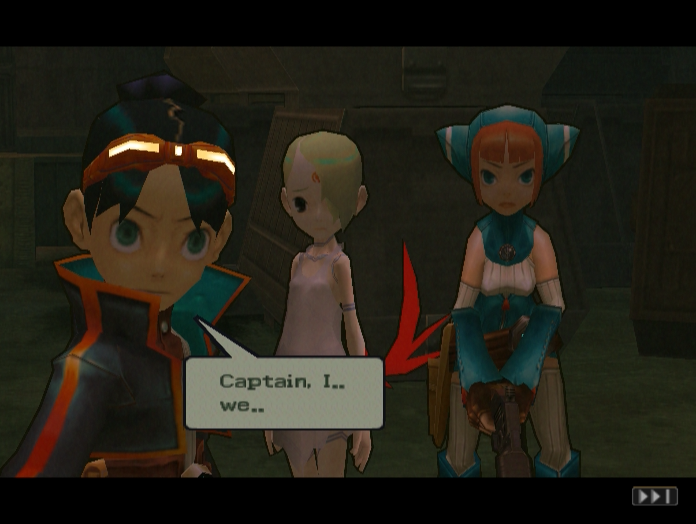
 : Can’t you just…let us go?
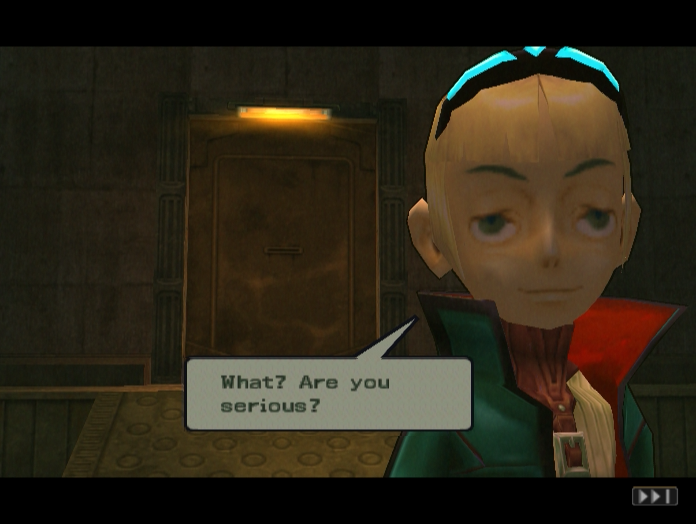 : That experiment is top secret! Besides, you’re gonna di-
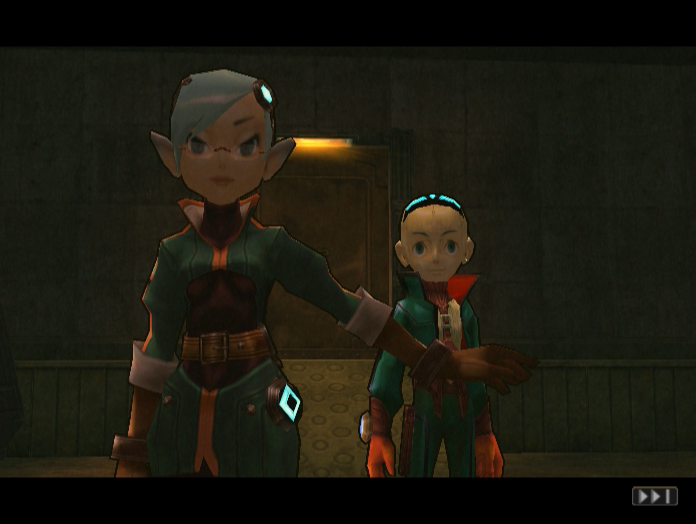
Zeno cuts off whatever Bosch was about to say next.
: We cannot let you leave.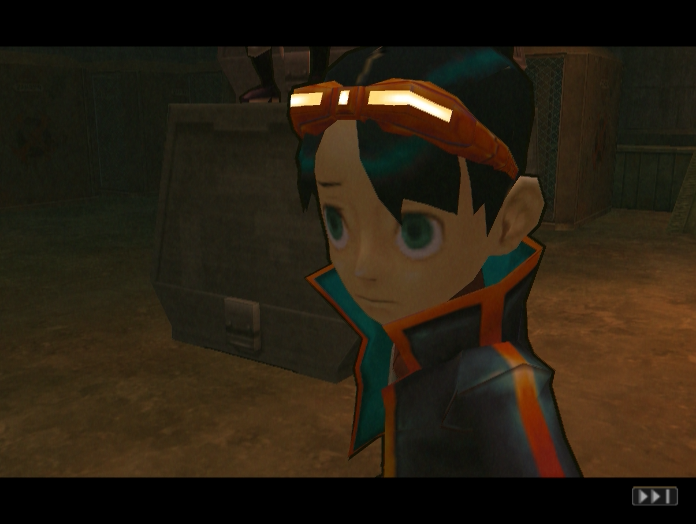
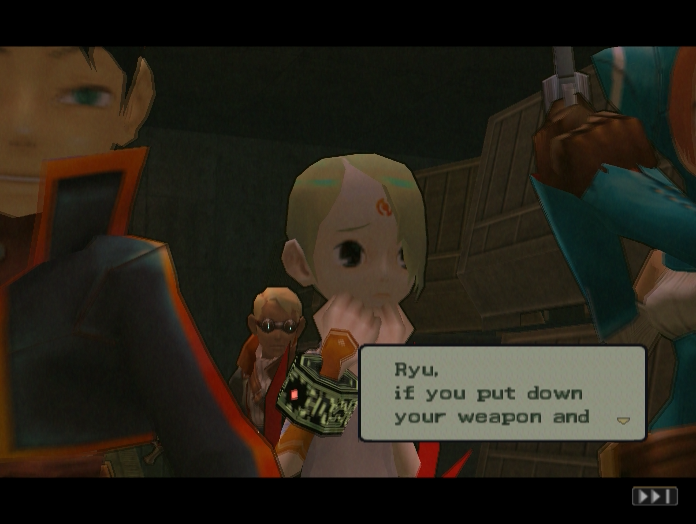
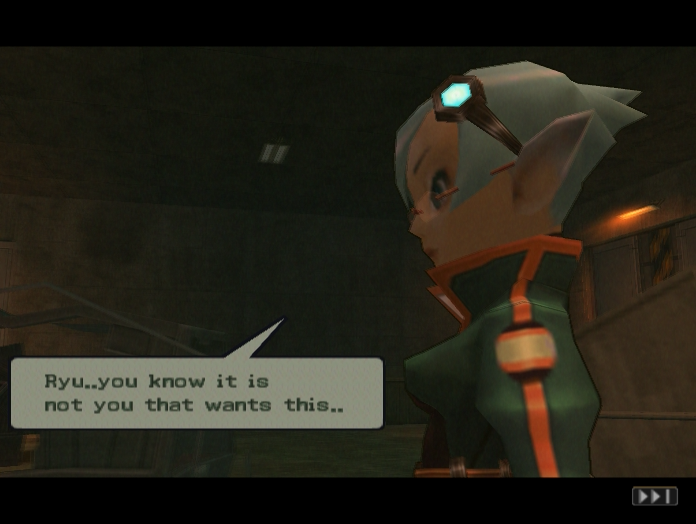
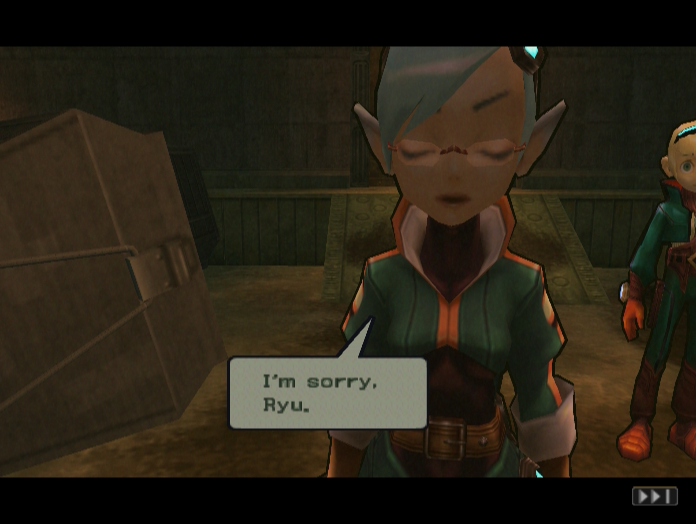
Ryu is clearly upset. It’s obvious that he doesn’t want to fight his old captain, but there doesn’t seem to be any other choice.

For that matter, it looks like Zeno doesn’t want to fight either. Perhaps her offer to help Ryu was actually sincere.

Unfortunately neither of them are willing to back down, making a violent confrontation inevitable.
Music: Formidable Foe
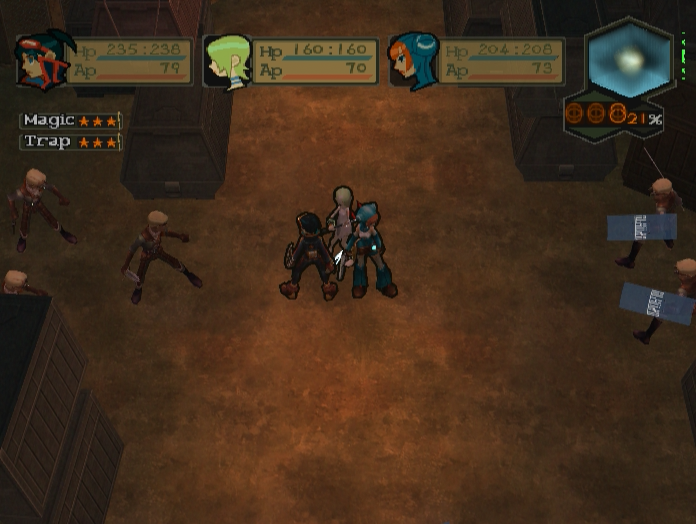
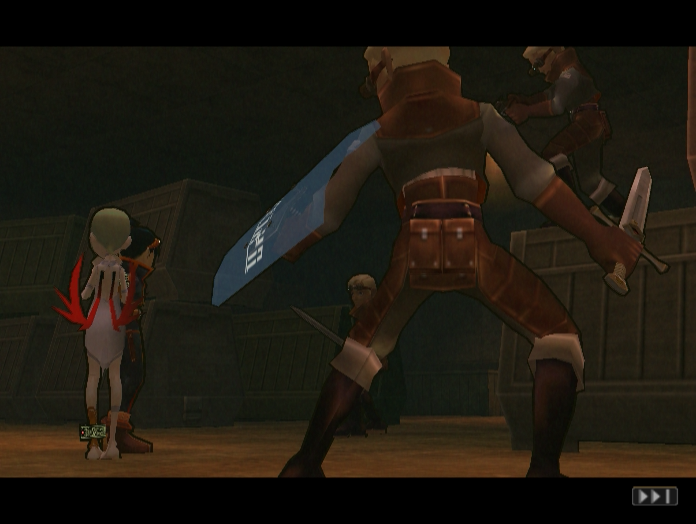
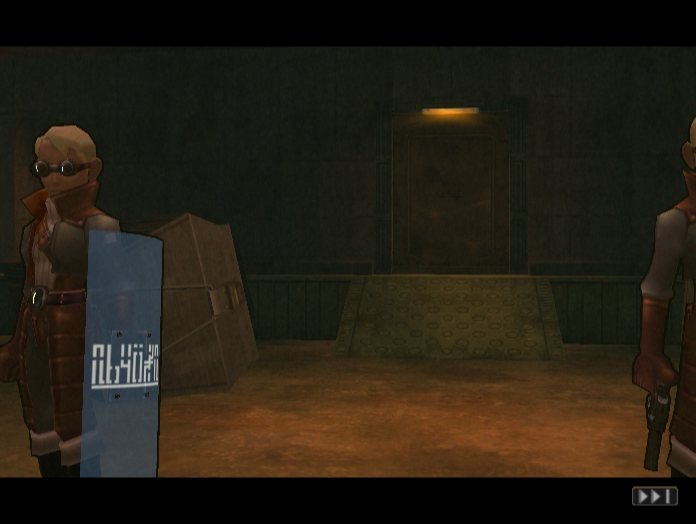
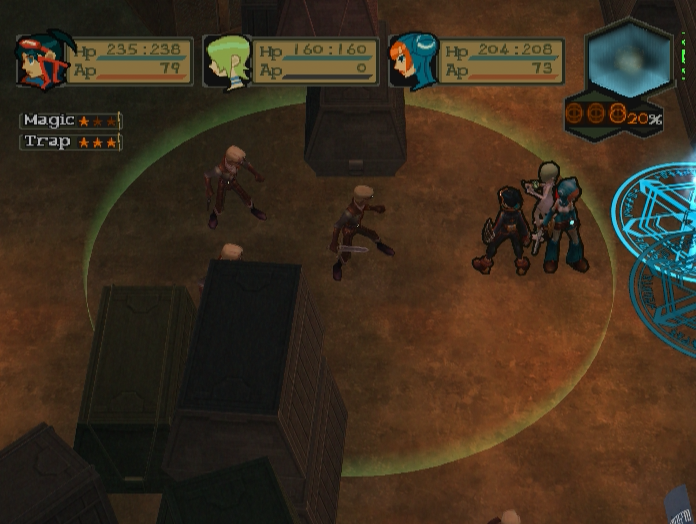
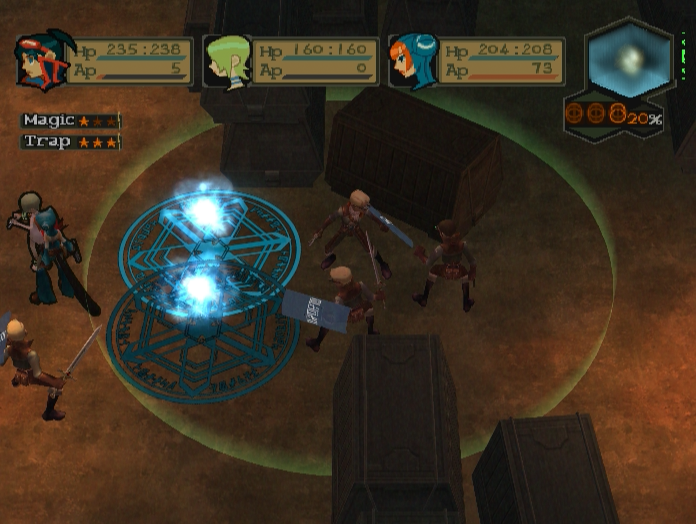
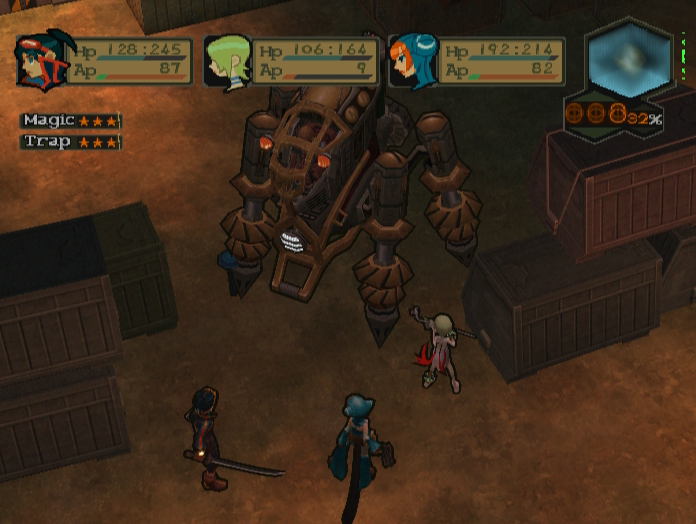
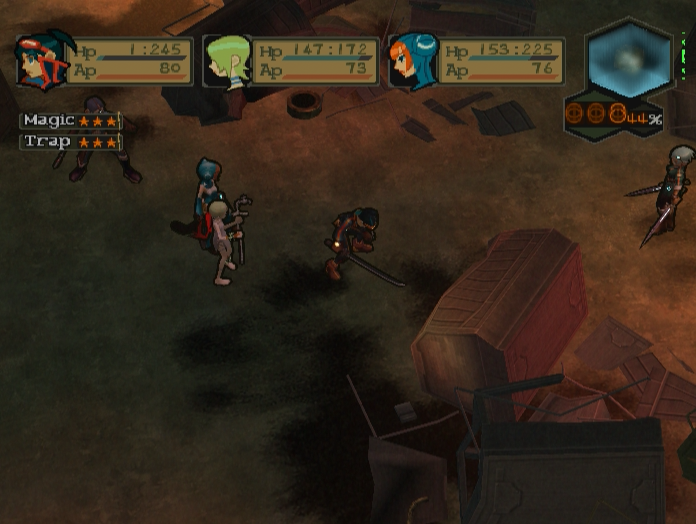
This battle is undoubtedly the most difficult in the game so far. We are fighting a total of eight enemies at once with no chance to divide and conquer like usual, and we begin in a very exposed position that’s very difficult to break out of. There are enemies to the east, west and south, and there are no real safe zones we can easily retreat to.

The enemies on the eastern front are definitely the most dangerous. The two guys with swords and shields are Battler Captains, while the man slightly behind them is a Lead Gunner. It’s vitally important to block this group off with Fragballs as soon as possible, because Battler Captains are seriously nasty opponents.
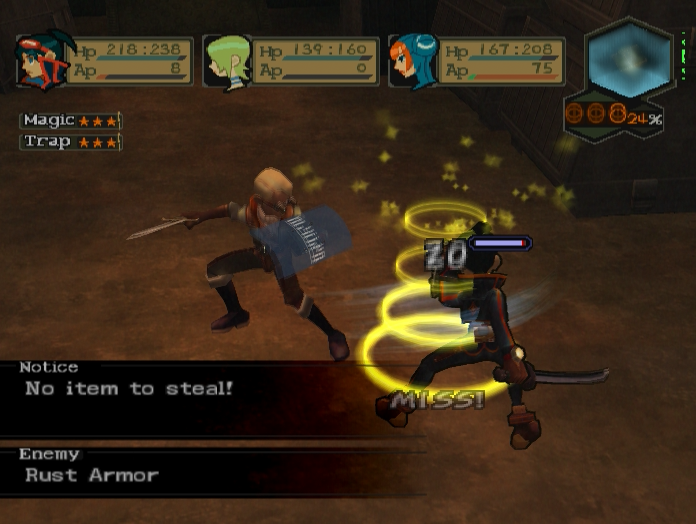
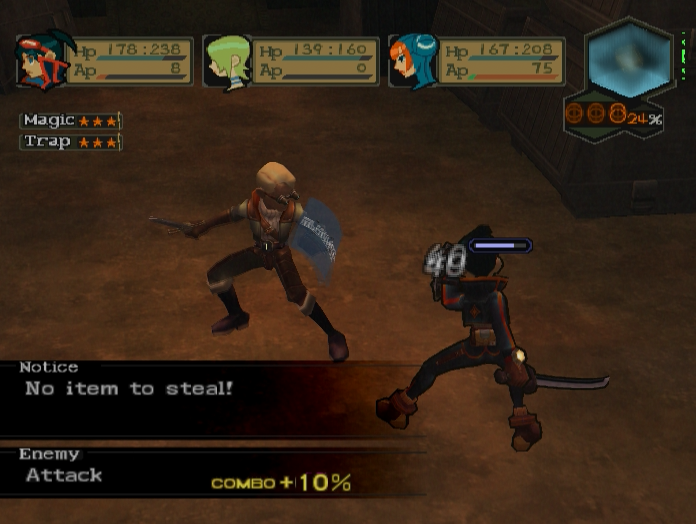
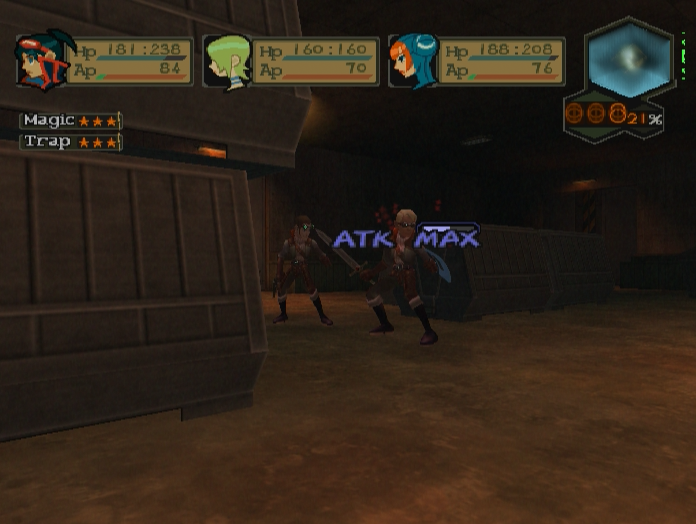
For one, they have Rust Armour, which isn’t a huge deal since the defence debuff is miniscule. However, they also have the ability to attack twice and receive the combo bonus for doing so, which turns them into a real threat.
Secondly, those shields they’re carrying aren’t for show. Half the time it’ll activate a defensive aura that cuts the damage of the next attack made against them in half.
Thirdly, they can heal themselves for a fairly hefty amount of HP.
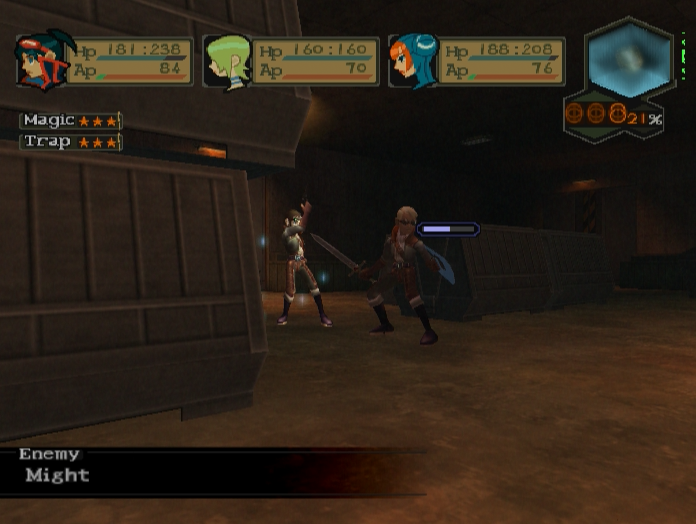
The Lead Gunner with them plays more of a support role, buffing the Battler Captains with Might and Shield spells. Their basic attack, Bullseye, never misses.
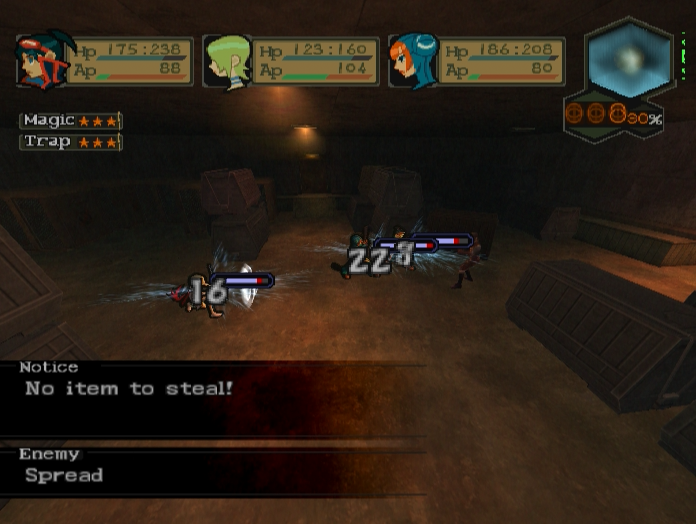
They can also use Spread to shoot the entire party at once for minor damage.
The western front consists of two Gunner Captains and a Lead Battler. They aren’t as dangerous as the enemies to the east, but you can’t leave them alone either.
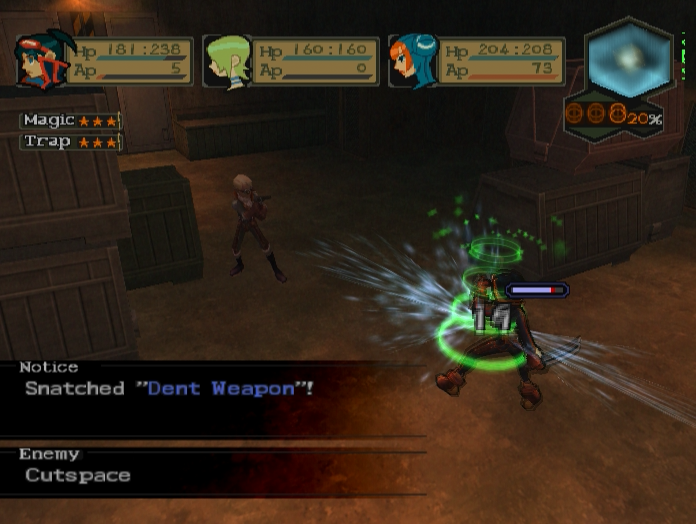
Gunner Captains like to plink away at you from long range and can also decrease your movement radius with Cutspace.
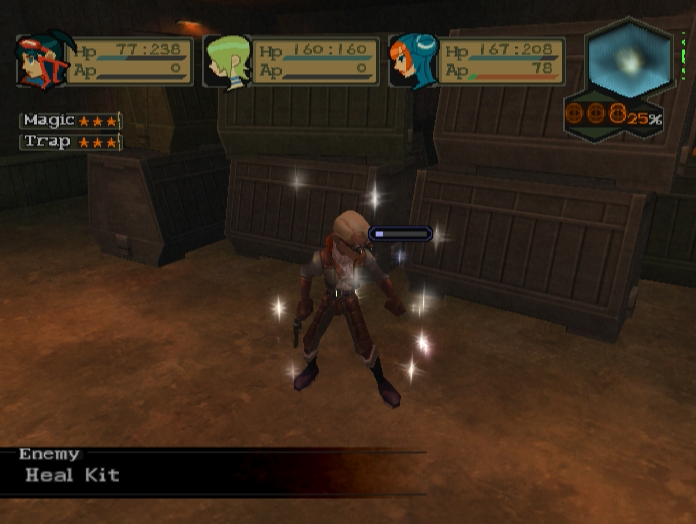
They can also heal themselves, although not as much as Battler Captains.
The real threat on this side of the battlefield is the Lead Battler. His Command skill does no damage but compels all nearby enemies to attack the targeted party member.
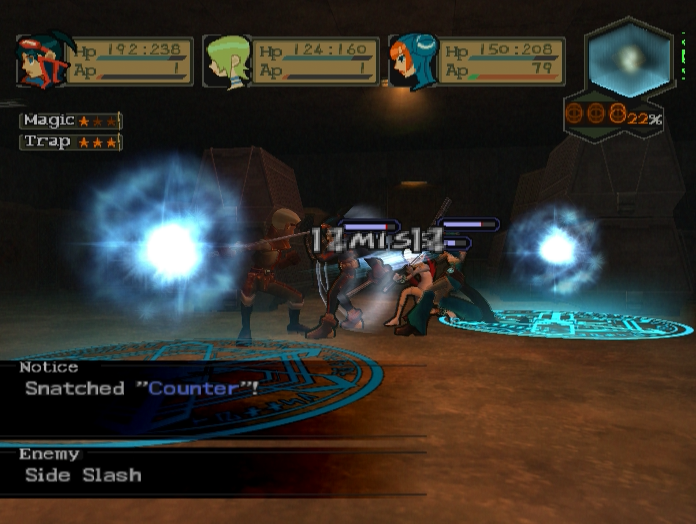
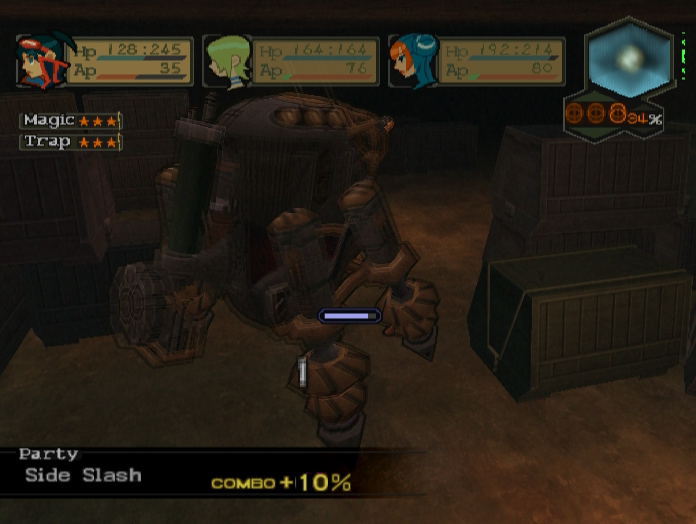
Like the Battler Captains he can attack twice, and also has access to Side Slash. He often uses the latter skill as a counter after being hit.
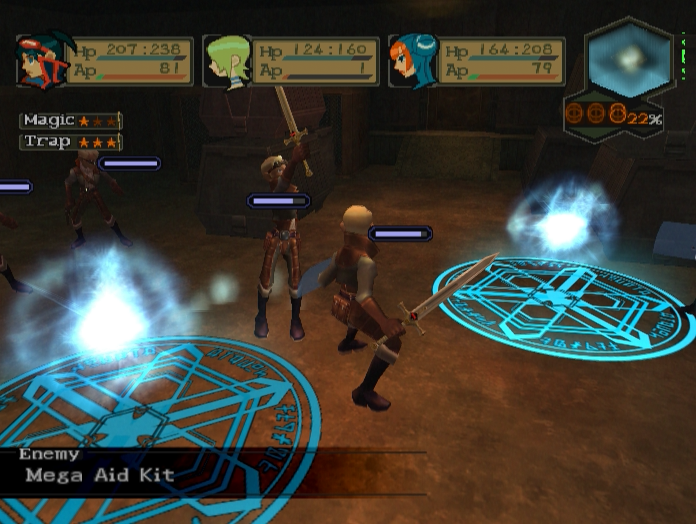
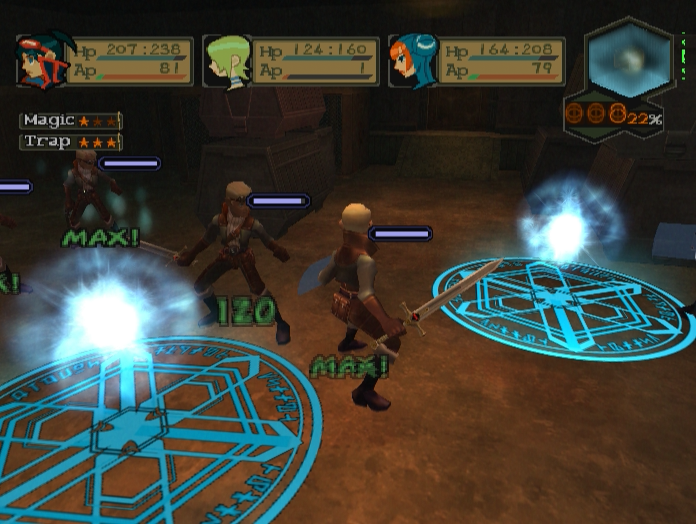
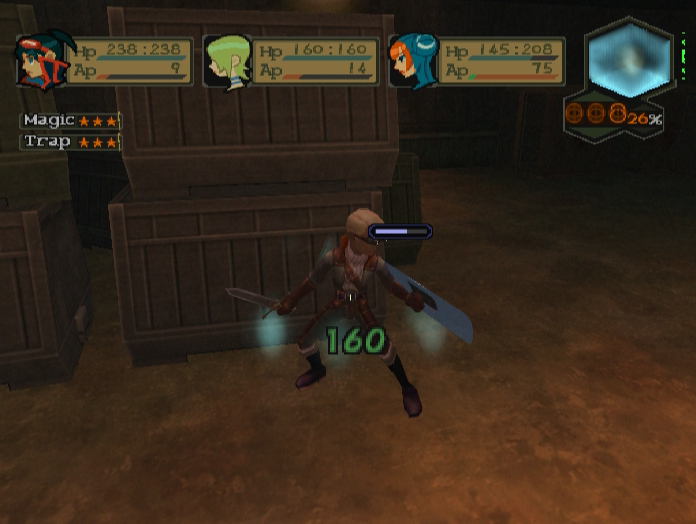
Worst of all, he can toss out Mega Aid Kits to heal all nearby enemies for 120 HP.
The southern group consists of one Battler Captain and one Gunner Captain. Nasty, but not nearly as bad as the other two fronts.
Surviving this fight requires tactical thinking, lots of healing items, and a bit of luck. It’s a long hard slog no matter how you approach it, but certain things can make winning it much easier.
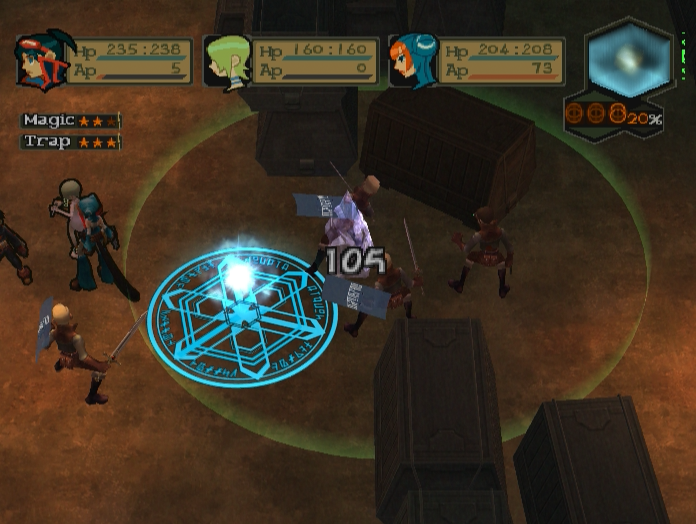
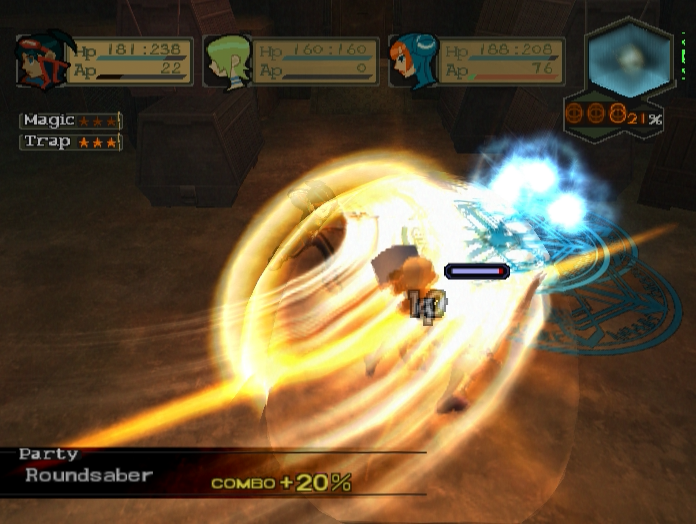
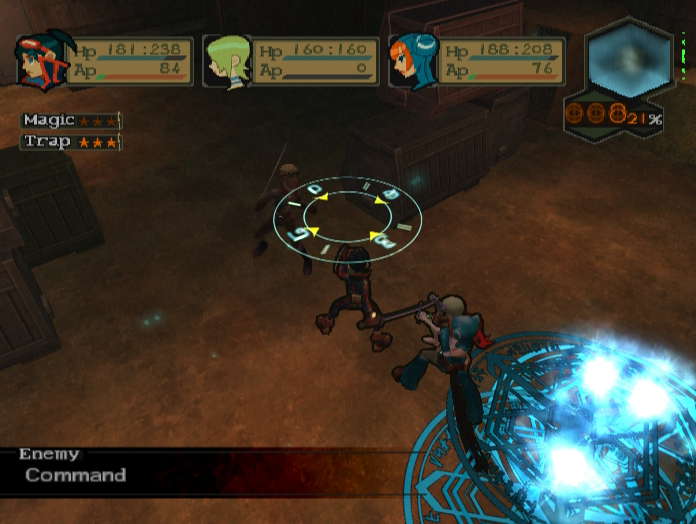
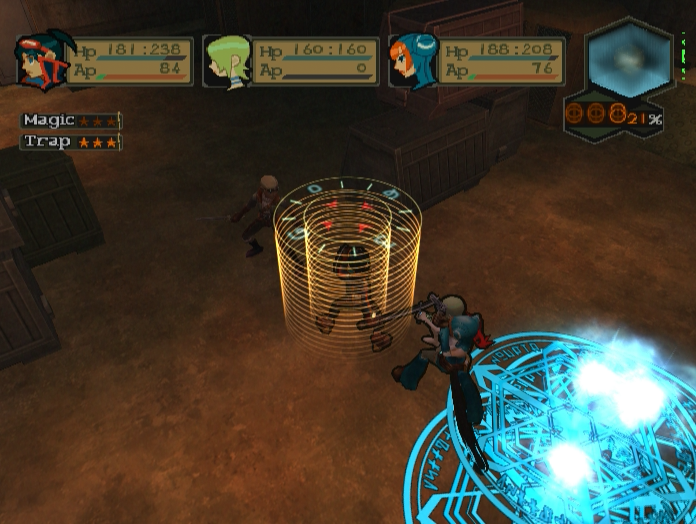
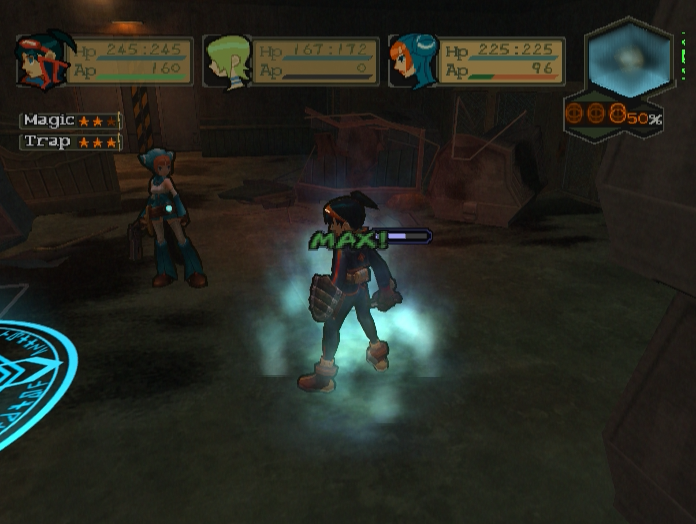
First of all, strategic use of Fragballs is an absolute necessity. They are much bigger and more powerful than Nina’s other runes, and enemies who step on them often wind up frozen in place, preventing them from moving or attacking. If you place them correctly you can effectively remove the eastern enemies from play.
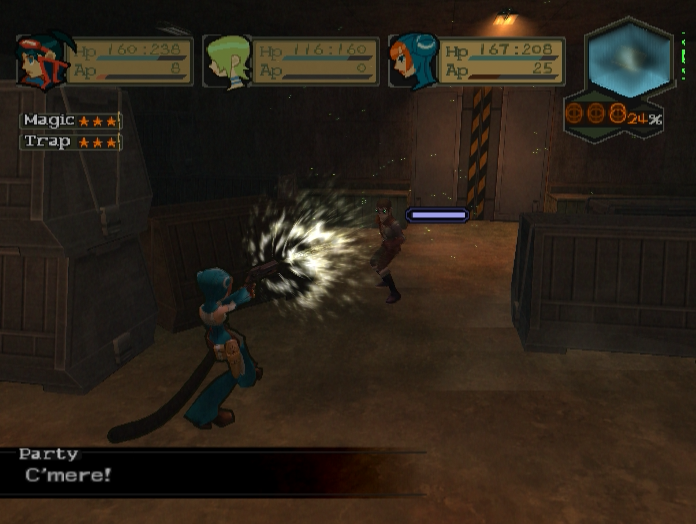
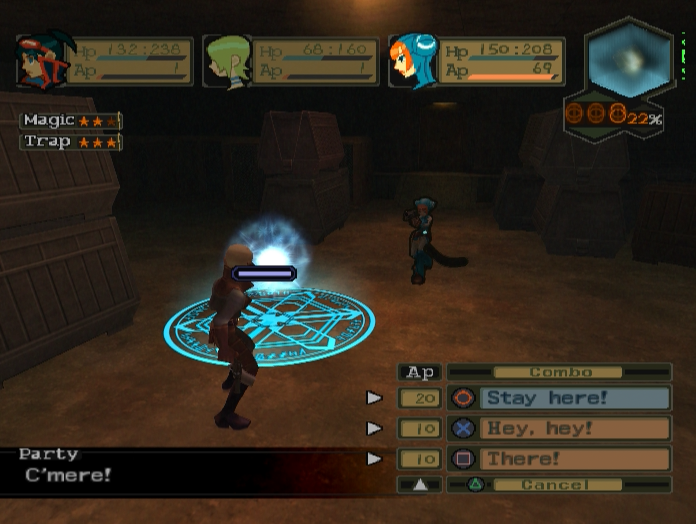
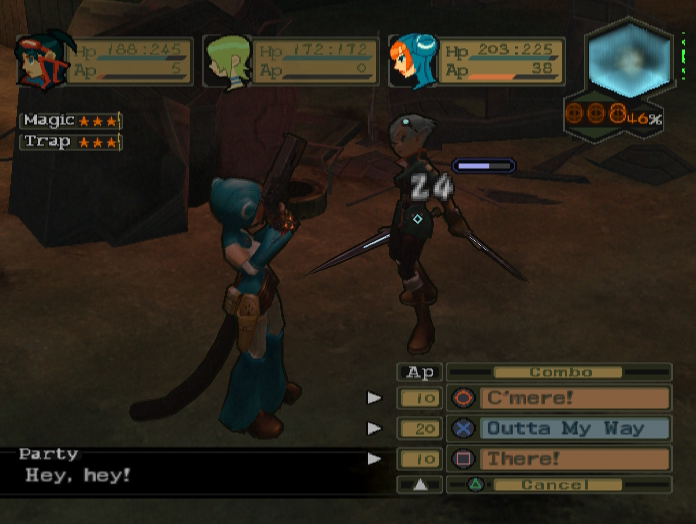
Lin’s new ‘C’mere’ skill is also a boon since all the Gunner-type enemies will run away as soon as you get close. Drawing them in means you don’t have to waste AP chasing after them.
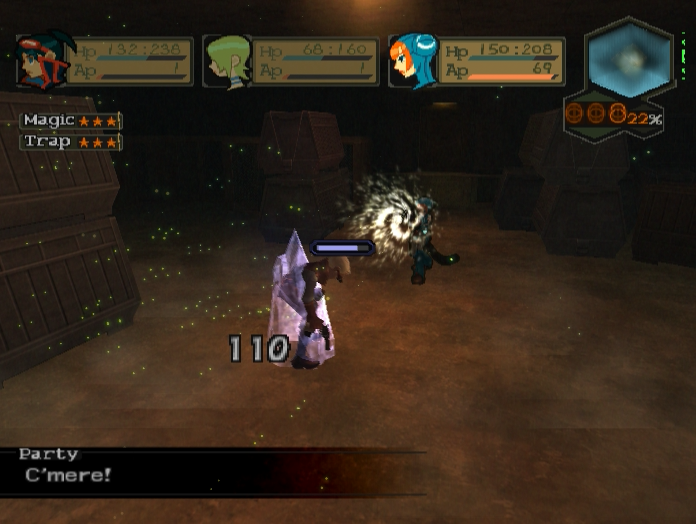
You can also use it to drag enemies into Fragballs, which is both fun and useful.
The Lead Gunner and Lead Battler are priority targets due to their buffing and healing abilities. Taking them out will shorten the battle significantly.
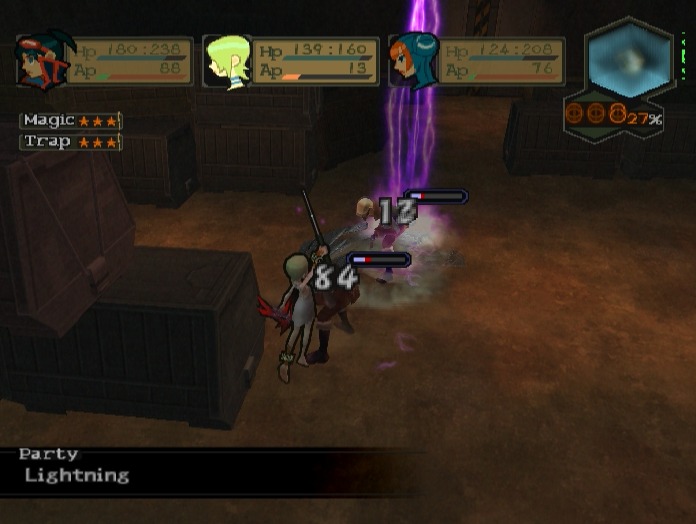
Nina should mostly stick to setting up Fragballs, but if an opportunity to hit multiple targets with Lightning presents itself then hey, go for it. Above all remember to be liberal with healing items and immediately revive anyone who falls.
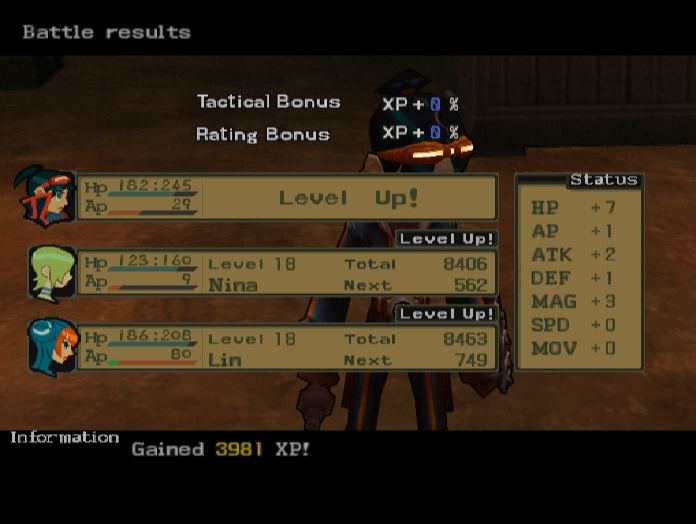
It’s a seriously tough fight, but it pays out some seriously good experience. Everyone picks up a level from it.

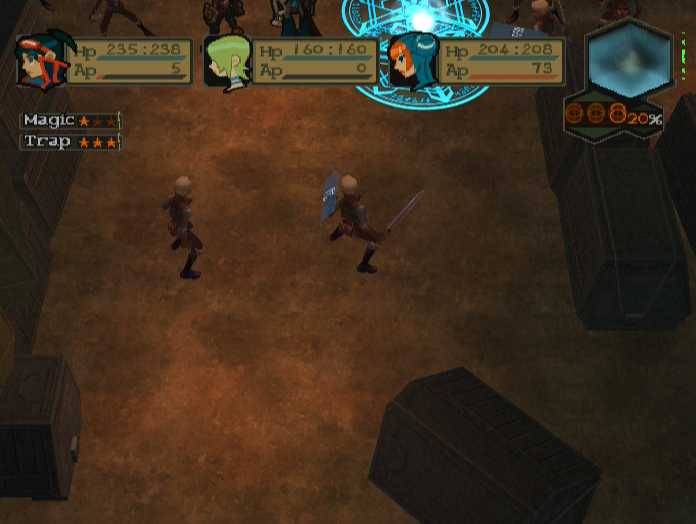
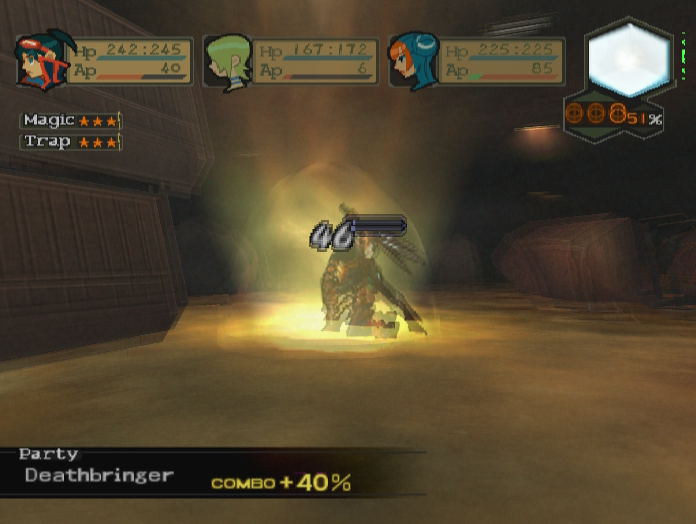
Bodies litter the storage area. Eight of the most elite rangers failed to take the party down.
Ryu is exhausted, but alive.
Bosch is well and truly bricking it.
Ever the professional, Zeno is the only one who maintains her calm.


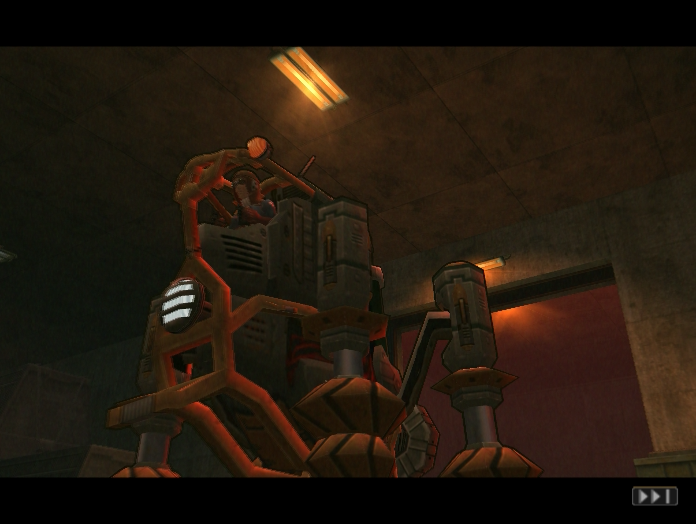
Although that might also be because she has a giant murder-bot as her Plan B.
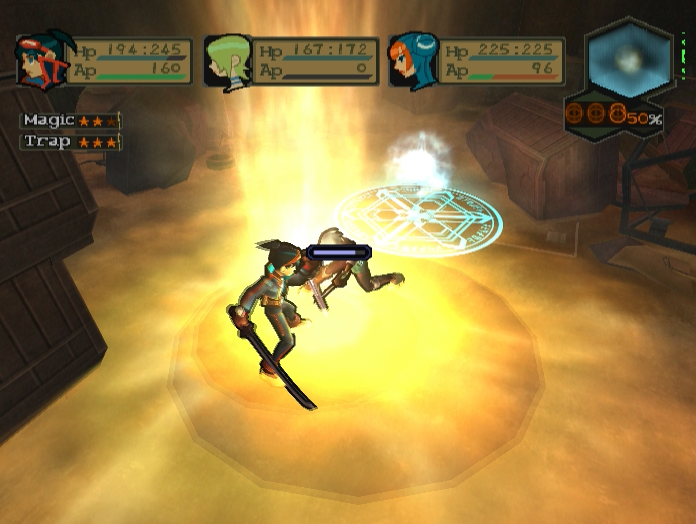
Music: Formidable Foe
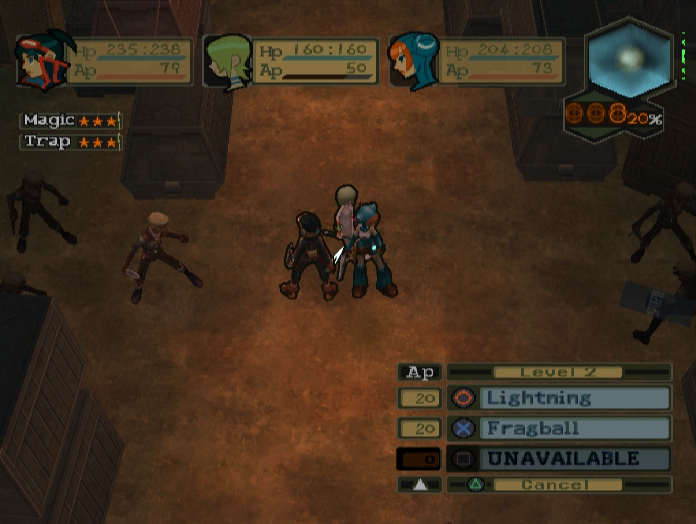
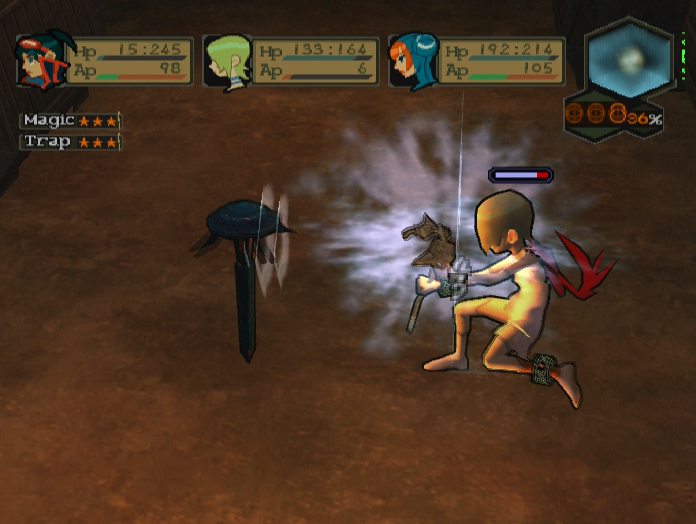
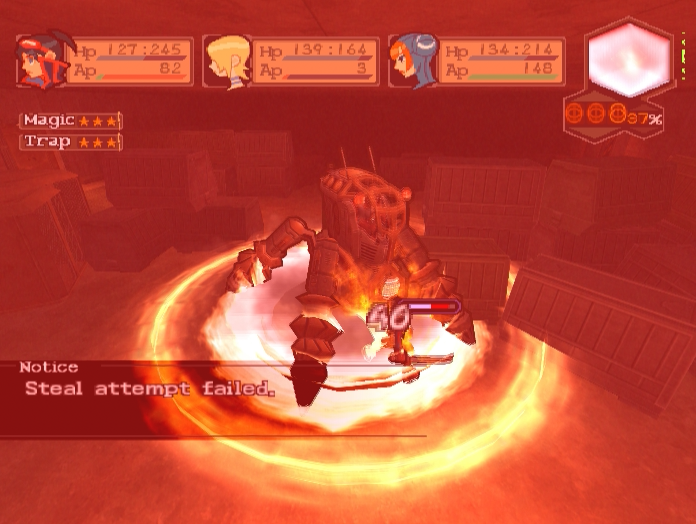
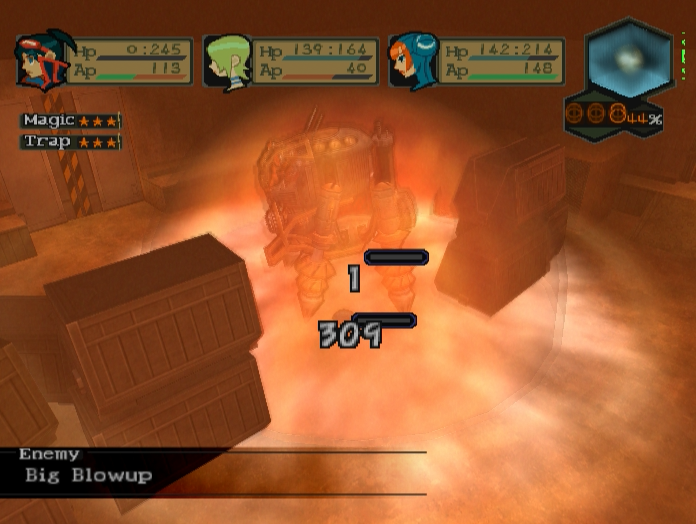
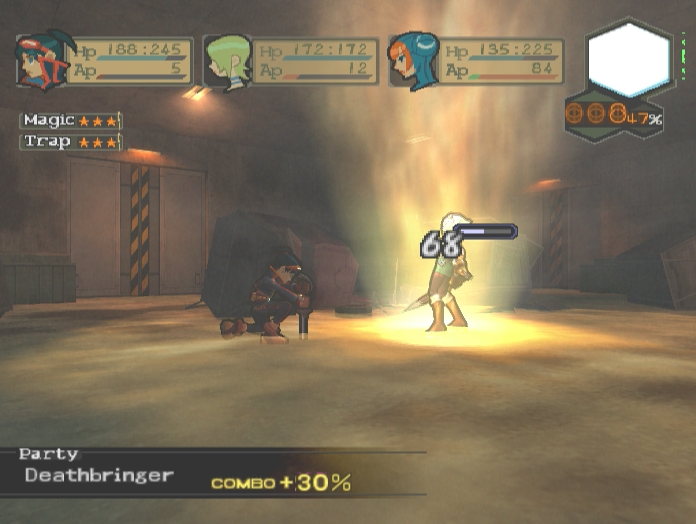
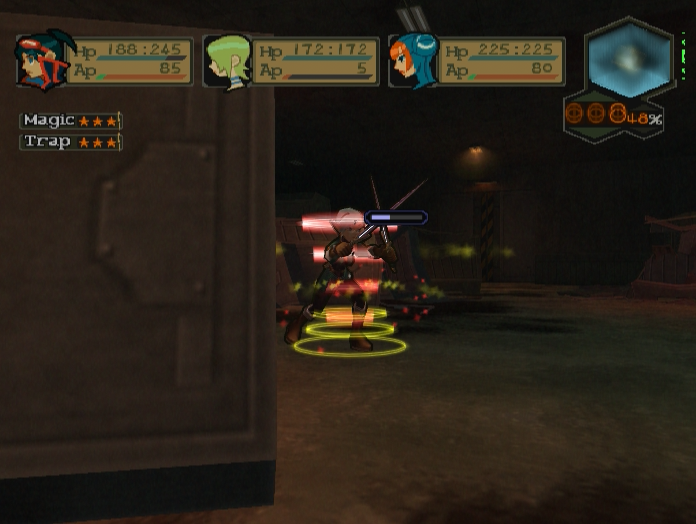
With no time to heal or swap skills we’re thrust into another battle. The big machine we’re fighting is called Asimov, and it’s one tough nut to crack.
First of all, it’s a machine. Being made of solid steel means most physical attacks barely scratch it.
Magic is marginally more effective, but still lacklustre. Your first instinct might be to hit it with Lightning, but Sheldar’s robots are all EMP-hardened so it won’t be very effective. Mechanical enemies in this game are weak to ice instead.
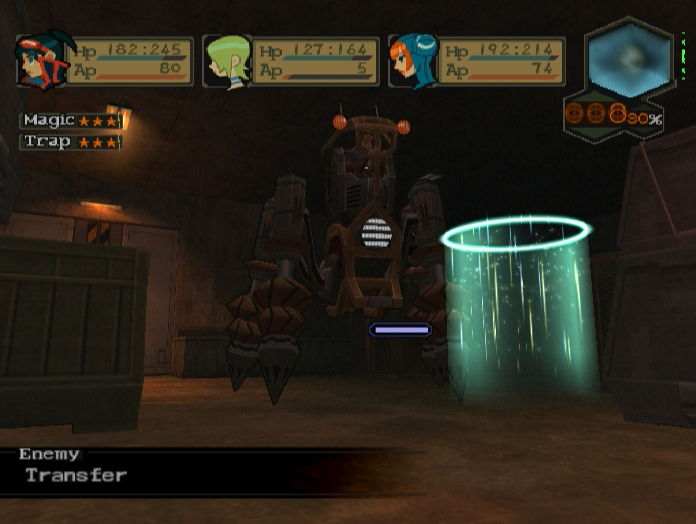

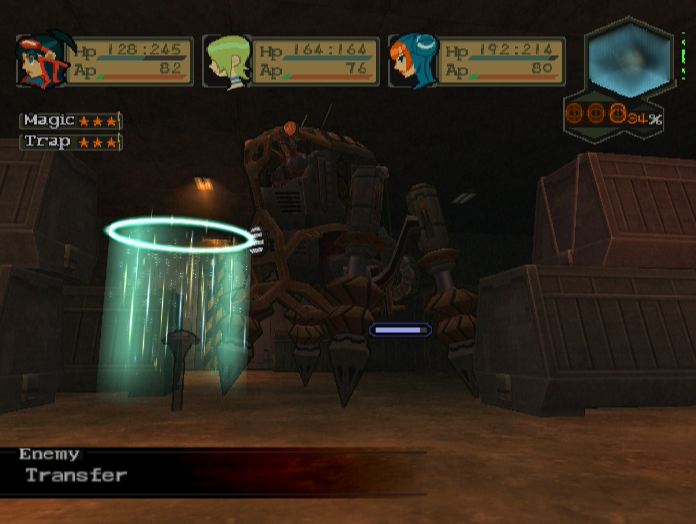
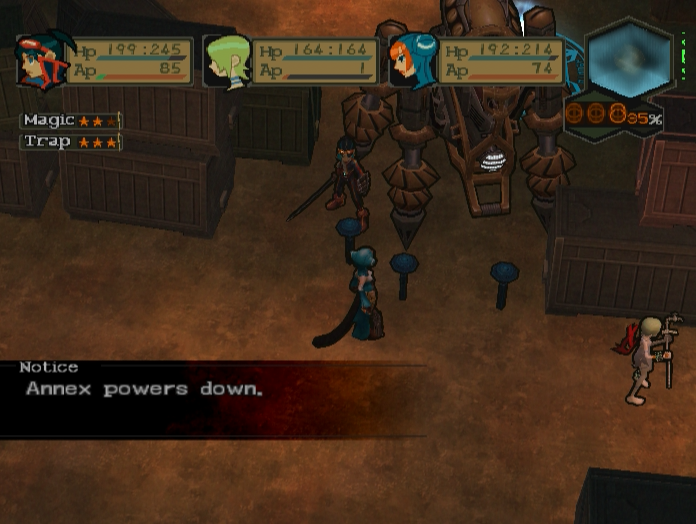
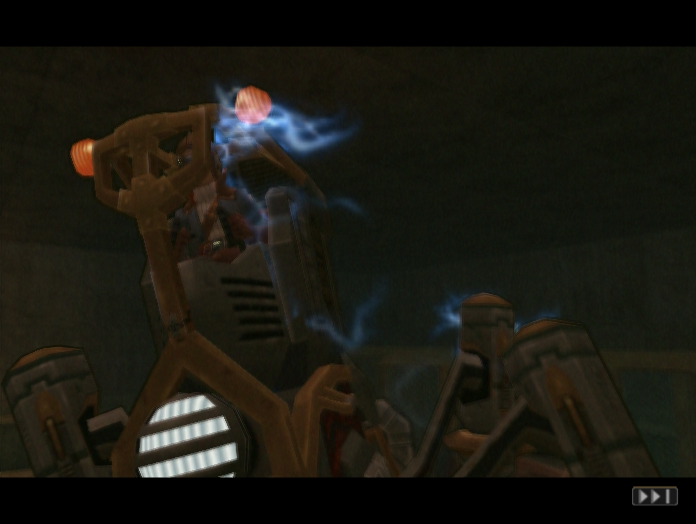
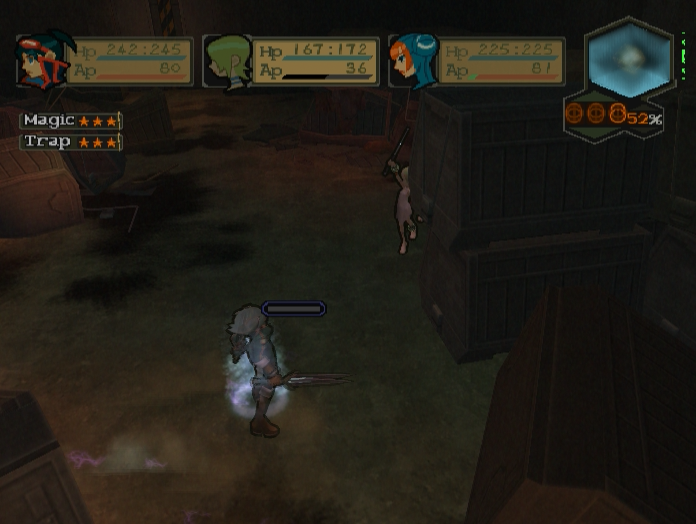
Asimov’s initial tactic is to use Transfer to teleport in a bunch of rod-like enemies called Annexes.
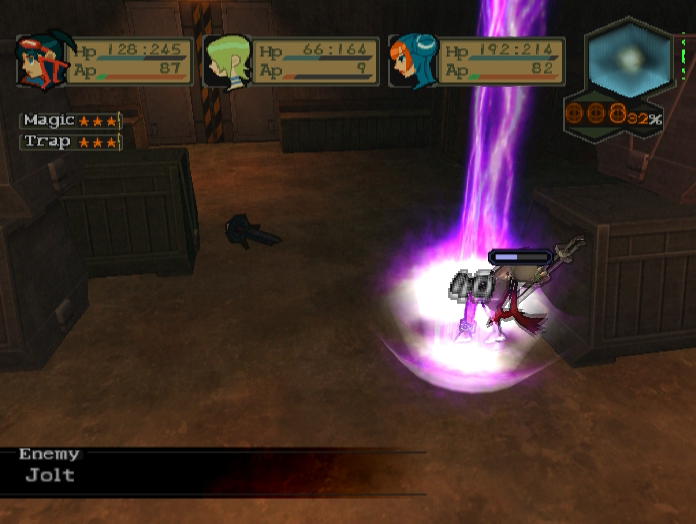
Annexes have two abilities, the Jolt spell and a weak physical attack. They have a pretty decent movement range, but are very fragile and die after only a few hits. However Asimov has an unlimited supply of them and will simply summon up a replacement whenever you kill one.
While you’re fending off his minions Asimov will waste no time in introducing you to its leg drills. Its basic attack deals a huge amount of knockback, making melee tricky.
It can also jump up and perform a shockwave stomp area of effect attack. While visually impressive it actually deals around the same damage as its regular attacks.
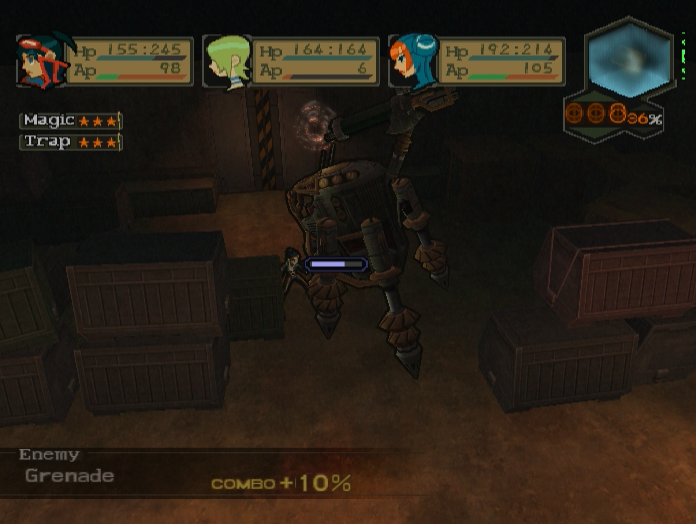
When faced with this your first instinct might be to back off and attack from range. This won’t work as Asimov has a retractable grenade launcher that can hit multiple party members for massive damage. It can use this both in close quarters and to bombard you from range, so you’re not safe at any distance.
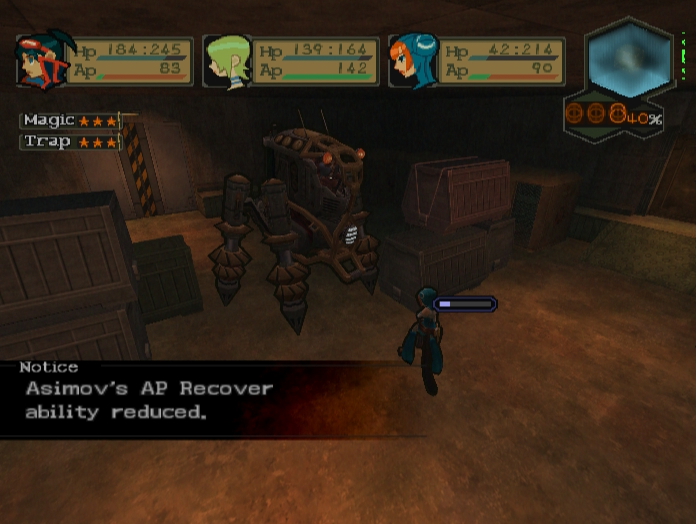
Asimov’s AP pool is large enough that it can act two or three times per turn. Combined with Annexes flying around zapping and slicing everyone, it can be tough to keep the party healed up and in a position to fight back.
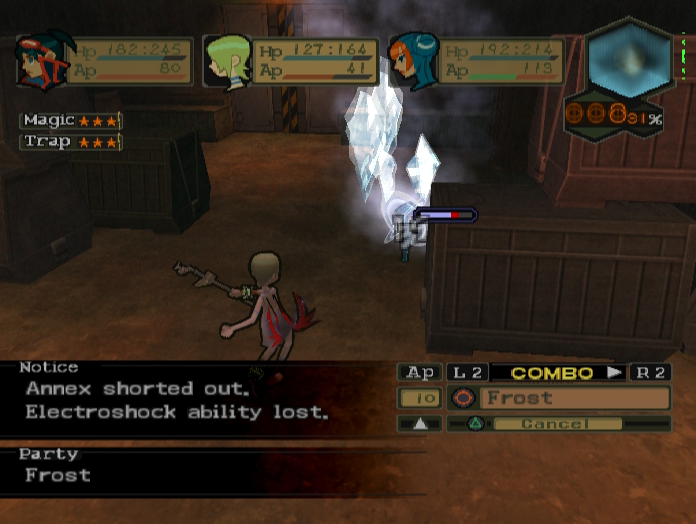
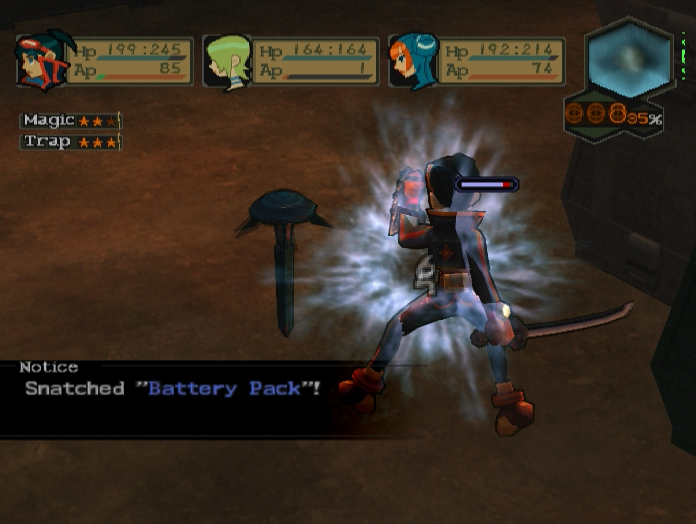
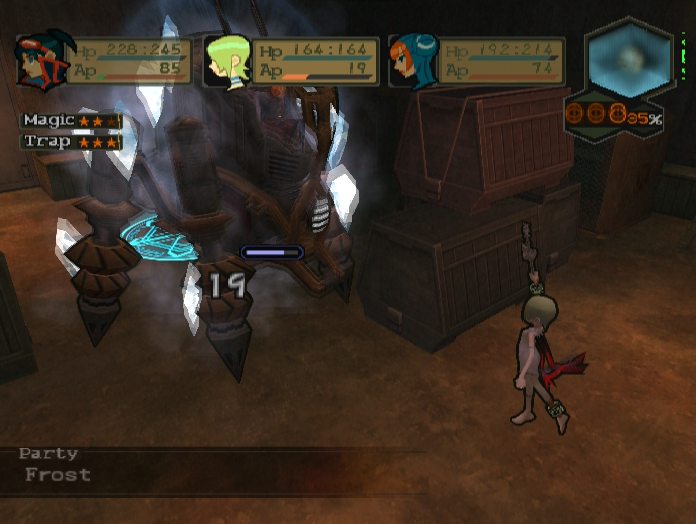
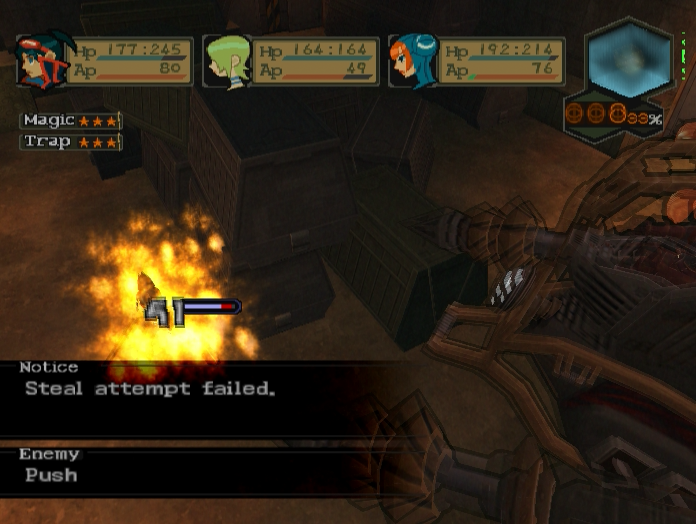
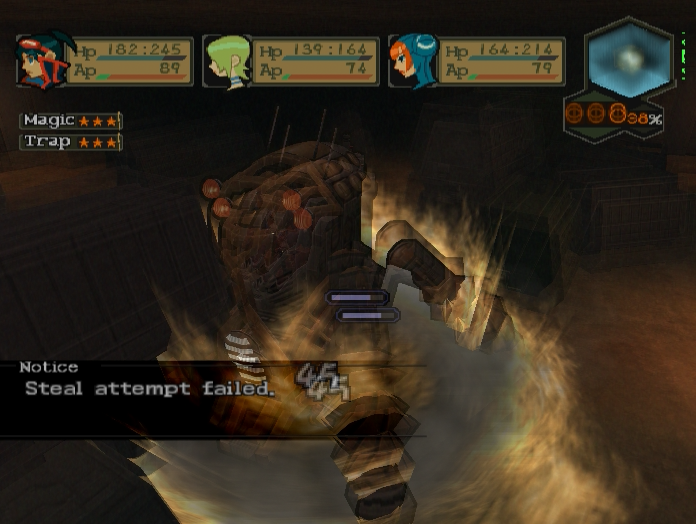
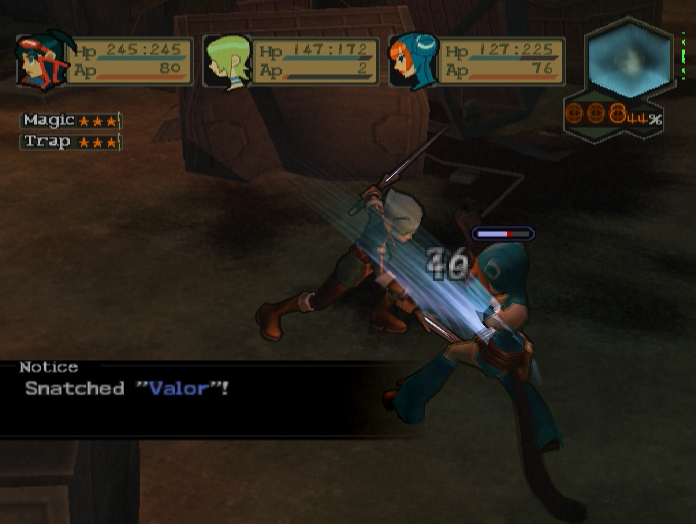
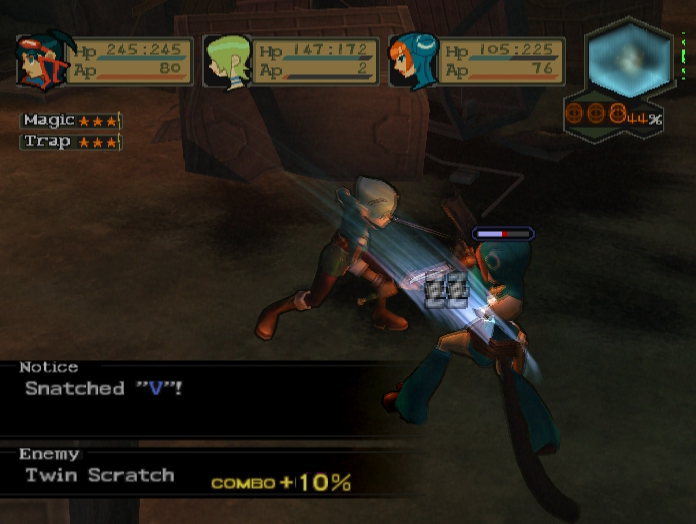
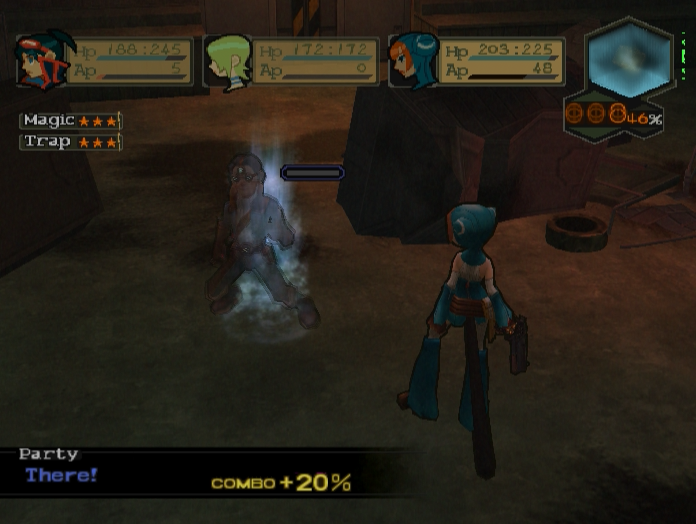
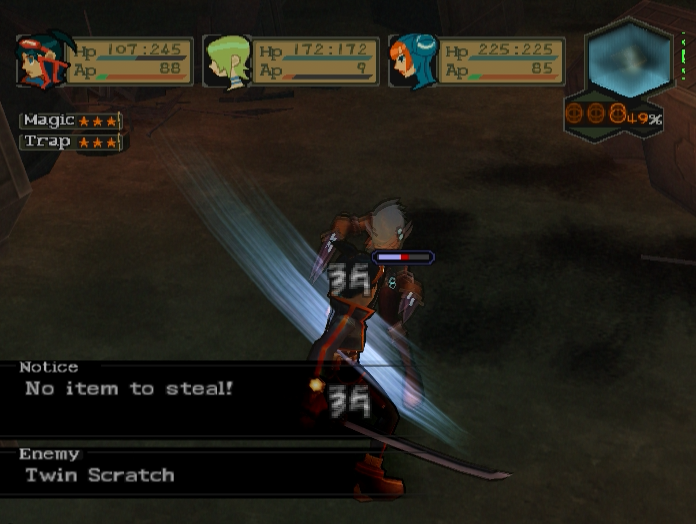
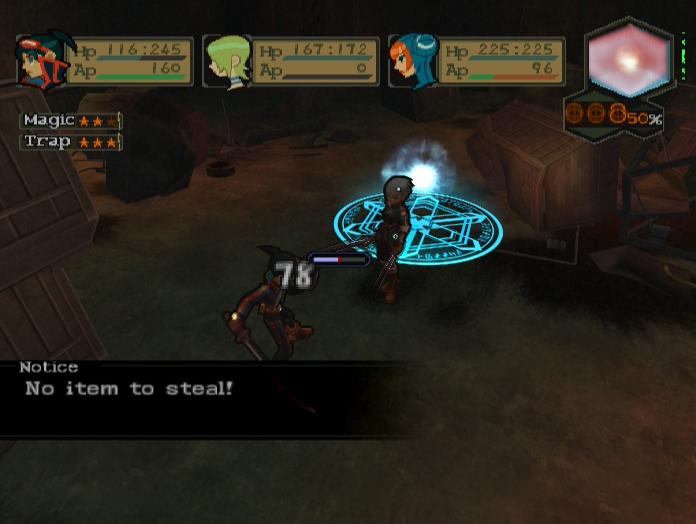
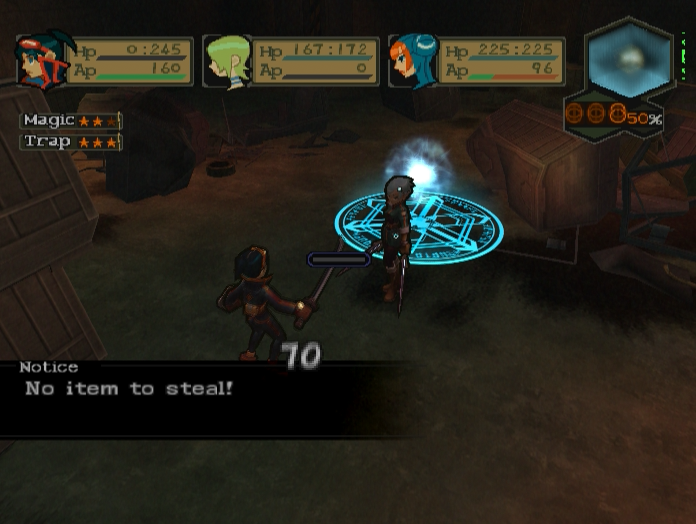
The first thing you need to know is that the Annexes can be neutered by having Nina cast Frost on them, which shorts them out and prevents them from using Jolt. You can also steal their Battery Packs, which cuts their stats in half and effectively removes them as a threat.
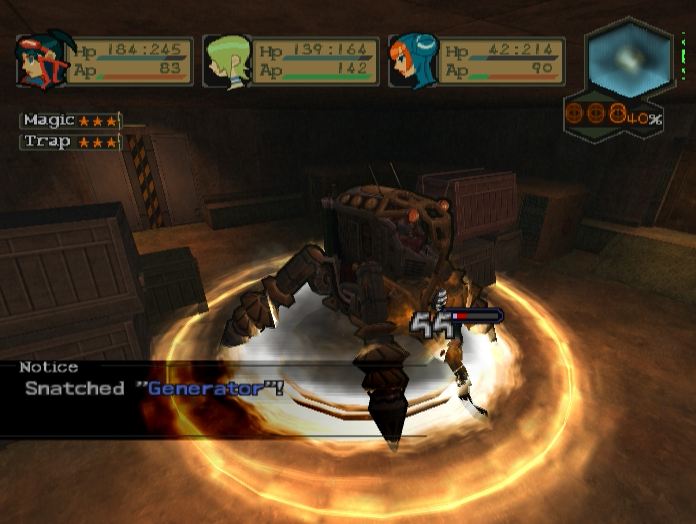
Asimov can also be stolen from. It’s much tougher to do, but if you’re lucky you can snag its Generator, which cuts down the number of actions it can take.
It also isn’t immune to knockback. This lets you do things like push or pull it into Fragballs which do a lot of damage and often freeze it solid, further reducing the number of times it can move and attack.
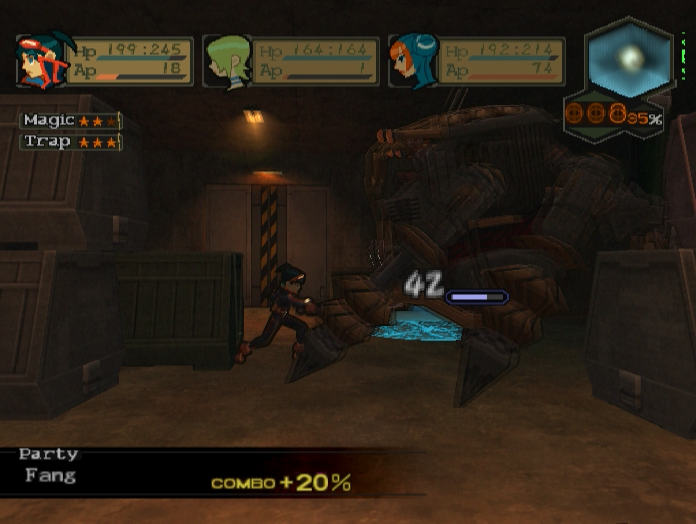
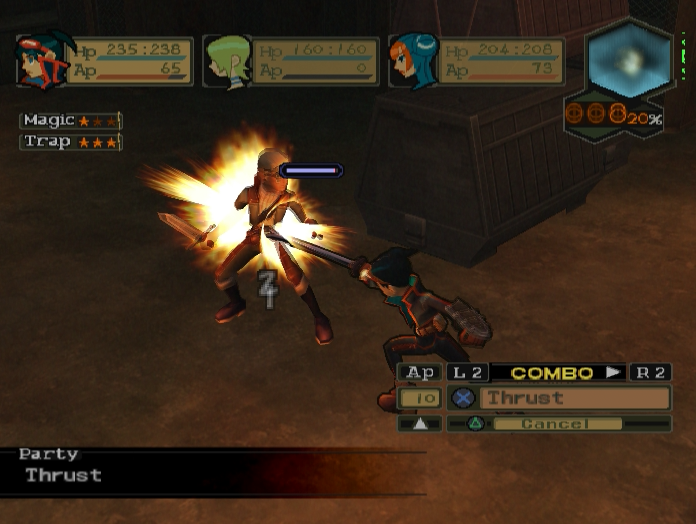
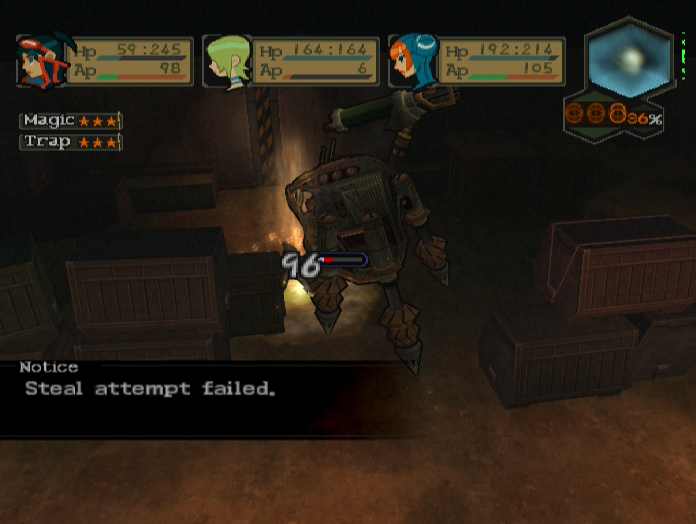
Asimov’s massive health and stout defences can be bypassed by threading armour-piercing attacks like Thrust and Fang. Spend a turn storing up AP, then unleash a huge combo and watch those numbers bounce.
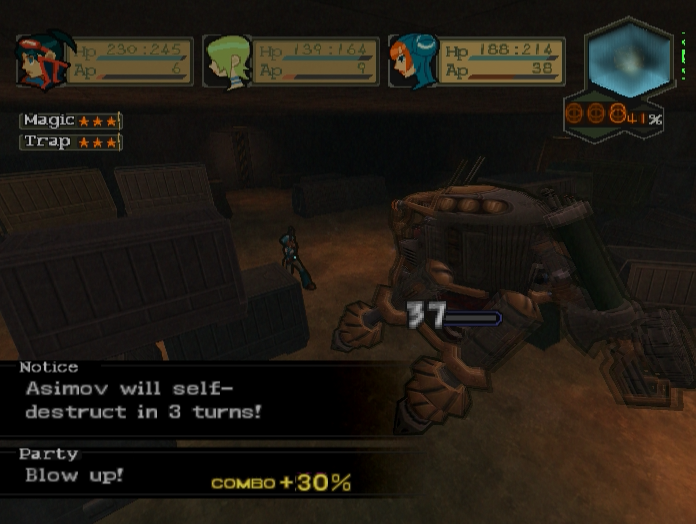
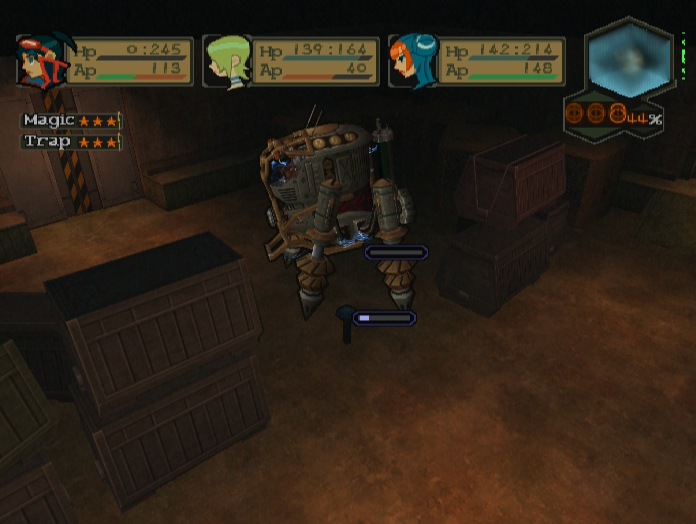
When you finally whittle its health pool down to nothing Asimov will prepare to self-destruct as a final ‘Fuck You’ to the player. You have three turns to get everyone as far away as possible, which can be kind of challenging because despite being at 0 HP Asimov can still move and will do its best to chase you down.
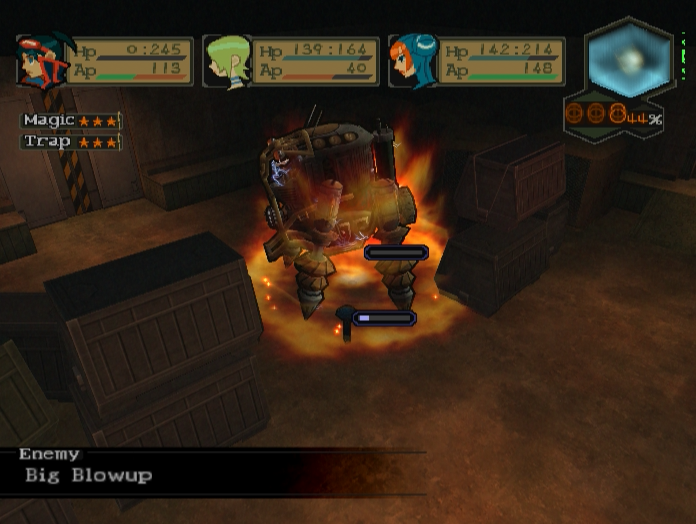
The resulting explosion deals enough damage to wipe out the entire party even if everyone is at full health. It also affects Annexes if any are still around.
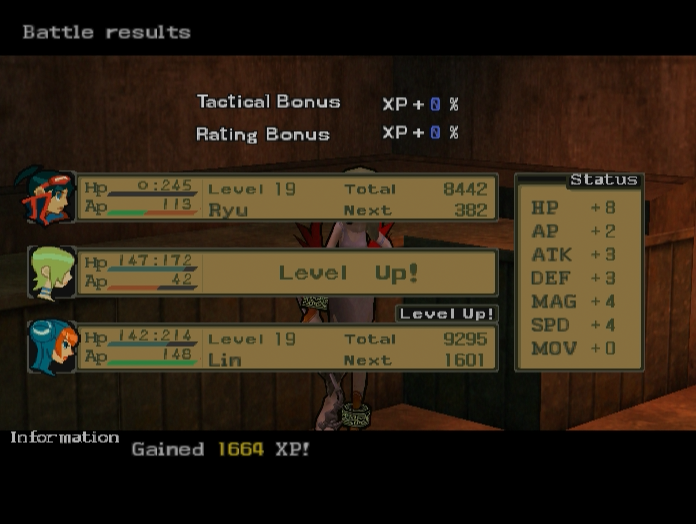
Unfortunately Ryu died right at the end, so he doesn’t get a share of the experience.

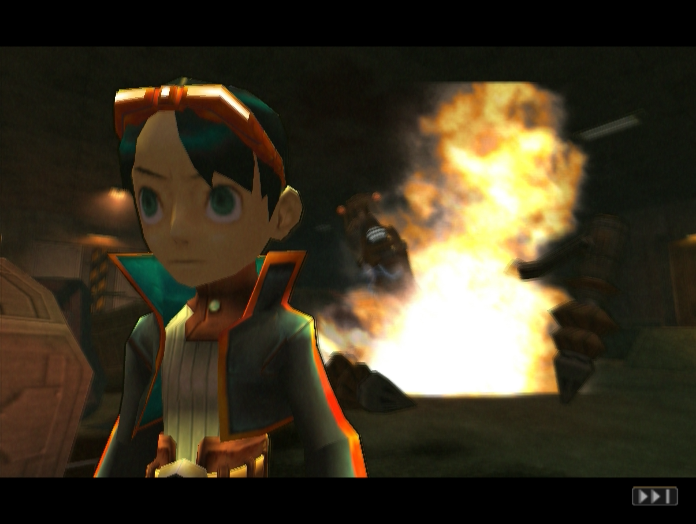
Cool guys don’t look at explosions.

Bosch’s pants just got three shades browner.

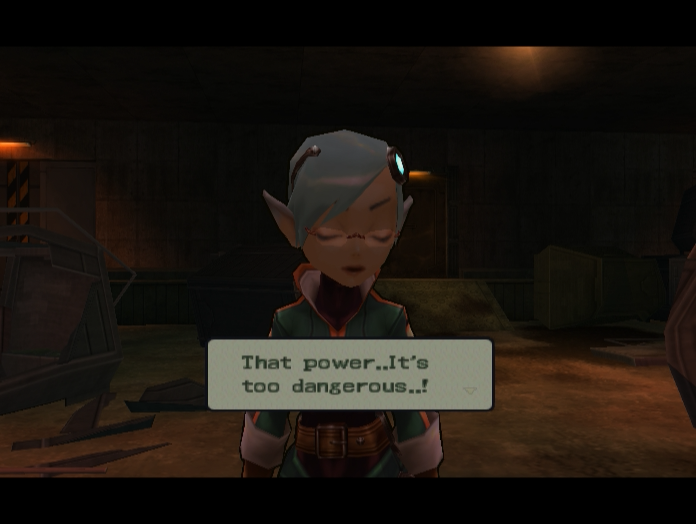
Ryu’s body blurs for a moment. He grimaces in pain.
 :…and now, it infects your very will!
 : But this…is as far as you go.
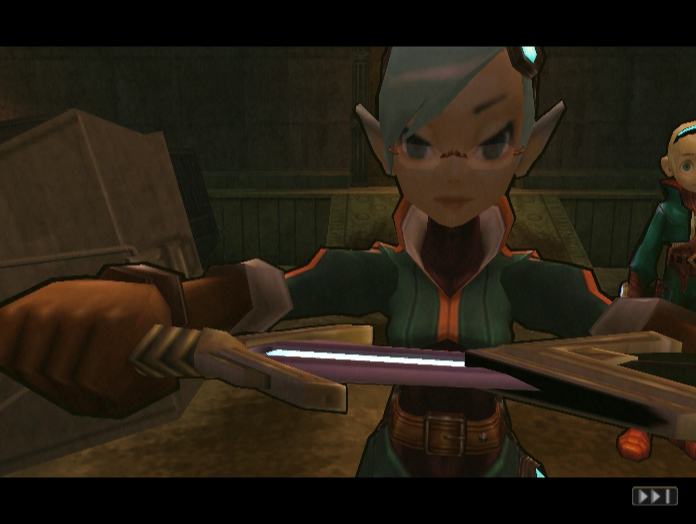

Zeno draws her sword, and the third and final battle of this boss rush begins.
Music: Maddening Heart
So, it’s come to this. It’s us versus Zeno, and she’s about to show us just what the captain of the Rangers is made of.

Zeno has an enormous movement range, to the point where it’s pretty much impossible to outrun her. She’s also faster than everyone in the party aside from Nina and can’t be frozen by Fragballs.
Like the protagonists Zeno can combo her attacks. Her damage output might not seem like much, but she has enough AP to attack four times, allowing her to shave 150 - 200 HP off a single character every turn.
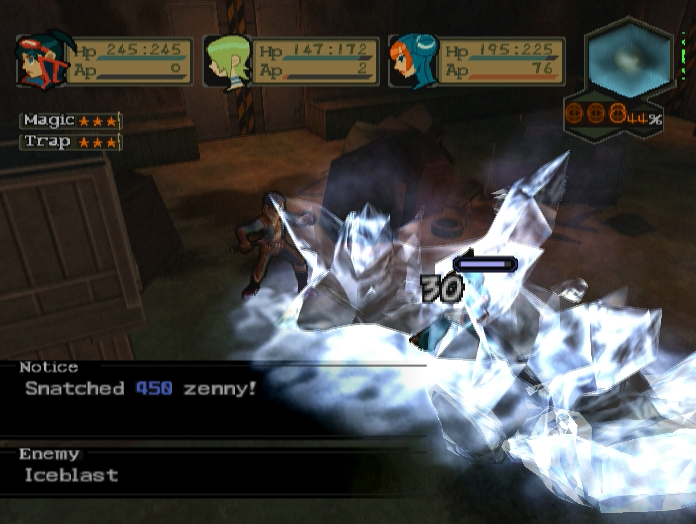
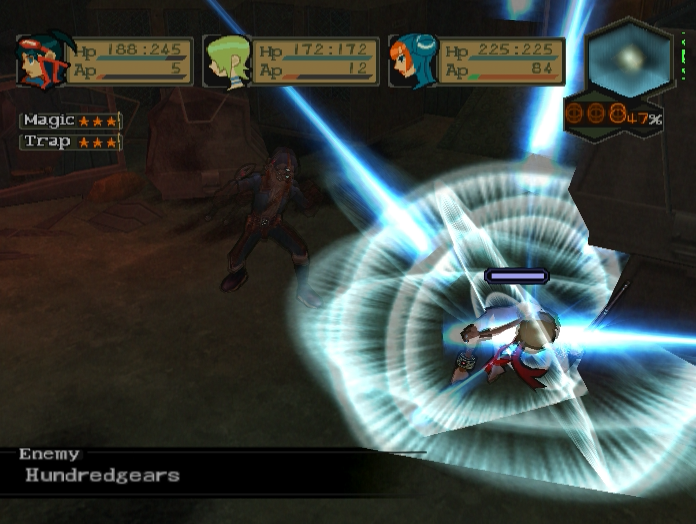
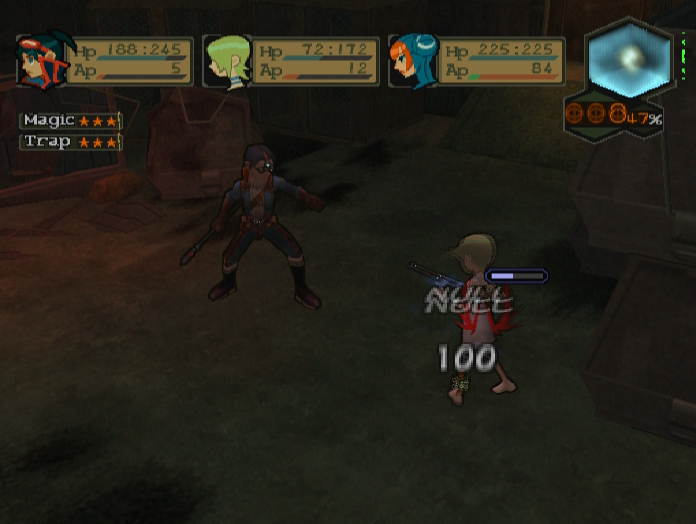
That would be bad enough if Zeno was alone, but she’s also accompanied by two Mage Captains. These jokers enjoy spamming Iceblast at the party, but also have a much more dangerous spell called Hundredgears that deals exactly 100 damage and has a chance to stun. Oh, and they’re loaded to the gills with buffing spells they’ll happily use on Zeno if the battle drags on too long.

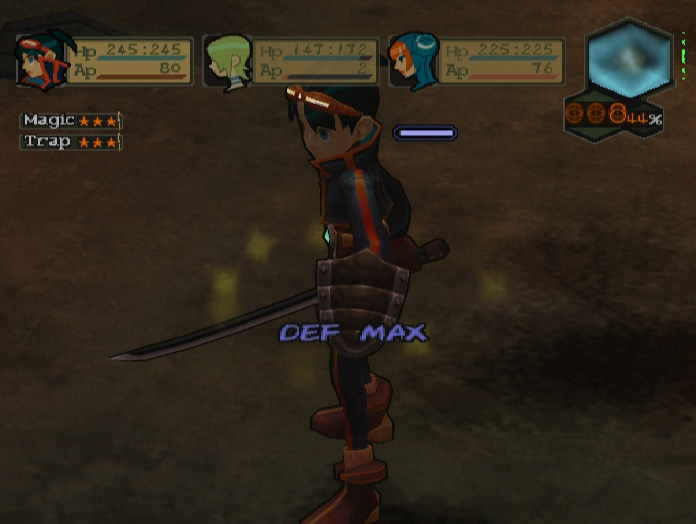
With so much damage flying around now is the time to break out the Armour Boosts. Don’t bother hoarding them or you’ll have a very bad time.
You might be tempted to kill the Mage Captains first since they’re much more fragile and to further cut down on some of the damage you’ll be taking. If so, make sure to kill only one of them. It’s very important not to kill both, at least for the time being.
Zeno has more health than Asimov, but without its resistance to physical attacks she takes much more damage. This turns the fight into a race between who can kill who fastest.
 : It must be stopped!
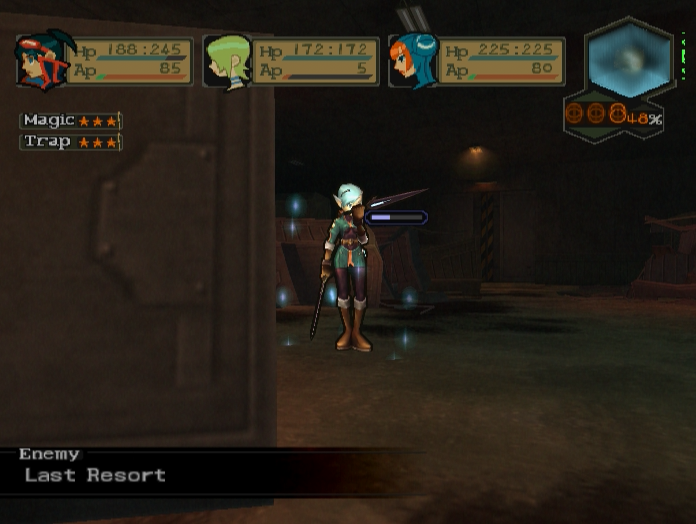
When her HP drops below half Zeno stops messing around and uses Last Resort, a special buff that maximises her attack power and grants her 50% damage reduction. She will also do this if you kill both Mage Captains, which is why it’s so important to only kill one at the start.
After Last Resort Zeno’s attacks will shred us even with the defence boost.
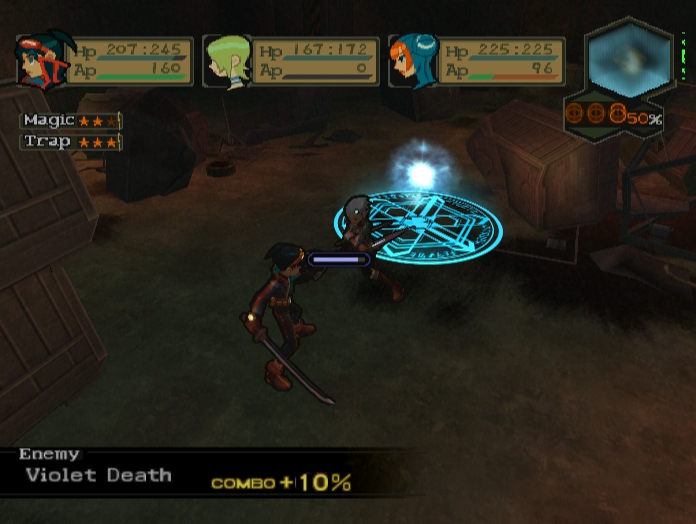
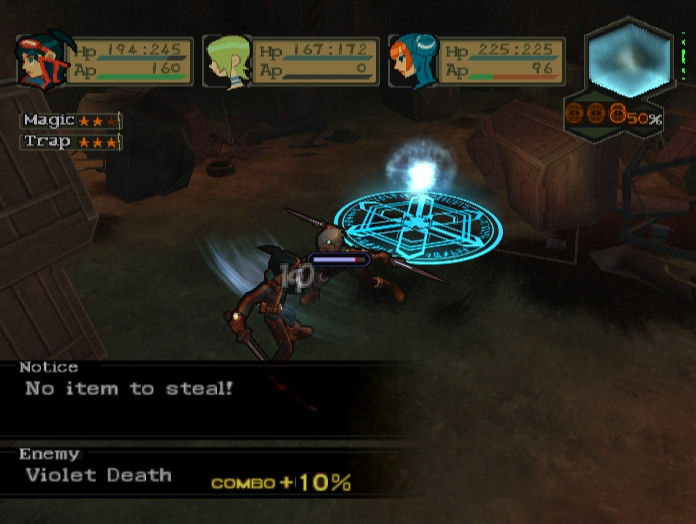
She’ll also start finishing her combos with Violet Death, a two-pronged attack where the first hit ignores defence and the second always crits.
This and the fact that she can still act four times per turn means Zeno can now kill any character in the party even with full health and defence boost. Hope you remembered to bring plenty of Tonics!
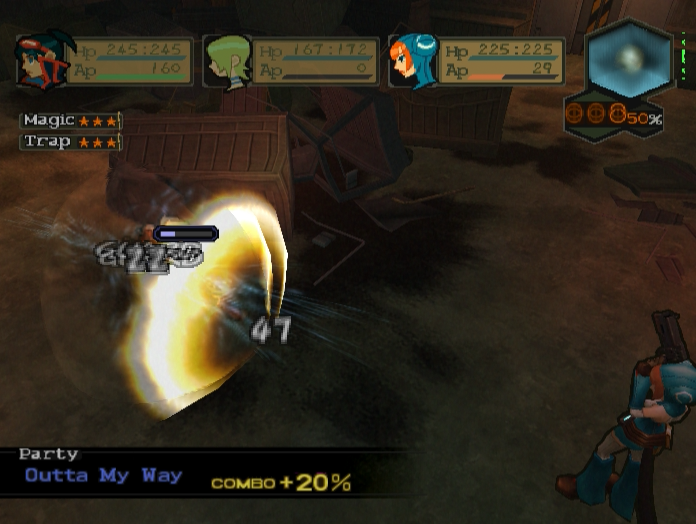
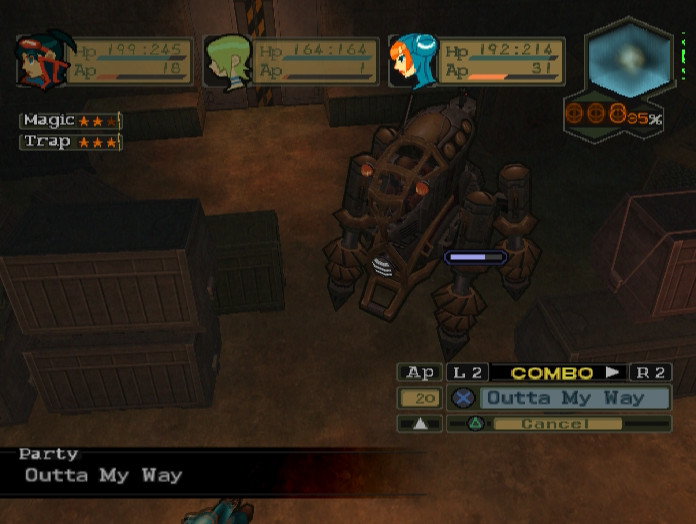
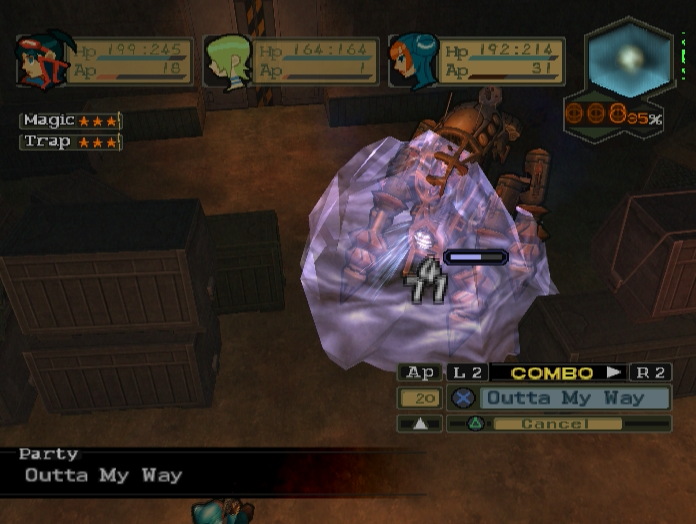
Lin is a great help here. ‘Outta My Way’ won’t stop Zeno from reaching you but it will cut down the number of attacks she can make.

This is a very hard series of battles, especially if you weren’t expecting it and didn’t prepare. I’d wager this is the moment where most players first decided to press the big red button and unleash Dragon Mode. But if you fight tactically, bring enough healing items and maximise your damage output it’s very possible to win without it.
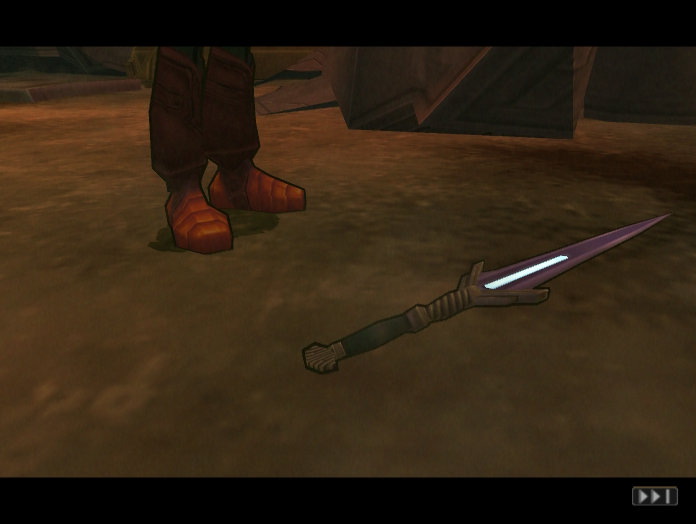
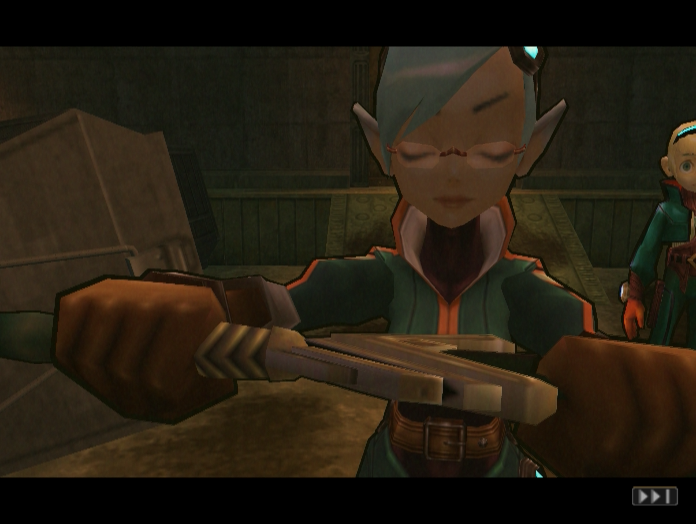
One of Zeno’s swords spins into frame. The fate of its owner is clear.

Bosch does the sensible thing and runs the hell away from the dude who just slaughtered his way through the best the Rangers had to offer.
An exhausted Ryu falls to his knees, and the scene ends. There's another cutscene after this, but this update has dragged on for a while so I think I'll save it for next time. Until then.
--
Bonus Art: Zeno
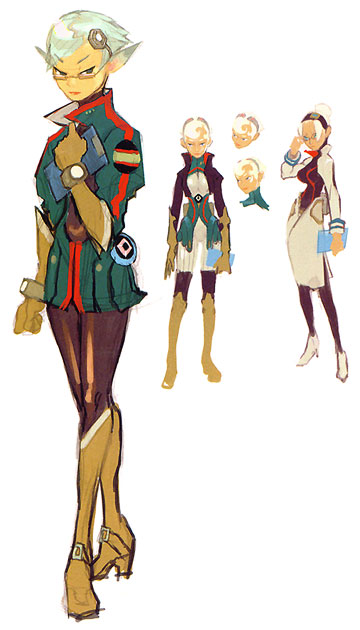
Bonus Art: Zeno and Rangers
