Part 19: Lifeline
Update 19 - LifelineWelcome back. Last time we discovered that Trinity can’t help us, and in fact never had any real intention of doing so to begin with. Our only way forwards is to place our bets on reaching the sky.
Music: The Trinity Pit
Before we move on let’s have a quick look at the key Mebeth gave us.
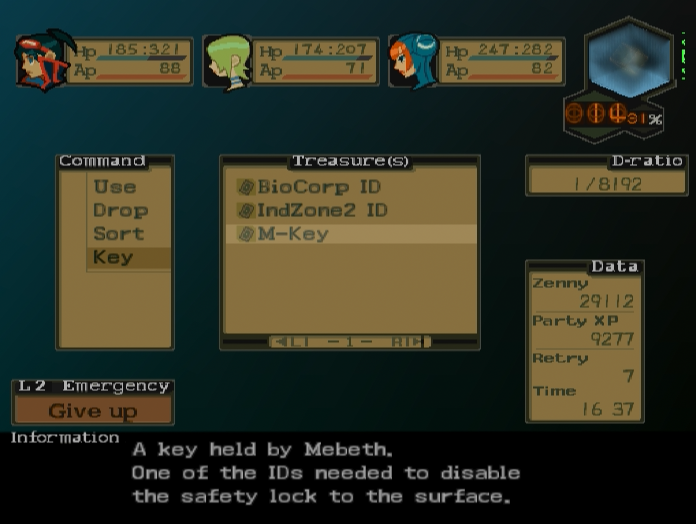
Now that this key is in our possession we know for certain that the surface exists, and that it is a tangible goal we are capable of attaining.
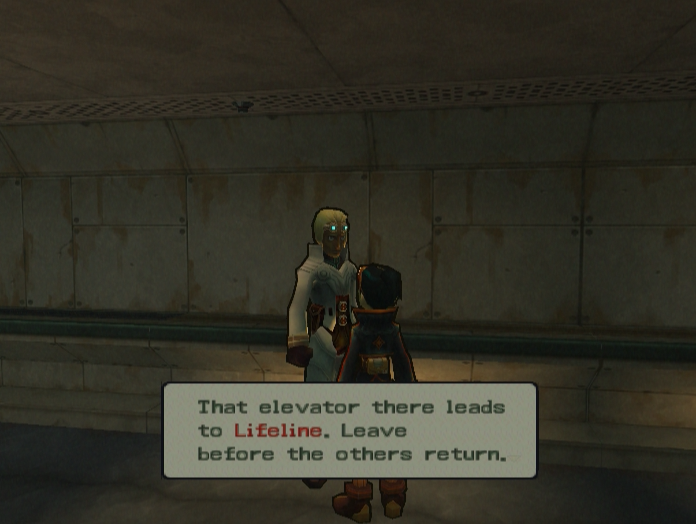
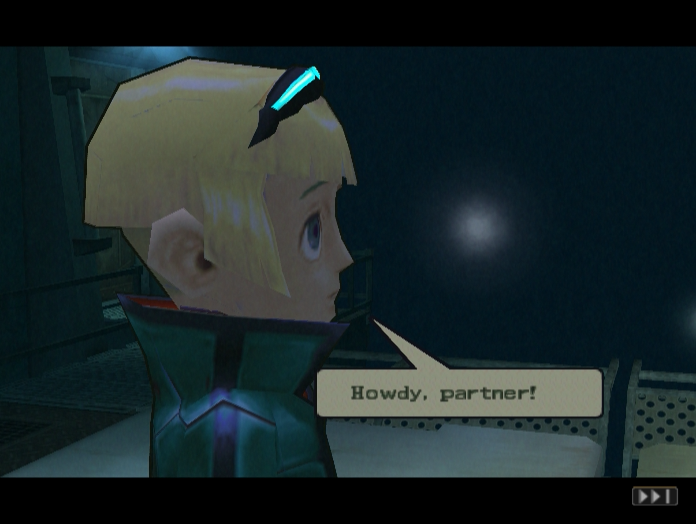
 : I’m curious to see which path you choose to take, and where it leads you…
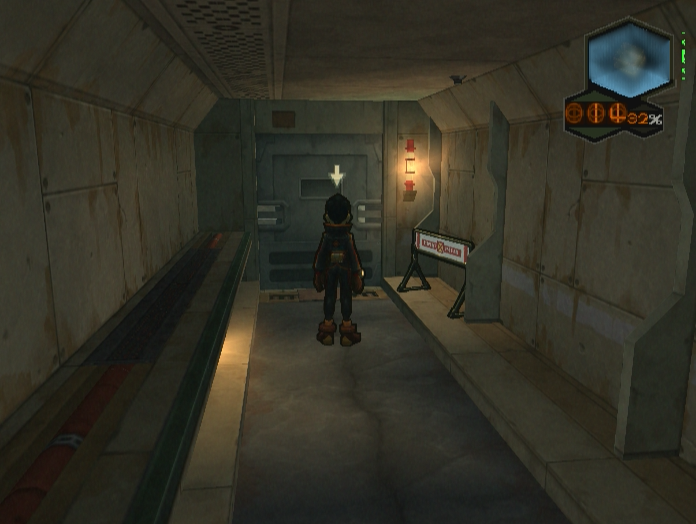
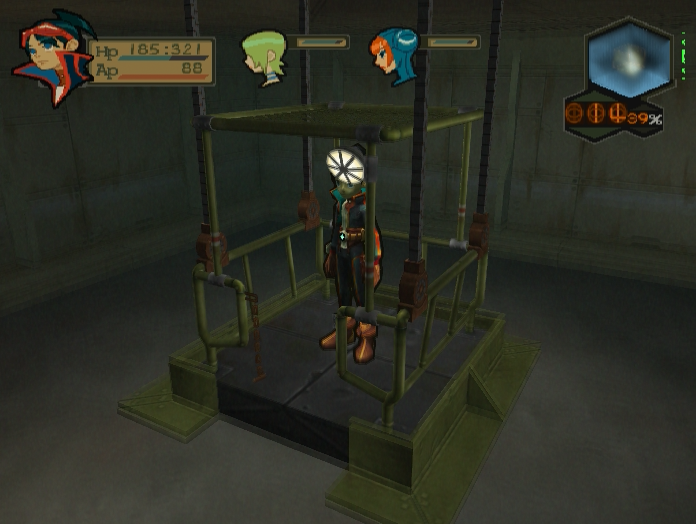
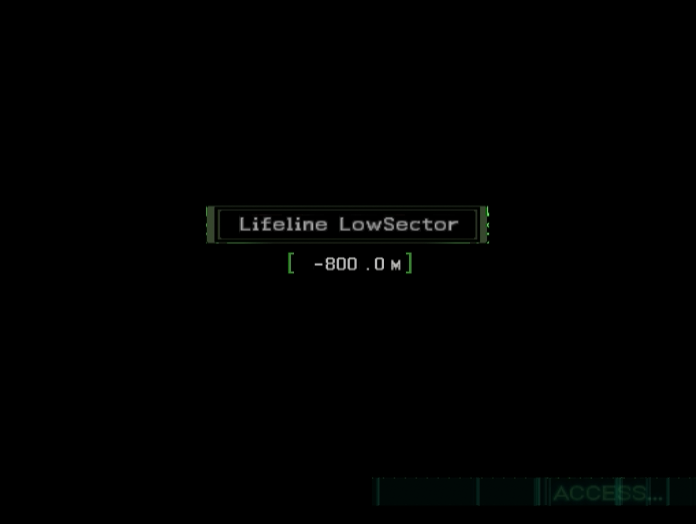
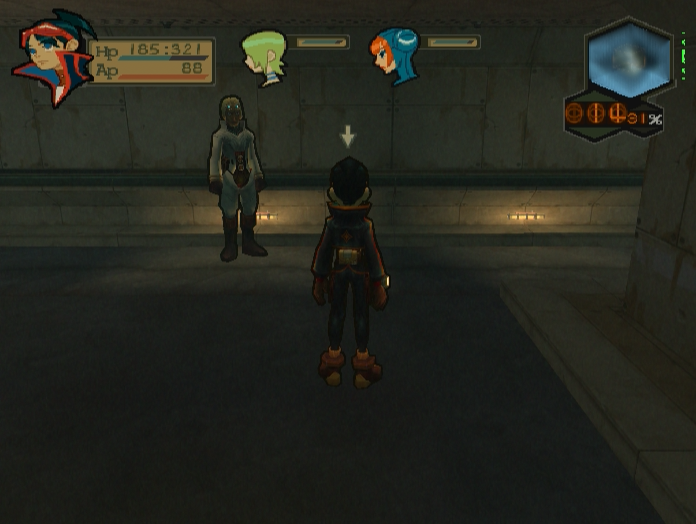
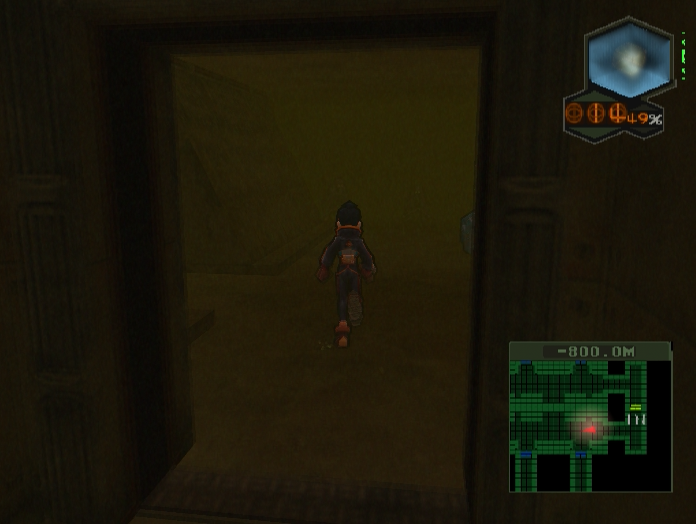
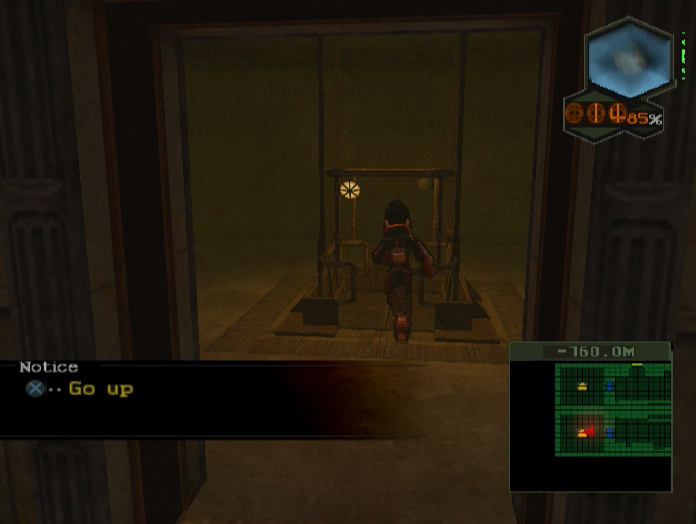
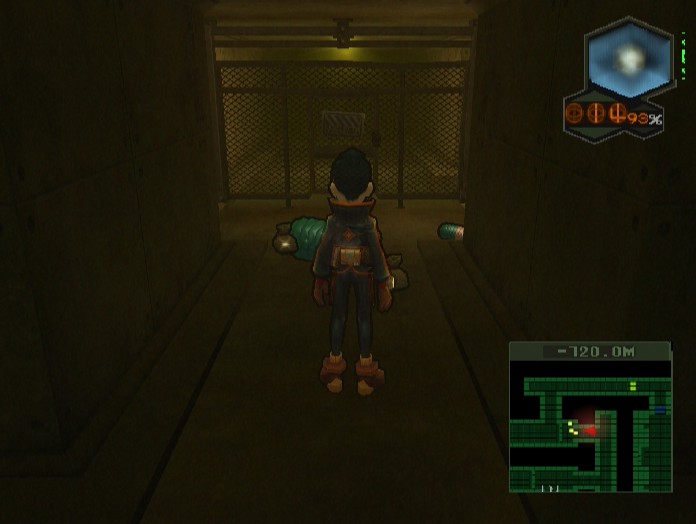
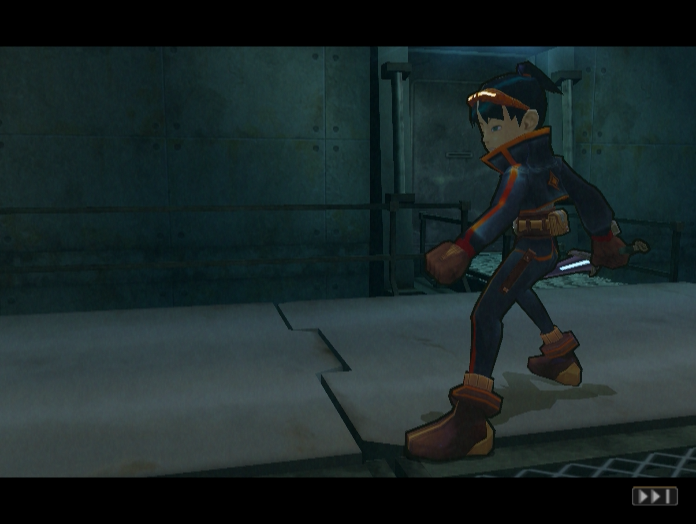
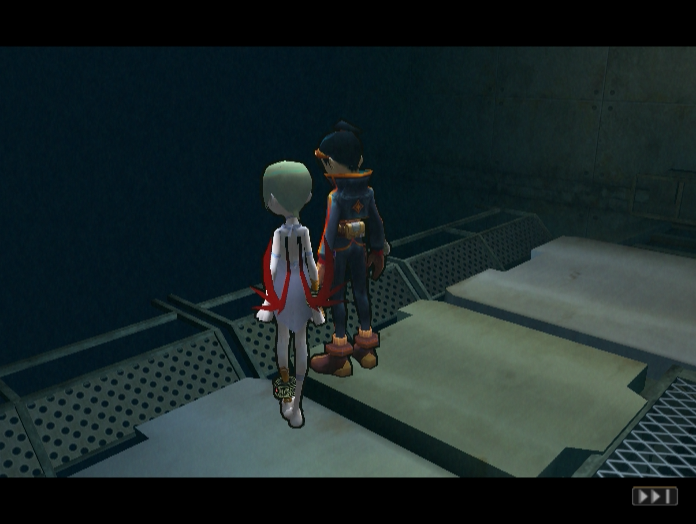
We have one key. Three more remain, and the first step towards obtaining them is to leave the Trinity Pit and head on up into the next area - the dark, cramped tunnels of Lifeline.
Music: Lifeline
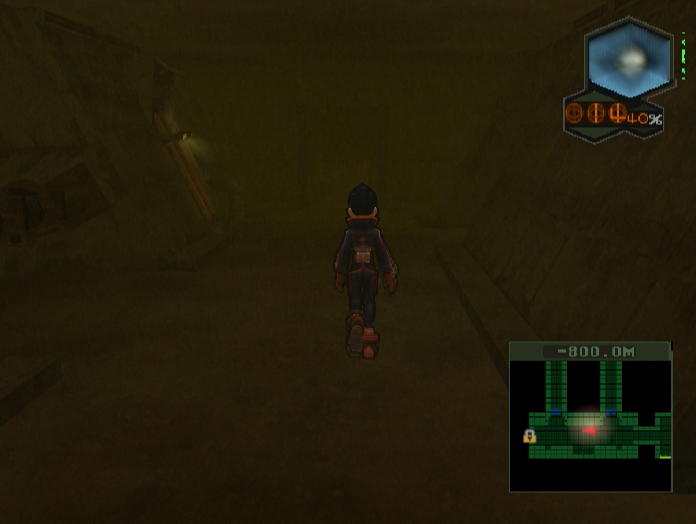
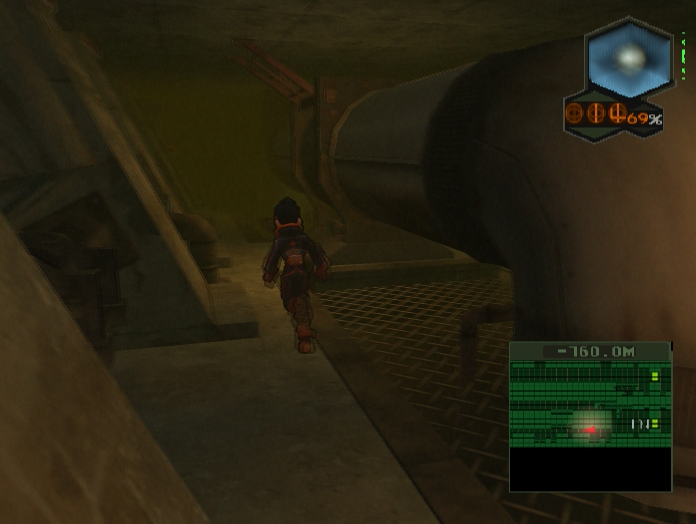
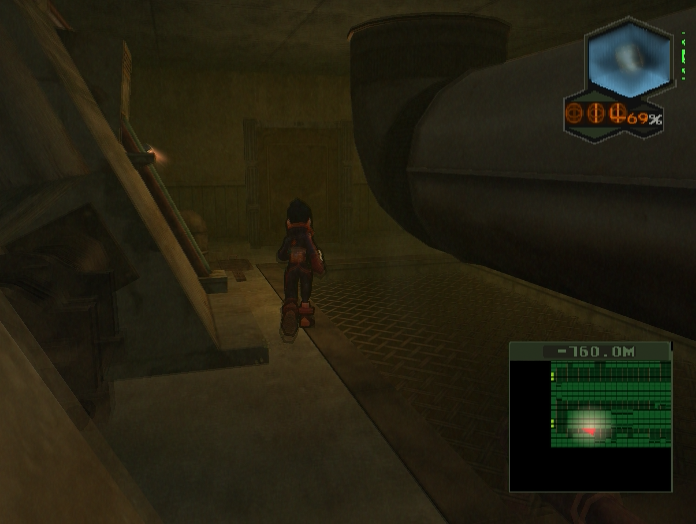
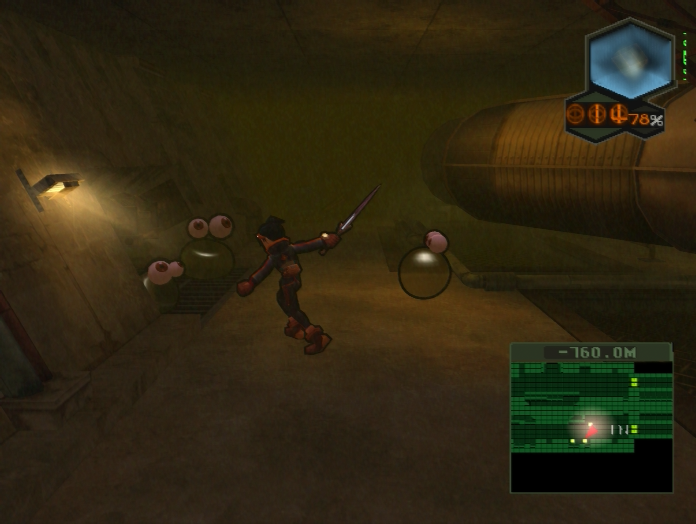
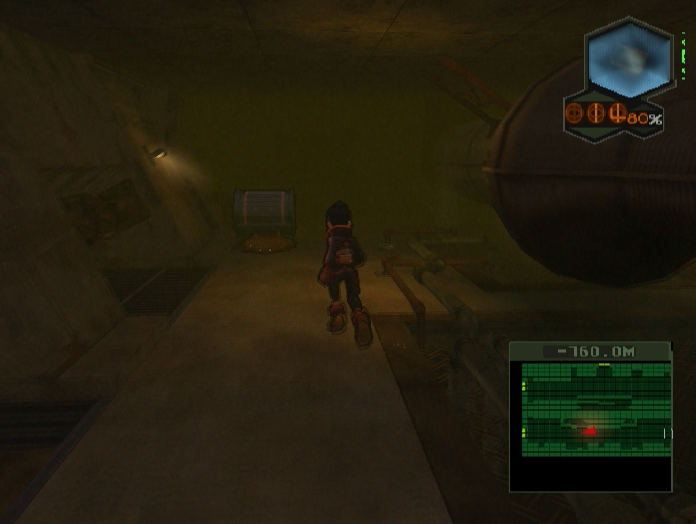
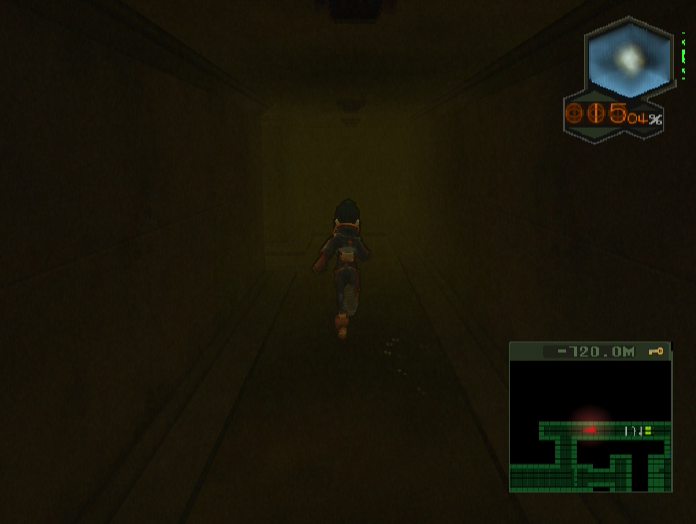
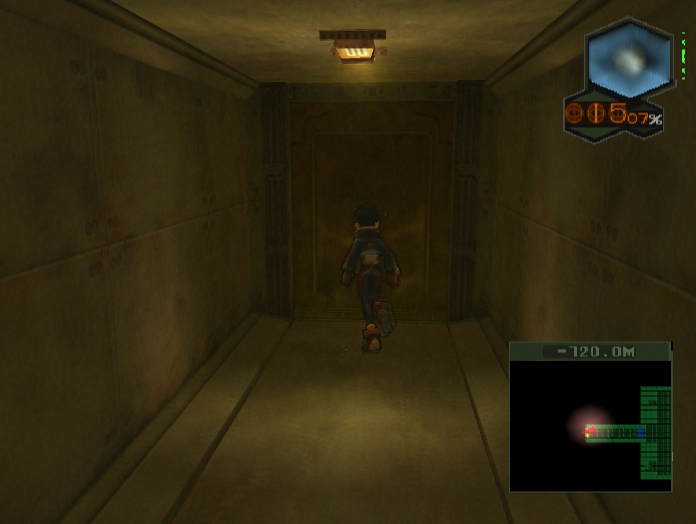
If you thought the past few areas were grim and grotty, you haven’t seen anything yet. Lifeline is the back end of the shelter, the network of ventilation shafts, fuel pipes, maintenance tunnels and sewage channels that make up Sheldar’s wheezing, barely-functioning life-support system.
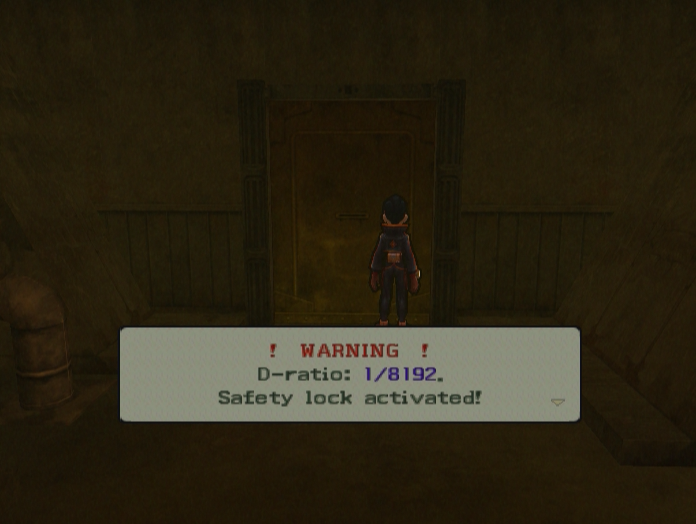
The first area we come to has two D-Ratio Doors - this one, and another one down a corridor to the right.
Trying to investigate the latter can be a pain since it’s guarded by two Gigantises and three Trilizards.
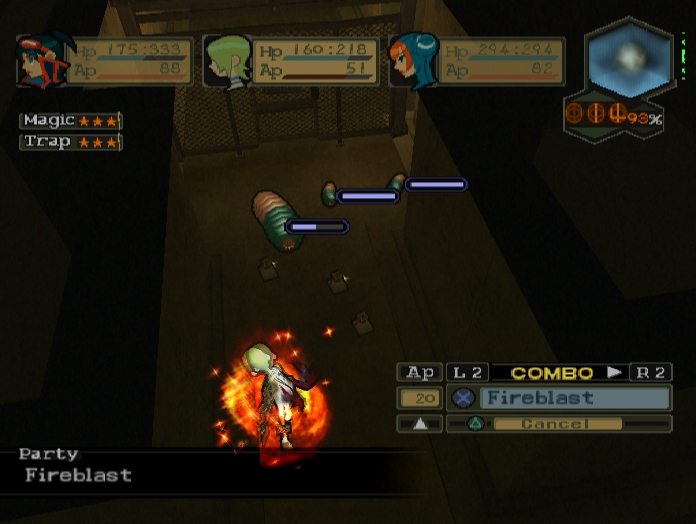
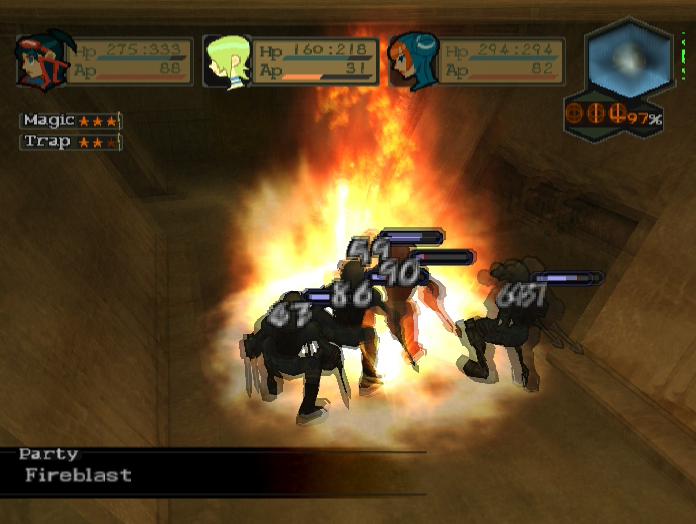
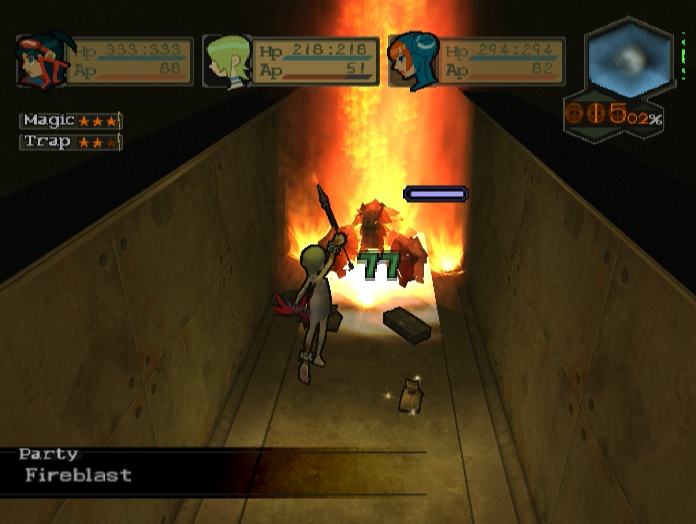
Since you can’t go through until New Game+ anyway there isn’t much point unless you desperately need the experience, in which case I recommend using Firebombs to soften them all up. Firebombs have a large area of effect and leave persistent flames behind that damage anything that walks into them, and the enemies are all bunched up so they’ll all take damage from it.
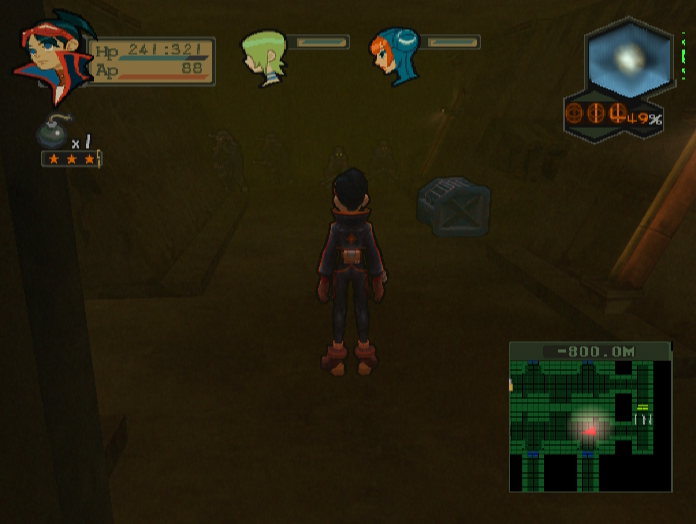
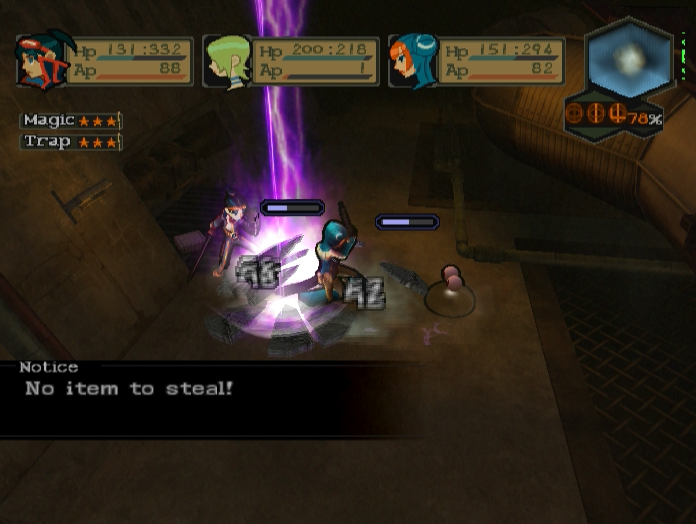
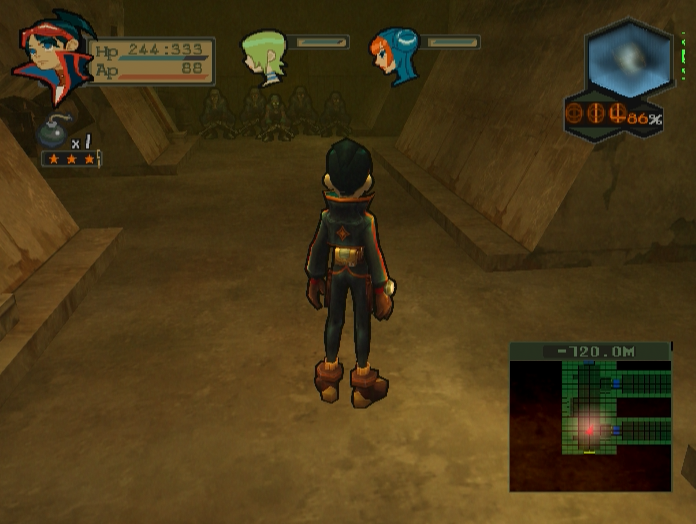
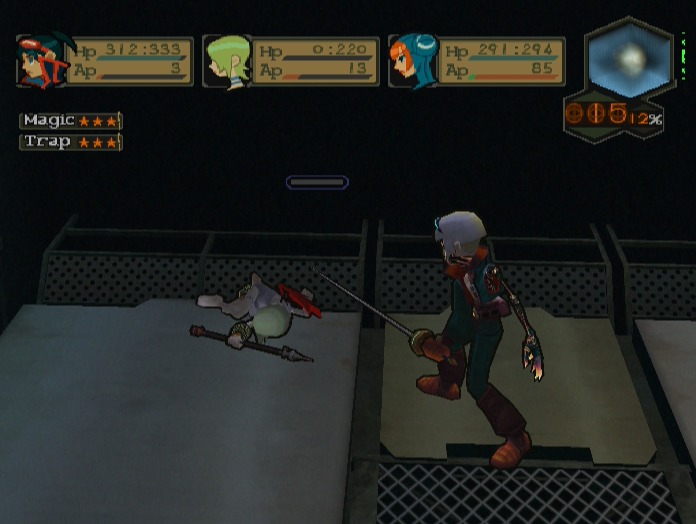
The next room holds the treasure chest, which is good. It also contains a large group of enemies, which is bad.
Shadowplayers are a new Bandit-type enemy who lurk in the darkness of Lifeline.
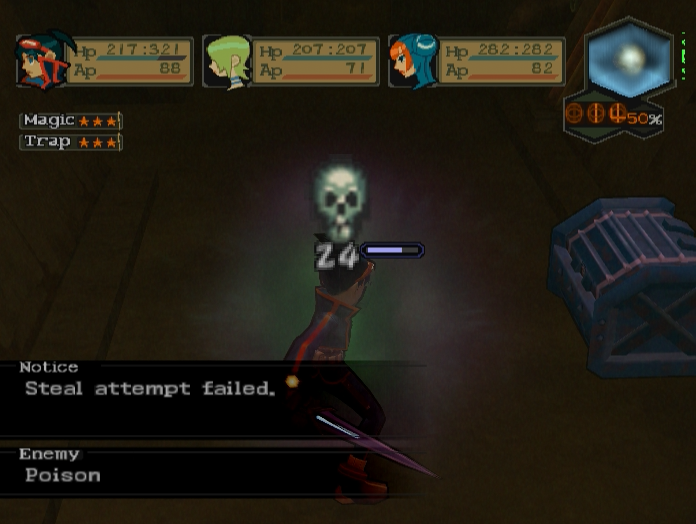
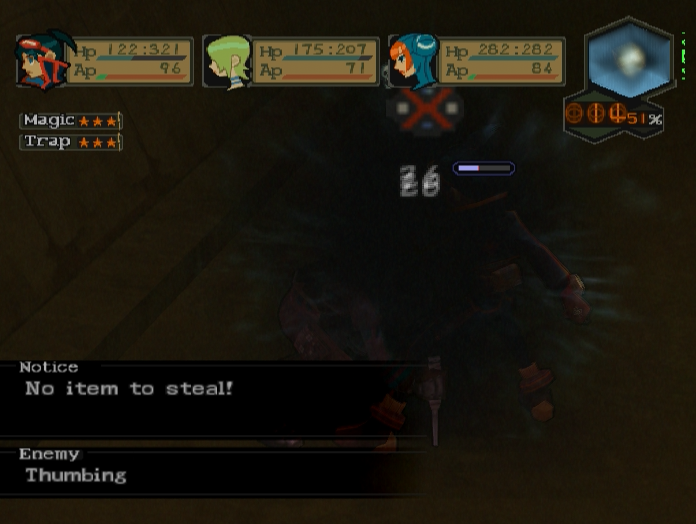
They are far faster, tougher and stronger than their more cowardly cousins, and will attack you on sight instead of running away. They can inflict Poison and Blind and can use Command to force other enemies to gang up on a single party member.
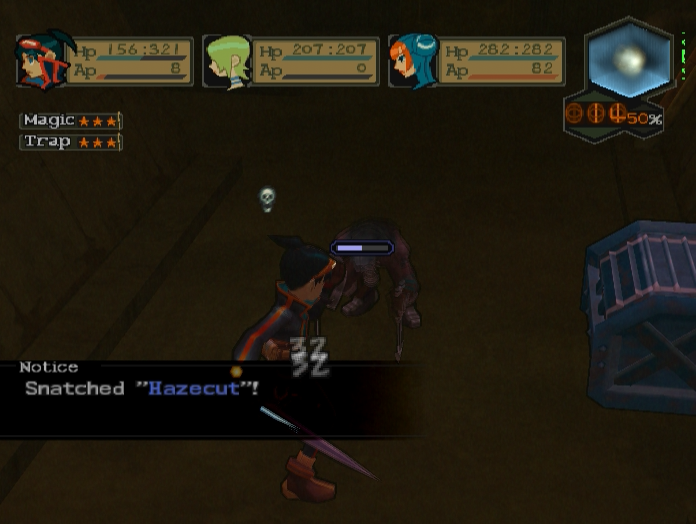
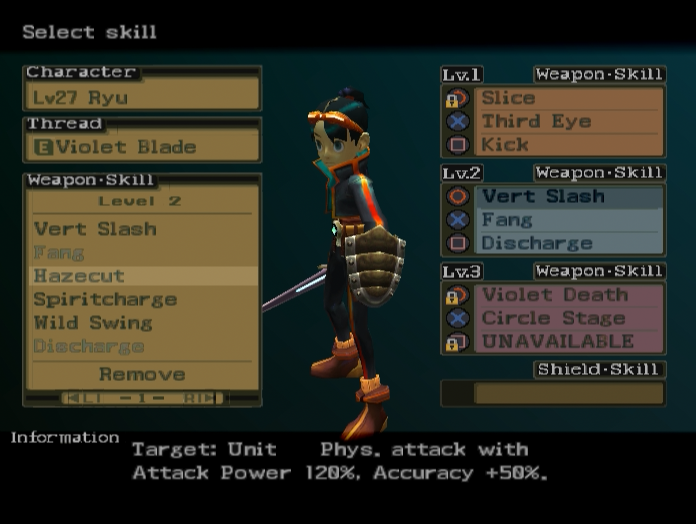
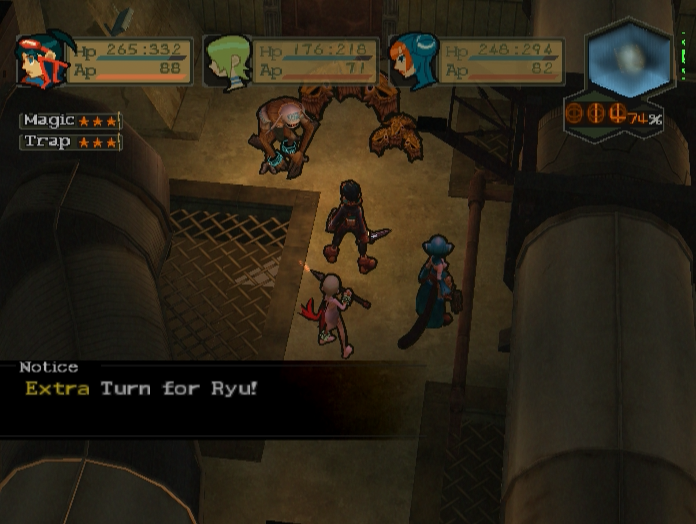
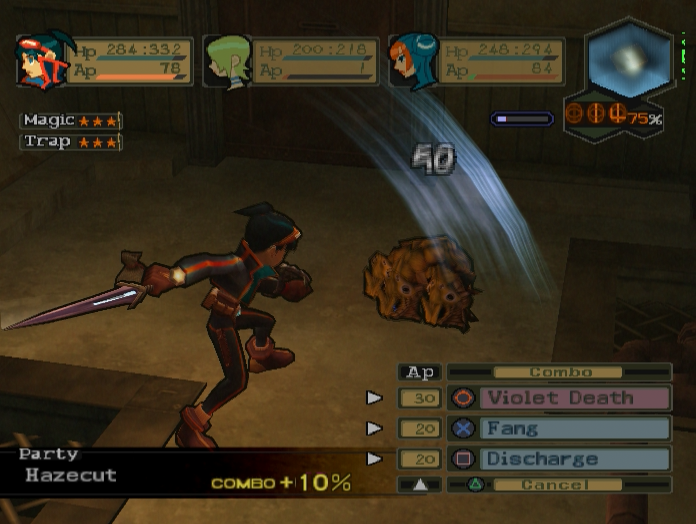
Shadowplayers are the source of Hazecut, a pretty solid skill for Ryu. Extra damage and accuracy are always welcome.
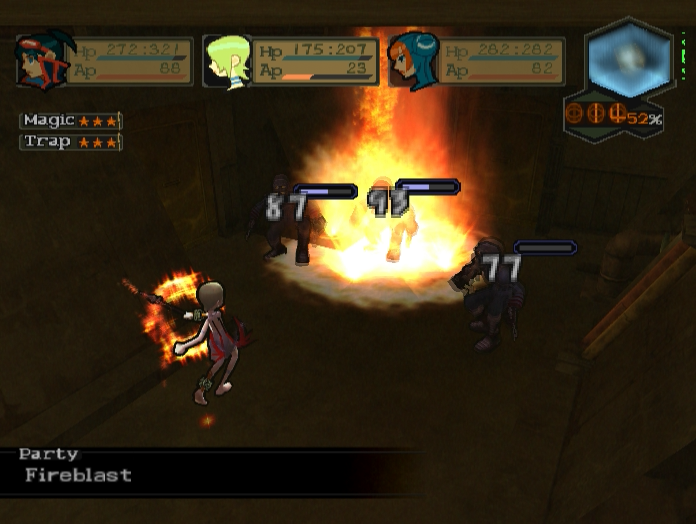
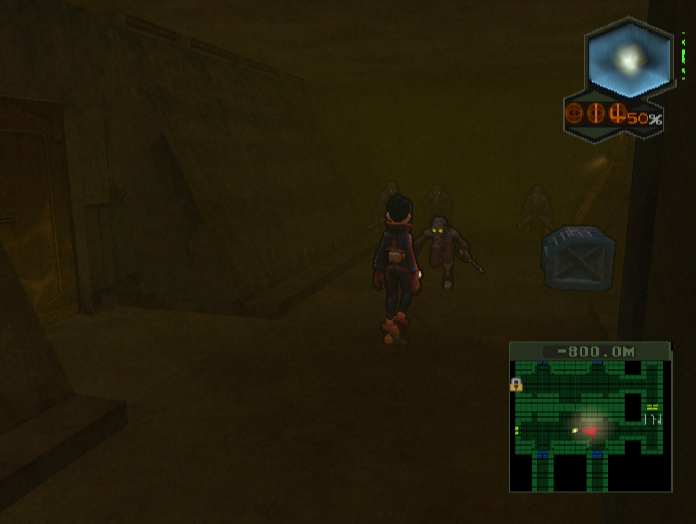
The other three enemies are just plain old Bandits. Nina roasts all of them without much effort.
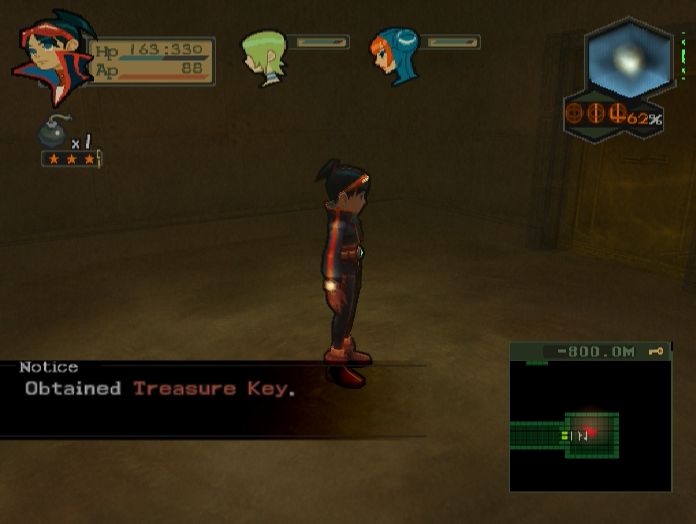
Unfortunately, killing the thief-type enemies won’t make the Treasure Key appear.
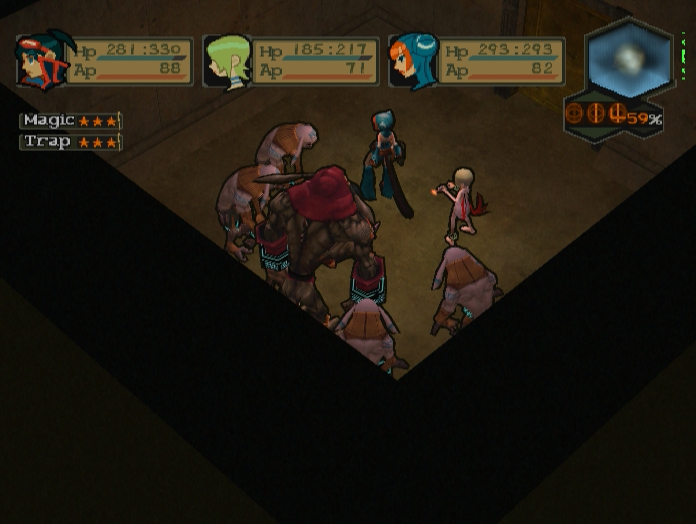
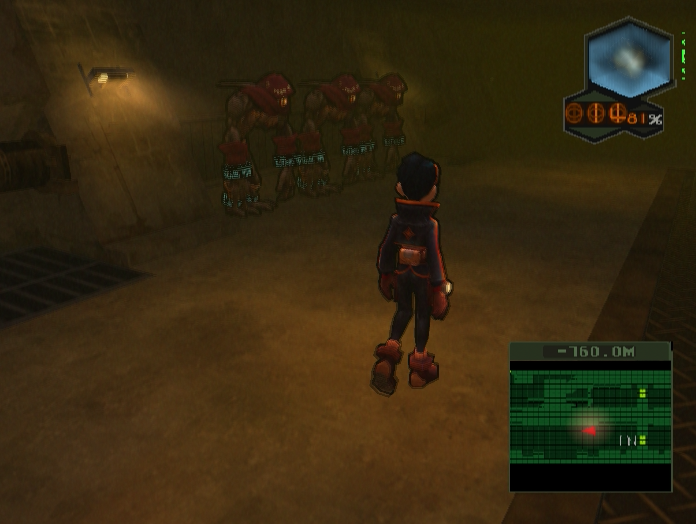
The enemies you have to kill are actually in a little side room to the south. A Gigantis and four De-Vogues are our enemies this time, and the delay in animation between opening the door and setting foot inside means they’ll pretty much always get a first strike on you.
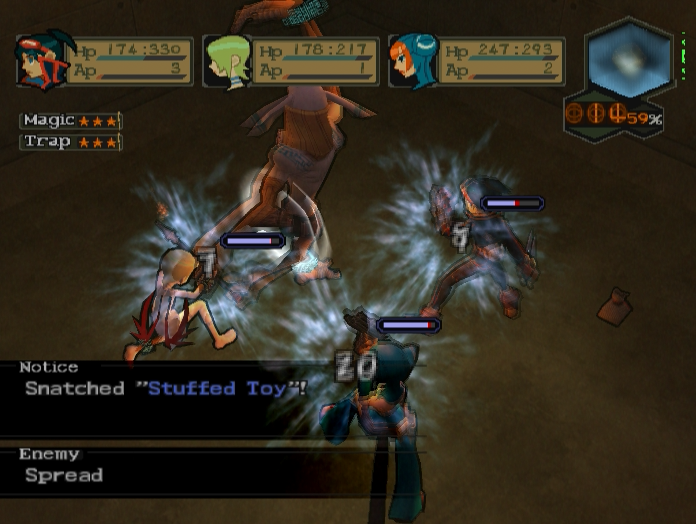
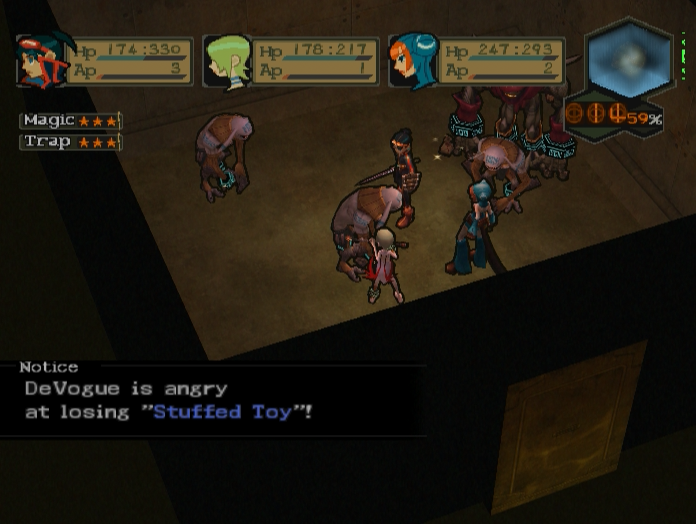
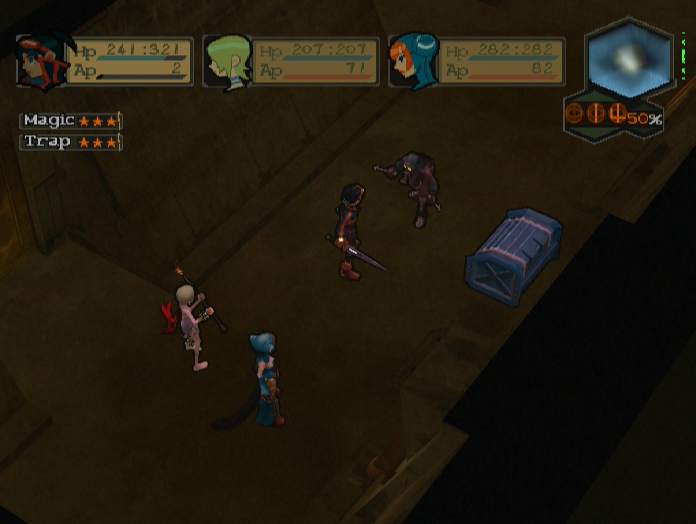
De-Vogues are strengthened versions of the De-Volves we fought back in the Old Waste Shaft, right down to getting mad if you steal their stuffed toys. They don’t deal that much damage, but in such tight quarters and with a Gigantis backing them up they can be a bit of a pain.

That cuts both ways however. Now that Nina has some strong area of effect spells getting cornered like this isn’t so dangerous anymore.

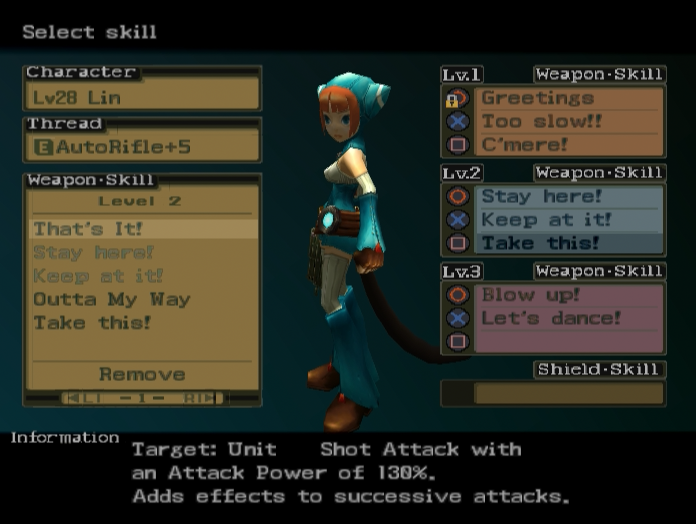
‘That’s It!’ is another skill that can set up special combos. Its high base power makes it useful on its own however.
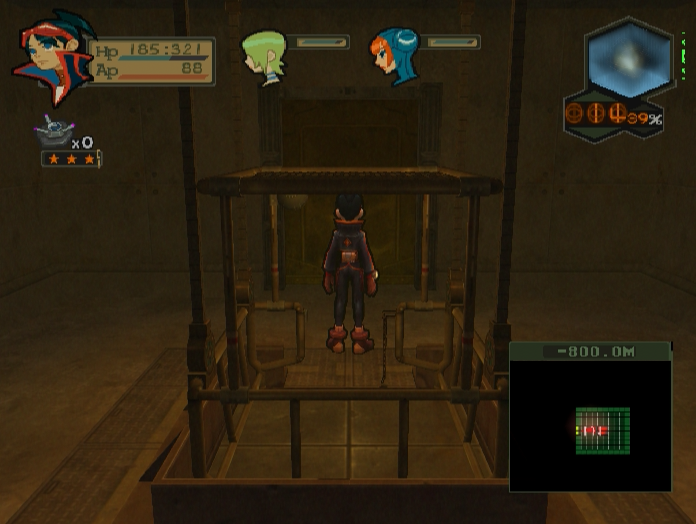
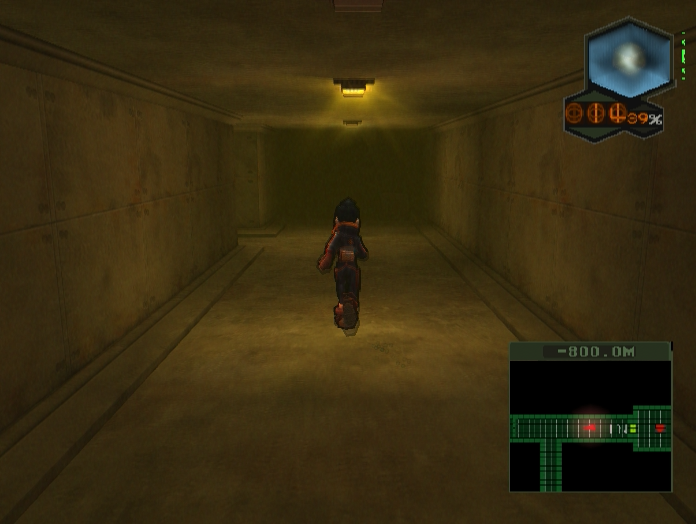
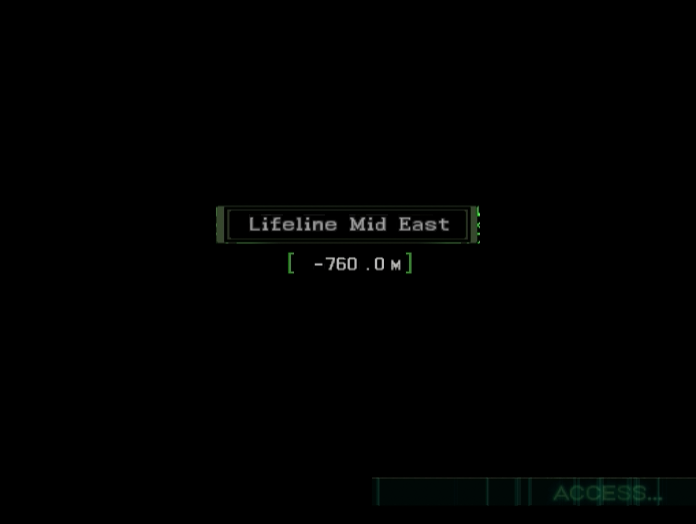
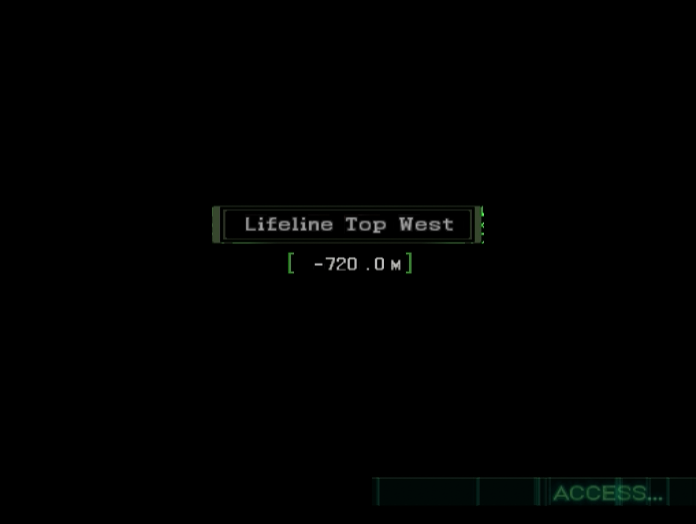
We find the first elevator relatively quickly. Lifeline isn’t a particularly big area, mostly because fully half of it is locked behind the two D-Ratio Doors we saw earlier.
You can see what I mean on the minimap. Notice the parallel tunnel and elevator? There’s an alternate route through this area that isn’t available until New Game+.
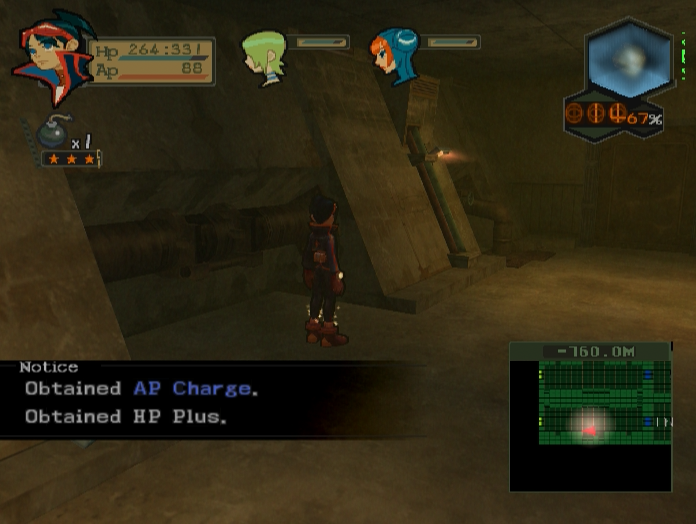
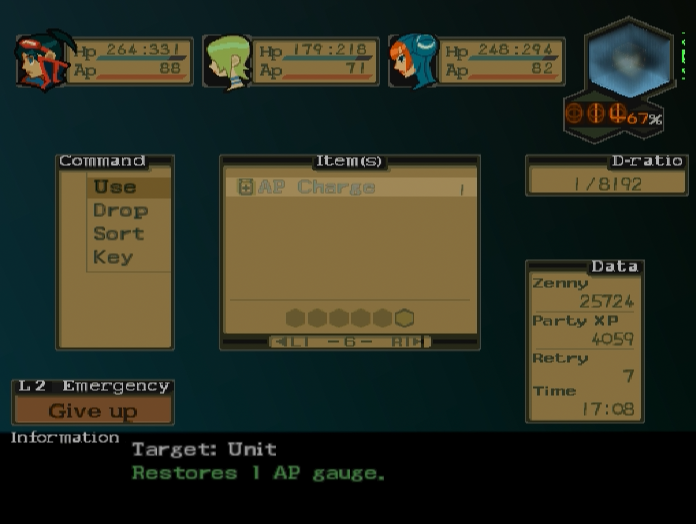
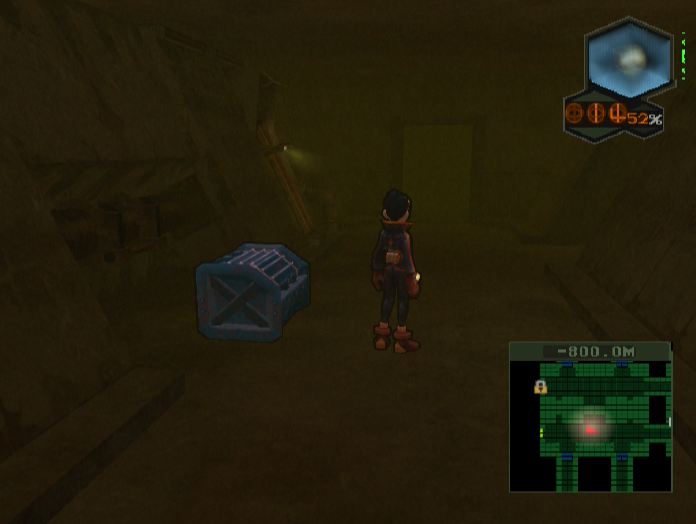
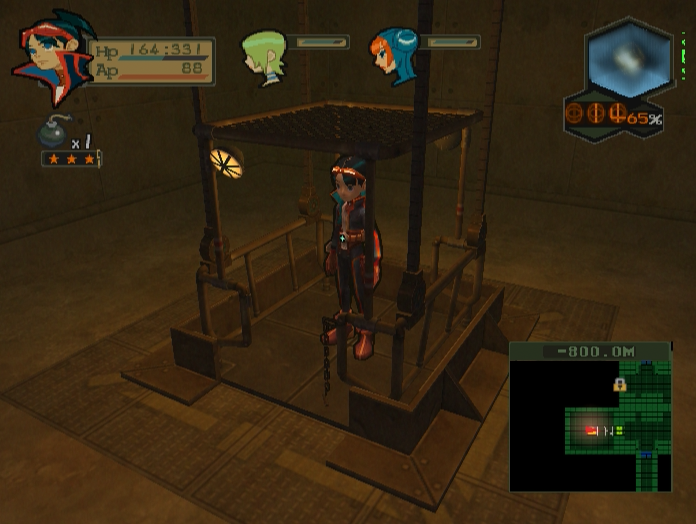
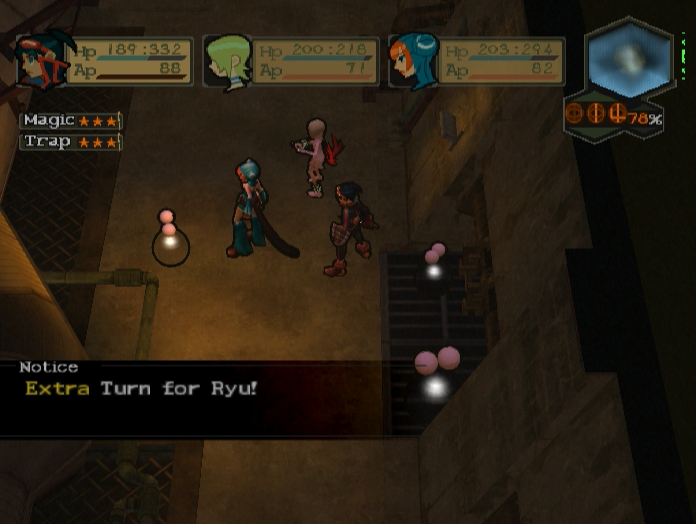
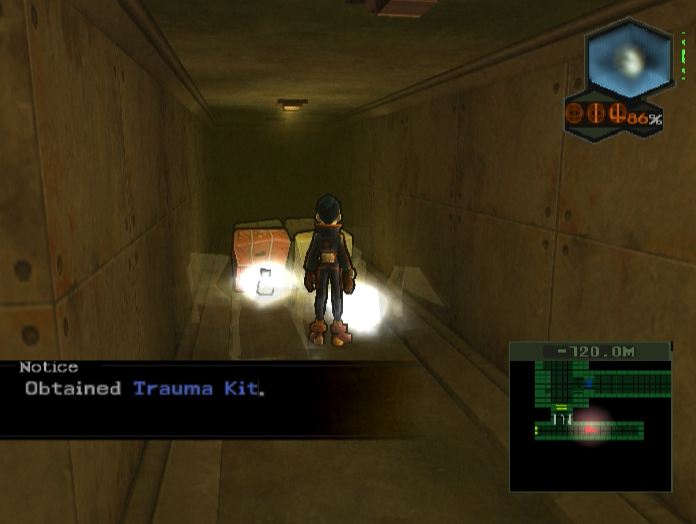
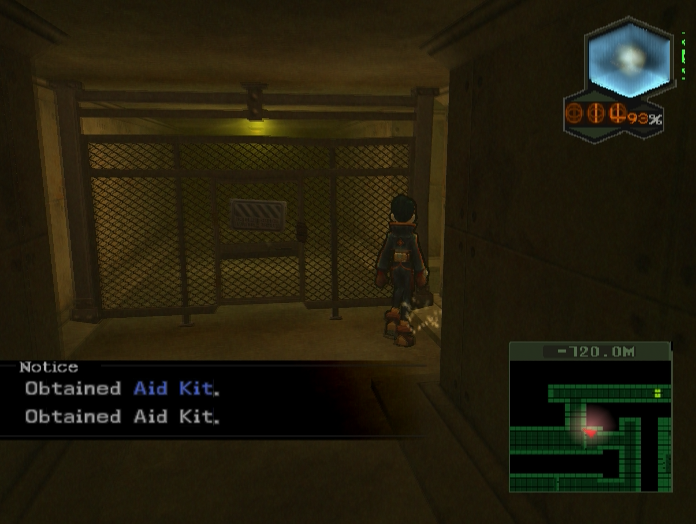
It’s at this point where we start finding really valuable things in item crates. AP Charges essentially give you extra turns and should be saved for the final few bosses.
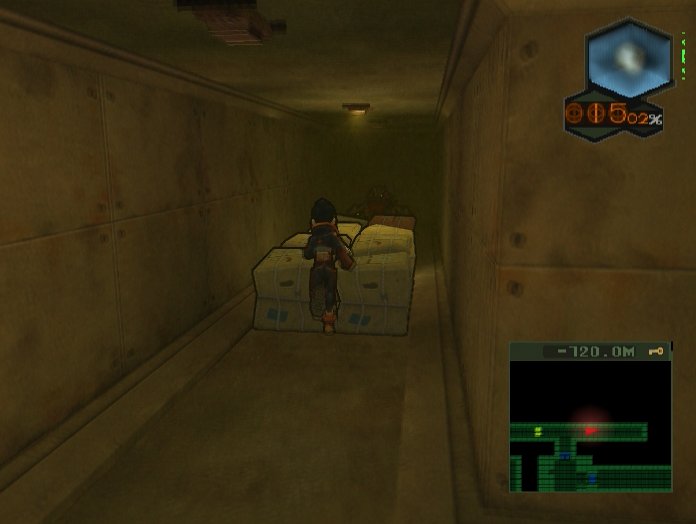
This little area involves squeezing through gaps between pipes, all while huge clouds of smog billow up from the grates below.

At the end you can double back around the other side of the pipes to find a group of Hychees hanging out in a semi-hidden area.


At the end of the piping we are greeted by a De-Vogue and three Trilizards, two of which are drastically smaller than usual.
I don’t know if they’re supposed to be babies or what, but they have the same health and attack power as the bigger ones.

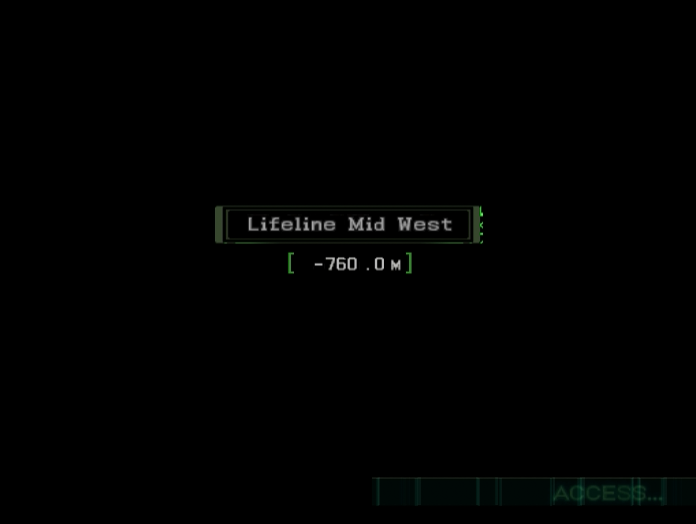
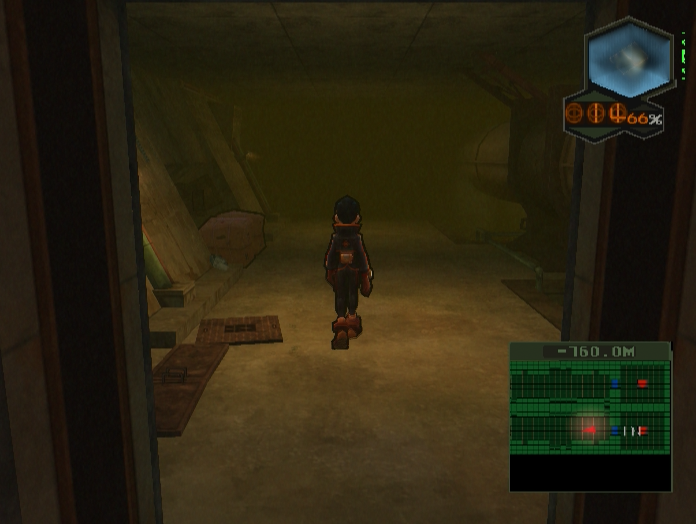
Heading through the next door leads us into a new part of Lifeline, the ‘Mid West’ section.
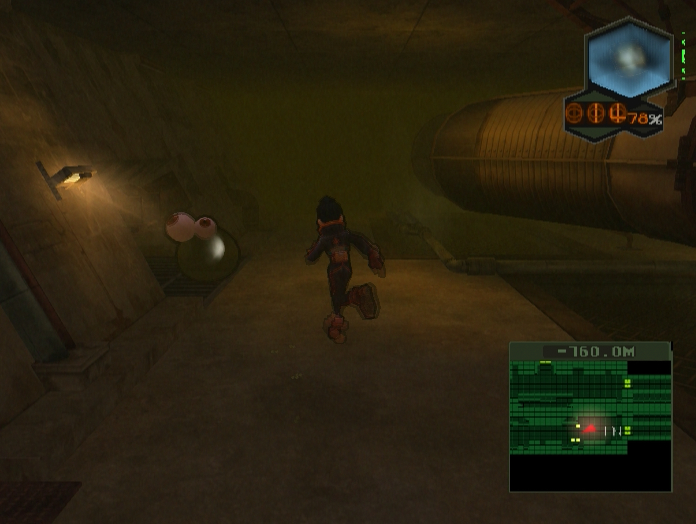
A Goo enemy jumps out at us as soon as we set foot inside. But wait, aren’t there two other enemy signatures on the minimap?
Yep, it’s time for more invisible Goos.
Meet the Goo Prisms, the Goo Element’s bigger and stronger cousins.
This might not seem to be the case at first glance. Sure, they’re highly resistant to physical damage, but all they have is a weak jumping attack and Nina’s magic shreds them like tissue paper.
Of course that’s not the whole story. If you use magic on a Goo Prism you better be prepared, because they’ll sling the same spell back at you the next turn they get. They get two attacks per turn as well, so if you’re not careful you can wind up taking a great deal of damage.
Past the Goo Prisms is the third and final Wonder Box for this playthrough. If you didn’t grab Lin’s skill from the last two then this is the final chance to do so until New Game+.

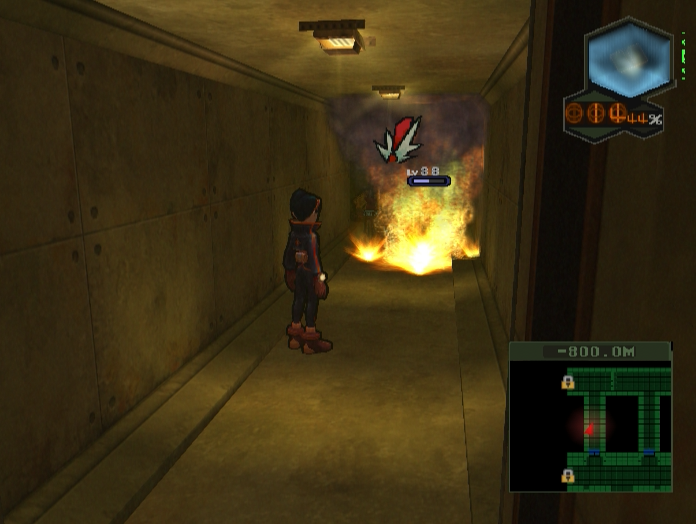
Through the next door are three Gigantises just sort of standing and staring at the piping opposite. They all bum-rush you when you step into their field of vision.

We’re getting close to the end now. There’s a group of Bandits led by a Shadowplayer ahead, but it’s a good idea to explore the south of the area first.
Doing so leads to a side area with some item crates and a few Bon Appetites, upgraded versions of the Hychees we’ve been slaughtering all game.
Bon Appetites can’t be killed with field attacks, but they’re very fragile and drop Aid Kits instead of Heal Kits.
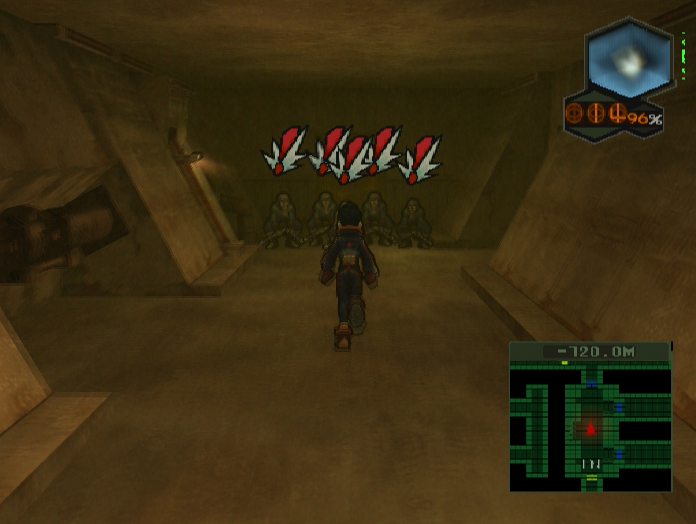
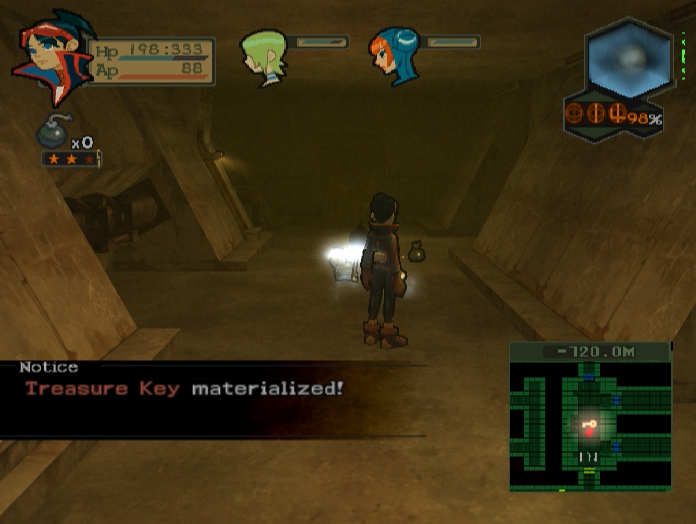
Killing the Shadowplayer’s gang causes the Treasure Key to spawn.
Continuing on brings us to an area with some more item crates. This one has an enemy behind them, however.
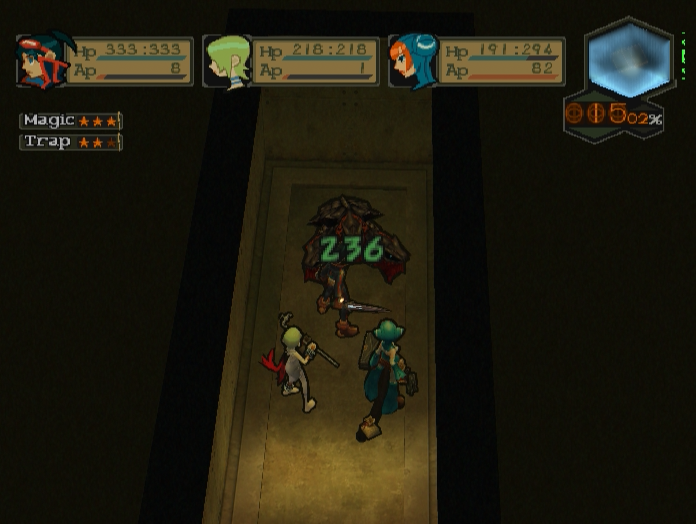
The Cerberus is a Trilizard palette swap, but its powers and abilities are closer to those of a Rafflesia.
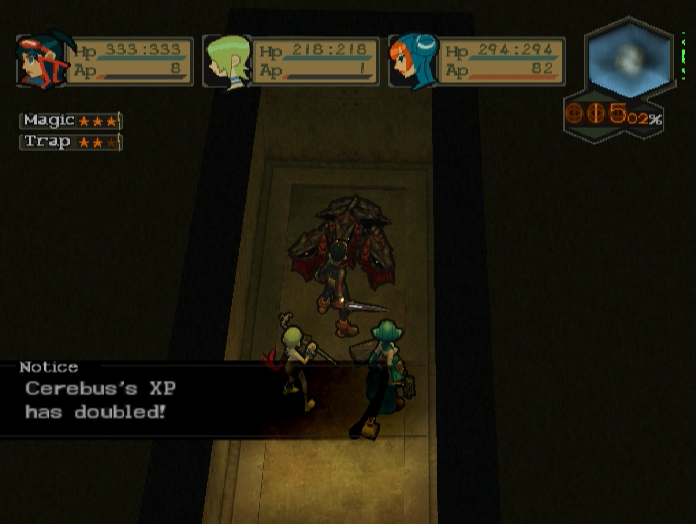
They’ve got the same magic absorption trait, and they absorb fire elemental damage as well just for kicks. They’re tough, but one of their drops is a powerful +6 Wand for Nina.
The chest is in a room a couple of doors away, behind a grille that was visible from the area with the Bon-Appetites we fought earlier.
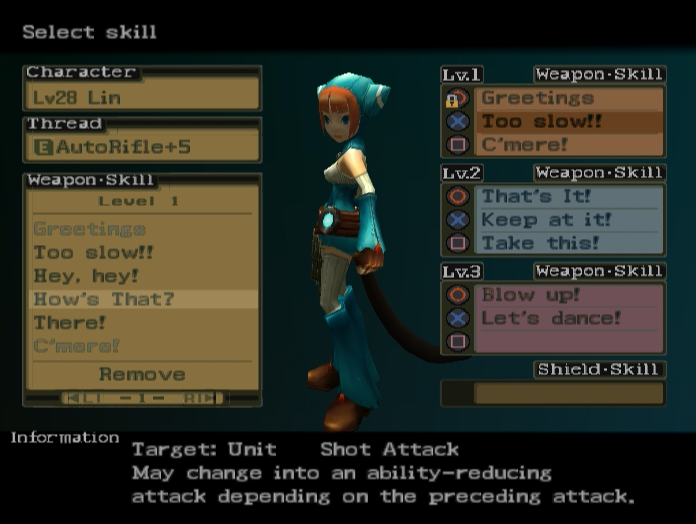
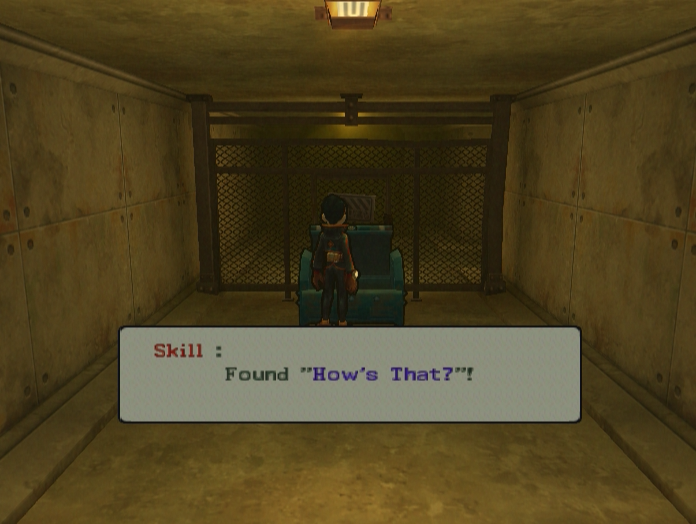
‘How’s That?’ is another special combo-centric skill. Only a couple more to go before Lin turns into a real powerhouse.
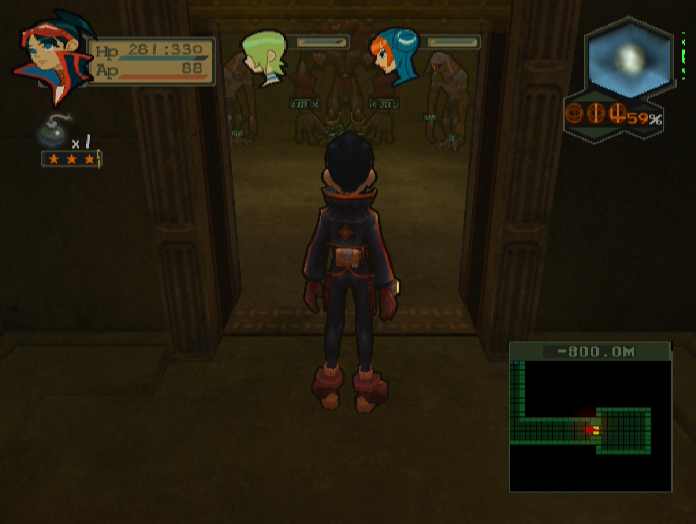
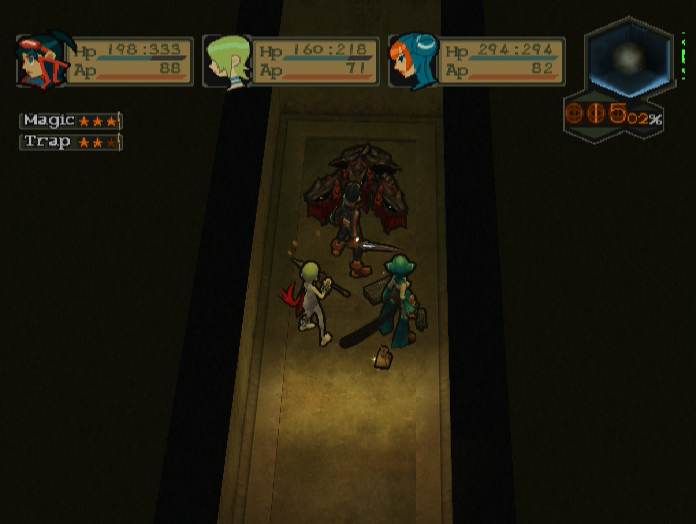
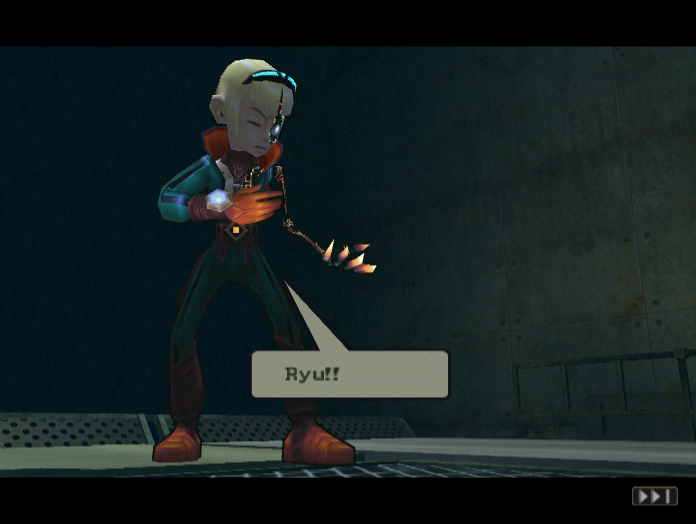
We’re pretty much done with Lifeline now. A cutscene plays once we step through this door.
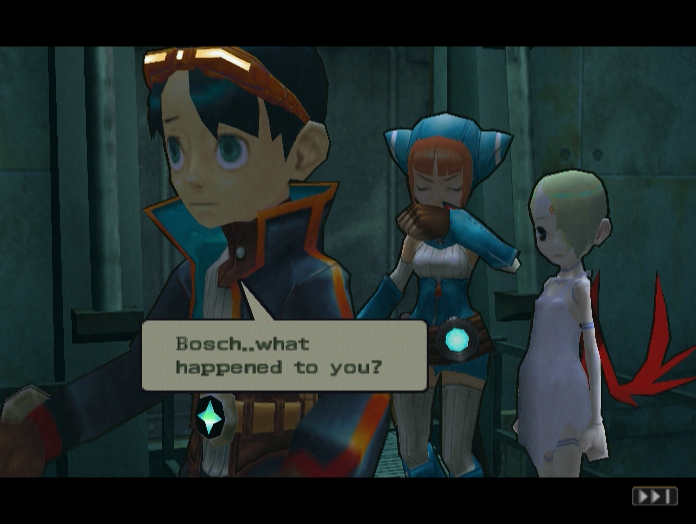
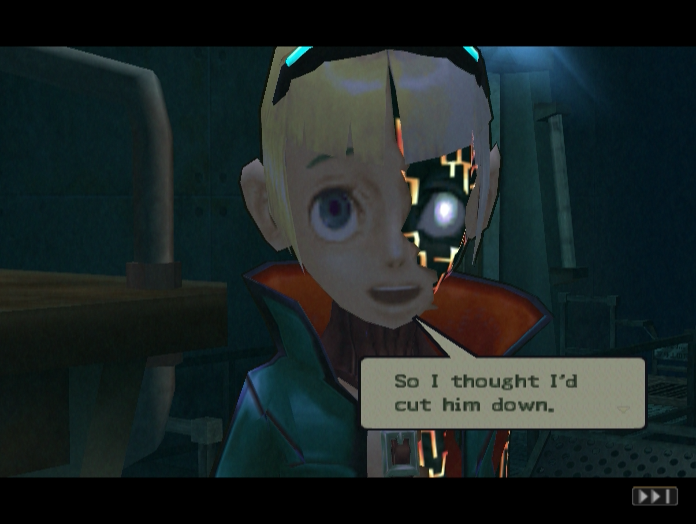
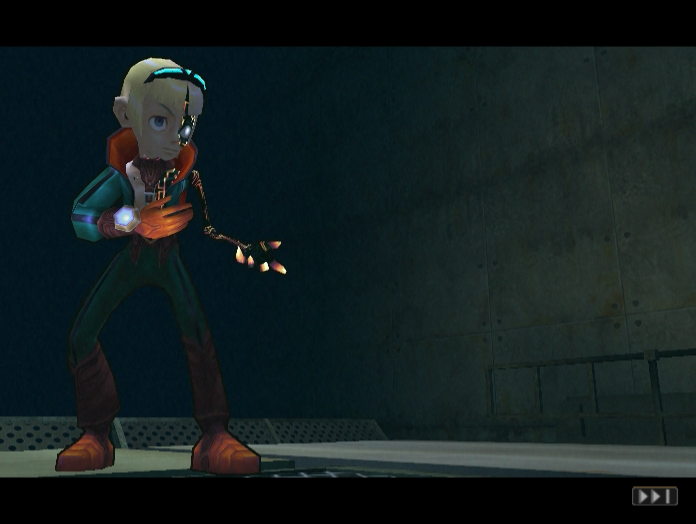
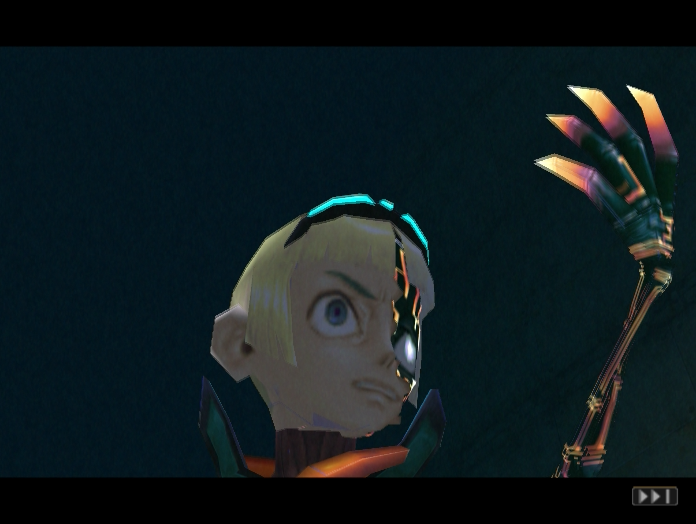
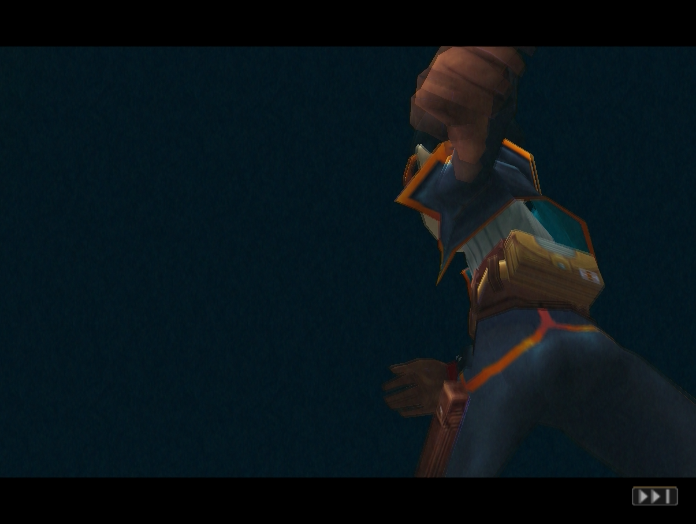
Hey, it’s our old buddy Bosch! It looks like he’s been waiting for us.

Music: Attack
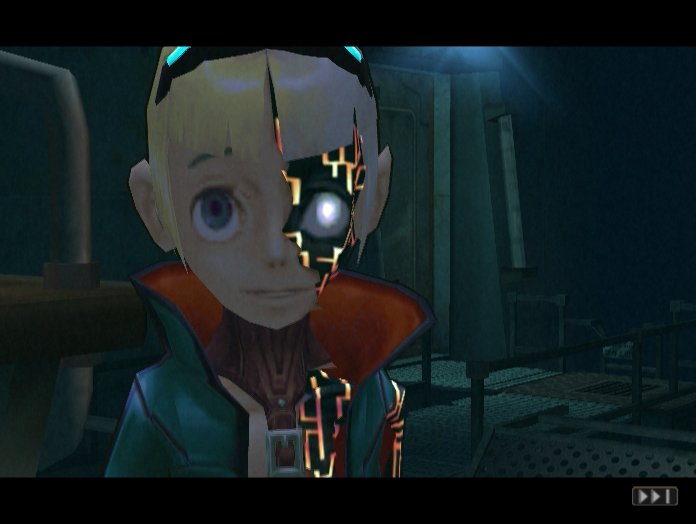
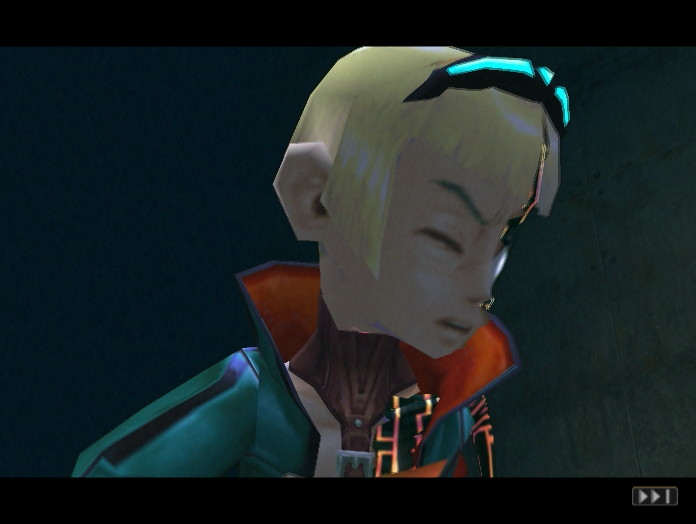
Oh god, what the hell is thaaaaaaaat

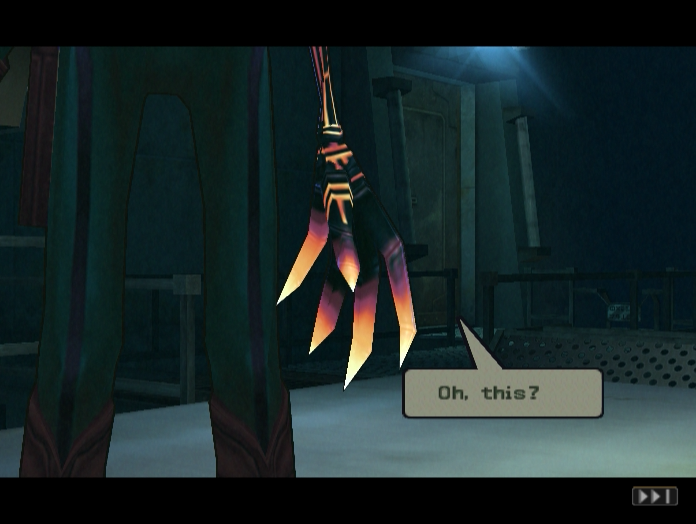
Bosch also has a creepy monster hand now. It spasms and cracks its joints as if it has a mind of its own.
 : He thinks he’s so big…even though he’s just a Low-D…
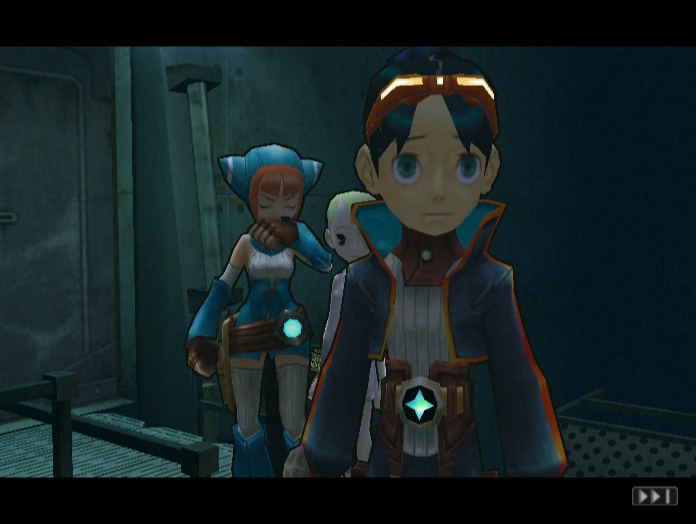
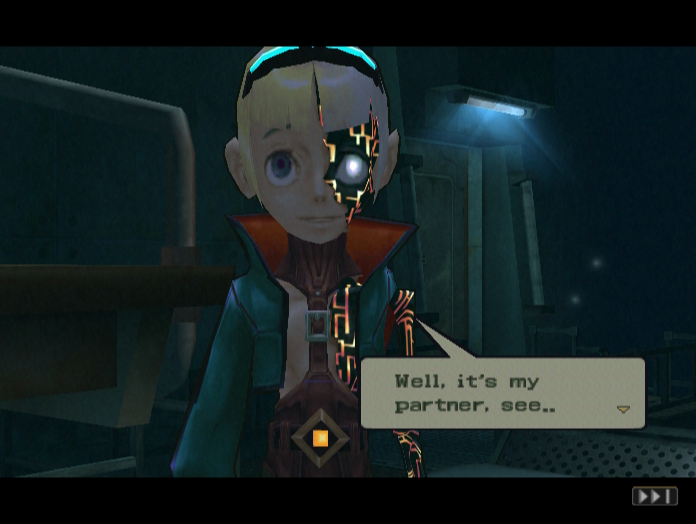
 : I just needed a little boost.
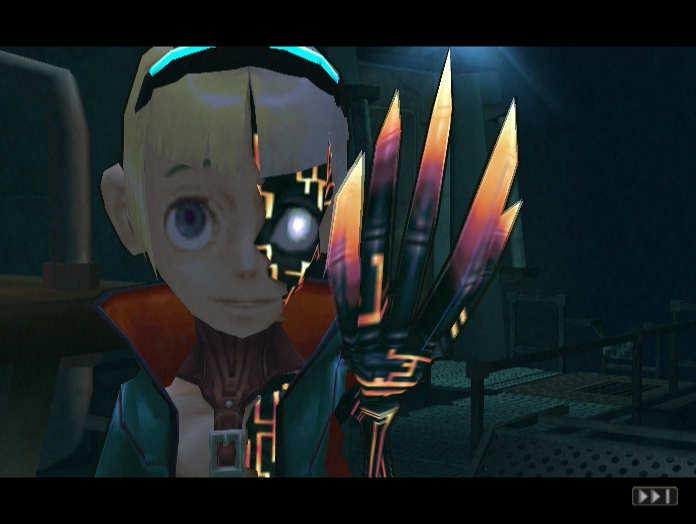
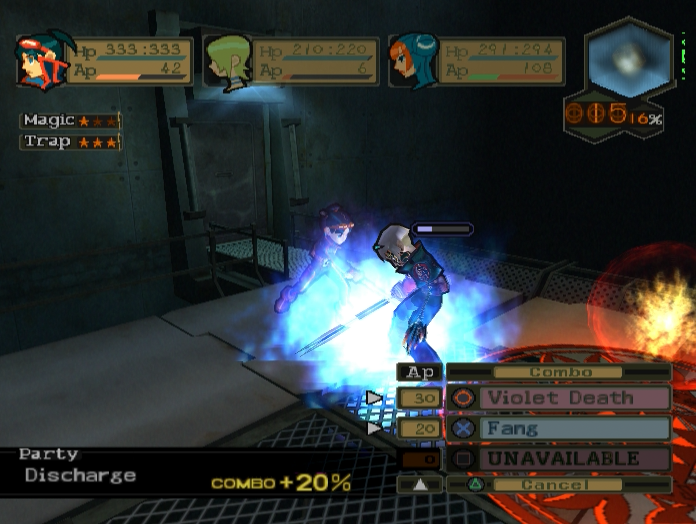
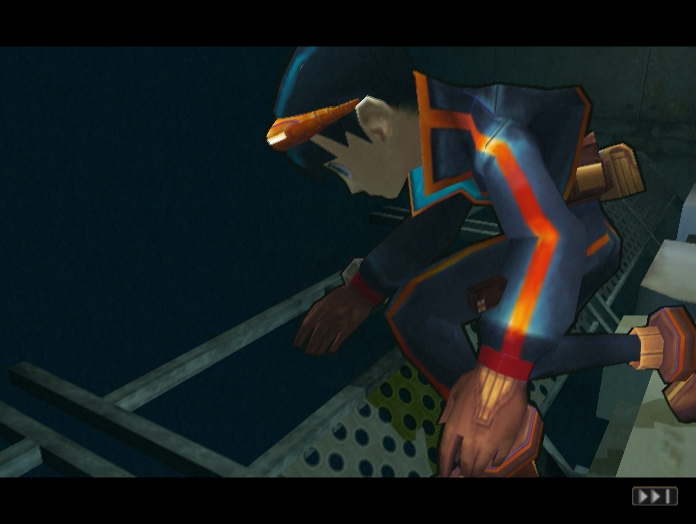
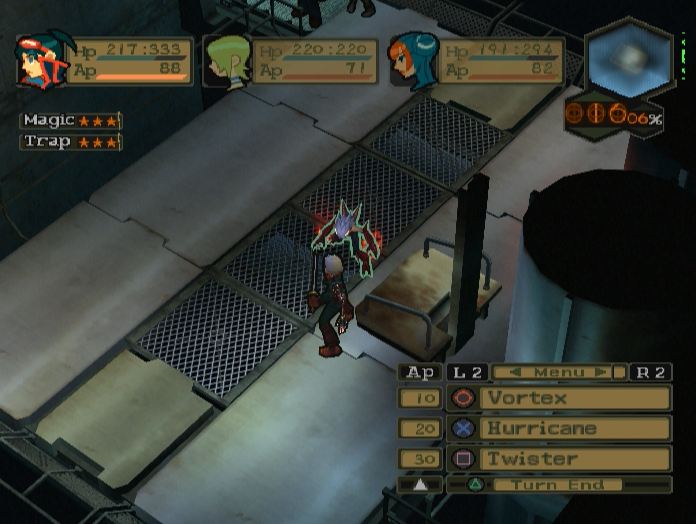
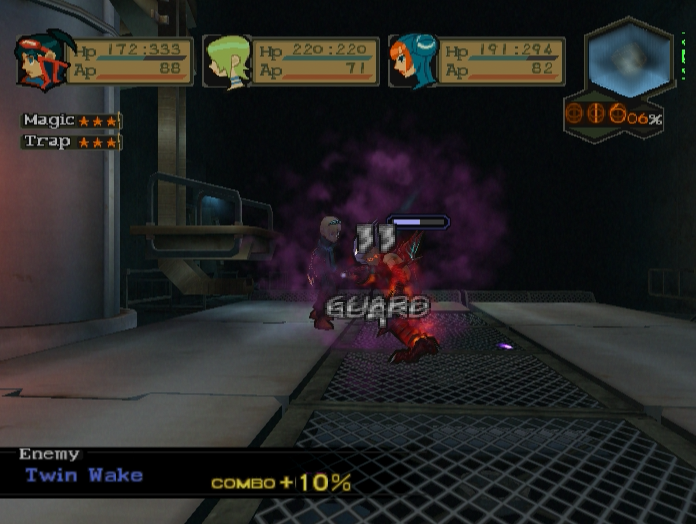
Welcome to our second battle against Bosch, or ‘Rebuilt Bosch’ as the game calls him. Rebuilt Bosch is a tremendous pain in the arse to fight. If Zeno is where Dragon Quarter takes off the gloves, Rebuilt Bosch is where it pulls out a pair of solid brass knuckledusters.
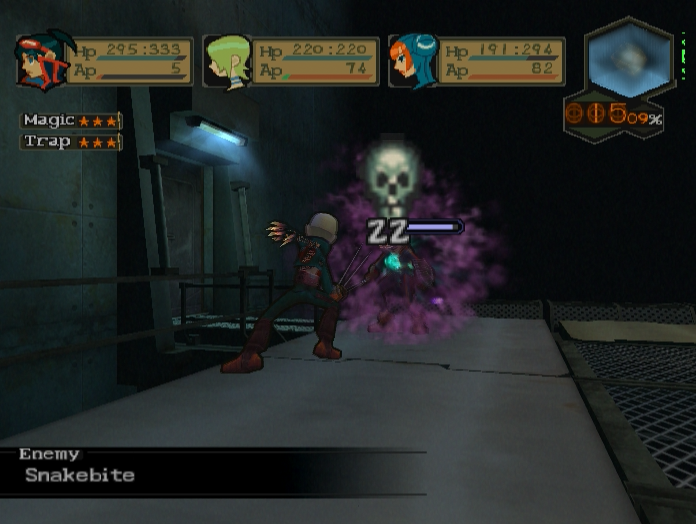

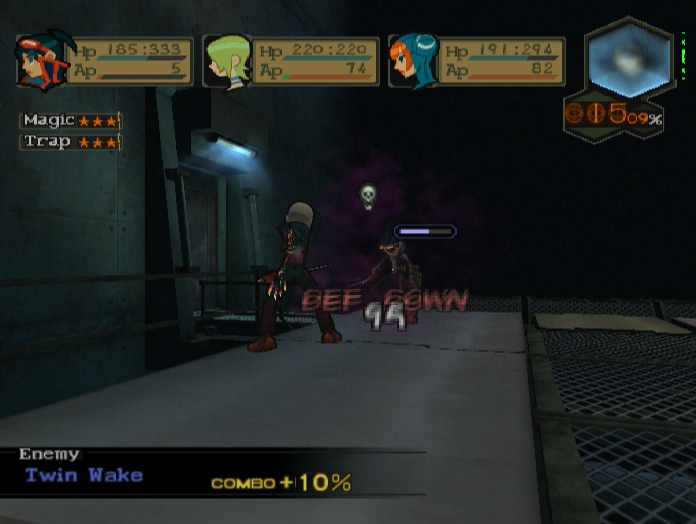
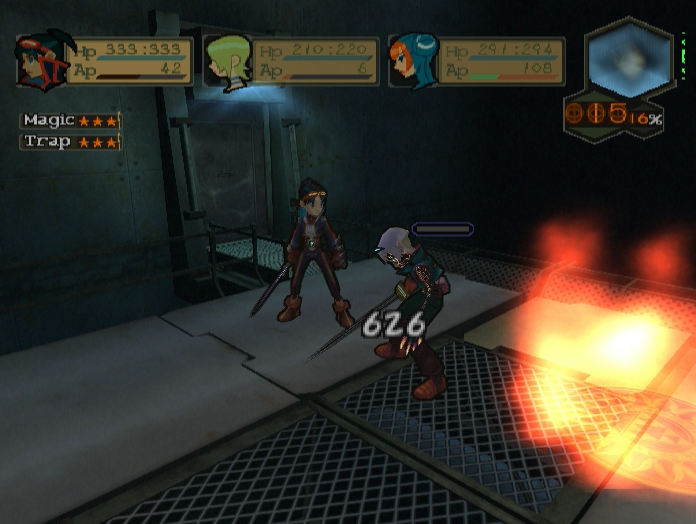
The first thing you need to know is that Rebuilt Bosch hits like a truck. Snakebite isn’t much to worry about, but Twin Wake deals huge amounts of damage to start out and only gets worse as the defence debuffs begin to stack.
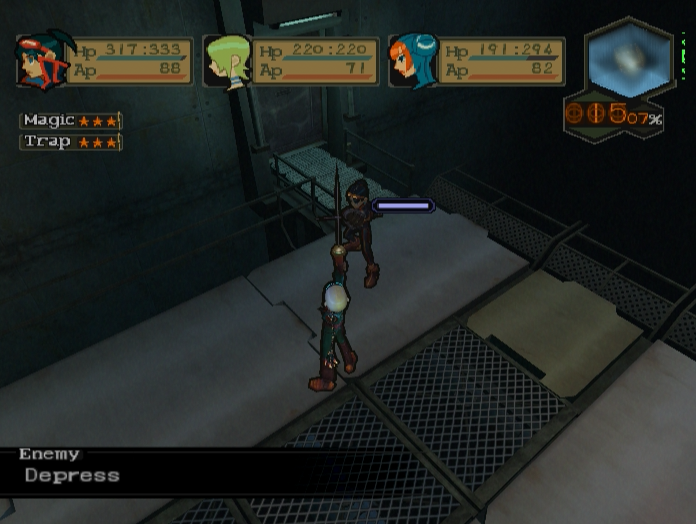

He also uses Depress to screw with your ability to attack him back. This is very bad for one very important reason.
At the end of every turn Rebuilt Bosch regenerates 25% of his current HP. Note that that’s current HP, not maximum HP, so the actual amount he heals himself will steadily decrease as you damage him. The problem is that Rebuilt Bosch has a total of 2,000 HP, and with the help of some basic maths we can work out that unless we reduce him to less than 1,600 HP in the space of a single turn he’ll simply heal himself back up to full.
Dealing more than 400 points of damage in one turn is a tall order, especially given that Rebuilt Bosch also has a fairly meaty defence stat. On the surface it looks like another instance where the game is encouraging you to use the D-Dive system, but there is a way to win without it if you use your brain and have the right skills equipped.
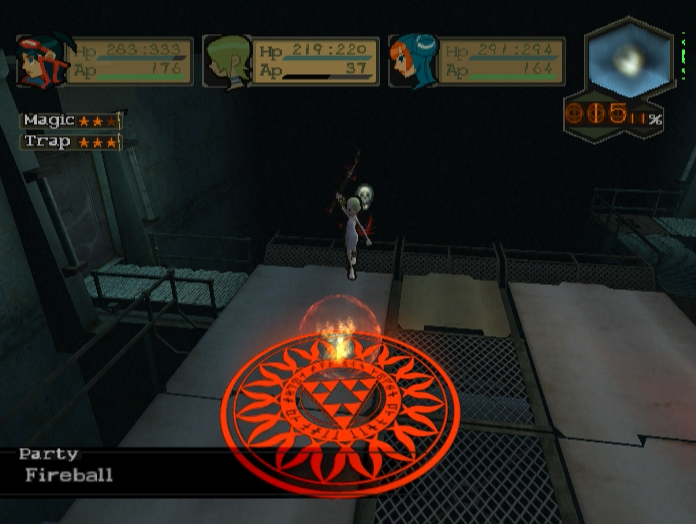
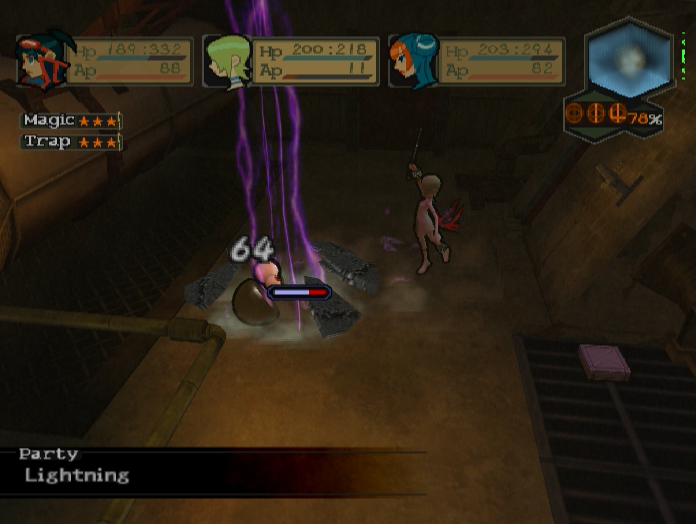
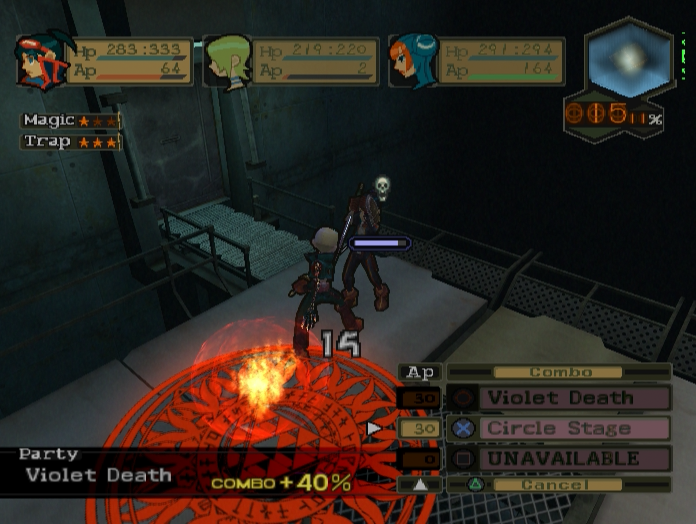
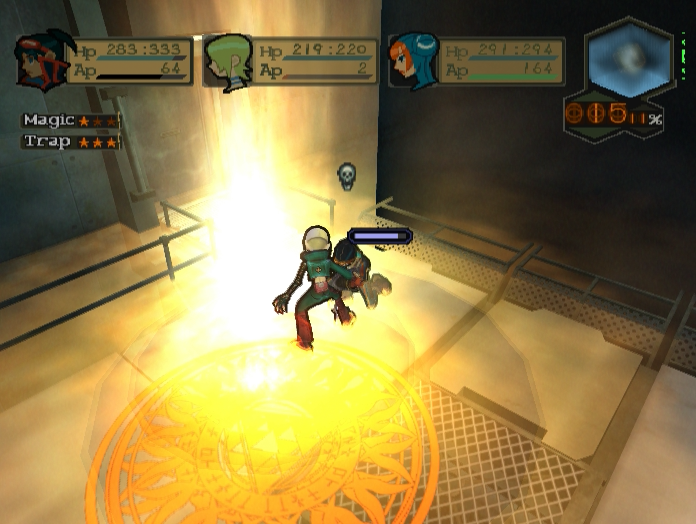
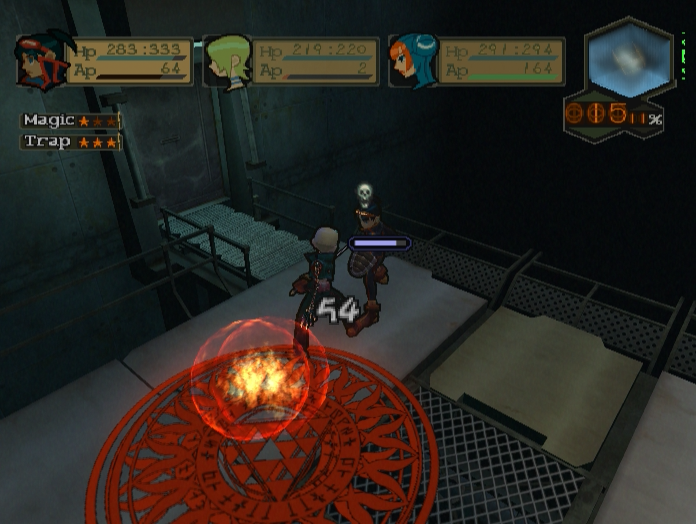
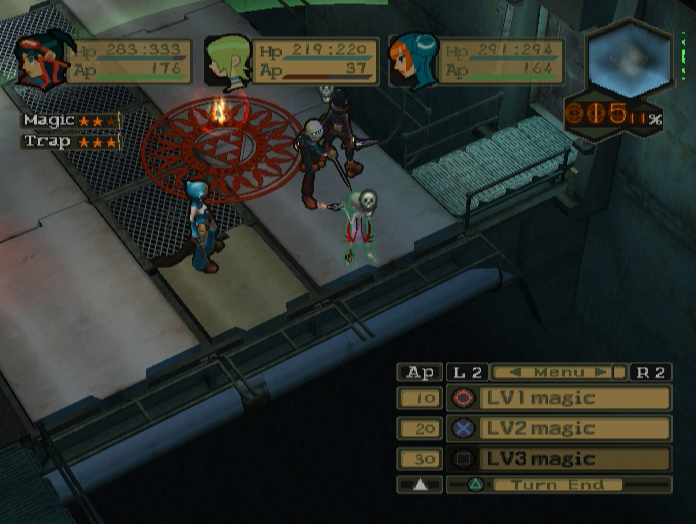
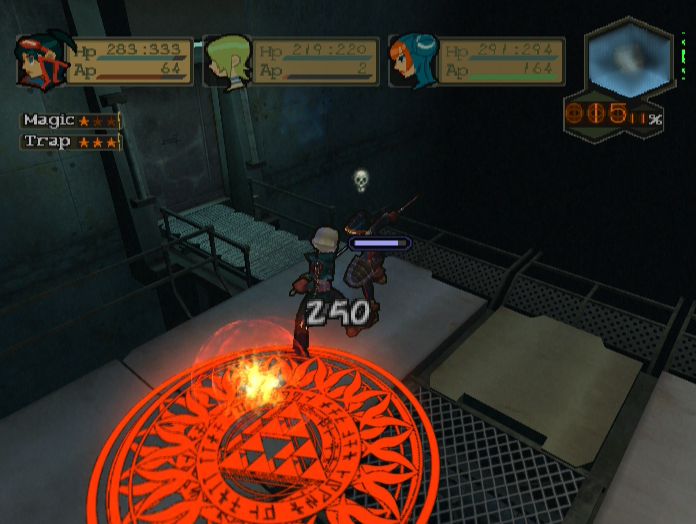
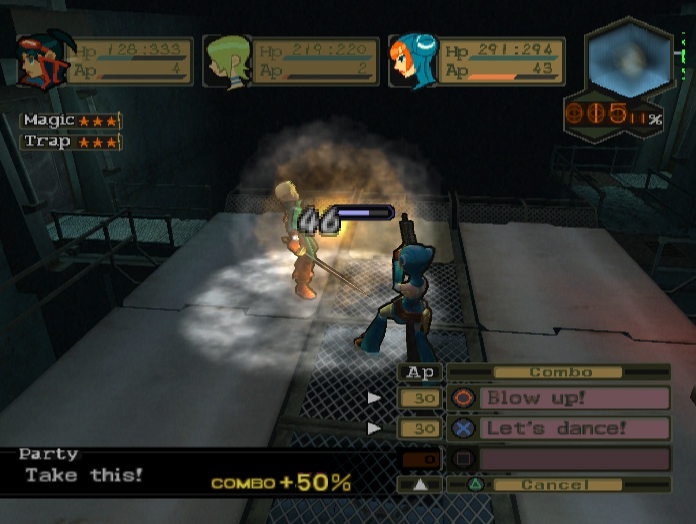
There are three things you need to do in order to win this fight, and they all revolve around setup. The first is to make use of Nina’s traps, specifically her Fireball rune.

Rebuilt Bosch takes about 65 damage from each rune. Overlay three, and that’s nearly 200 damage in a single move. He’s also not immune to their stunning effect, so there’s a chance he’ll lose his turn if you kick him into them.
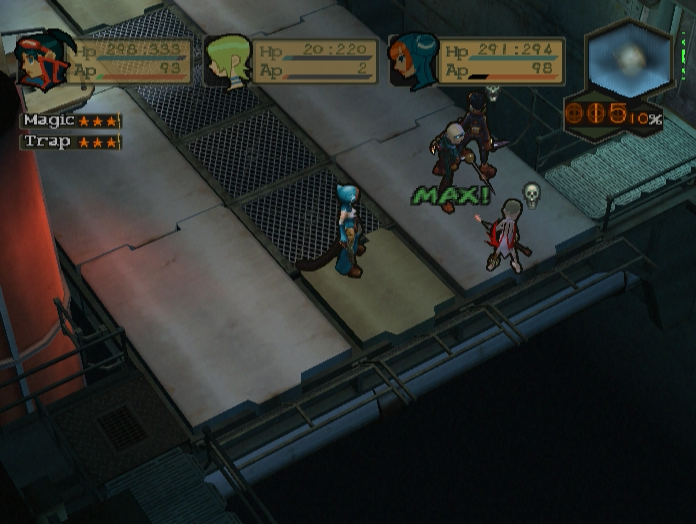
The second thing you need to do is to overcharge everyone’s AP bars before beginning the initial assault. This is kind of hard because Rebuilt Bosch loves to spam Depress, but you absolutely need to maximise your combo bonuses if you want to beat his regeneration. If that means enduring a few turns of pain, then that’s just what you have to do.
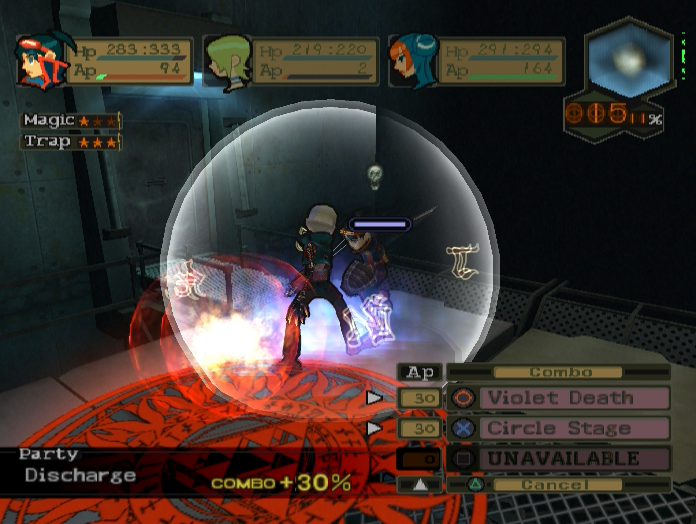
The third thing is something you technically don’t need, but makes the fight a hell of a lot easier. Discharge is a wonderful skill to have in this fight since Rebuilt Bosch will almost always focus on Ryu. Reflecting all of that damage can chew through his health like nobody’s business.
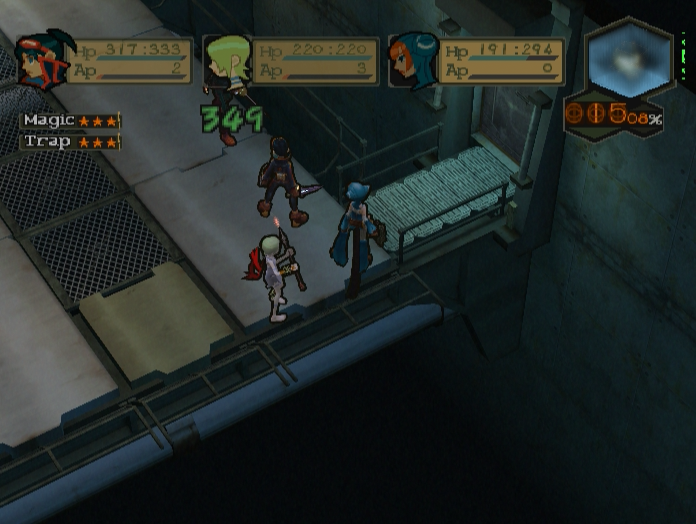
Of course, even once you breach the 1,600 HP threshold Rebuilt Bosch still regenerates a monstrous amount of health every turn. It’s very important to keep the pressure up until the very end.

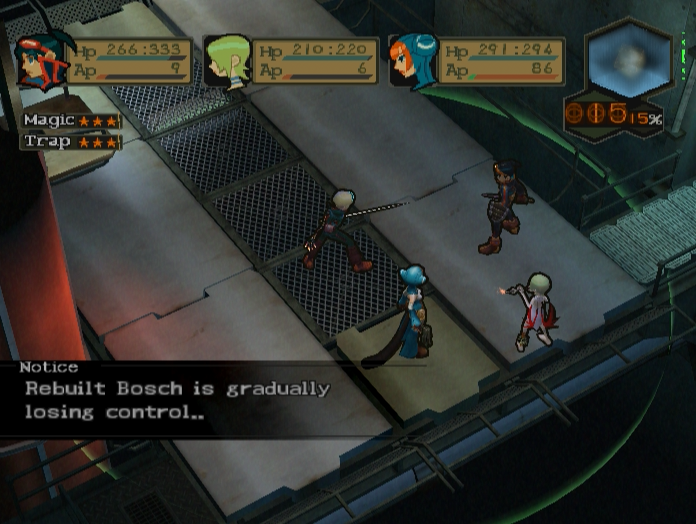
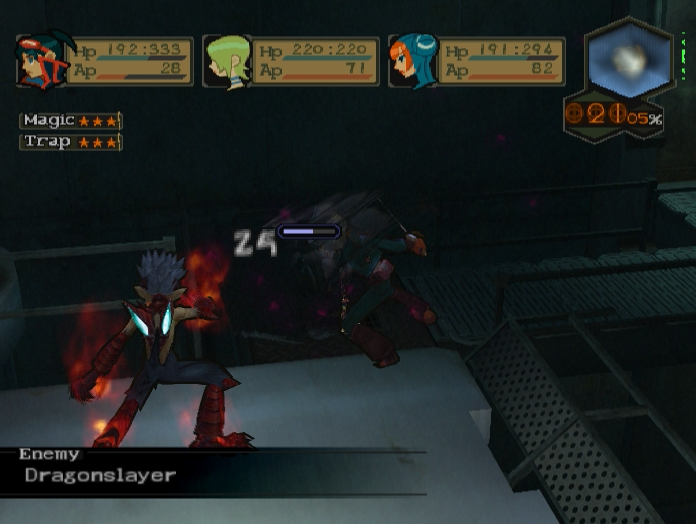
Once you reduce Rebuilt Bosch’s HP below 1,000 you get this message. At this point his regeneration is easily manageable, but he gains an AP boost that lets him attack four times per turn and two very nasty new skills.
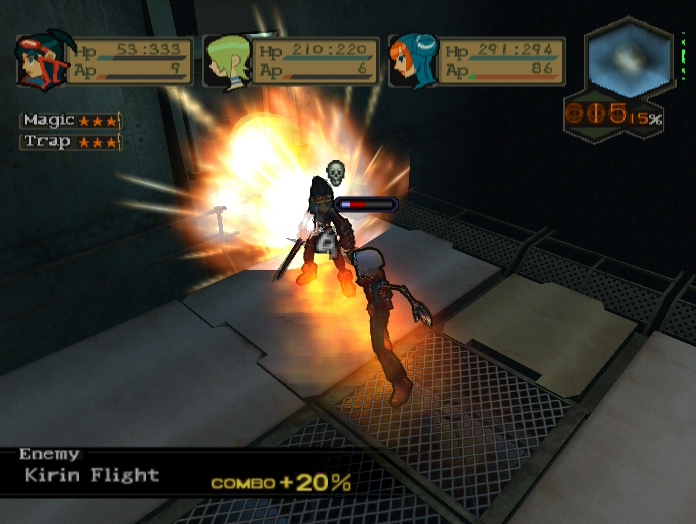
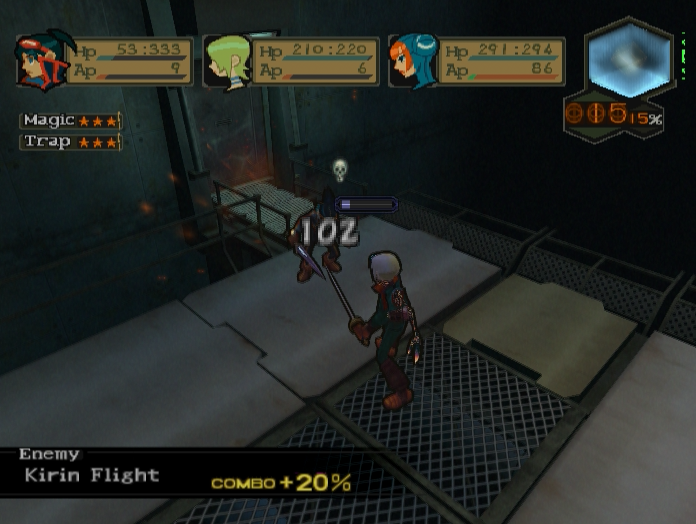
The first, Kirin Flight, is a very powerful attack that hits everything in a line in front of Bosch. If you’ve got everyone bunched up you’ll be in for a bad time.
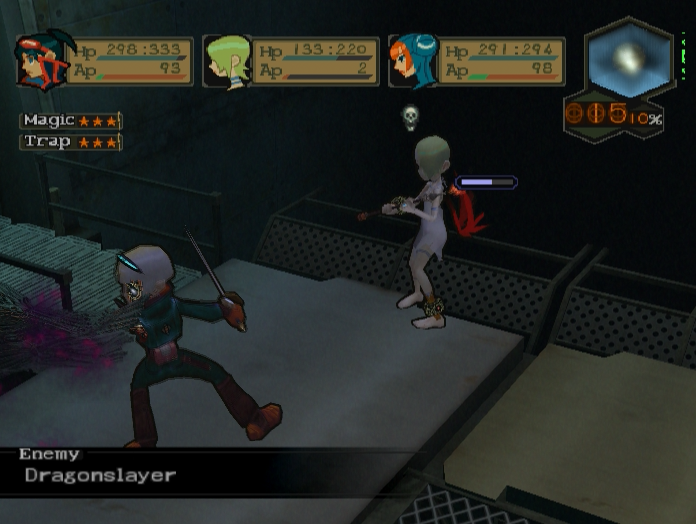
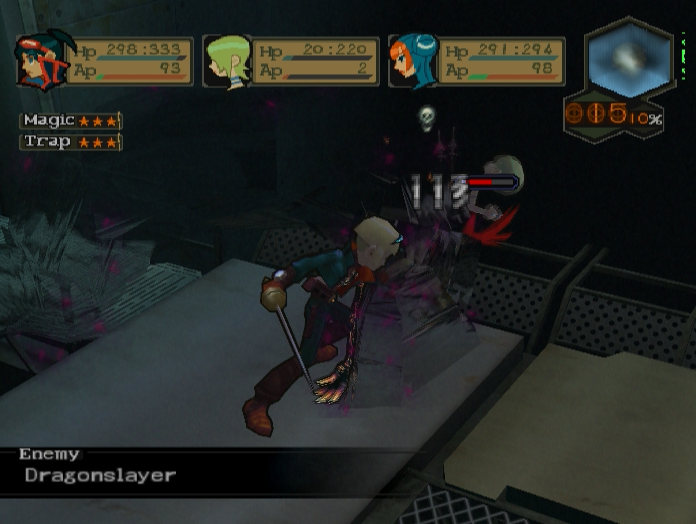
The second, Dragonslayer, involves Bosch using his creepy monster hand to deal up to 150 damage to a single target, depending on how much he’s lowered their defence with Twin Wake. He will happily spam this attack two or three times in a row, just to be a prick.
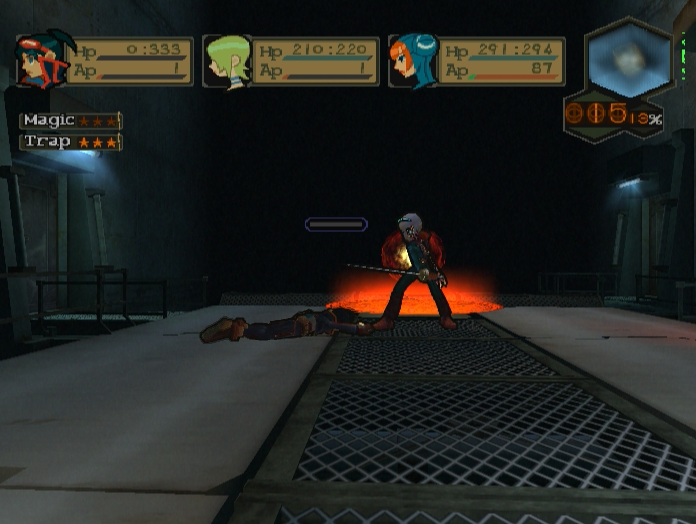
Even with the best strategy and preparation, Rebuilt Bosch will likely push your party to the limit. It’s a really tough fight, and another instance where I’m sure plenty of people hit the D-Dive button after getting wrecked half a dozen times.
Still. All those Dragonslayers do mean that Discharge packs one hell of a wallop.
The fight ends in a standoff. Both Bosch and Ryu are still standing, but clearly exhausted.
 : I won’t lose to you again!!
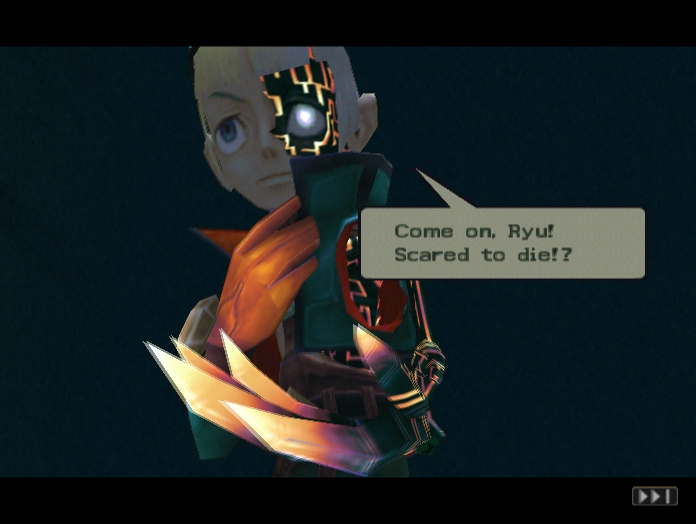
It looks like Bosch is getting ready for round two, but before that can happen…
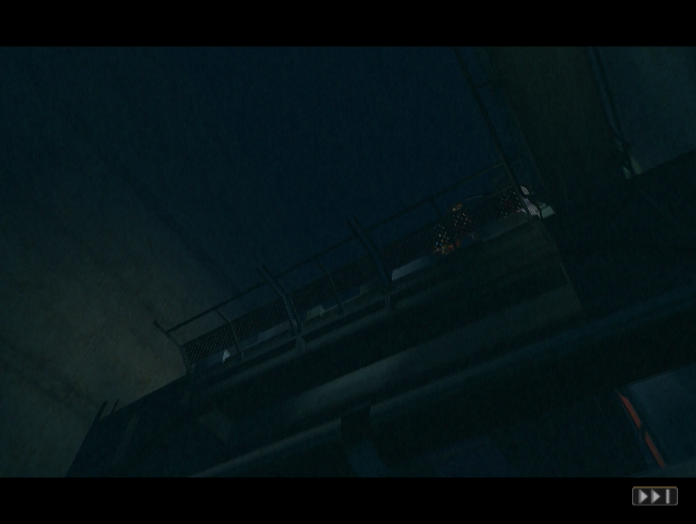
Bosch’s monster arm goes berserk and starts pulling him backwards!
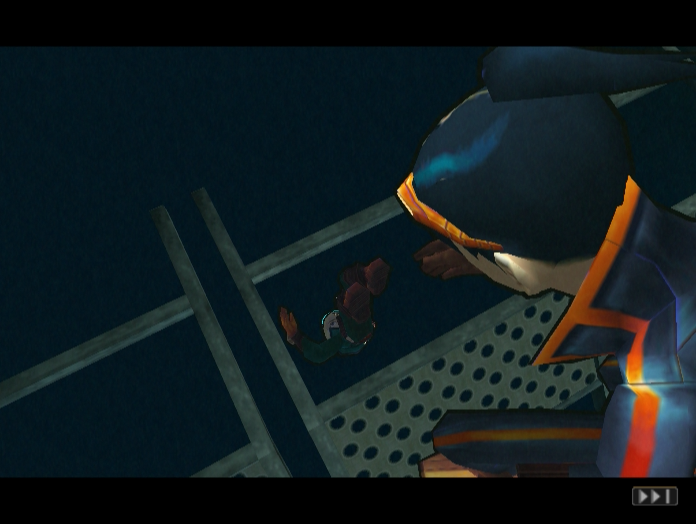
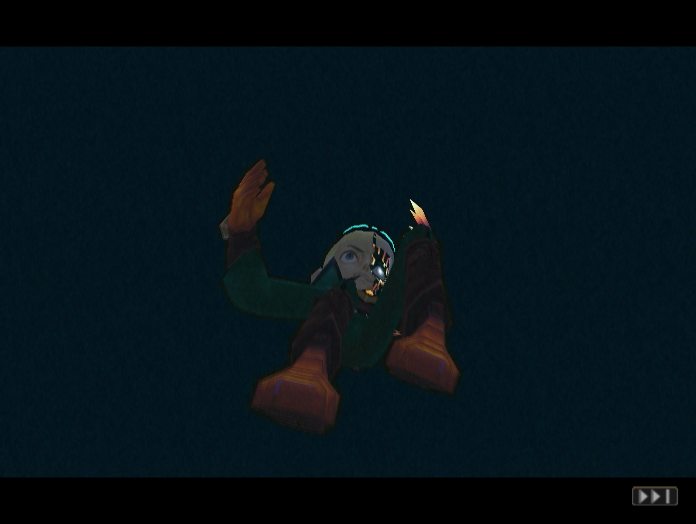
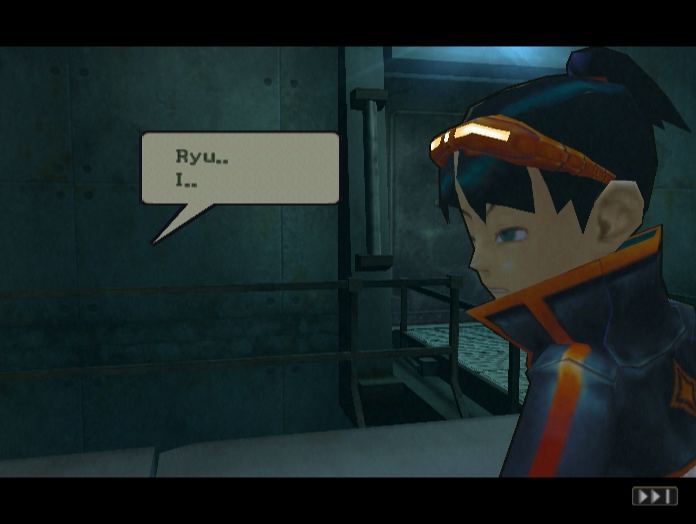
Ryu runs over, but it’s too late. Bosch falls over the railings and plummets down into the darkness.
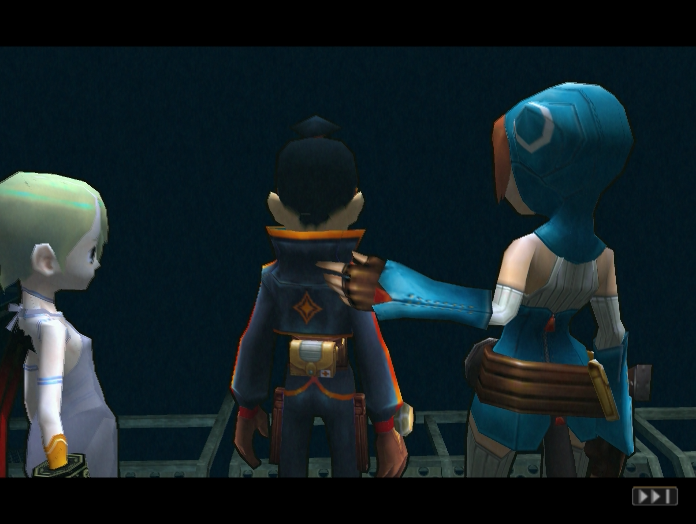
Nina and Lin comfort Ryu briefly. But the show must go on, and Bosch was a dick anyway.
The party leaves, and the screen fades to black. Normally I’d end the update here, but there’s something interesting I’d like to point out before that.
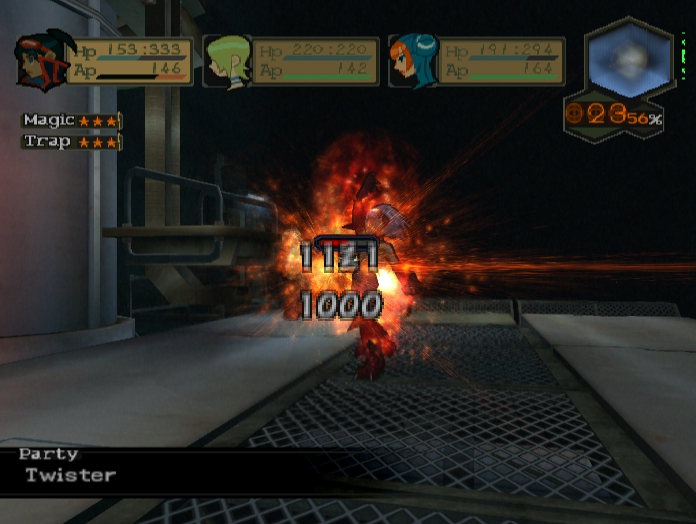
You can use D-Dive to utterly clown Rebuilt Bosch. Two D-Charges and one Twister is enough. But if for some reason you choose to hold back and not kill him in one turn you’ll discover something unusual.
Rebuilt Bosch can actually damage Dragon Ryu. Not by a lot, but it’s more than any other enemy we’ve faced so far. Could this be significant? Perhaps we’ll find out in the future.
--
Bonus Art: Bosch Concept Art
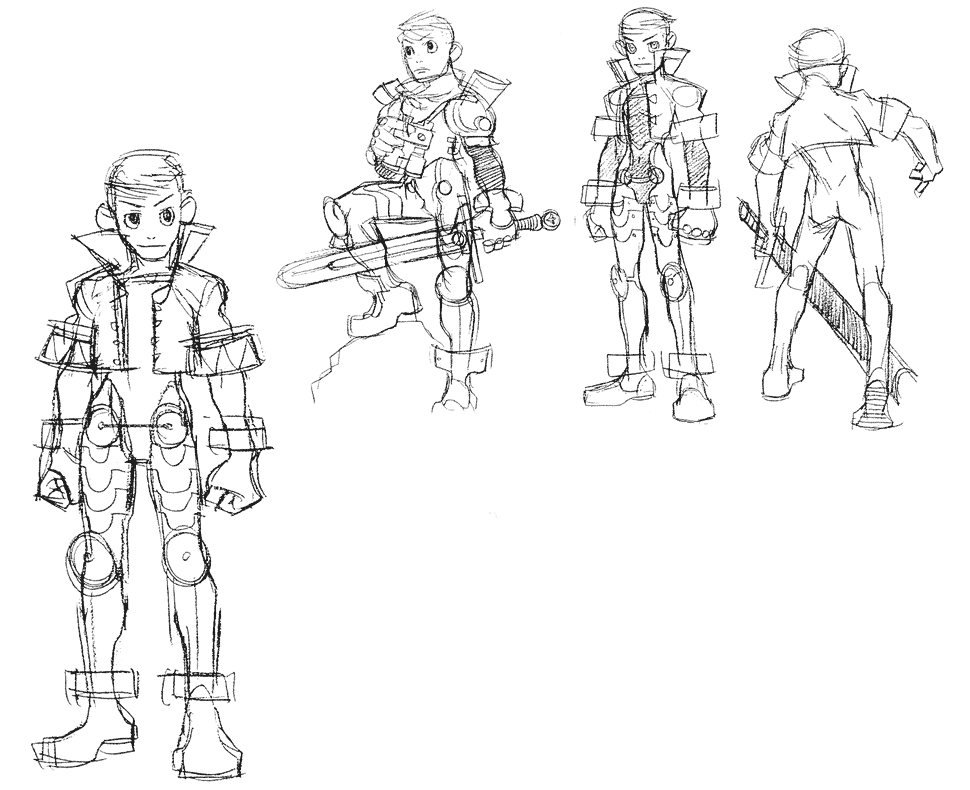
Bonus Art: Bosch Concept Art
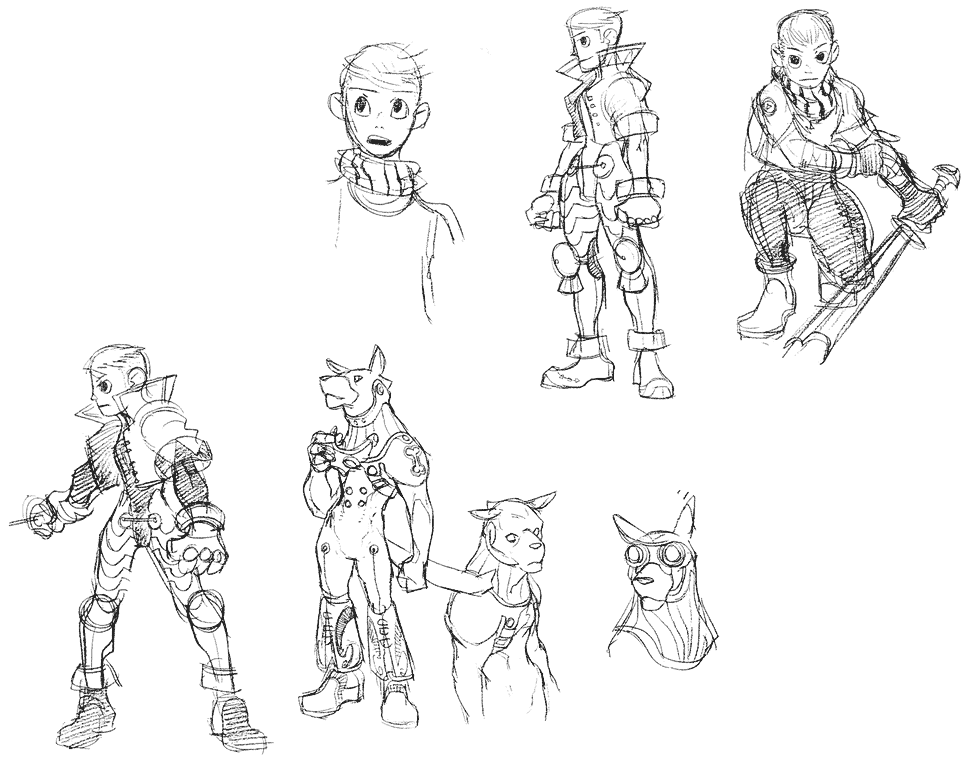
It looks like Bosch was originally intended to be a dog-man, like the Bosch from Breath of Fire II.