Part 20: Power One, Part I
Update 20: Power One, Part IWelcome back. Last time we were waylaid by a freakishly modified Bosch, who wound up falling into an abyss after we beat him.

*Heartbeat*
*Heartbeat*

*Heartbeat*


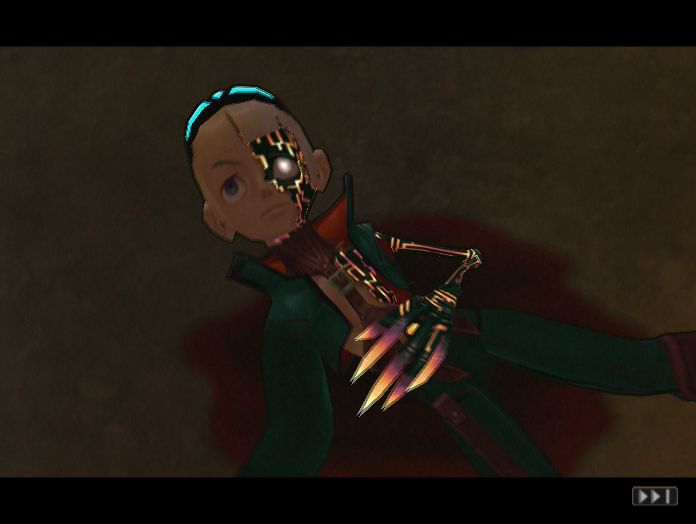
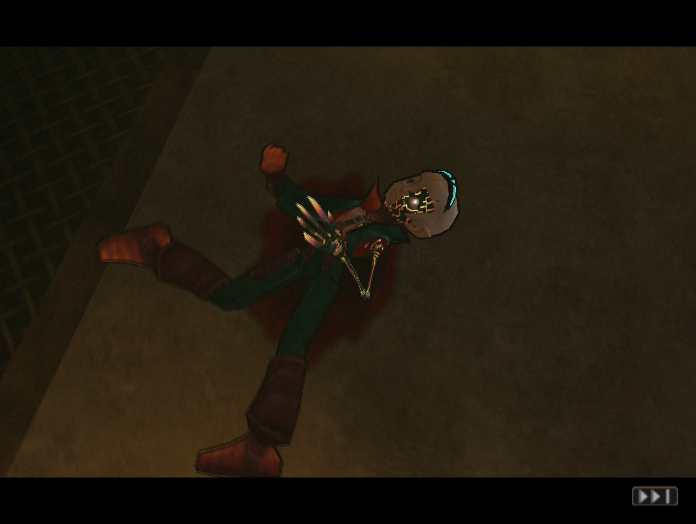
Bosch twitches, somehow still clinging to life despite his massive injuries.

*Heartbeat*

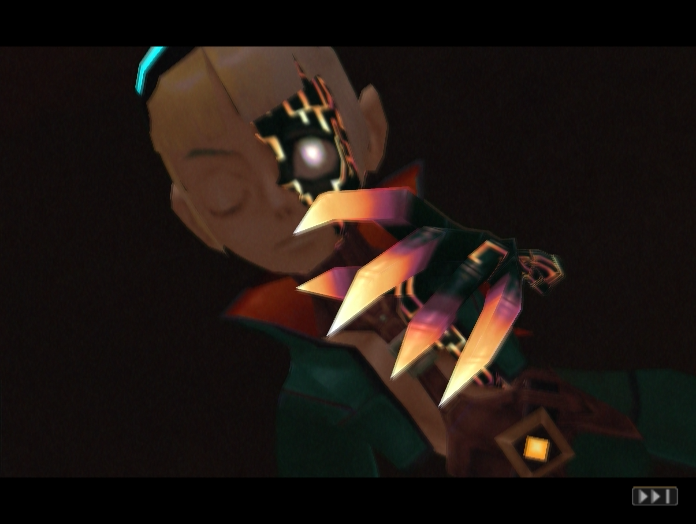
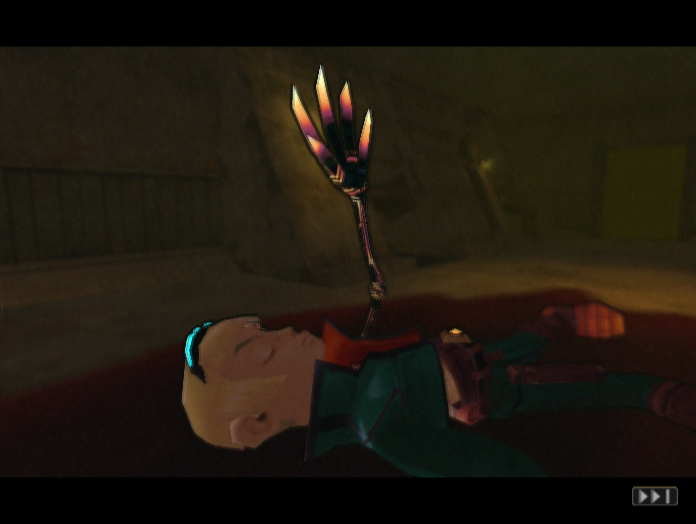
Bosch’s monster hand rises slowly. It twitches once.
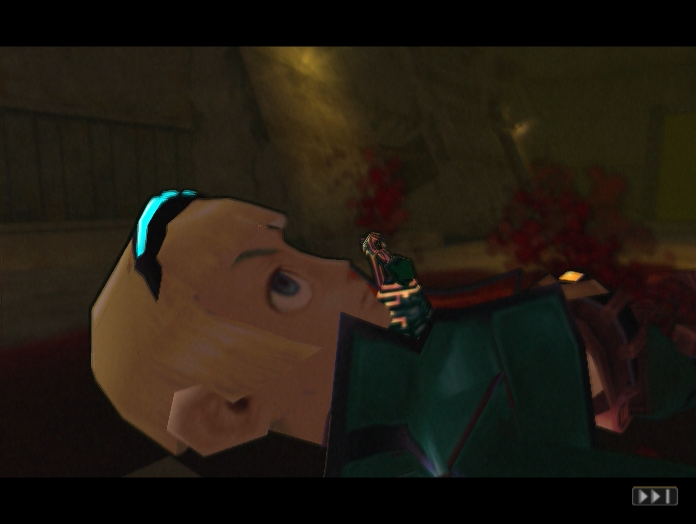
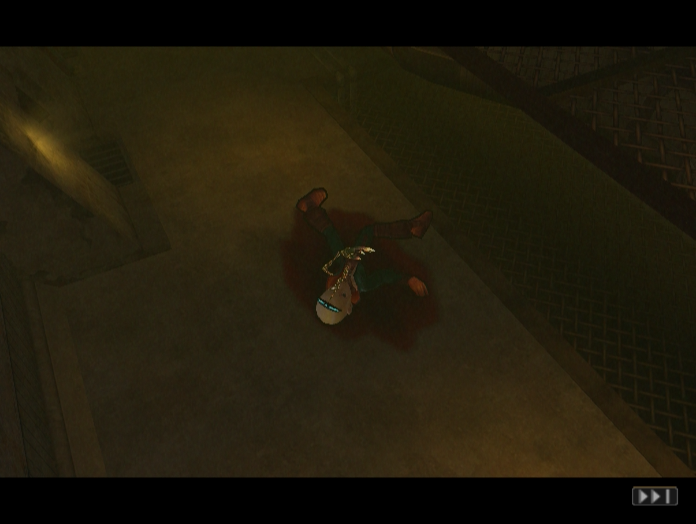
Then it stabs him in the goddamn neck. The screen fades to black, and the cutscene ends.
Music: Lifeline
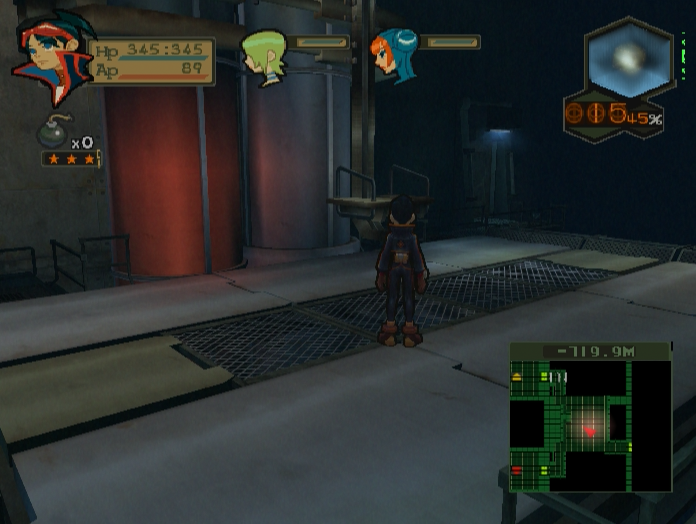
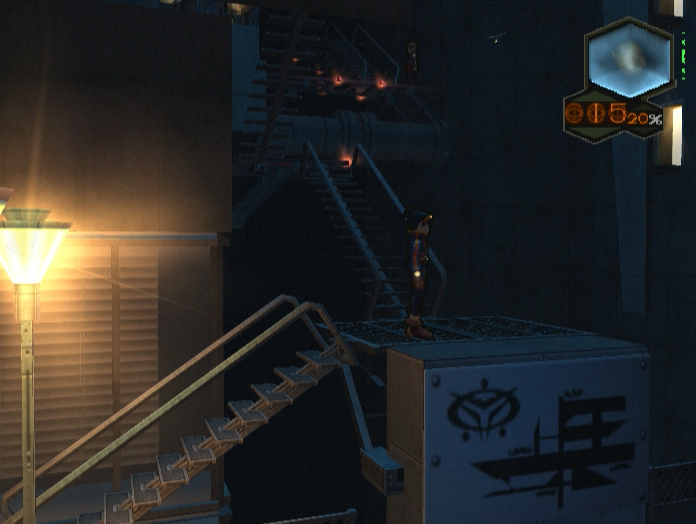
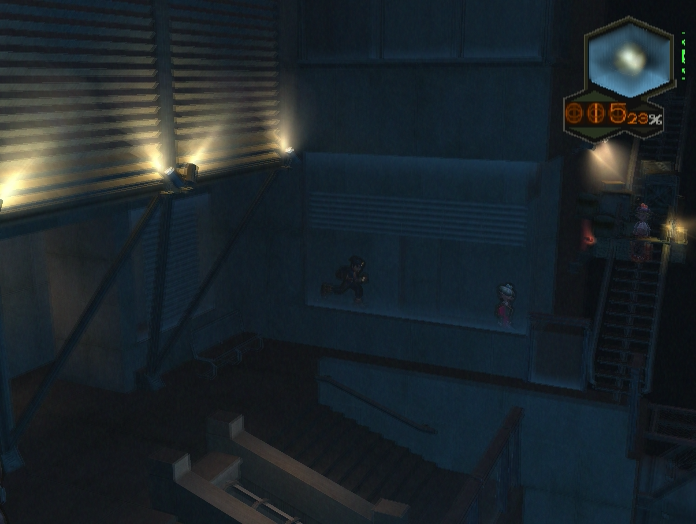
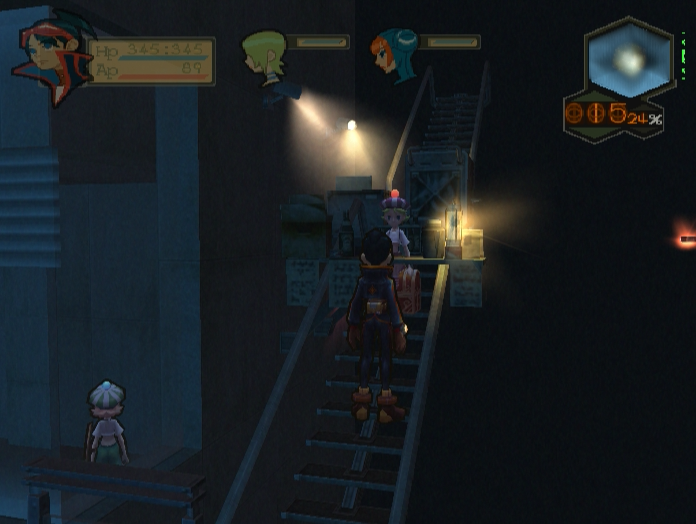
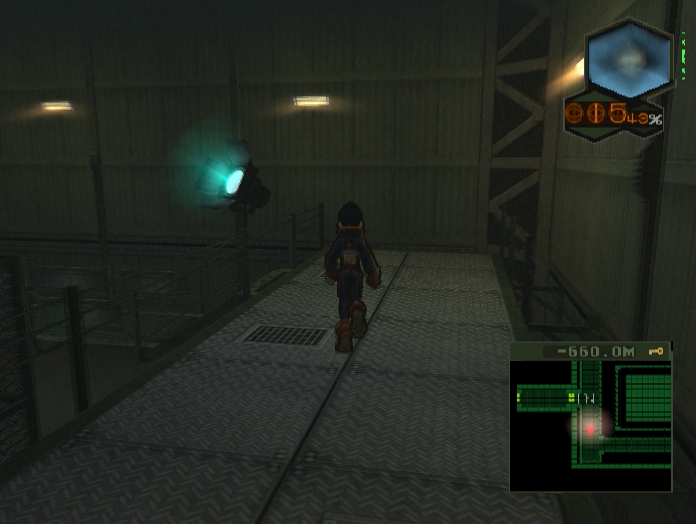
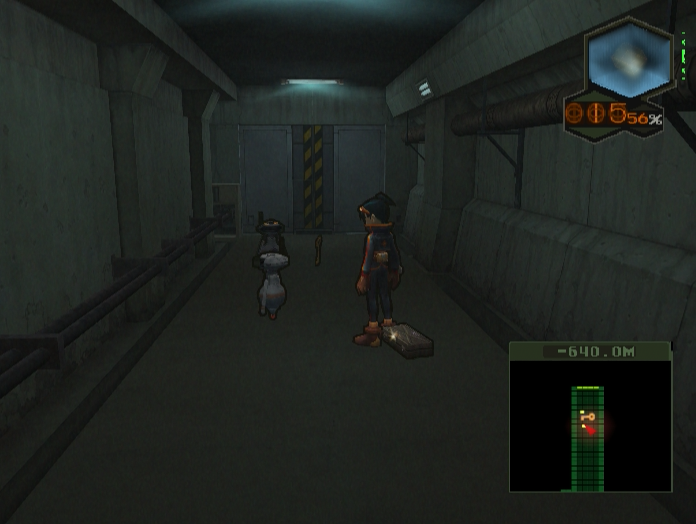
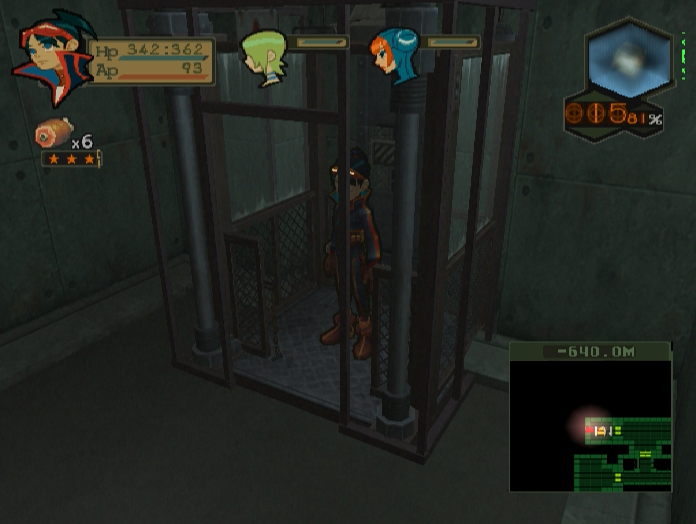
Something freaky is going on, but it’s happening far away, and our party have other things to think about. If you look at the minimap you’ll see that there are two elevators leading off from Bosch’s arena, with one going up and one going down.
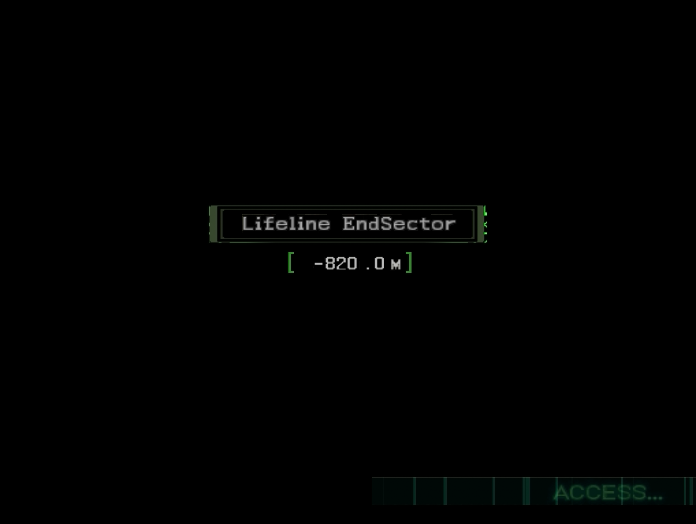
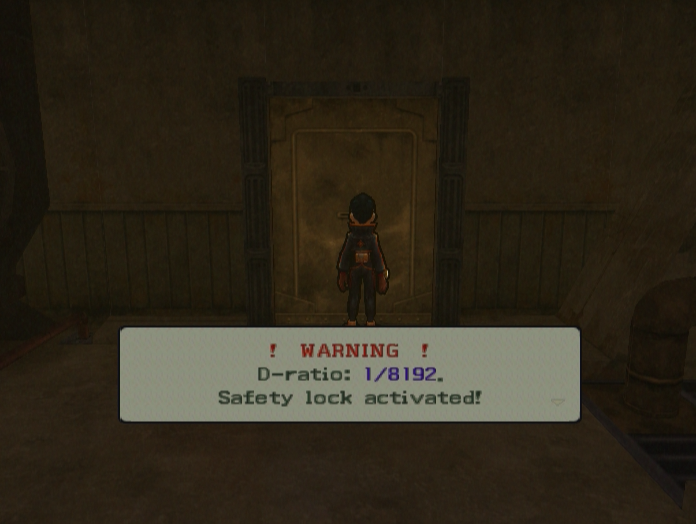
The downwards elevator leads to a U-shaped corridor that ends in a D-Ratio Door. Behind it lies the Main Shaft, an optional area we won’t be able to access until New Game+.

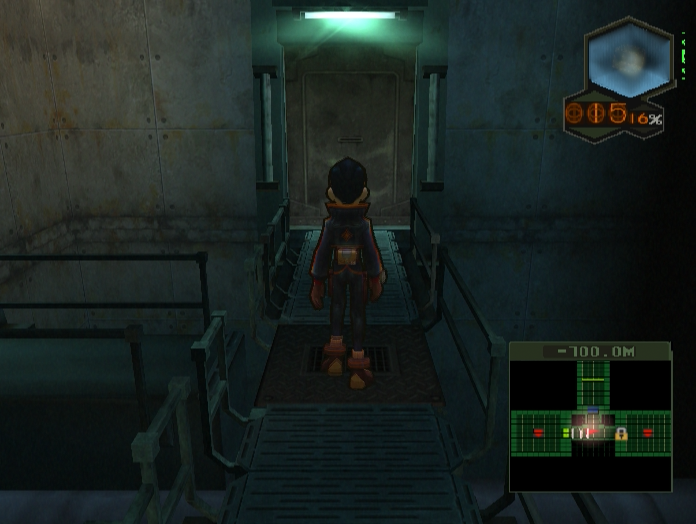
The second leads to TopSector Junction, our next destination. The door directly ahead is where the Main Shaft ends, so you come out here no matter what.
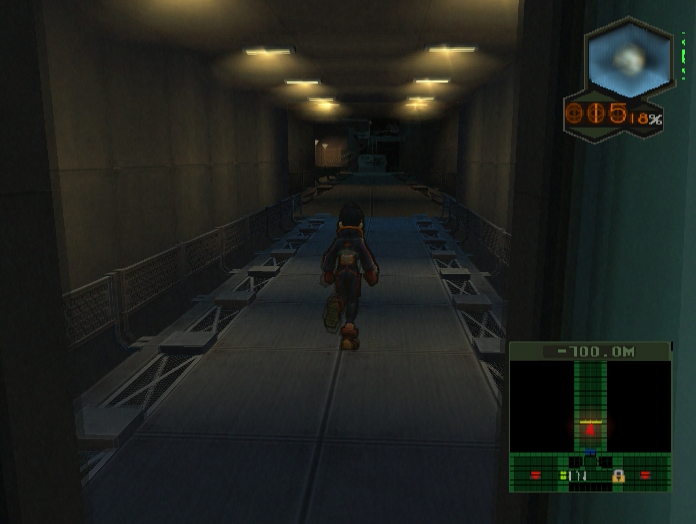
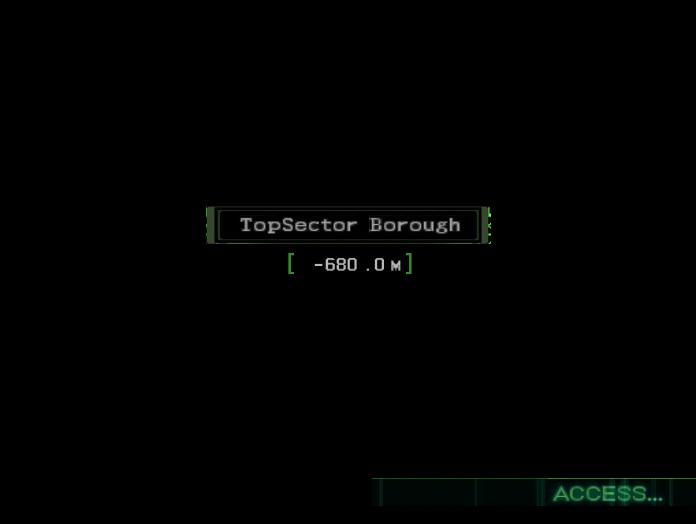
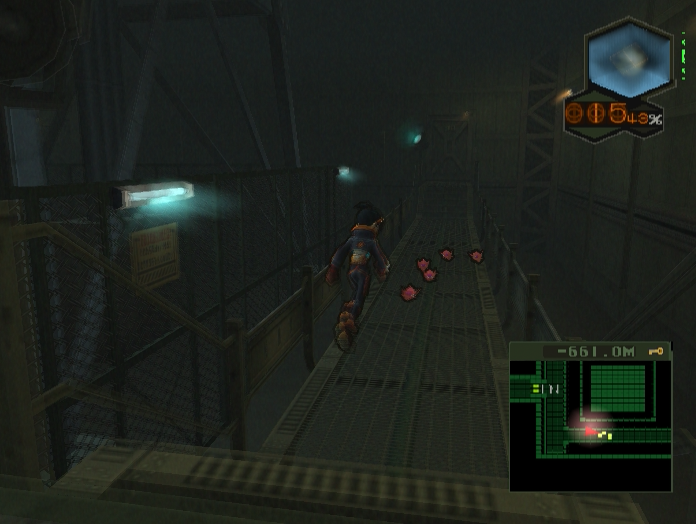
Music: TopSector Borough
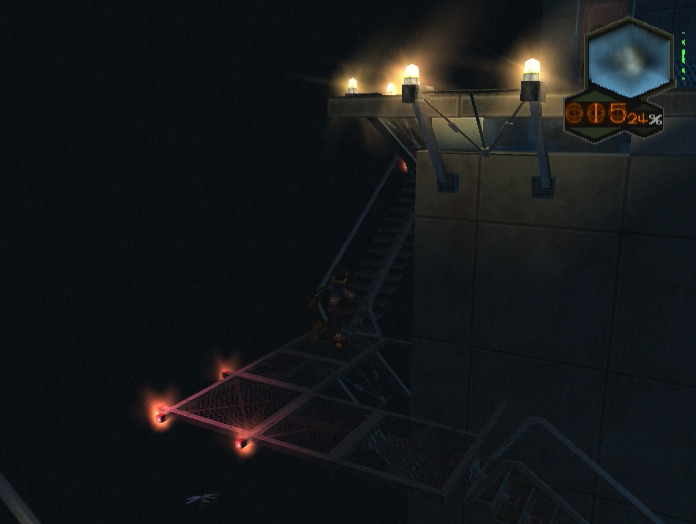
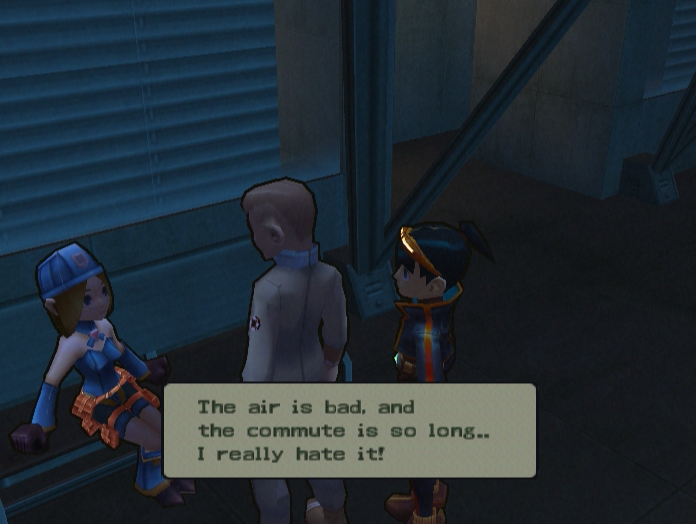
Welcome to TopSector Borough. As the name implies, this is where the upper classes live.
The décor is fairly spartan, but it’s clean and isn’t completely flooded, which is a plus.
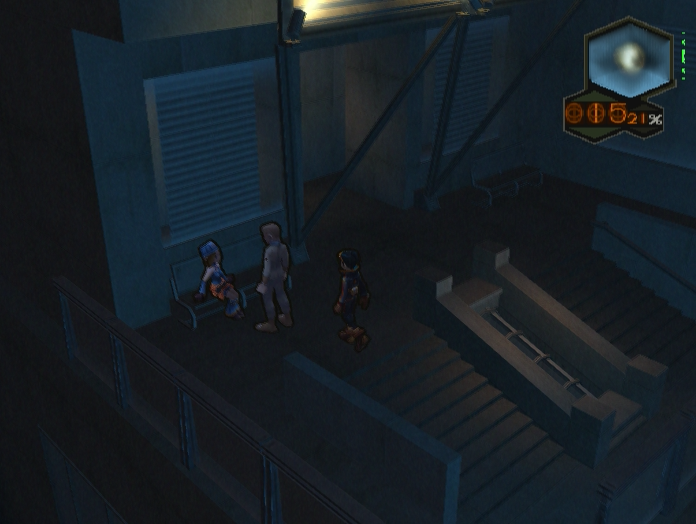
Jaju is on the lower tier near the entrance, for all your identifying and item storage needs. It’s probably a good idea to start carrying all your Trauma Kits and stat boosters around since this is the point where the difficulty really starts to ramp up.
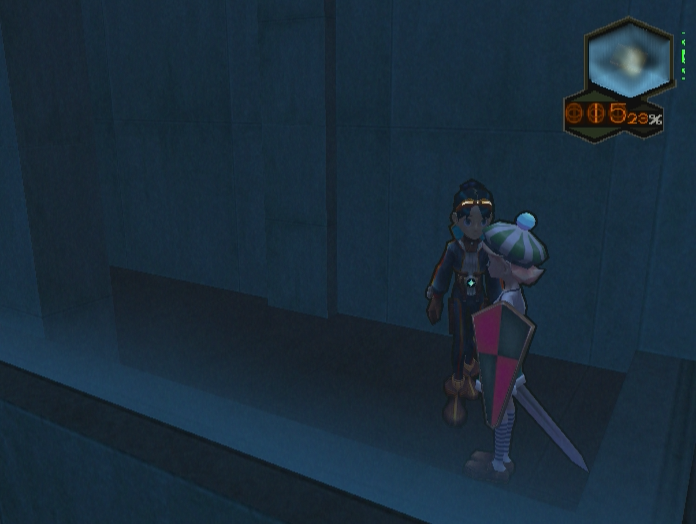
Arma is hanging out on the second tier.
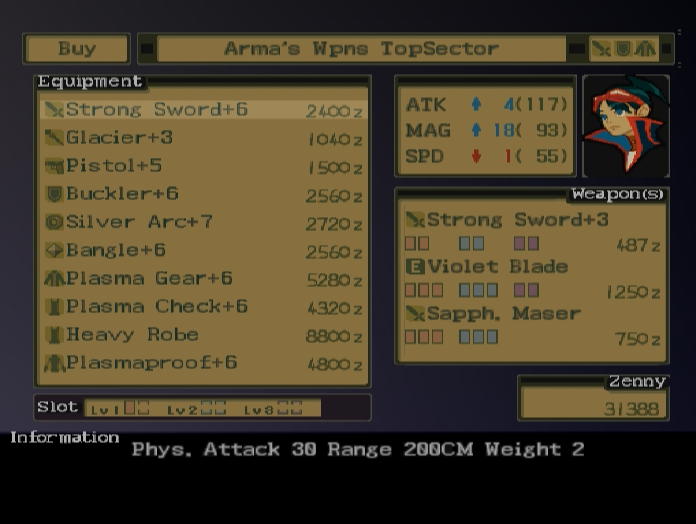
The only important things she has are the anti-electric Plasma armours. There are a lot of enemies in upcoming areas with powerful lightning spells, and cutting their damage in half will seriously increase the party’s survivability.
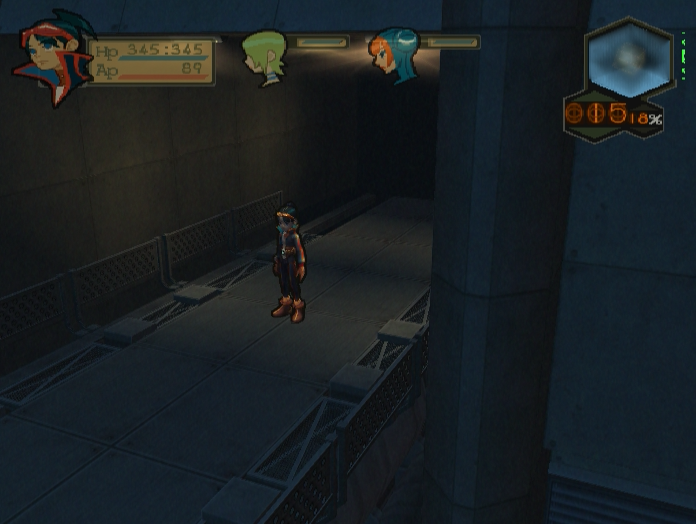
Leo is nearby, on one of the ladders leading up to the third and final tier.
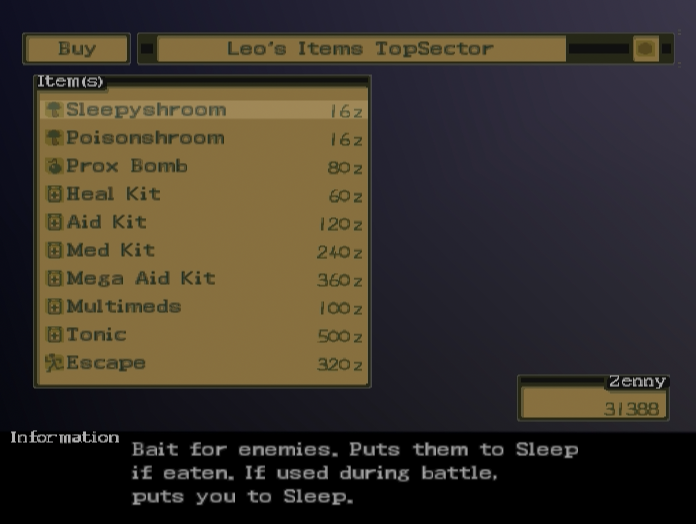
It’s the same selection she had back in MidSector Mall. Things are about to get really tough, so stocking up on Med Kits and Mega Aid Kits is a very good idea.
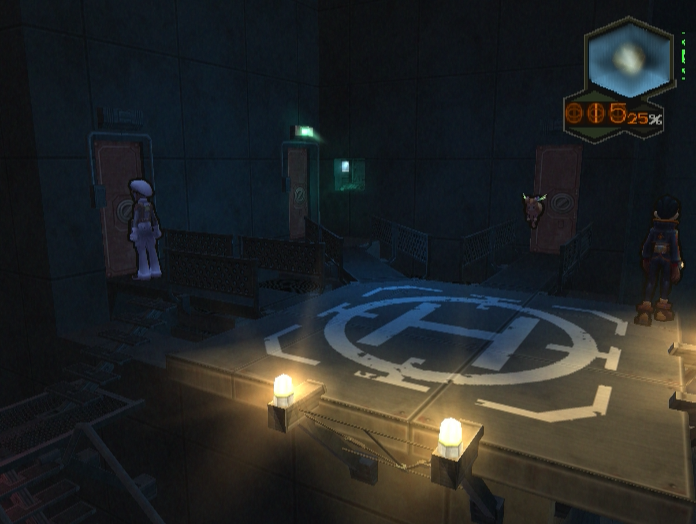
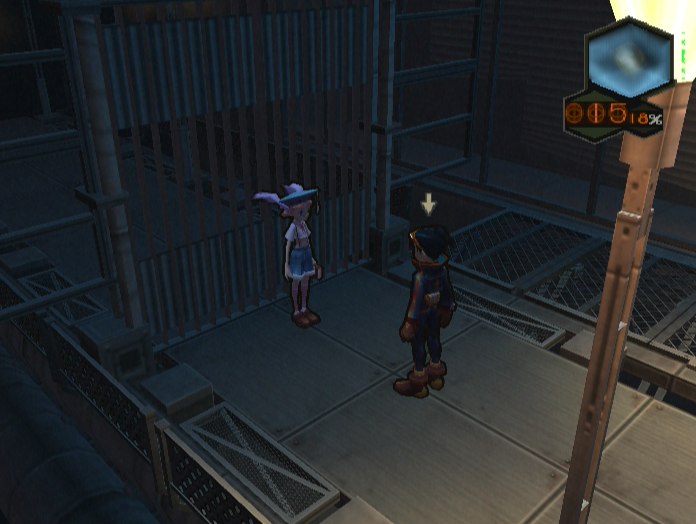
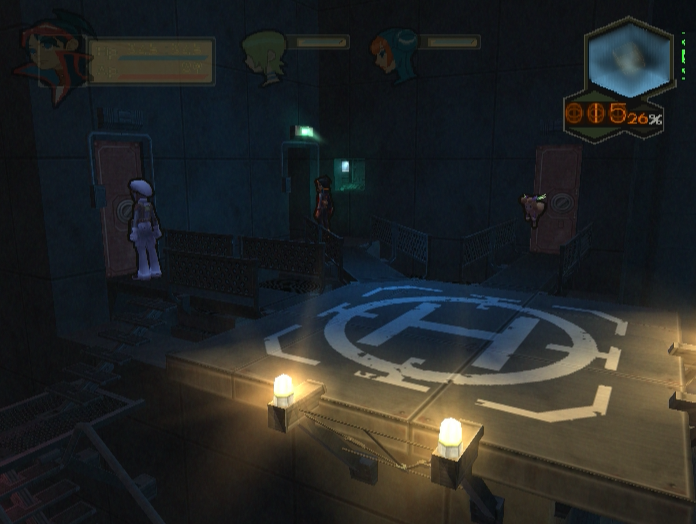
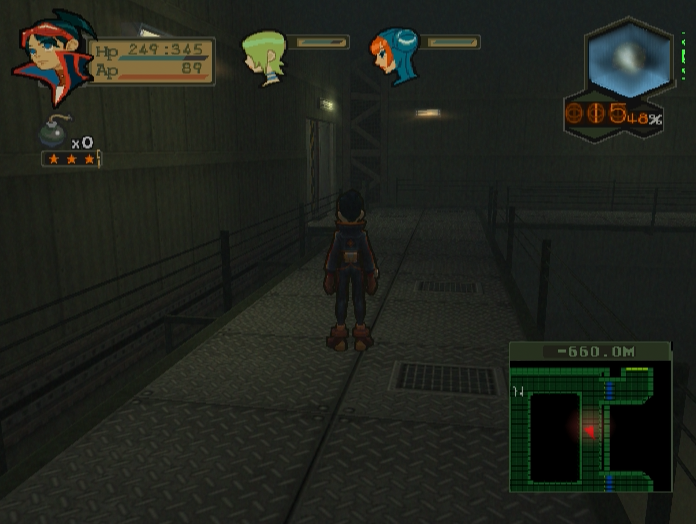
The uppermost tier has a helipad. I’m…not sure what use a helicopter would be underground, but whatever. There’s a fairy hanging around up here to take you to the Fairy Colony and give you more Fairy Drops if you lost them.
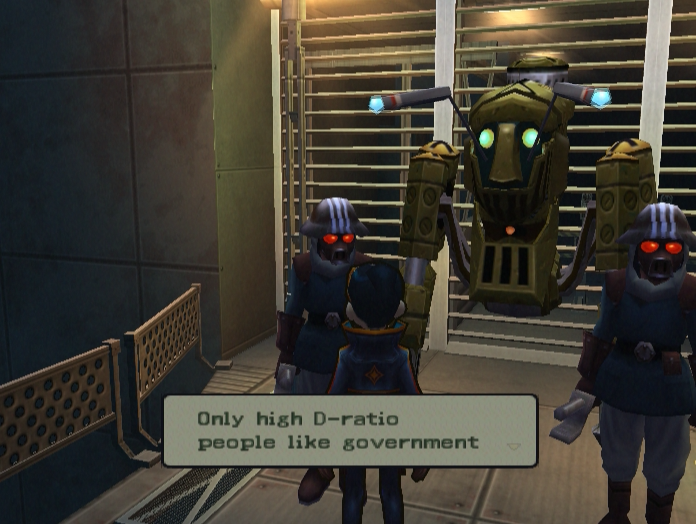
 :…workers are allowed to live on this level.
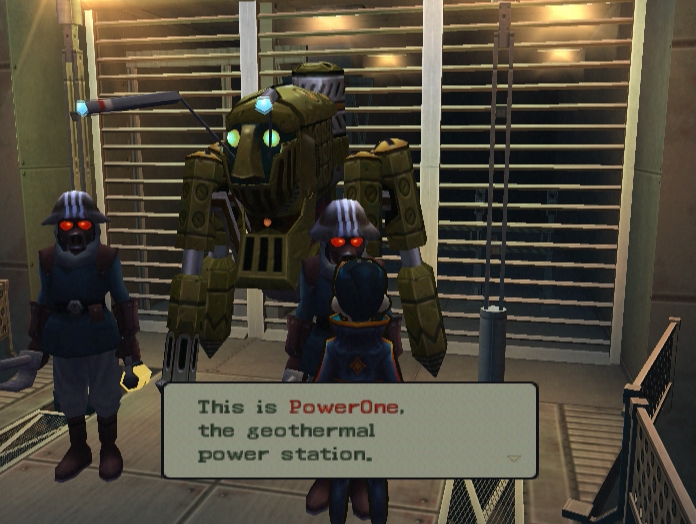
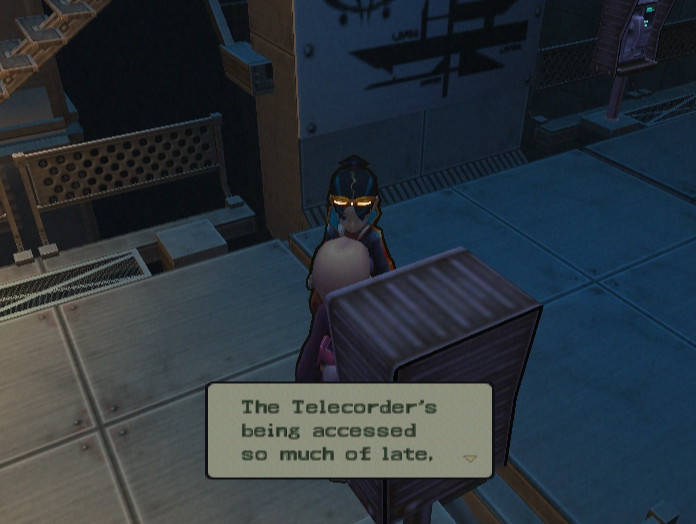
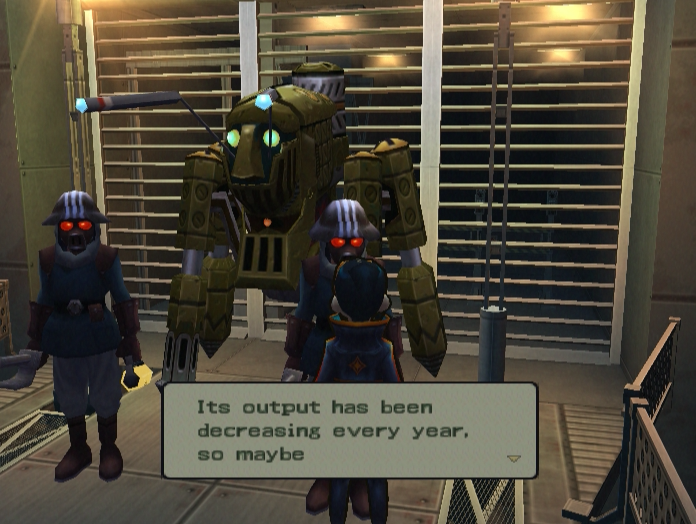 :…the lower levels aren’t getting as much…
Talking to the guards at the bottom yields this little nugget of intel. Everything inside Sheldar is breaking down, even their main reactor. Unless something gives soon, it’s all going to come tumbling down.

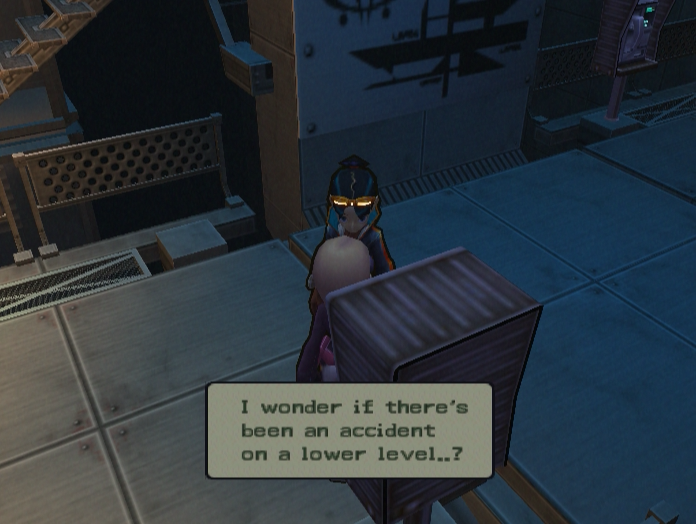
Yep, there have been some accidents alright.


Well I’m glad to hear you’re doing fine. Don’t tire yourself out feeling sympathetic for the Low-Ds toiling beneath you or anything. Also, is that an Umbrella Corp logo on that guy’s sleeve? Given what BioCorp have been up to it really wouldn’t surprise me.
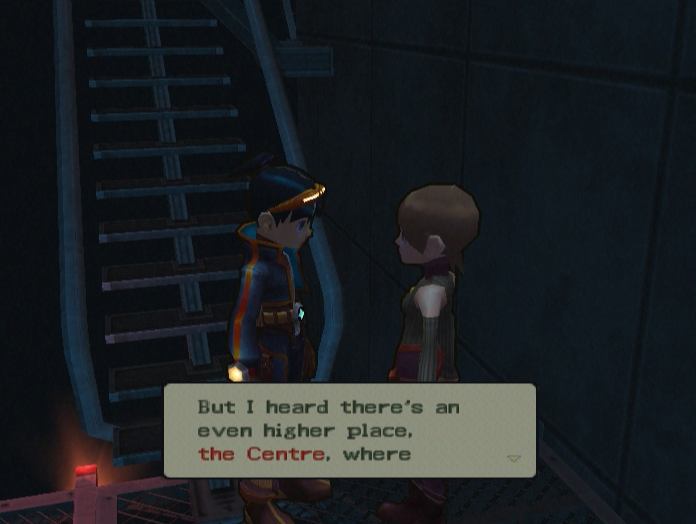
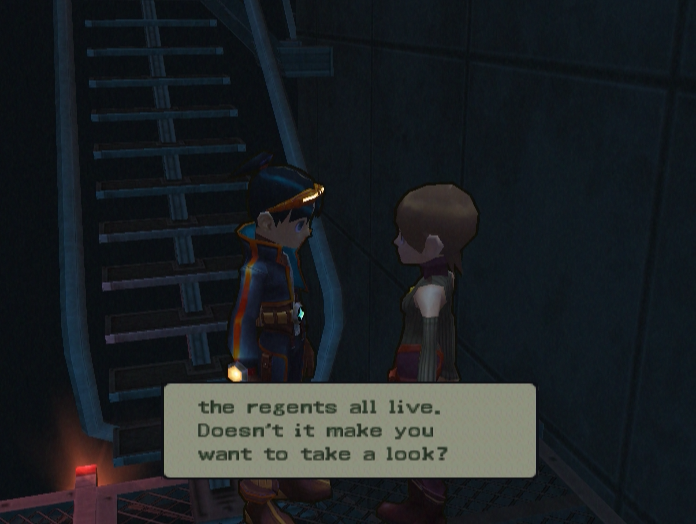
TopSector isn’t the most affluent district. There’s an even more exclusive area reserved for the Regents. Perhaps we’ll pay them a visit soon…
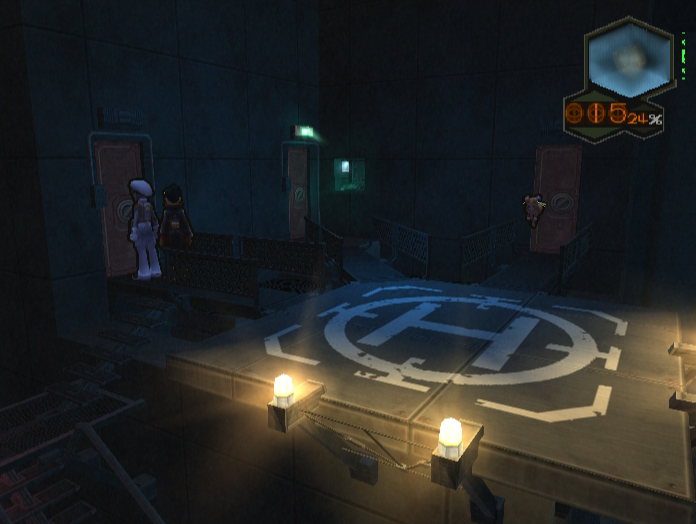
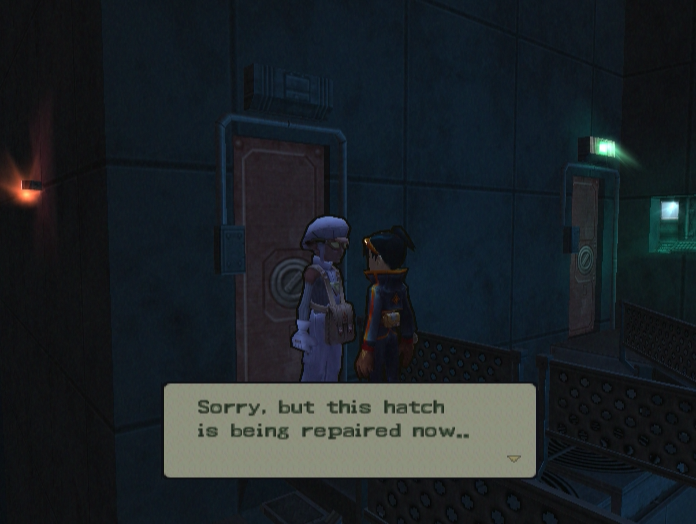
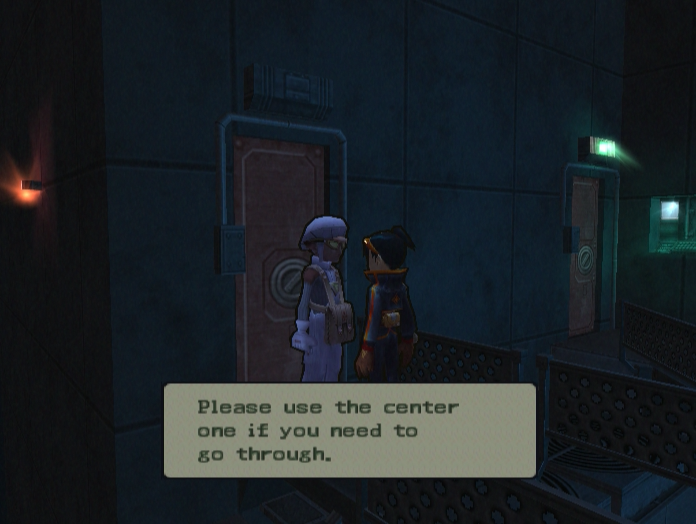
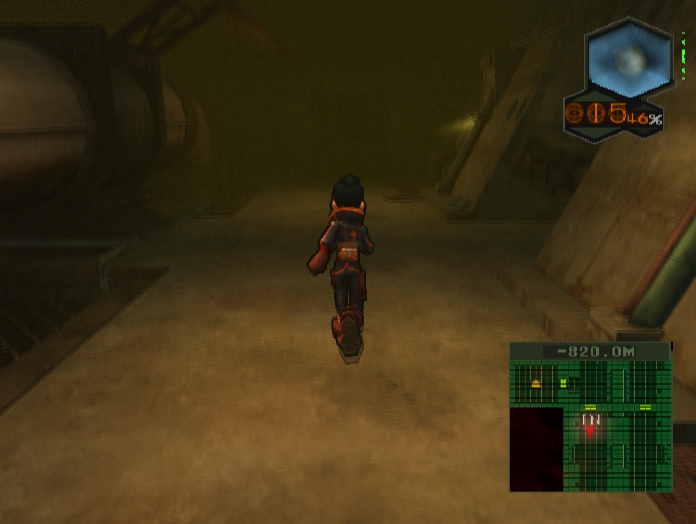
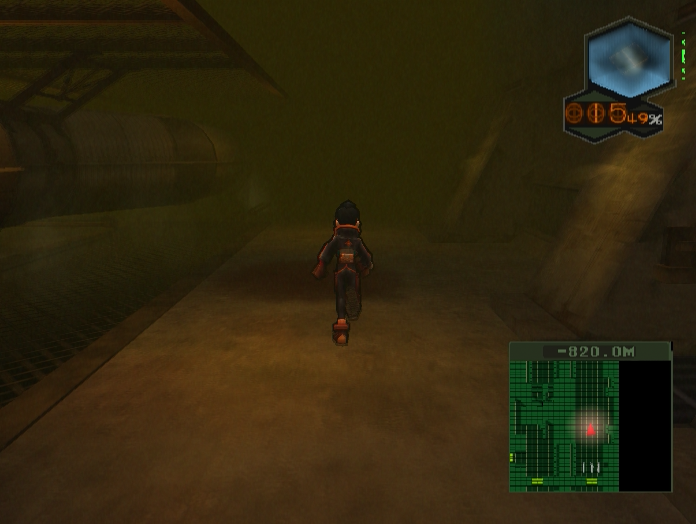
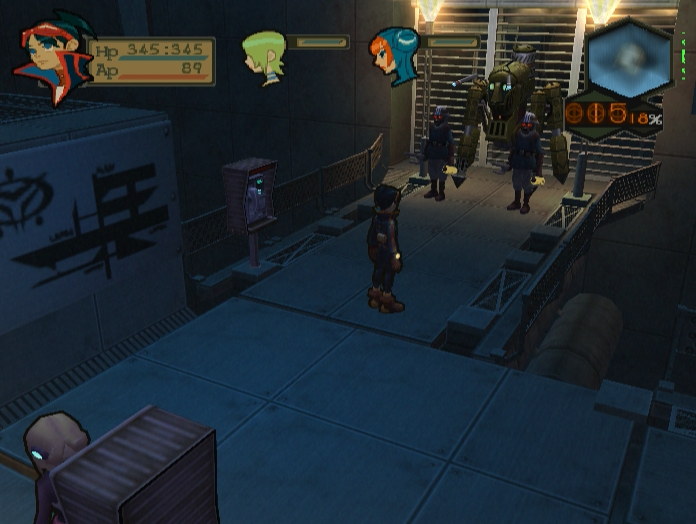
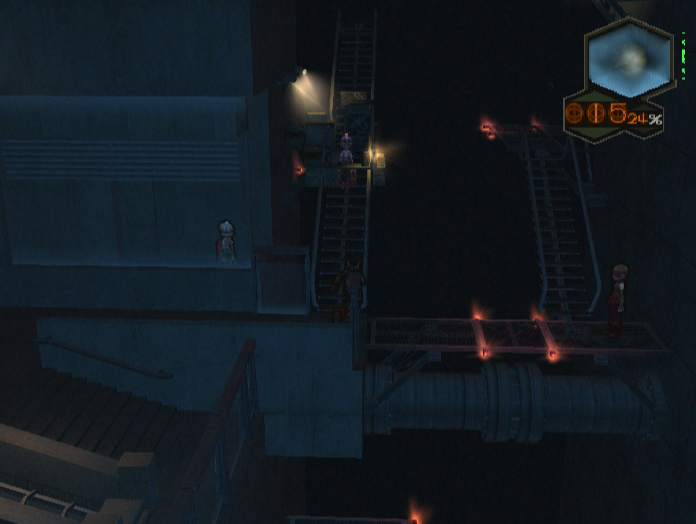
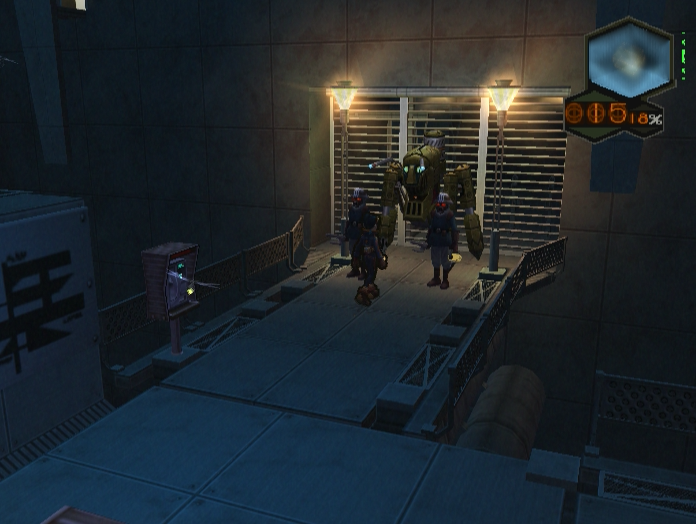
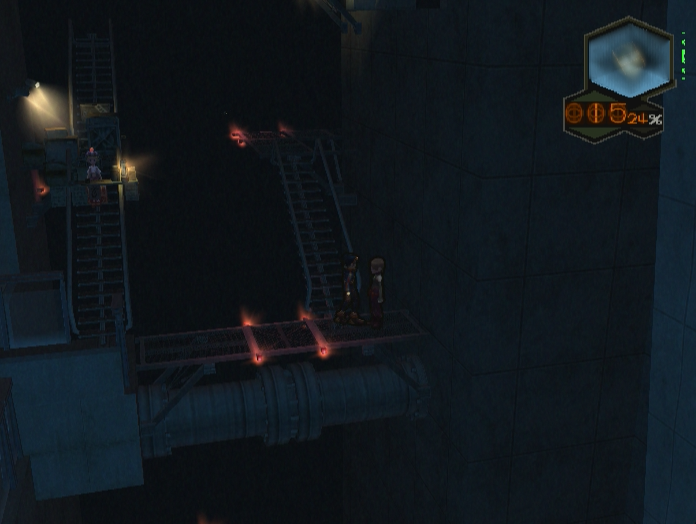
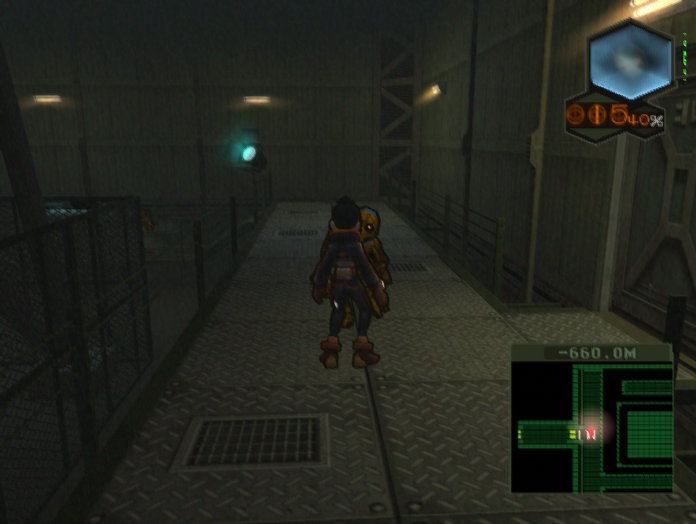
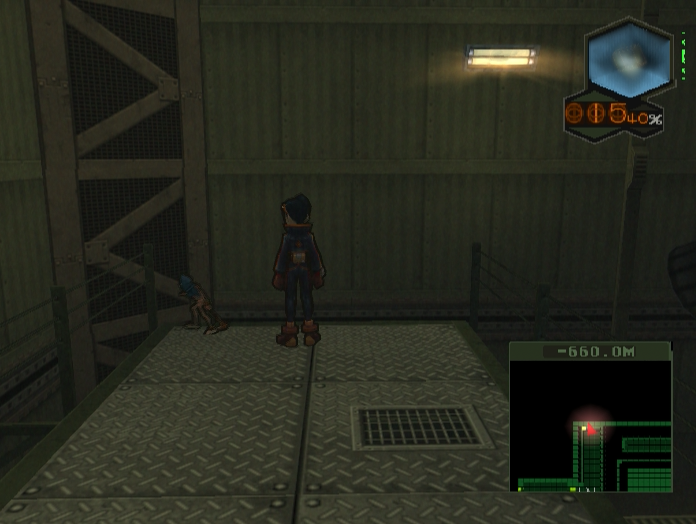
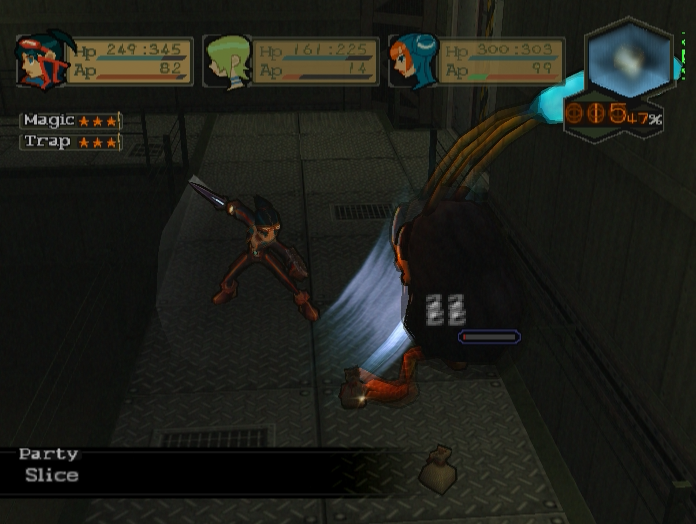
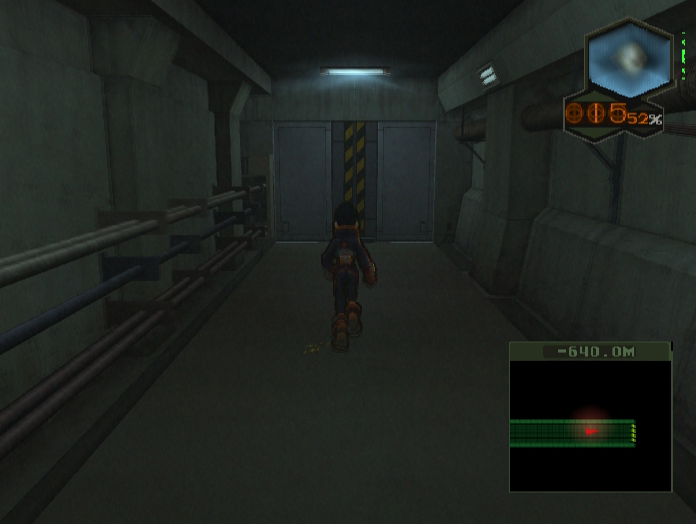
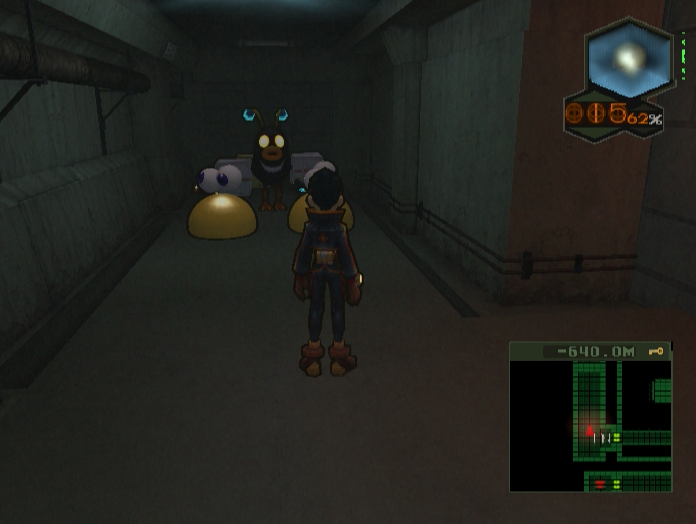
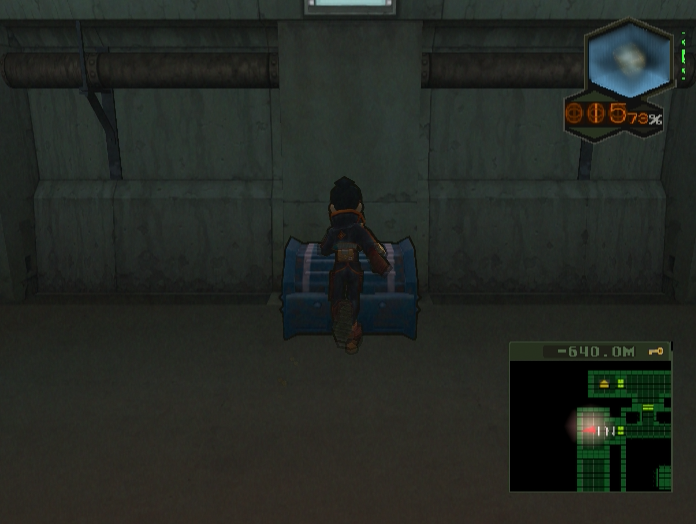
The main doors to Power One are guarded, but this engineer doesn’t seem to care if we hop on in through one of the maintenance hatches.
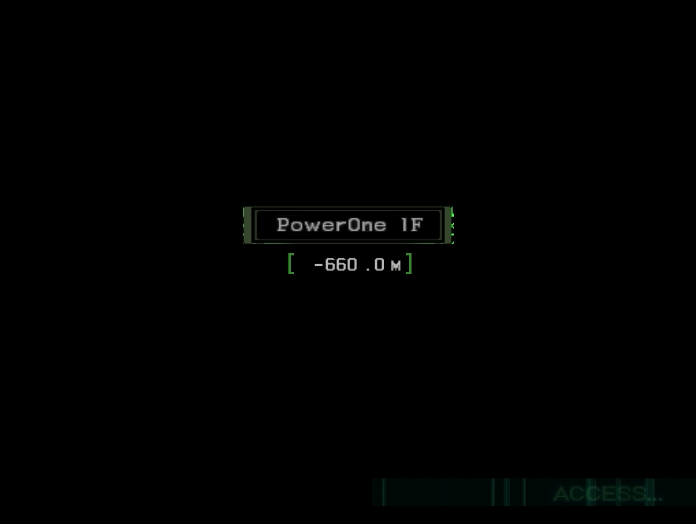
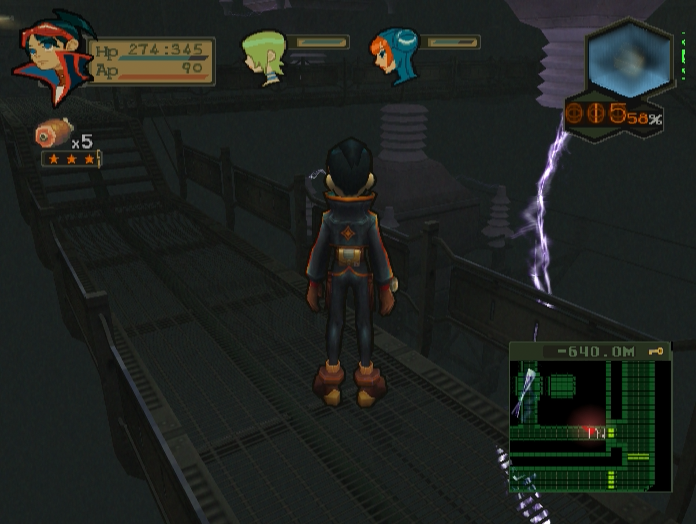
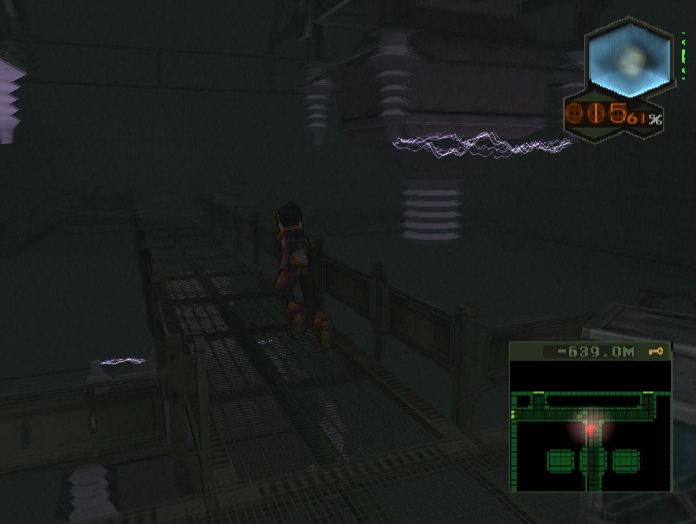
Music: Power One
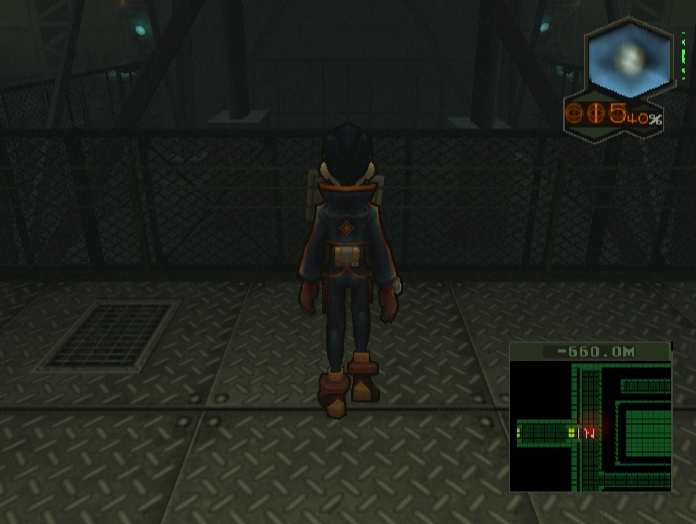
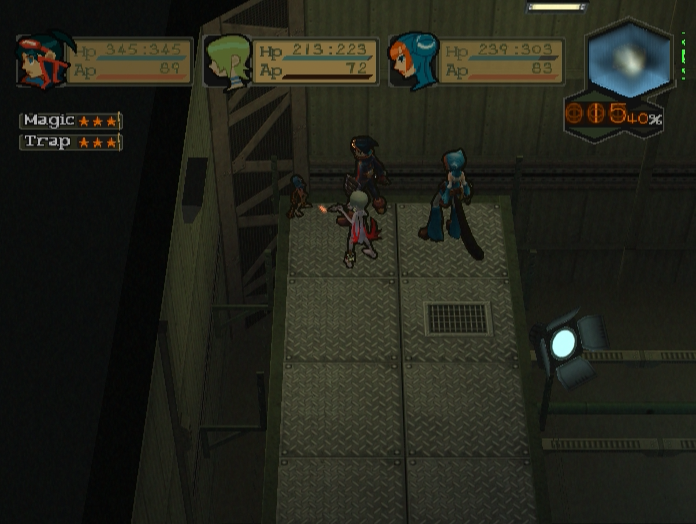
Welcome to Power One. We aren’t quite at the endgame yet, but we’re rapidly approaching that point, and the challenge of this stage reflects that.
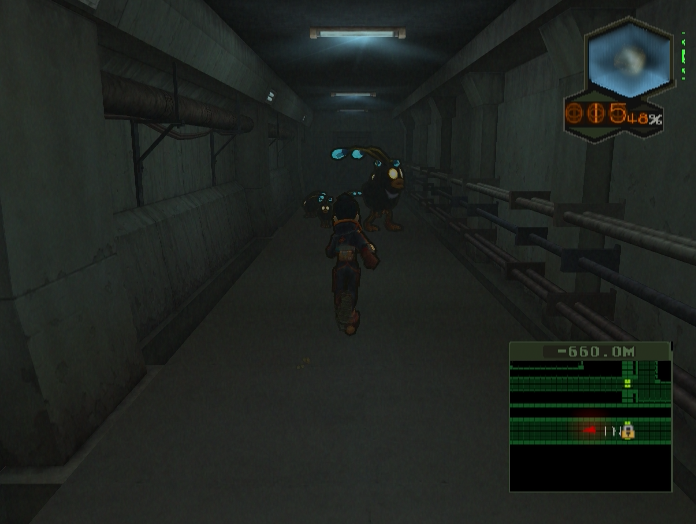
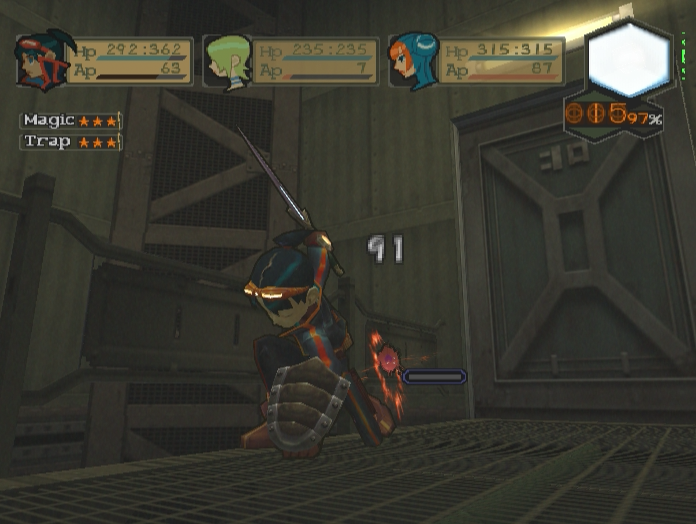
For instance, if you don’t immediately run left when you enter you’ll find yourself bum rushed by this guy.
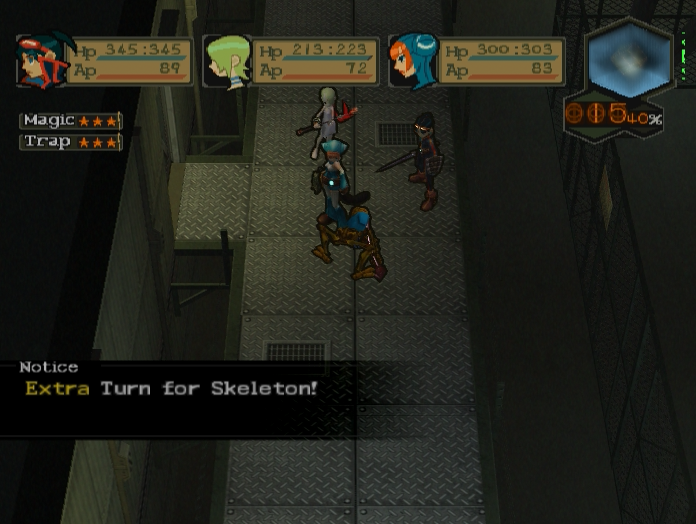
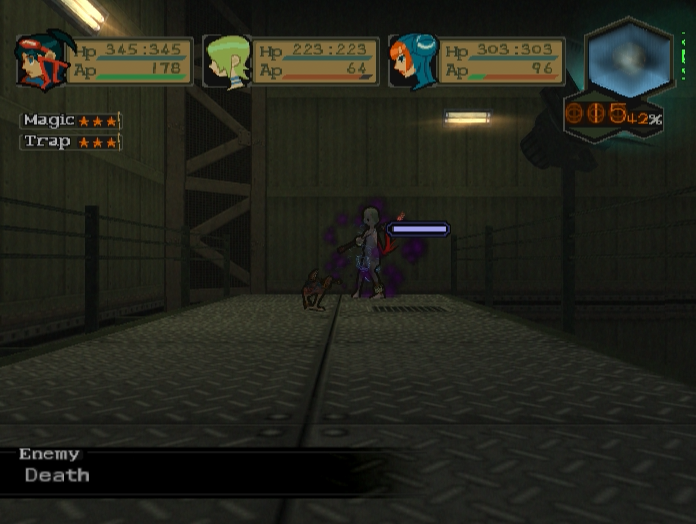
Skeletons are the next tier up in the undead enemy category. They are faster and stronger than Zombies, but share their general fragility and crippling weakness to fire.
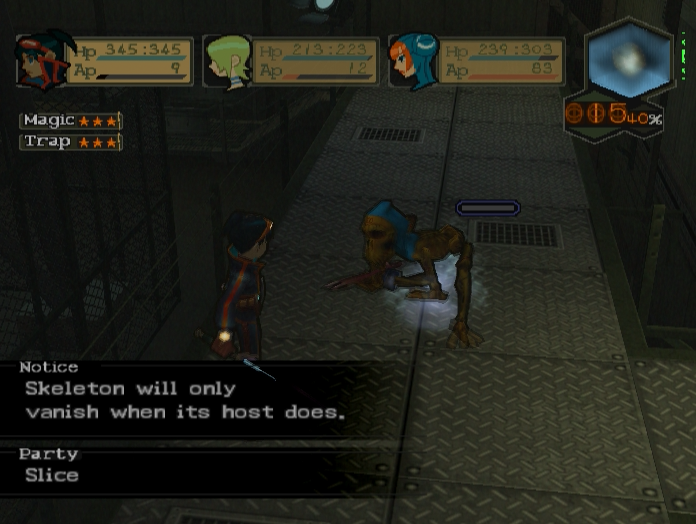
They also won’t die for good unless you kill their hosts.
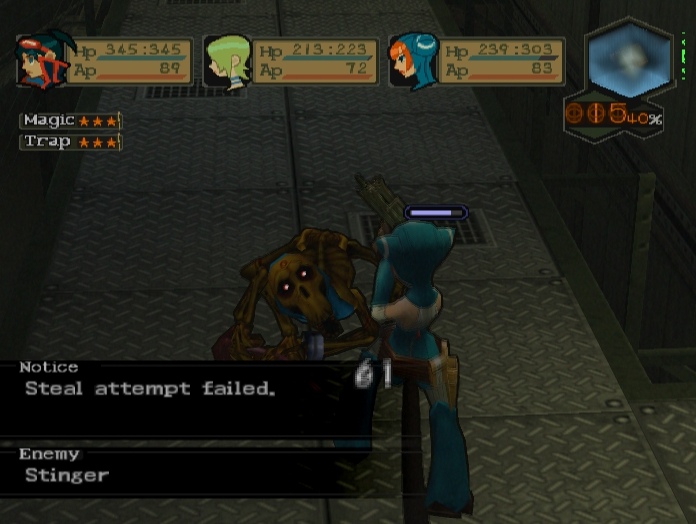
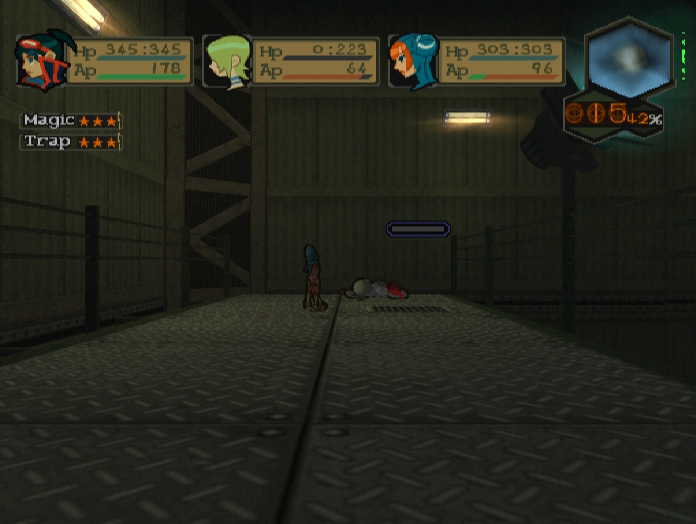
The hosts in question are these comically tiny wizard creatures, or Karons as the game calls them.
Karons might look amusing, but trust me when I say they’re no joke at all and are possibly the most dangerous enemies in Power One.
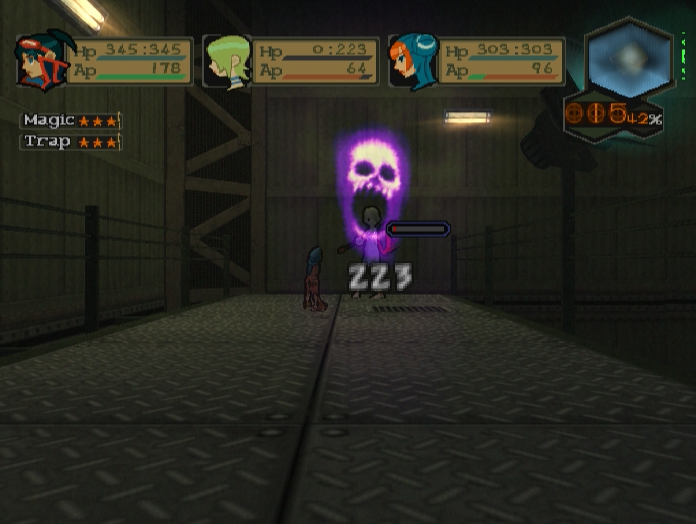
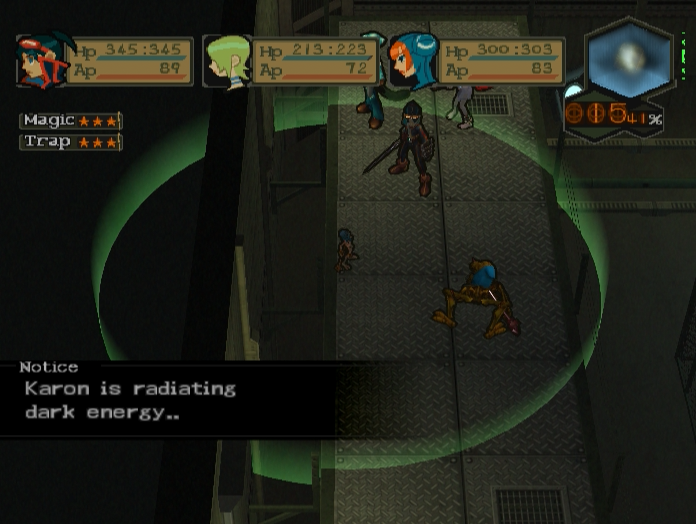
The reason being that they can cast Death to instantly kill your party members. There’s armour that makes characters immune to it, but you won’t have access to it unless you’ve been doing the Ant Colony sidequest.
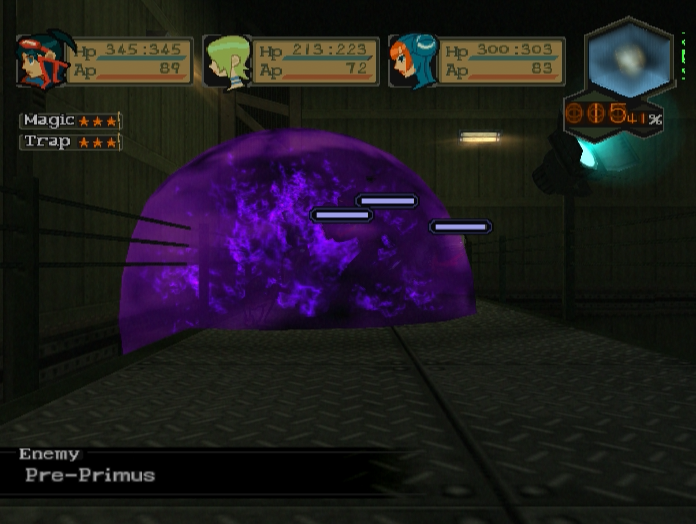

They can also cast Pre-Primus to take a big chunk off everyone’s HP, while regenerating a portion of their own health at the end of each turn.
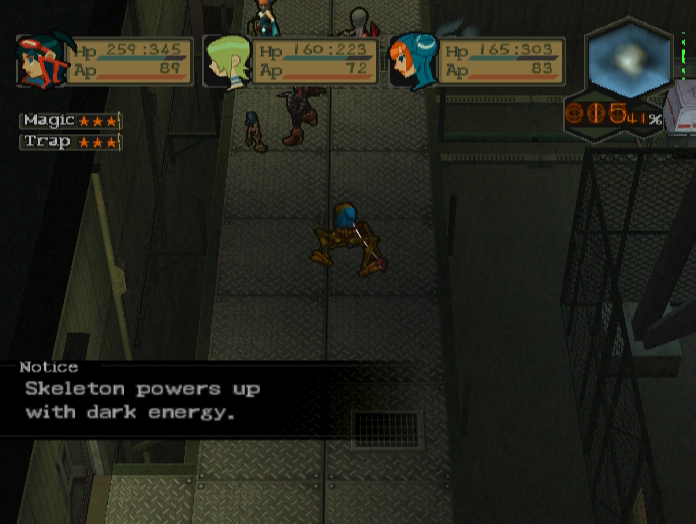
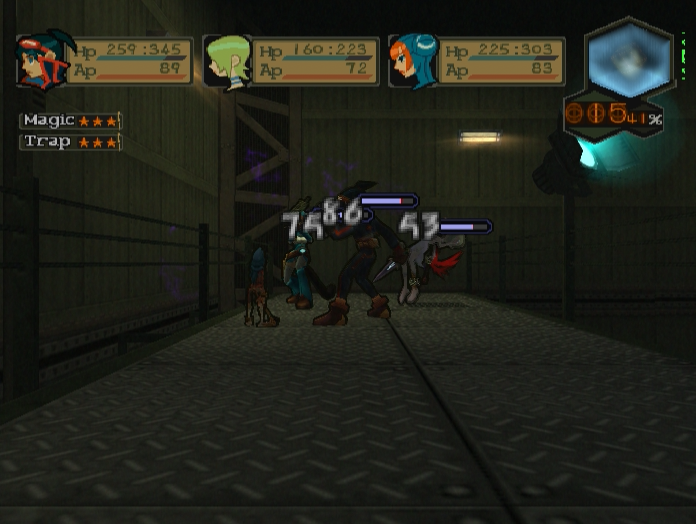
It gets even worse if a Skeleton happens to get involved as well, as Karons have a passive ability that buffs up their bonded undead.
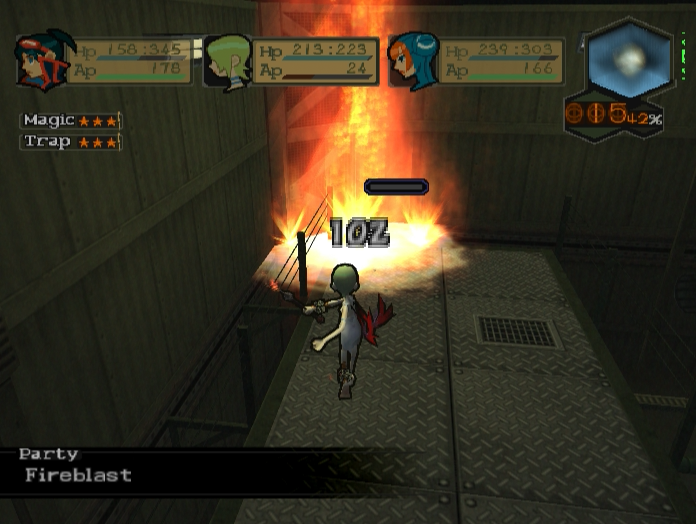
Thankfully, Karons are undead themselves and share their underlings’ weakness to fire. Abusing this is the key to victory.
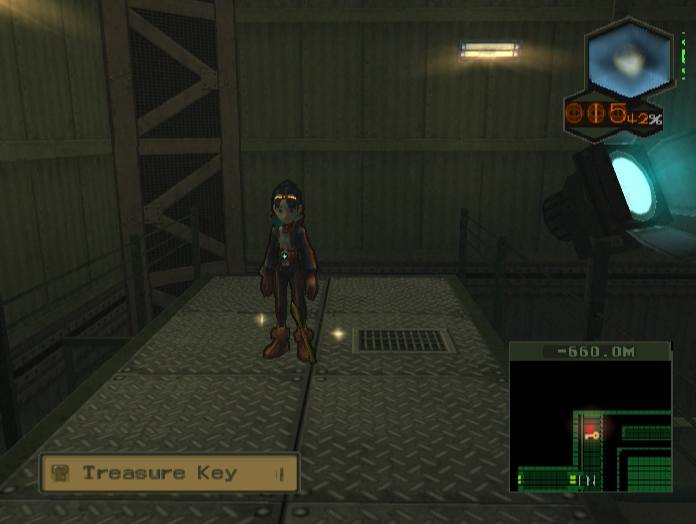
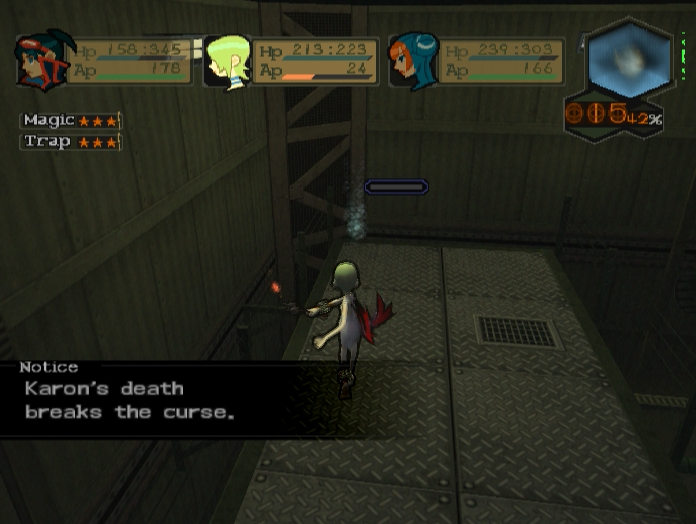
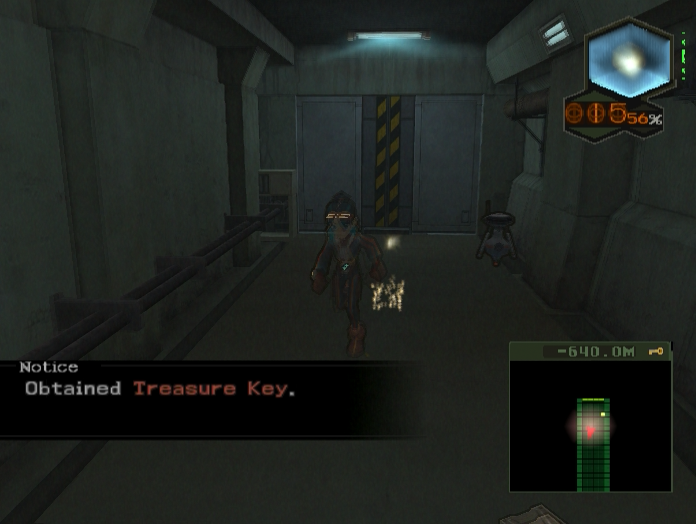
Killing the first Karon causes the Treasure Key to appear.
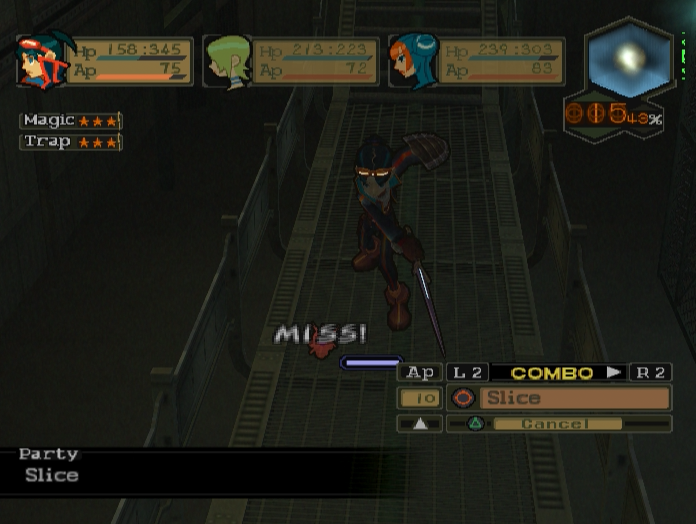
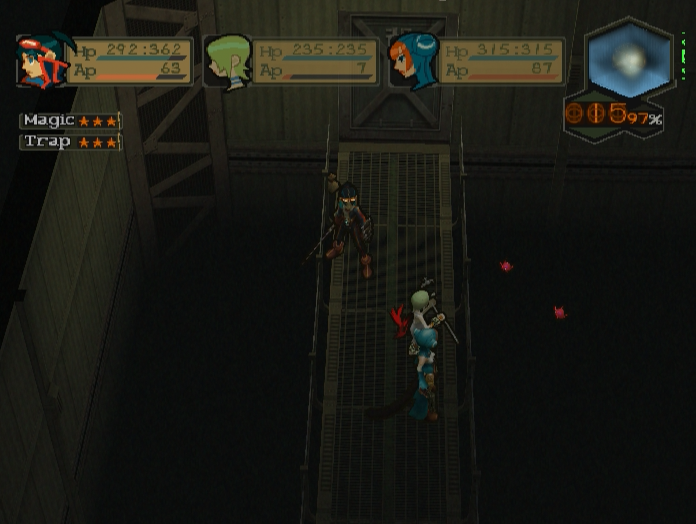
Opposite the Karon is a walkway infested with these little red Brokenheart palette swaps.
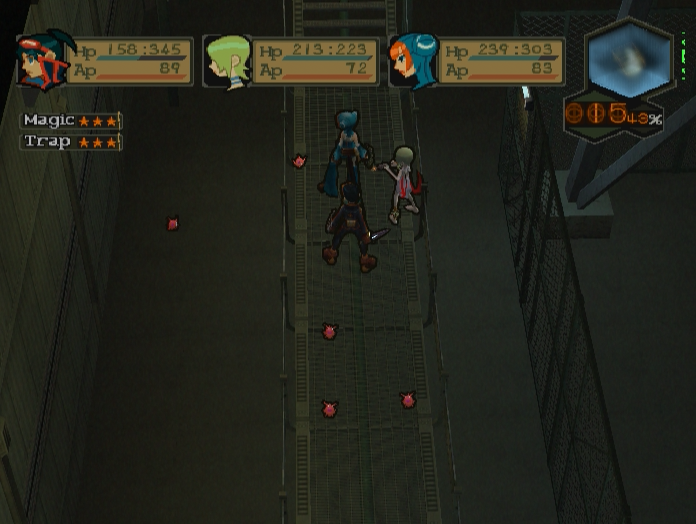
These guys are Crushedhearts, and they are the second most dangerous enemy in the level. I can almost guarantee that every player who ever made it this far wiped to them at least once before figuring out their gimmick.
At first glance Crushedhearts seem identical to their green cousins. They have sky-high evasion and can put your party members to sleep, but don’t have that much HP and die quickly once you actually start hitting them.
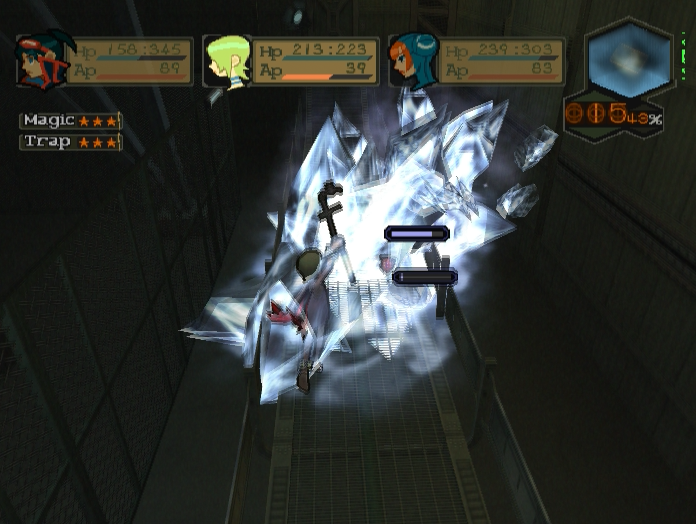
You can actually get rid of their evasion by targeting them with ice spells. According to the thread you can also do this to Brokenhearts.
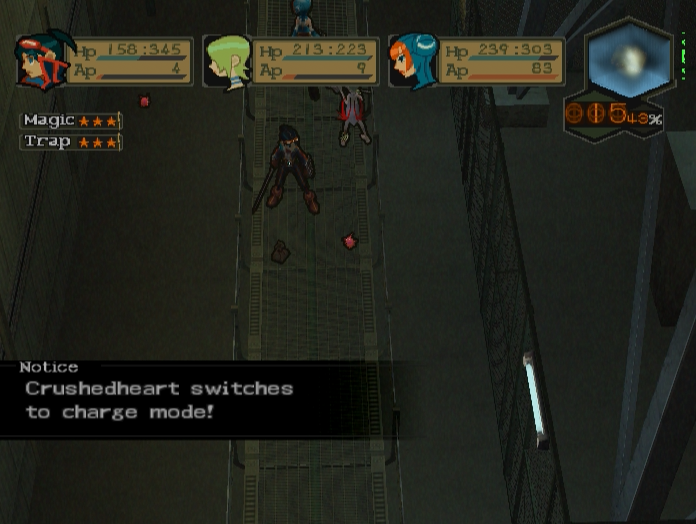
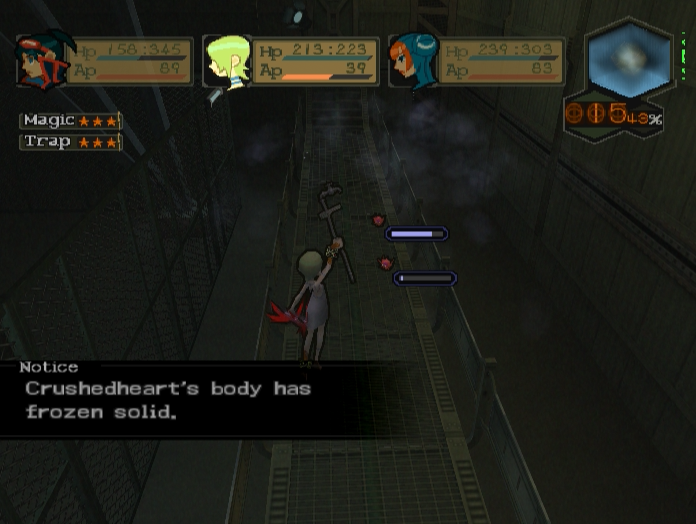
The problems start once you kill one. Killing one Crushedheart will cause all the others to go into ‘charge mode’. What does this mean? Well…
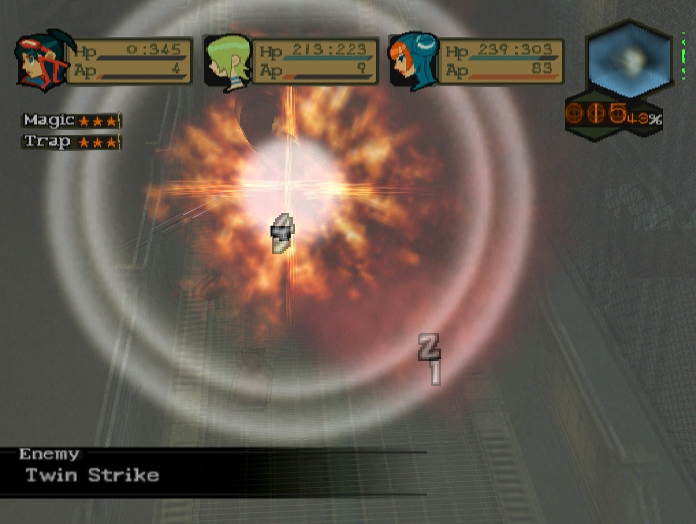
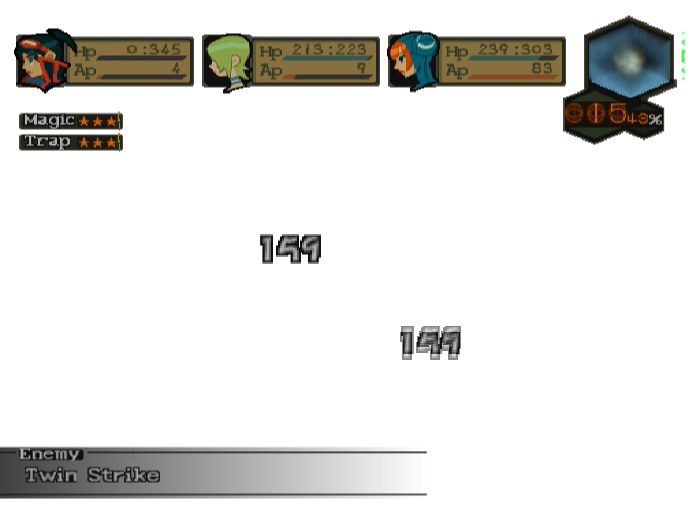
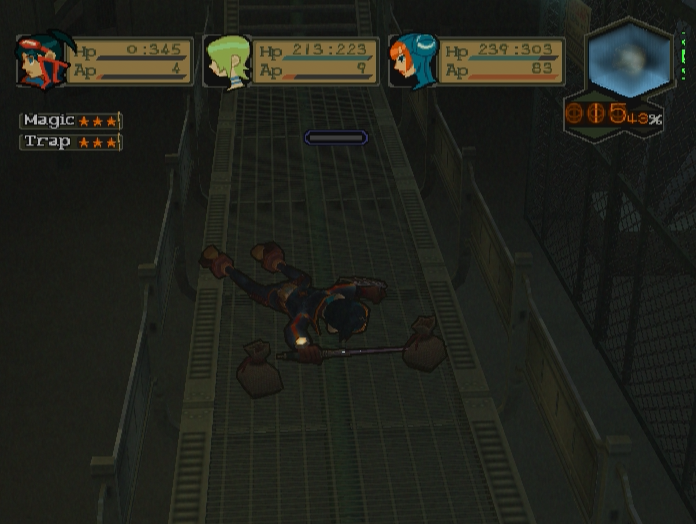
In a nutshell, it turns all the other Crushedhearts into suicide bombers who’ll use Twin Strikes to deal damage equivalent to their remaining HP.
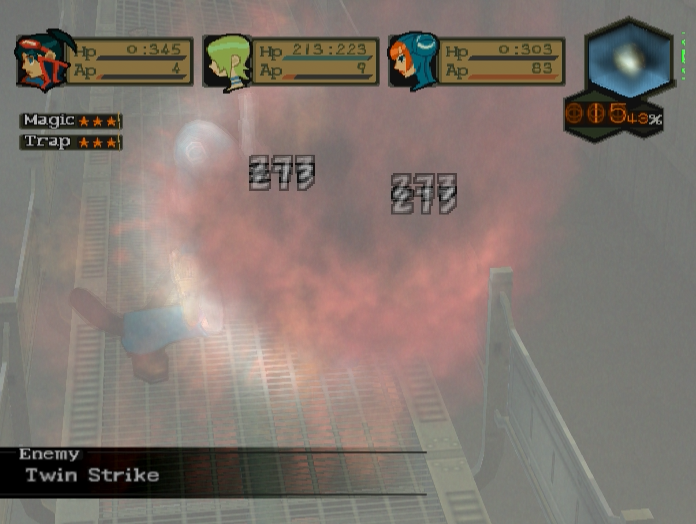

Don’t underestimate the little red jello-creatures. Try to deplete their HP evenly rather than focusing on just one or two, then quickly kill them all off in a single turn. Otherwise you’re going to have a very bad time.
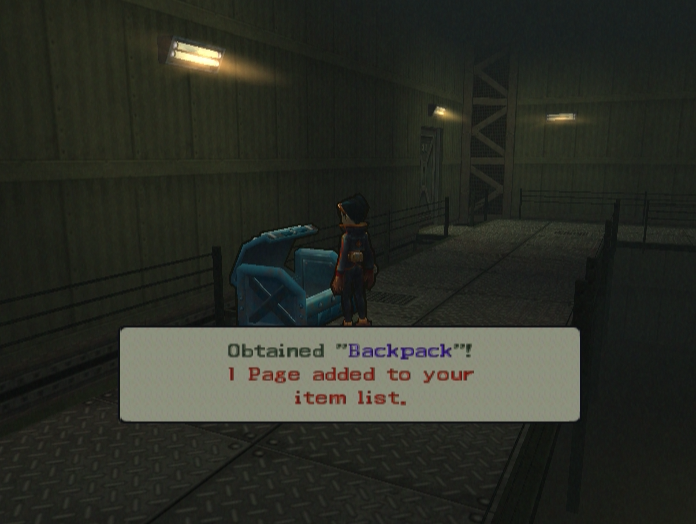
The next room contains the Treasure Chest, which holds the penultimate Backpack expansion of this run.
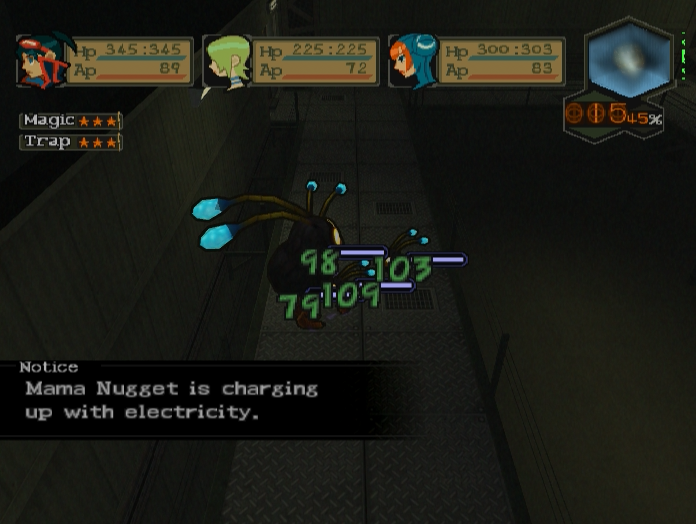
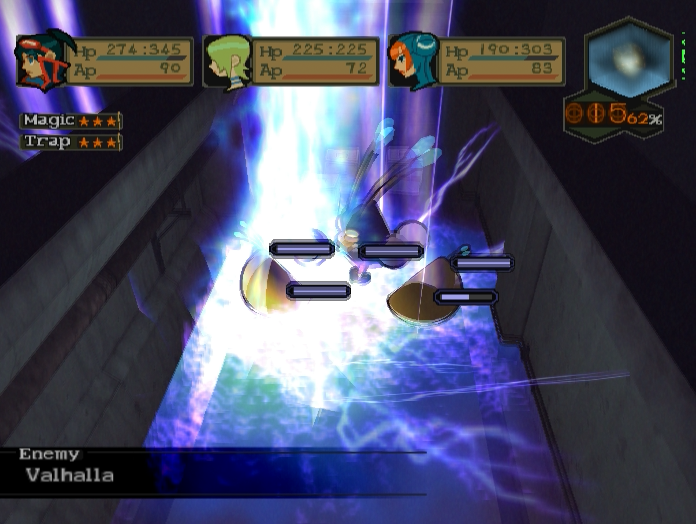
On the other side of the walkway are some Nuggets, a Mama Nugget, and the hitherto unseen Papa Nugget.
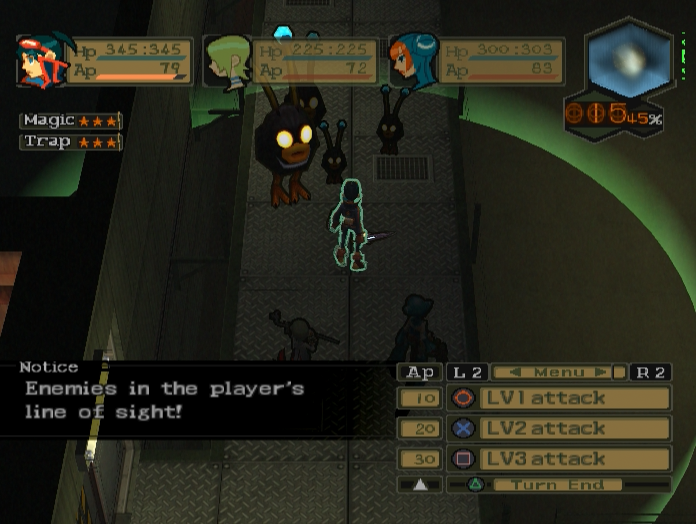
None of these enemies are particularly troublesome aside from the Papa Nugget, and even he isn’t much of a threat.
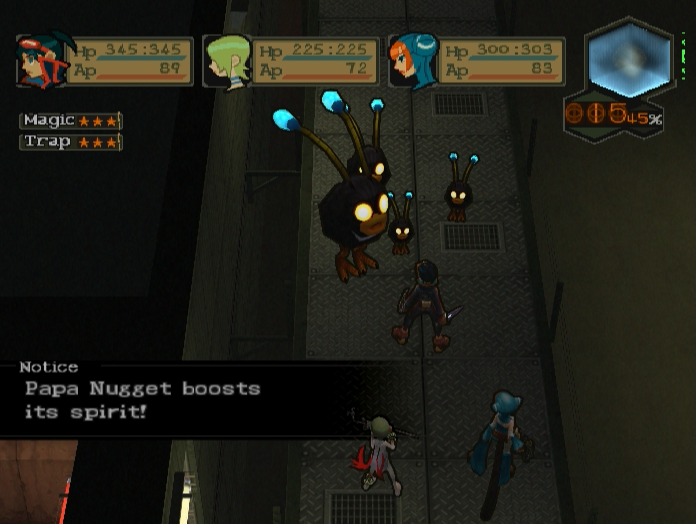
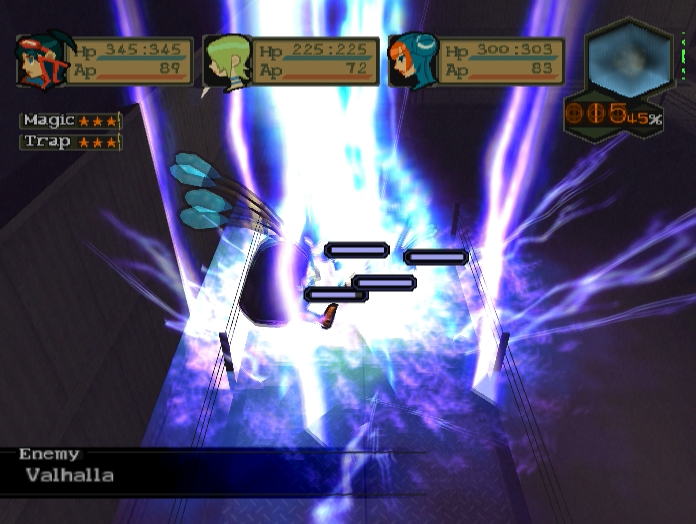
He has access to Valhalla, the most powerful lightning spell in the game, but only uses it on himself in order to heal and charge up his allies. Even then, the healing and stat boost isn’t enough to stop the player steamrolling them.
In the end Papa Nugget’s meaty defences and bloated 1100 HP are his only real assets. He has some knockback attacks and a stunning attack, but we can deal with those by now.
After brutally murdering the innocent family of Nuggets we have two choices as to how to proceed. Looking at the minimap will show that there are two doors leading out of this area; one to the north and one to the south. As in the Industrial Sector, both routes ultimately lead to the same area, but it’s worth doing both since each has its own Treasure Chests and items.
We’ll begin by taking the southern entrance, since that route contains more useful items.
Music: Imminent Crisis
There’s a Danger Room a few corridors ahead containing another Nugget family. We don’t get anything special for killing them.
Music: Power One
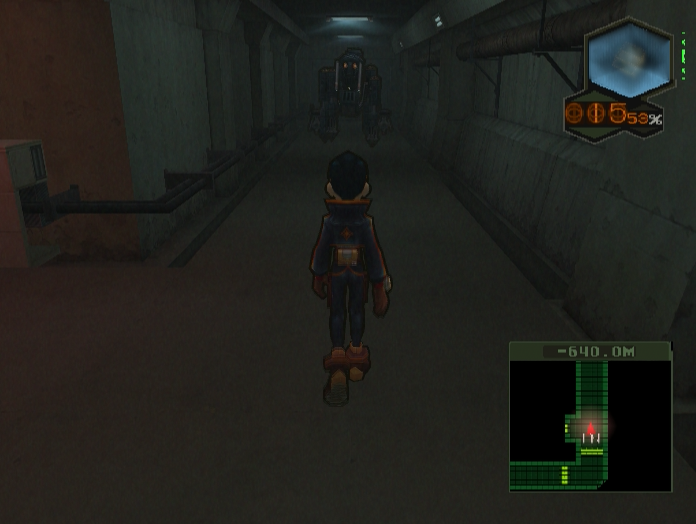
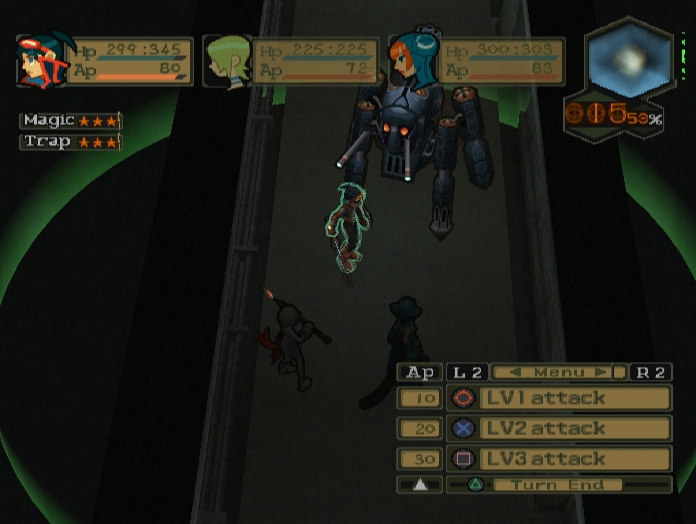
Up ahead we are confronted with a Proto-Karel, a robotic sentry resembling an oversized Capek.
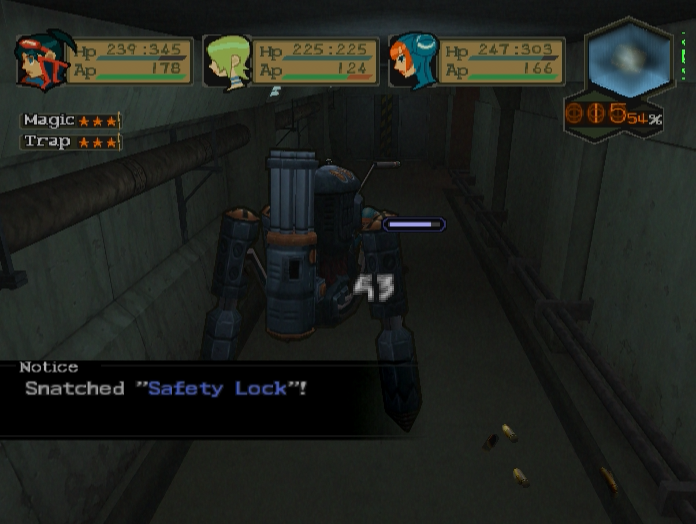
It has a moderately powerful gatling gun that can hit multiple party members, and while GameFAQs claims it has a gravity gun that can deal 50% of a character’s current HP I’ve never seen it happen.
The real threat is if you’re unlucky and these two robots behind it get dragged into the fight as well.

RescueMechs are robotic support units.
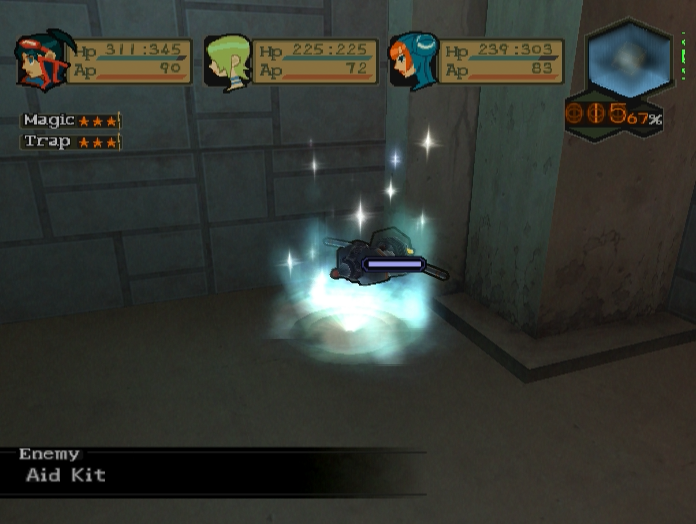
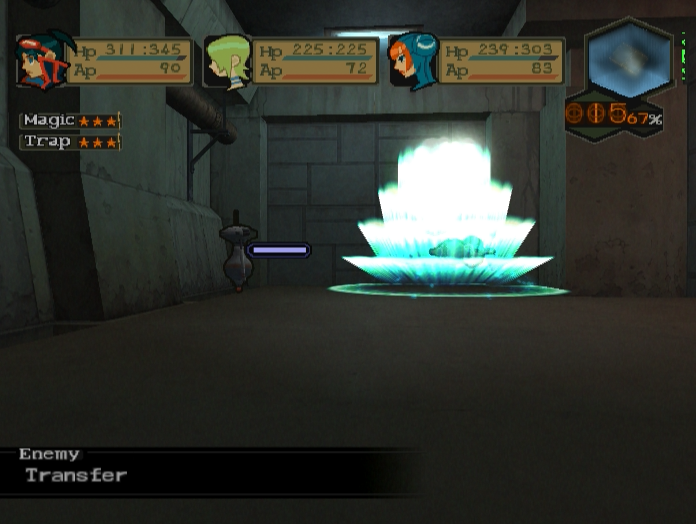
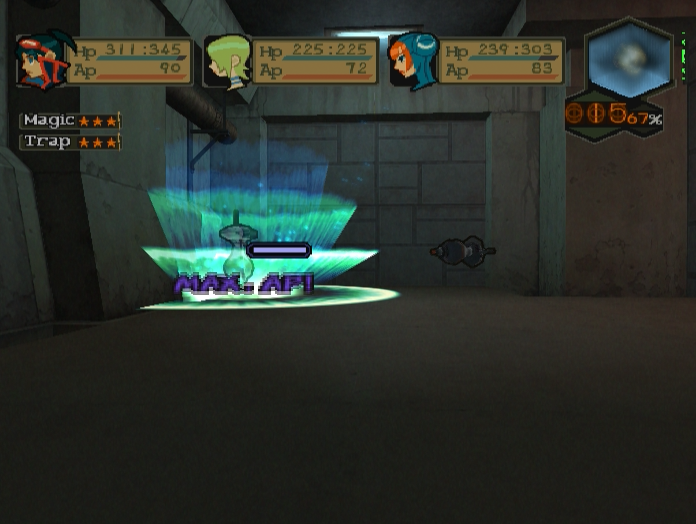
Their main gimmick is to heal nearby enemies with Aid Kits and use Transfer to give their own AP to far more dangerous foes. Having two of them cheerleading for the Proto-Karel is not something you want to have happen.
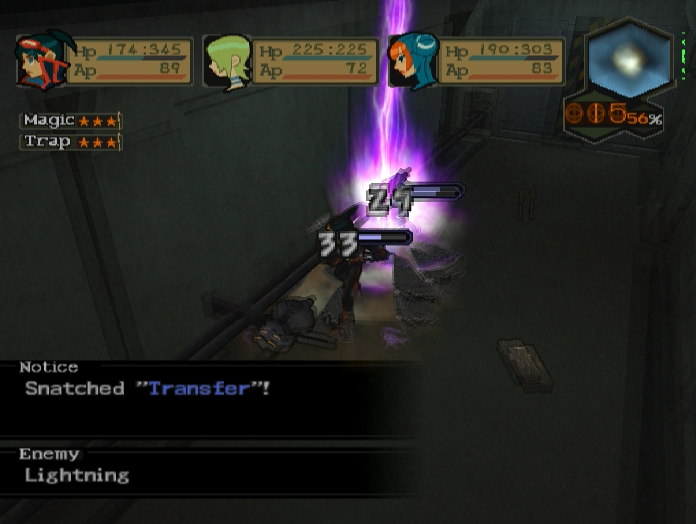
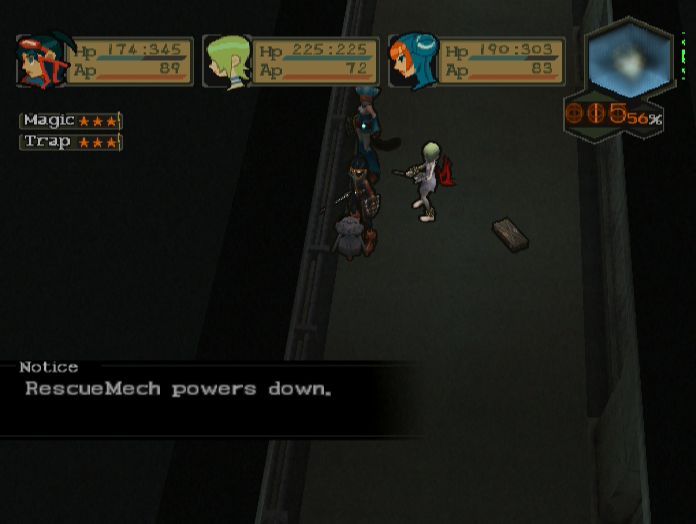
RescueMechs can attack, but they aren’t very good at it and will power down after using Lightning twice. You can also steal the Transfer skill from them and equip it on Nina.
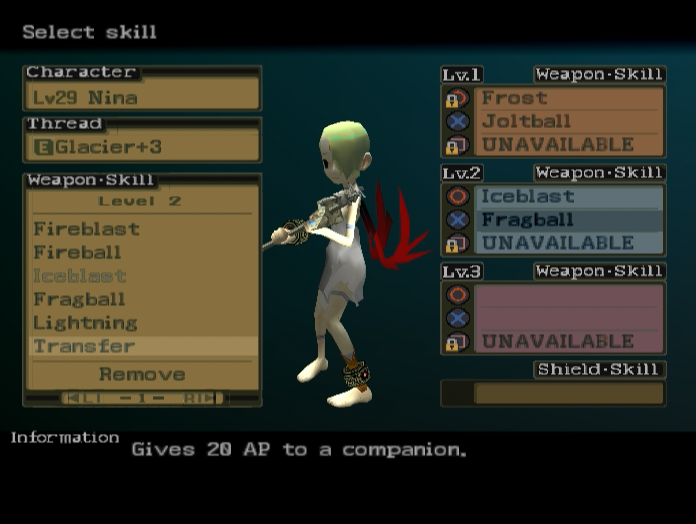
Transfer is a decent utility skill for enemies with high magic resistance, since it lets Nina transfer her AP to Ryu or Lin who might be better suited for fighting them.
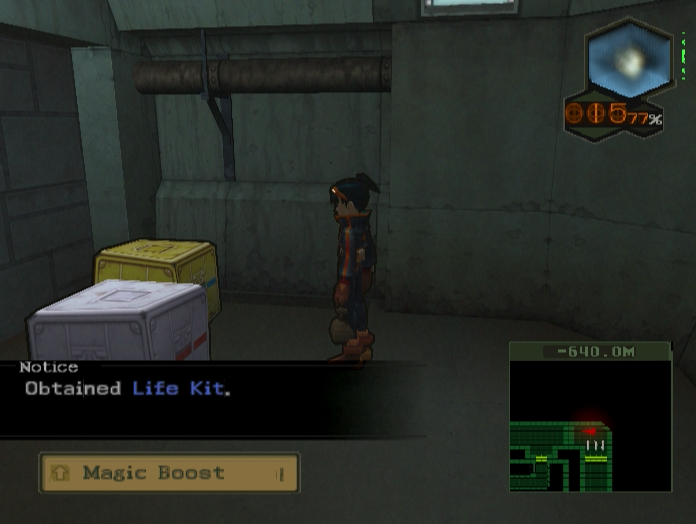
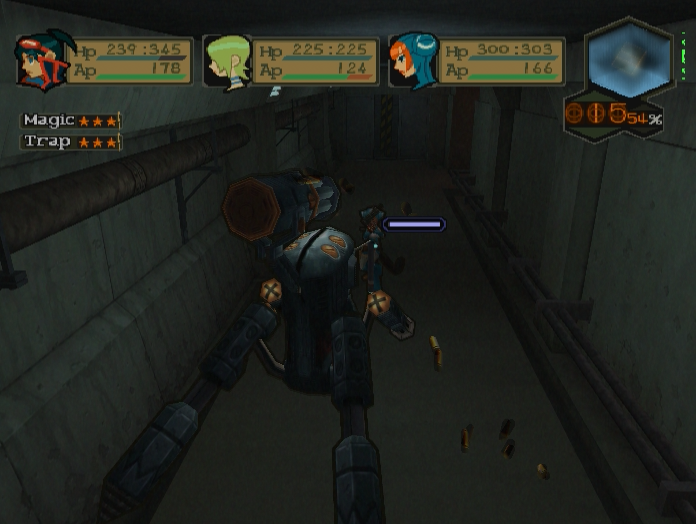
Killing the robots causes the Treasure Key to spawn and grants access to a storage room with several item crates, one of which contains a Life Kit, a top-tier healing item that restores all HP to a single character.
A door off the previous corridor leads to this room, with huge transformers sparking away in the background.
There are a couple of rooms you can access from here, including this one with several item boxes guarded by ThunderGoos and a Nugget Family.
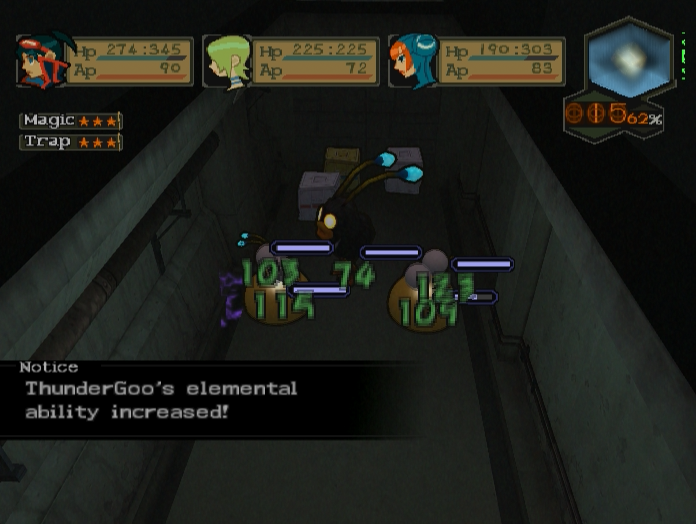
This is a semi-challenging encounter because, while the Papa Nugget won’t use Valhalla on you, the ThunderGoos most certainly will if you don’t drop their power levels back down with fire spells.
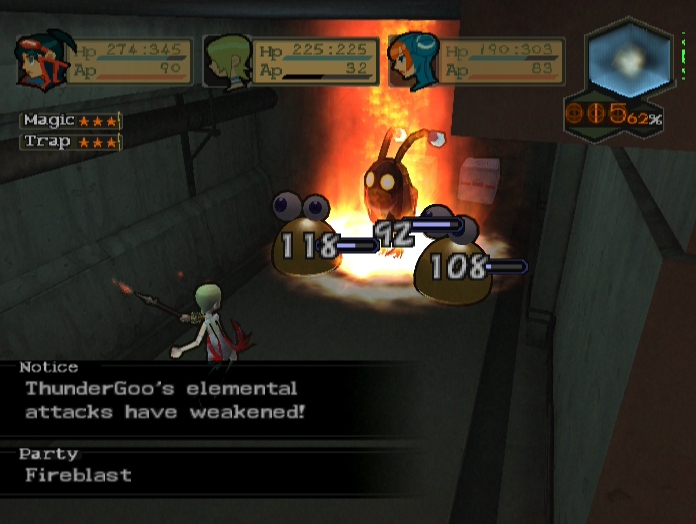
Fortunately them being clustered up makes this a fairly simple task.

Another adjacent room contains the Treasure Chest.
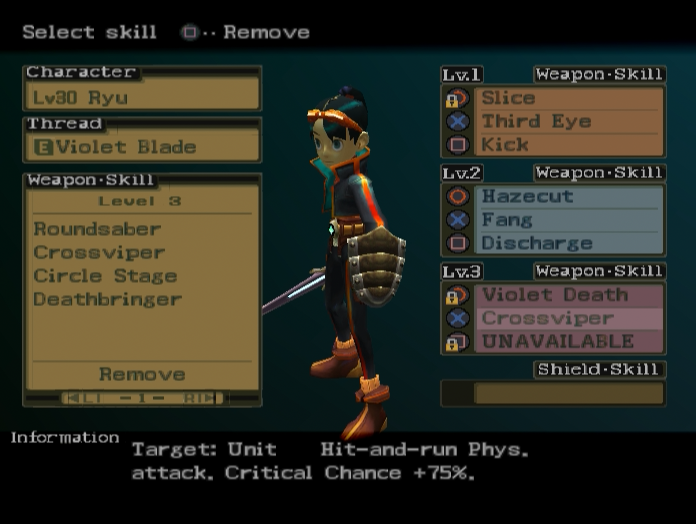
Crossviper is an odd but useful attack. The high critical chance is nice, but what exactly does ‘hit-and-run’ mean? Let’s find out.


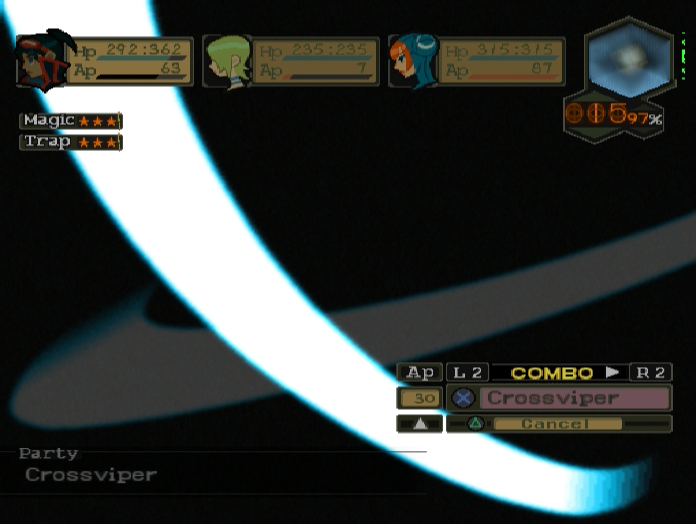
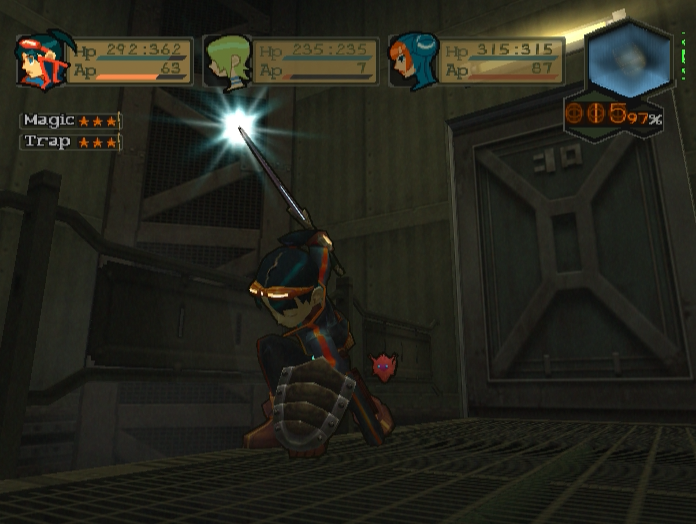
Not only is Crossviper the only skill to have its own cutscene - thereby making it the most stylish skill in the game - it also changes Ryu’s position on the battlefield so he’s behind his target. This ends your combo, but also prevents enemies from counterattacking.
The last adjacent corridor leads to the elevator up, but I think we’ve explored enough for one update. Join me next time as we plough through the rest of Power One - and have our first face-to-face meeting with one of Sheldar’s Regents.
--
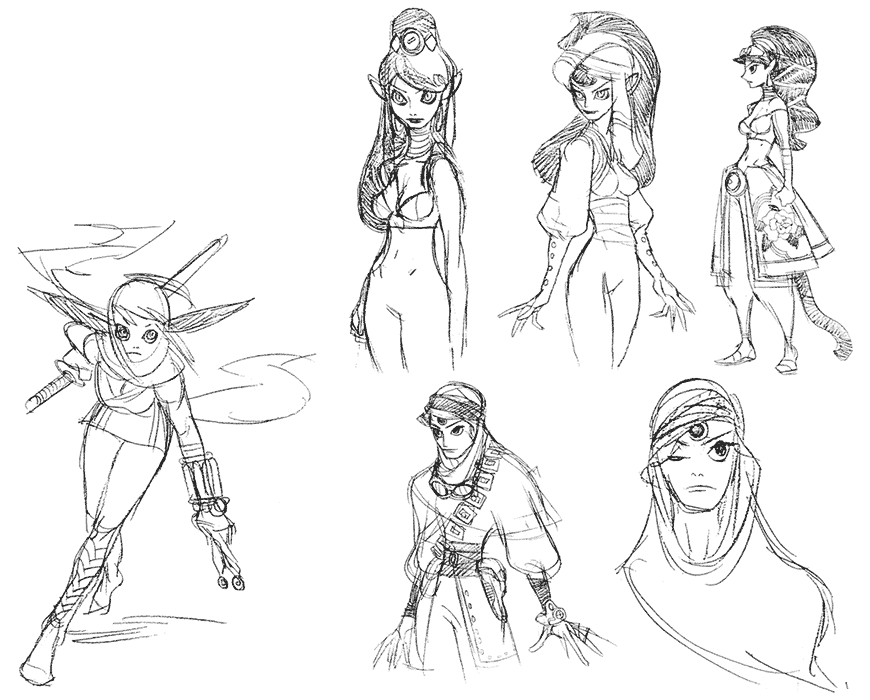
Bonus Art: Lin Concept Art
Bonus Art: Lin Concept Art