Part 22: Centre - Cupid
Update 22: Centre - CupidWelcome back. Last time we defeated Deamoned, the first Regent. We took his key and used the teleporter to transport ourselves to Centre. What awaits us there? Let’s find out.

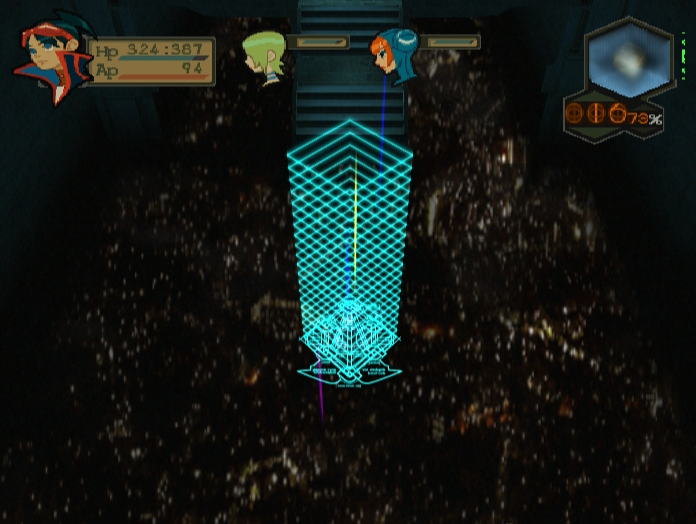
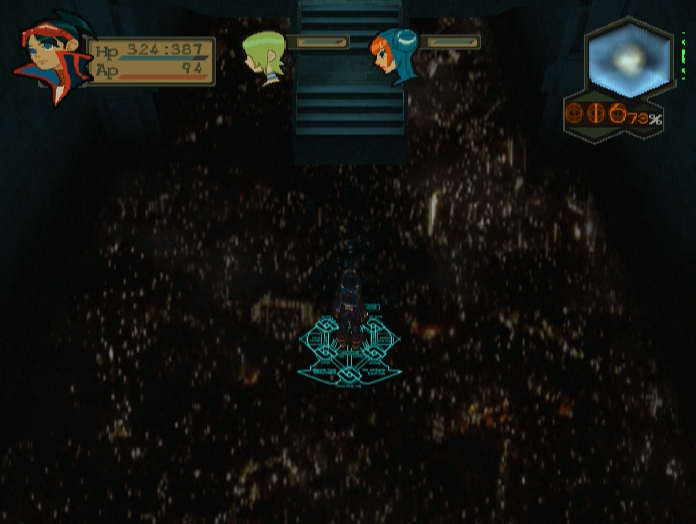
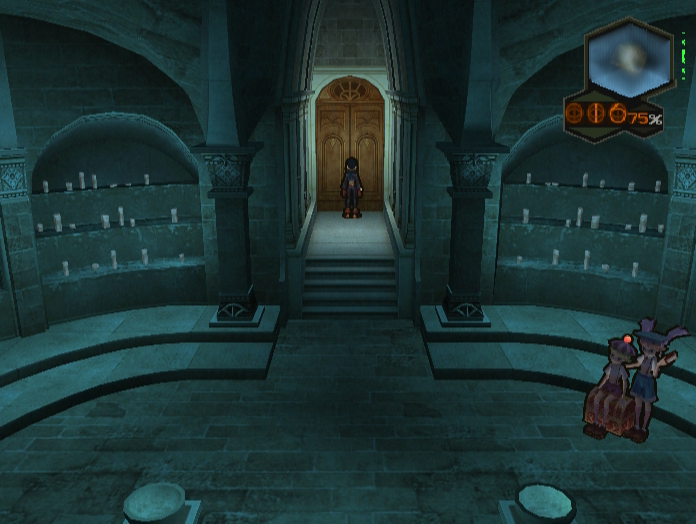
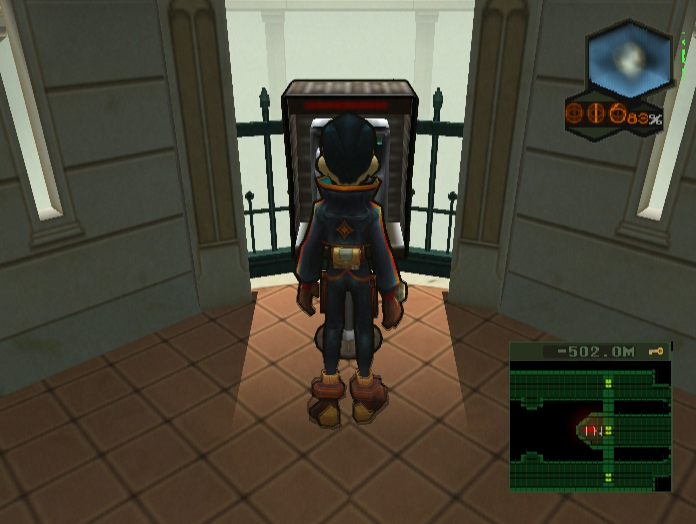
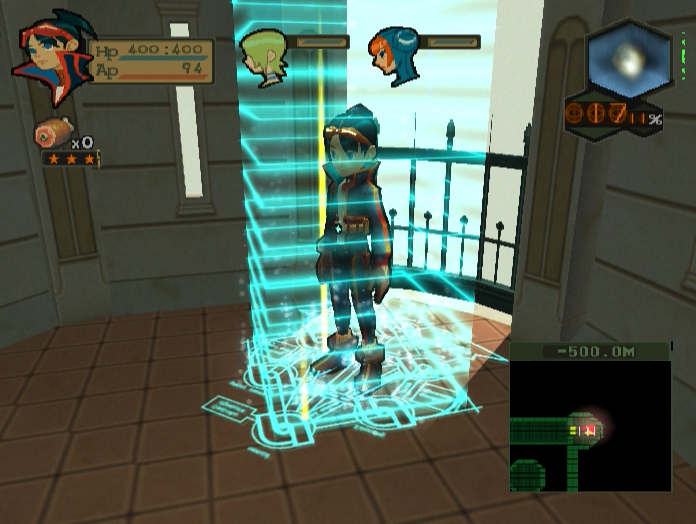
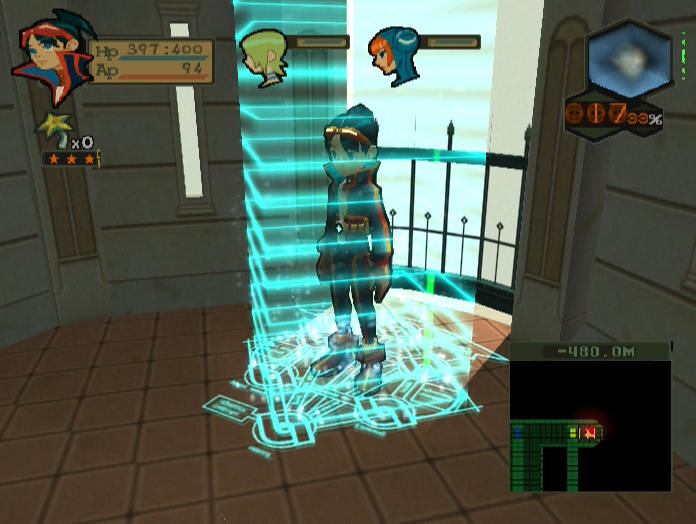
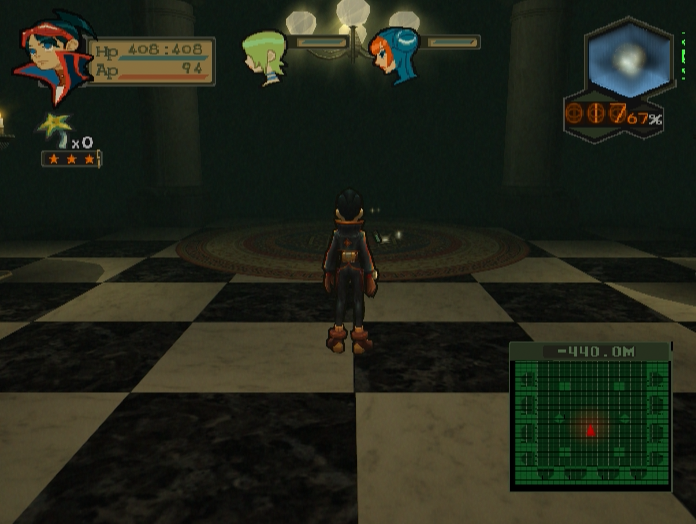
The teleporter takes us to a strange chamber.

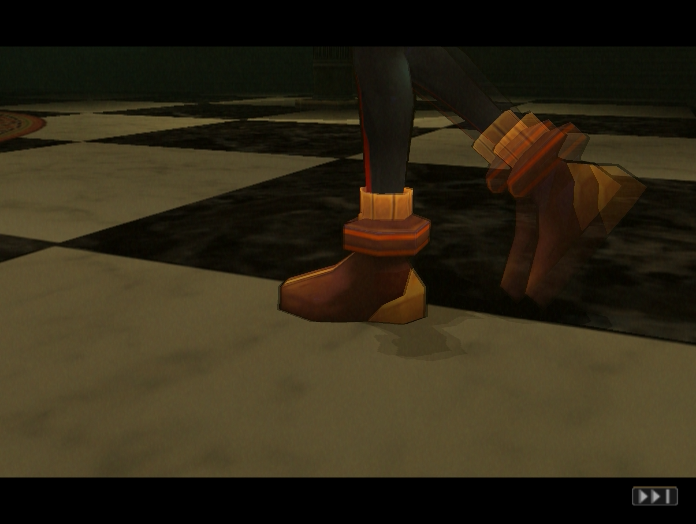
It’s hard to tell in screenshots, but the floor is actually a huge glass window. The lighter patches are the lights of TopSector shining up from far below.
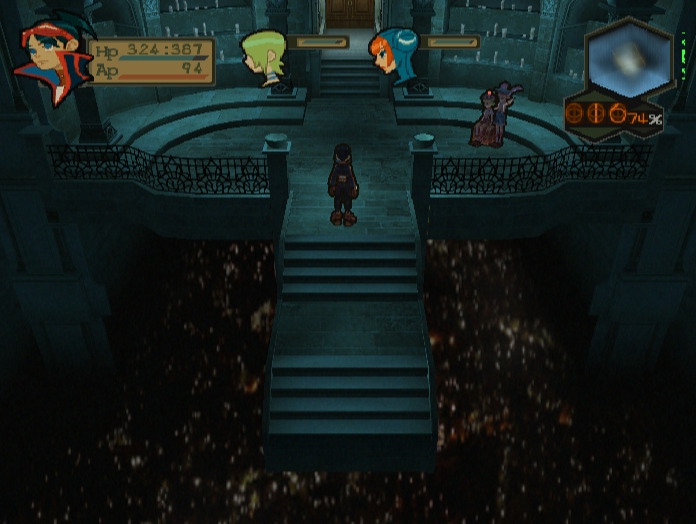
Up ahead we find a small platform with Leo and Jaju hanging out.
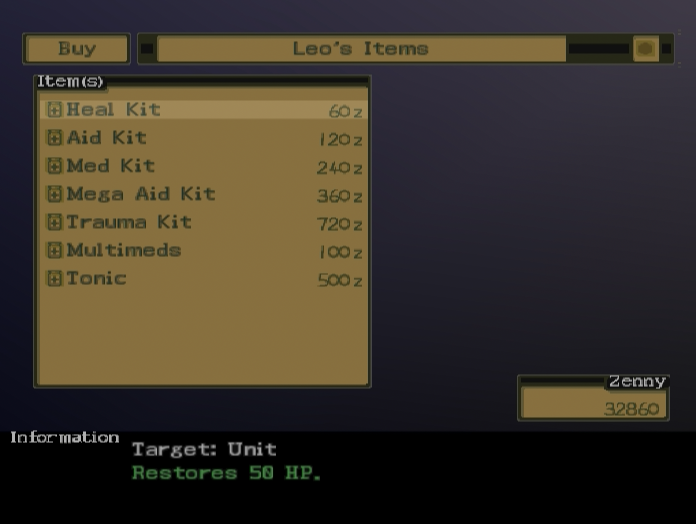
Leo has stopped selling items other than restoratives. It is a very good idea to stock up now, since Centre has several points of no return and we won’t be seeing the vendors again until after we complete it.
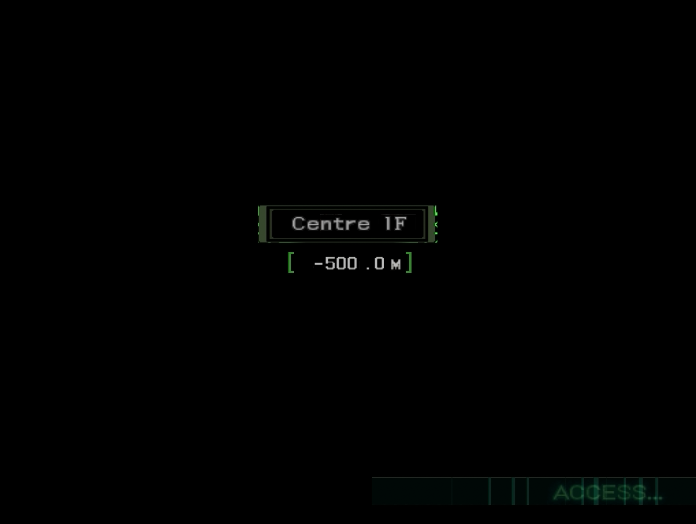
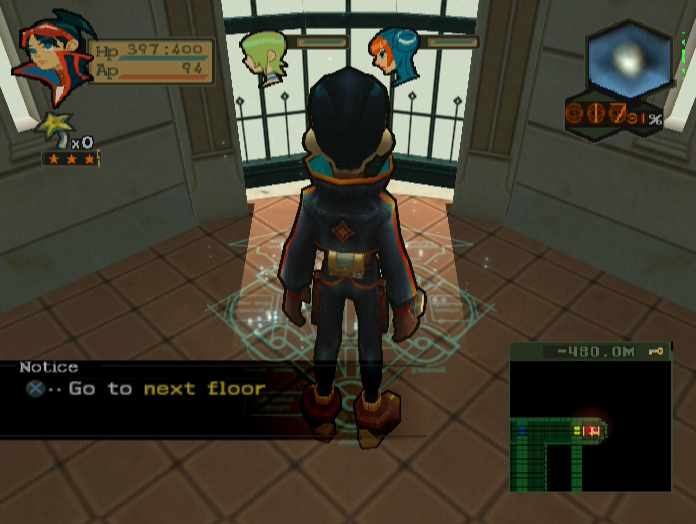
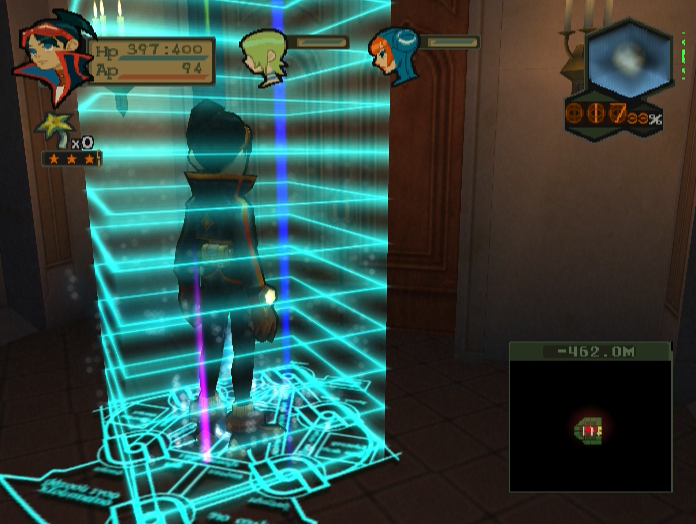
When we’re done the door at the back will take us into Centre proper.
Music: Centre Ministry Sector
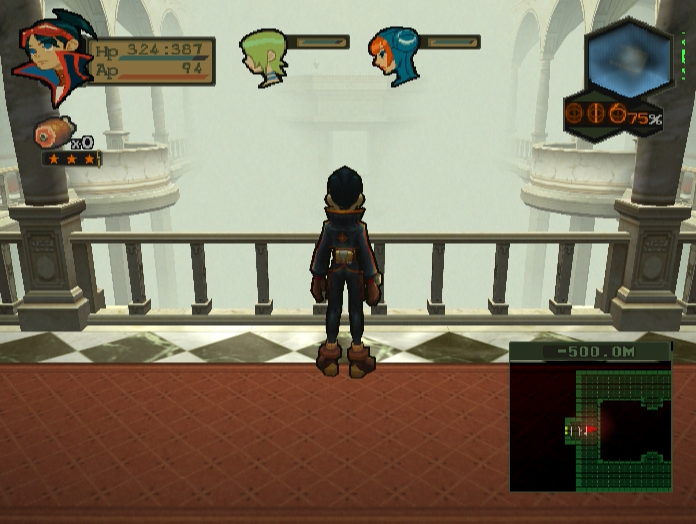
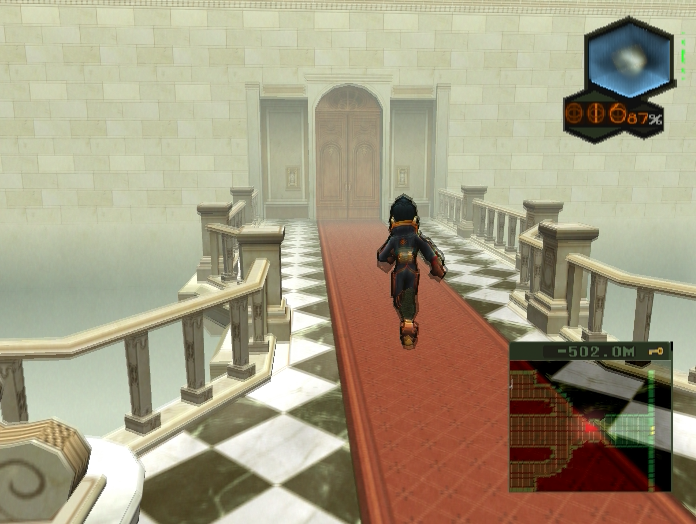
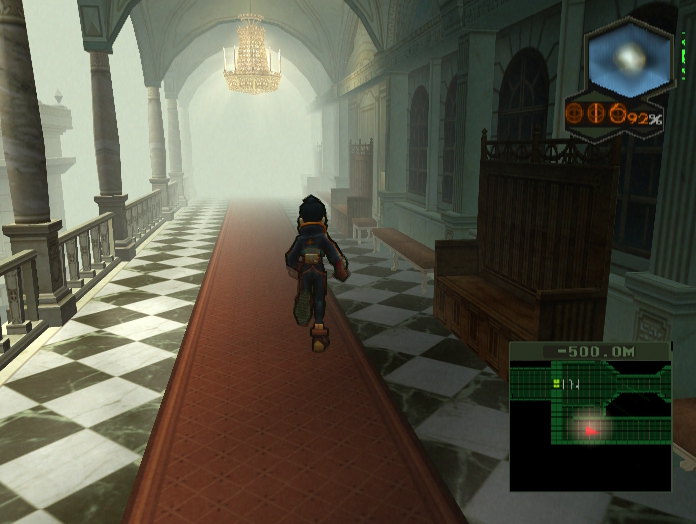
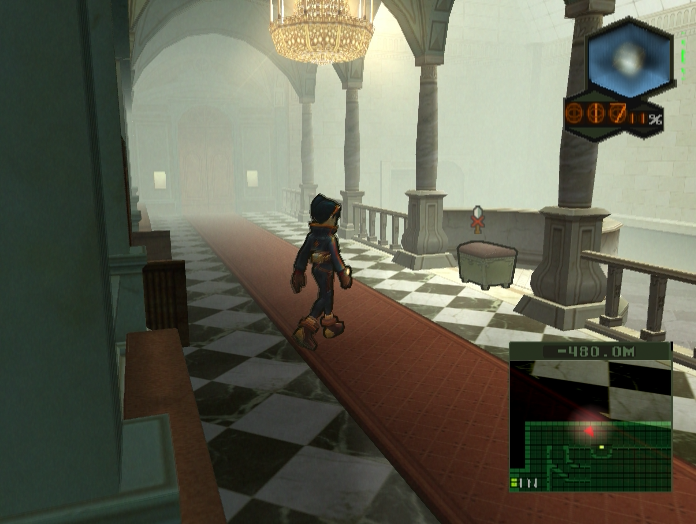
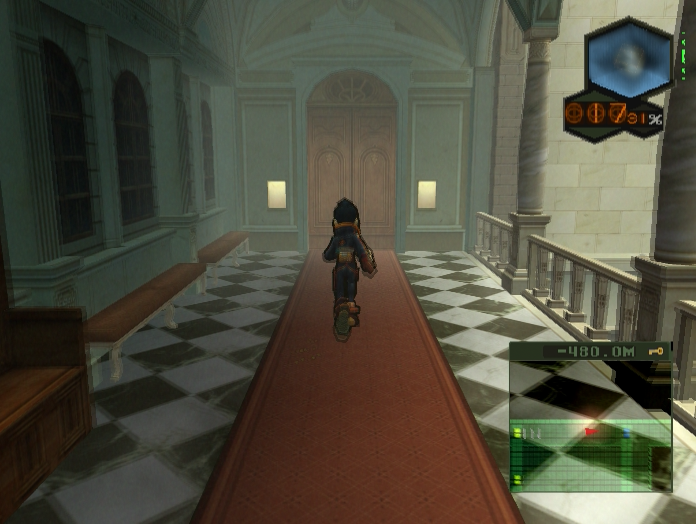
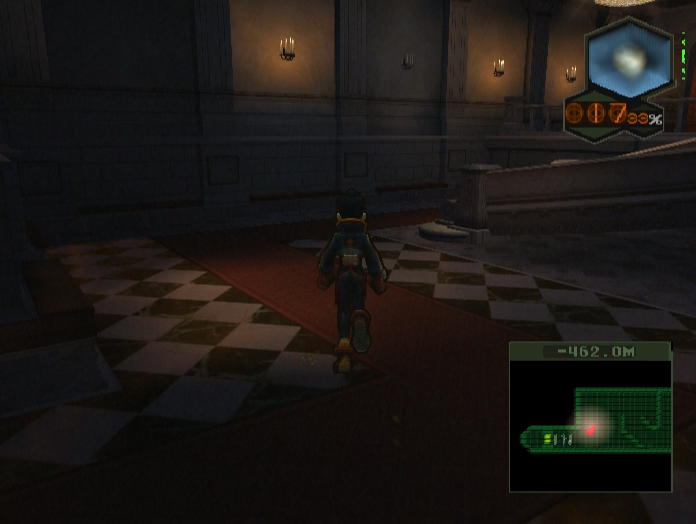
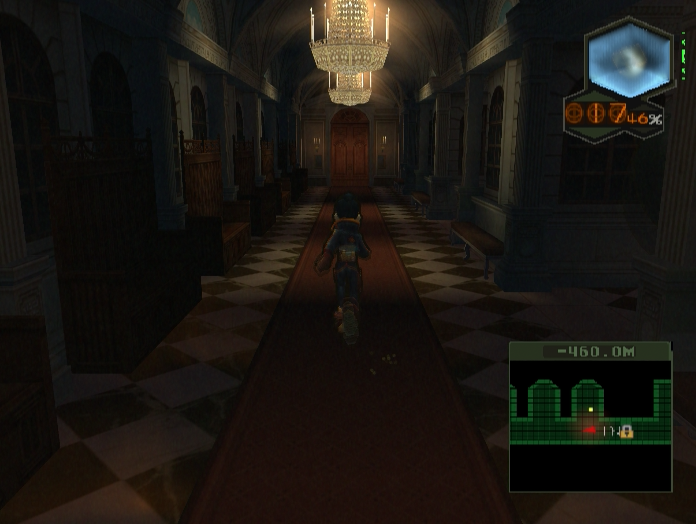
Centre is…different. The architecture feels less sci-fi and more like a fantasy castle from earlier entries in the series.
Even the item boxes look classier, like old-style treasure chests.
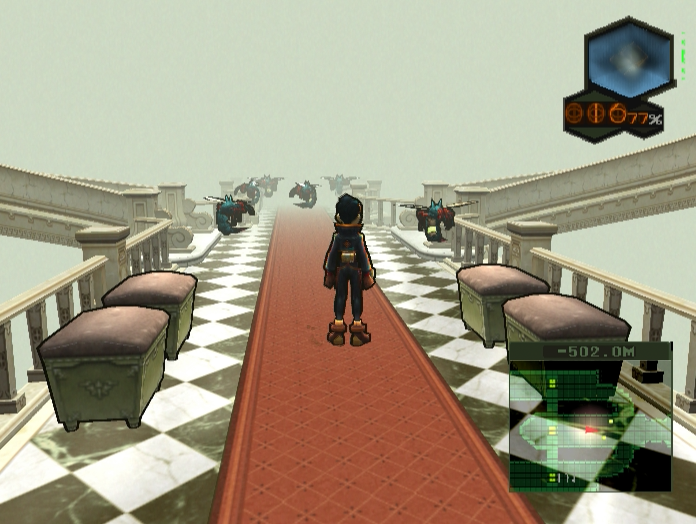
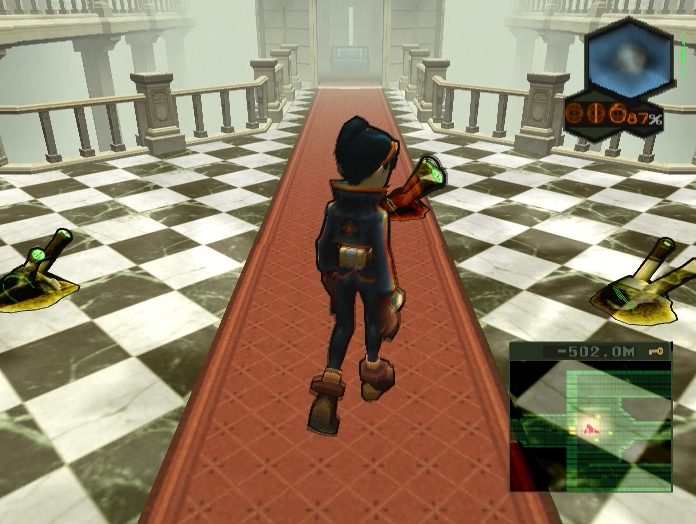
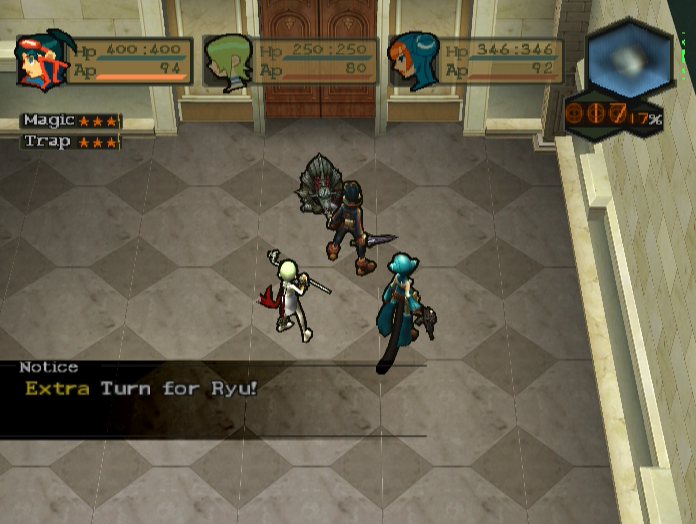
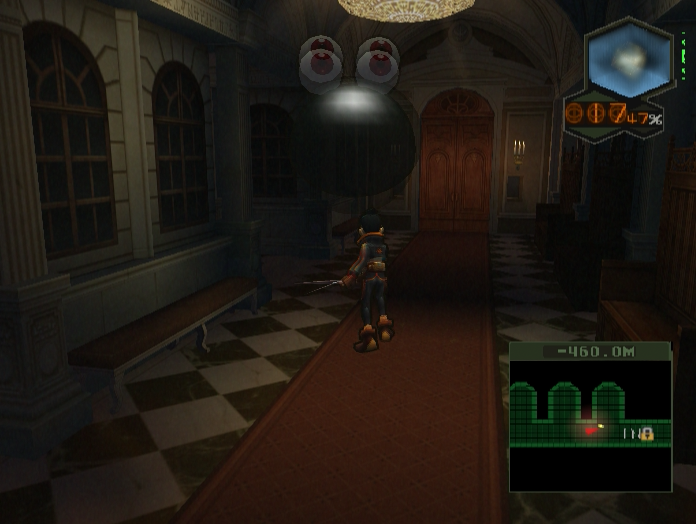
As nice as it all is, it doesn’t take long for us to run into our first group of enemies.
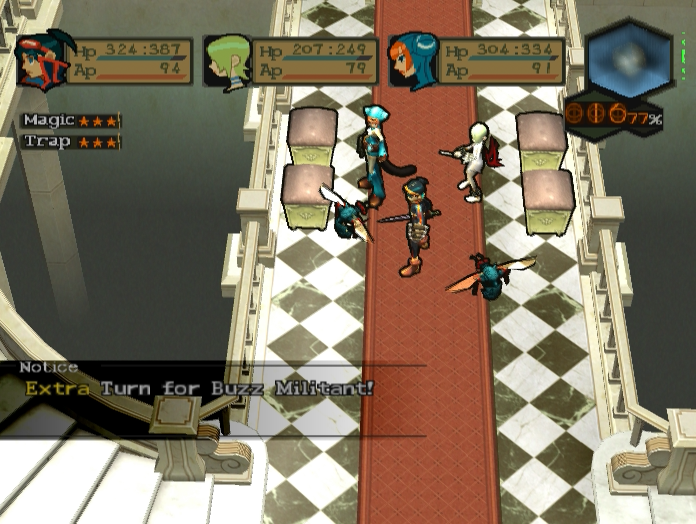
Buzz Militants are fairly common in Centre, although they’re more annoying than dangerous.
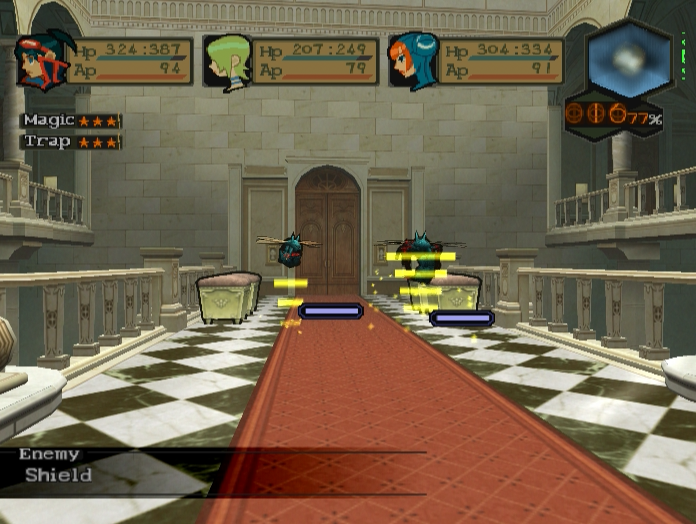
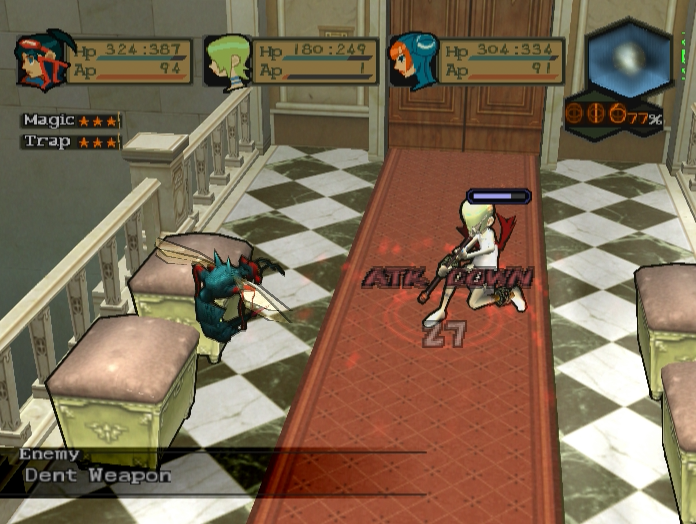
They like to use Shield to maximise their defence, then spam Dent Weapon to lower your characters’ attack power. This makes fighting them take forever.
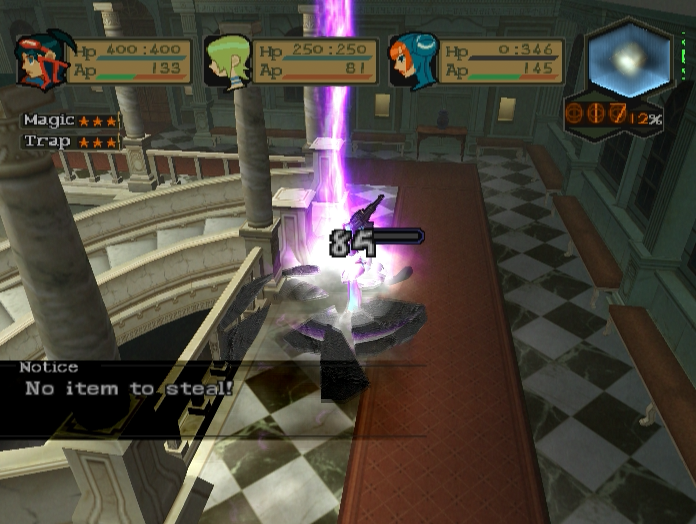
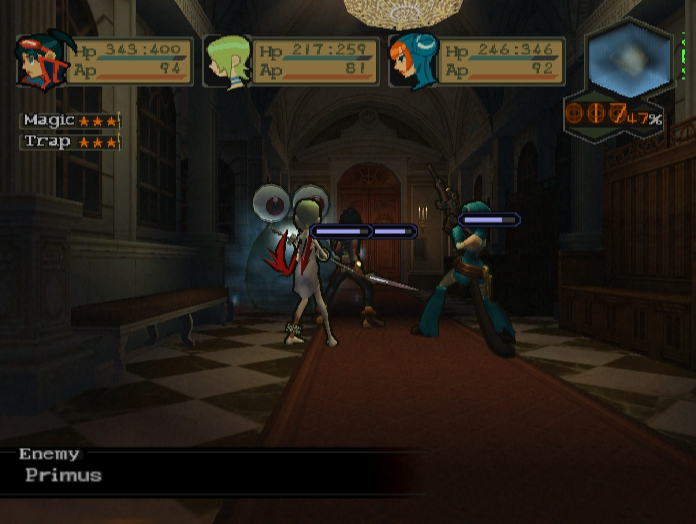
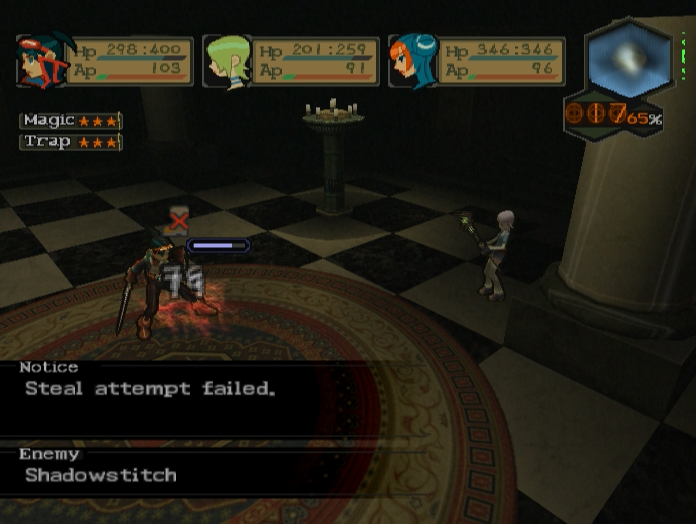
The main point of the Buzz Militants, at least in this room, is to distract you so that you wind up blundering into this guy - the Creepstalker.
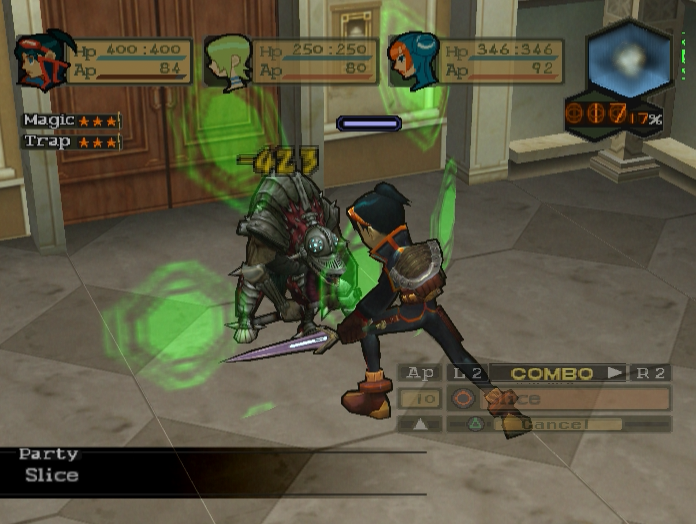
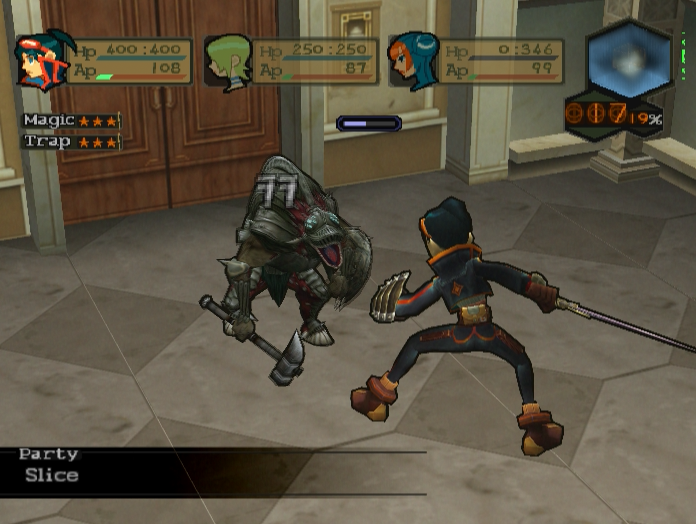
Creepstalkers are another high-evasion foe like the Crushedhearts.
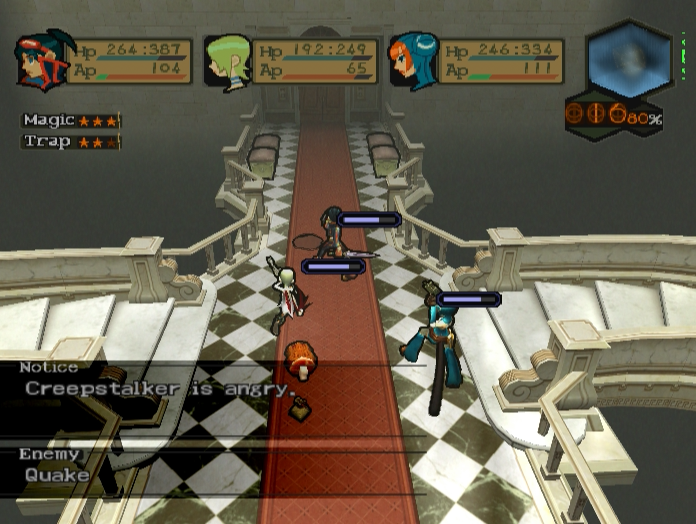
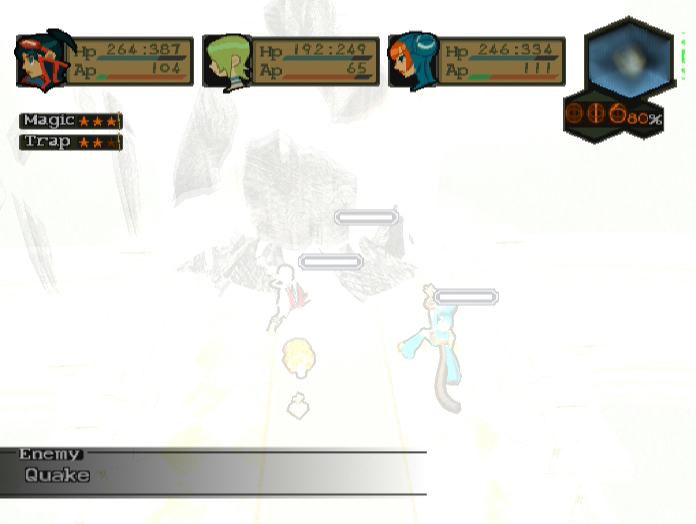
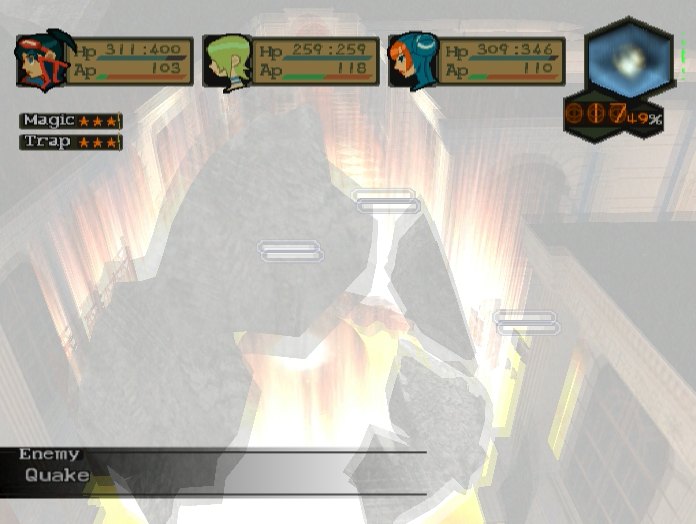
Unlike the Crushedhearts the Creepstalker doesn’t need a gimmick to be threatening. If you don’t take it down quickly it’ll make a beeline for your party and spam Quake until everyone is dead.

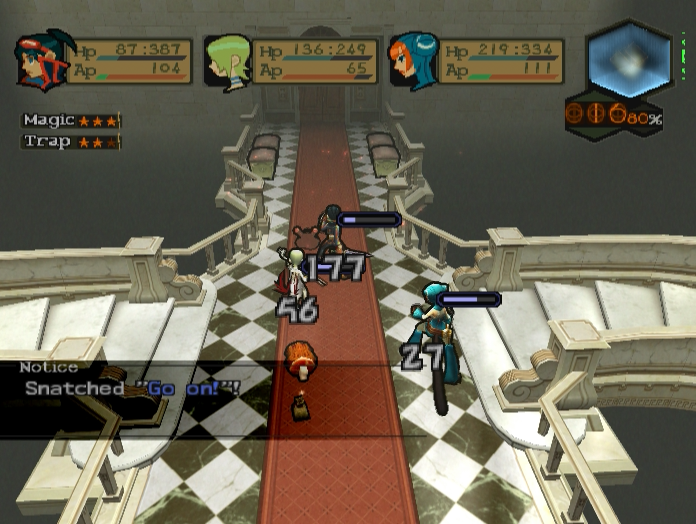
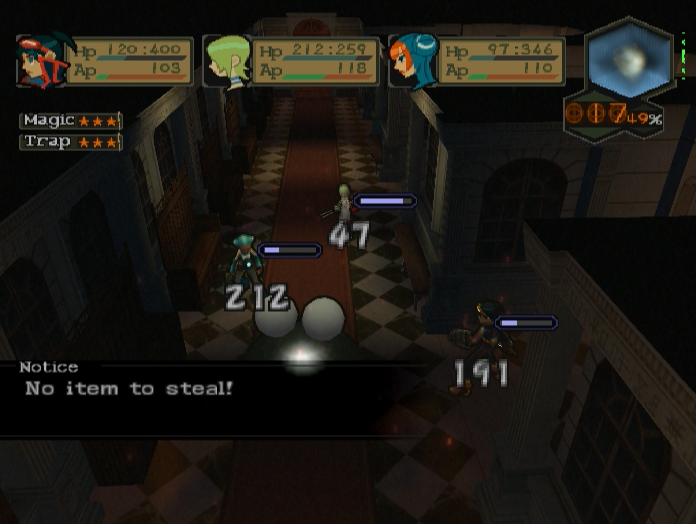
The good news is that killing it causes the Treasure Key to materialise, and you can steal ‘Go on’ from it, another Language Command for Lin.
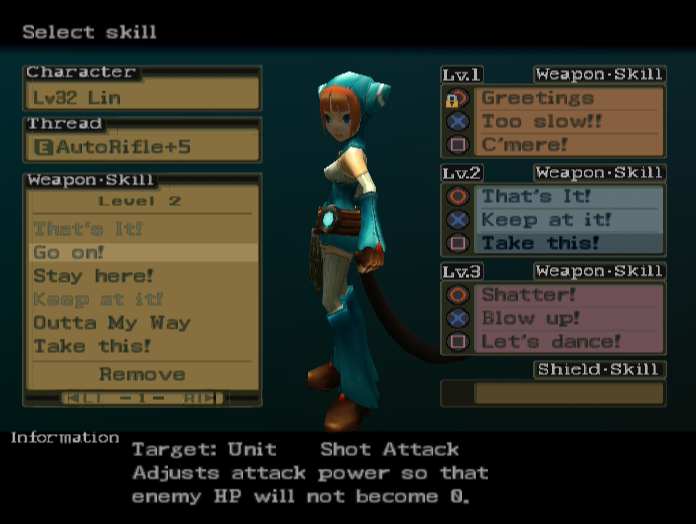
‘Go on’ is situational. It prevents an enemy from dying by ensuring it will have at least 1 HP remaining at the end of the combo, which is great for enemies like Wonder Boxes that give out great items if you get their HP low without killing them. We won’t be seeing any more such enemies in this playthrough, so right now it’s of no use to us.

One nice thing about Centre is that enemies tend to drop either stat-boosters or healing / AP charging items.
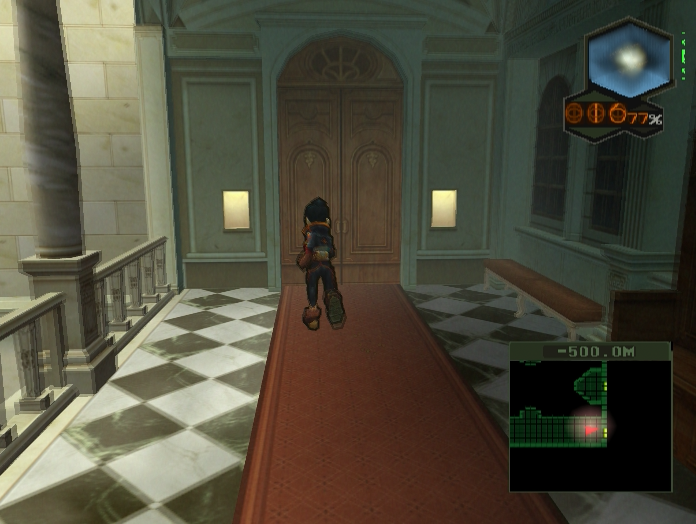
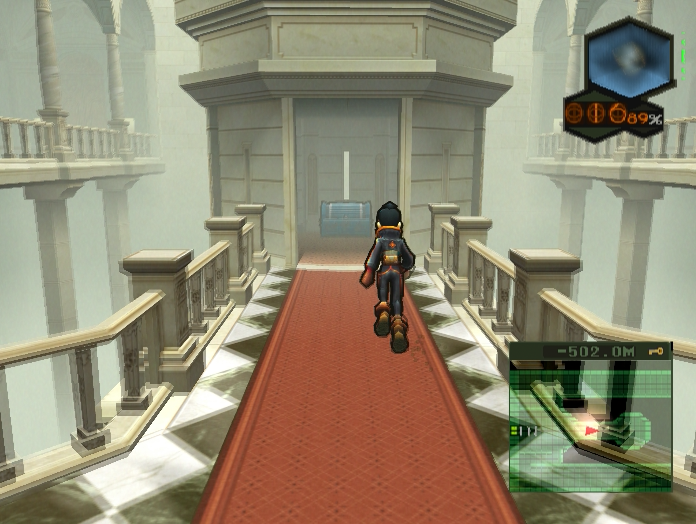
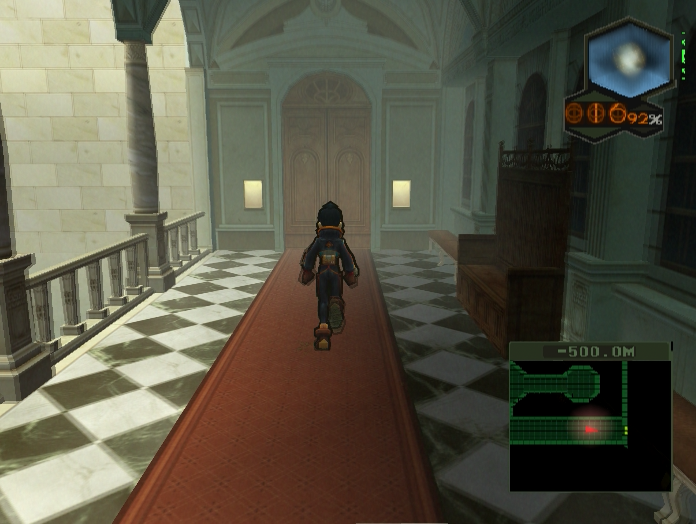
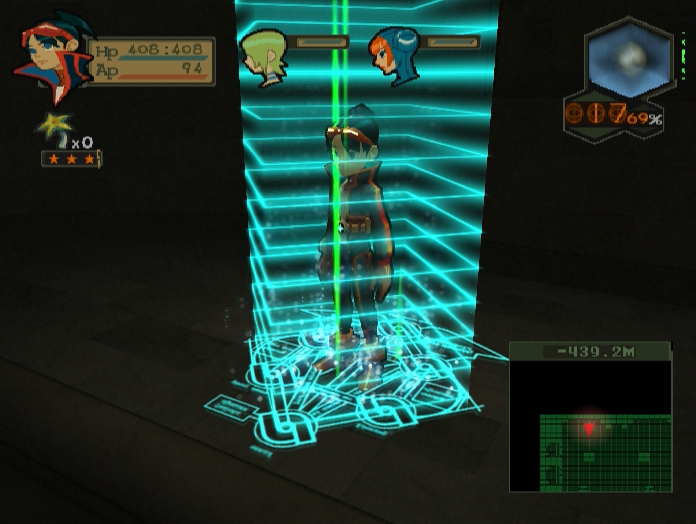
The door directly behind us leads to Centre’s only Telecorder. It’s very important to save here if you want to experience everything Centre has to offer, for reasons I will be explaining shortly.
In the next room we encounter three more puddle-like enemies - the weaker but more versatile Darkstalkers.
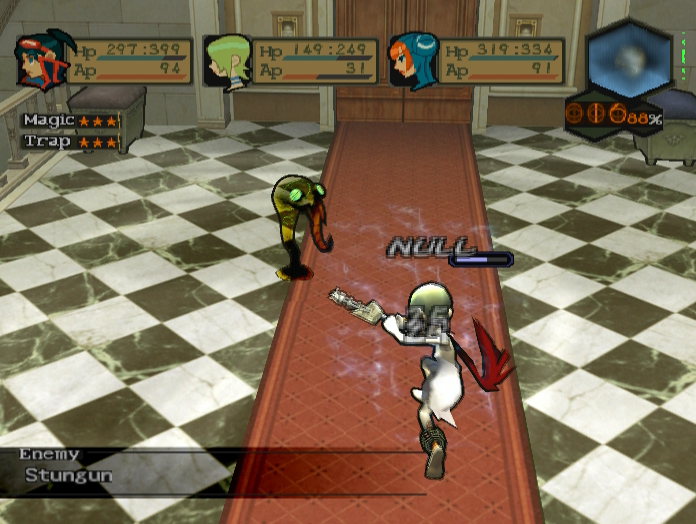
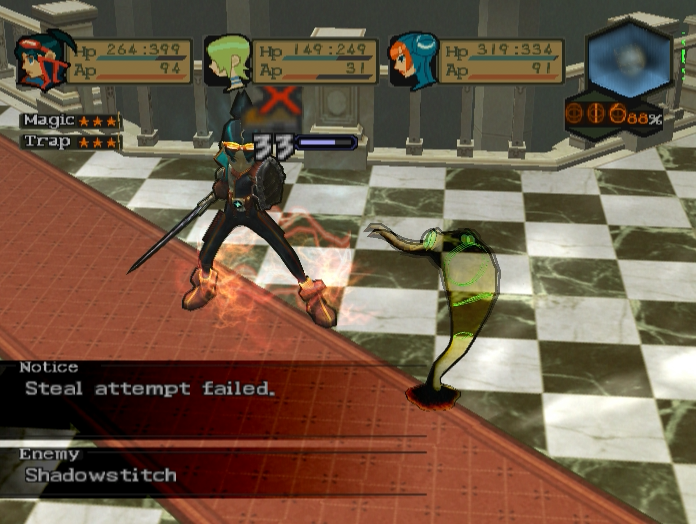
Darkstalkers like to paralyse your team with Stungun and Shadowstitch then hammer them with physical attacks while they’re helpless. Luckily they don’t have much HP and Nina can freeze them to lower their evasion.
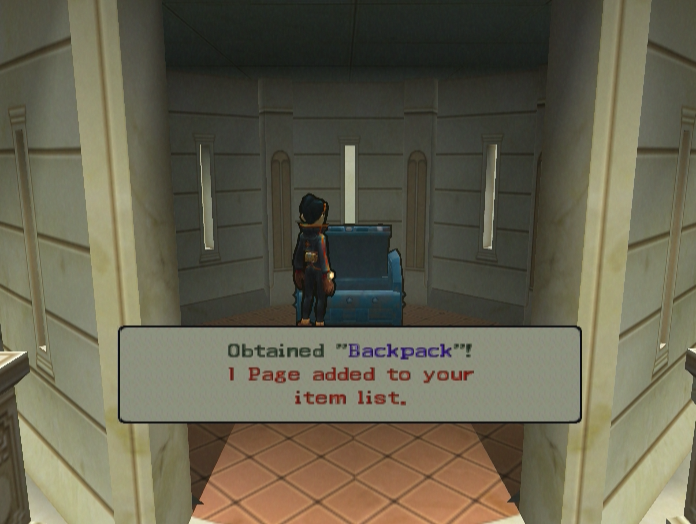
In the turret ahead we find the Treasure Chest containing the last Backpack upgrade for this playthrough.
At this point in the level we have a choice to make.
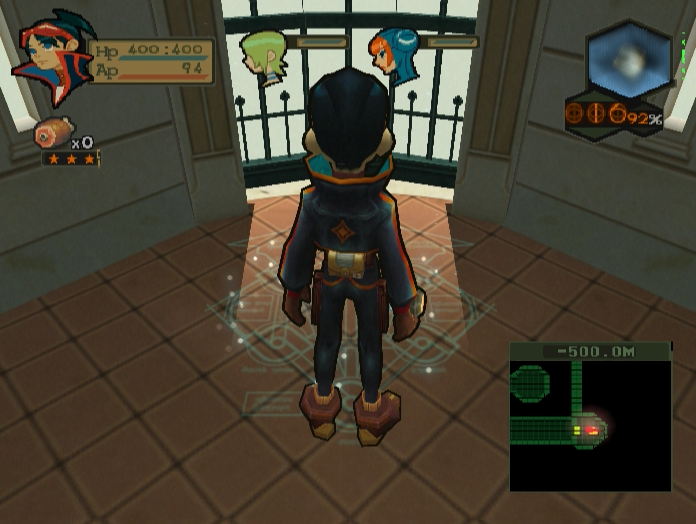

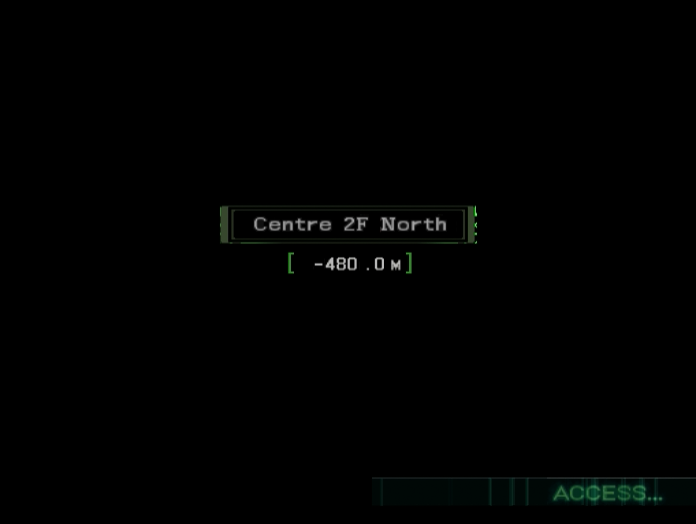
Two teleporters lead off from Centre’s entrance hall. Both are one-way, and there is no way to come back and go through the other route without using the SOL system.
Centre isn’t like any other level we’ve come across. There are four Regents waiting to fight us deeper inside, but we only need to fight two of them to get the keys we need to open the door to the surface. Indeed, Centre’s layout is designed such that we can only fight two of the four Regents no matter how we proceed. The player will need to go through the level at least four times to see everything and collect every item.
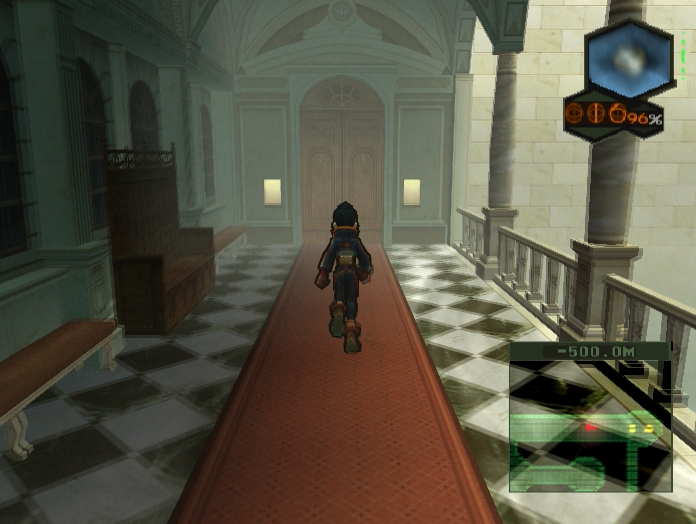
As this is a 100% completion LP I will be showing off all four Regents and getting all the items/skills. I am taking the northern teleporter first since it eventually leads to a really useful skill that will make the other playthroughs a fair bit easier.

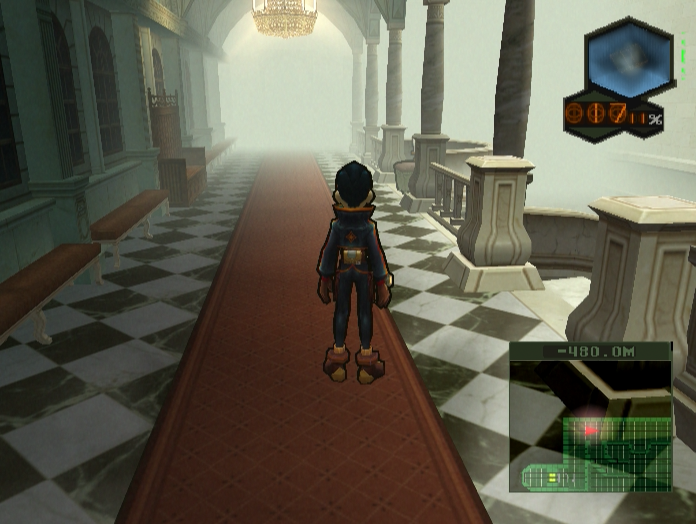
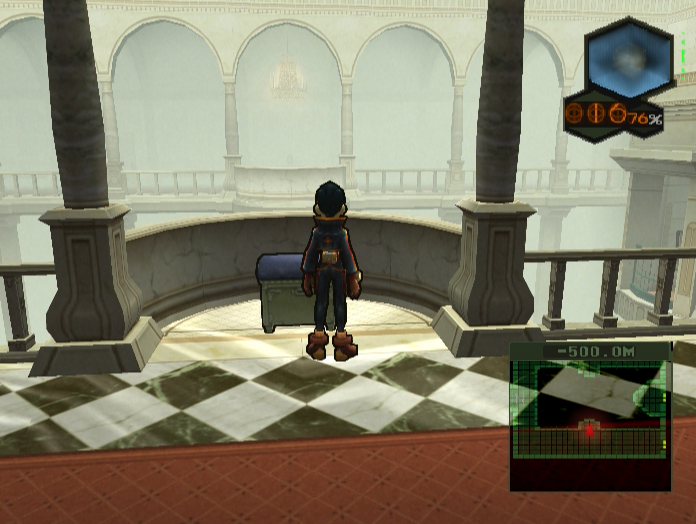
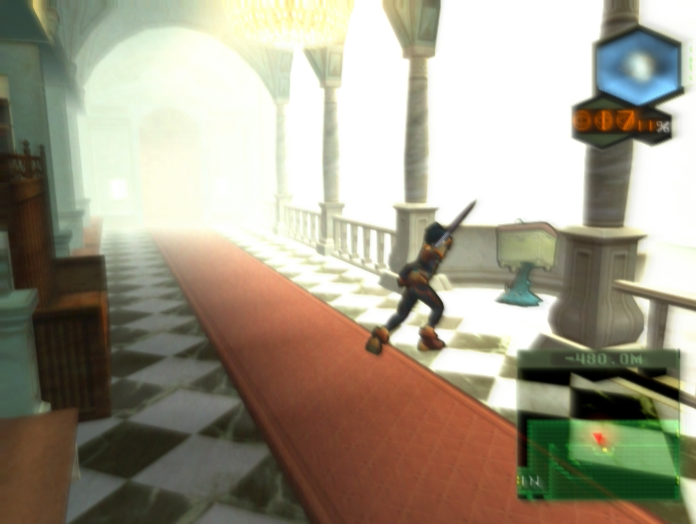
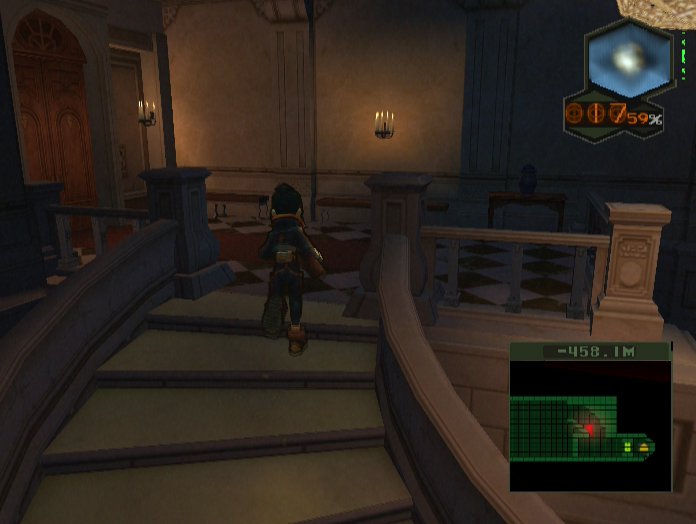
We emerge into a room with a balcony and a lowered area reachable via a staircase ahead.
Exploring the balcony reveals this strange object - an item box with the ‘Lock’ status symbol floating above it. Hmm…
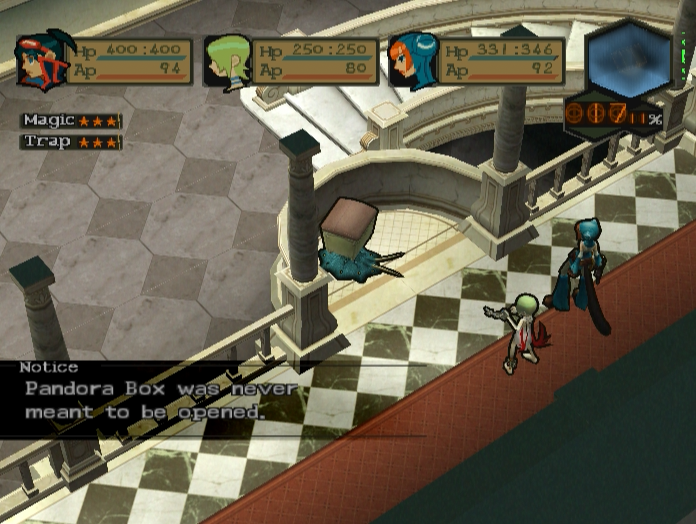
Attacking it leads to a battle with Pandora Box, the last of the Mimic-type enemies.
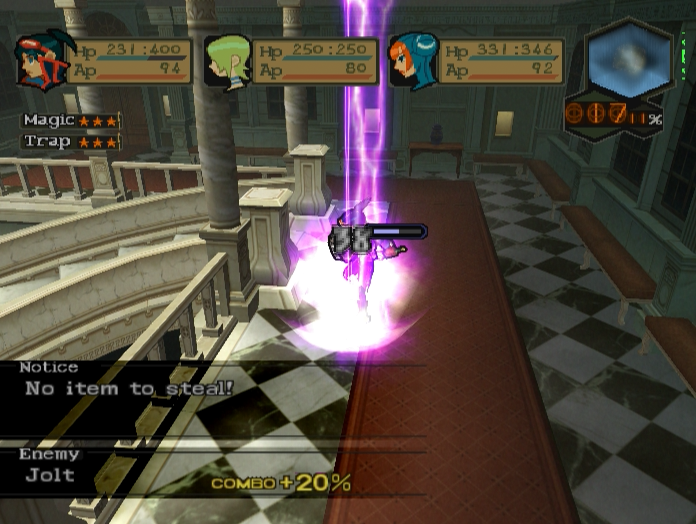
Pandora Box’s gimmick is as follows. On the first turn it will target one party member with all three first level spells - Flare, Frost and Jolt. Painful, but not too bad.
On the second turn it will target a party member with all three second level spells - Fireblast, Iceblast and Lightning. Only Ryu can survive this.
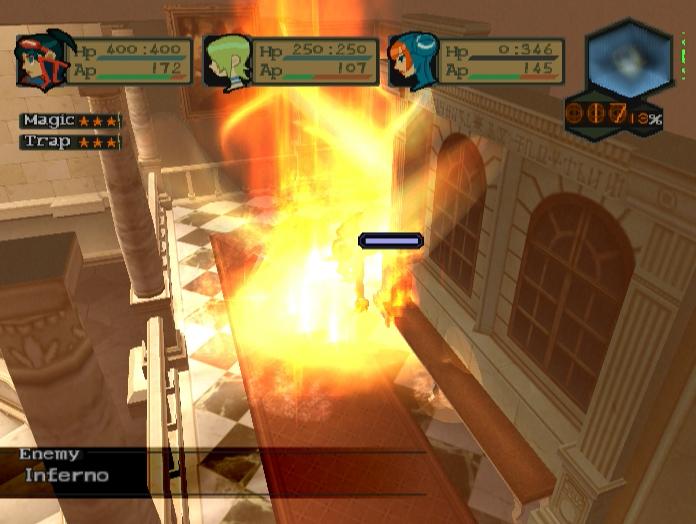

On the third turn it uses third level spells - Inferno, Blizzard, and if the party member still isn’t dead, Valhalla. Even Ryu will die from this.
If you spread your party out enough and manage to survive until the fourth turn, the Pandora Box will self-destruct and leave behind a very useful Skill Item.
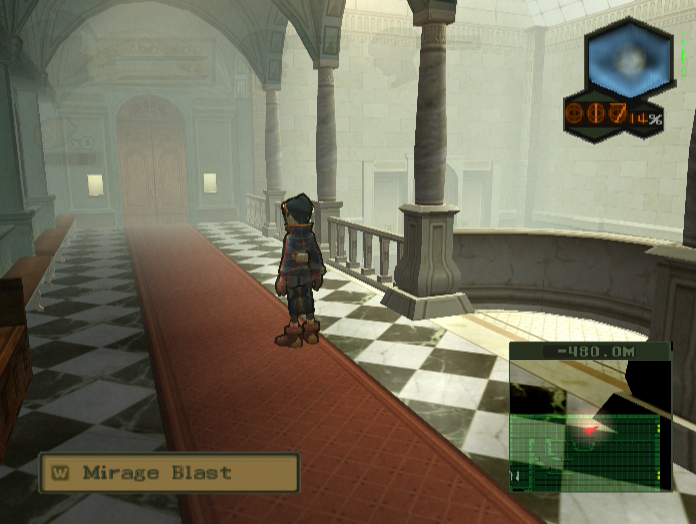
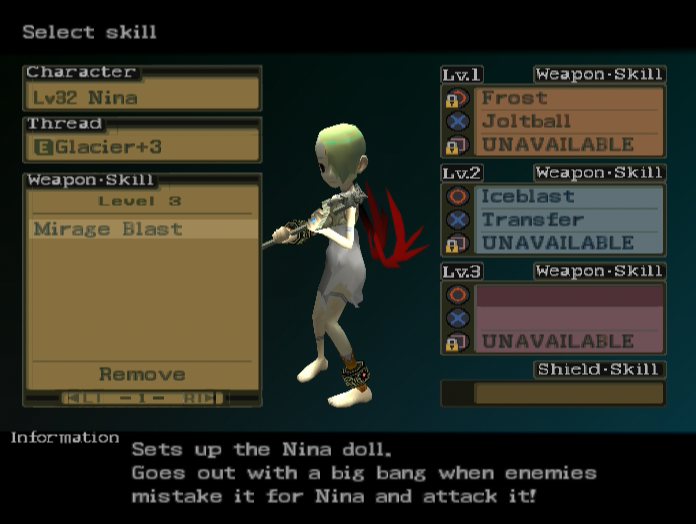
Mirage Blast is a Lv. 3 spell for Nina. It’s a trap rune that deals a large amount of non-elemental damage.
Looking down from the balcony we can see what looks like an armoured Beak guarding a door.
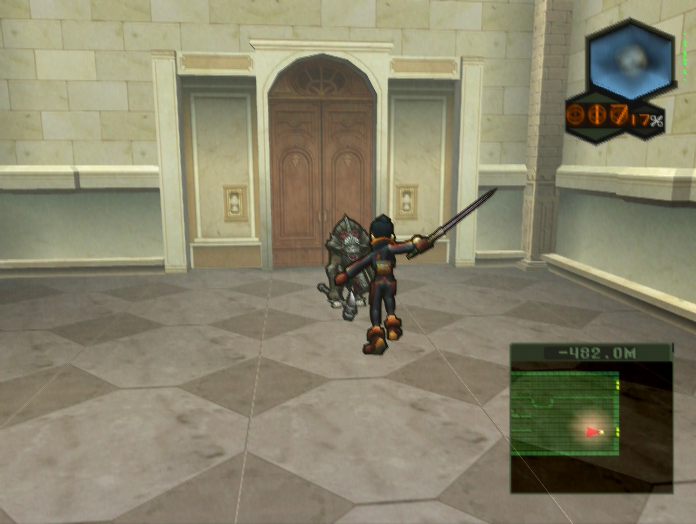
This diminutive chap has a rather threatening name - Gargantua. We’ll see why when we try attacking him.
Despite being a regular enemy - a miniboss at most - Gargantua has a beefy 500 points of Absolute Defence.

He also hits incredibly hard. Wild Swing is an unreliable skill, but Gargantua has such high base attack power he’ll usually hit for over 100 even if he rolls low.
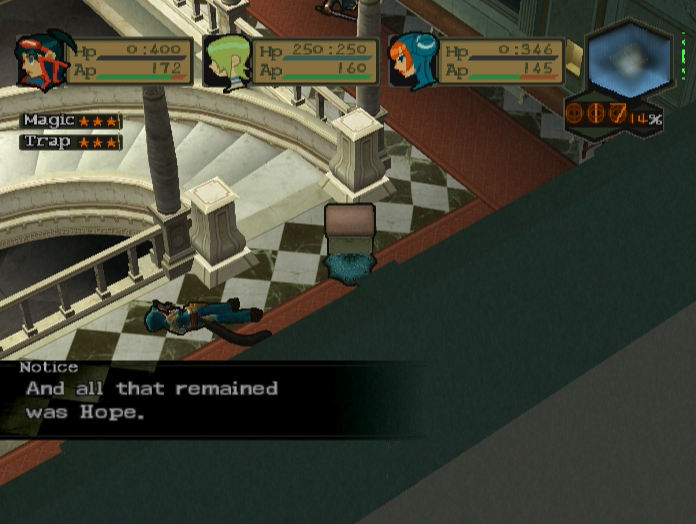
Despite this Gargantua actually has very weak defence once you’ve overwhelmed his barrier. A single Slice will take off about 70 HP, and he only has 1,000 to play with. The same rules apply as when we fought Deamoned - overcharge AP bars, overwhelm the Absolute Defence and combo up to more powerful attacks once it’s down.
After defeating the Gargantua we find it was guarding a room full of Ebonfire bats and a palette-swapped Baphomet called a Mahadevan.
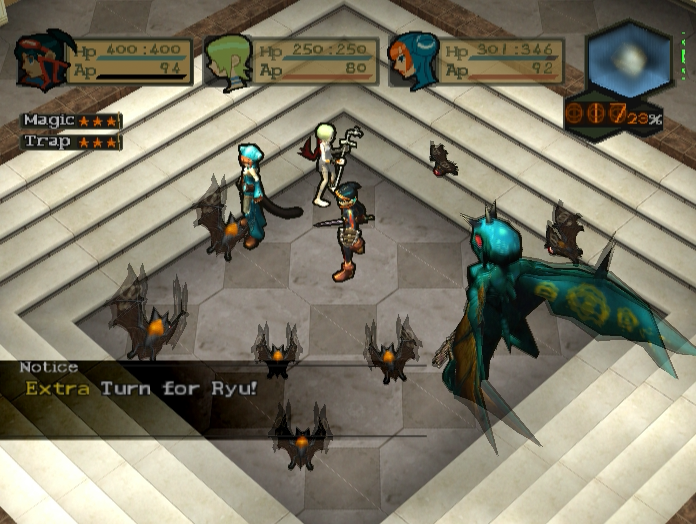

How this battle goes depends entirely on whether or not you kill all the Ebonfires before taking on the big boss. It’s pretty tempting to just blow all the bats away, but it’s a good idea to leave at least one alive.
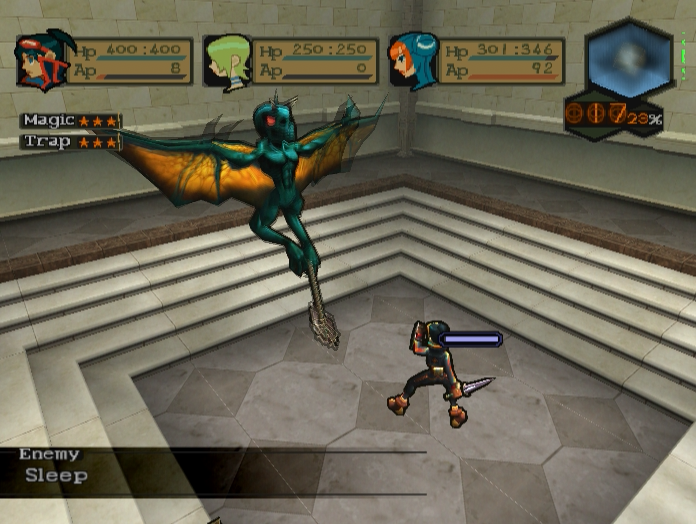
While the Ebonfires are around the Mahadevan will spend most of its turns casting Sleep and attacking normally. It will very occasionally use Pre-Primus, and once in a blue moon cast Headshake or Death. Troublesome, but mostly manageable.
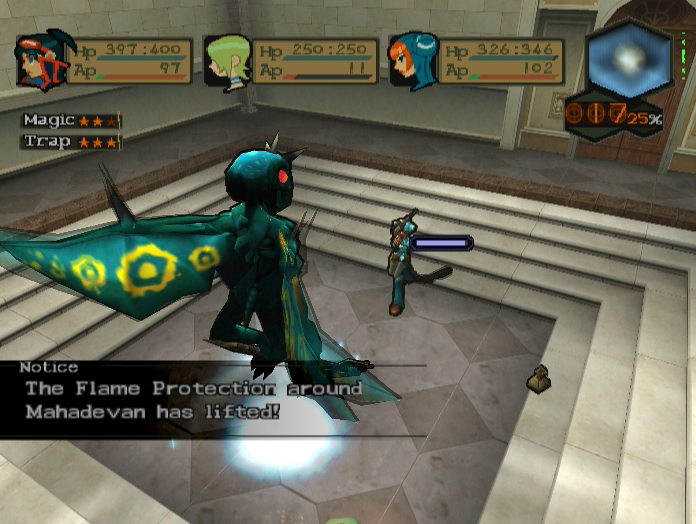
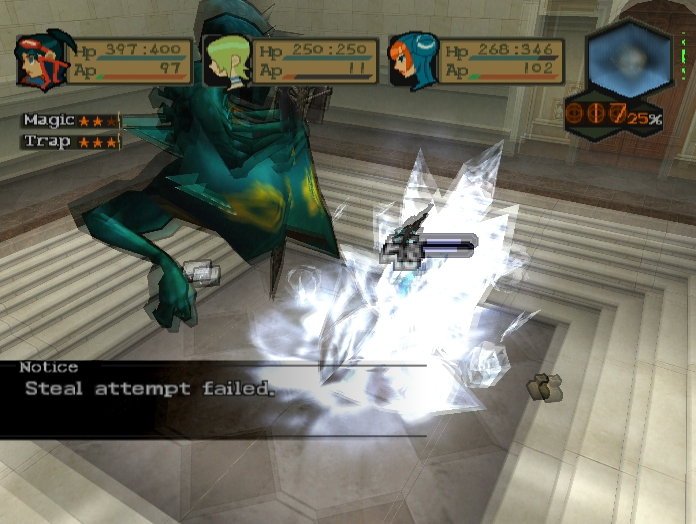
If you kill all the Ebonfires however it will start spamming Iceblast and Blizzard every turn, turning it into a far more dangerous enemy.
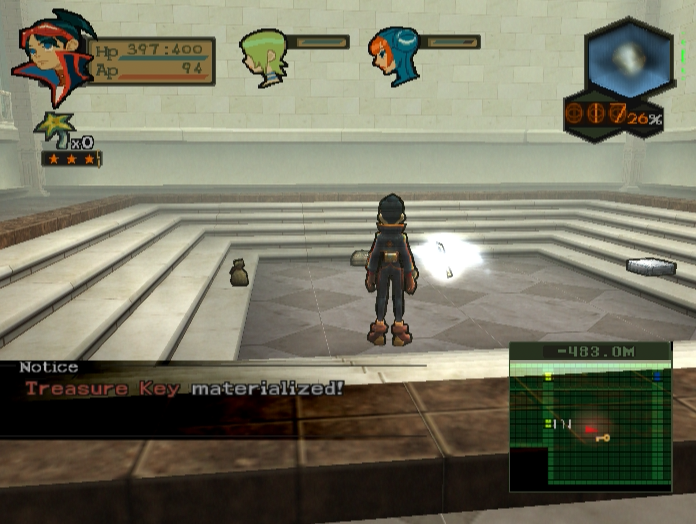
Clearing the room causes the Treasure Key to spawn.

Returning to the balcony in the first room and proceeding down the halls leads to a small area with two alcoves. One contains another one-way teleporter.
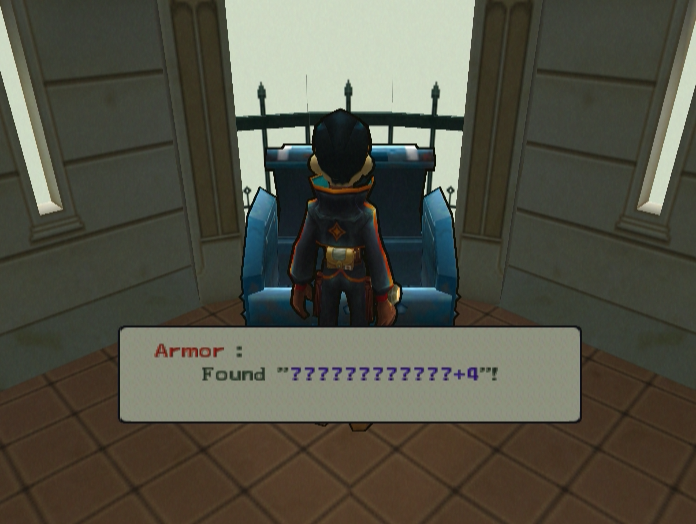
The other contains the Treasure Chest, which contains an unidentified piece of armour.
The next floor is much darker than the ones preceding it.
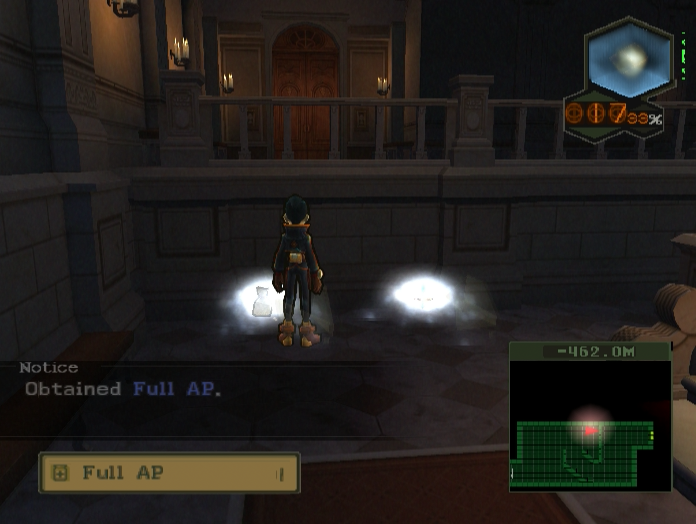
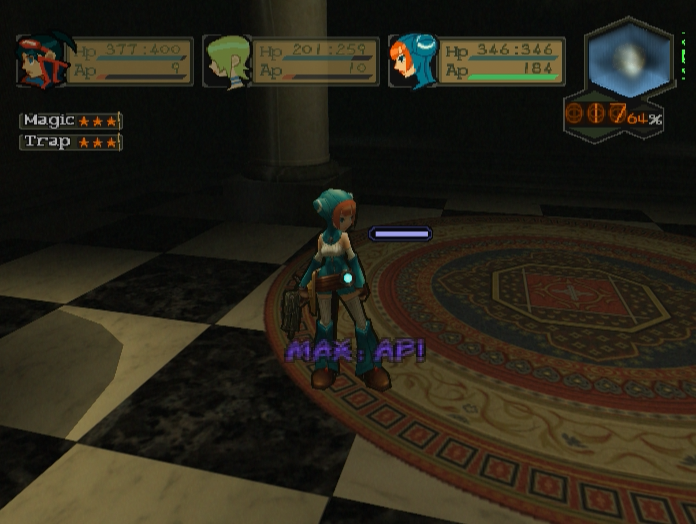
Some of the boxes here contain Full APs. These maximise a character’s AP, overcharging it no matter how much or little they had before.
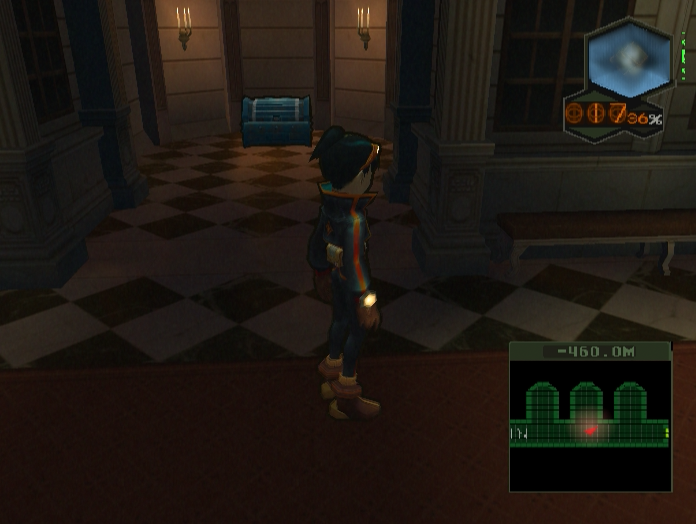
The corridor ahead has three alcoves. Two are empty, while the central one contains a Treasure Chest.
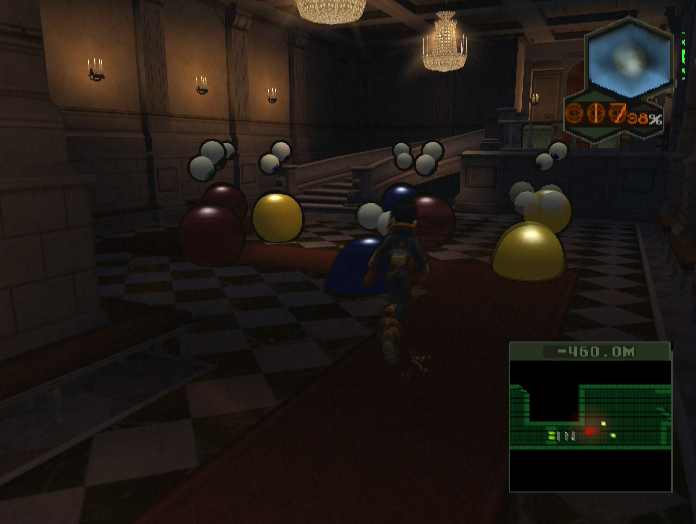
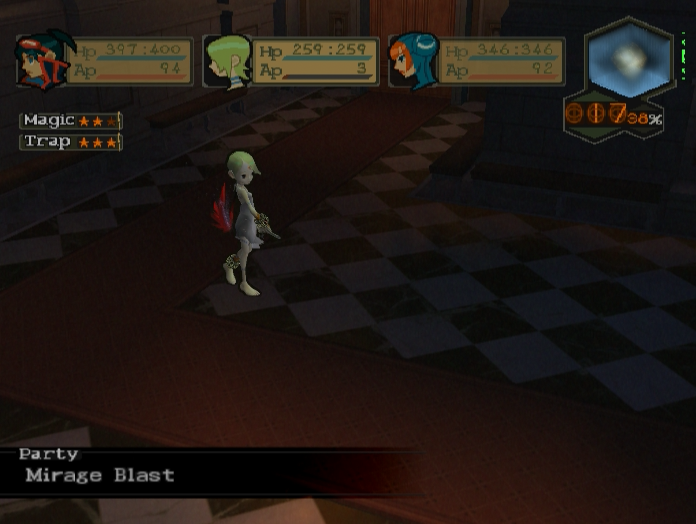
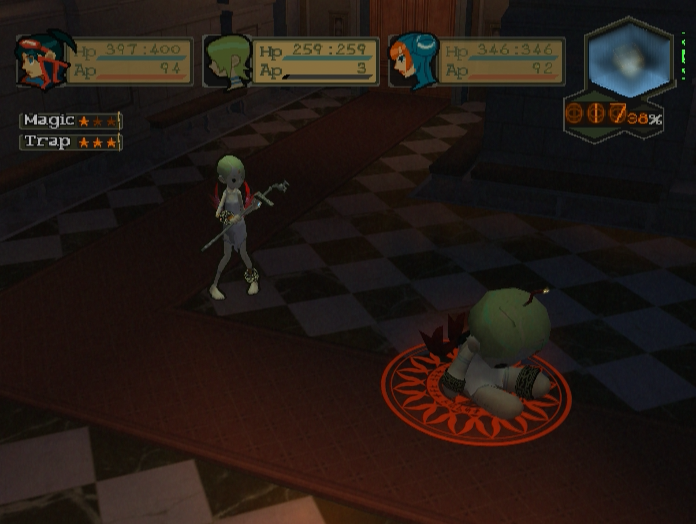
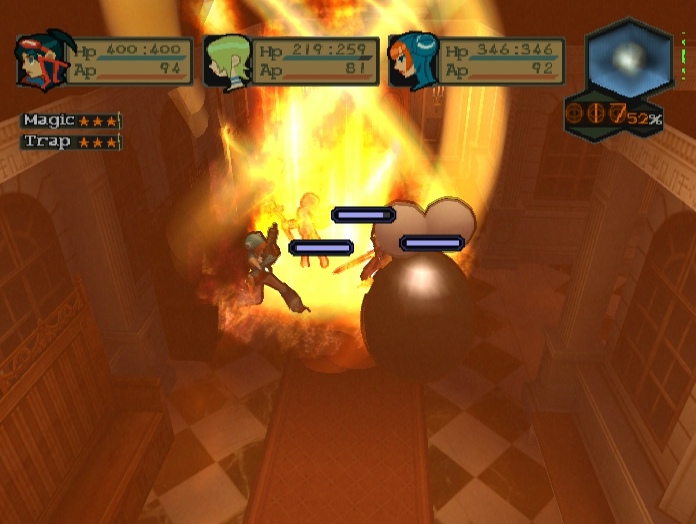
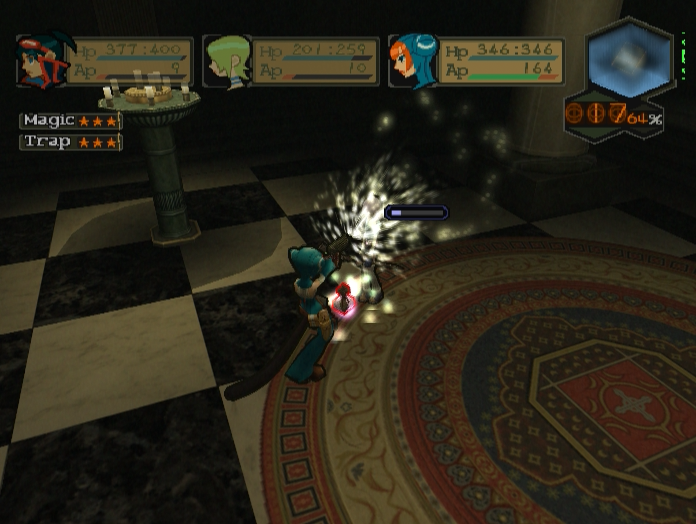
The next room is full of Ice, Fire and Thunder Goos. They aren’t much of a challenge, but they give me a chance to show off Mirage Blast.
Using it causes Nina to summon a
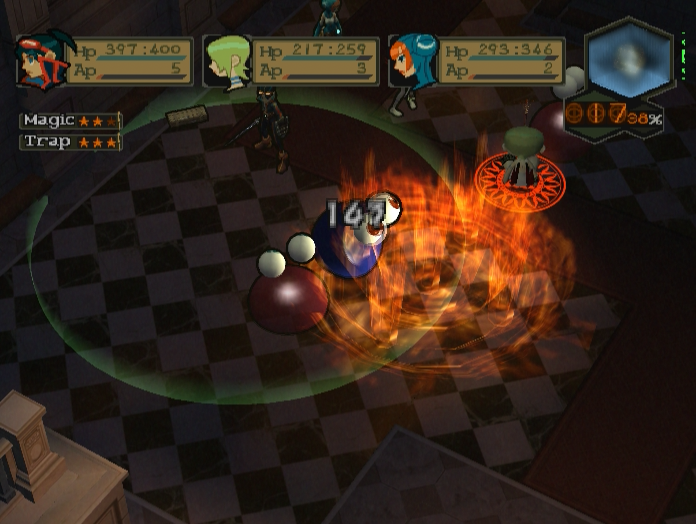
They do a lot of damage though, so it’s all good.
For some reason, clearing out the room doesn’t give us the Treasure Key, and the only other room off this one contains the teleporter to the next floor.
Music: Imminent Crisis
Returning to the corridor with the chest however triggers the Danger Room music and causes two Goo Kings to spawn in the empty alcoves.

As the name implies, Goo Kings are the strongest type of Goo in the game.
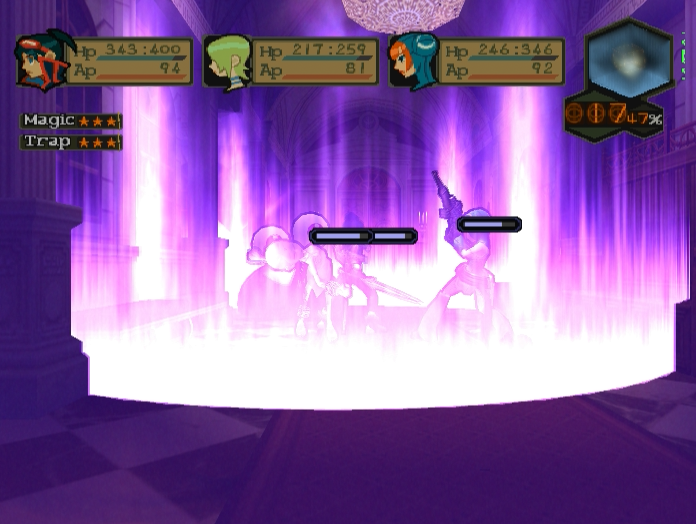
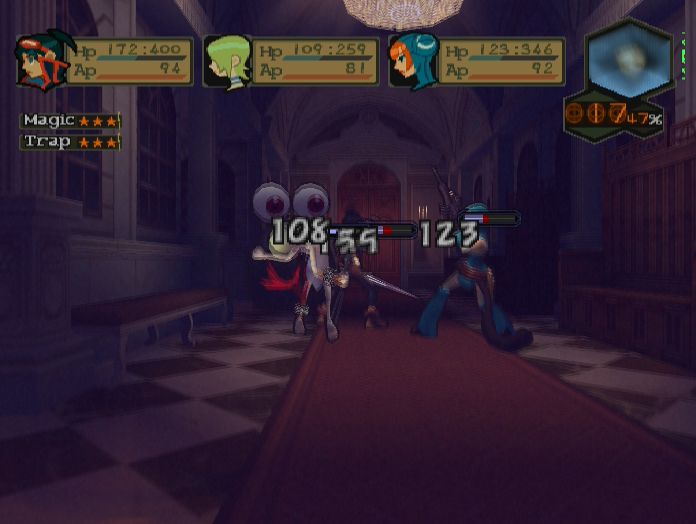
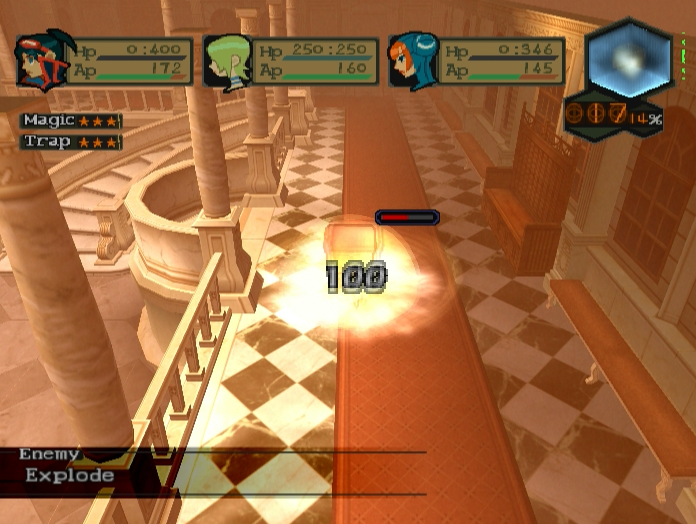
They come packing Primus, an upgraded version of Pre-Primus that shaves off half your party’s current HP.
They can also cast Inferno to obliterate what’s left. They can act twice per turn, so it’s very possible for them to wipe you before you even get a chance to act.
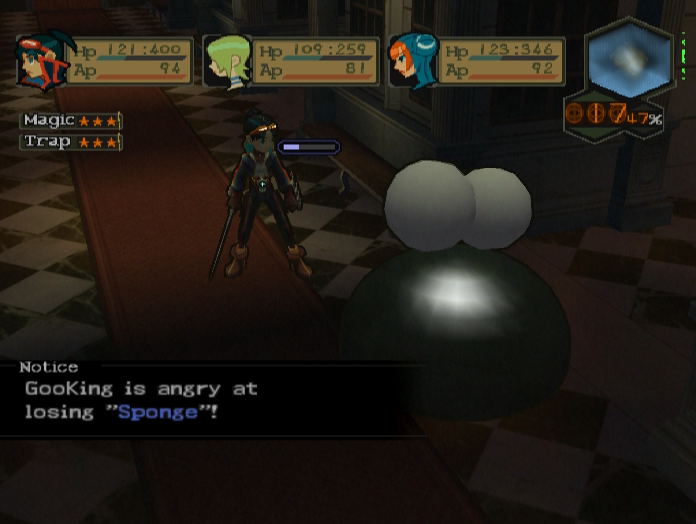
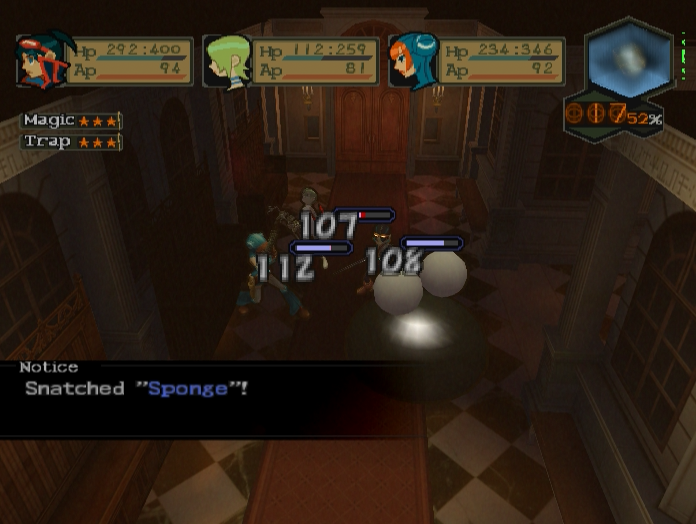
To make matters worse, Goo Kings are another enemy that hate to be stolen from. Pilfering their cherished Sponge will jack up their stats, gives them a shield that cuts all damage dealt to them in half and gives them access to the Quake spell.
Needless to say, this is a big problem in such a cramped area.
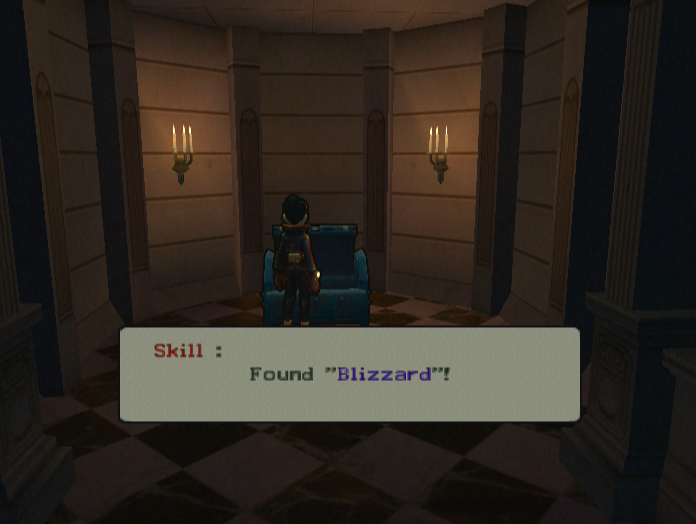
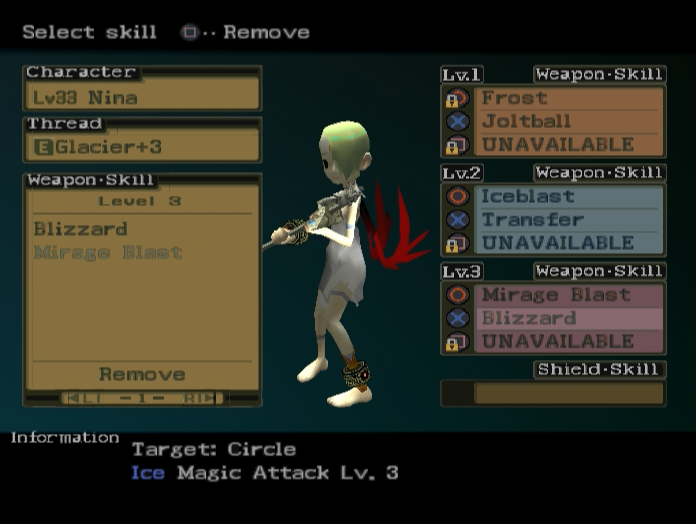
Our reward for surviving the battle is the Treasure Key, which we can use to obtain the Blizzard spell.
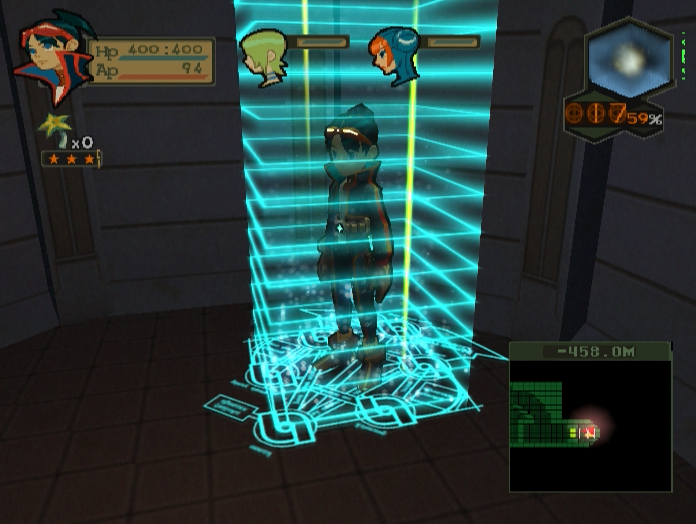
With all that done, it’s time to head upwards…
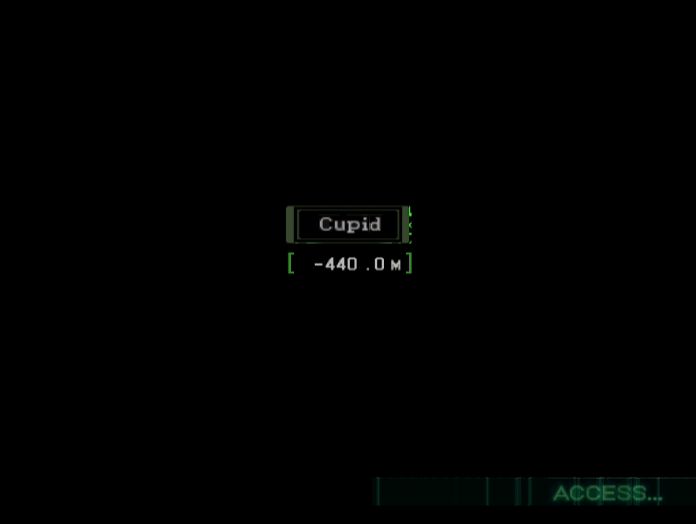
…into Cupid’s domain.
Music: A Moment’s Joy
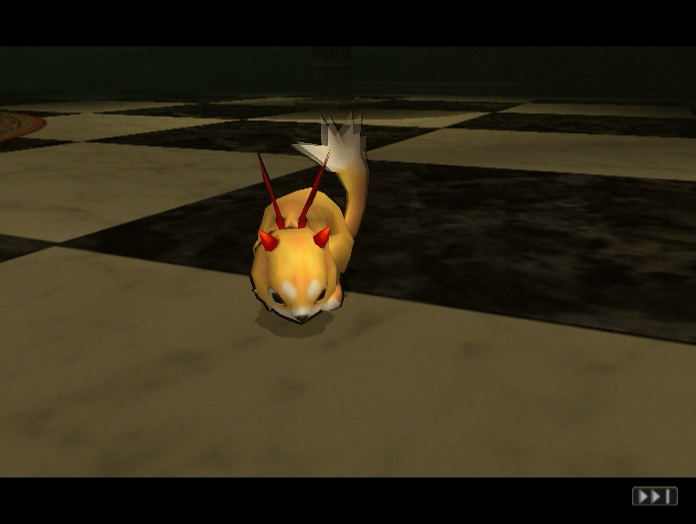

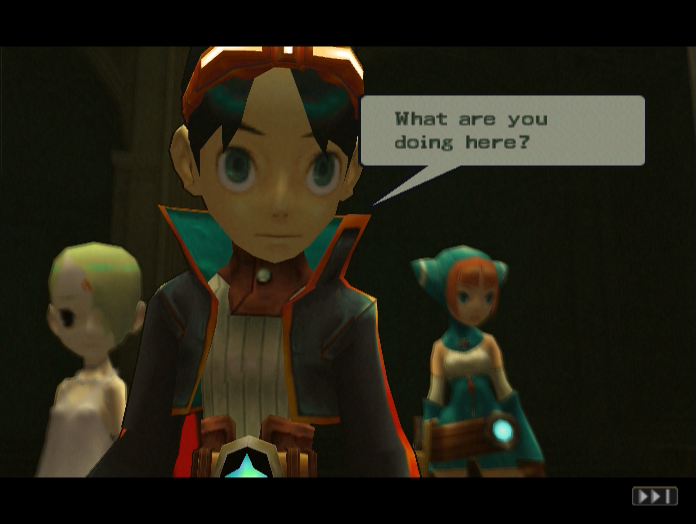
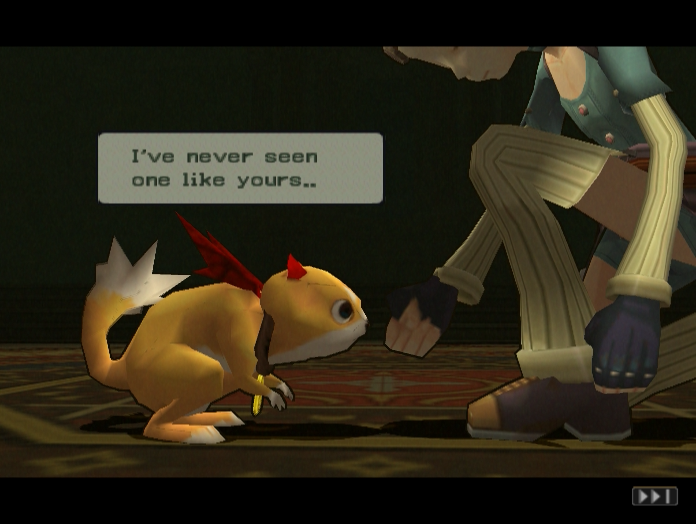
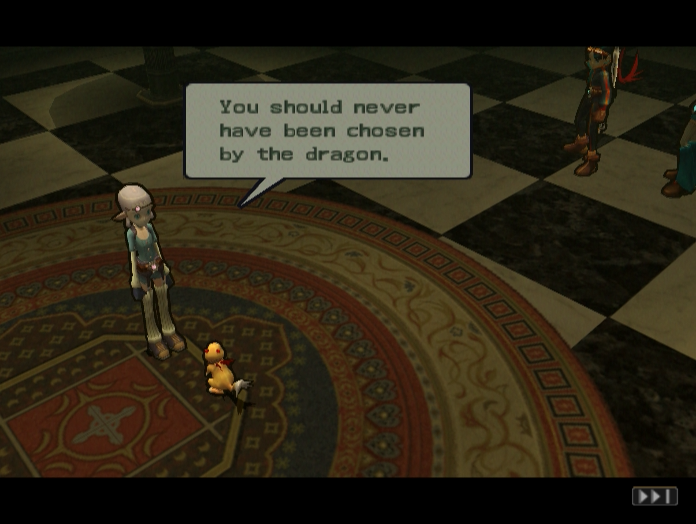
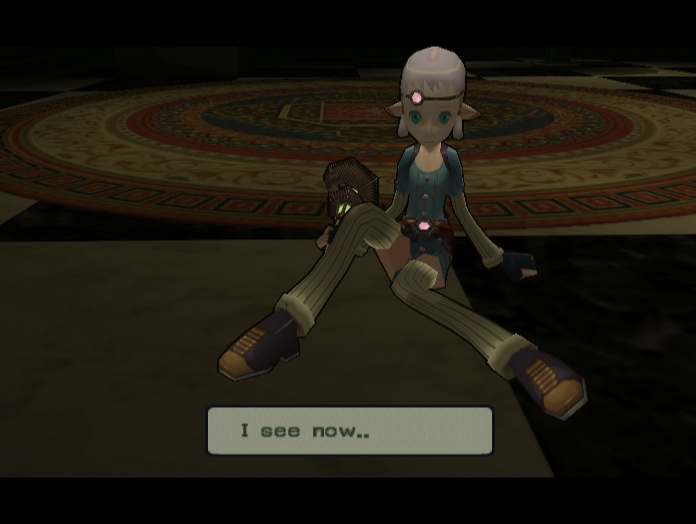
The small creature runs off as Ryu walks by.
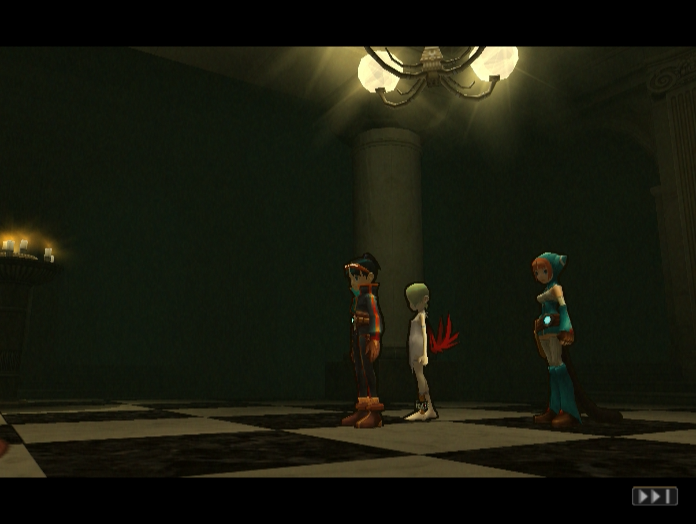
 : Who are you?
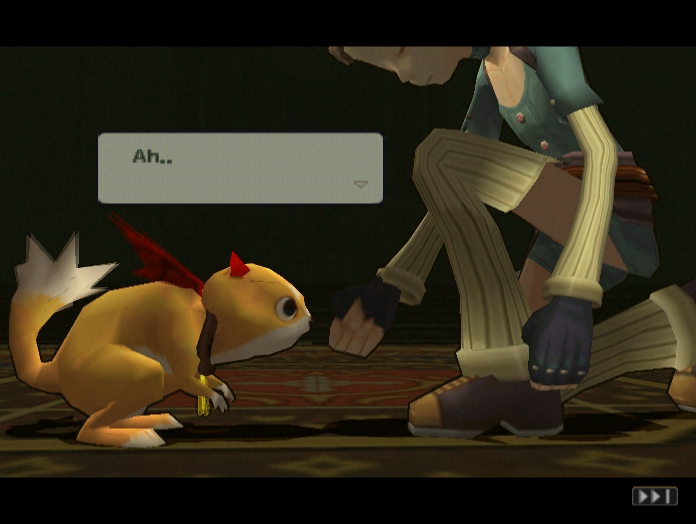
 : Your aura…it’s so clear.
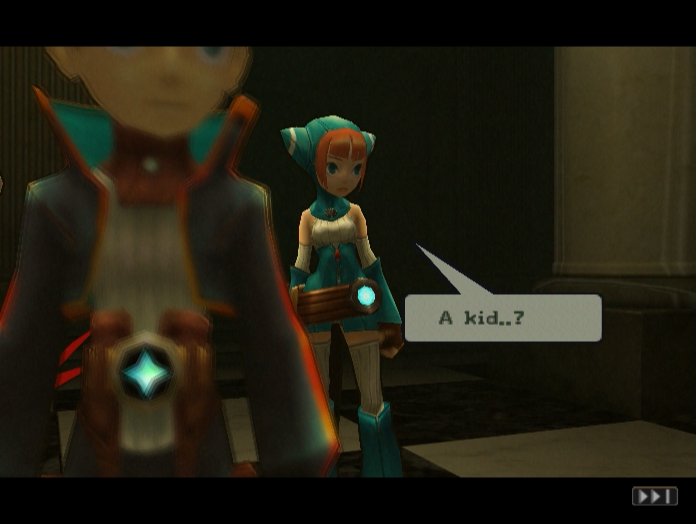
 : I see the pure silver of will…
 : But, Ryu…
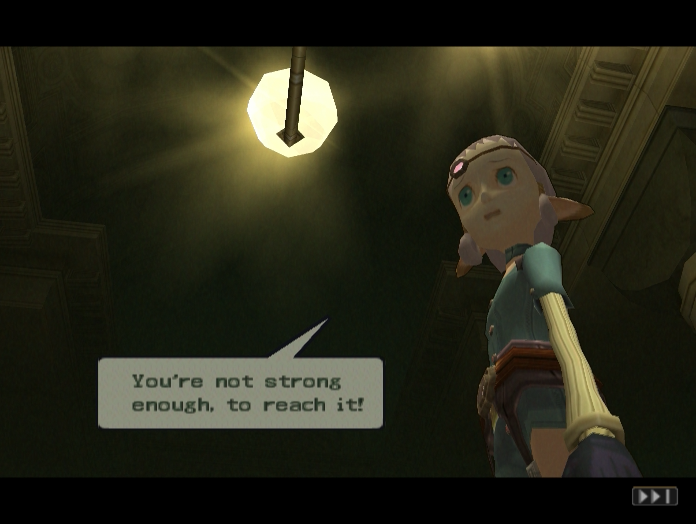
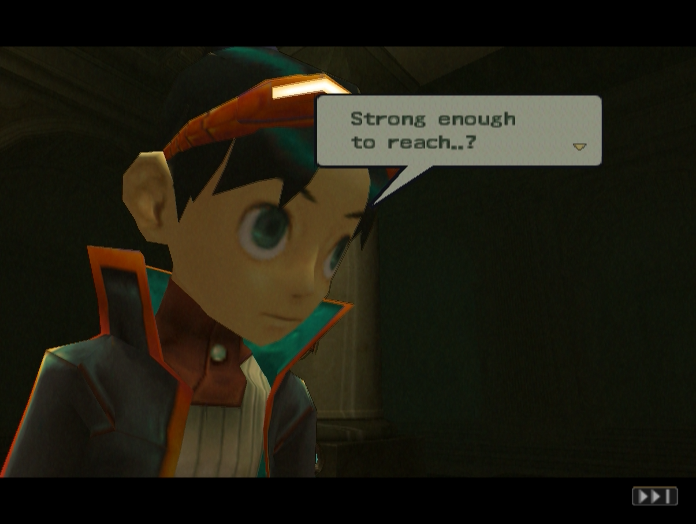 : What are you talking about?
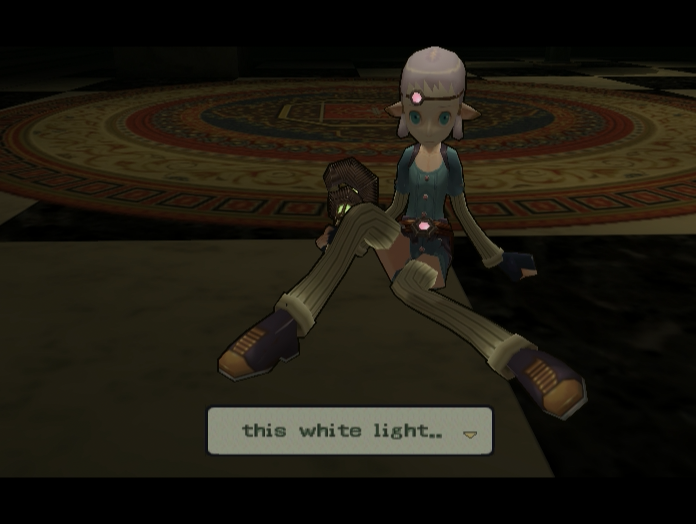
 : Right as it reached the sky…
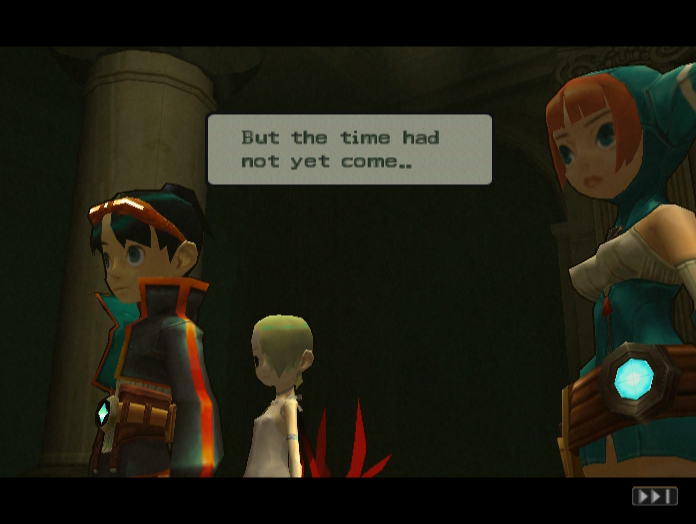
 : With its own hand. Eons passed, and we watched and waited…
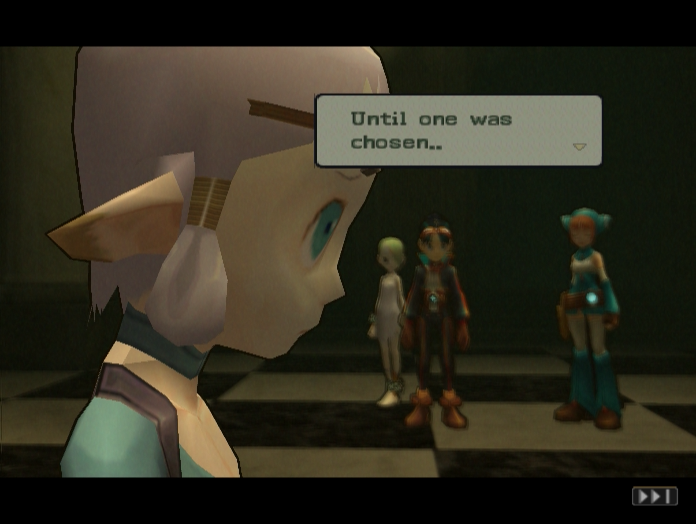 :…by the dragon, once again.
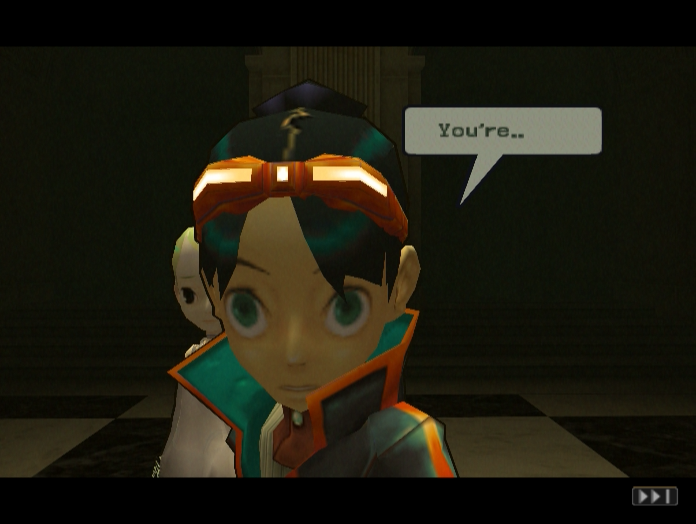 : You’re a Regent?!
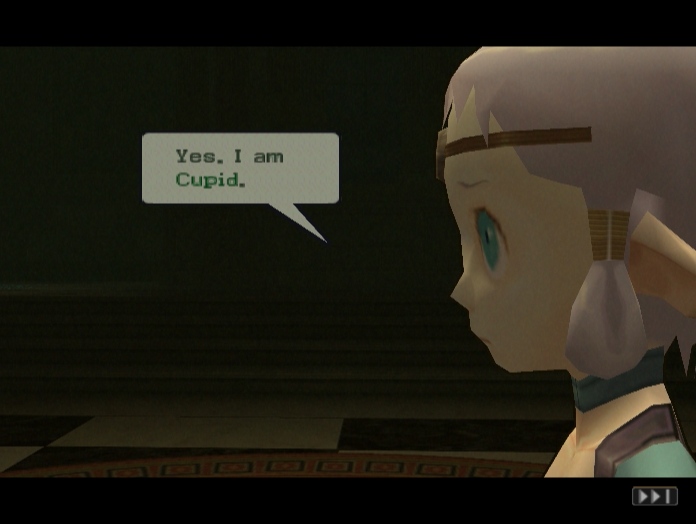 : I have one of the keys that you seek.
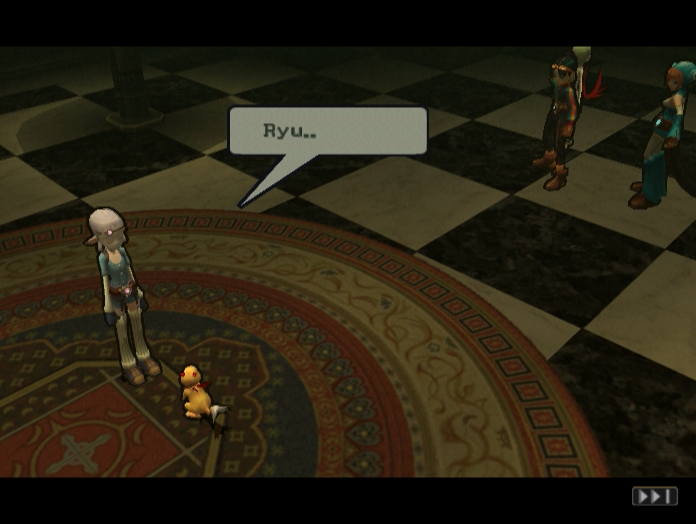
 : You seek the sky because you are bent by the will of a dragon, a program you were never meant to activate.
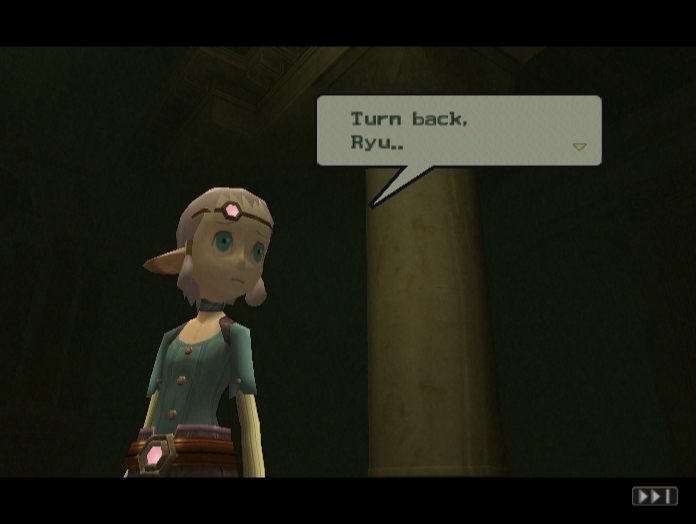 : There is still time.
 : I’m going to help Nina.
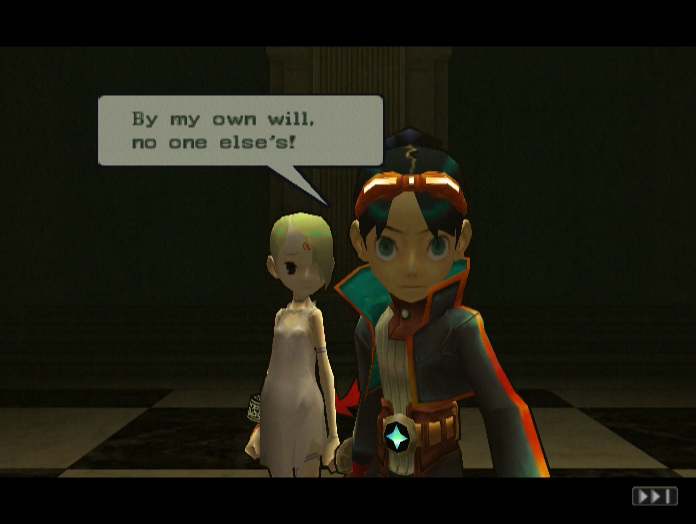
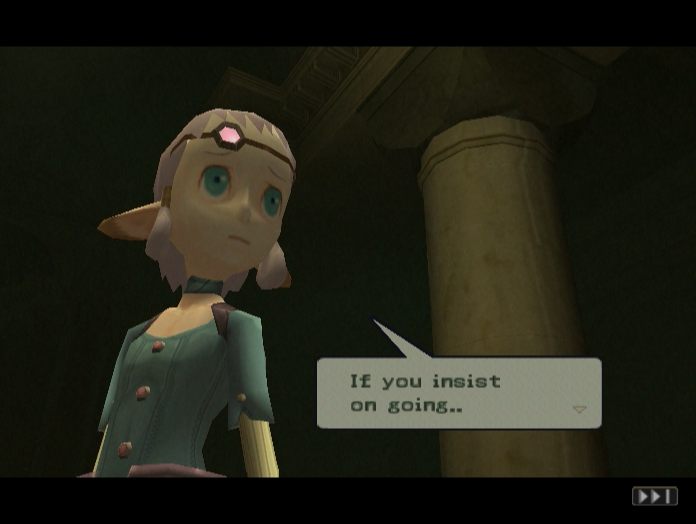 : We Regents must terminate you.
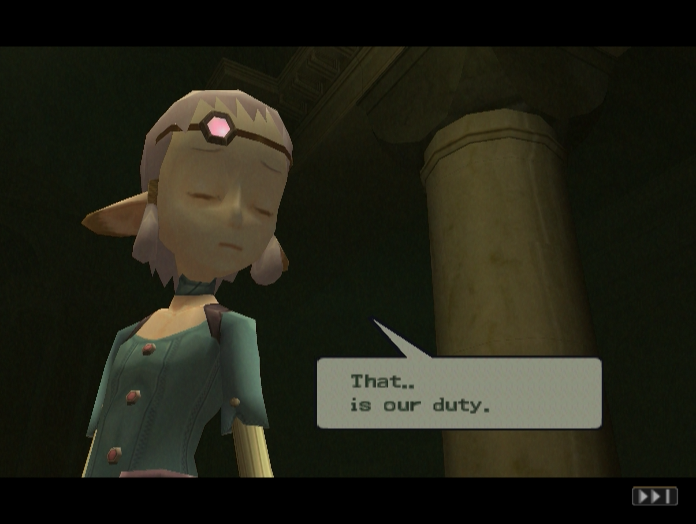

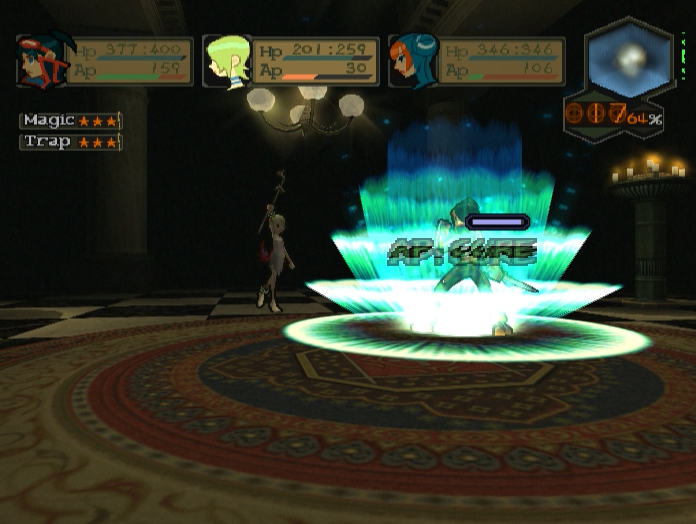
As the scene ends we are thrust into a battle with Cupid.
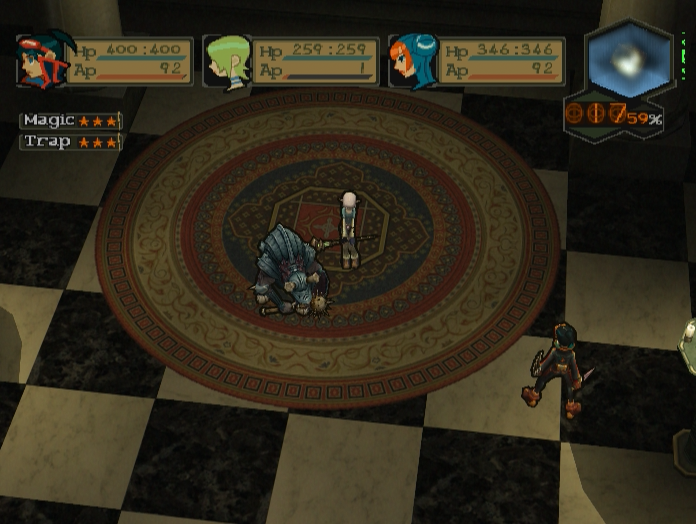
One thing you’ll notice immediately after the battle begins is that Cupid isn’t alone. His Gargantua-lookalike companion, Oncotte, will play a central role in how this fight plays out.
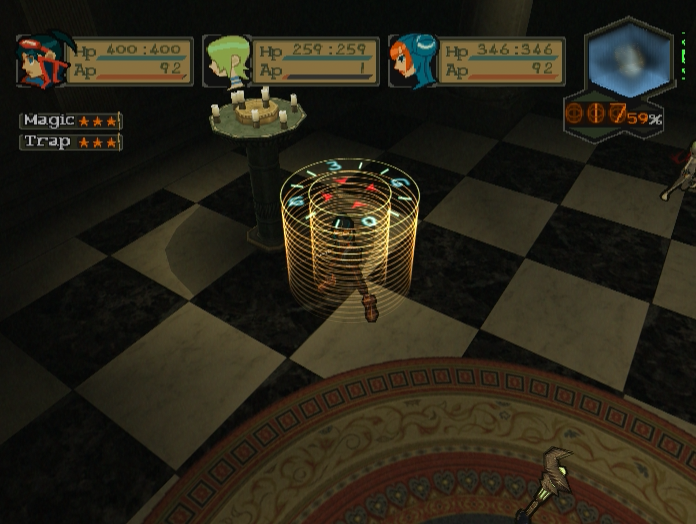
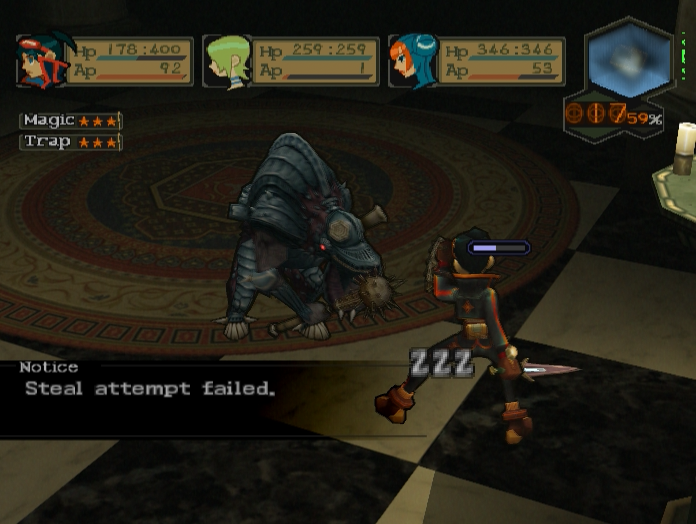
Cupid’s first move of the battle will be to use Command to tell Oncotte to attack a particular character. Oncotte only attacks once per turn but has a good movement range and will consistently take off 200+ HP with every hit. Nasty, but surely you can simply kill Oncotte and focus on Cupid?
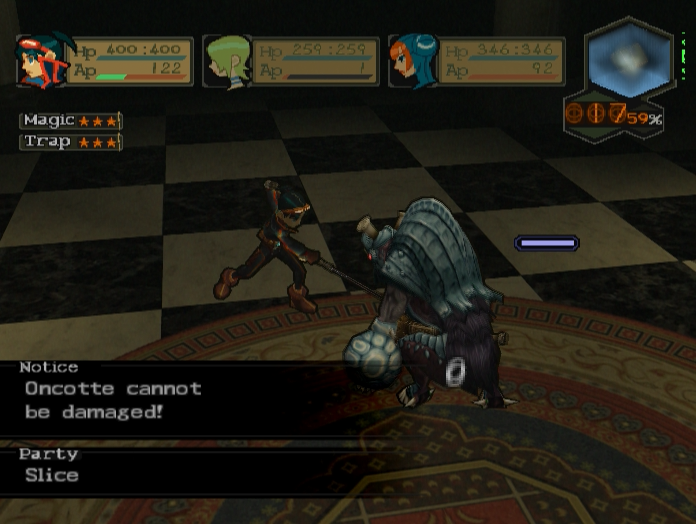
Nope. Oncotte is totally invincible. Not even D-Dive can phase it. Perhaps it’s some kind of mental projection? Either way, don’t bother attacking it.
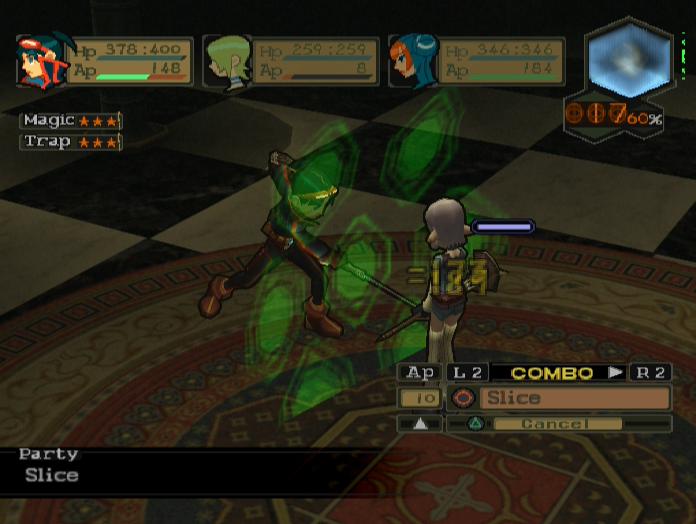
Cupid himself has 250 points of Absolute Defence, and surprisingly tough regular defence as well. He has 3,200 HP, less than Deamoned but still a lot to burn through.
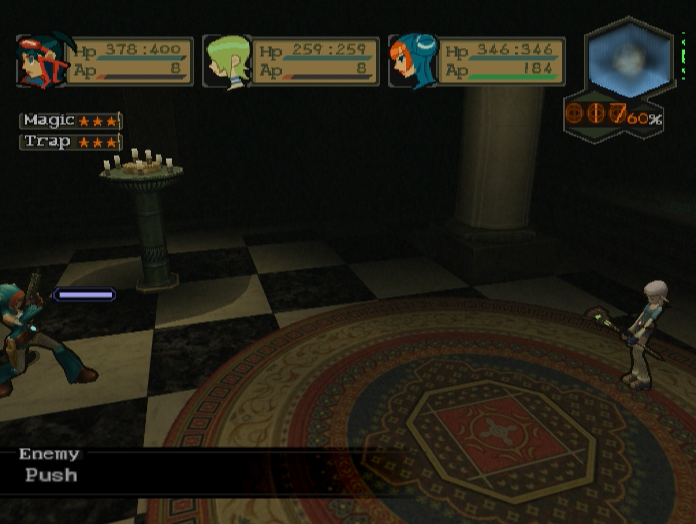
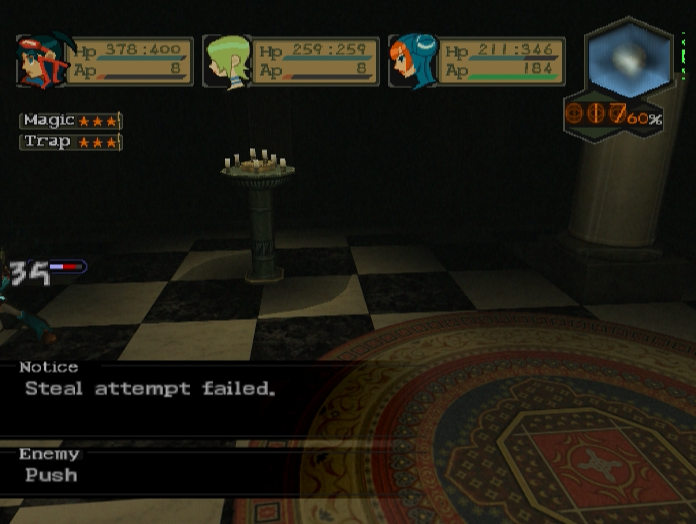
Throughout the fight Cupid’s main strategy is to stay out of range while Oncotte beats your characters to death. He’ll use Push and Shadowstitch to mess with your movement and if you try to close the distance he’ll simply use his next turn to run away. This fight is mostly an endurance match and if you don’t pin Cupid down it’s very possible to run out of healing items and die.
For this reason having Lin’s ‘C’mere’ skill ready to go really helps.
As with Deamoned, keeping your AP bars full is vital to success.

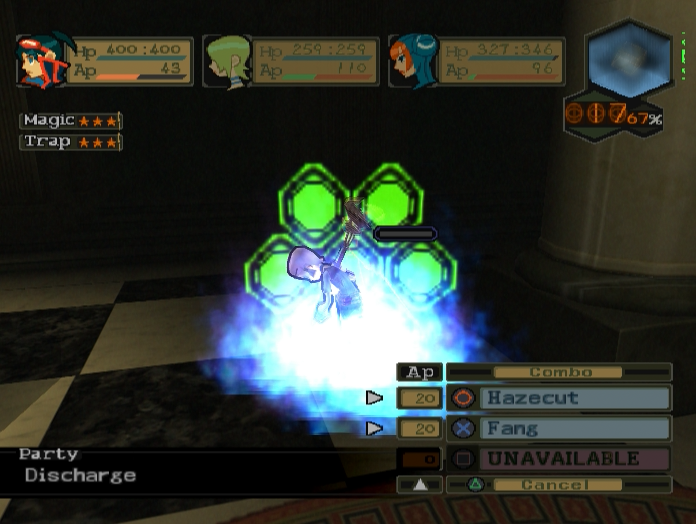

For offence, ‘Shatter!’ and Discharge are your friends, particularly if Oncotte has been focusing on Ryu. With plentiful healing items and good judgement you should be able to win.
 : It’s…wings…
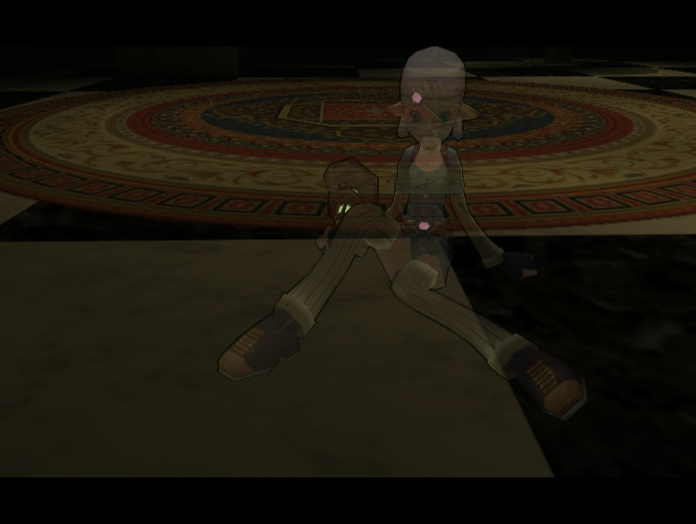
Unlike Deamoned, Cupid at least manages some last words before fading away.
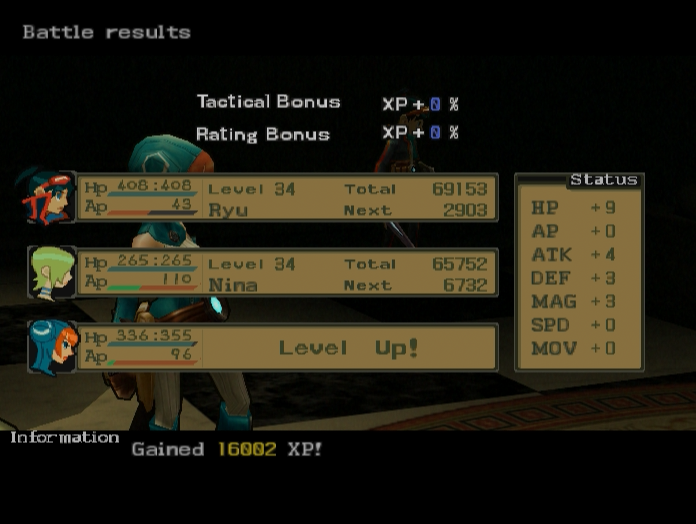
Once again we are rewarded with a very exact 16,002 experience.
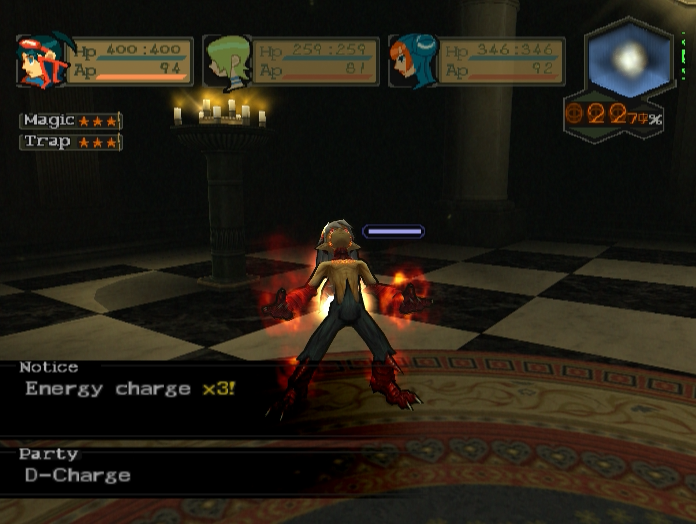
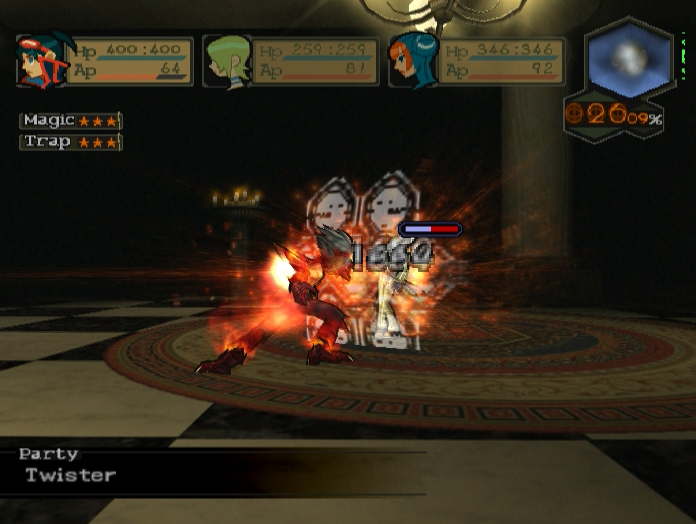
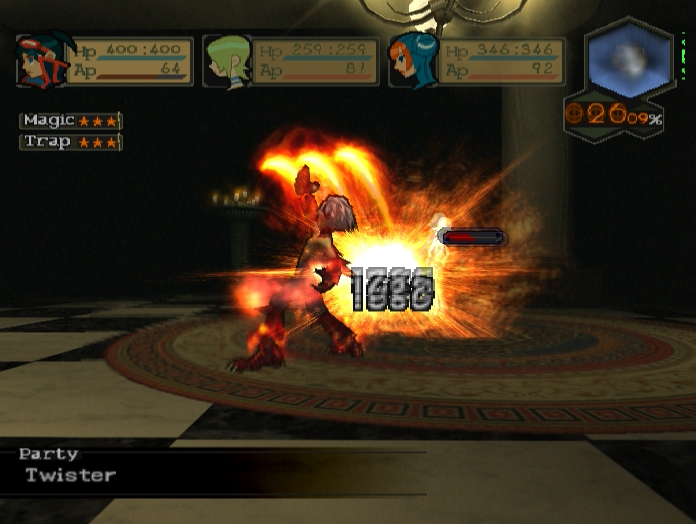
Of course, if you don’t want to deal with chasing Cupid down and have the D-Counter to spare three D-Charges and one Twister will obliterate him immediately.
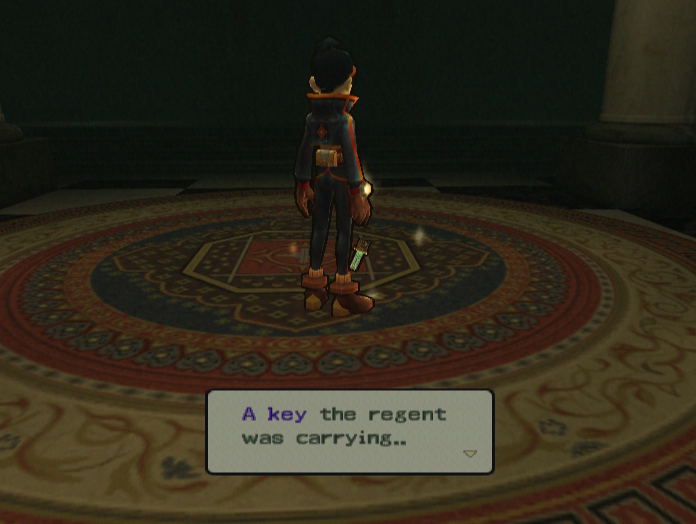
Cupid kindly leaves his key for us to pick up.
There are two teleporters at the back of the room. Each one eventually leads to a different Regent, but the one on the left will let us pick up the skill I really want while the one on the right ends in a very tough boss that I’m probably going to leave for last.
With that in mind, I’ll see you guys next time.
--
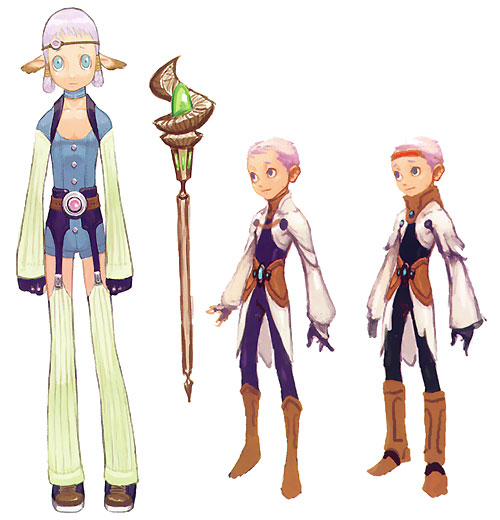
Bonus Art: Cupid