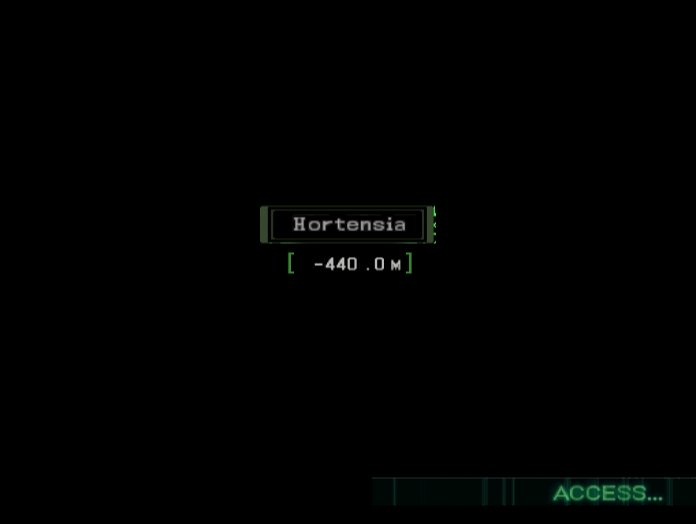
Part 24: Centre - Hortensia
Update 24: Centre - HortensiaWelcome back. Last time we defeated Yezuit and claimed his key. With all four keys in our possession we could move on to Dragon Quarter’s final area, but we aren’t done exploring Centre just yet.
Music: Centre Ministry Sector
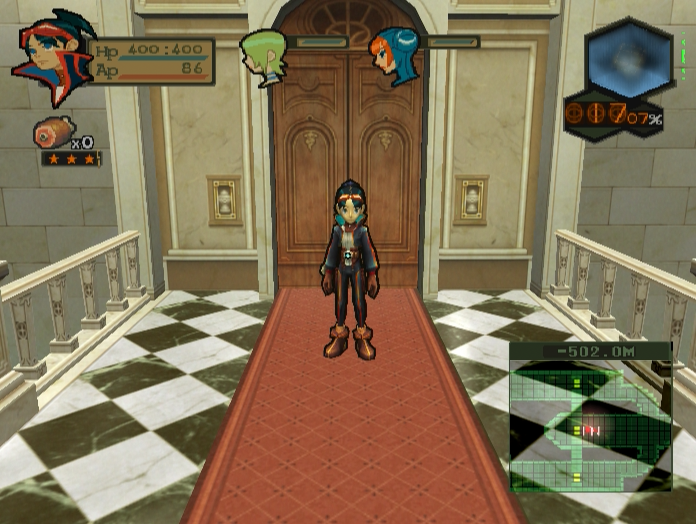
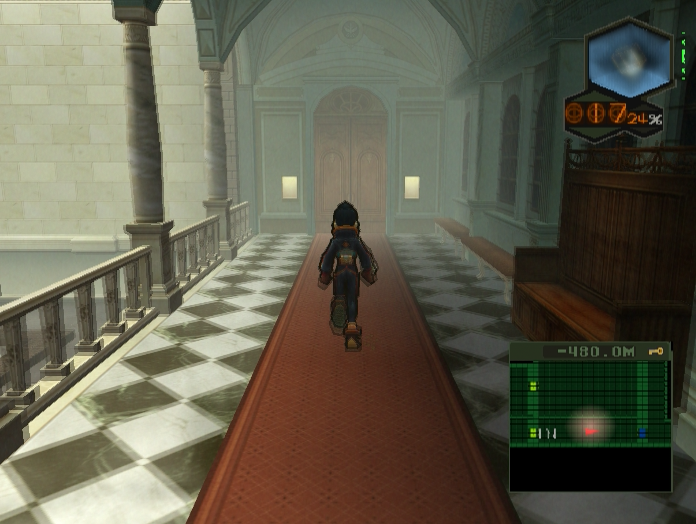
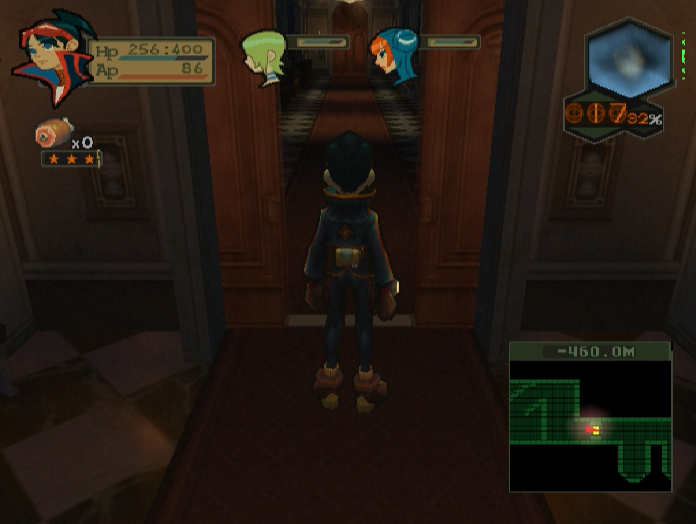
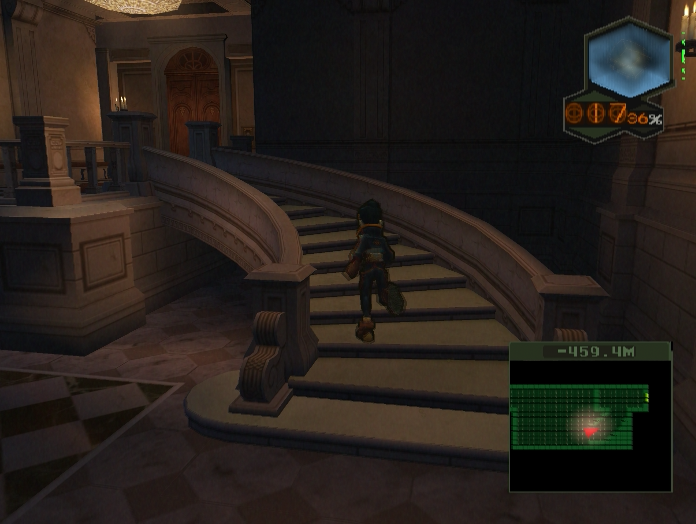
Using the SOL system I travel back through time and space to Centre’s entry hall.
Instead of taking the left hand teleporter to Cupid, I take the right hand teleporter to parts unknown.
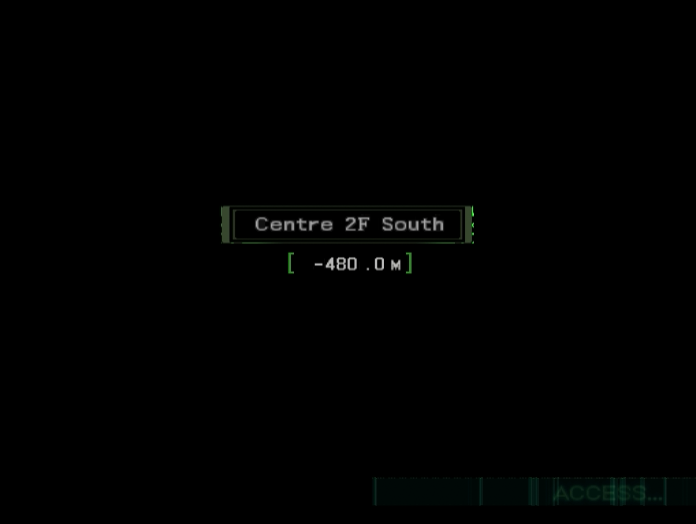
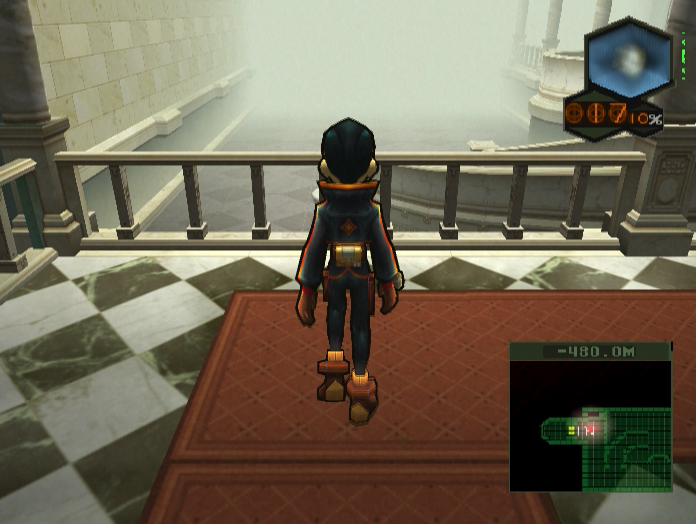
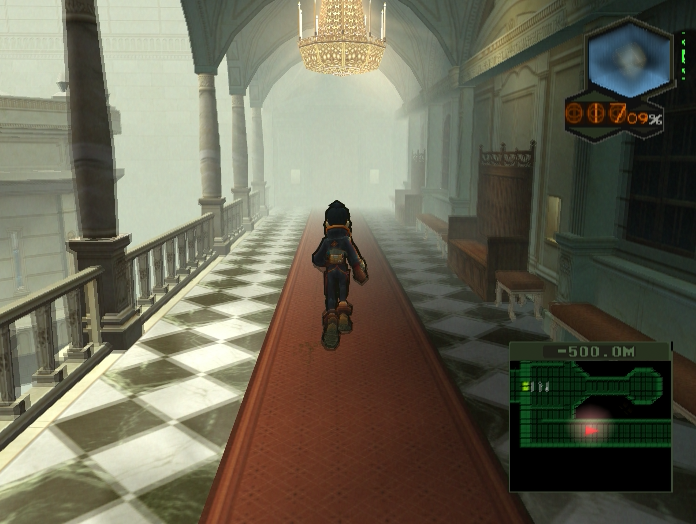
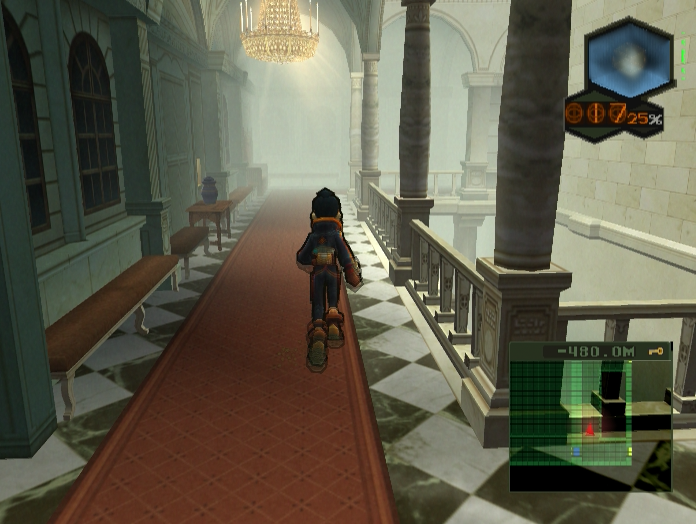
Centre 2F South’s layout is almost identical to Centre 2F North.


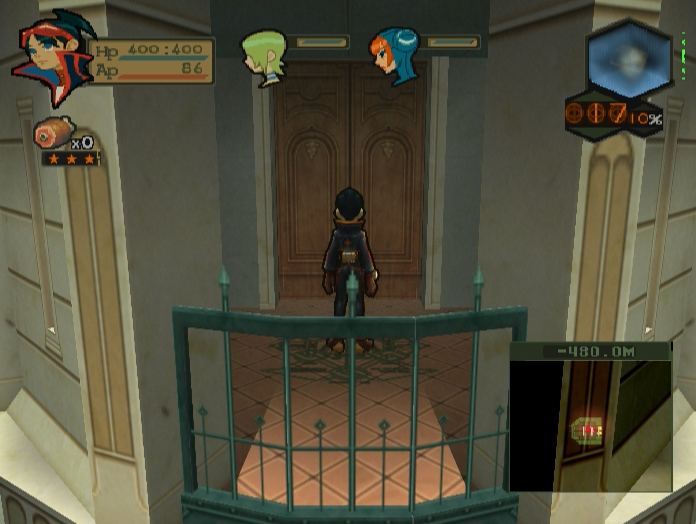
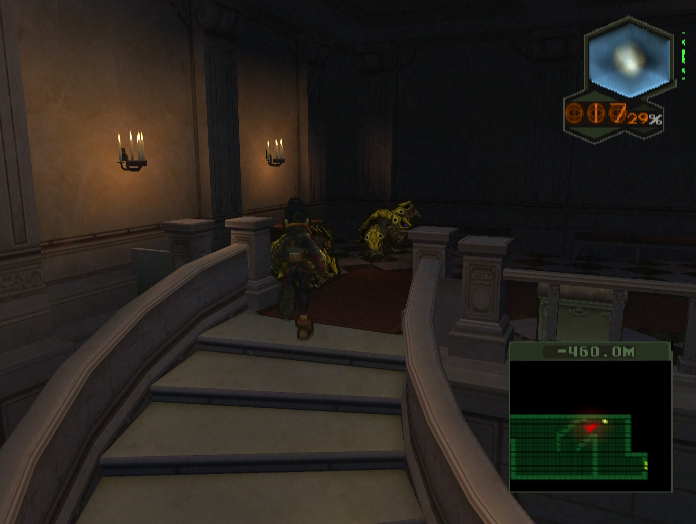
There’s a Pandora Box on a raised balustrade, with a unique miniboss guarding a door on a lowered level below.
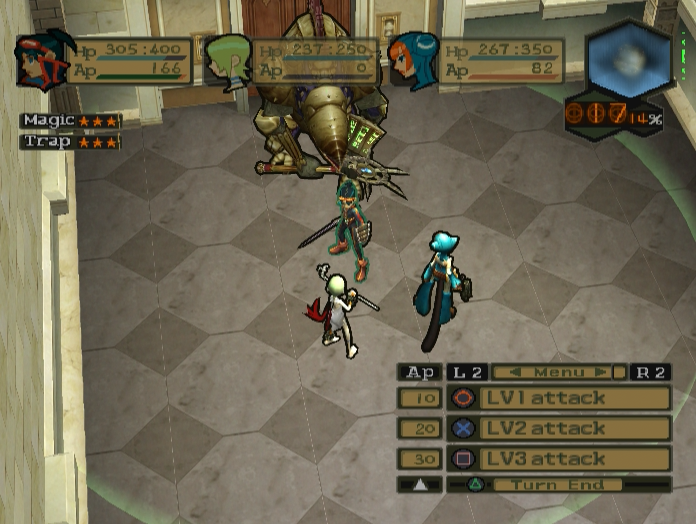
The miniboss, Pantagruel, can be tricky to deal with if you position your party poorly.
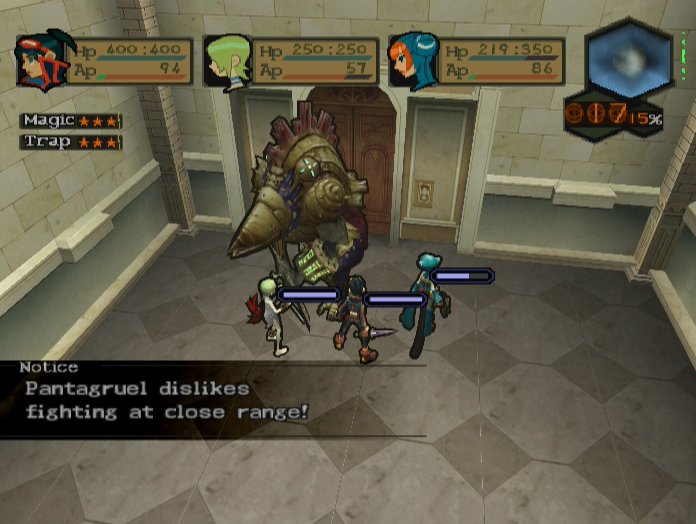
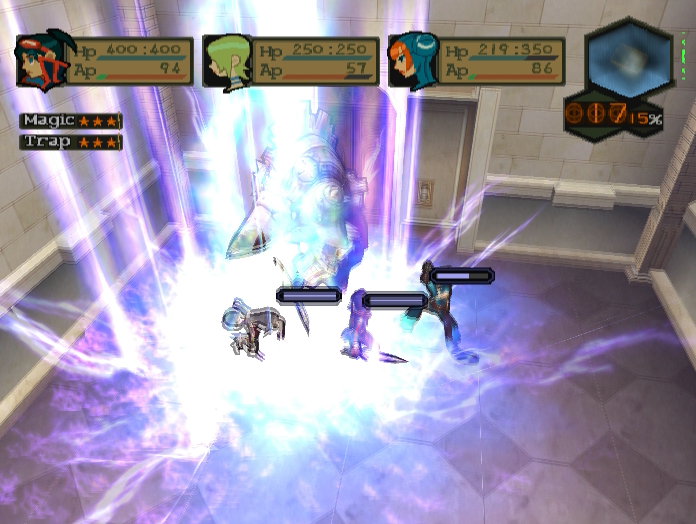

If two or more party members get too close he’ll flip out and nail you with Valhalla. The damage might not look so bad, but that’s because Ryu and Lin are wearing lightning-resistant armour. Without it they’d be taking double, and since Pantagruel can act twice per turn it’s possible for him to wipe you if you’re underlevelled.
Don’t crowd him out and he’ll stick to spamming Lightning, which is far more manageable.
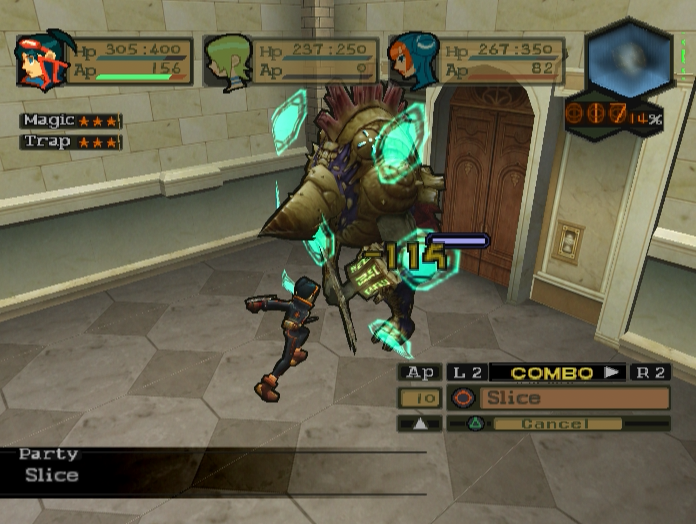
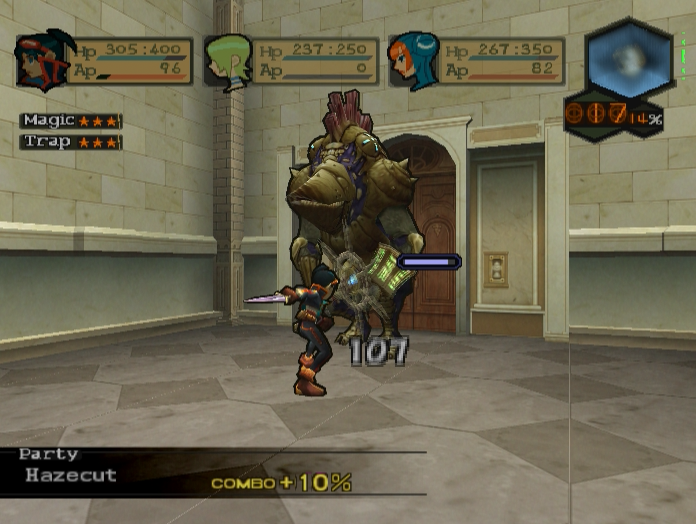
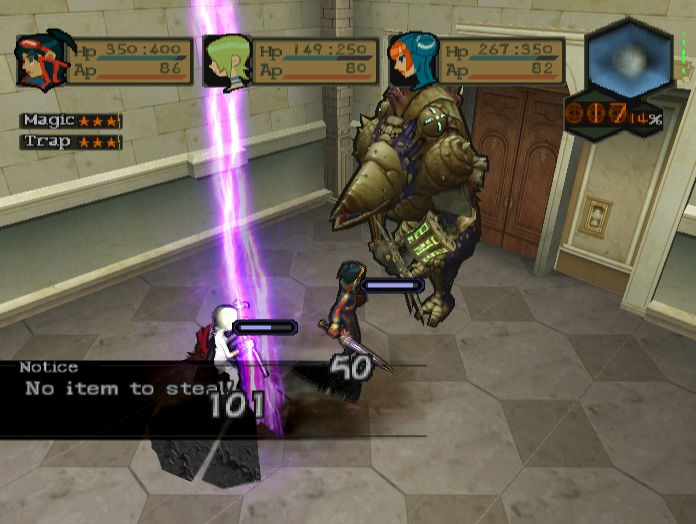
Just like Gargantua, Pantagruel has Absolute Defence, although in this case it’s only 200. He has about 1,000 regular HP, but his defence stat is quite low so you’ll deplete it pretty quickly once the shield goes down.
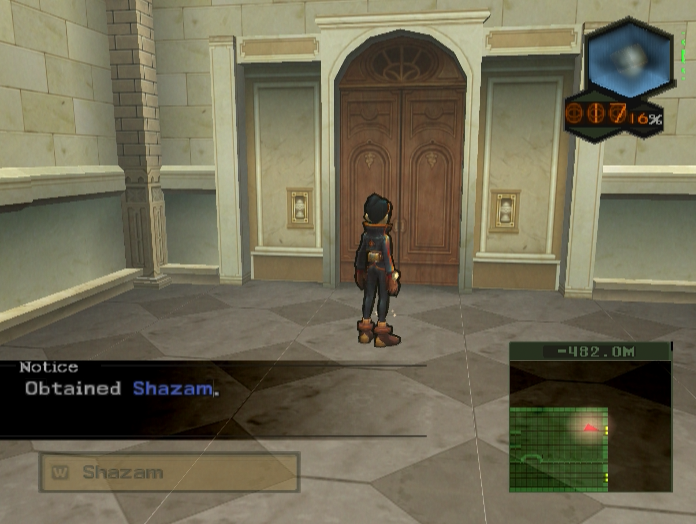
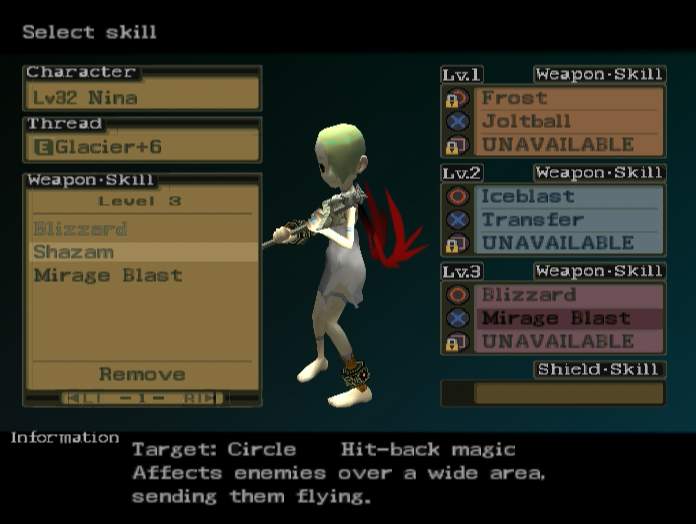
Defeating him nets us the Shazam spell, which deals no damage but inflicts heavy knockback to all enemies in a 360 degree radius. This spell might have been useful much earlier in the game, but right now it’s pretty much worthless.

The door he was guarding contains the same Ebonfire - Mahadevan mix as Centre 2F North.
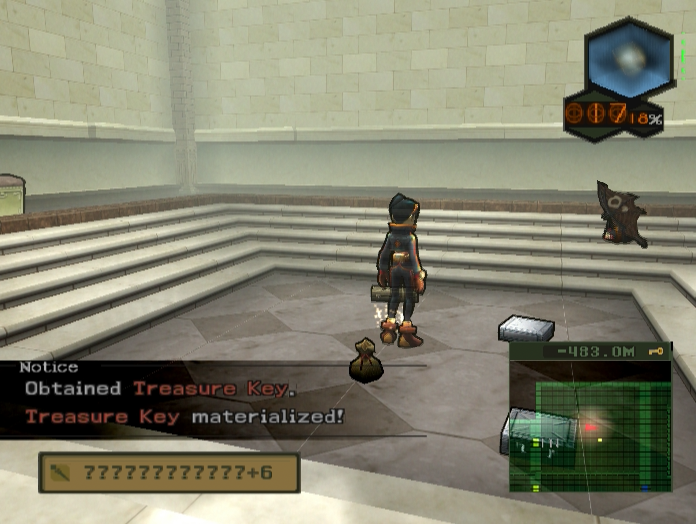
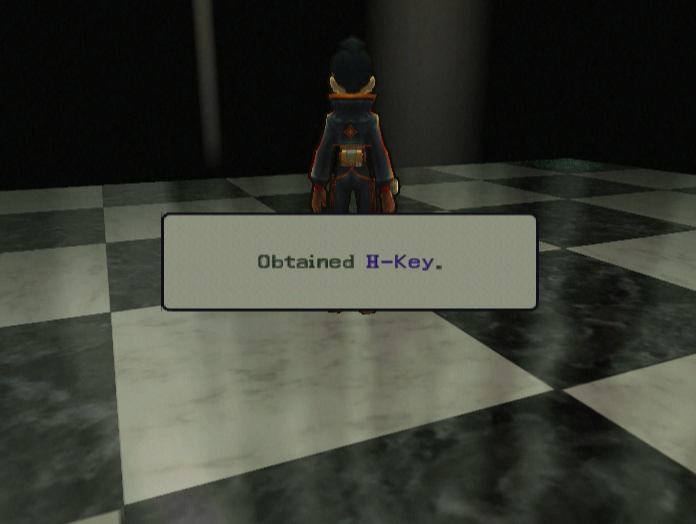
Like before, killing the Mahadevan nets us the Treasure Key.
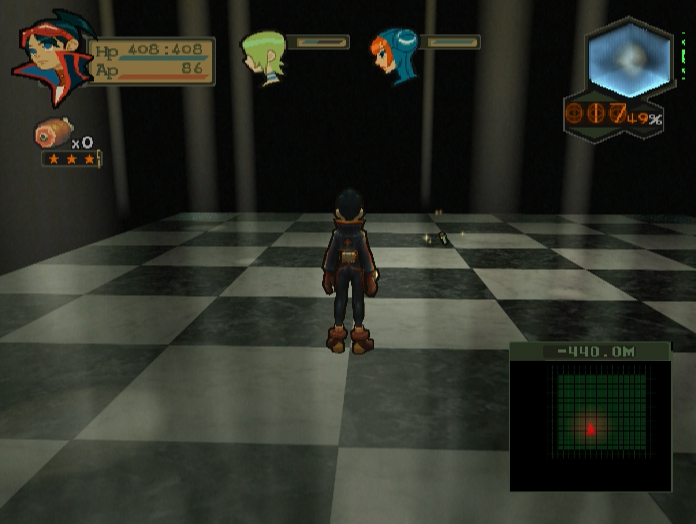
Once again proceeding leads us to a room where one annex is the teleporter and the other contains the Treasure Chest.

Once again, the chest contains armour.
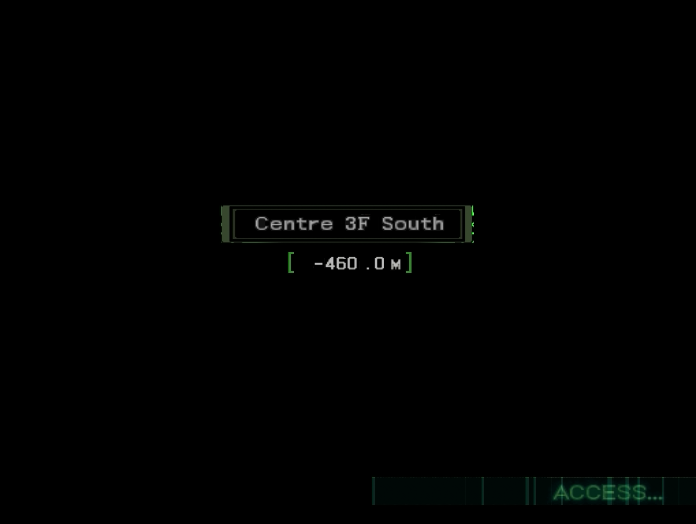
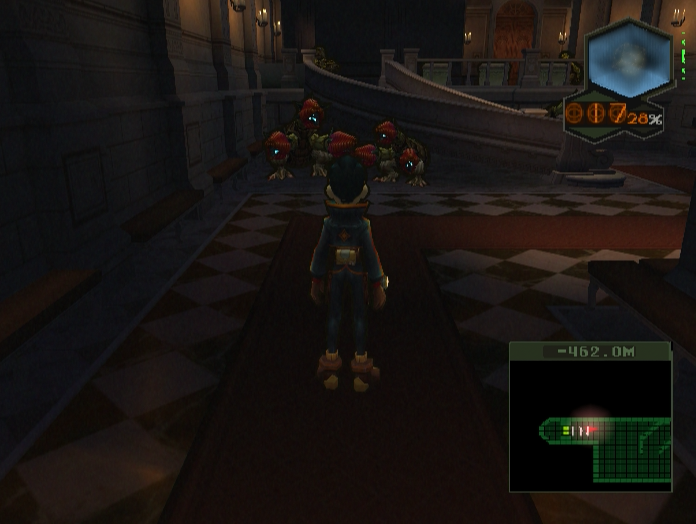
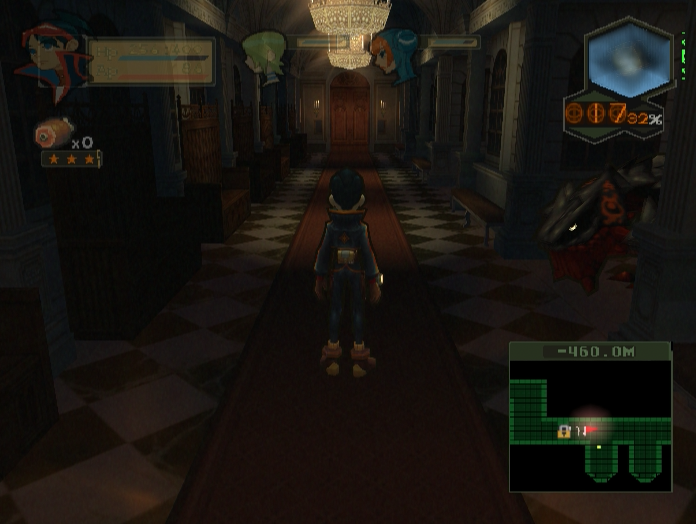
The first room we come to after teleporting to the third floor is full of Rafflesias.
They haven’t got any stronger since we left BioCorp, but they’re useful if you feel the need to grind a bit.
The upper half of the room has a bunch of Trilizards gambolling around.

As always, elemental magic is the way to go.
Music: Imminent Crisis
The next room is a Danger Room similar to the one we fought the Goo Kings in on our way to fight Cupid.
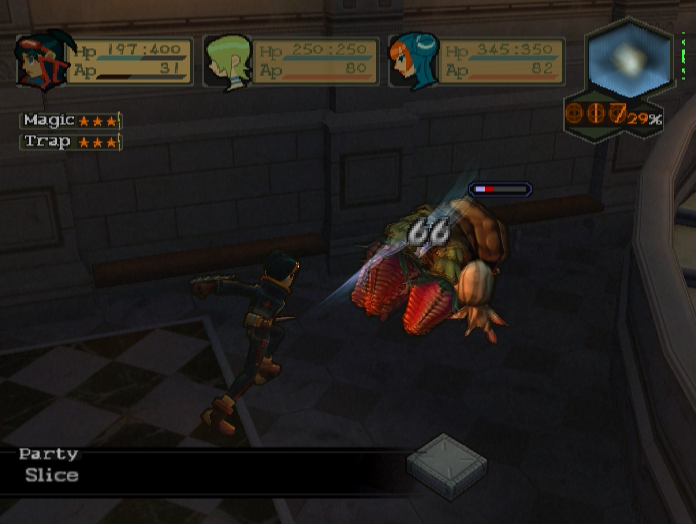
In this case our foes are three Cerberuses lurking in the room’s alcoves.
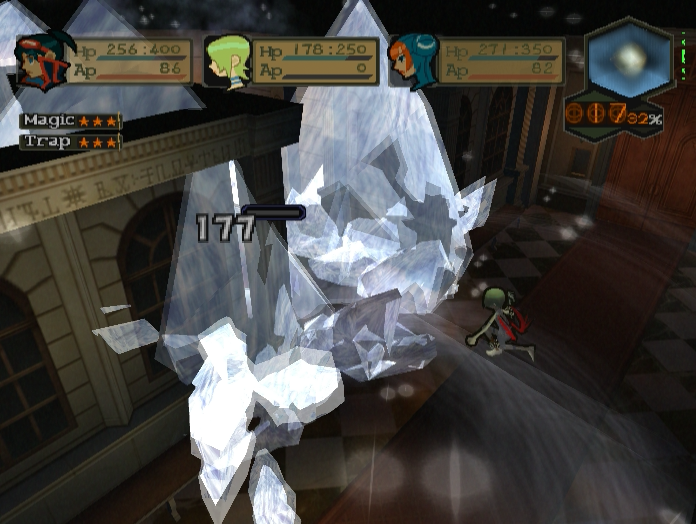
They are far, far less dangerous than the Goo Kings were. Judicious use of ice magic can kill them before they even get a turn.
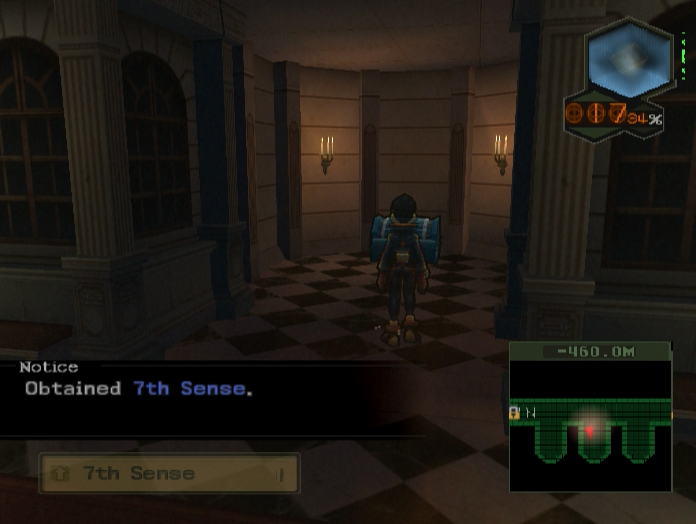
All three drop a 7th Sense when they die, a powerful item that boosts every stat for one turn.
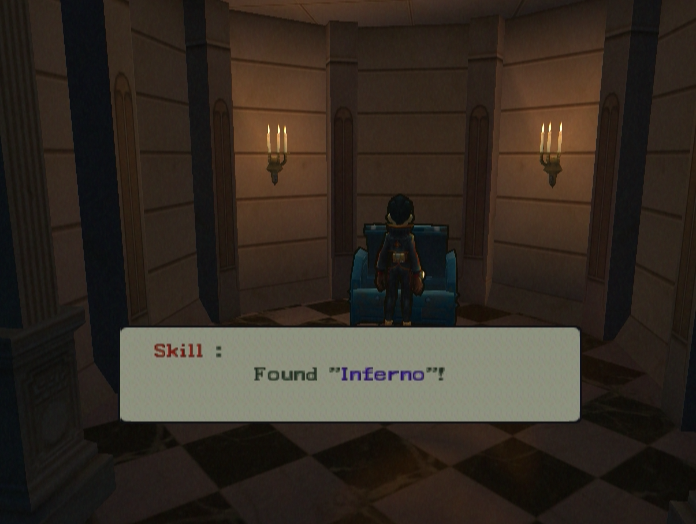
Clearing the room lets us access the Treasure Chest, which contains Nina’s strongest fire spell.
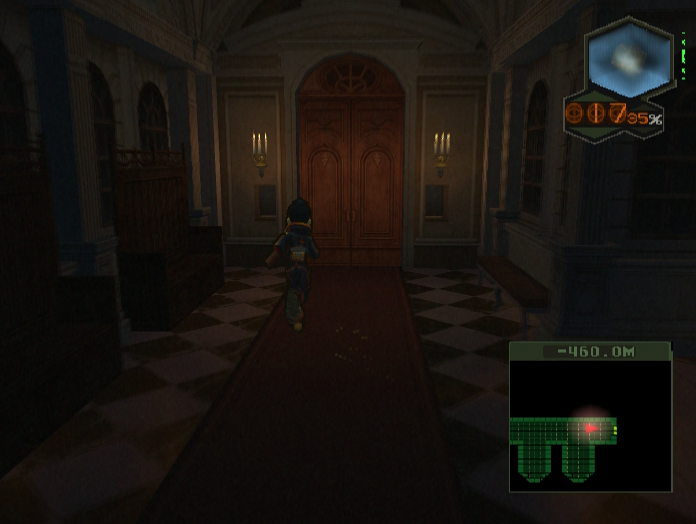
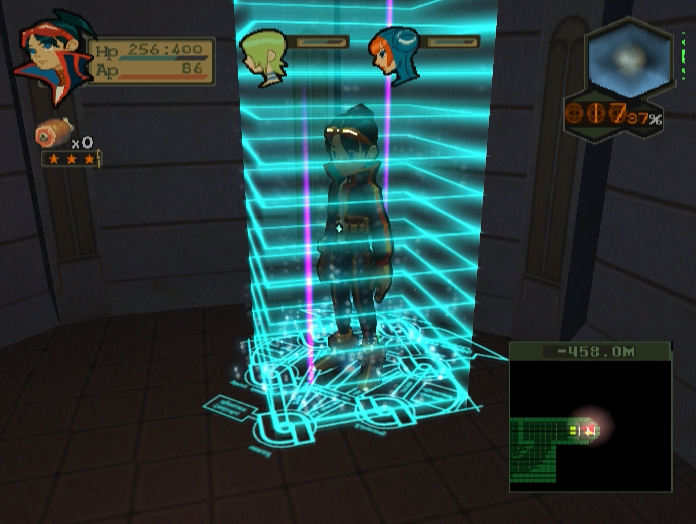
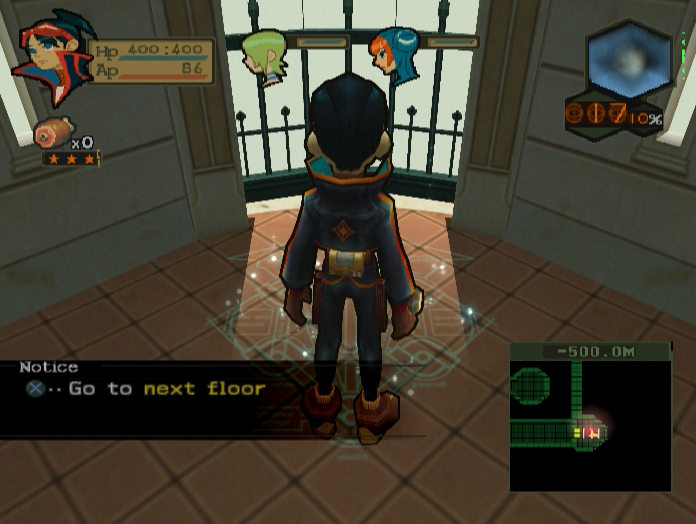
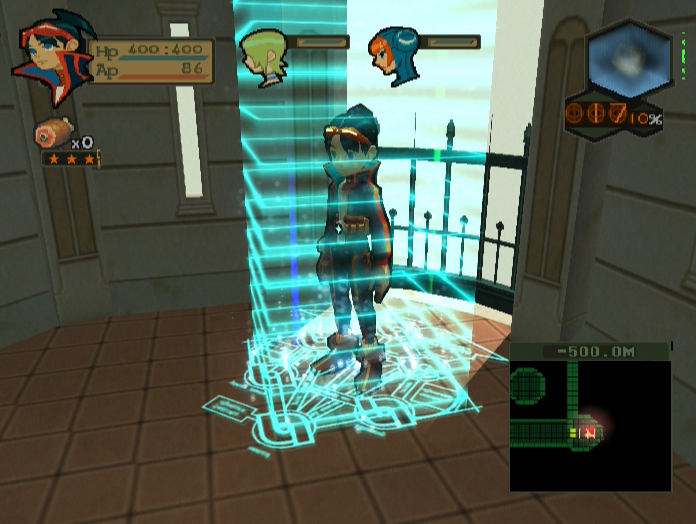
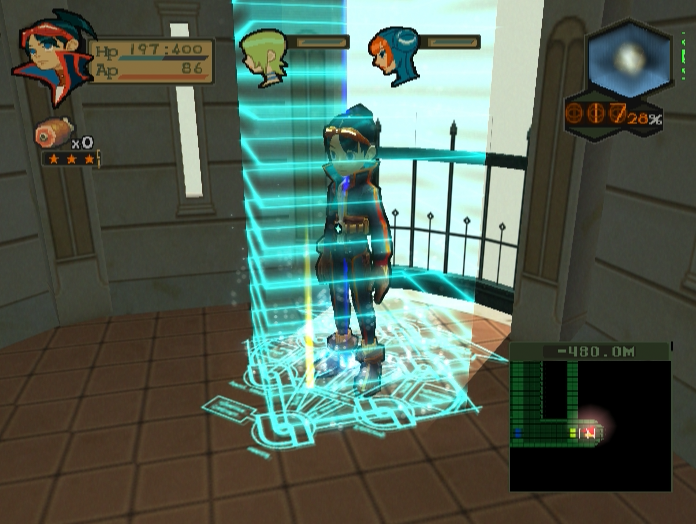
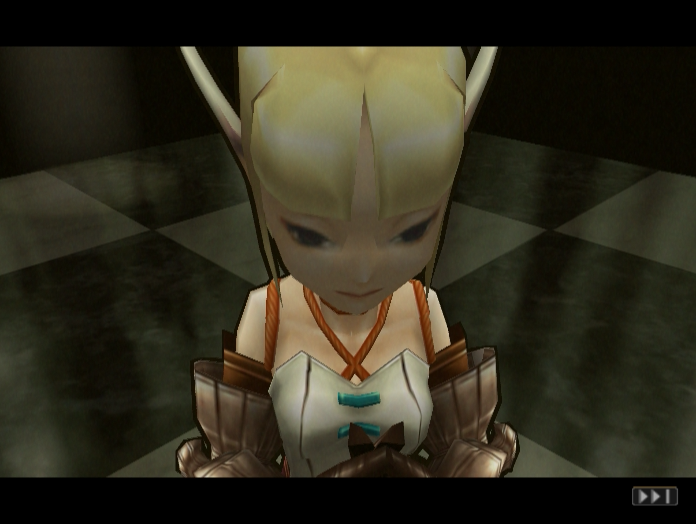
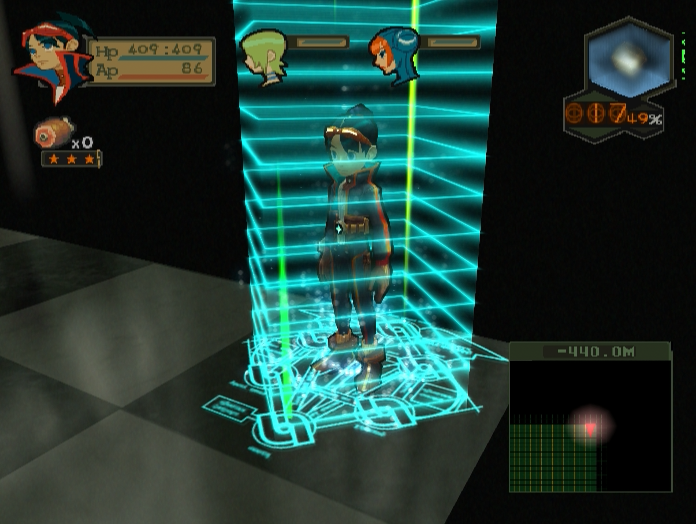
With all that done, all that’s left is to hop on the teleporter and meet our next Regent.
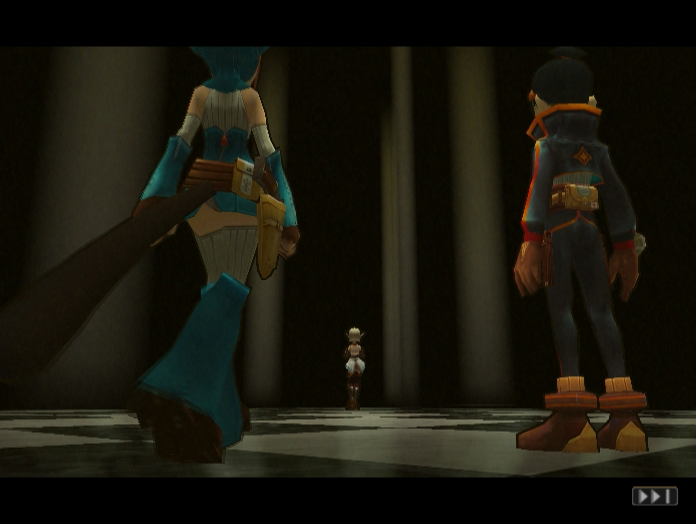
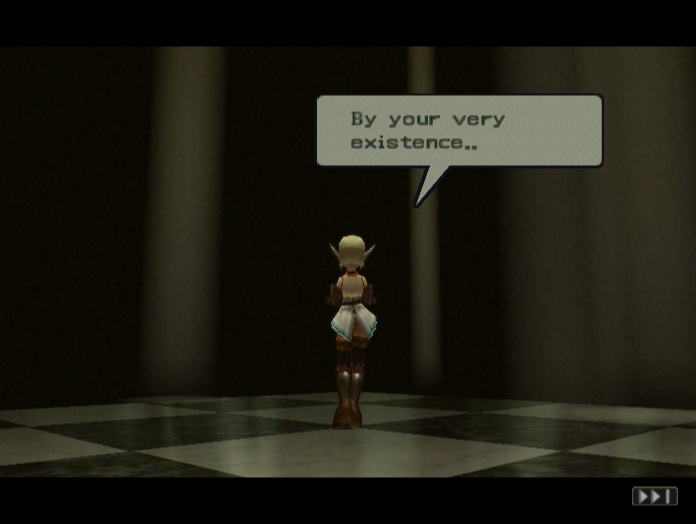
 : You lead us all into chaos.
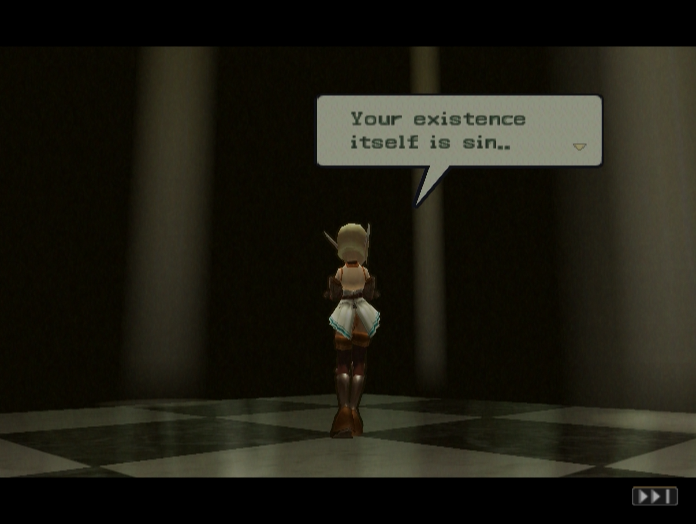 : The world rejects you!
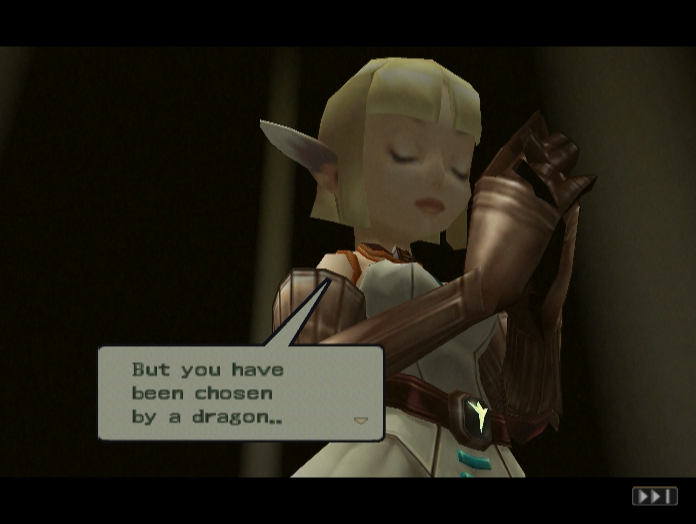 : You may yet become…a Regent.
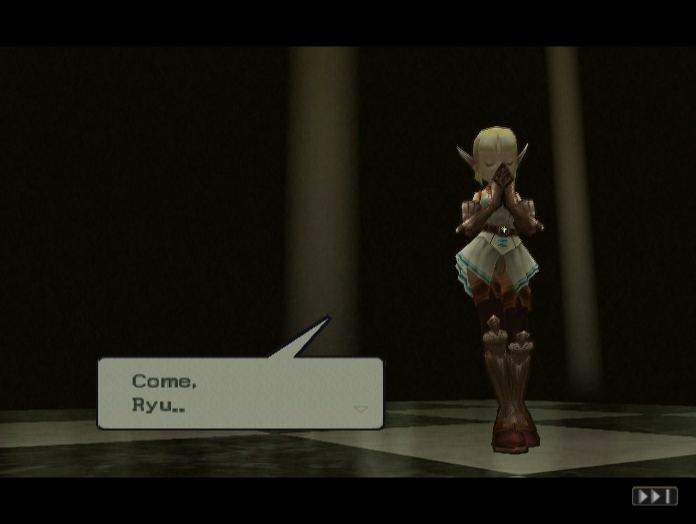 : Come with me to our master…
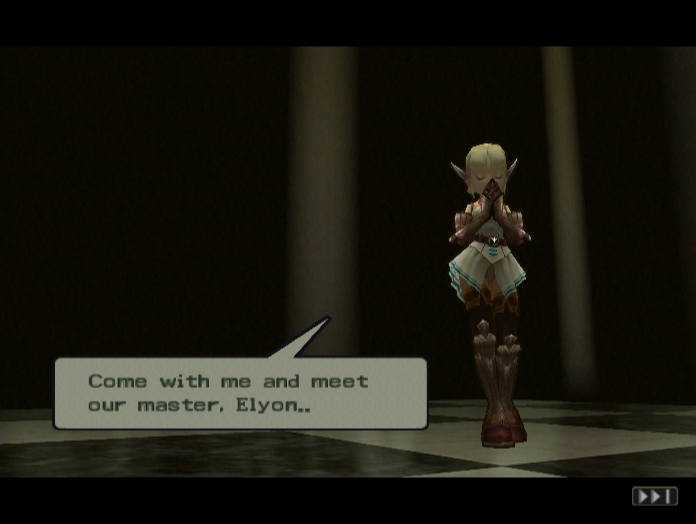
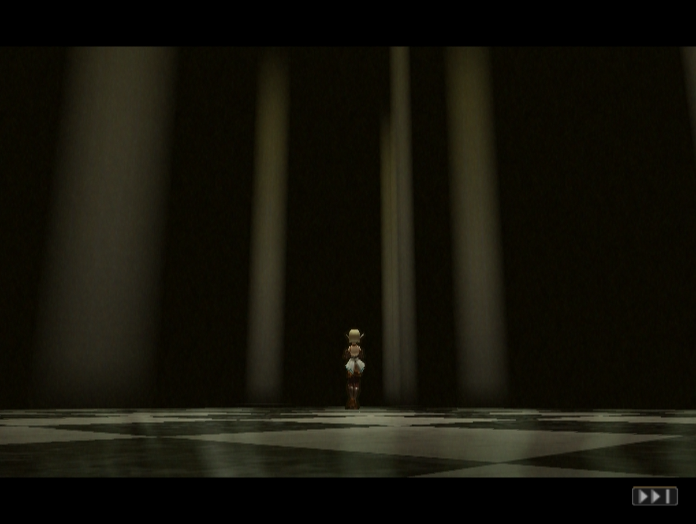
Well, this is unexpected. An offer to join the Regents? I mean, I guess there’s a vacancy now that we’ve killed Deamoned, but it’s quite sudden all the same.
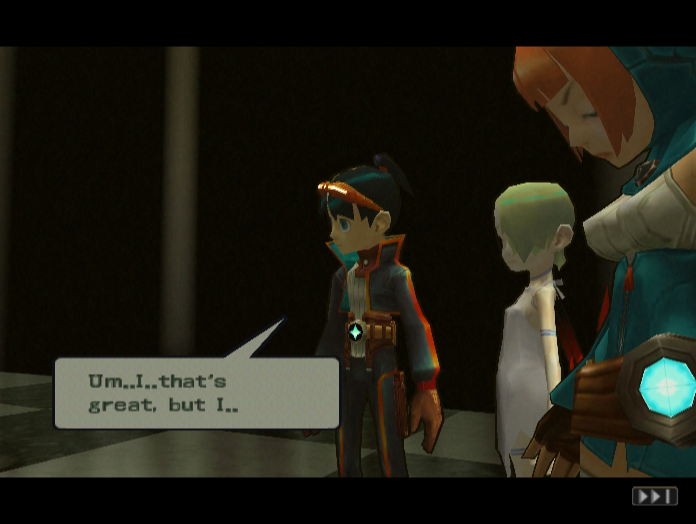
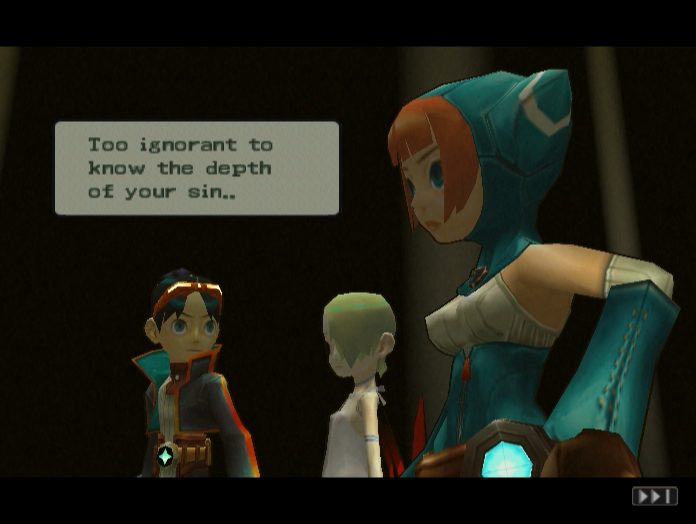
Ryu’s reaction is about what you’d expect. The party came expecting to fight, but this lady is the first Regent who’s been willing to try and talk it out instead. I guess Cupid did too, but his offer basically boiled down to ‘get out and don’t ever come back’, which Ryu was obviously never going to accept.
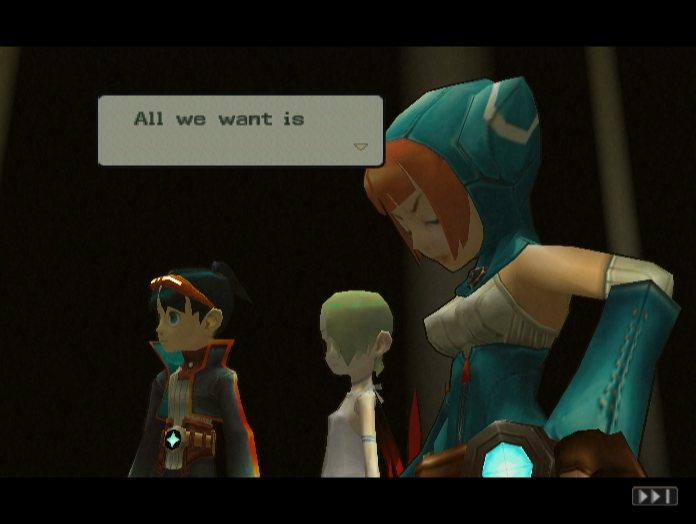
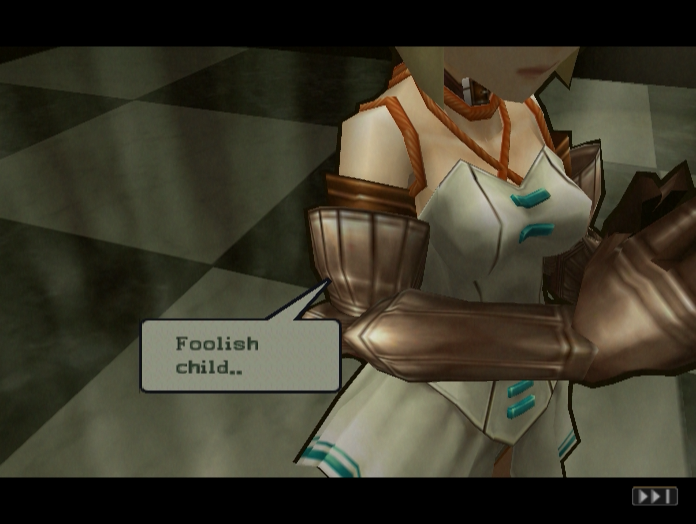
 :…that key you’re carrying!
Of course, Lin has no patience at all for talking it out. She’s been fighting the Regents her entire life. Joining them is the last thing on her mind.
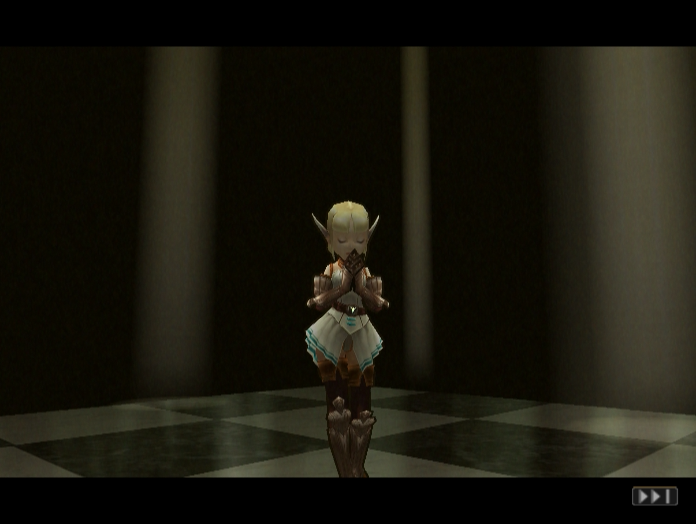

 : Come! Death will absolve you!
Music: A Moment’s Joy
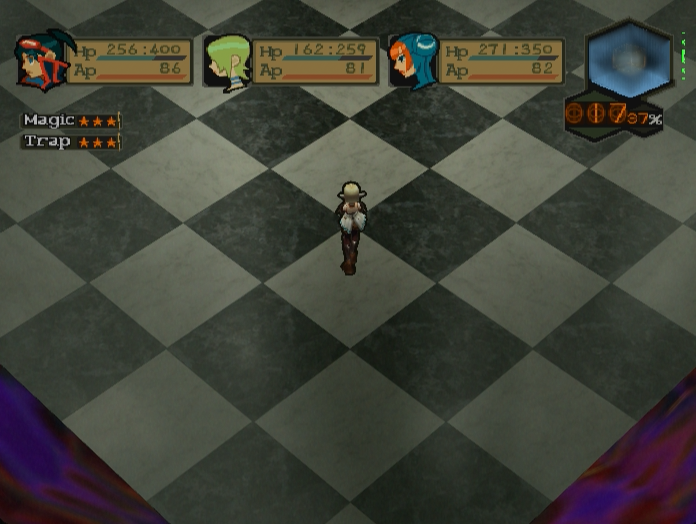
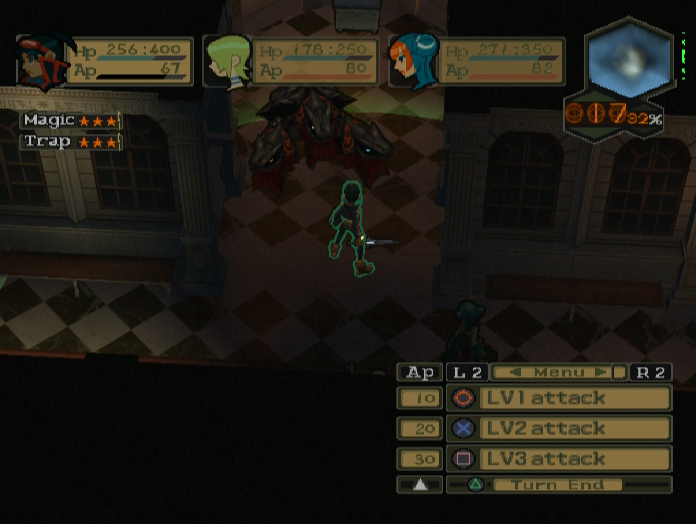
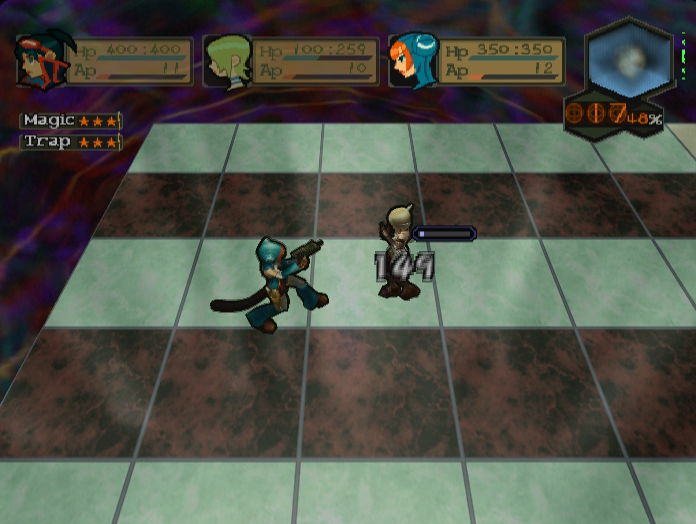
The party’s rejection thrusts us into a battle against Hortensia. This is probably the most interesting Regent battle, due to a unique mechanic Hortensia brings to the table.
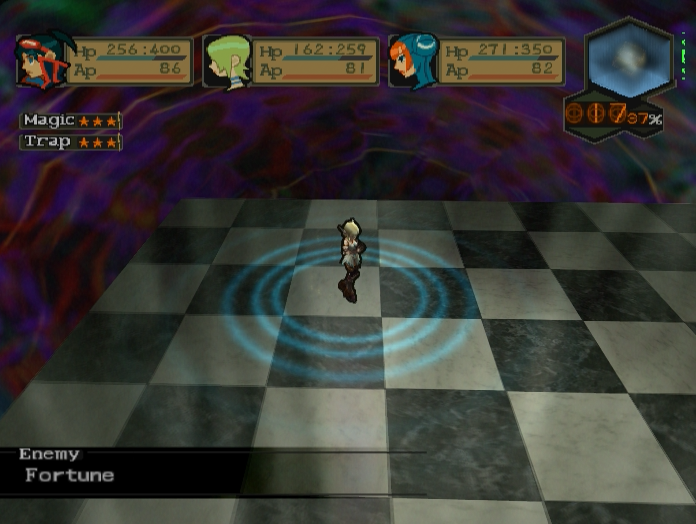
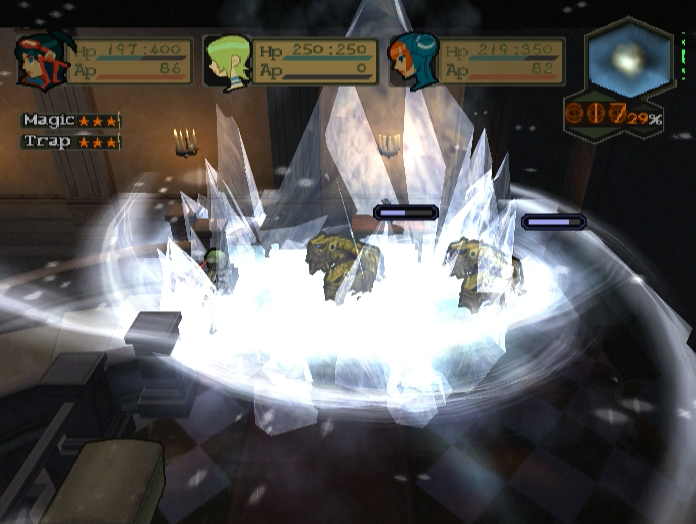
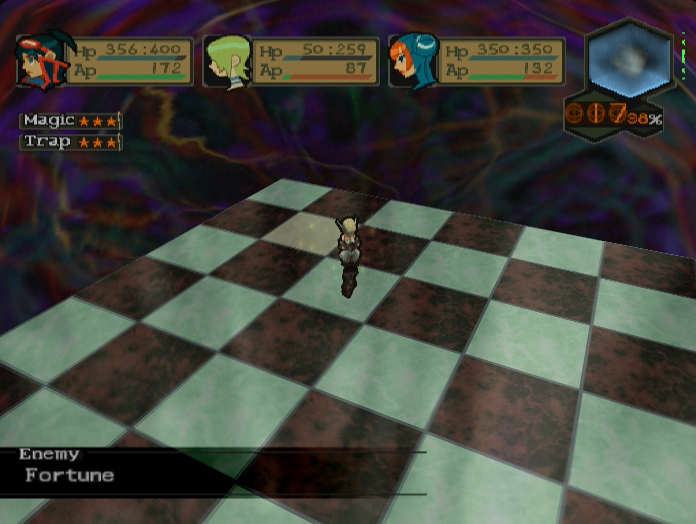
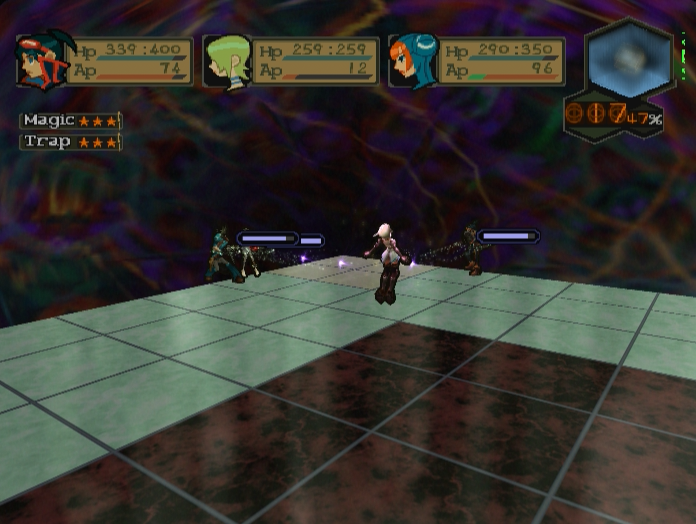
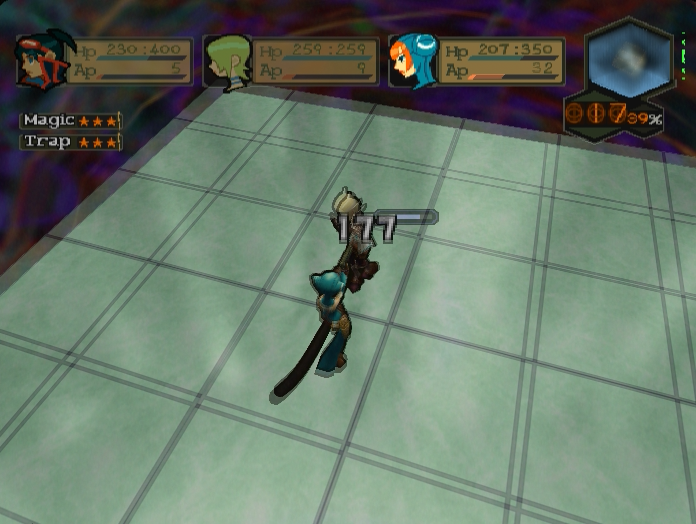
At the beginning of every turn, as a totally free action, Hortensia will cast a spell called Fortune.
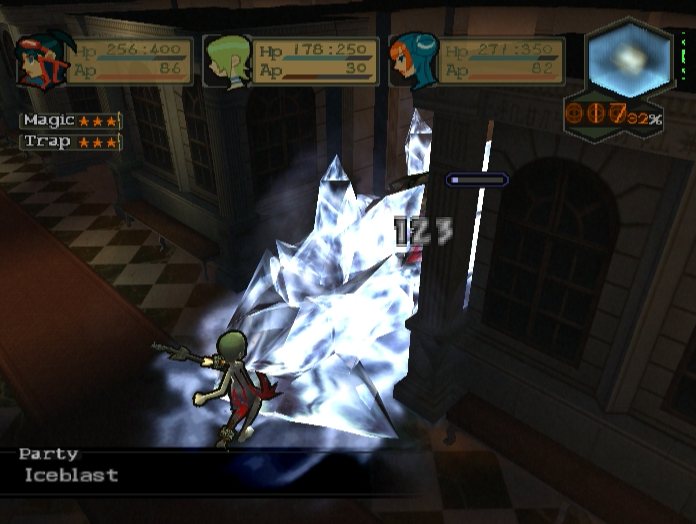
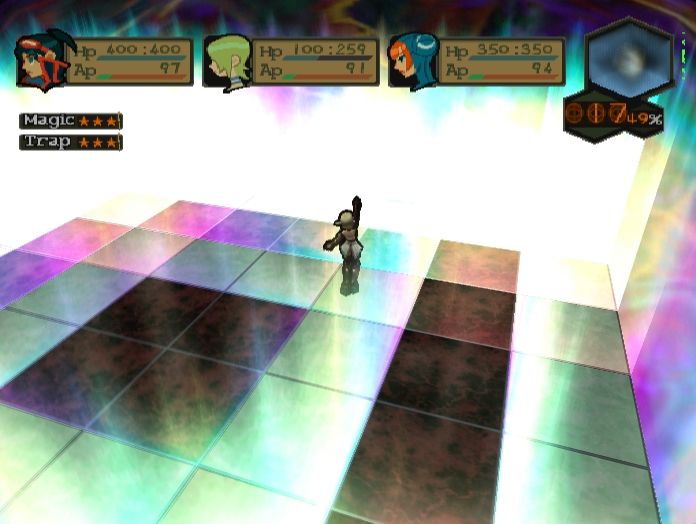
Fortune enchants the floor tiles, changing their colours to reddish-black, green and solid white.

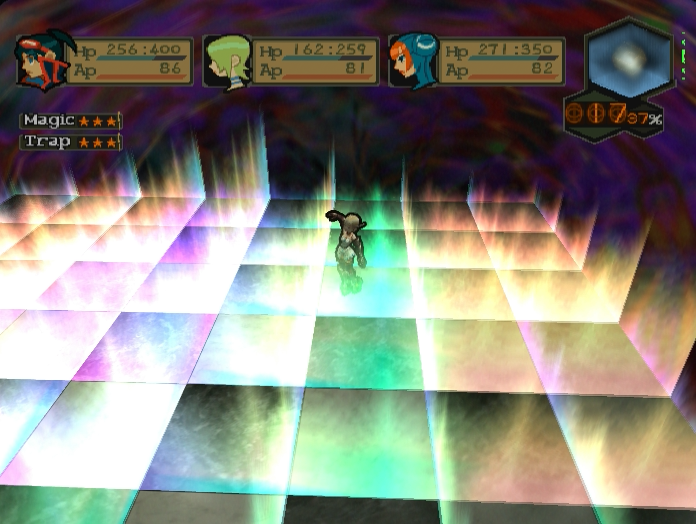
During her actual turn Hortensia may or may not cast a spell called Hymn. The effects of this spell depend on what colour tile your characters are standing on when it goes off.
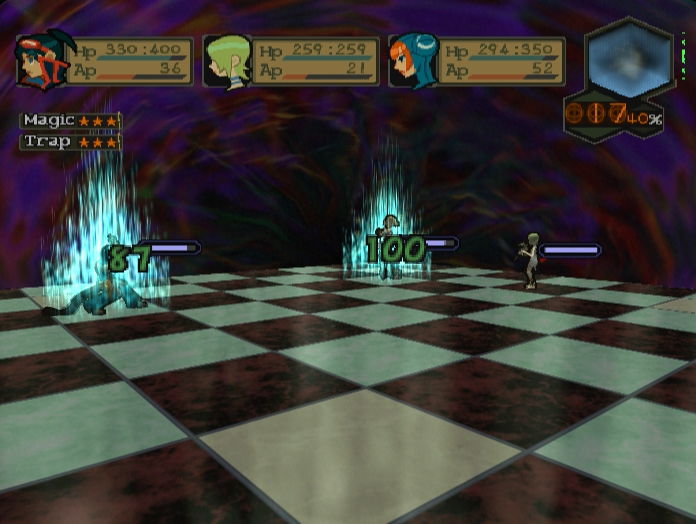
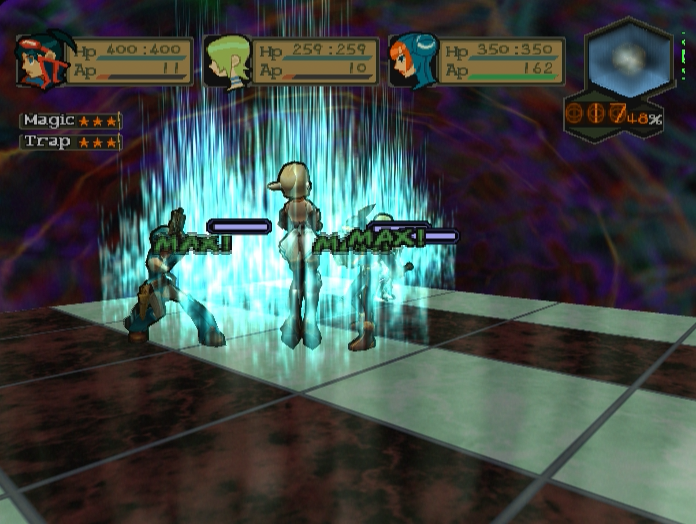
Green tiles heal your characters by 1/4 of their maximum HP.
Reddish-black tiles damage your characters by 1/2 of their maximum HP. White tiles have no effect.
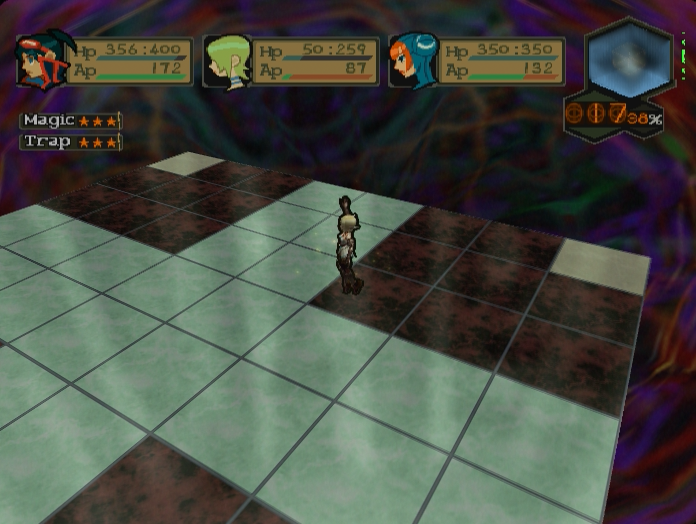
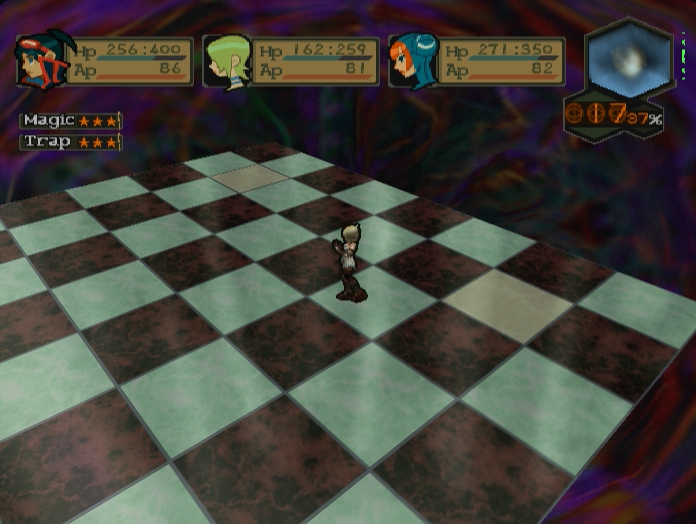
Every subsequent casting of Fortune rearranges the floor tiles into various patterns. Just because you’re on a green tile at the end of one turn doesn’t mean you will be at the beginning of the next.
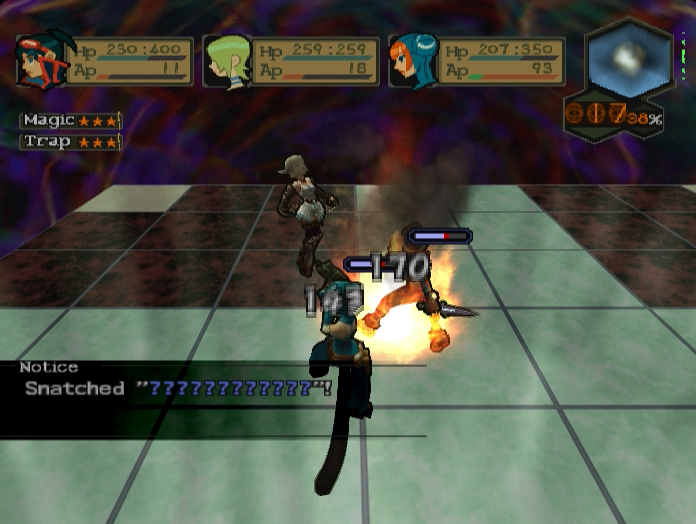
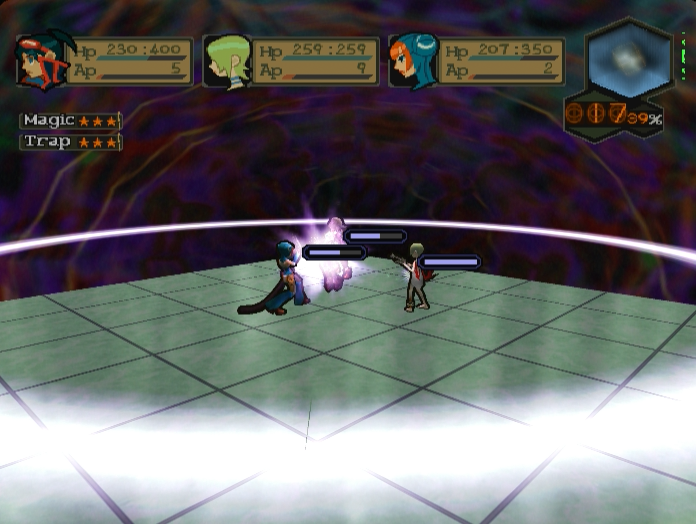
Hortensia herself acts twice per turn and attacks with basic Flare, Jolt and Frost spells. The disproportionate damage is due to her having a grotesquely inflated magic stat. Only Ryu can reliably survive two consecutive castings.
At this point you might be thinking that all this actually isn’t so bad. The floor tiles are mildly irritating, but all you have to do is make sure you’re standing on a green one and focus Hortensia down with Ryu and Lin just like always. Right?
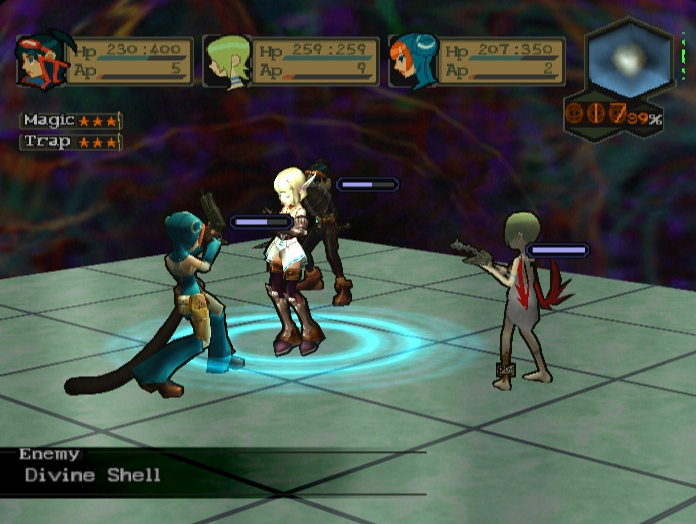
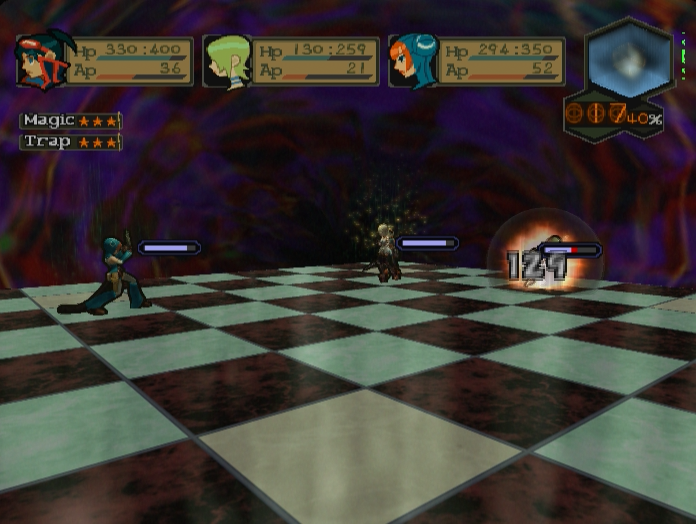
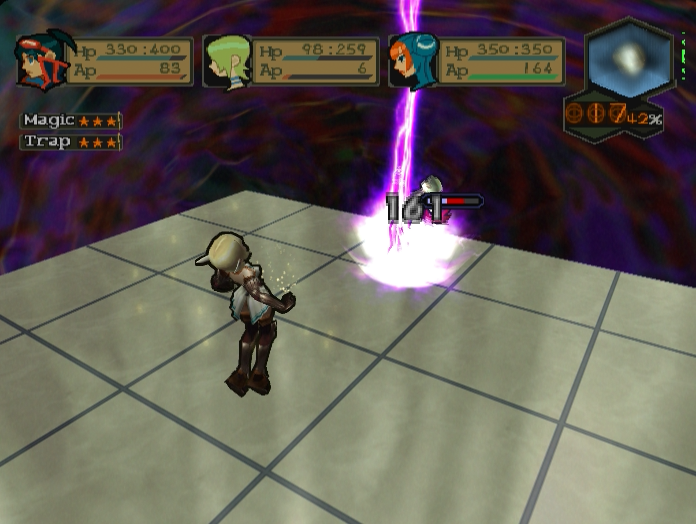
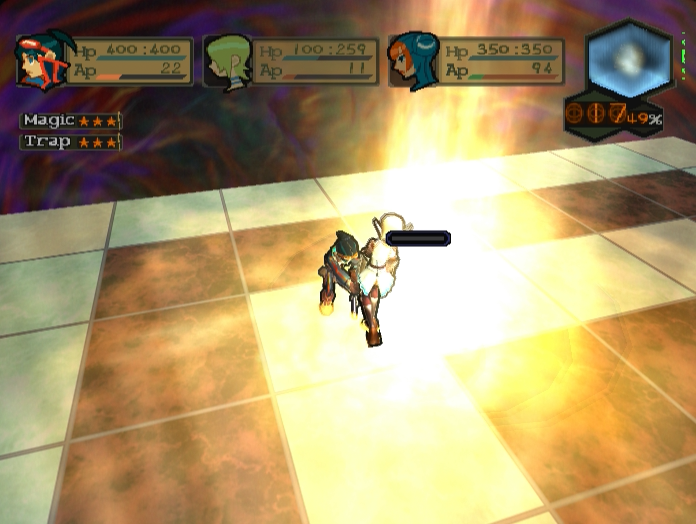
Nope! Every few turns Hortensia will cast Divine Shell, sending your entire party flying back to the borders of the boss arena.
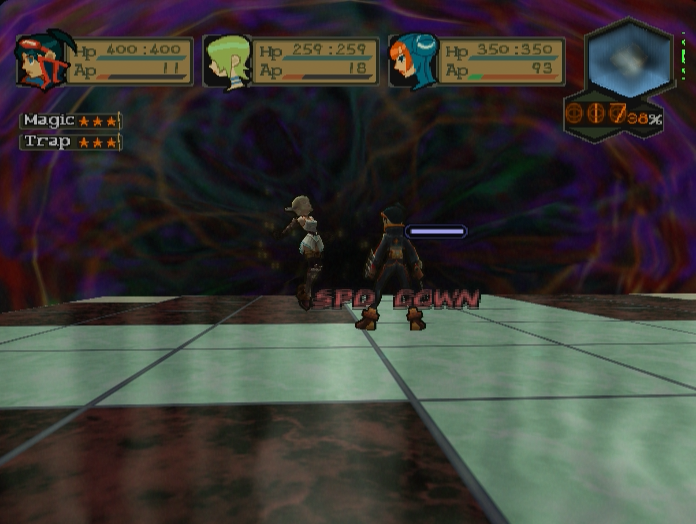
To add insult to injury she’ll slow you down using spells like Slow and Divine, forcing you to waste more precious turns getting back to her. If you’re unlucky you can get stuck into a cycle where you finally reach her only to have her knock you away again before you can do any damage.
So, with all that in mind…what’s the winning strategy here?

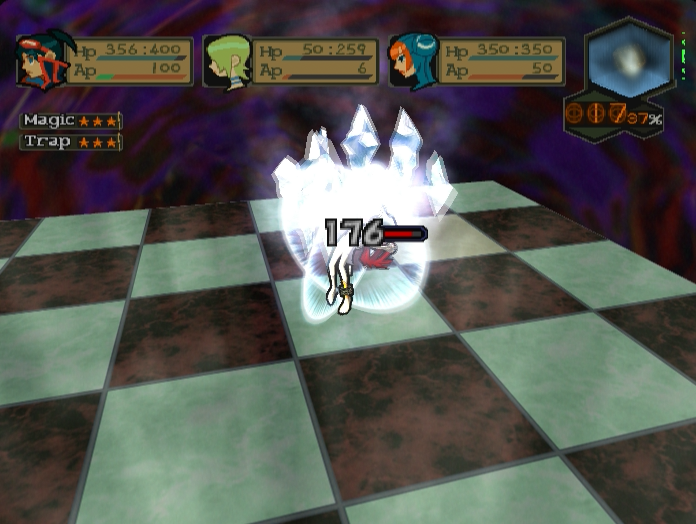
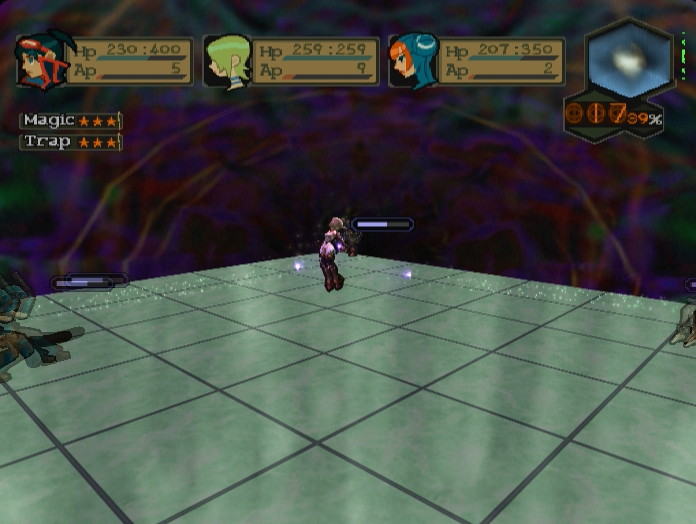
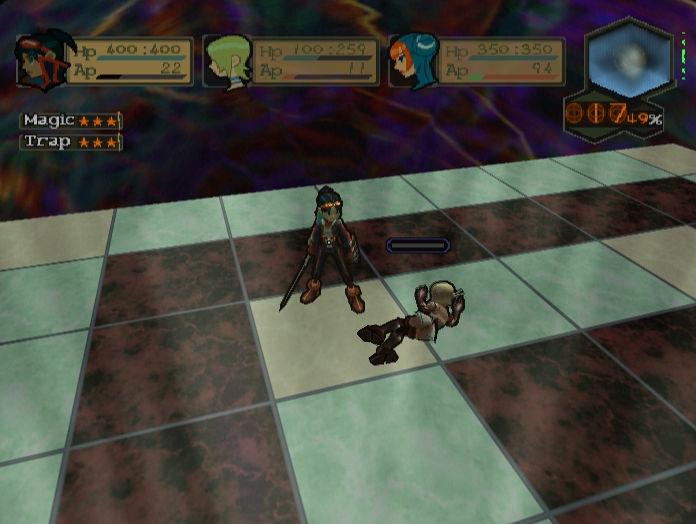
As you might expect, it’s all about positioning. Observant players will notice that Hortensia isn’t actually standing in the middle of the battlefield - in fact, she’s significantly off-centre.
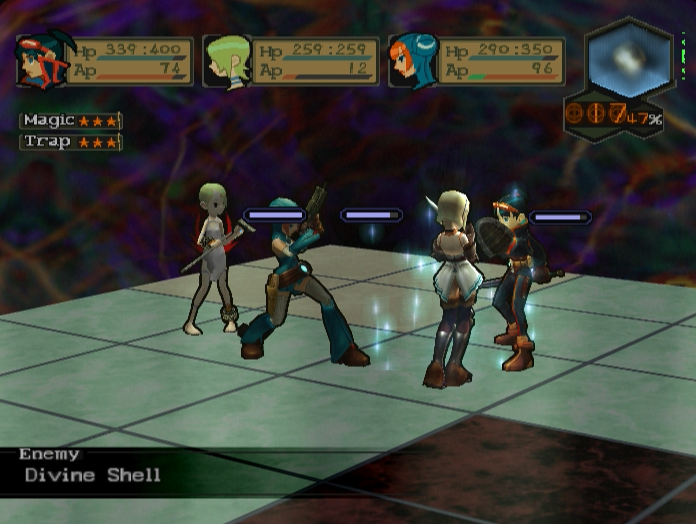
What this means is that if you manage to position your party correctly you’ll only be knocked back a fraction of the distance. Hortensia will never move from her starting position, nor can she be moved by skills like Kick or ‘C’mere’, so as long as you stay on the right side of her you’ll only have to spend one turn getting back into position instead of three or four.
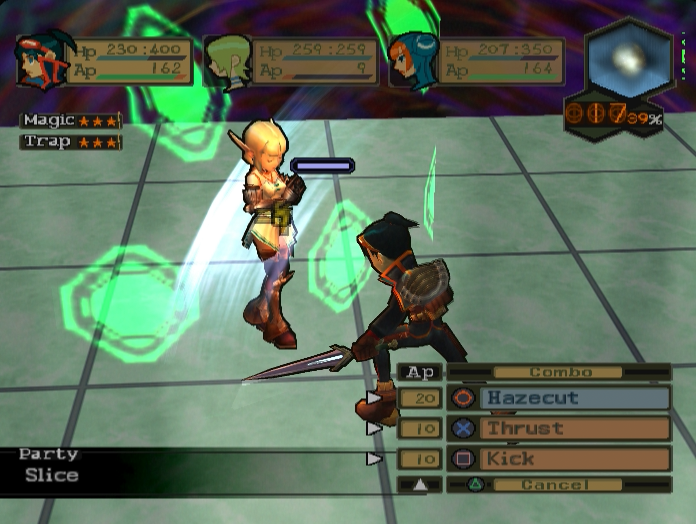
Once you’ve got that sorted the fight becomes easier - but not trivial. Hortensia has 250 Absolute Defence and fairly hefty regular defence, although not quite as much as Yezuit did.
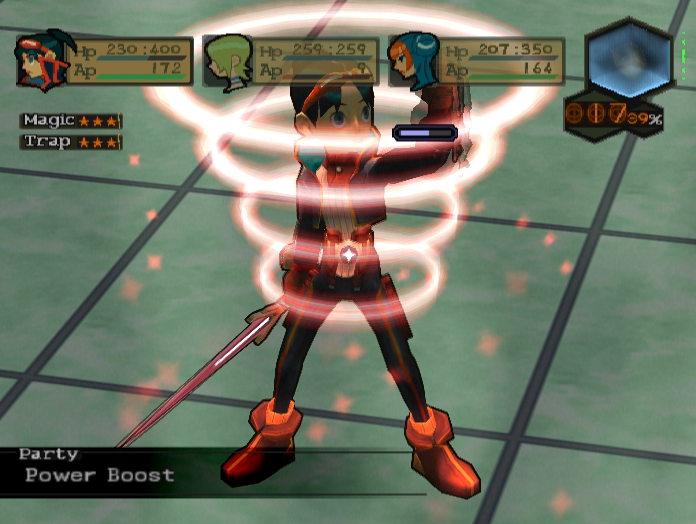
If you’ve got any Power Boosts this battle is probably a good time to start using them. ‘Shatter!’ is also effective, so make sure to chain some of those together as well.
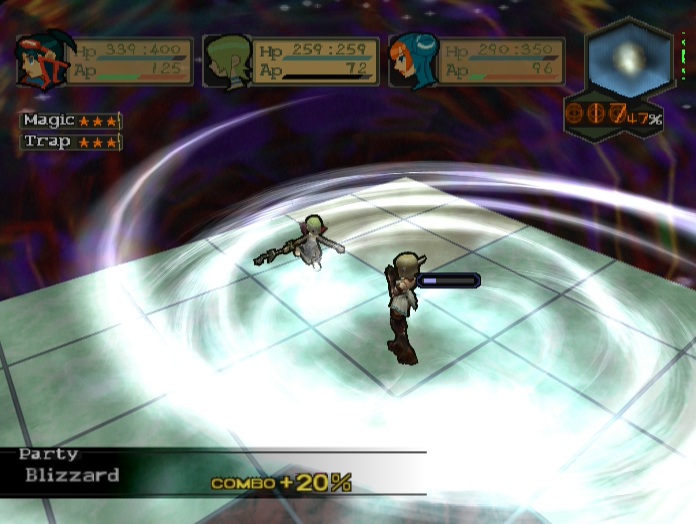
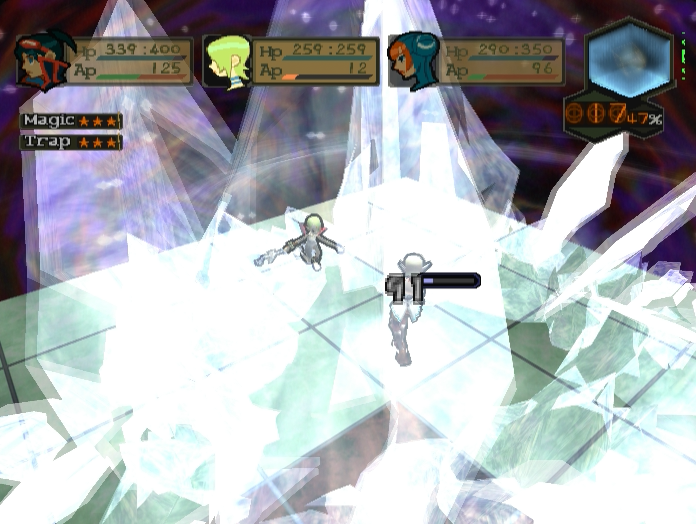
You might also want to consider having Nina actually go on the offensive during this fight. It’s not telegraphed, but much like Trilizards Hortensia’s elemental weakness changes depending on what spell she used last.
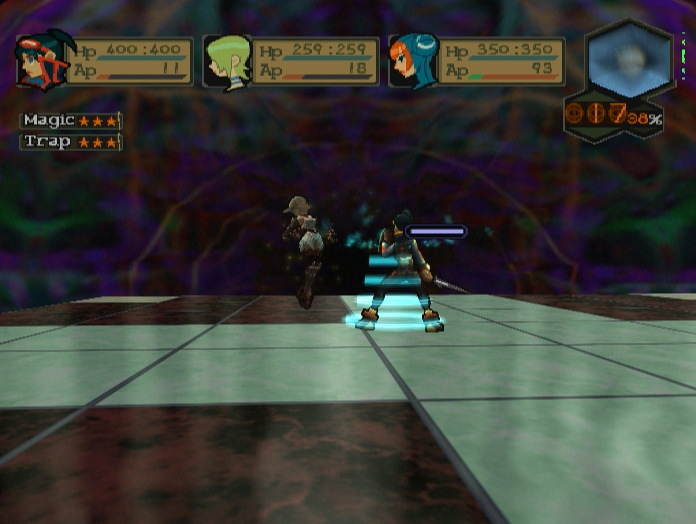
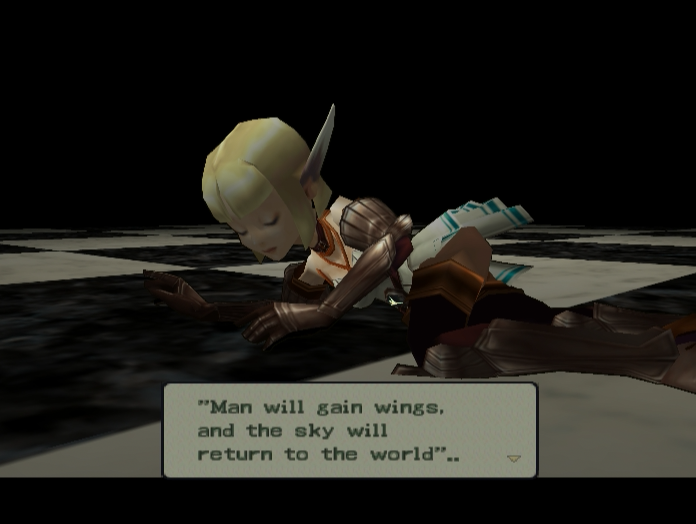
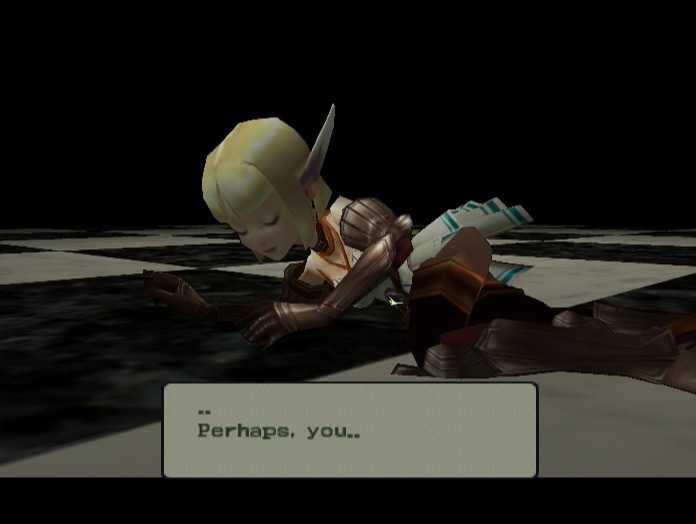
Eventually Hortensia falls.
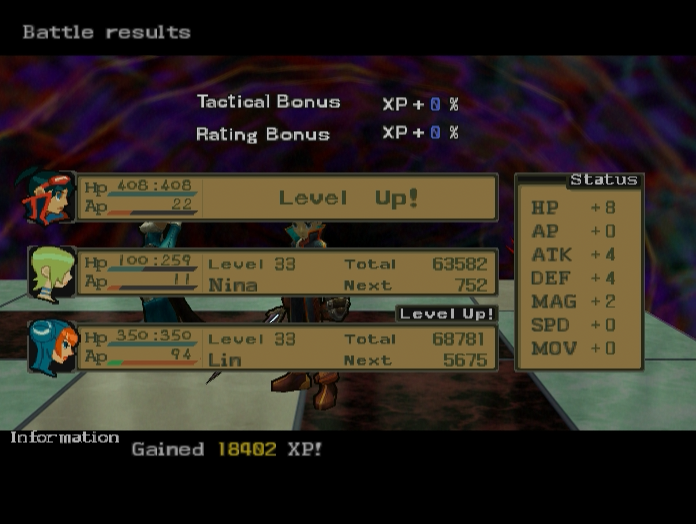
Now we see the effects of having multiple Gold XPs in our inventory.
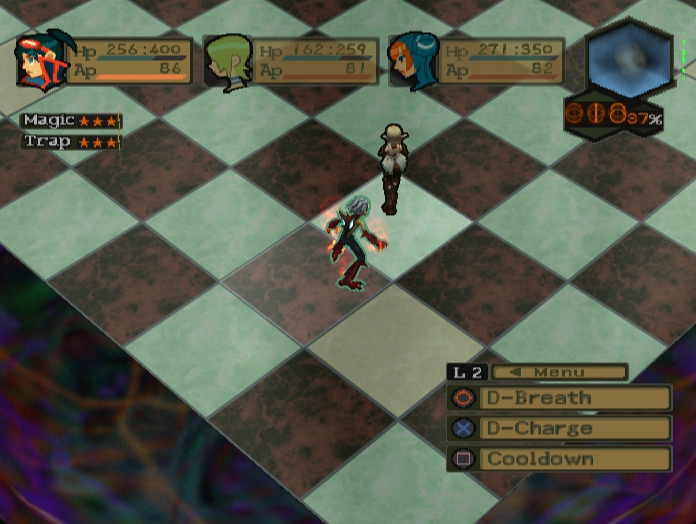
Don’t feel like dealing with Hortensia’s geo effects and knockback shenanigans?
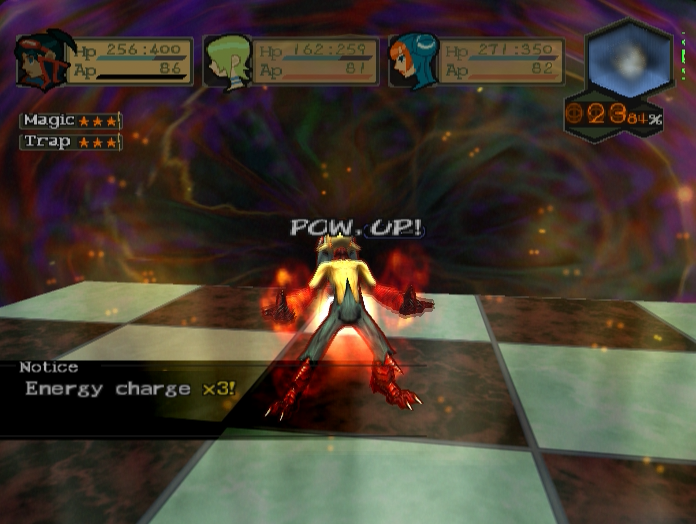
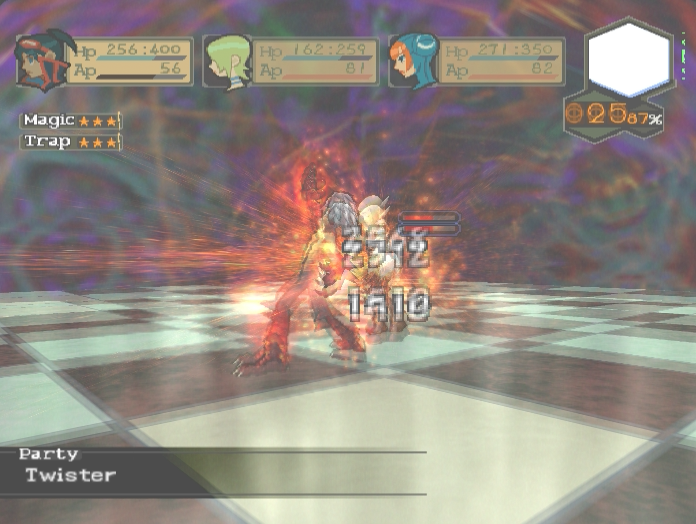
No problem. The usual D-Dive recipe will break every bone in her body.
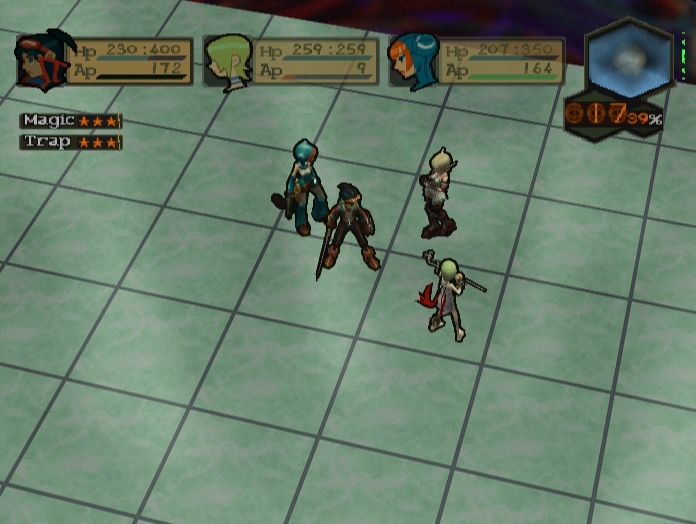
However you choose to deal with her, Hortensia leaves her key behind.
Just like the aftermath of our battle with Cupid, we find ourselves faced with two teleporters to choose from. The left hand teleporter will eventually lead us to Yezuit, while the right hand one takes us to the last remaining Regent in Centre.
That’s it for this update. Join me next time, when we finally finish our trip through Centre.
--
Bonus Art: Hortensia
