Part 74: The Second Pillar (Falling Leaves)

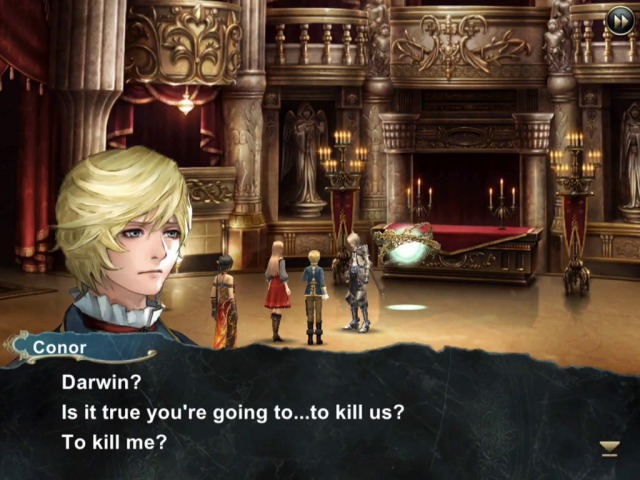
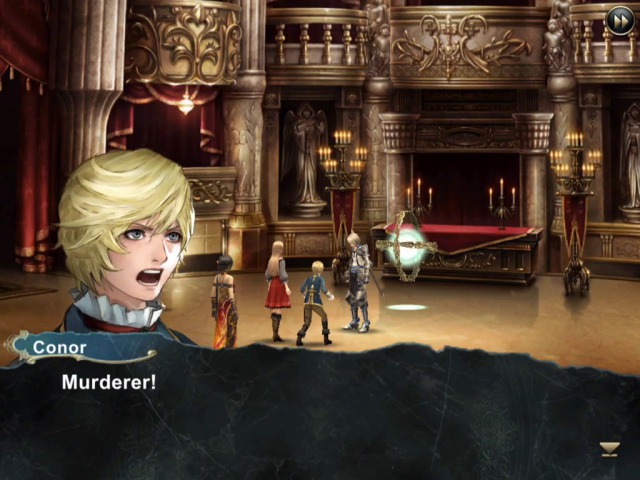
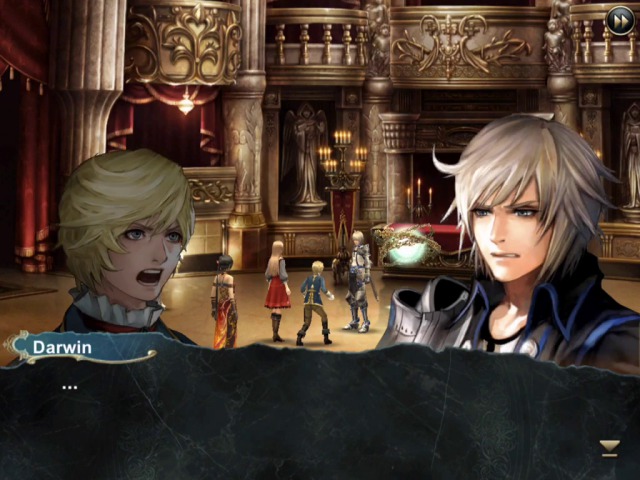
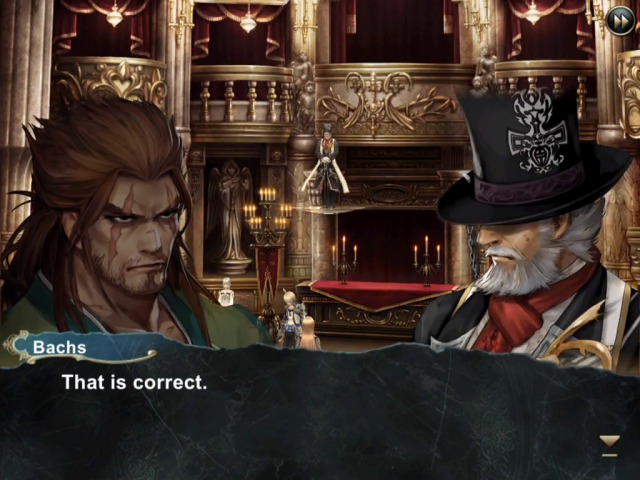
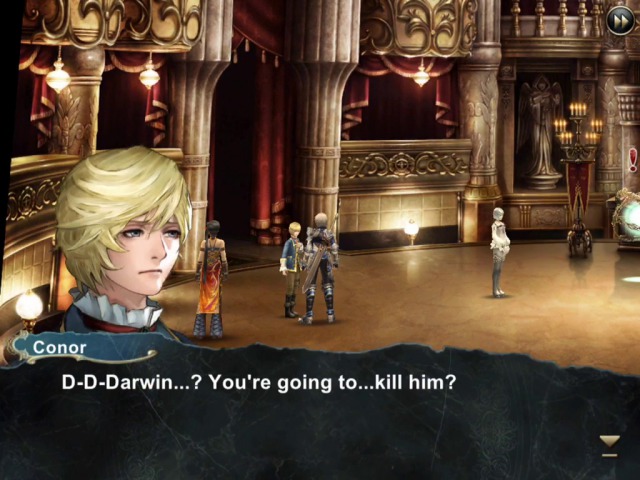
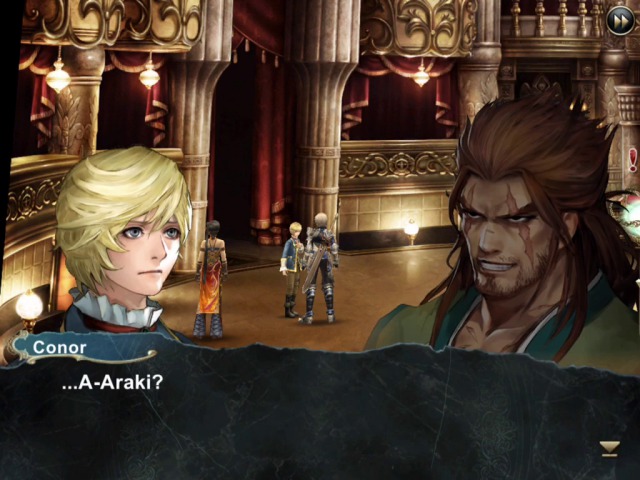
So, after some fairly annoying shenanigans from Conor last time, we have been forced to pick another Pillar.
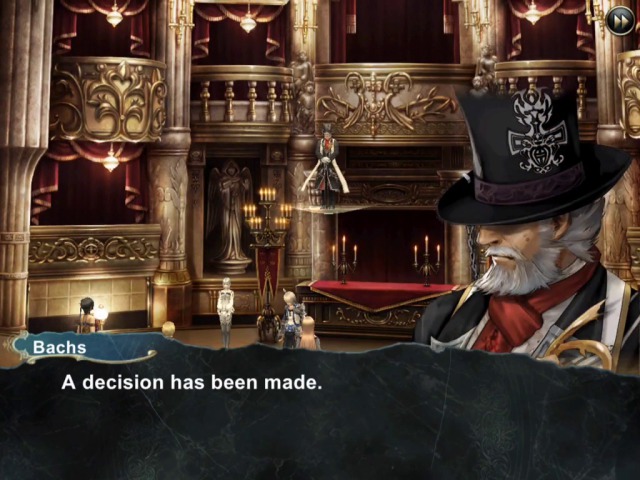
And it's going to be...

Well, not like we have much choice.
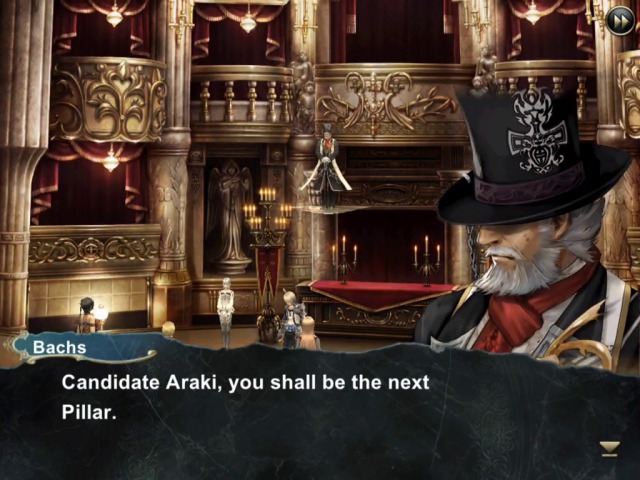
I forgot to mention until now that the Canditates are in Japanese version of the game, called more explicitly just Martyrs (殉教者). Not really sure why this was changed...
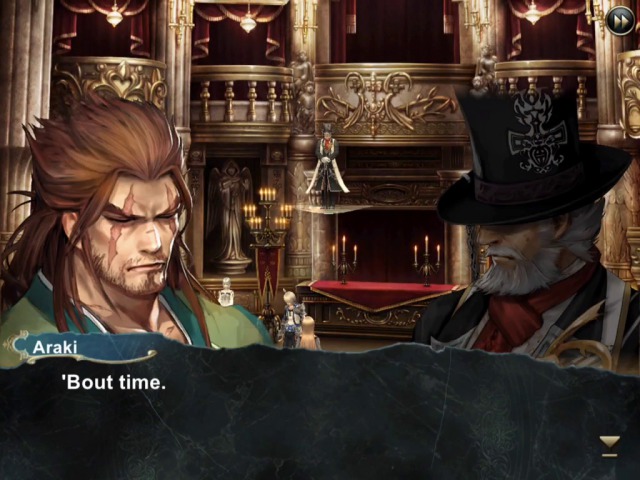

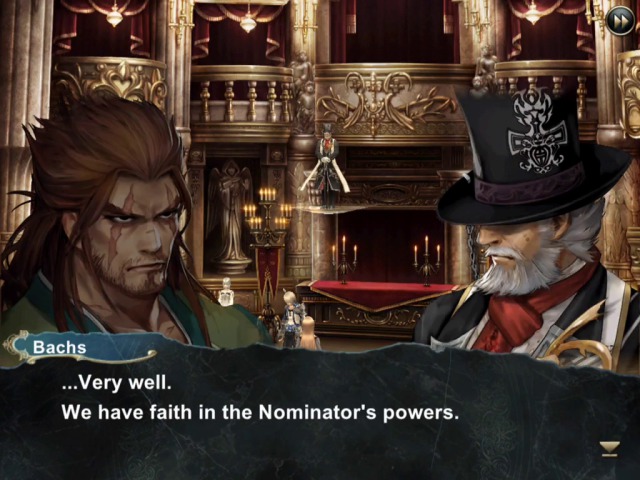


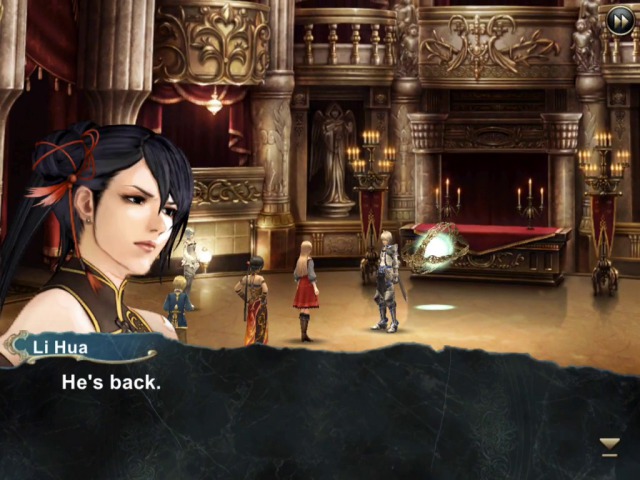
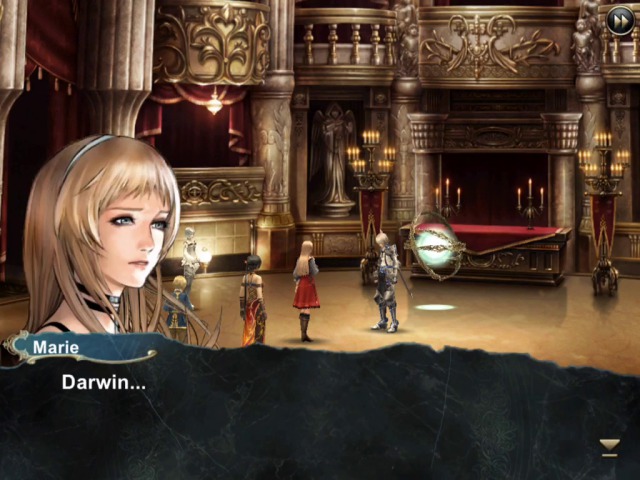
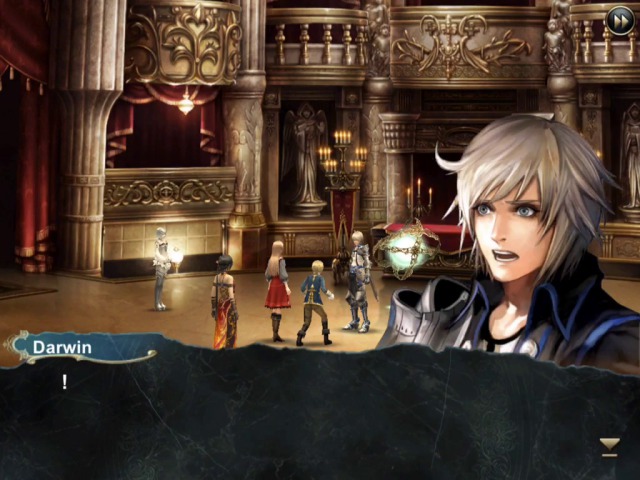
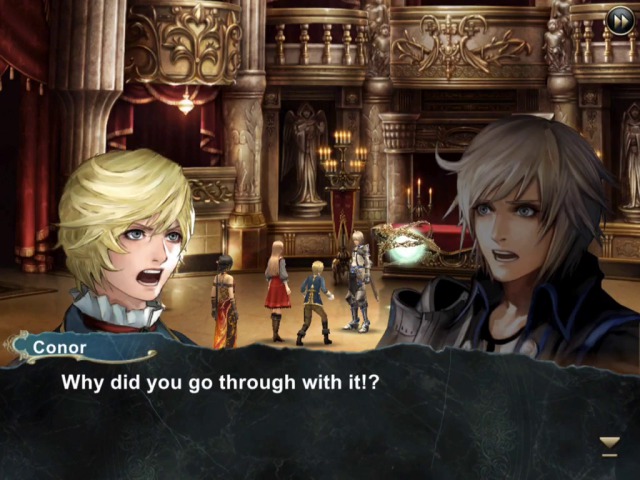
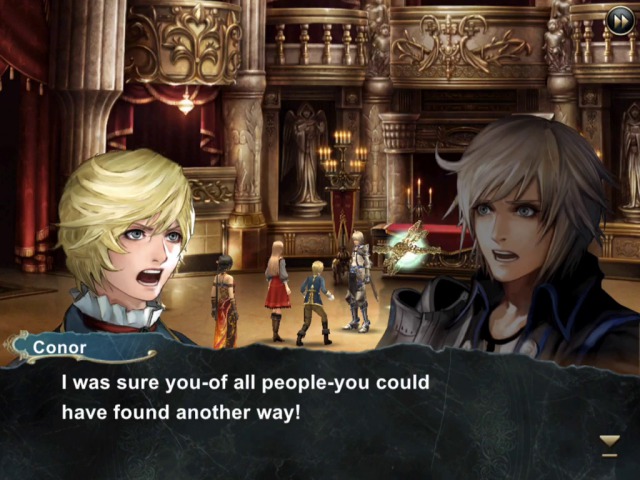
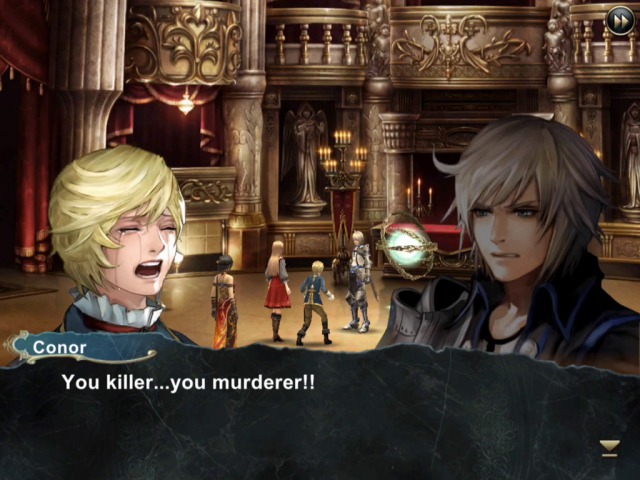
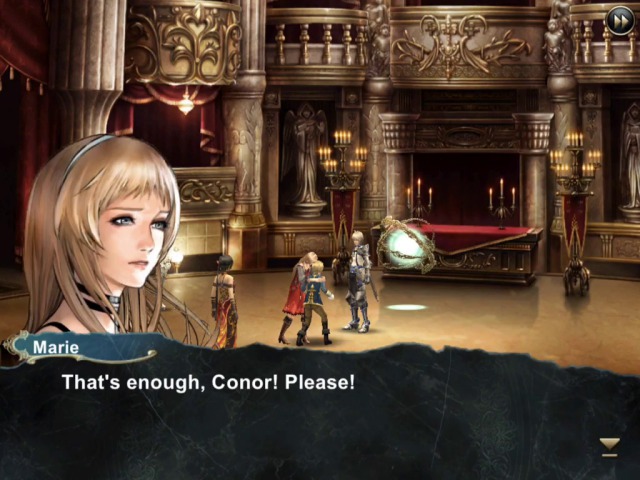
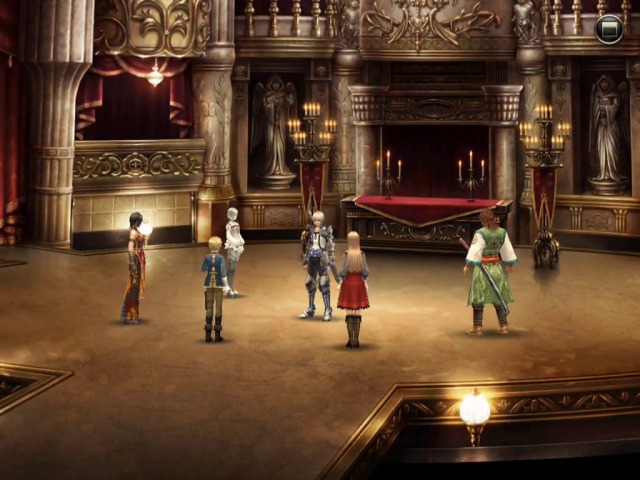
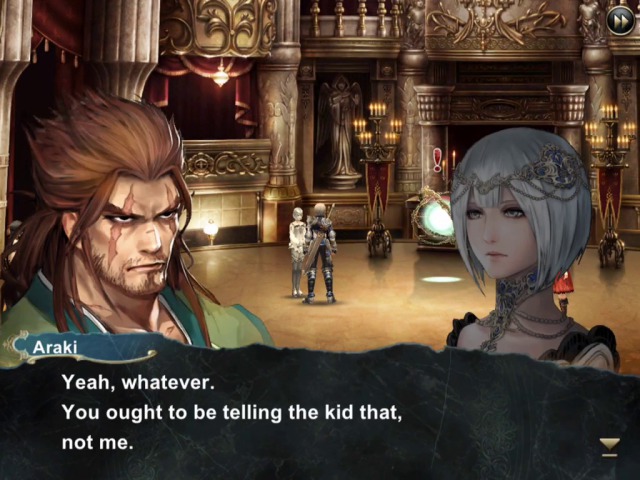
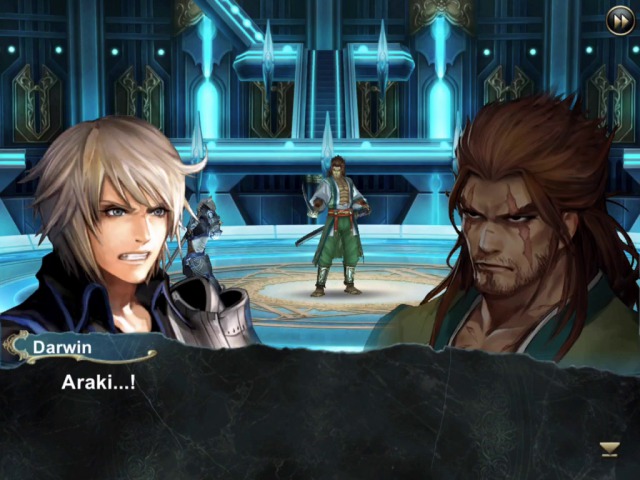
...but not really before we see what everybody else has to say about it.
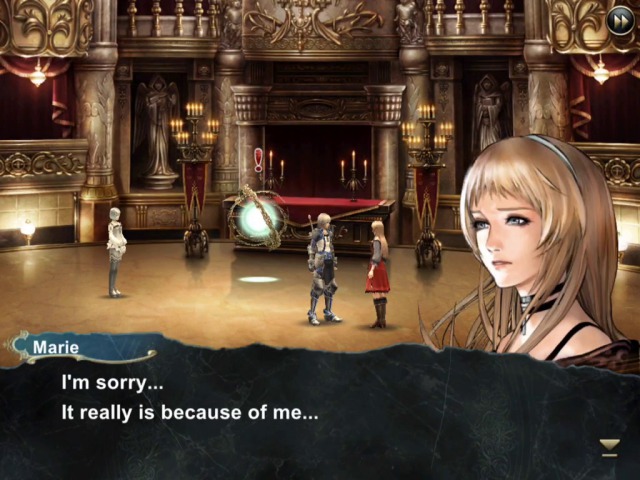
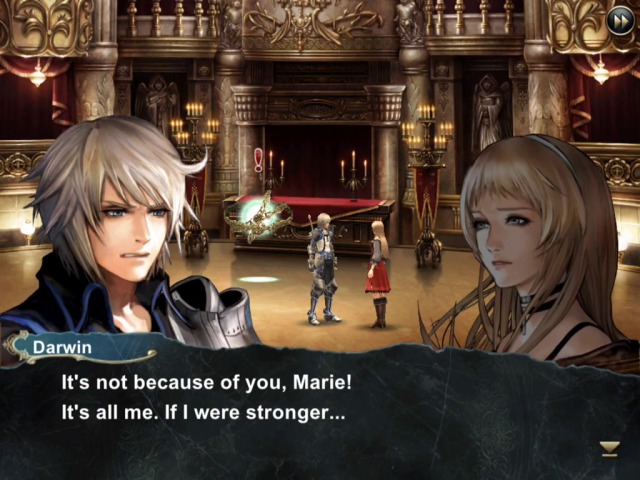
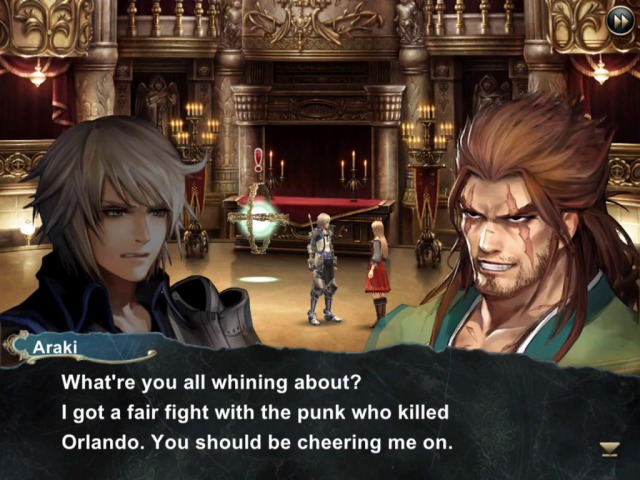
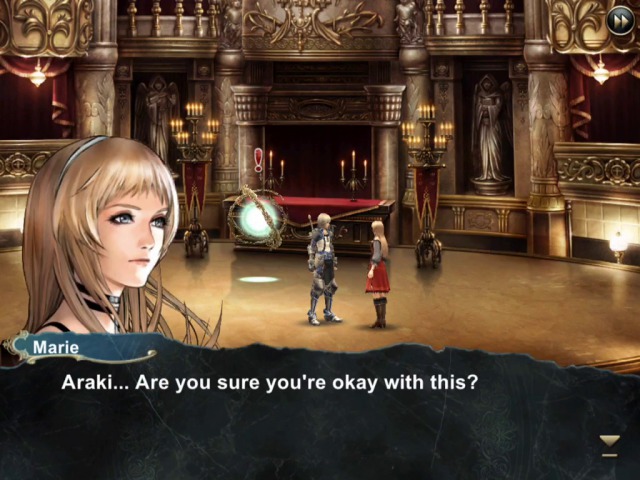
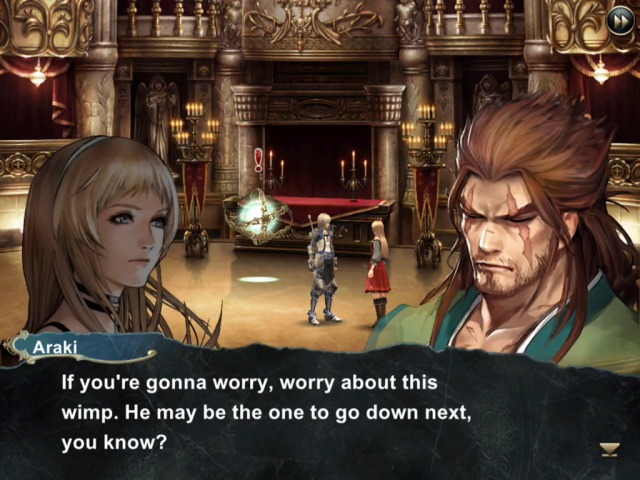
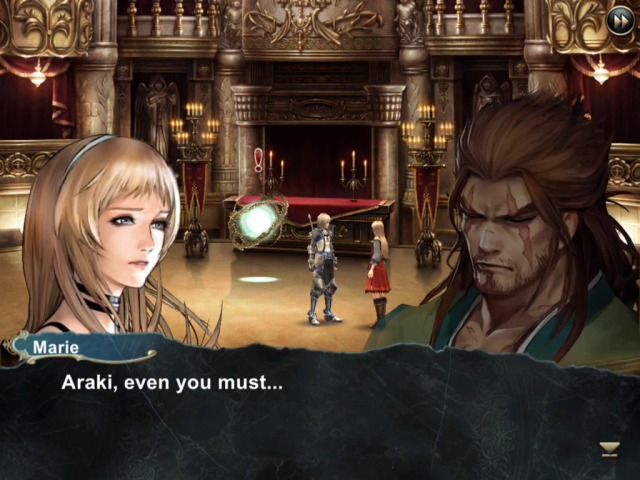
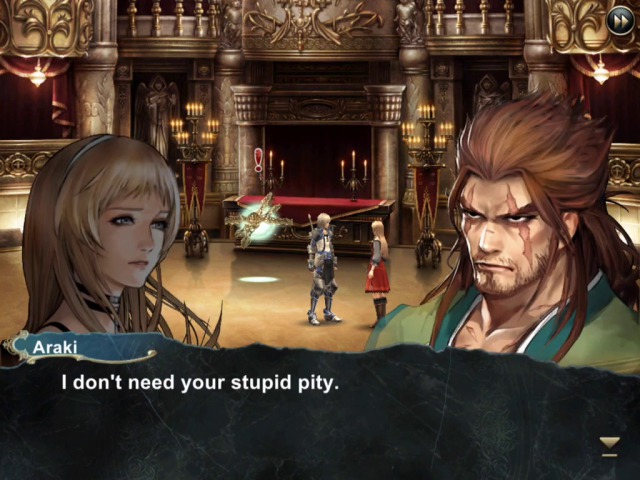
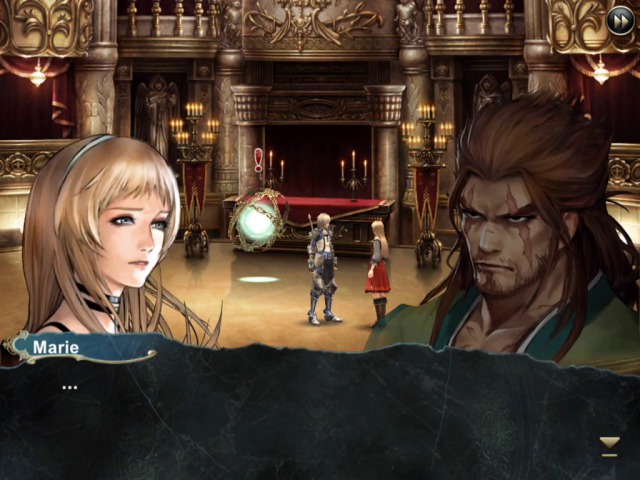
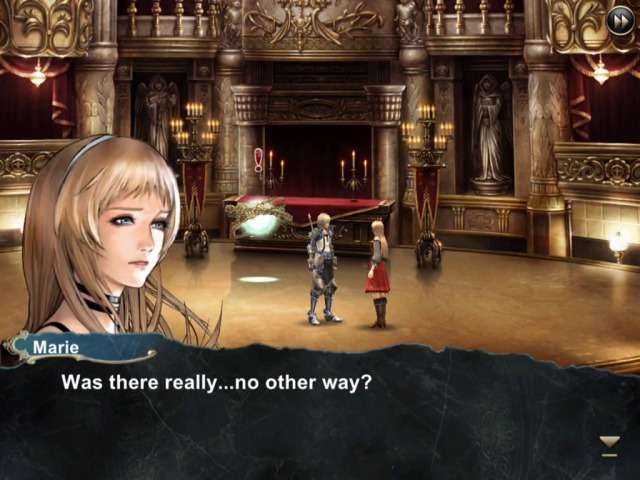
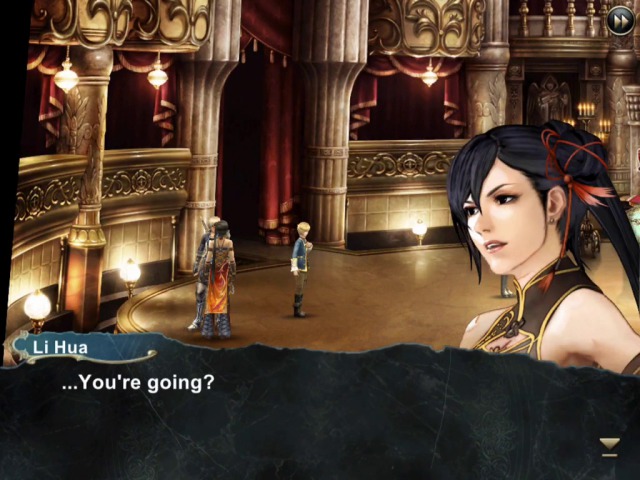

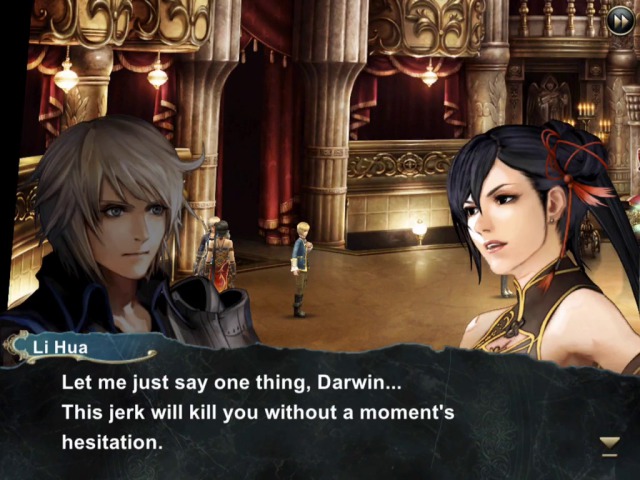
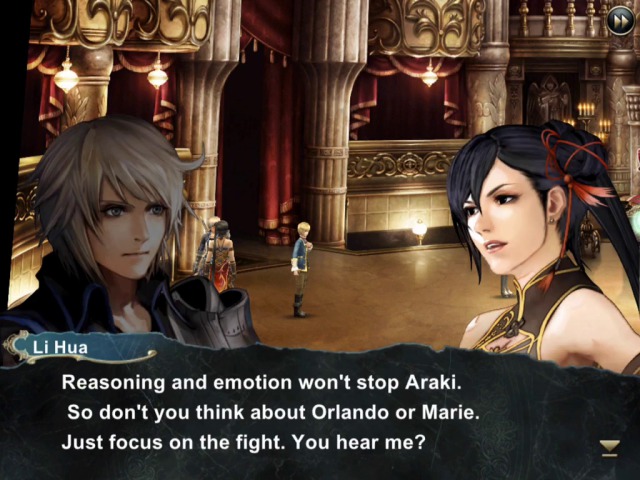
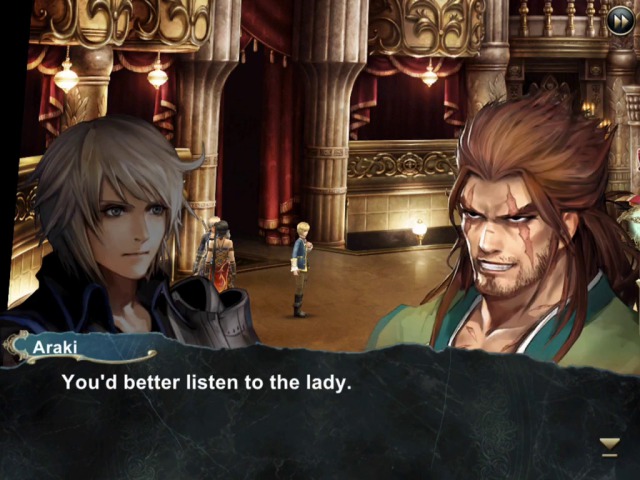
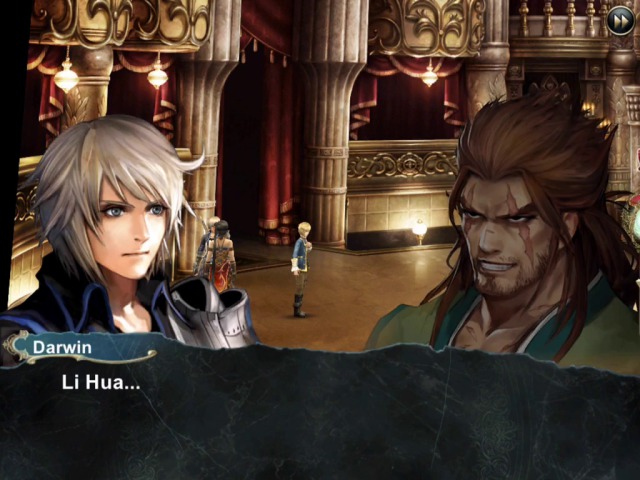
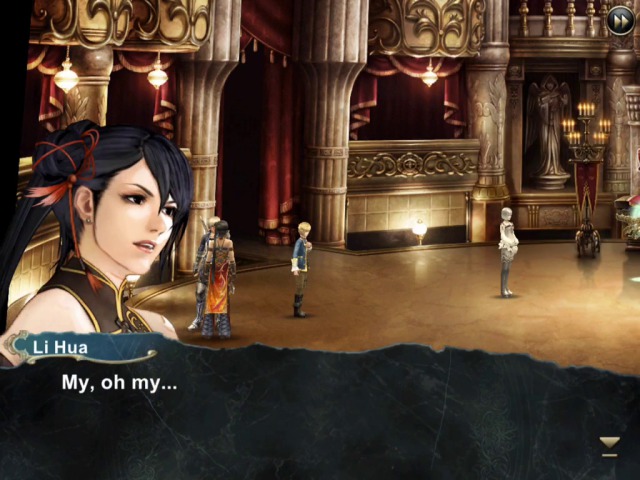


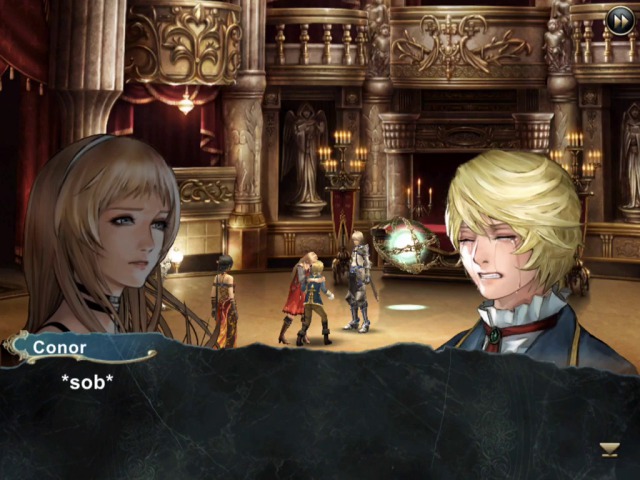
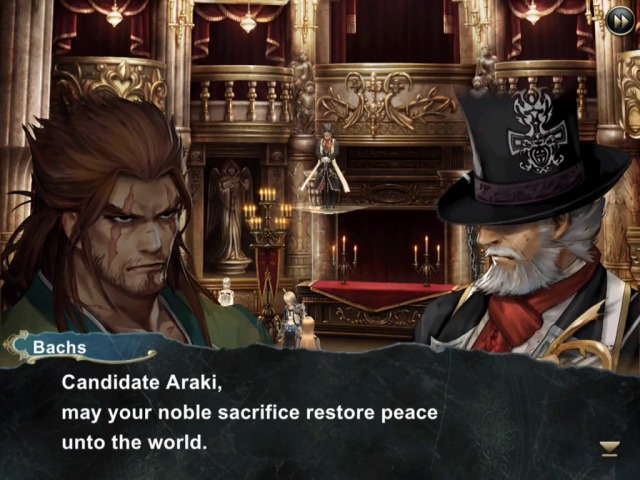
Any last words from Lessica?
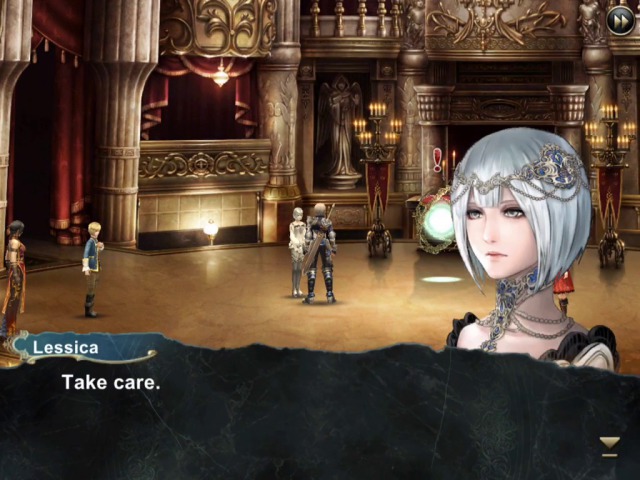

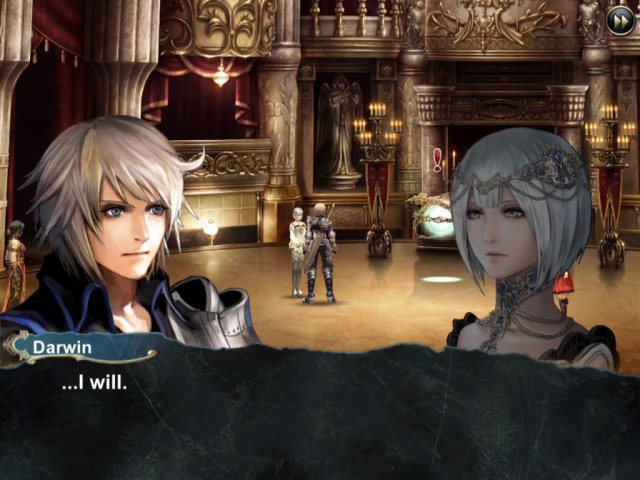
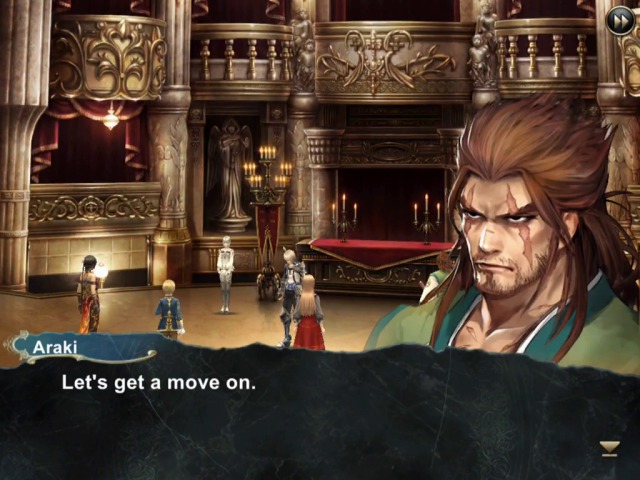
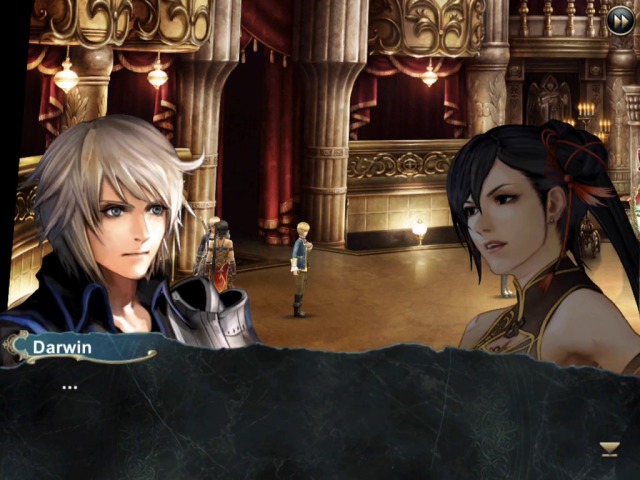
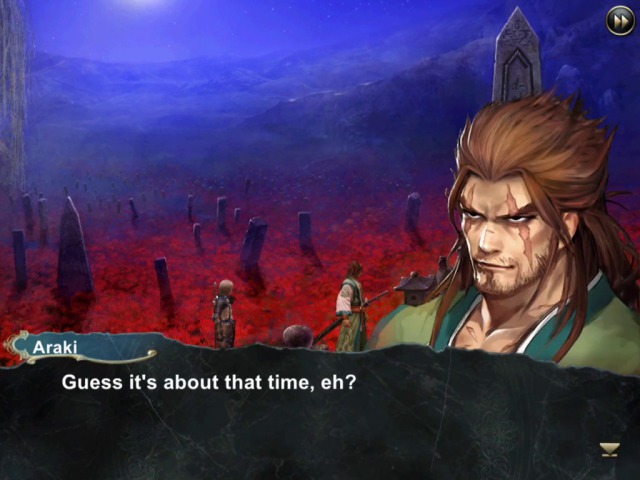
In any case, it really is the time to get a move on...
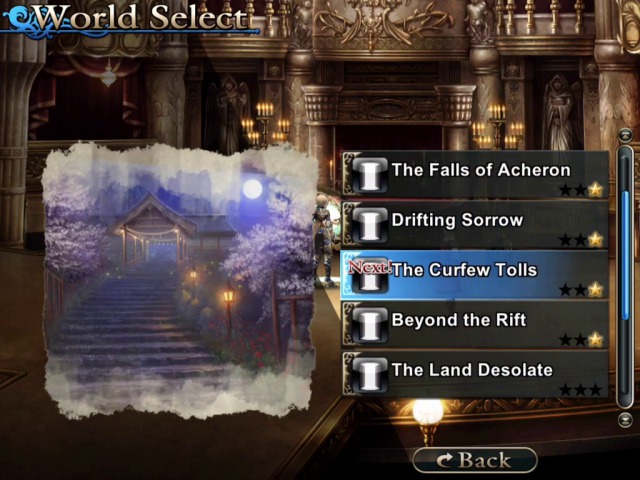
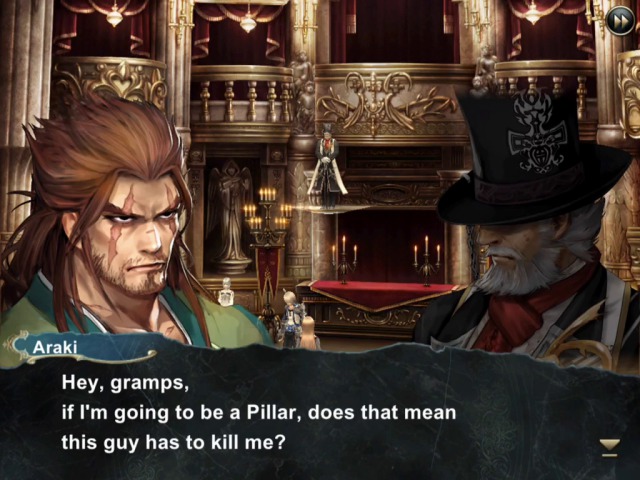
Before we can sacrifice Araki, we need to make a trip with him into a dungeon and defeat a boss. It's the same dungeon where we had a fight with him previously.
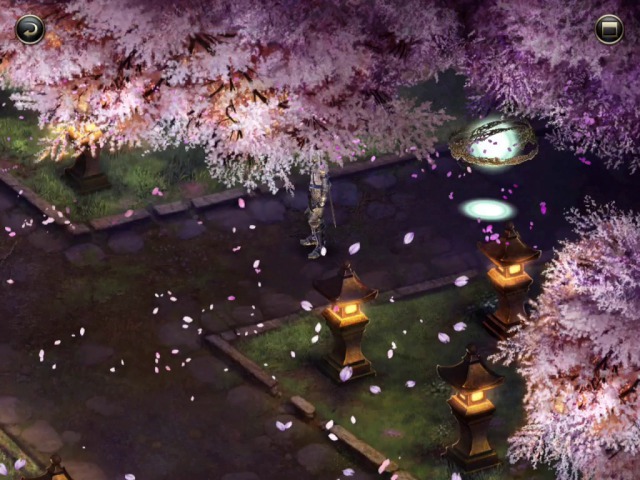
Let's pull up the map.
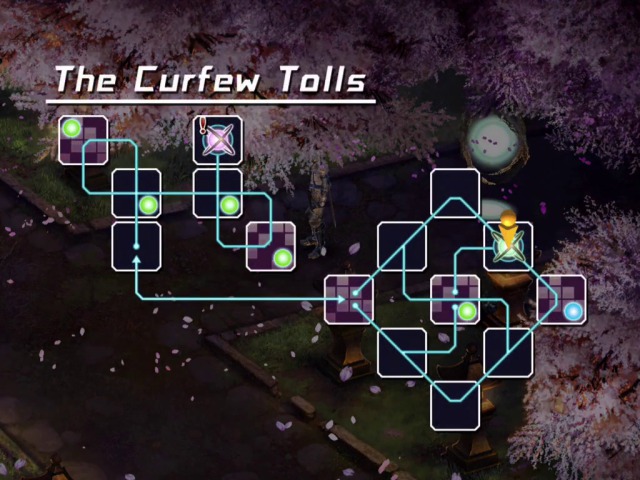
So... looks like our destination is in the previously inaccessible part of dungeon. Let's see what awaits us there.
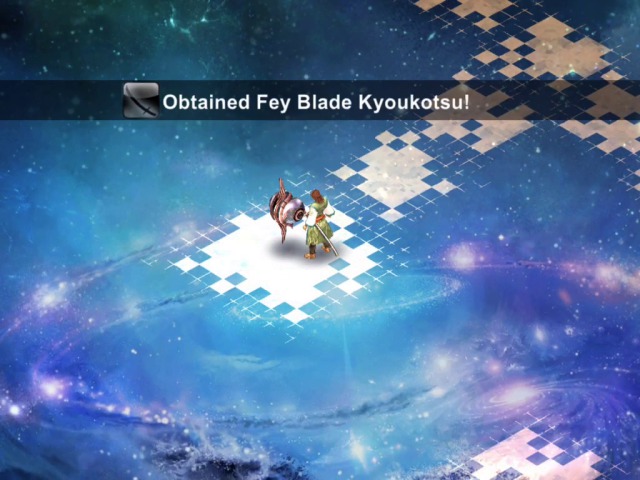
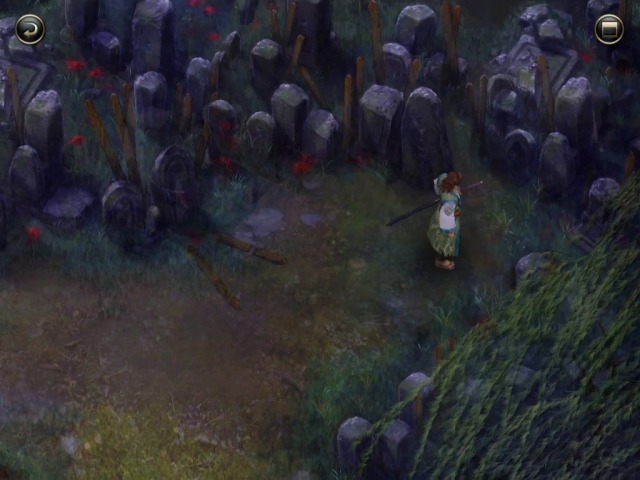
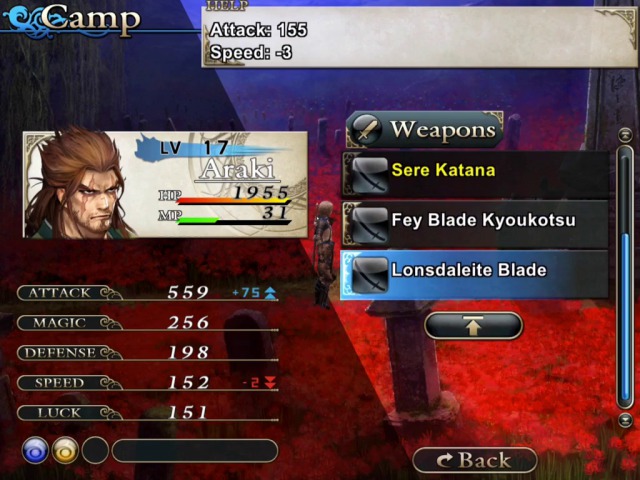
On the way, we find a new weapon for Araki...
...which, for obvious reasons, we will not be equipping.
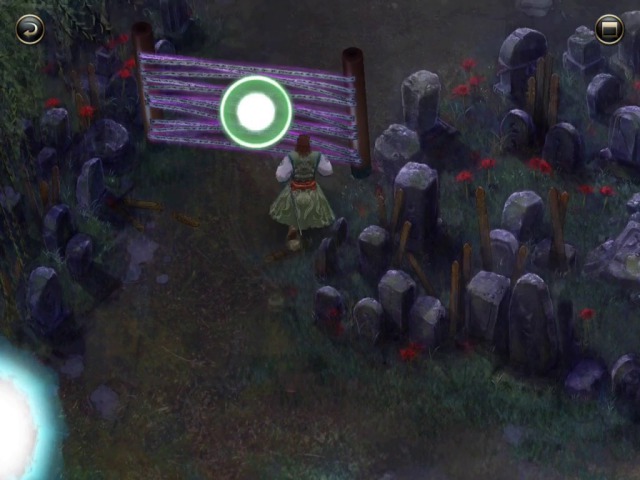
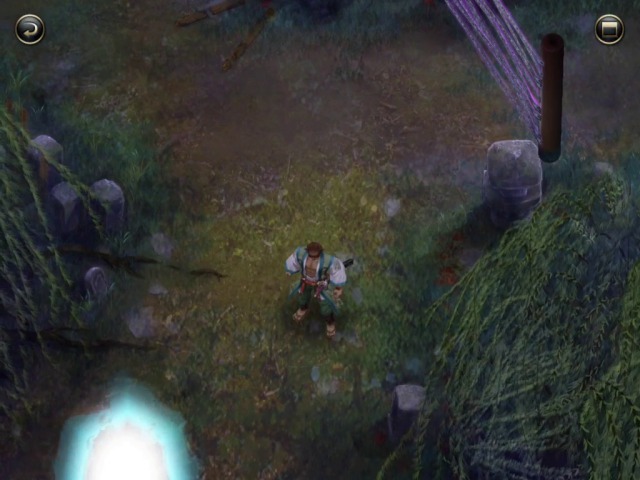
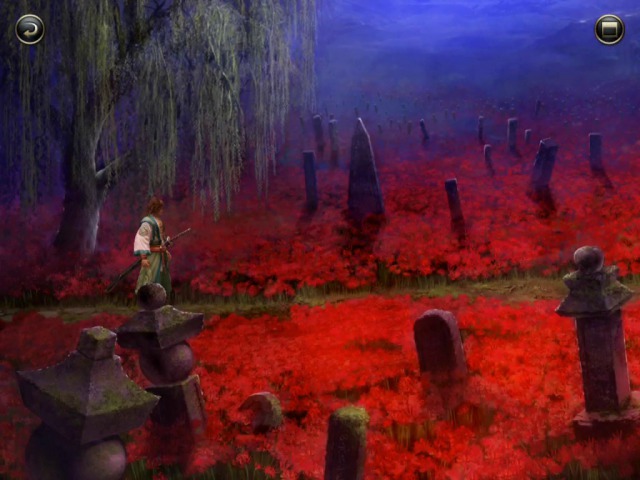
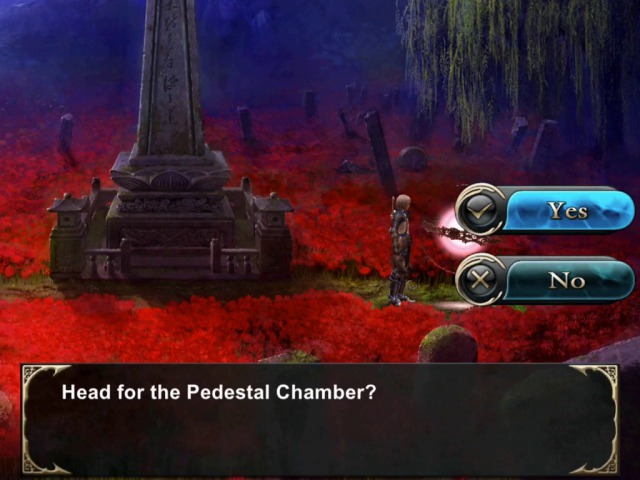
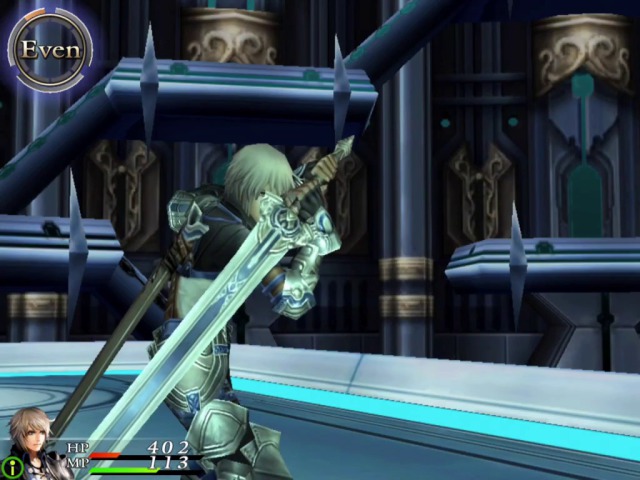
Eventually, we reach the point which was previously closed off...
...but now, in possession of a Sopia core, we are able to pass.
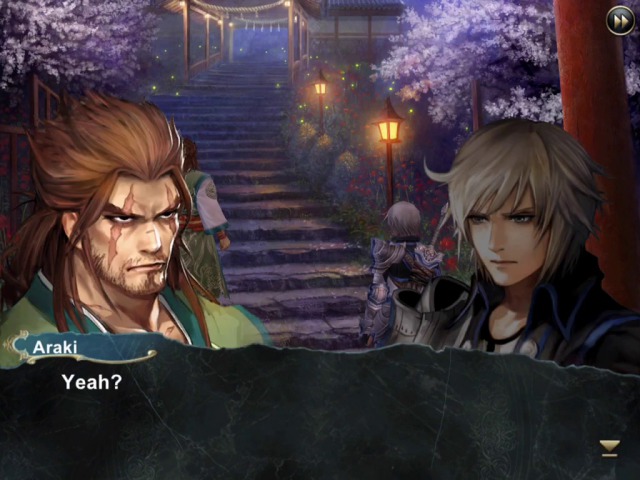
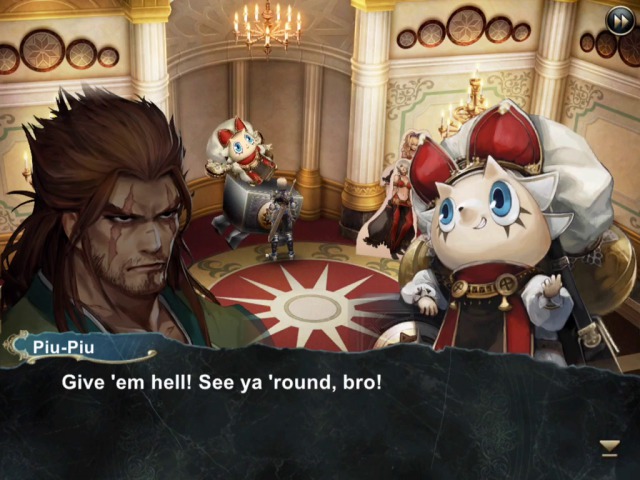
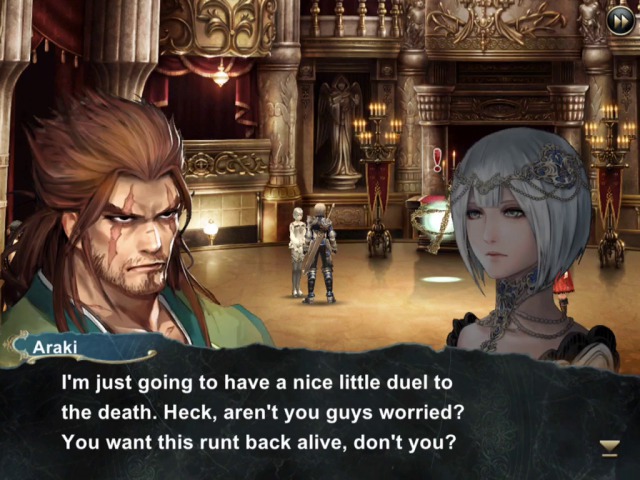
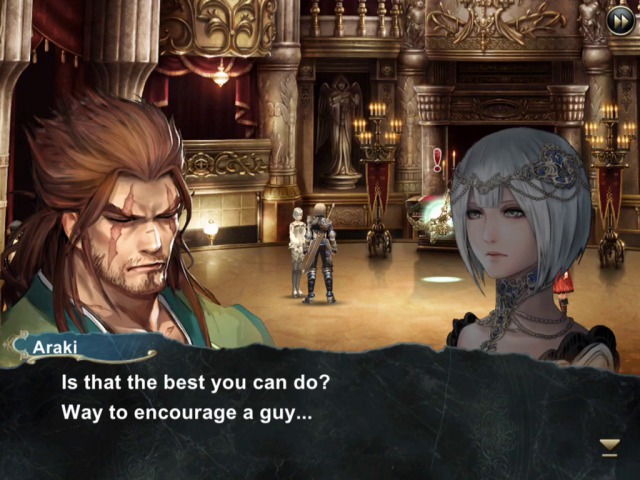
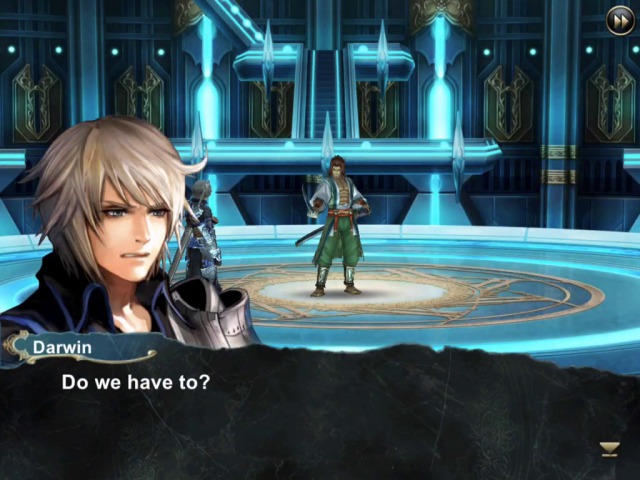
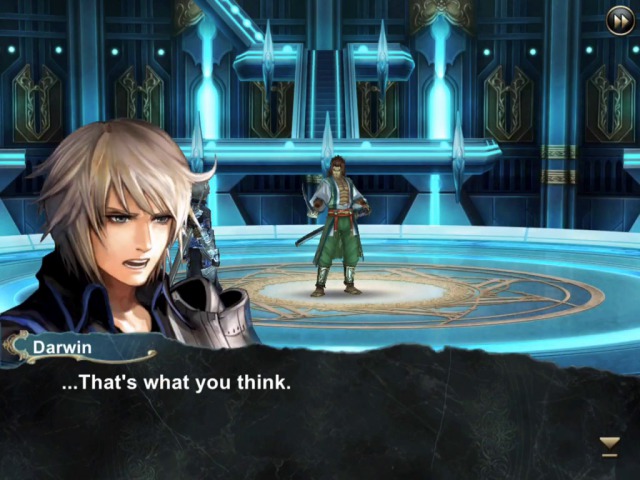
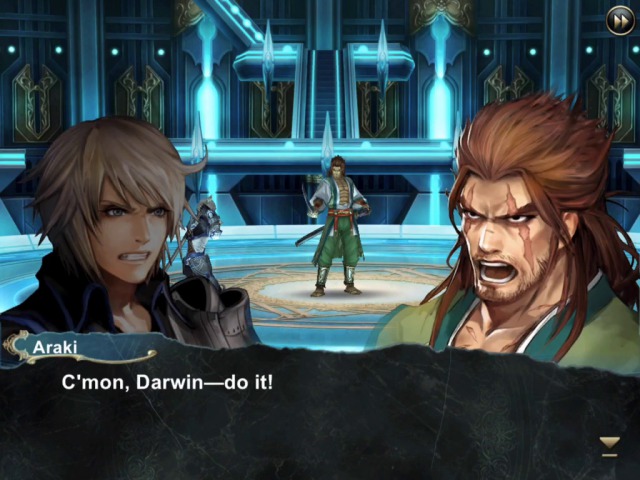
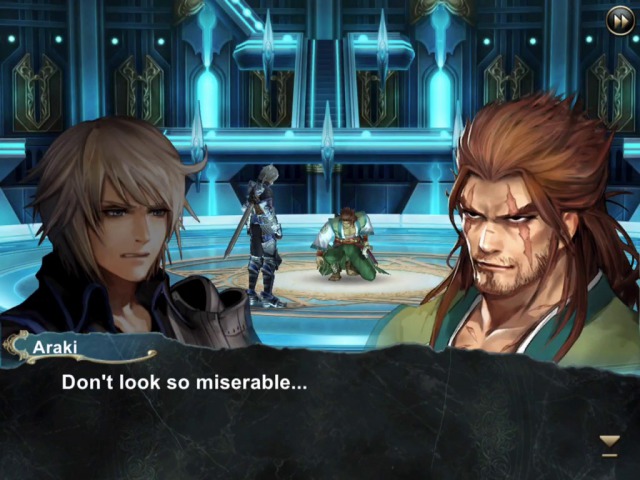
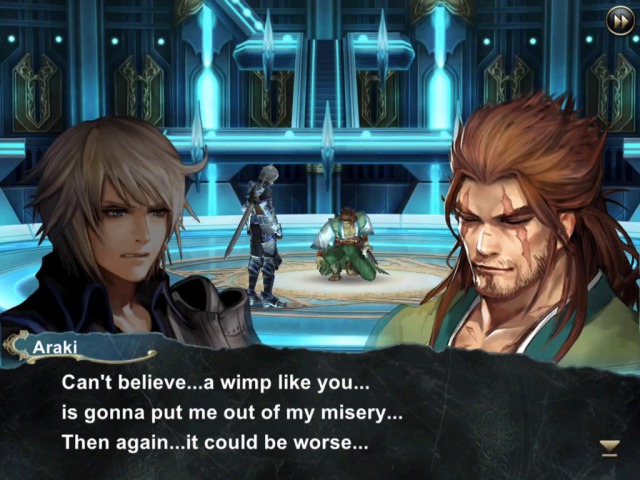
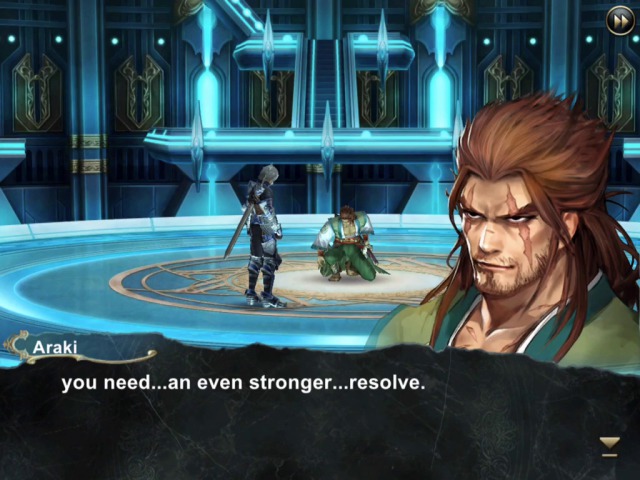
 What'd you expect? I'm not about to give you the answer you wanna hear.
 The sword has no extravagant ideals. All I do with this weapon is steal.
 ...
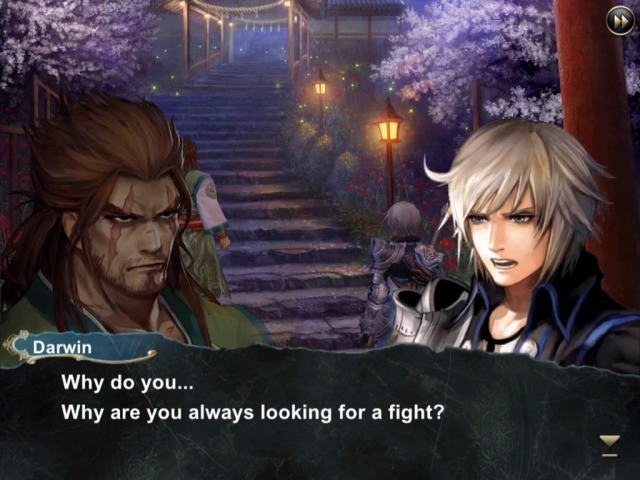
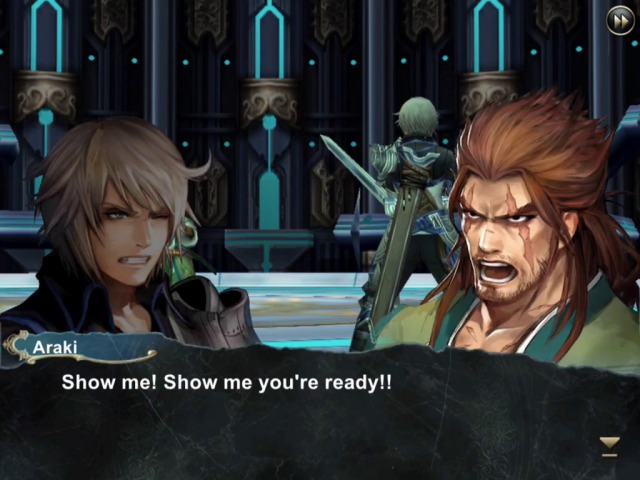
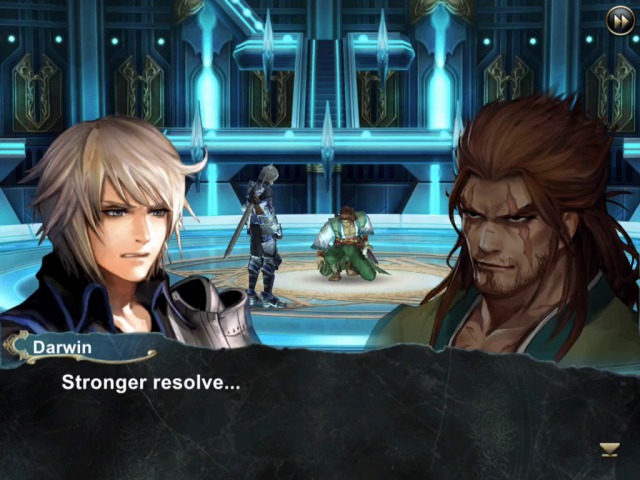
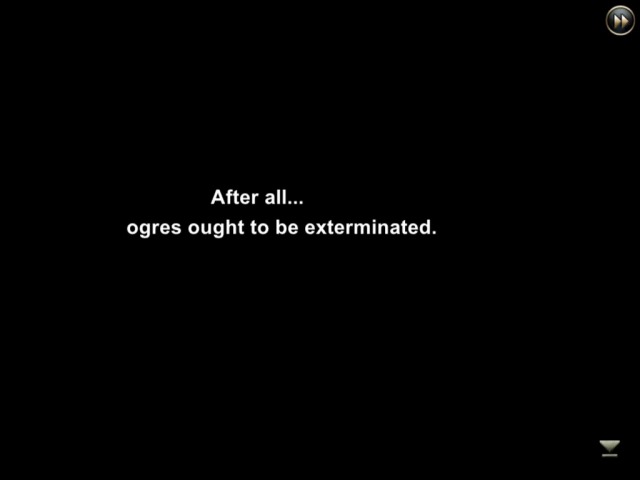
... Got your head in the right place for what's coming up? ...You know I don't. How could I? You coward. Still trying to figure out who to kill next. ... You gotta turn off that weakling voice telling you that you don't wanna kill. Here, try this: it's better for me if I don't think of 'em as people. Pretend they're ogres or something.
 Ogres? Yeah. Monsters that gobble people up. ...
Well, anyway, we need to keep going.
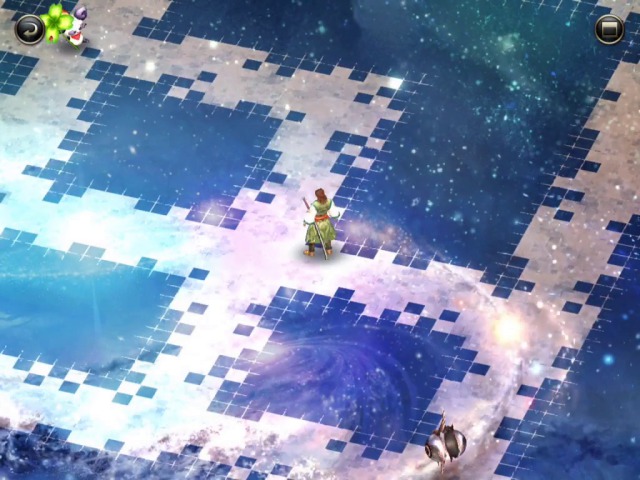
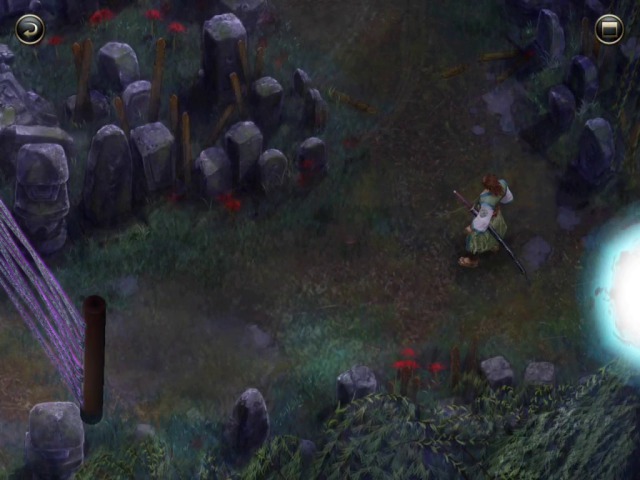
This part of dungeon looks a bit different.
At one point we reach a place where we can apply Araki's skill to pass. But down in the bottom left corner we actually have another option, to go around through one of the connecting areas instead.
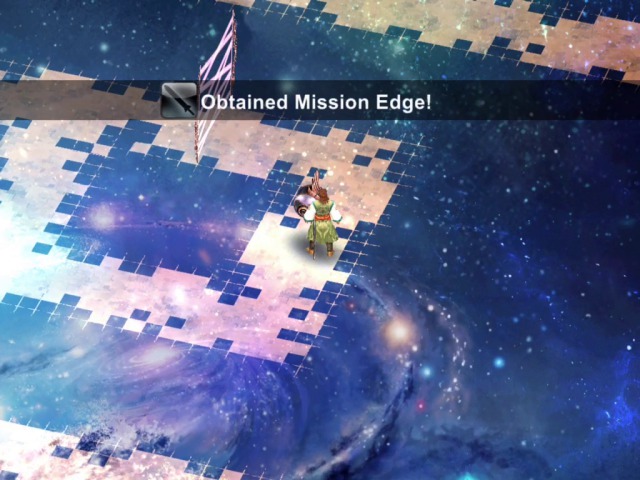
Doing that allows us to pick up this item, which is a new weapon for Darwin.
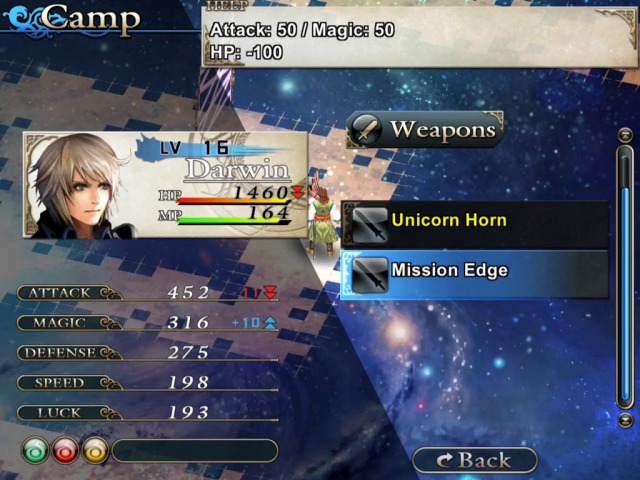
Like the previous one for Araki, this is not worth equipping either.

And like I said, going through there just brings us around to the other side of the barrier.
There is another one of those situations shortly after. Again, we'll take the long way around.
Eh, what's that over there? Looks like one of those panda (Billiken) type enemies.
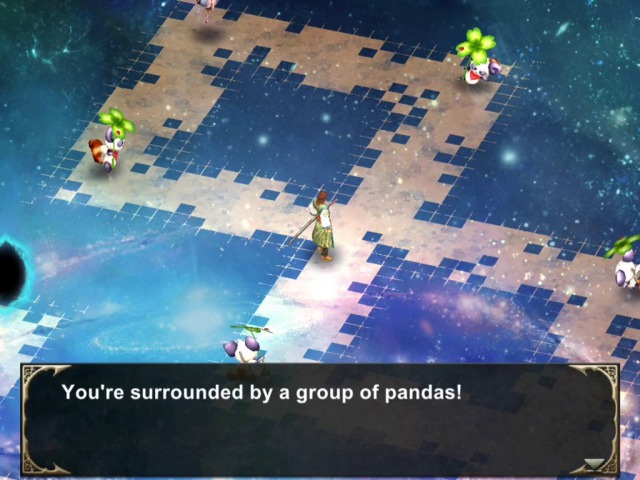
If we approach, we are surrounded by four of them!
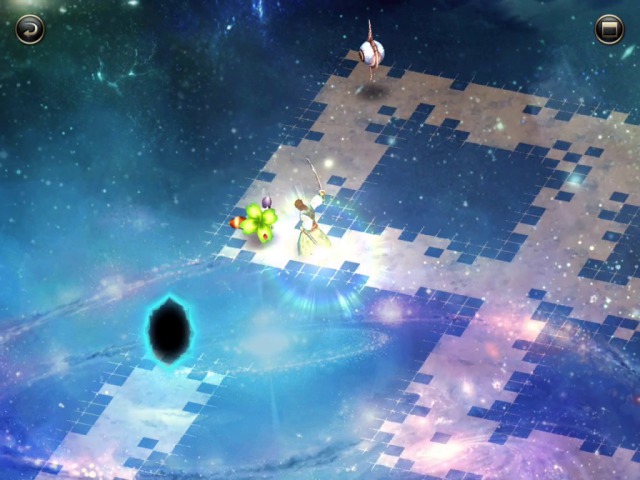
Applying Araki's skill on three of them, leaves us with the last one...
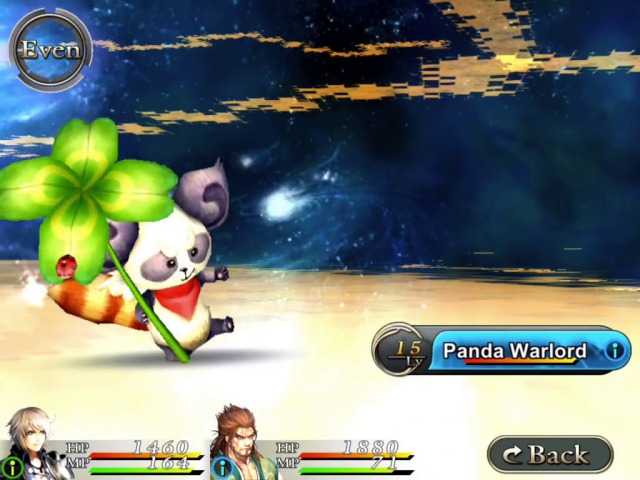
...which is a real fight against a "Panda Warlord".
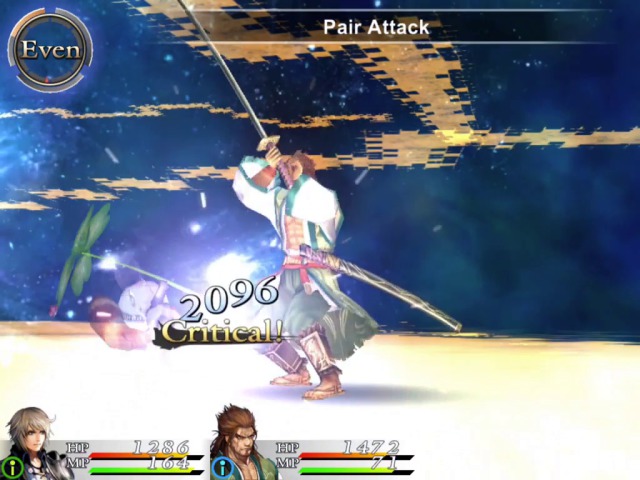
He is not very strong, and dies in one hit. And then...
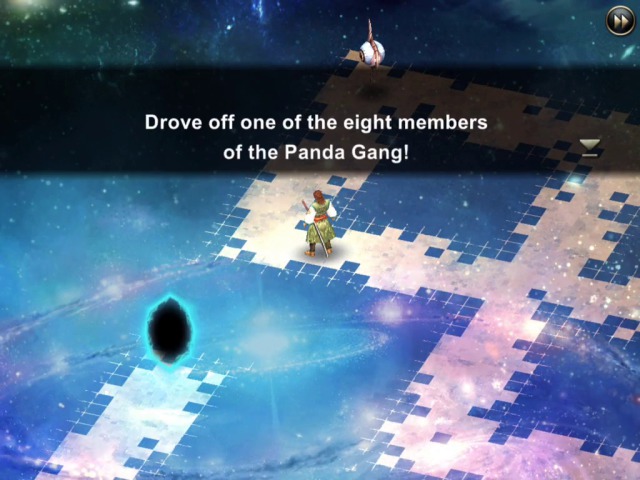
Hm, interesting. Guess we still have seven of them to find. We'll see a little later what this is all about (apart from the obvious fact that it's a sidequest of some sort, of course).
Defeating this guy also gives us access to this item:
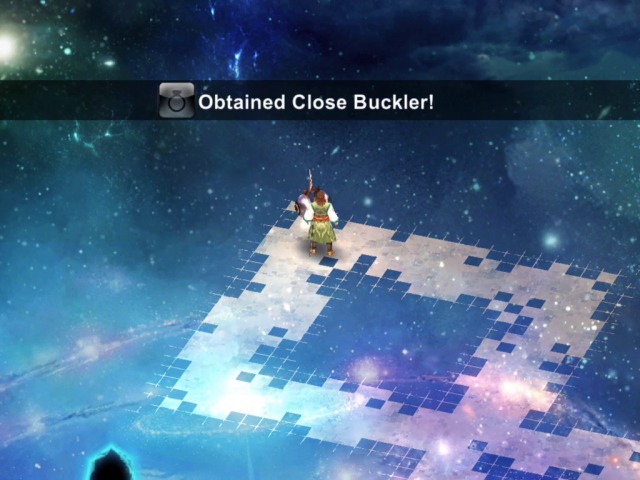
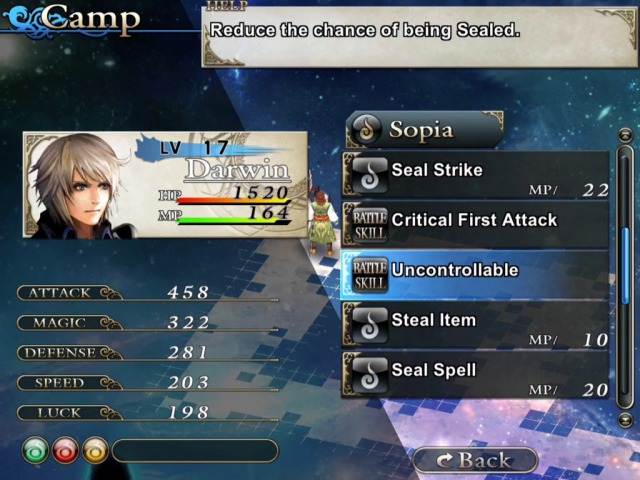
We don't need it right now, but it may be useful later on. It reduces the chance of being sealed--seal is like silence in Final Fantasy, it prevents you from using magic, or in this case, skills and magic.
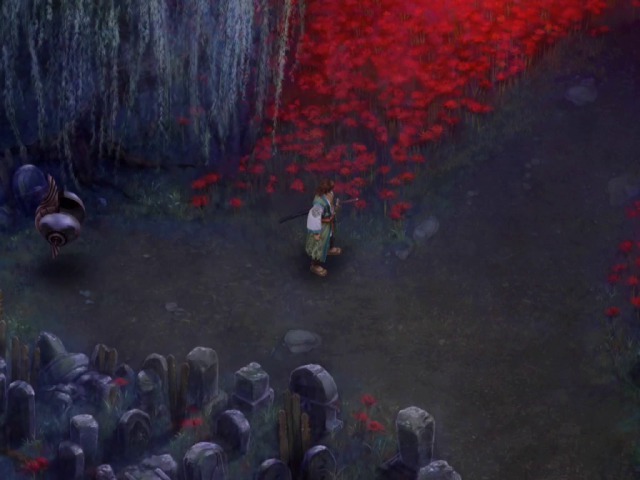
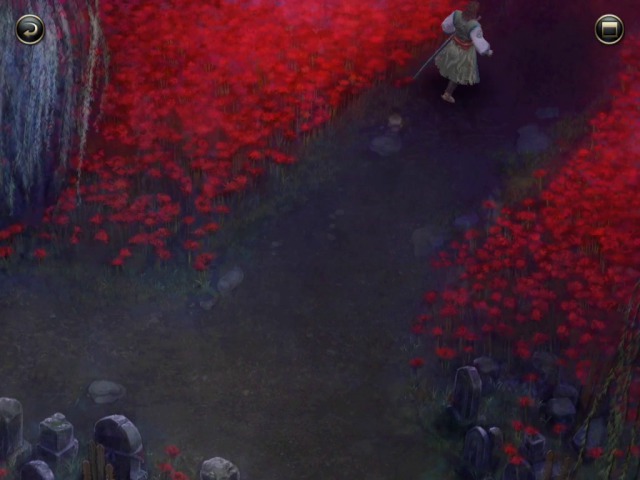
Continuing onwards...
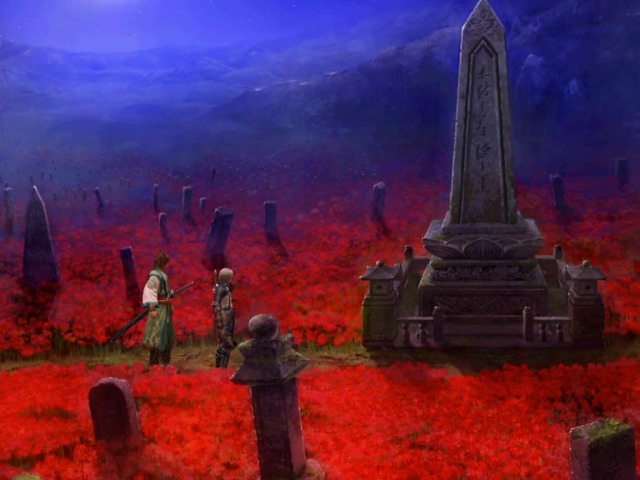
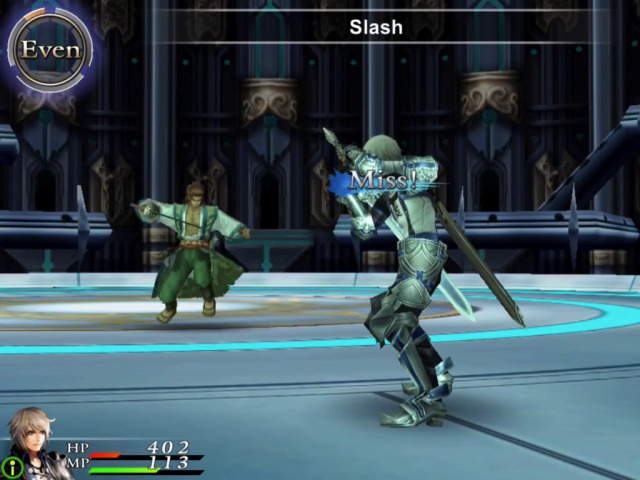
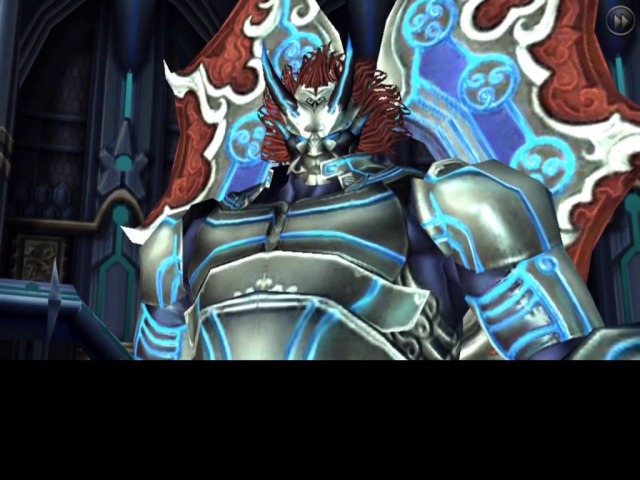
What's this...
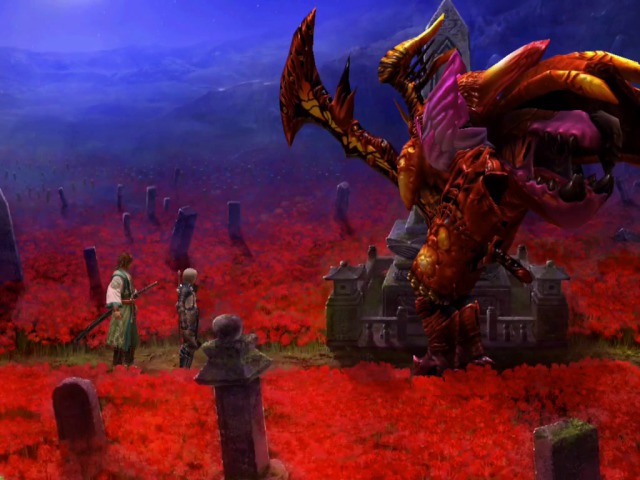
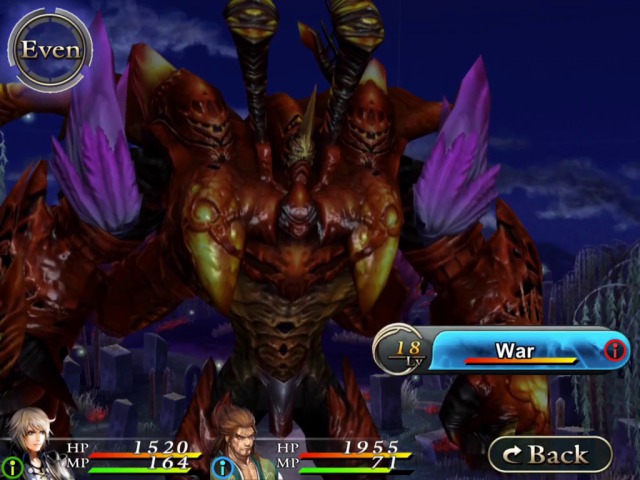
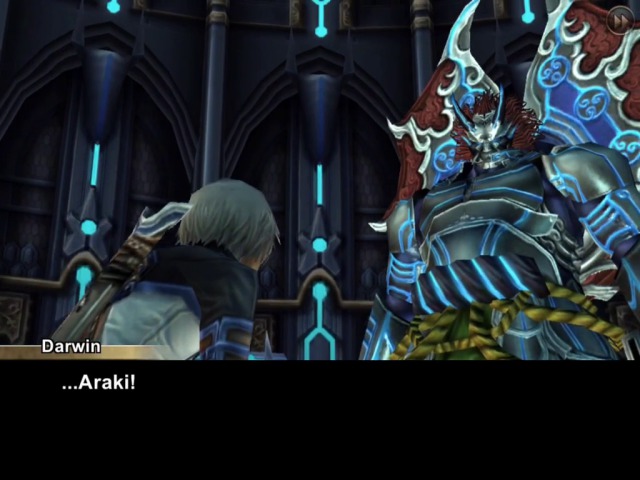
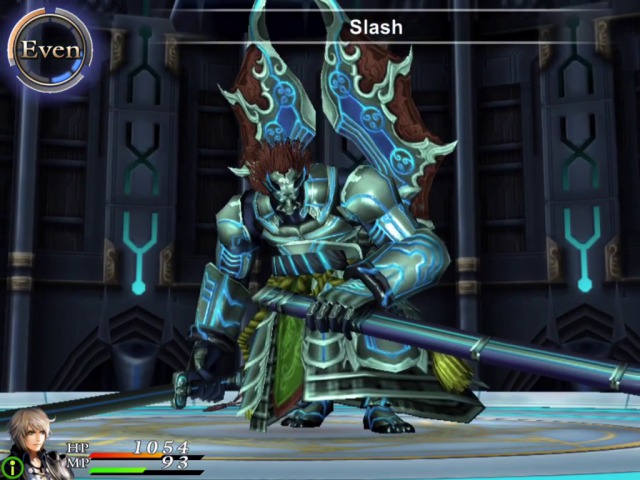
Oh it's this guy again. Didn't we just fight him with Araki?
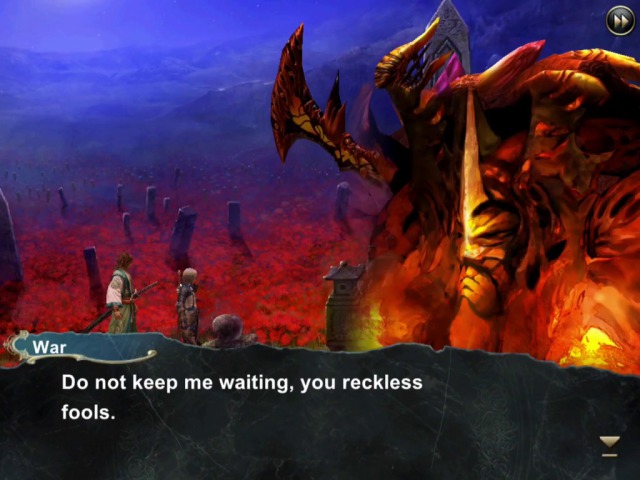
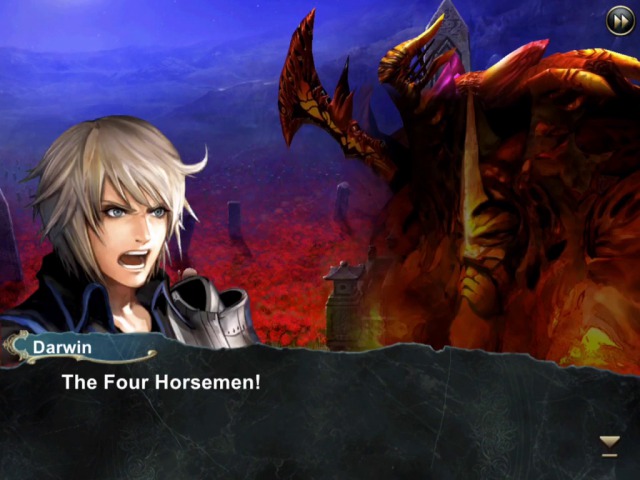
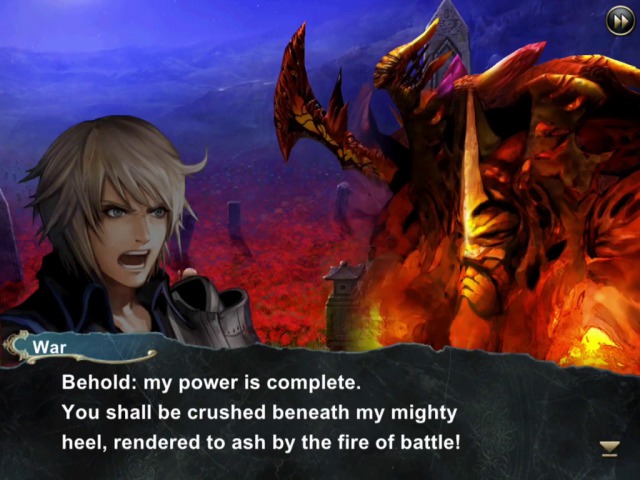
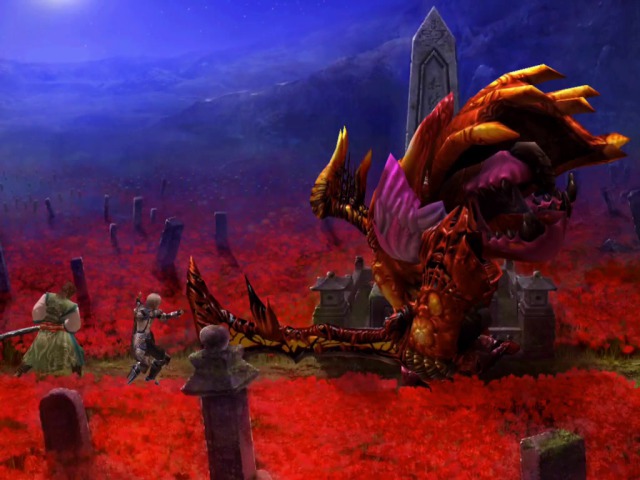
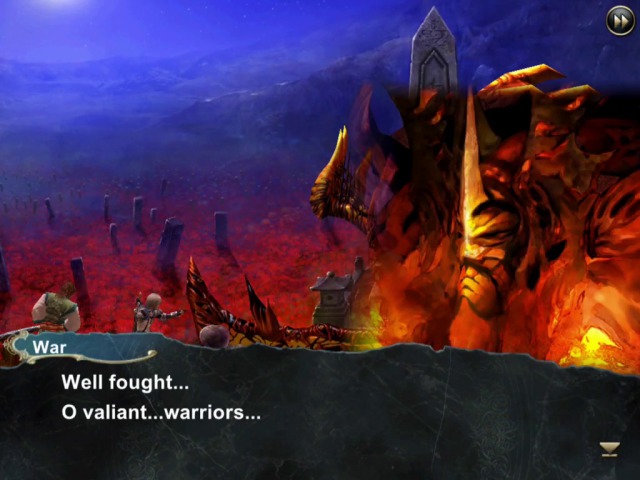
Yes, it's War again, and he is, as he promised us, a bit stronger than before.
Incidentally, herein lies the possible explanation why we were not able to sacrifice Conor this time. Turns out, each character "corresponds" to one of the Horsemen. Since we only fought two of them so far (Conquest with Li Hua and War with Araki), then those are the only characters we can sacrifice at the moment. There is no in-game explanation of this that I know of, so it's just purely a way to control the plot progression while making it seem less linear than it really is.
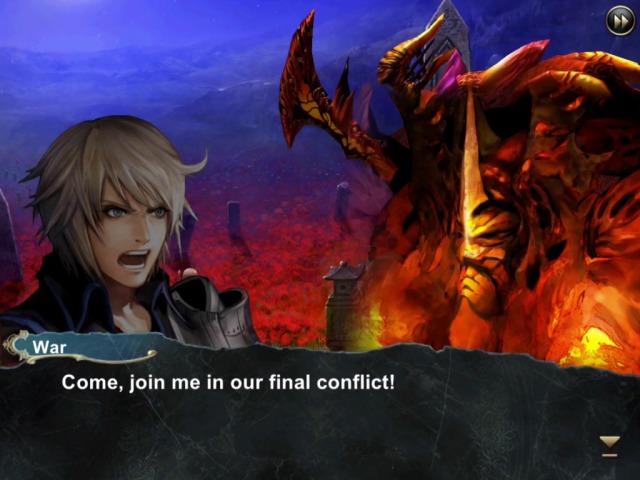
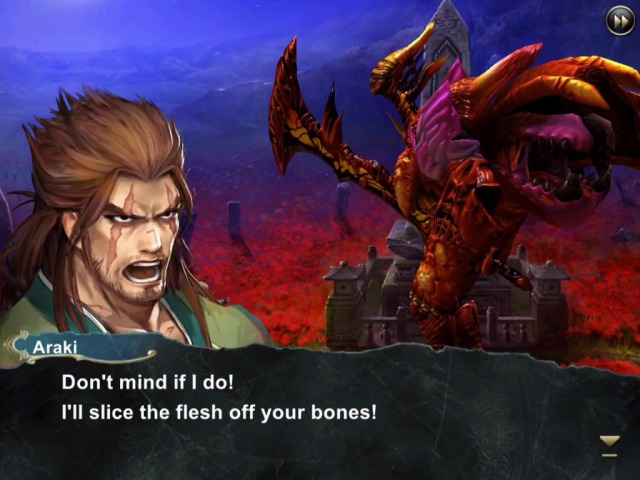
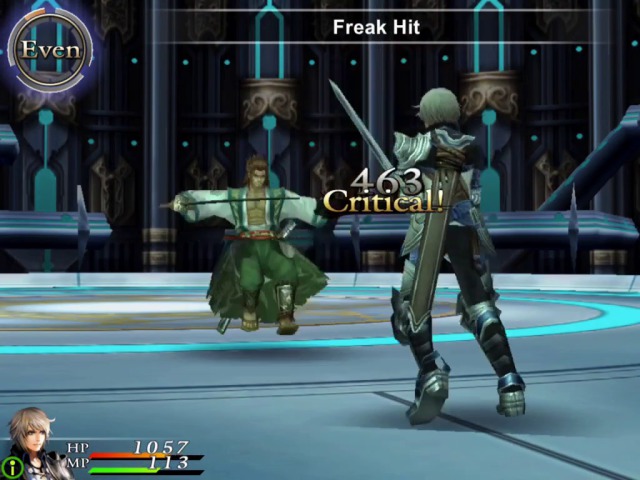
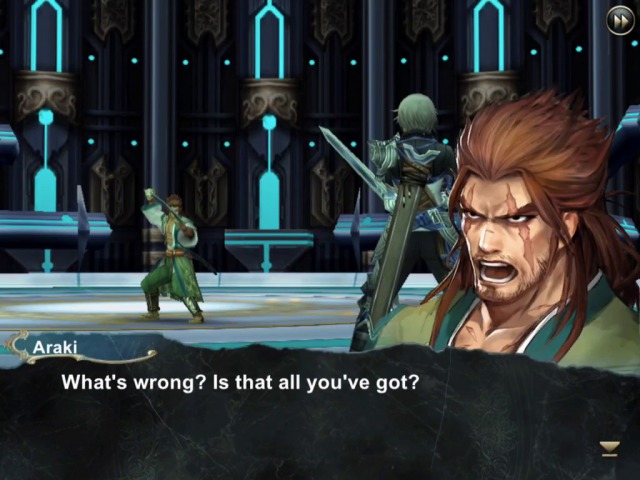
Anyway, on to the fight. He is mostly similar to before.
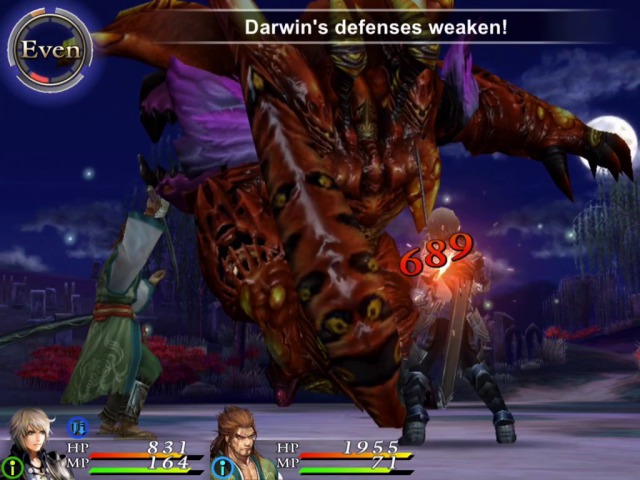
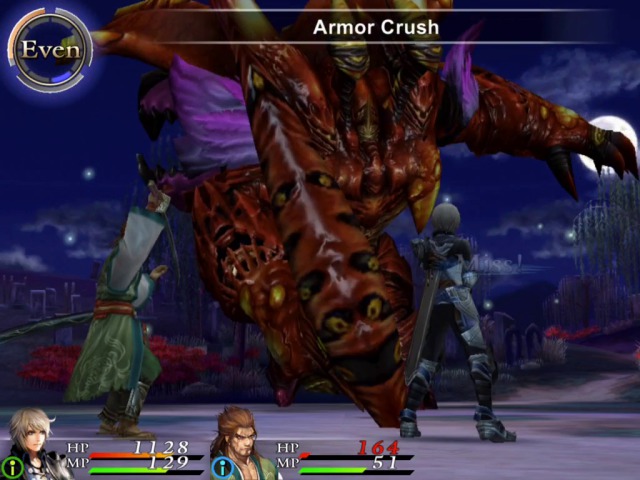
He has this physical attack that also weakens your defences for a few turns. It only hits one party member so it's not too bad.
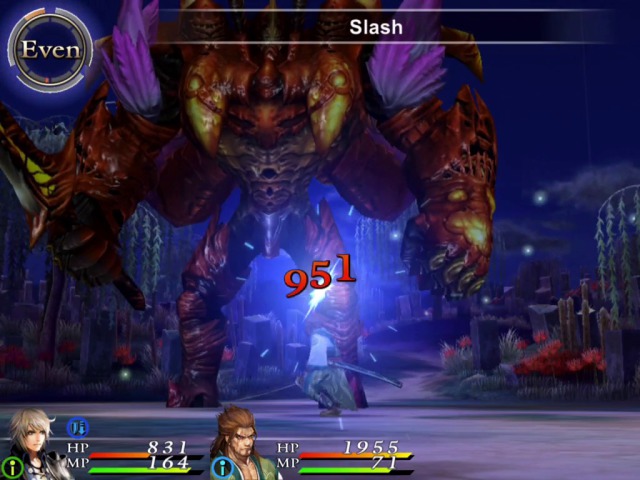
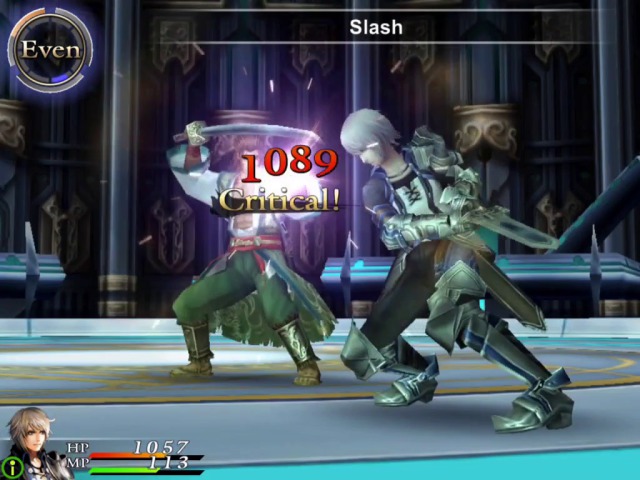
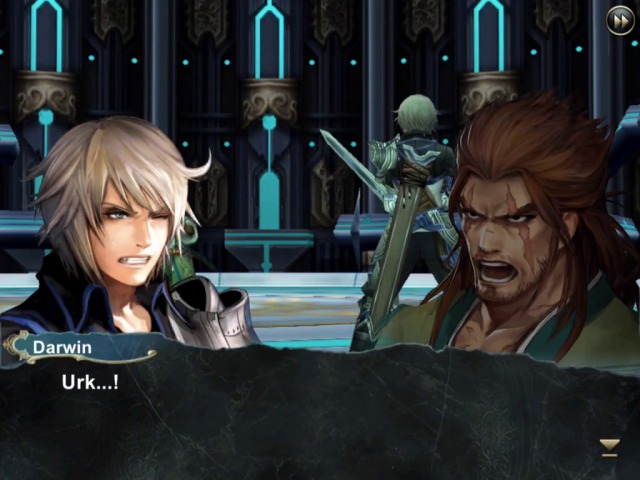
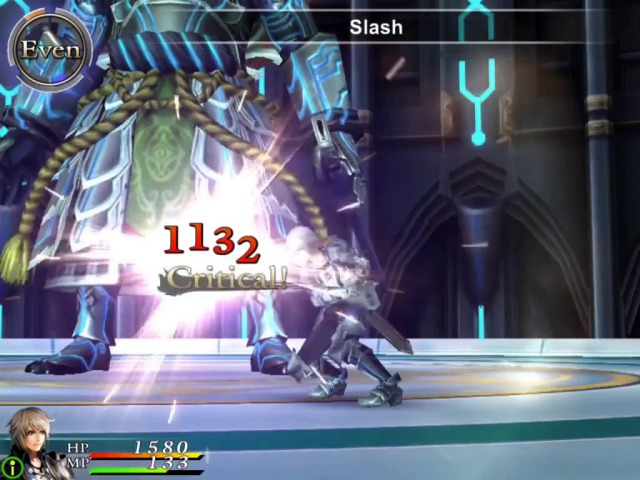
He does have a lot of HP but Araki can still damage him decently. As before, Darwin will be largely on support duty.
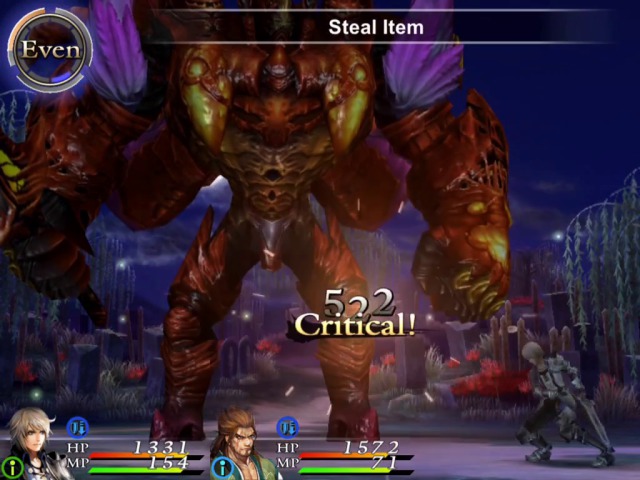
We can also steal an item from him this time around!
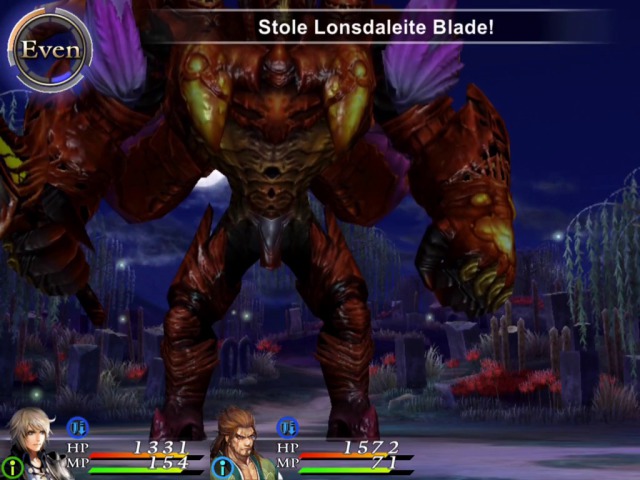
It's a new weapon, which I will show you when we are done fighting.
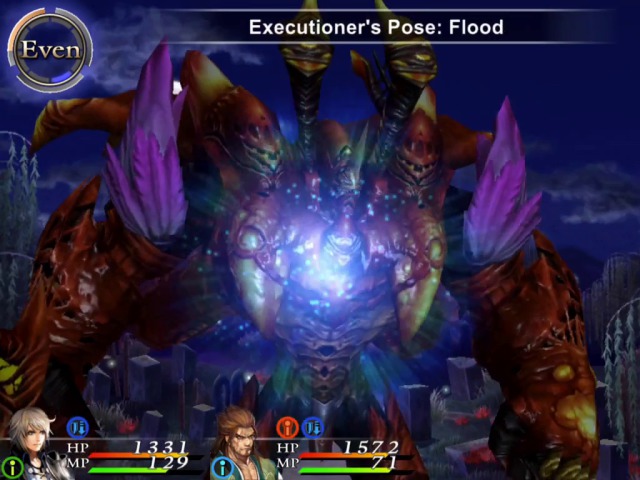
Of course, he can still do this...
...so we'll just defend...
...to reduce damage.
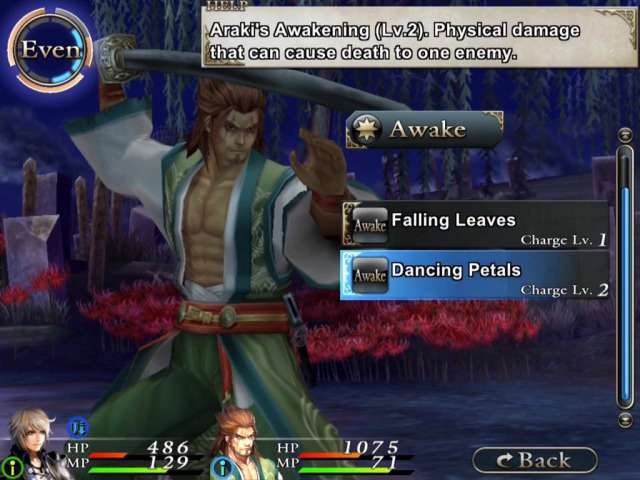
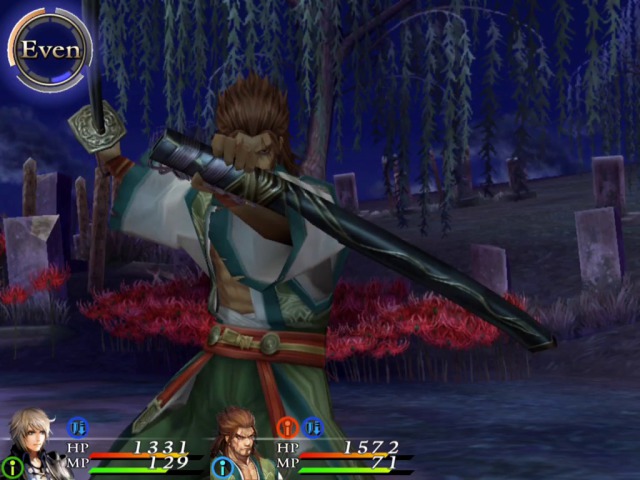
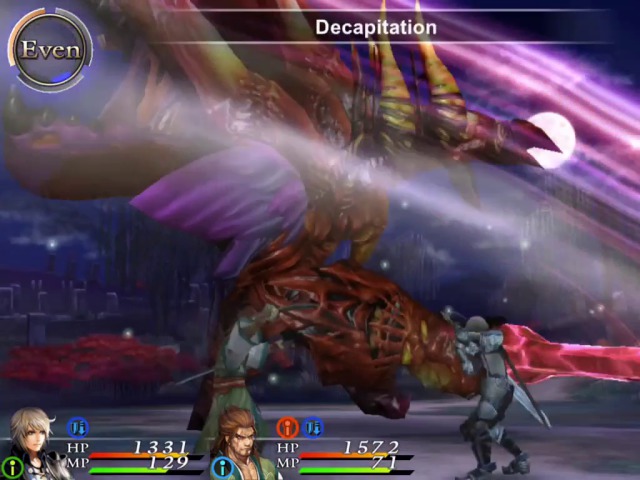
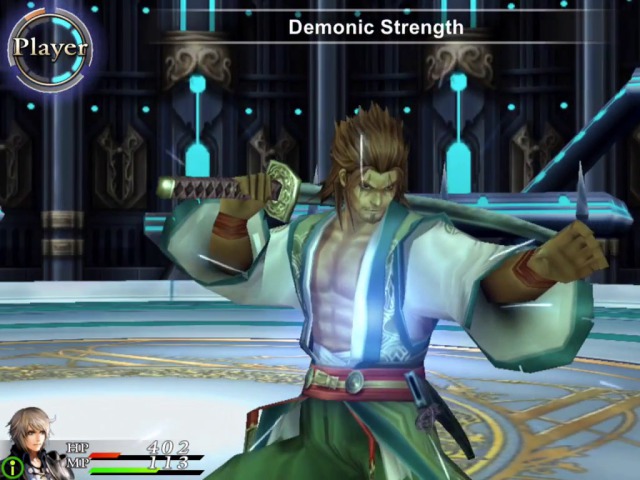
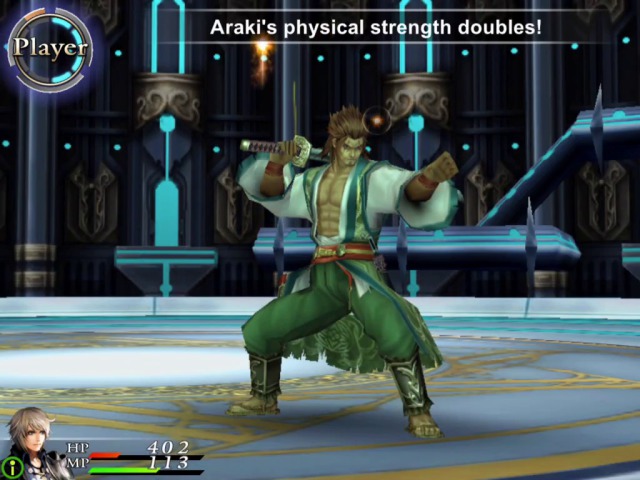
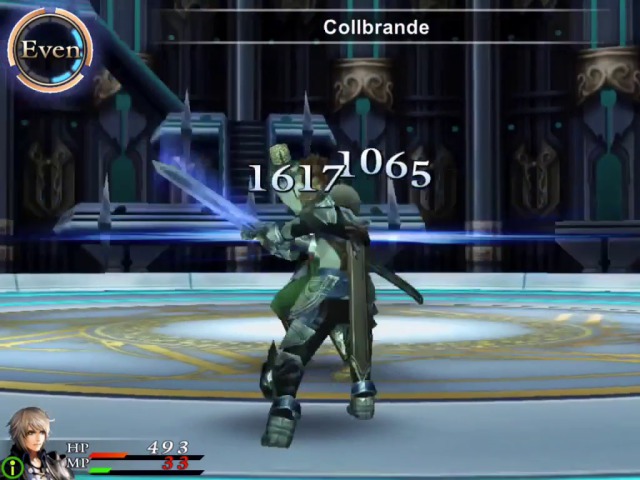
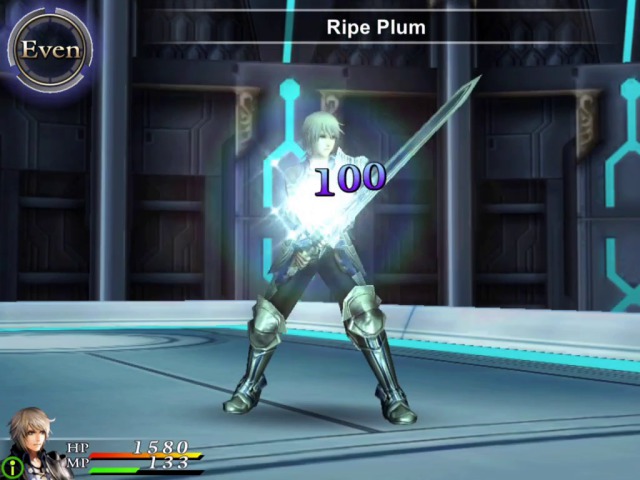
You might recall that recently Araki gained his Level 2 limit break. Once our gauge is charged enough, we can use it, although it turns out to be a little underwhelming. It deals about the same amount of damage as his other limit break, but has a chance of causing instant death.
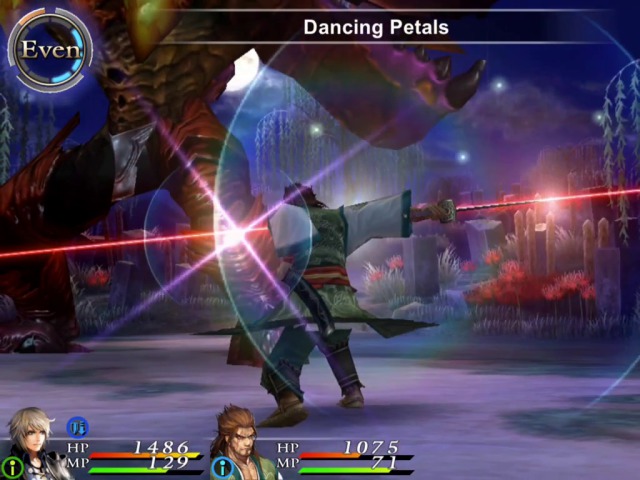
The attack itself looks pretty cool...
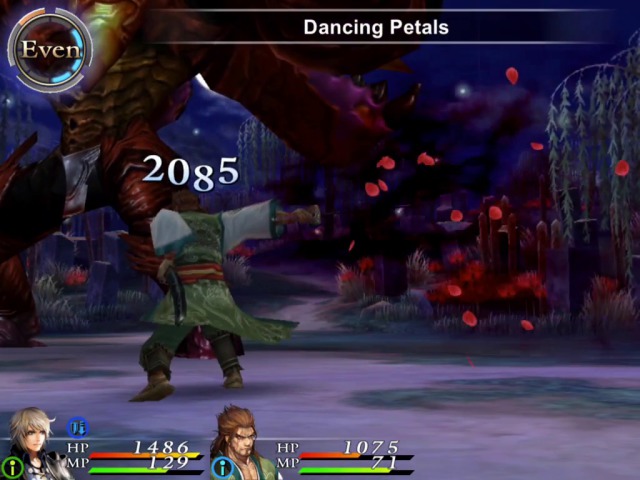
...but death typically does not work on bosses so we'll stick to his Falling Leaves attack instead. We can use it more often anyway as it requires a smaller charge.
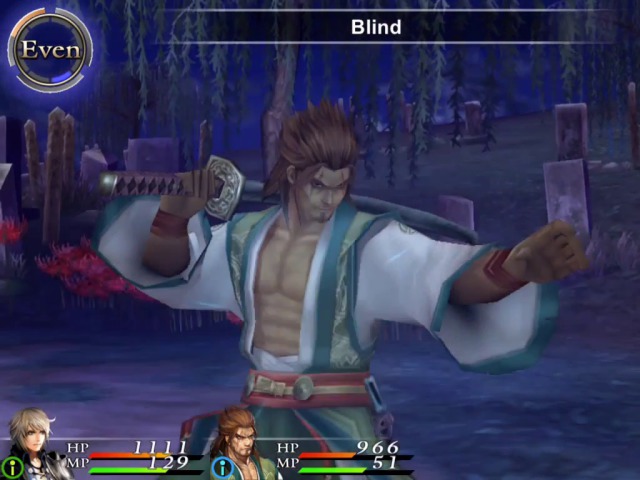
At some point, I remember about trying to use Blind on this guy again.
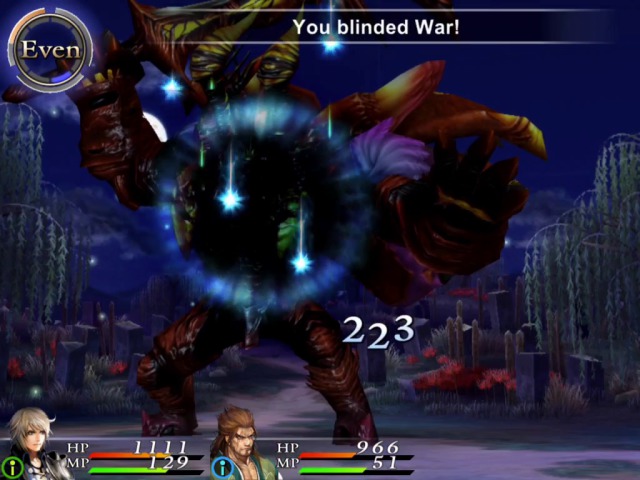
Amazingly, this time it succeeds in the first attempt. Well, at least more of his attacks will miss now, that's hardly a bad thing.
Like so.
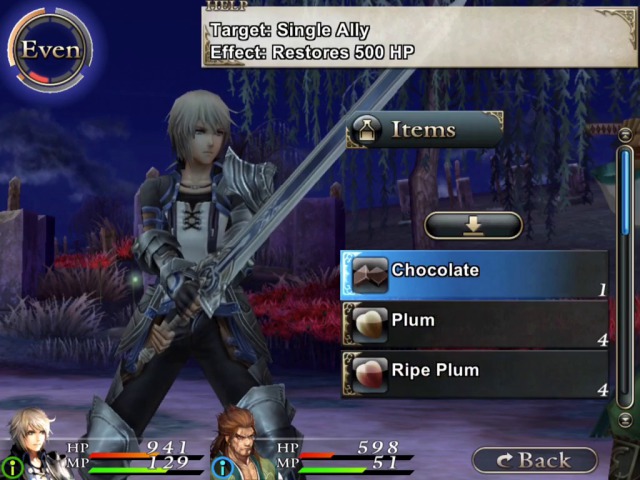
I tend to play this battle very defensively, and keep the characters mostly healed at all points. We trade blows for a while, and then I am down to my last chocolate! Well, I do still have the healing spell, but it's a bit more difficult to use if both characters need healing at the same time...
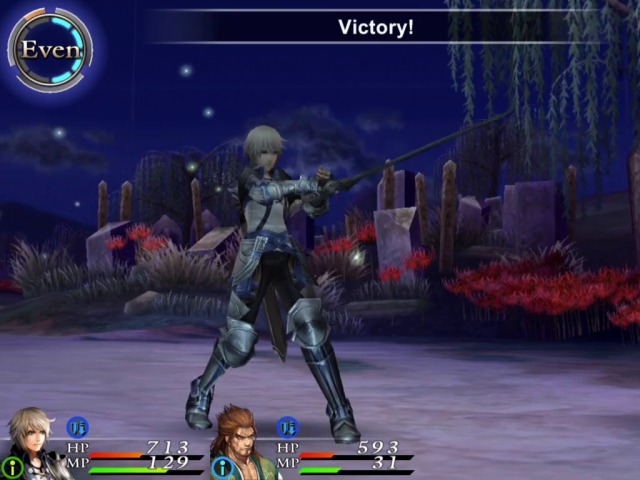
Luckily it takes only a couple more attacks for this battle to be over!
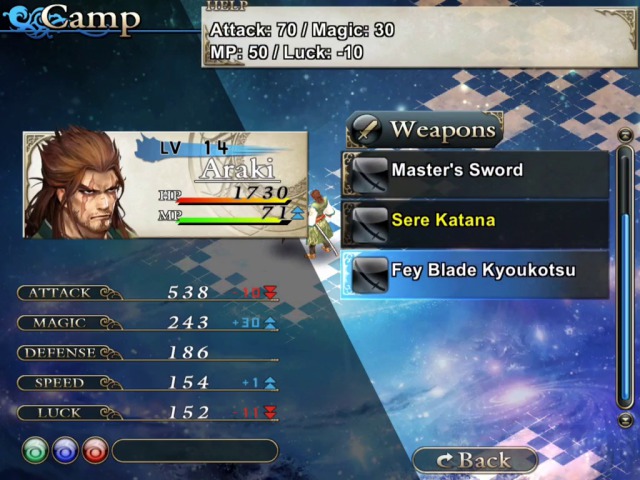
Well, all that's left now is to go back and kill Araki. But before we do that, let's take a look at that weapon that we stole.
So it's a pretty hefty attack upgrade for Araki. Too bad we are going to kill him so he won't be able to use it!
Oh well. It's time to go back now. Be careful though, you will NOT be able to access the shop before the next battle, nor will your MP be replenished! You can however rearrange the skills before hitting the teleporter. So I give the Heal spell to Darwin as that's the only option I have right now for healing.
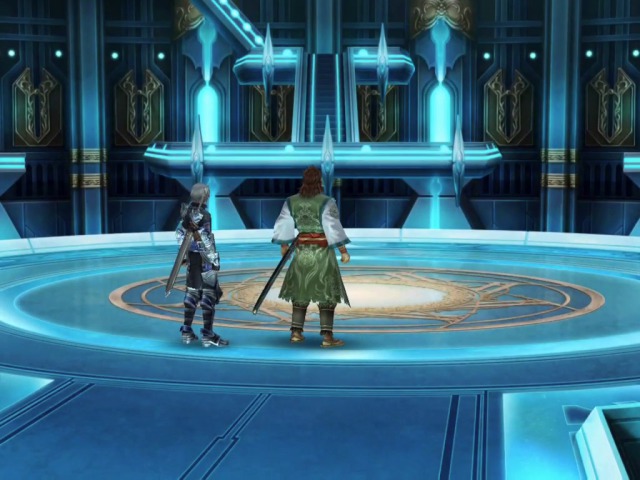
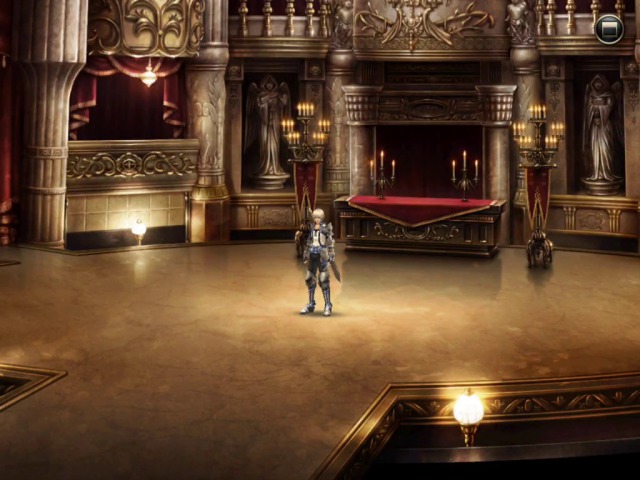
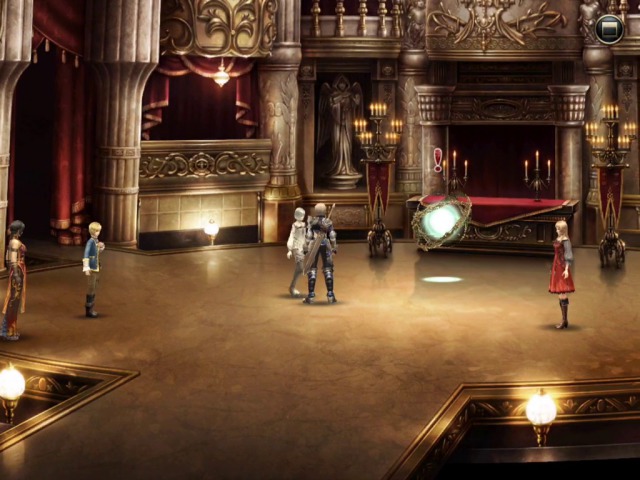
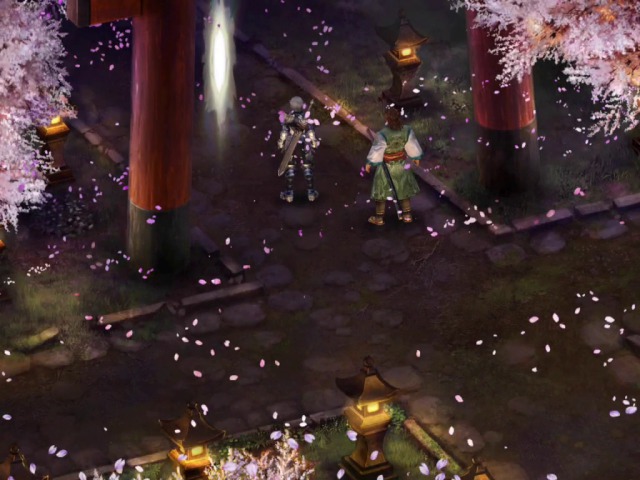
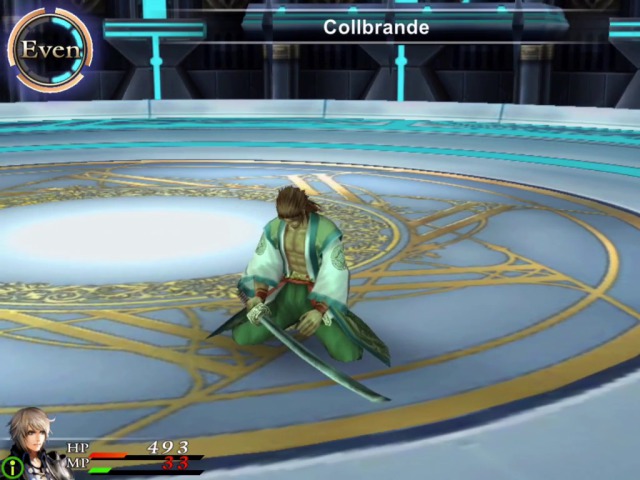
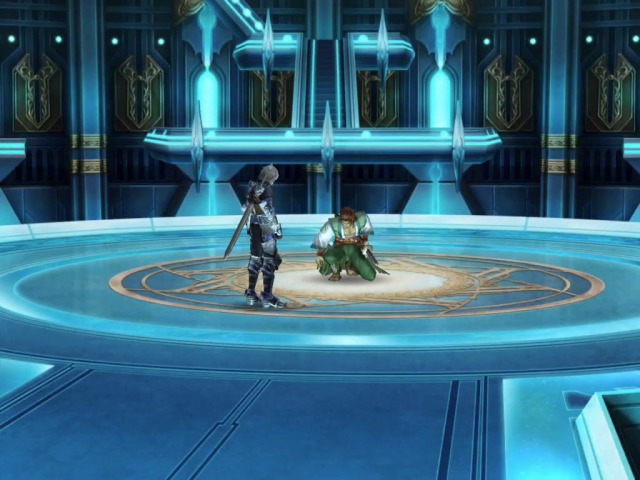
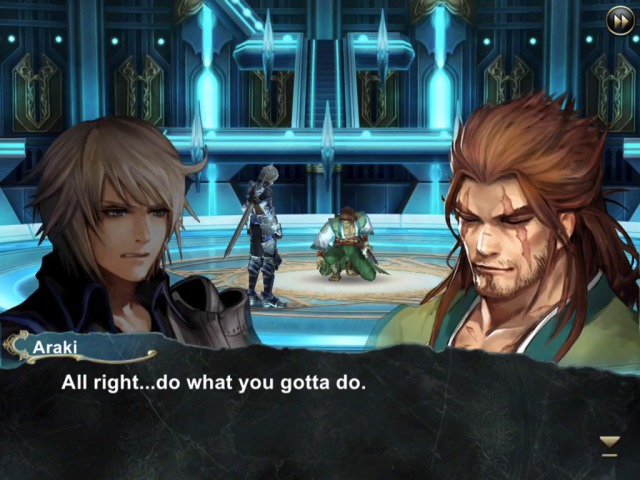
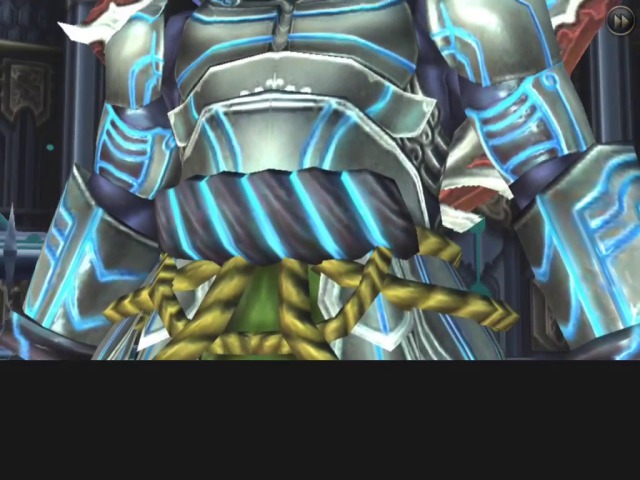
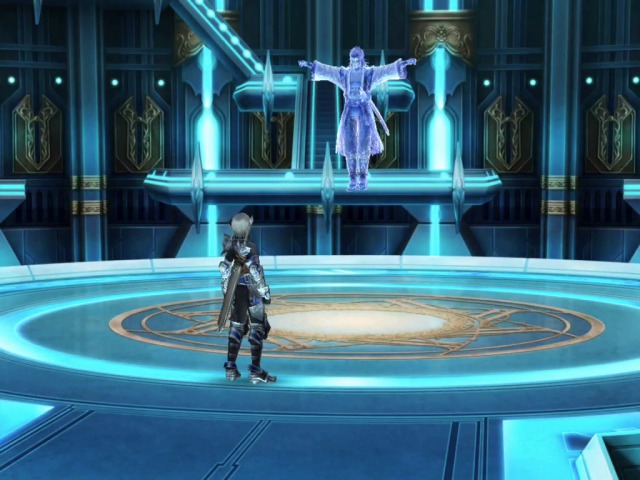
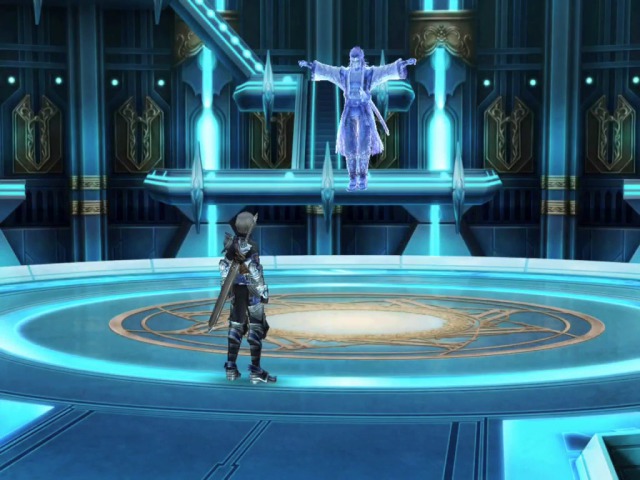
And finally we are back in this place.
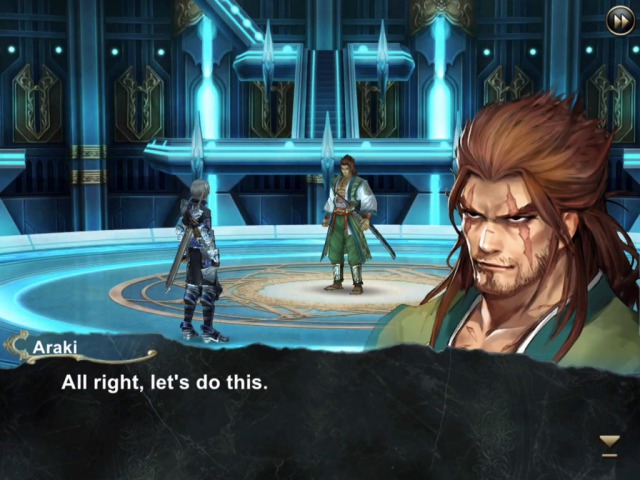


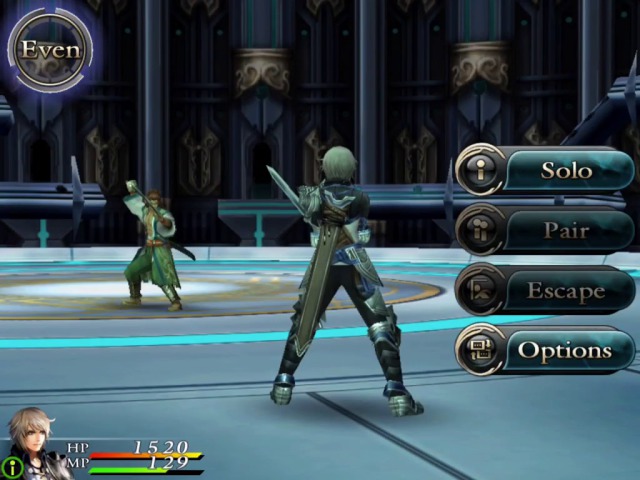
So here it is.
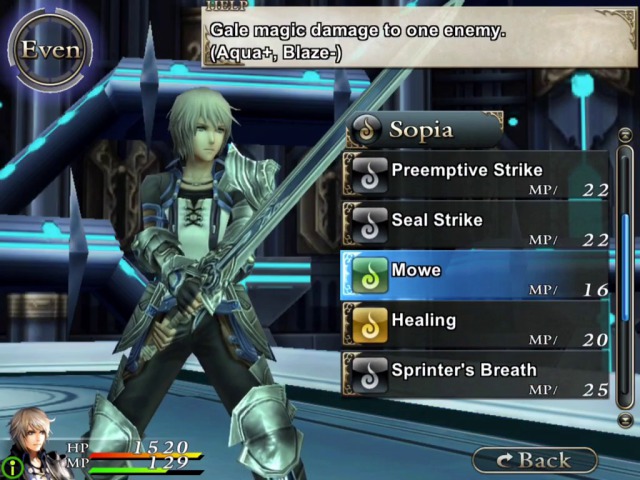
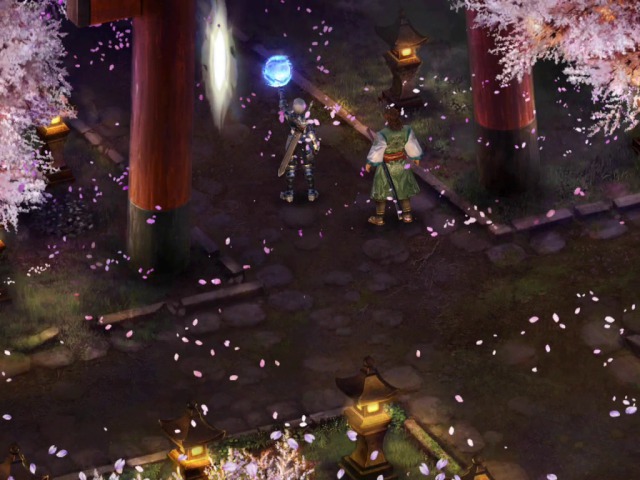
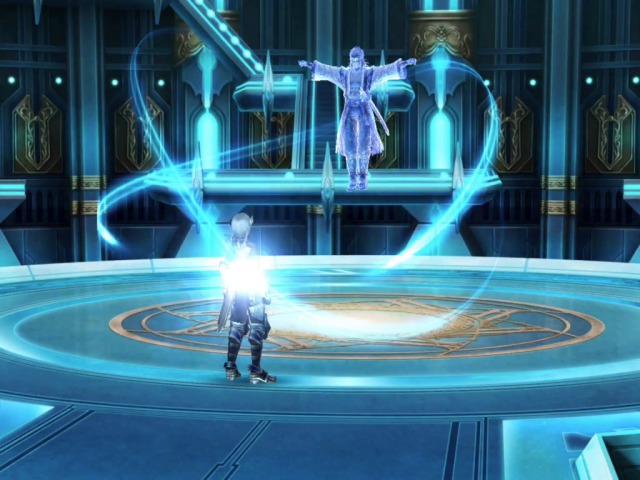
Start by using this spell to give ourselves the Wind element, thus counteracting Araki's innate elemental affinity.
This makes the whole battle into somewhat of a joke.
He does have this, but...
As always, we can simply defend.
Not to mention, Araki's accuracy has never been that great to begin with.
Eventually...
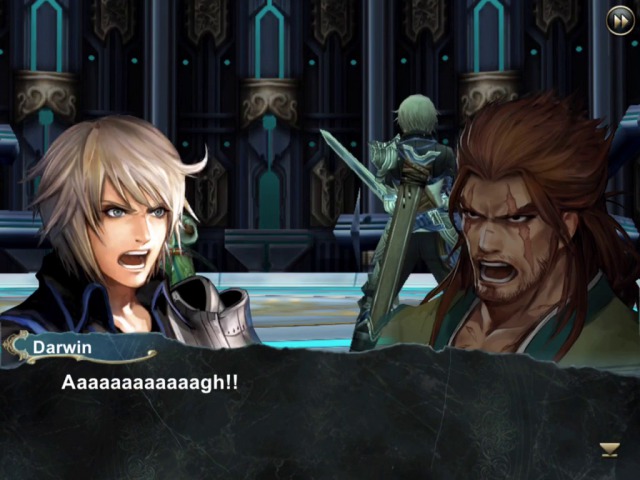
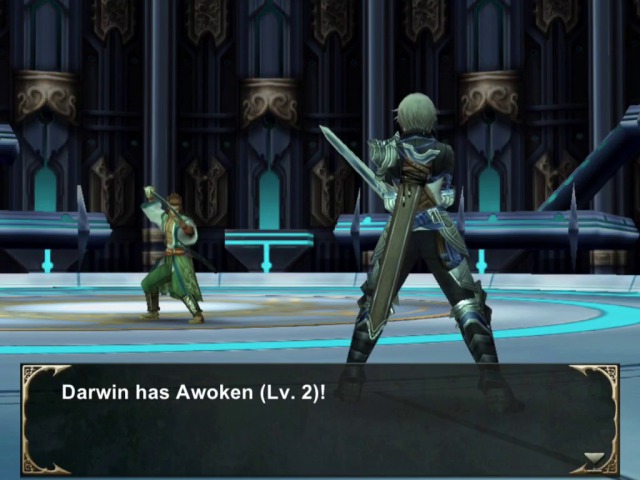
Yes, we get the Level 2 limit break for Darwin just like that in the middle of the battle.
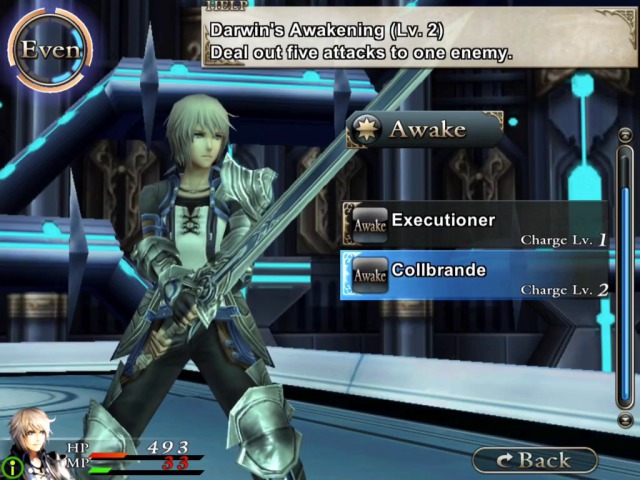
This one is pretty ridiculous. Each of the five attacks actually deals a normal amount of damage, so... yeah.
In fact this battle won't really end until we use it on Araki. Otherwise our attacks will do nothing forever.

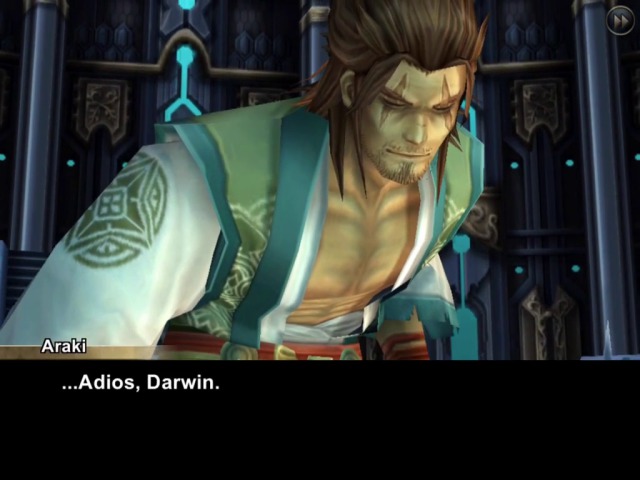
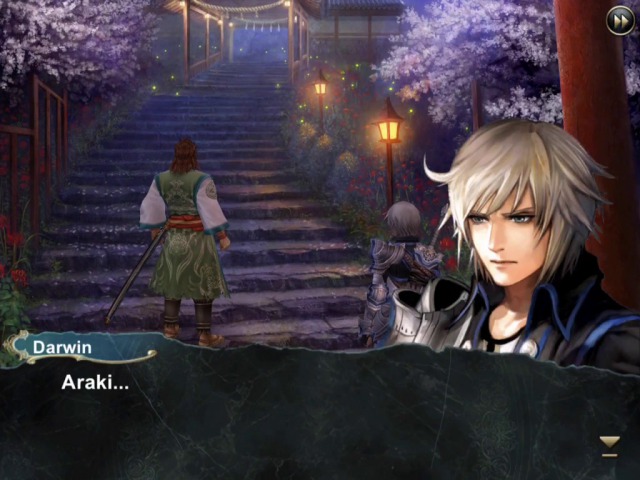
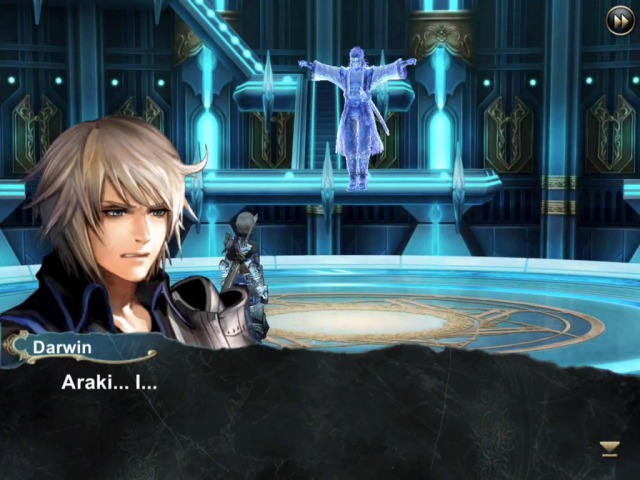
Wait, "adios"? What? Where did that come from? Actually, what Araki says here in the Japanese version is "Abayo" (あばよ) which is kind of an old-fashioned word for "Goodbye". I would say that something like "Farewell" may have been a better translation here.
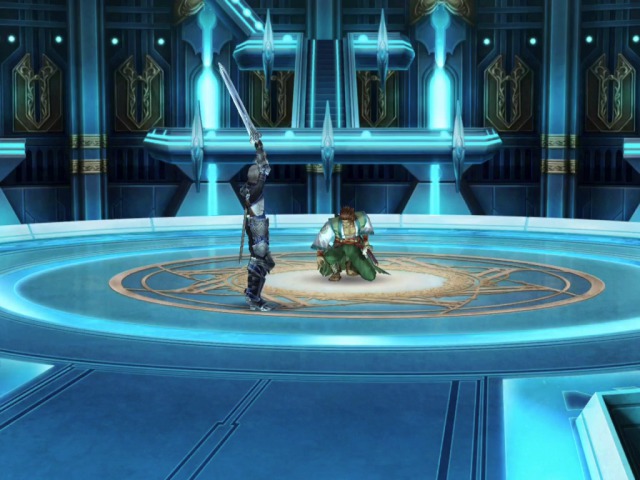
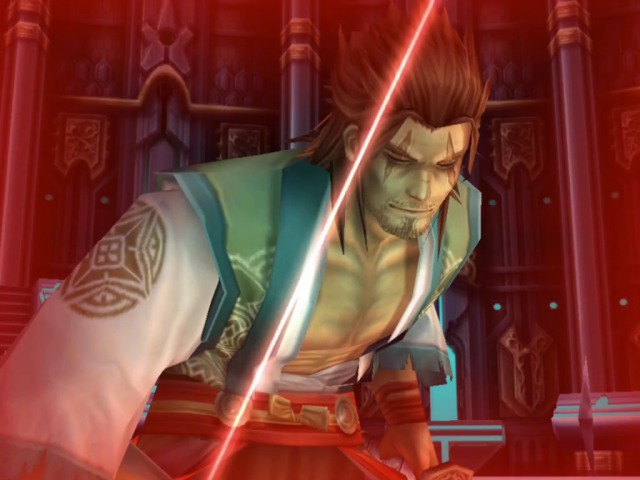
The game is really pushing its point here... it wants us to physically swipe the finger on the screen to kill him!

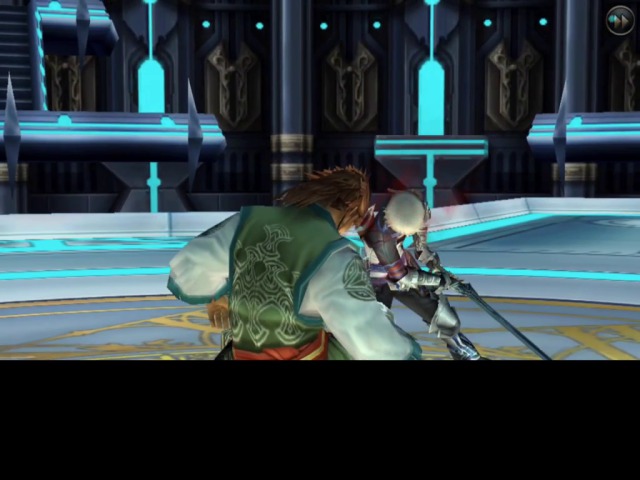


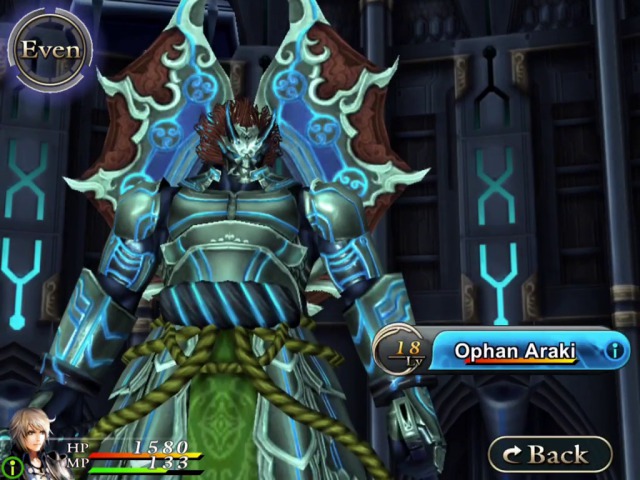
As before, this is the Ophan version of the sacrificed person. So we go straight into another battle.
First, need to get back my MP to be able to heal.
And then we continue as usual.
This battle is actually more or less the same as previous so it doesn't last long.


Well then.
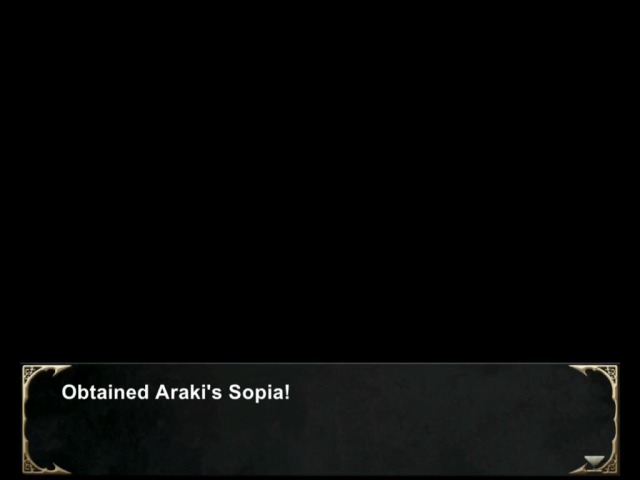
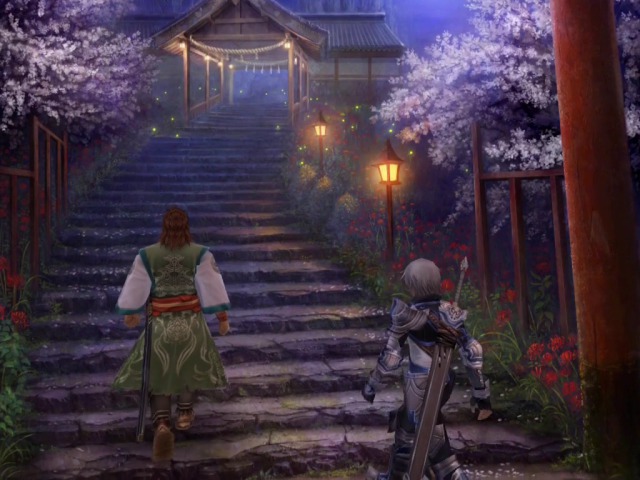
Just one last thing...
...and then we're back.