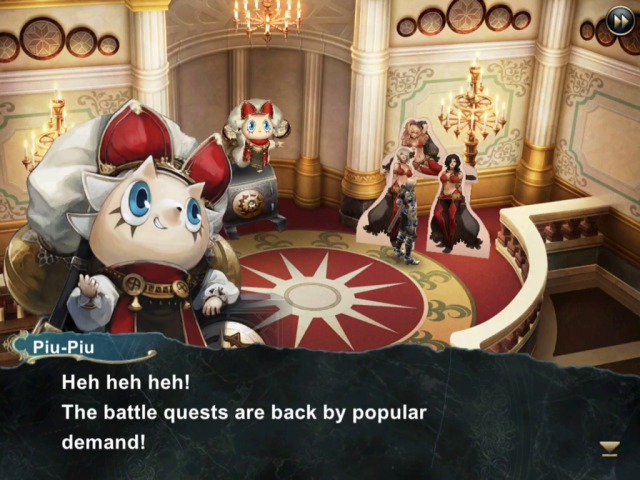
Part 96: There's no Time to Waste! (One-on-One)

Hello everyone! You may remember that last time we took care to obtain the ultimate weapons for all of our characters. That did require us to participate in a few fairly tough boss fights.
Turns out, we can also do a few side quests to obtain our characters' ultimate armour. These boss fights are in fact not quite as hard, due in part to the fact that because of previous fights, our characters are somewhat overleveled for them now (for the record they are all at around lv. 160-180).
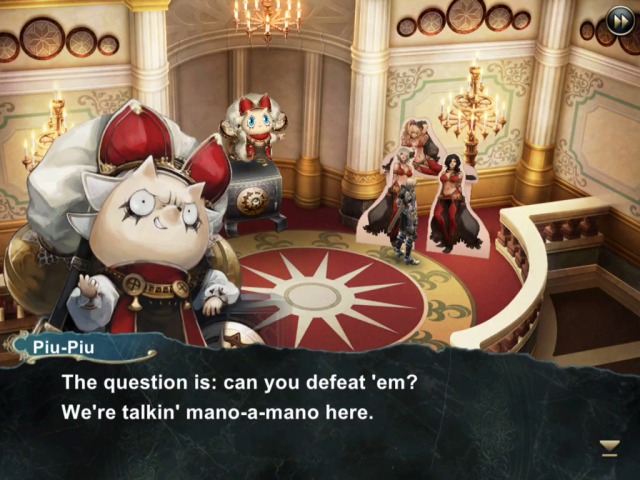
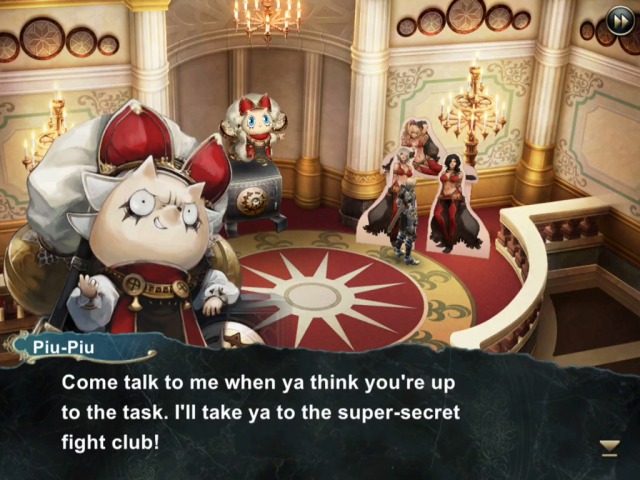
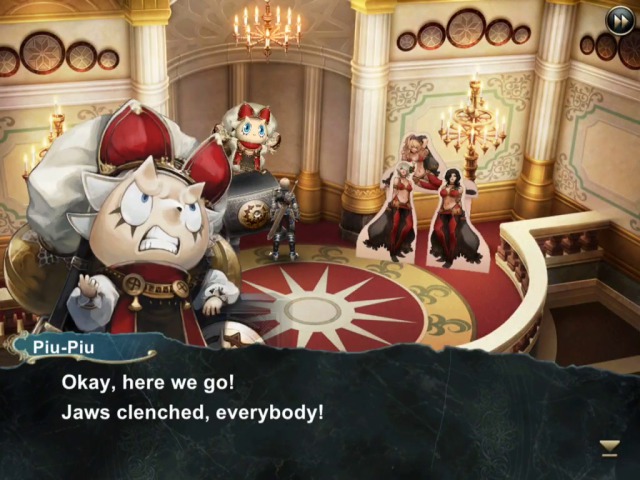
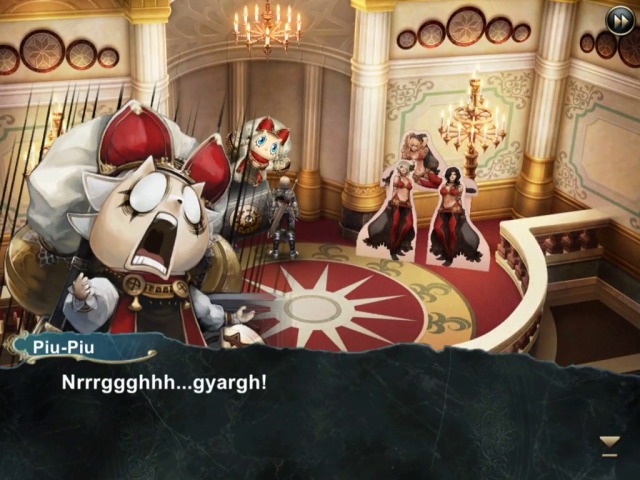
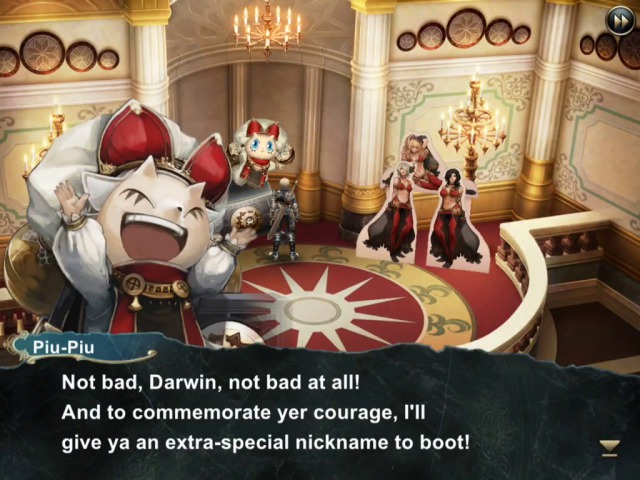
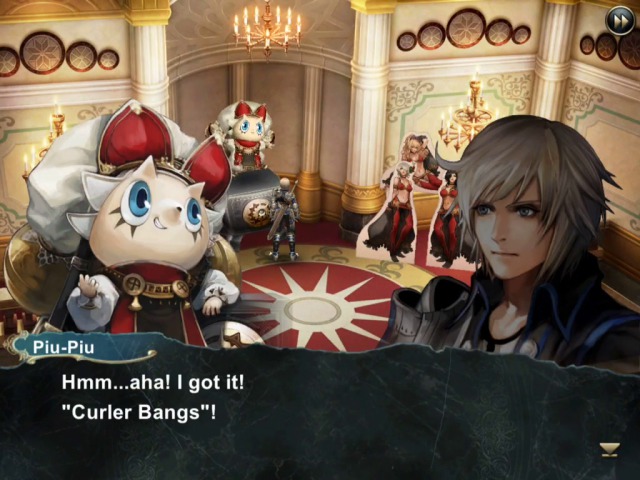
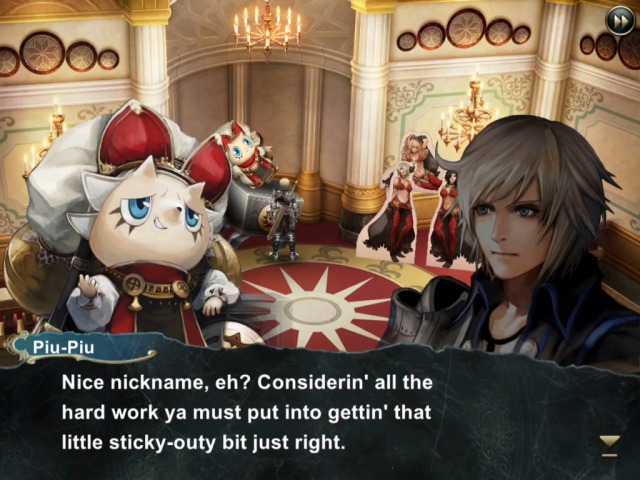
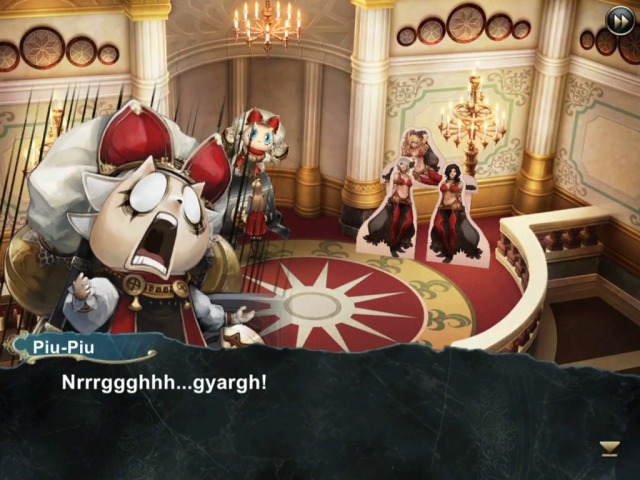
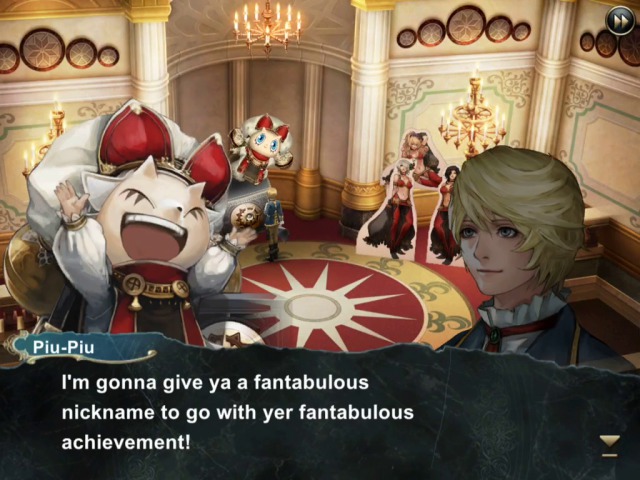
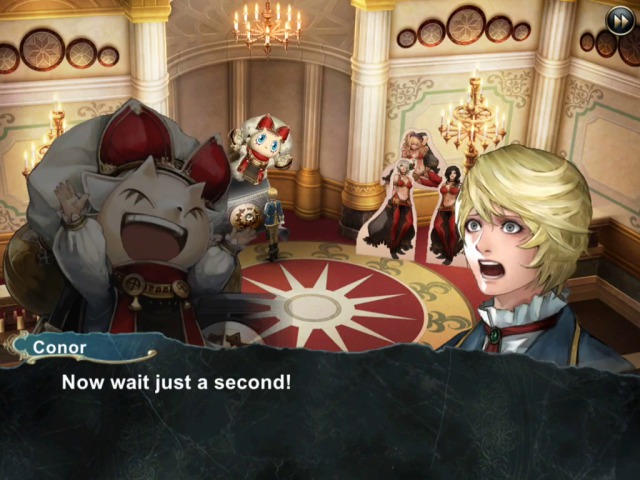
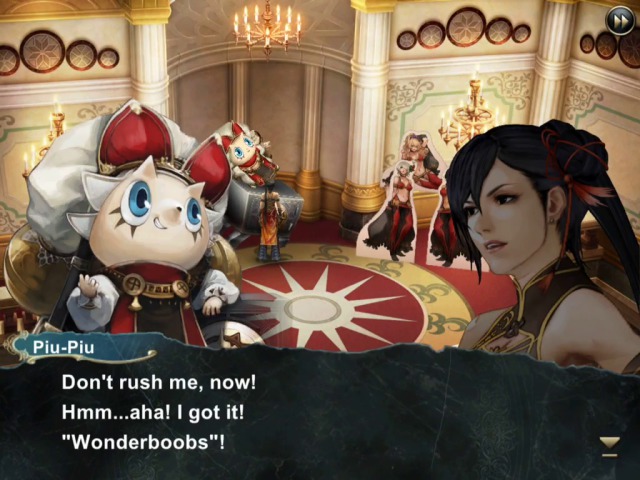
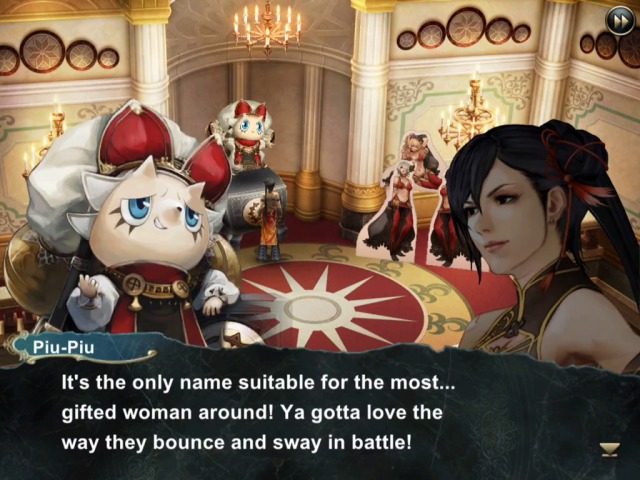
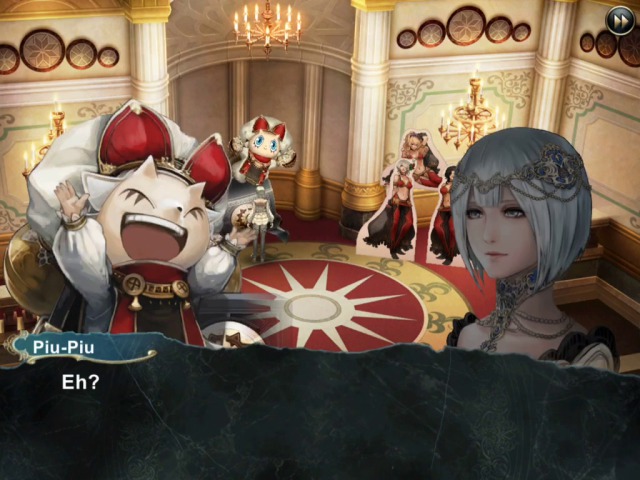
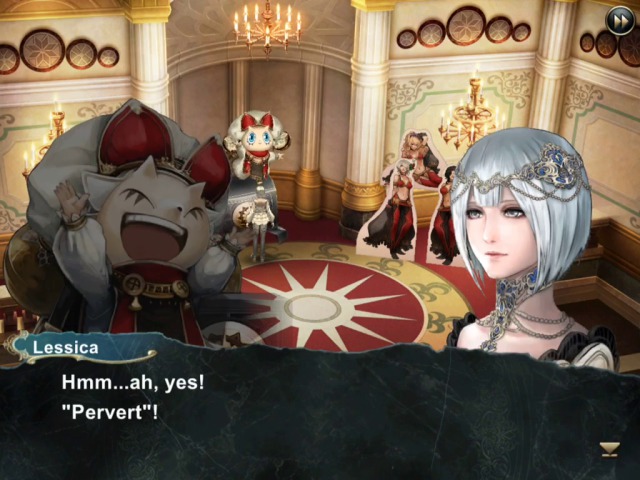
Another difference is that these fights feature lots of funny dialogue; but I do have to warn you, Piu-Piu perv levels in this update are DEFCON 1. So you've been warned!
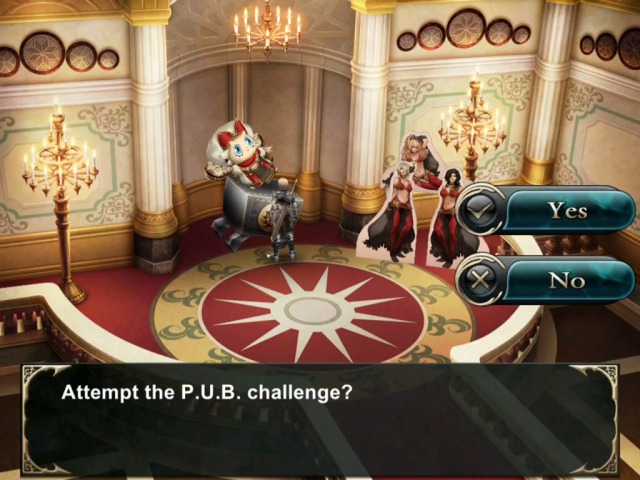
Oh yeah, I almost forgot. All of the fights in this set are 1-on-1, i.e. you fight all bosses with just one character whose choice is fixed (you can't choose yourself). Yes, that means we have to use Conor once, sorry.

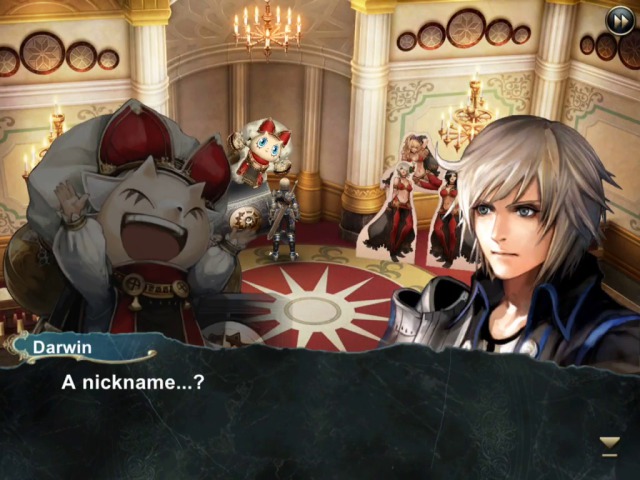
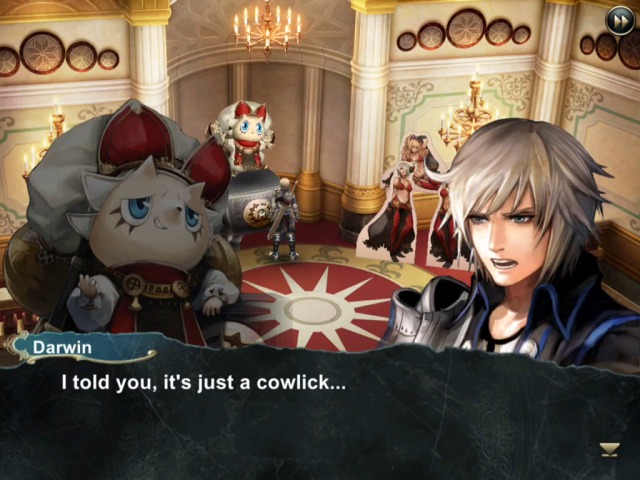
Well, let's get going. First up is Darwin and his fight is a repeat against Neron, but Neron is now on a higher level, that's all.

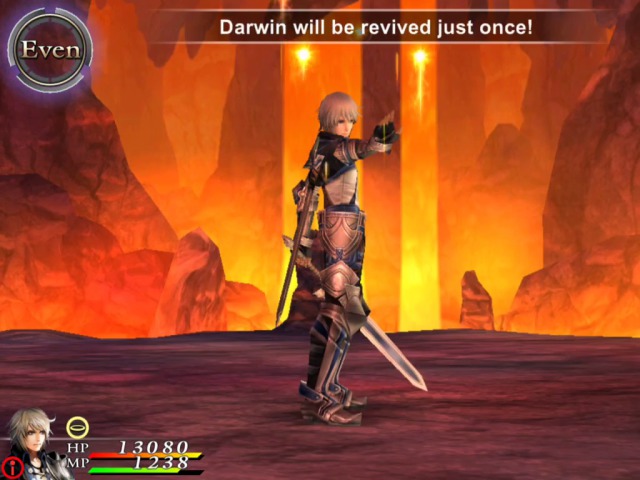
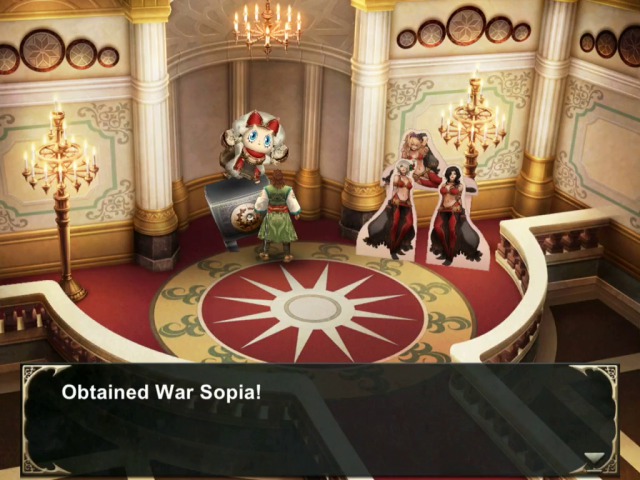
I have actually equipped Darwin with Marie's Sopia so he'd have access to healing spells, but honestly I didn't even really need them.
Like in the original fight, he doesn't really hit that hard.
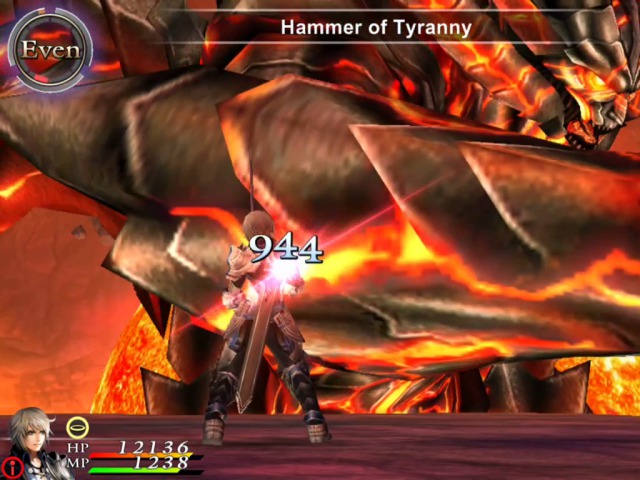
We can really simply pound on him, there is nothing more to this one really.
He does still have this particular attack, but we can simply defend and be done.
Ok then.
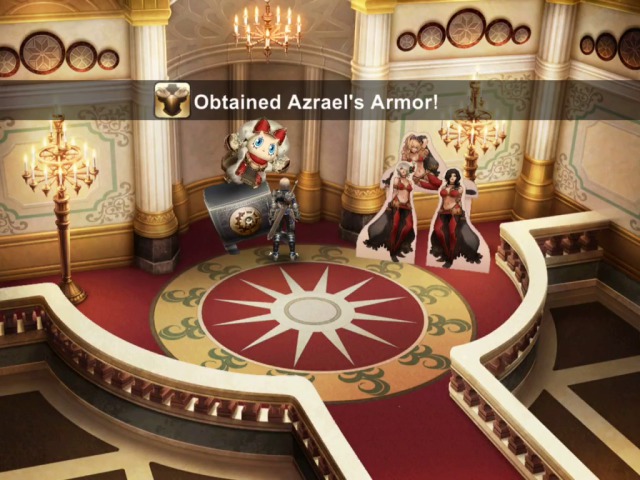
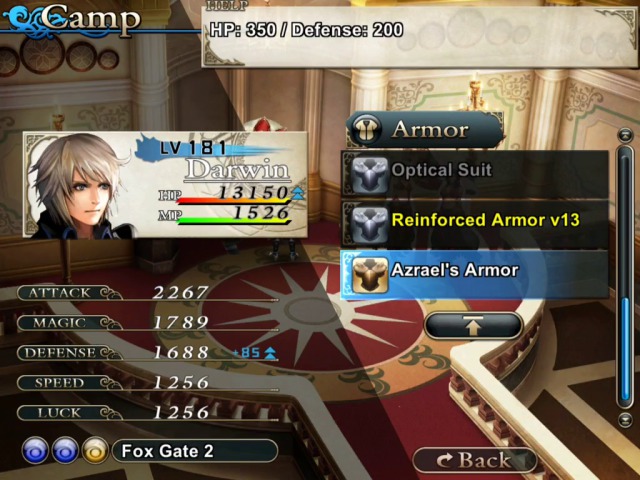
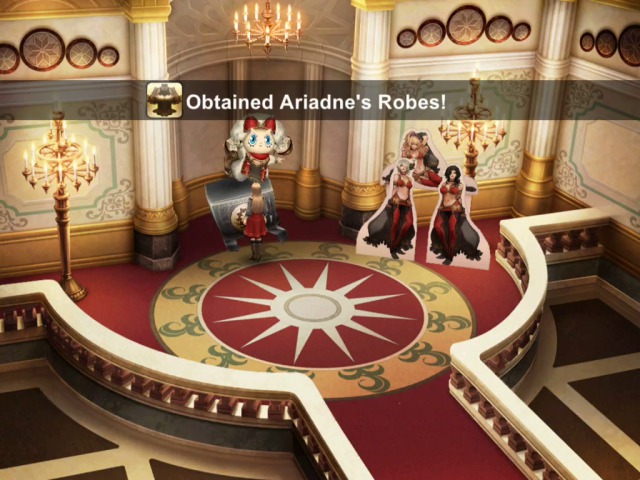
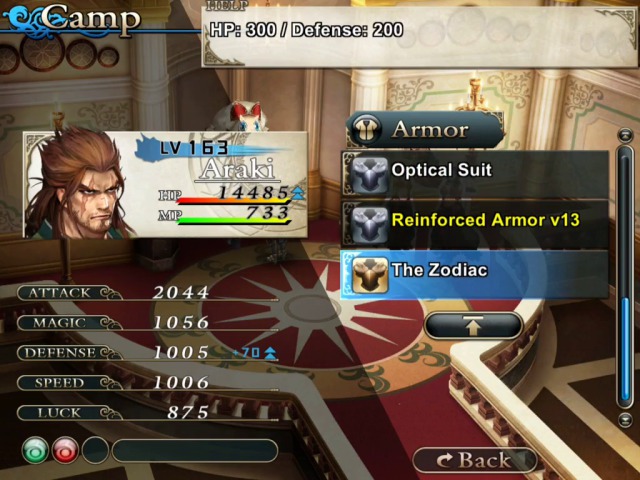
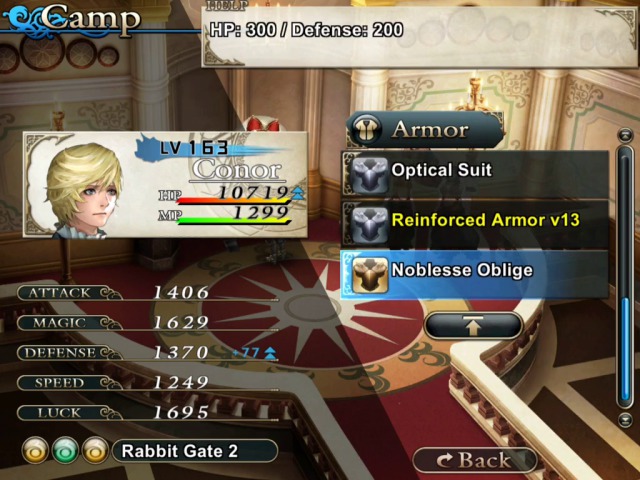
And here is our new armour. As always, the "ultimate" items are marked in different colour.
* * *

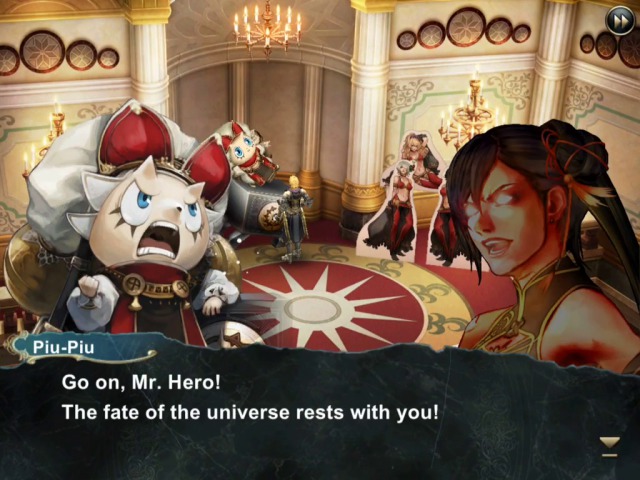
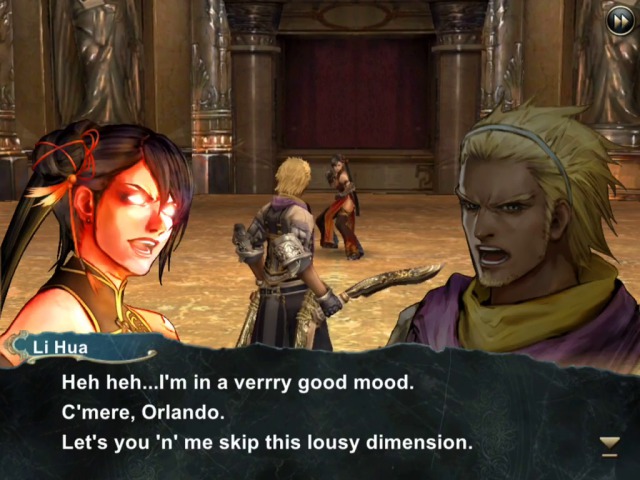
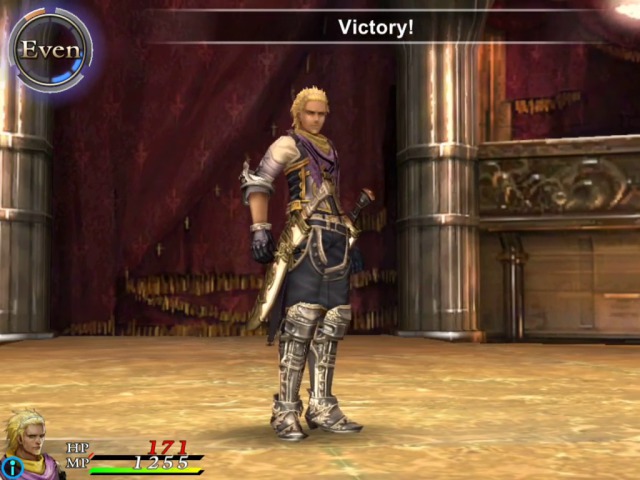
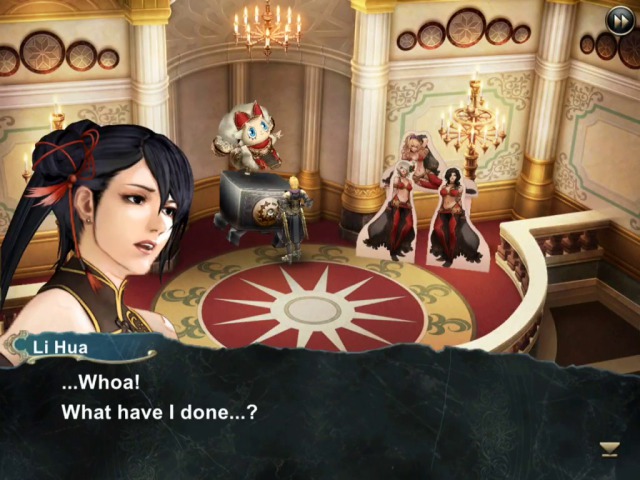
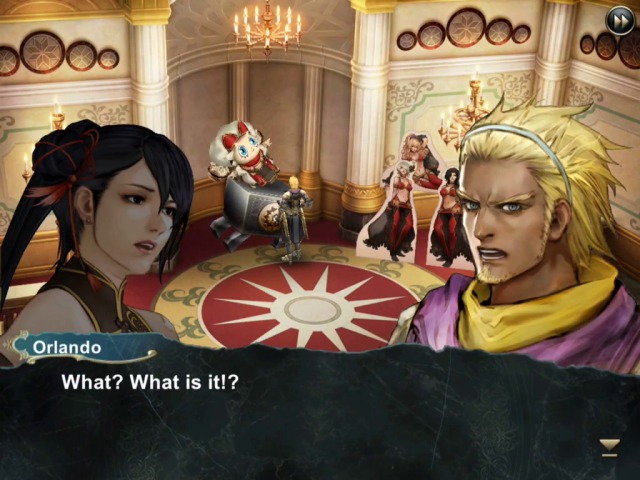
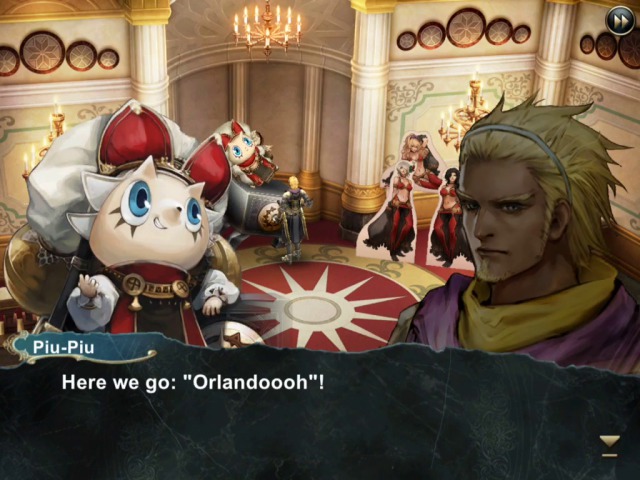
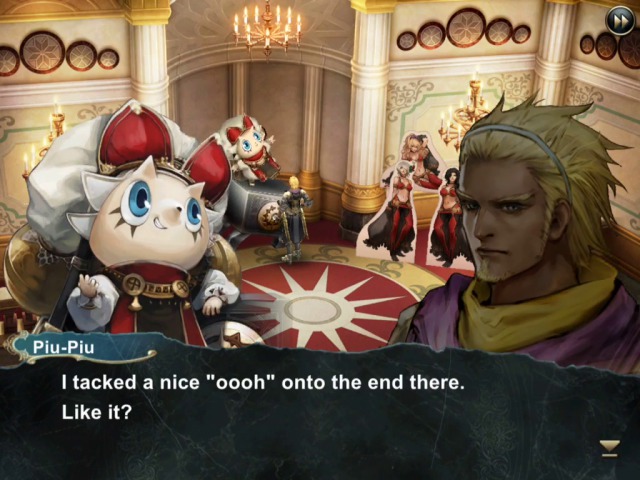
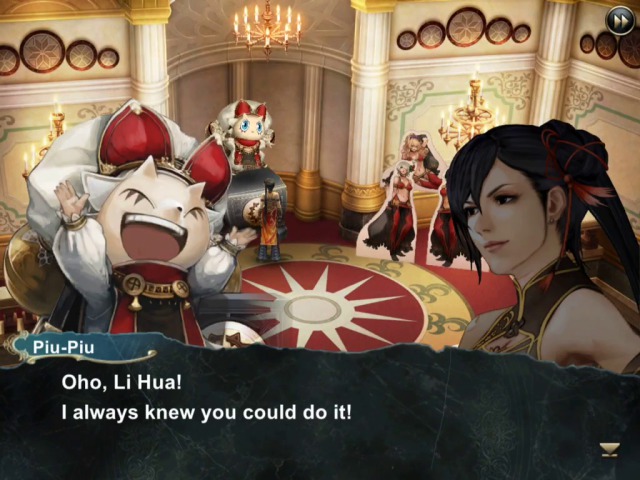
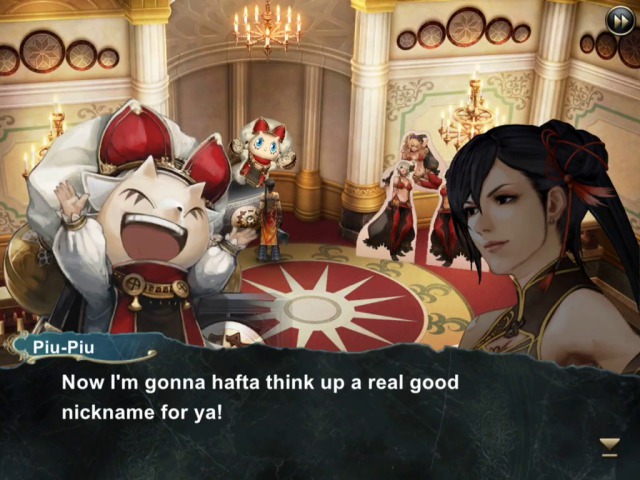
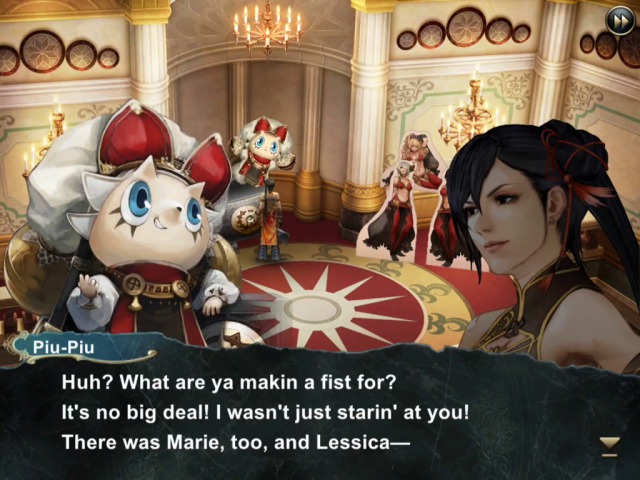
For our second fight, we get quite an interesting one, between Orlando and Li Hua (we control Orlando). Let's see what this is all about.
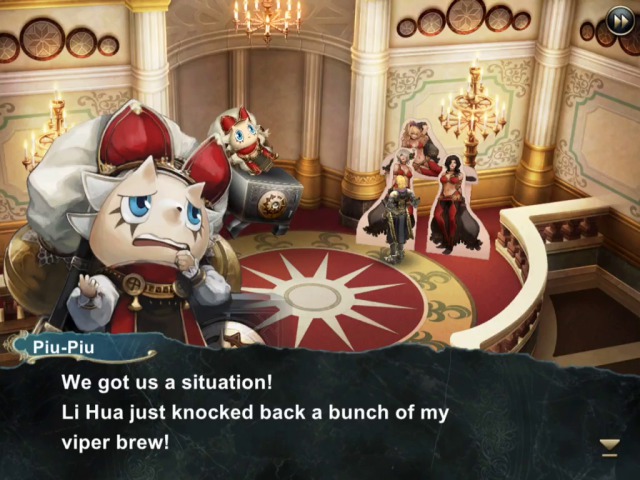
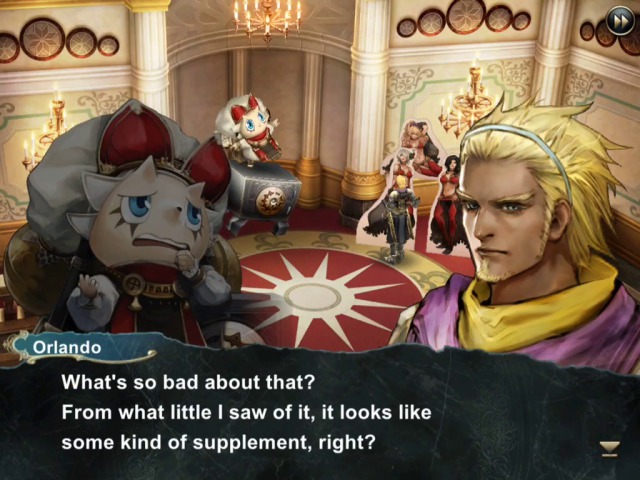
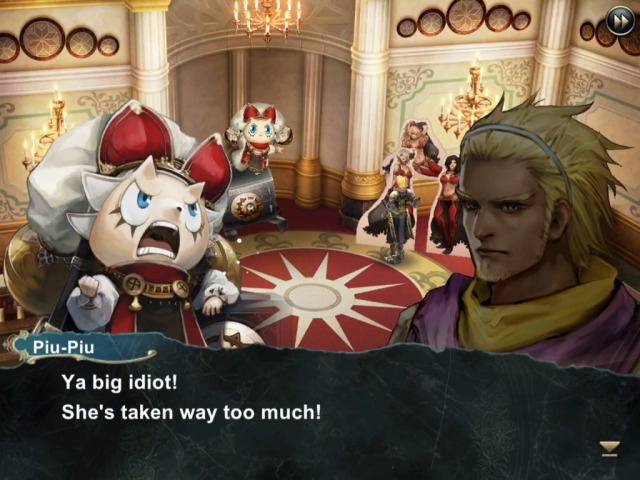

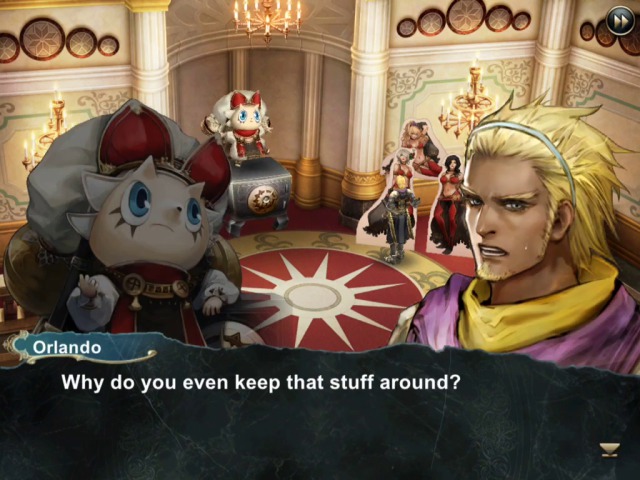
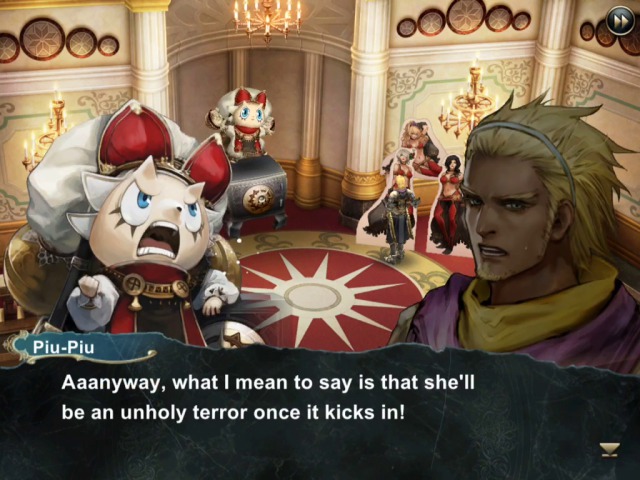

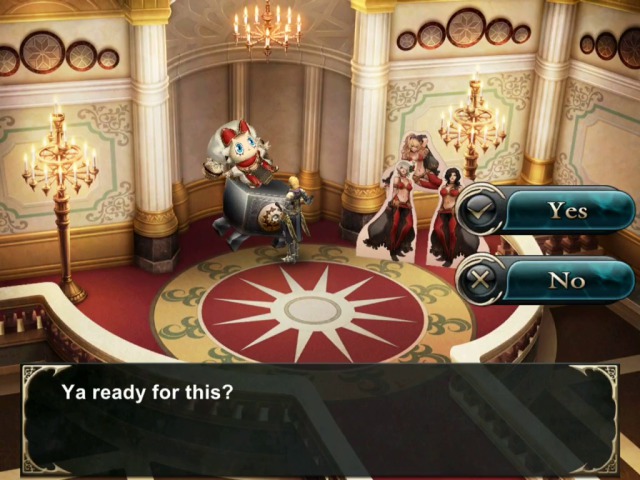
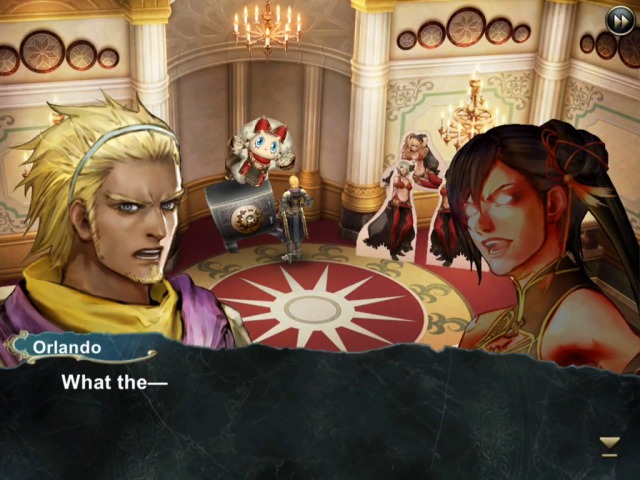
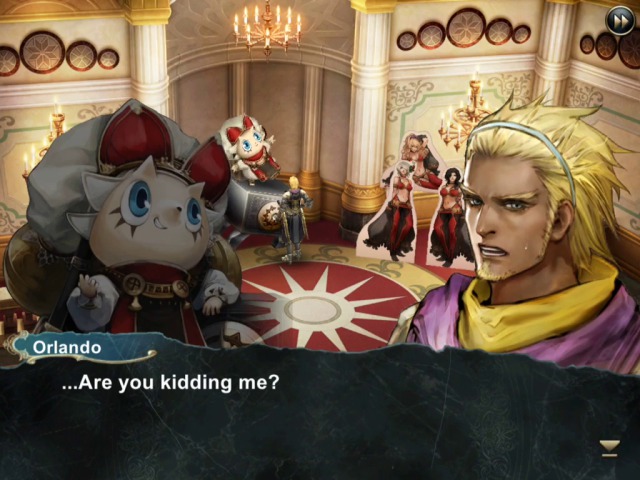
I mean, how bad can it be?
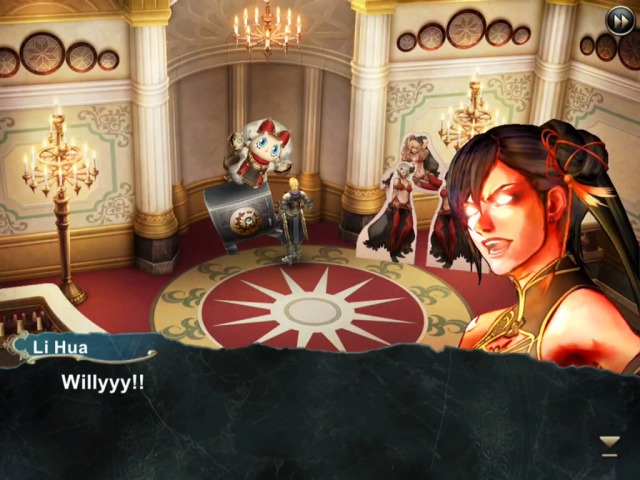
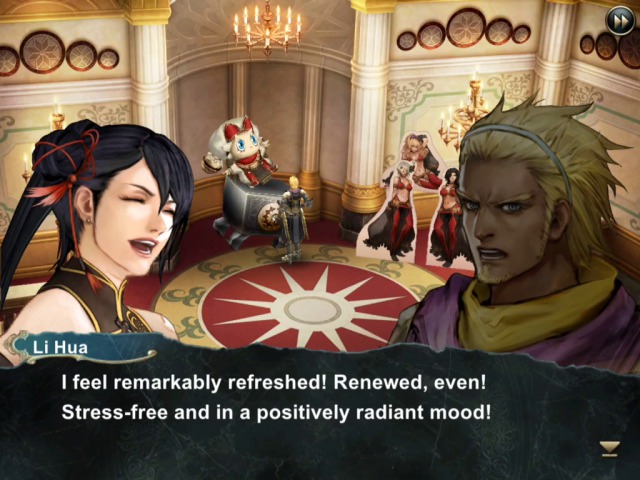
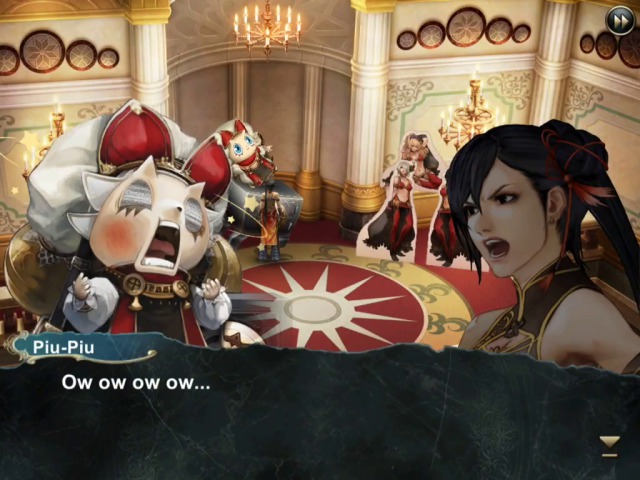
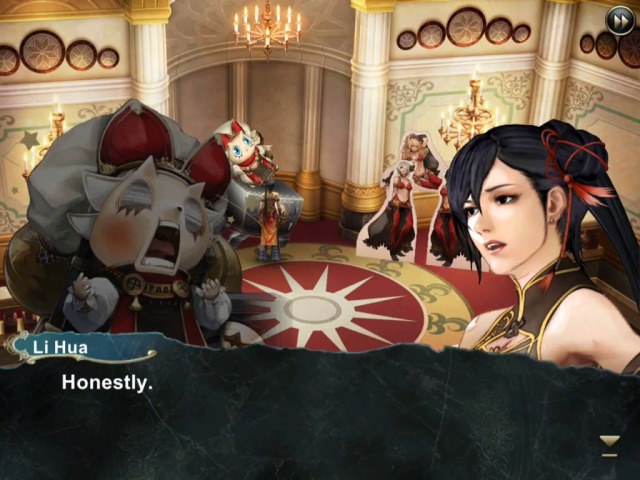
Oh.
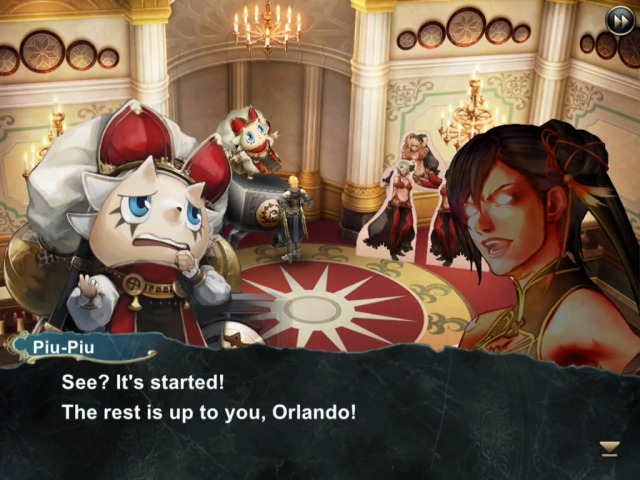

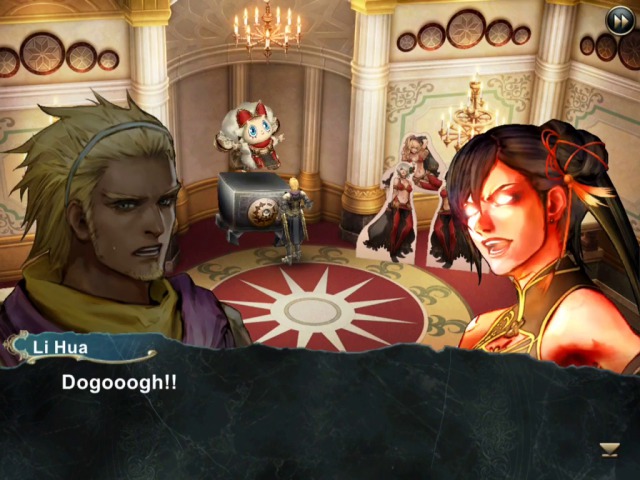
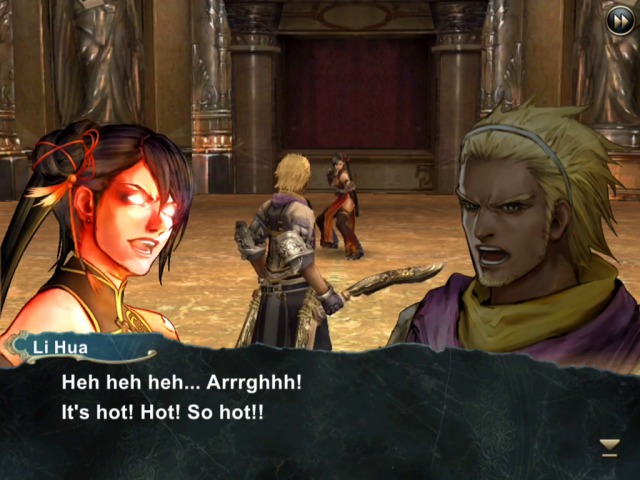
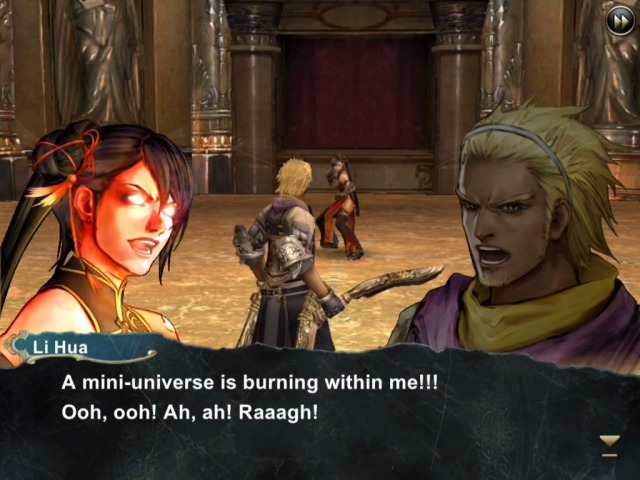
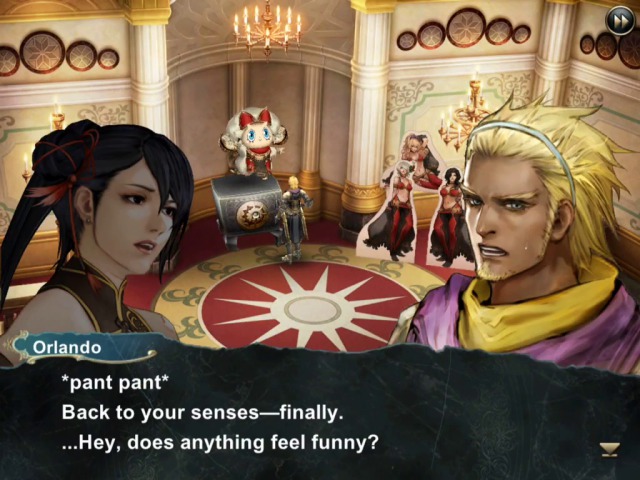
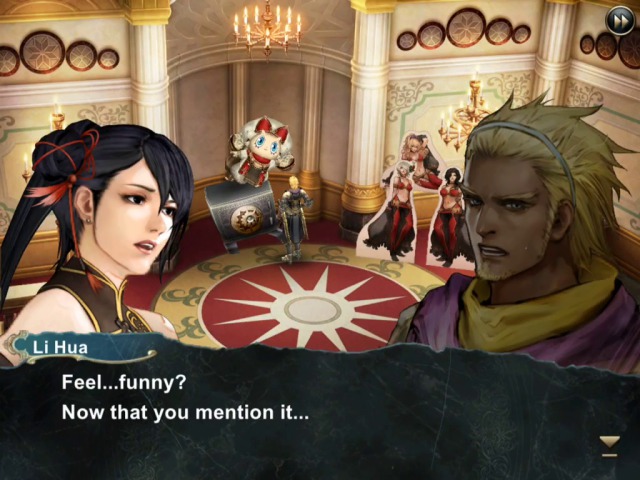
So this fight is kind of annoying, because...
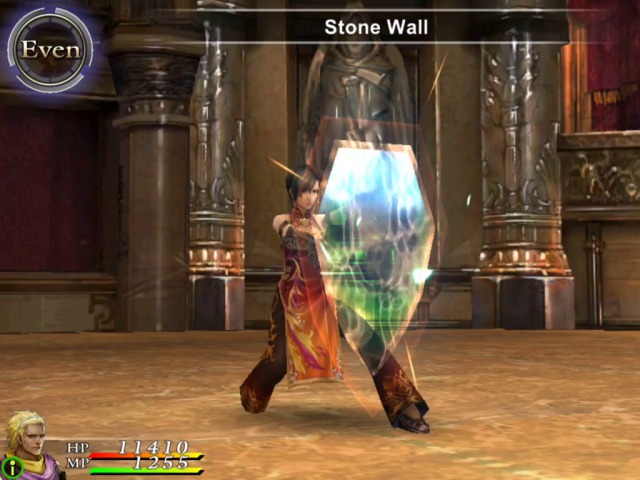
...she does this in almost every turn. She also attacks twice per turn, so normally she will attack (which hurts) and then put up a block.
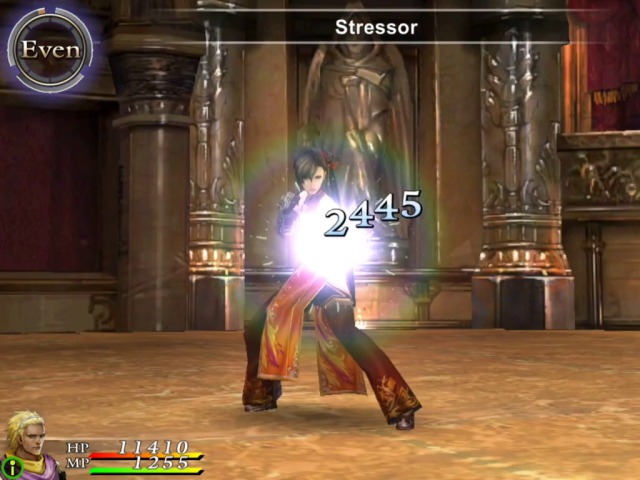
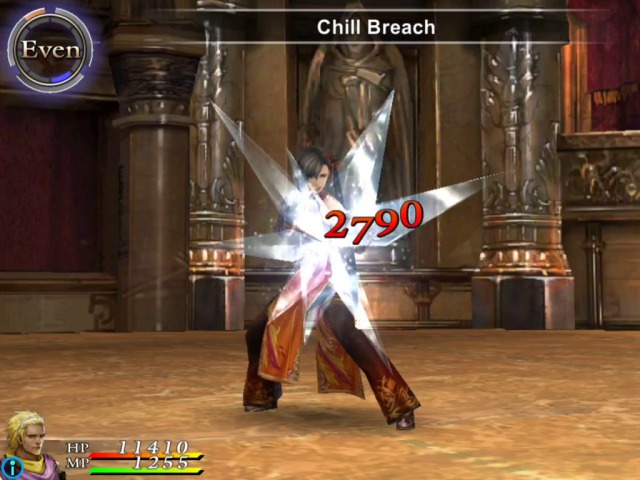
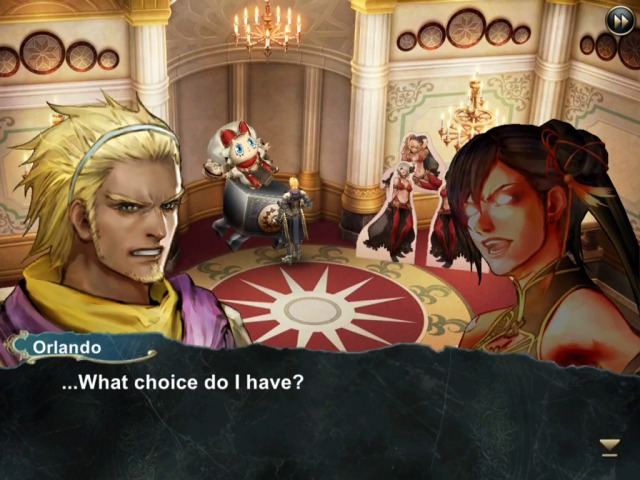
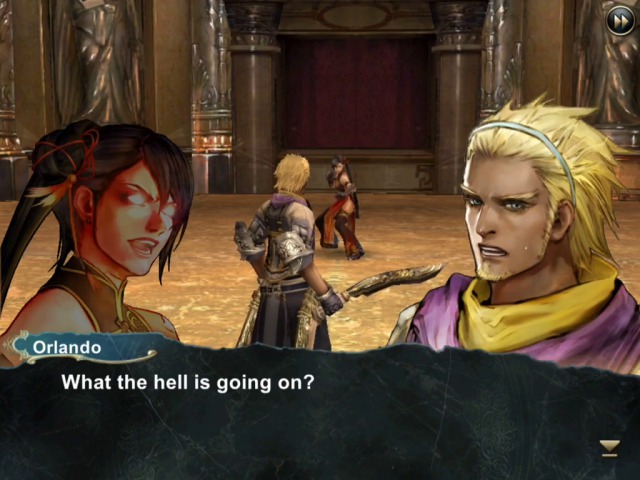
So generally we'll be using item-based attacks here. Anything else (like Sacrifice) is probably too dangerous because of her high damage. This makes the fight a little harder than you would imagine it would be.
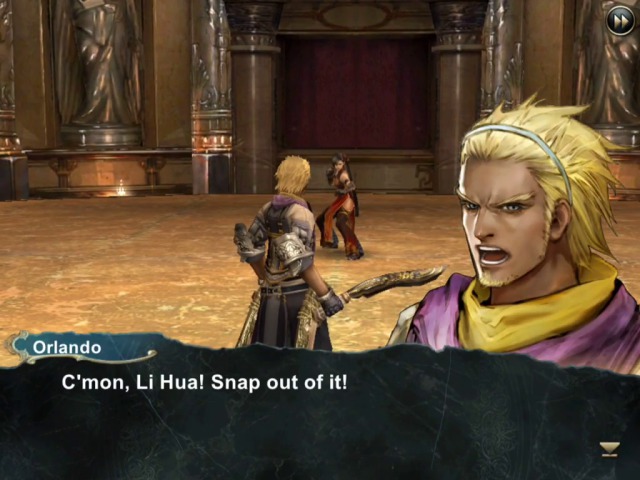
She will even use her limit breaks too.
But just make sure to equip Sopia which gives you Double Healing skill (all healing items and spells heal for double the normal amount) and you should be fine for the most part.
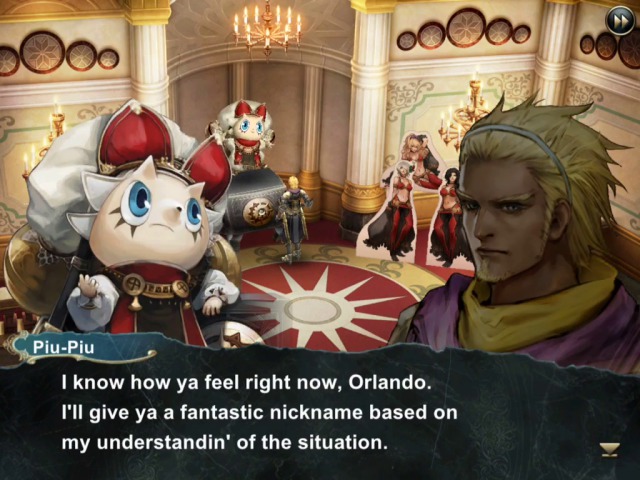
There is really nothing than can be said as comment to these.

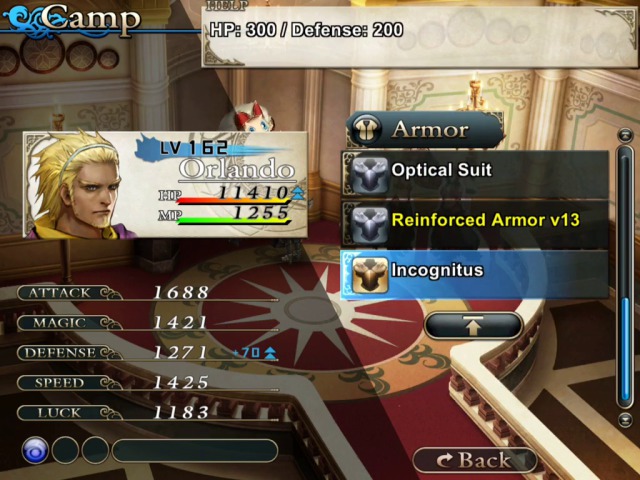
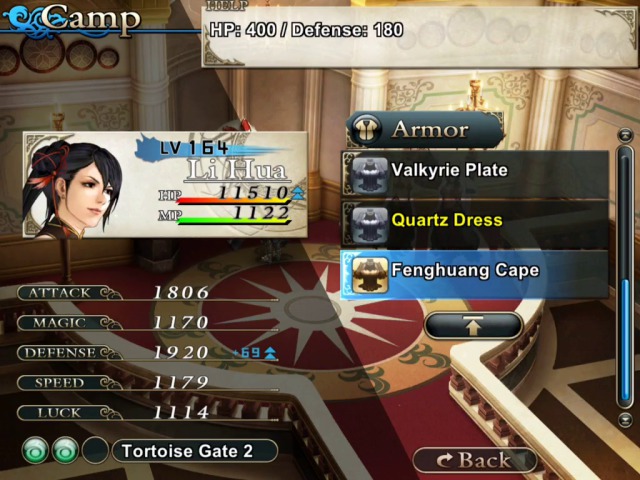
Anyway, Orlando gets nicely outfitted finally.
* * *

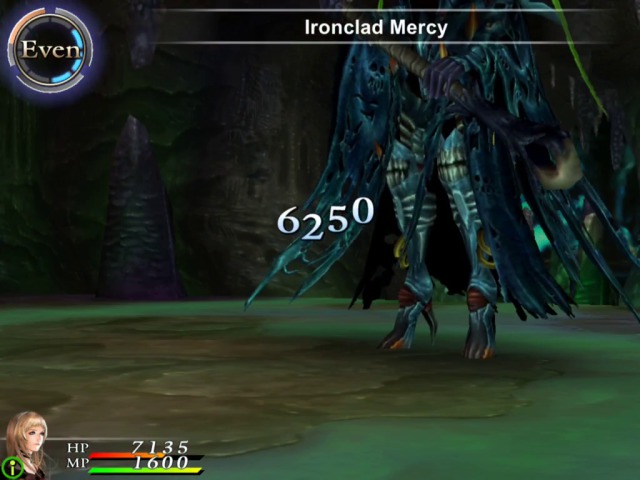
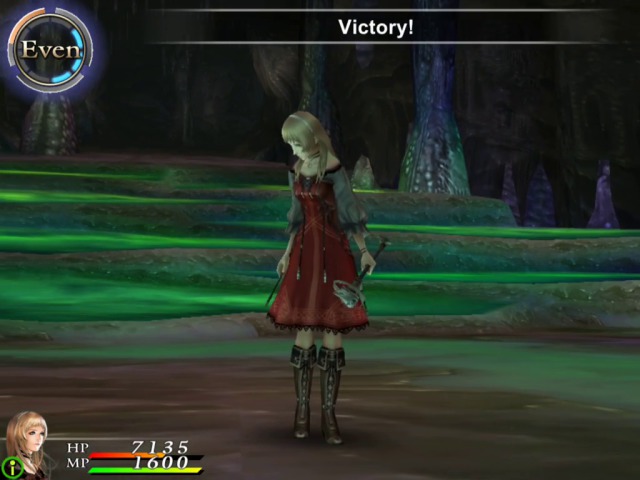
The next four fights are against (sigh) the stronger versions of Four Horsemen, but they are good because we get an extra reward at the end of these. First up is Marie vs. Death and as you can imagine, with Marie's overpowered healing spells and offensive magic, this is pretty much a cakewalk.

The tactic here is good old spell counters. What else?
And for good measure...
...Marie's limit break.
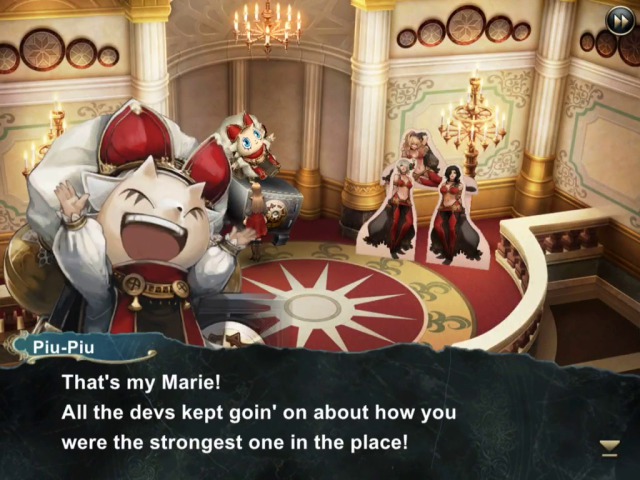
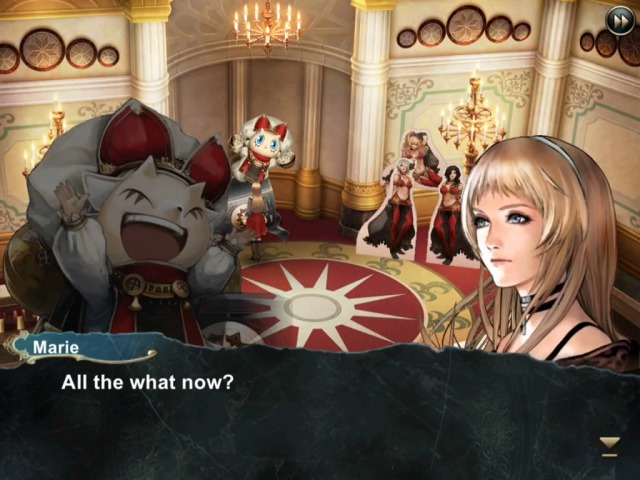
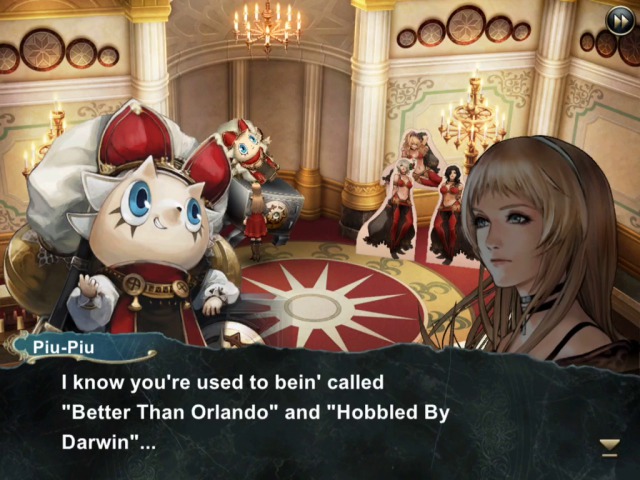

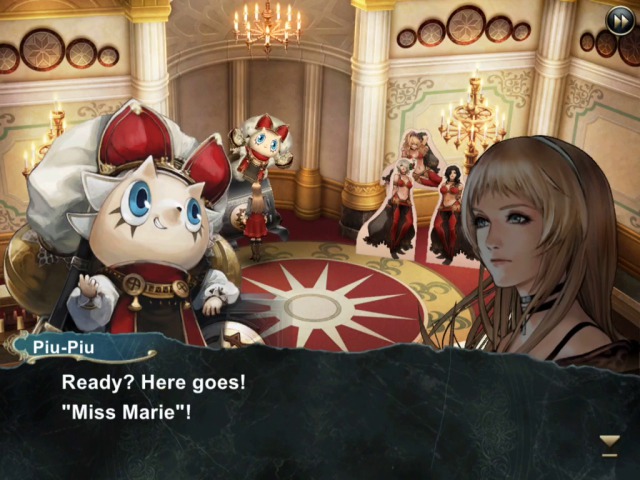
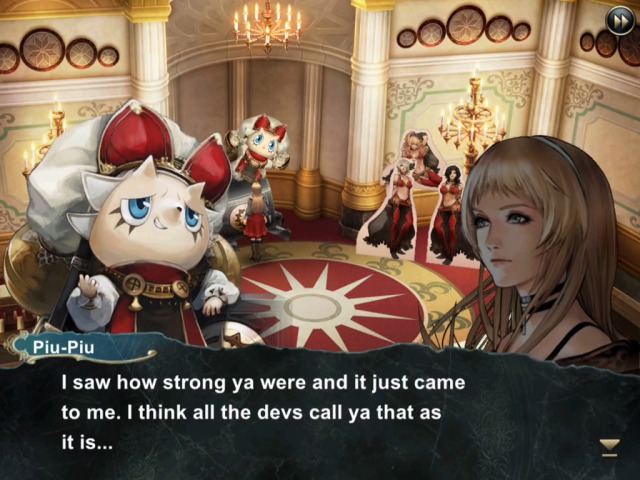

Looks like that this dialogue was probably difficult to translate from Japanese as I suspect the "Miss Marie" joke is based around honorific usage, but the game allows only one save slot so I have no easy way to go back and check. But I do like that the joke from Final Fantasy IV (and others I think) where you could visit a secret are called Developer's Room lives on here!
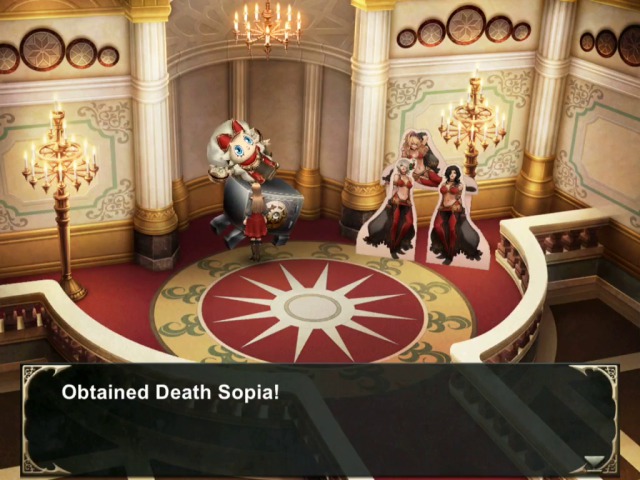
The first reward is one of the four Horsemen Sopias, and they have some quite nice skills on them. Using the Panda method described in last update, you can fully level them up in just a few minutes, because in addition to loads of EXP, pandas also give loads of SP (and you can further increase it with items and skills as always)!
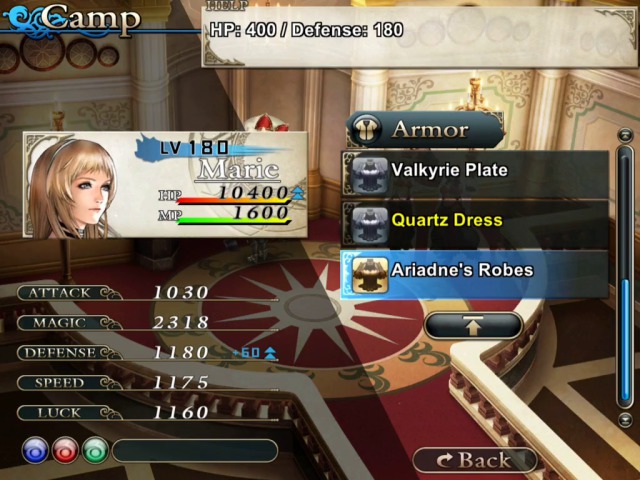
And then the normal prize, Marie's ultimate armour.
* * *

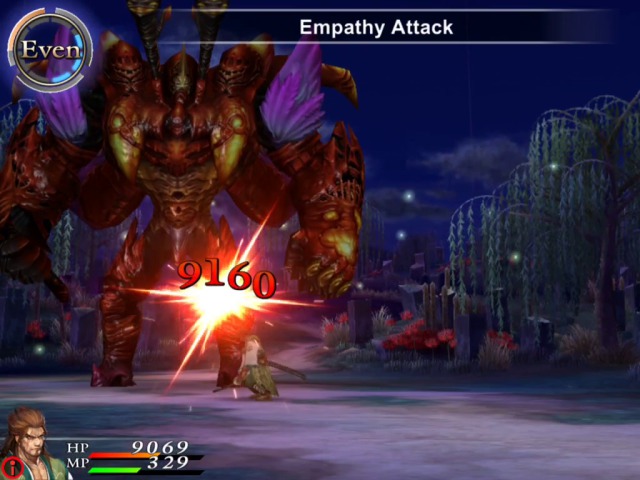
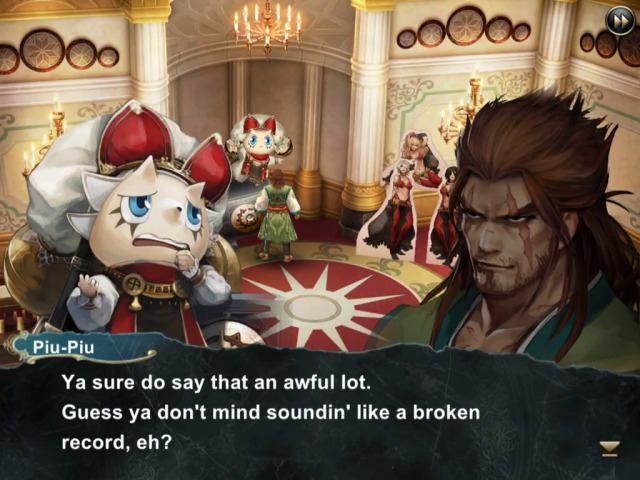
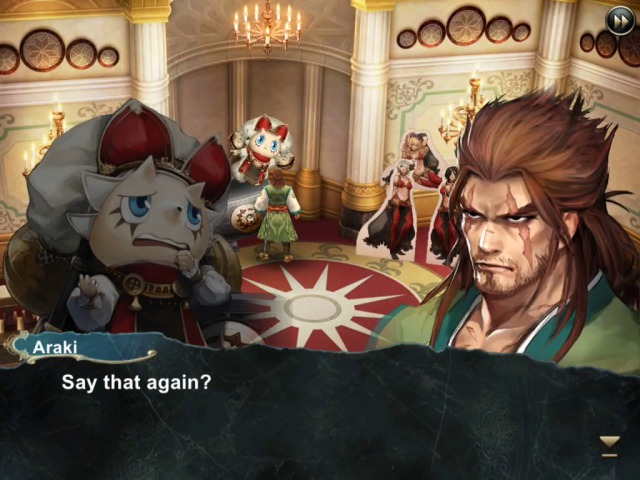
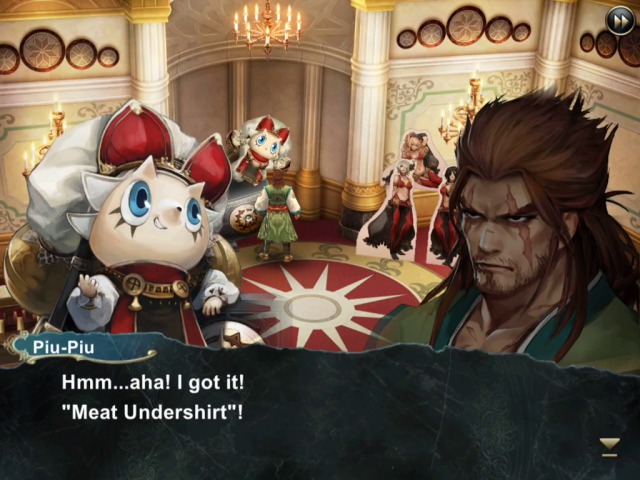
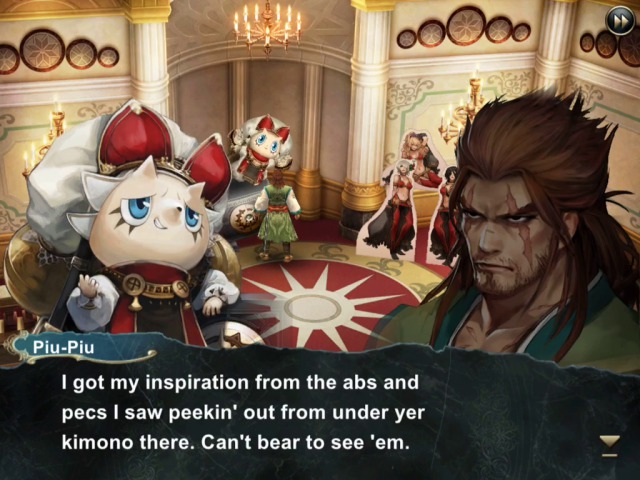
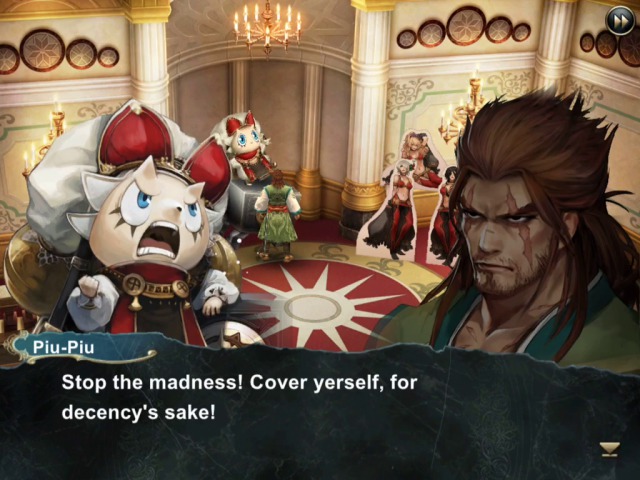
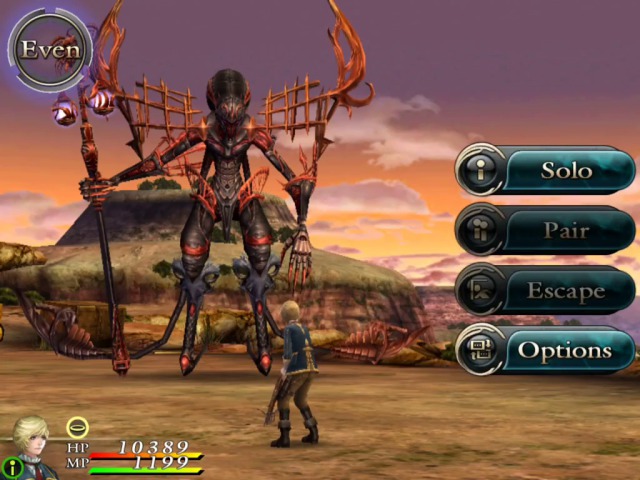
Next one is Araki vs. War. Based on what you've seen so far of Araki's skills, you can guess that this one is easy too. Also, I'm not dwelling too much on these, since Horsemen don't really have any new/interesting attacks that they didn't have before.


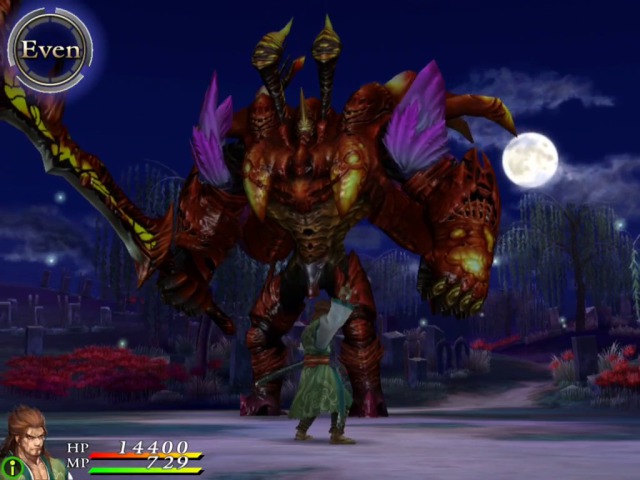
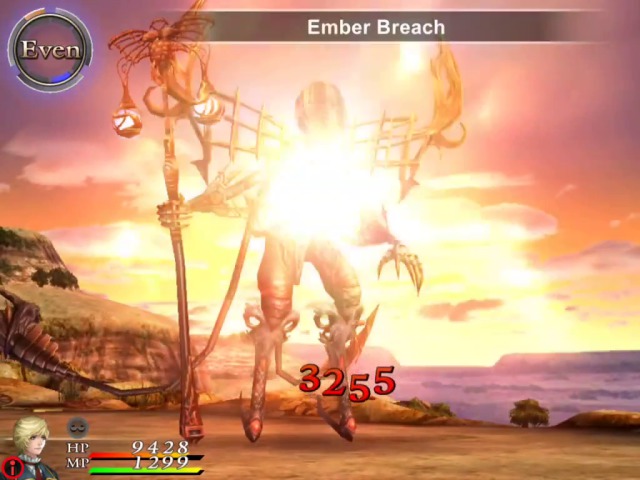
As you can imagine, to win this one, we'll be spamming Empathy attack.
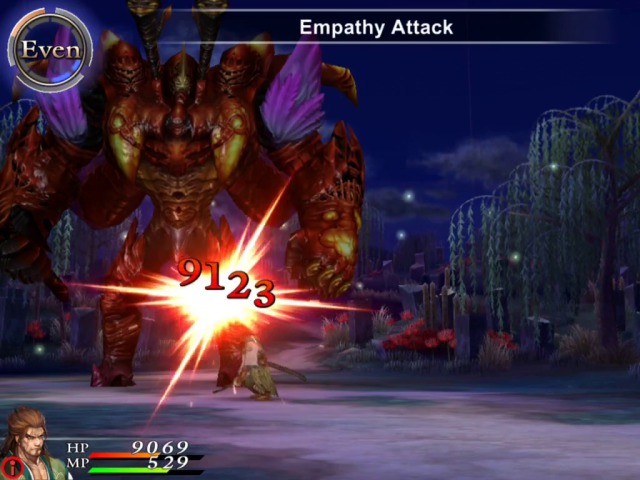
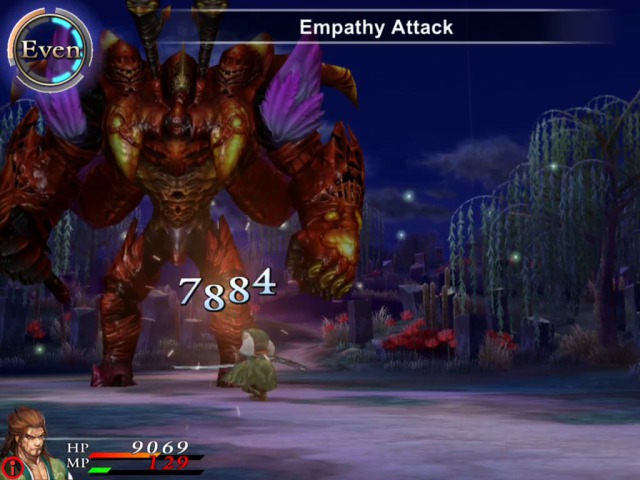
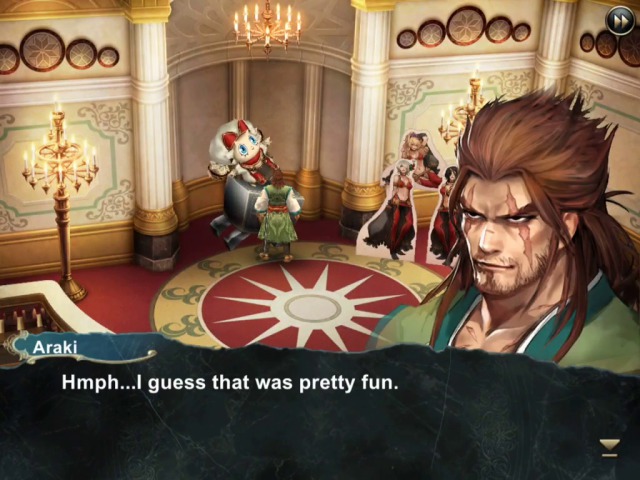
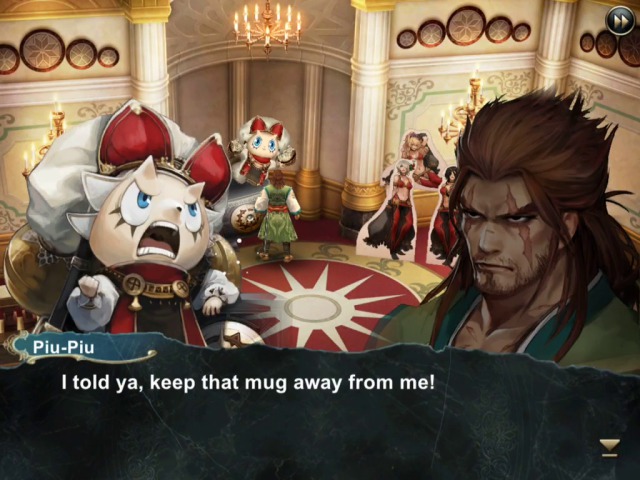
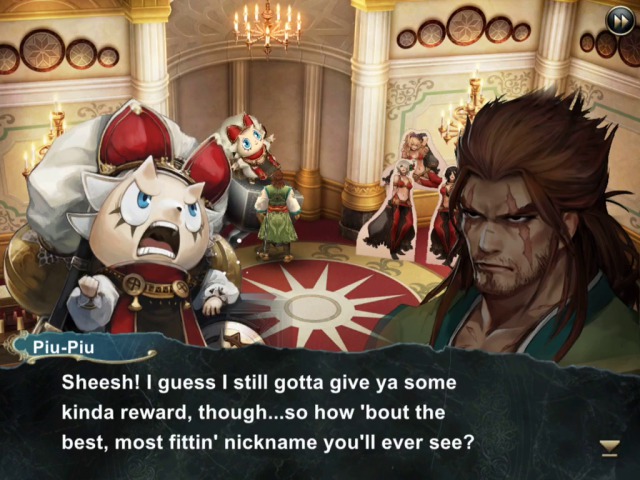
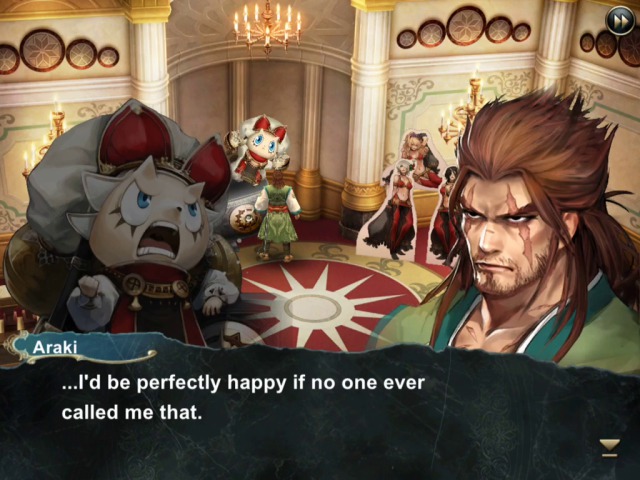

Aaand, that's another one done.
* * *

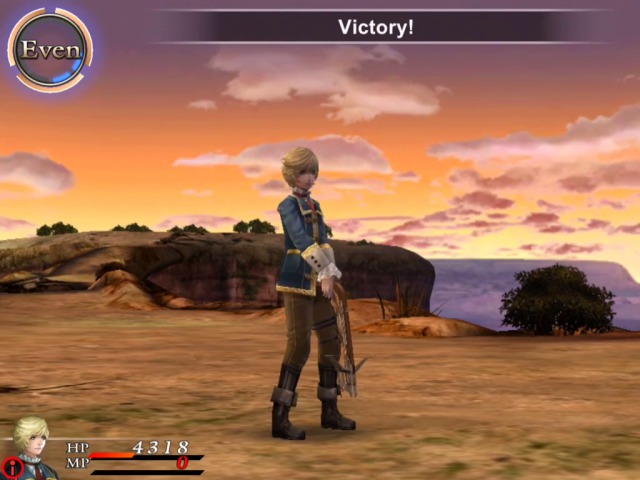
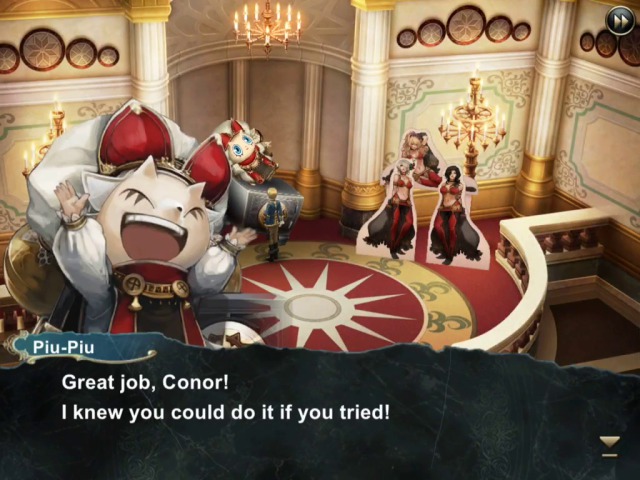
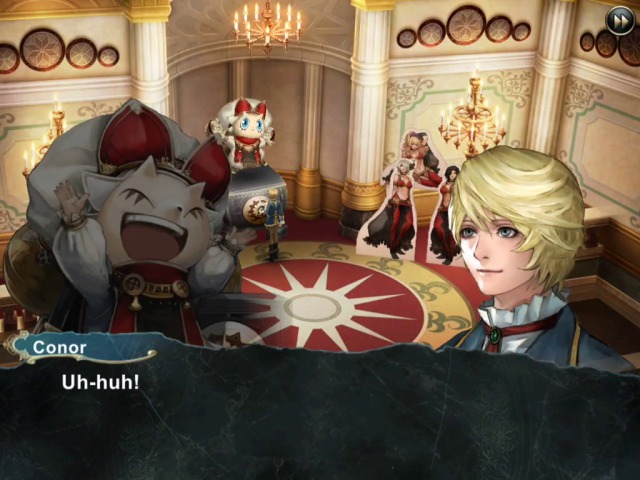
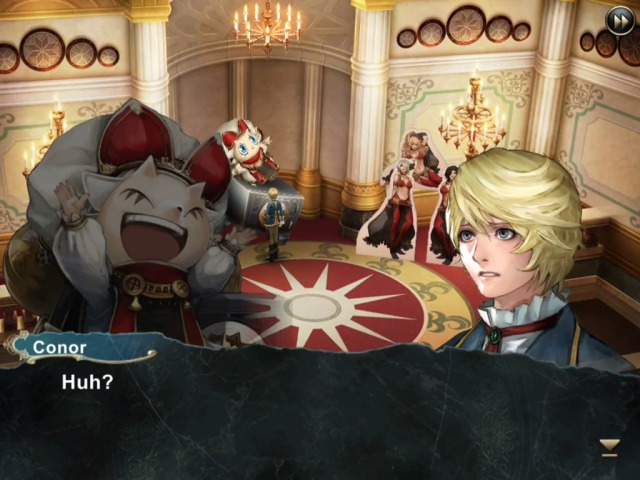
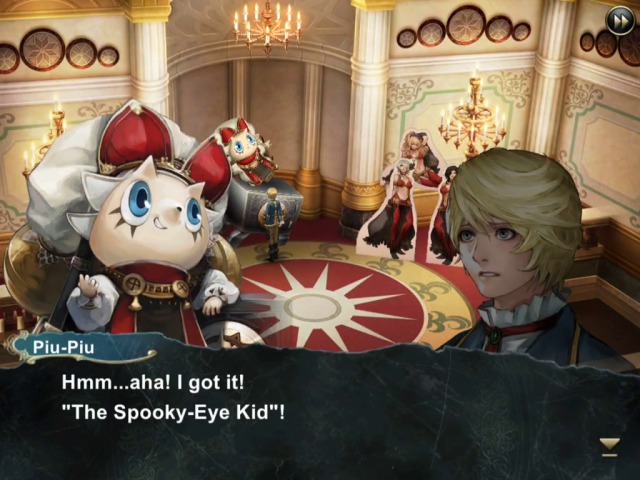
Yeah, sorry, we do have to use Conor in this one. Even severely overlevelled, his damage output is questionable at best.
Not to mention, this guy has the ability to block our skills in addition to being able to cast blind. So that makes it difficult to use normal attacks.
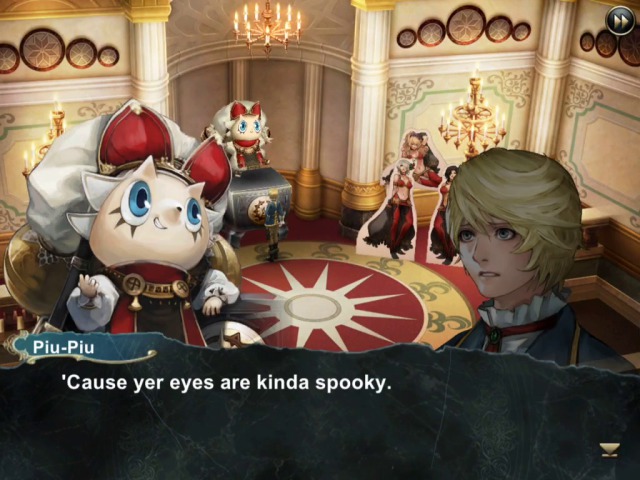
So we'll just keep using elemental attack items that correspond to his current weakness and heal in between. It's a pretty annoying fight as it lasts longer than it should, but oh well...
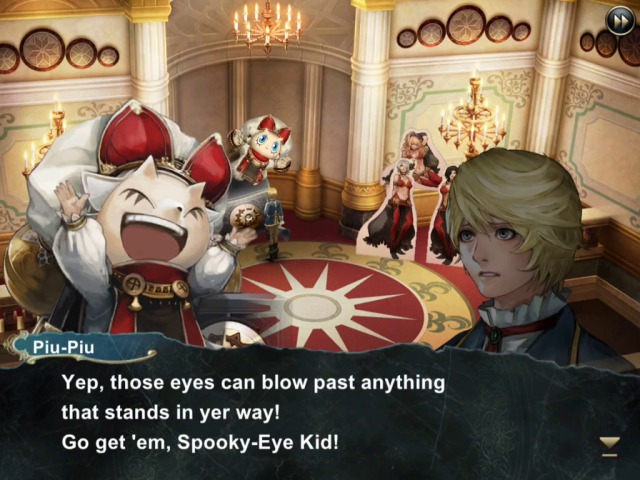


Unfortunately, this is not the last sidequest where we are forced to use Conor.
* * *
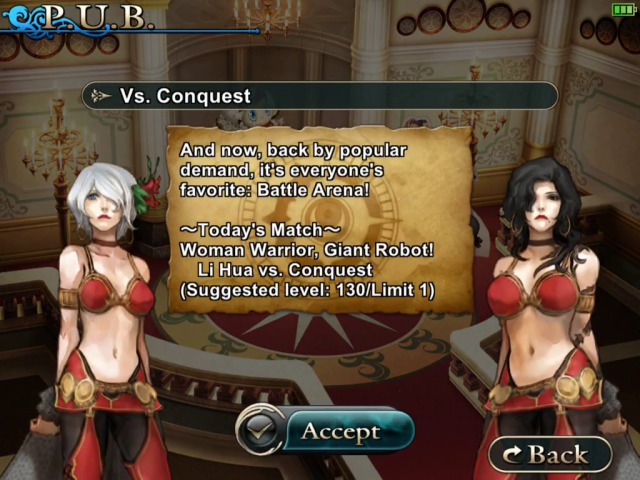
And finally, Li Hua fights Conquest.

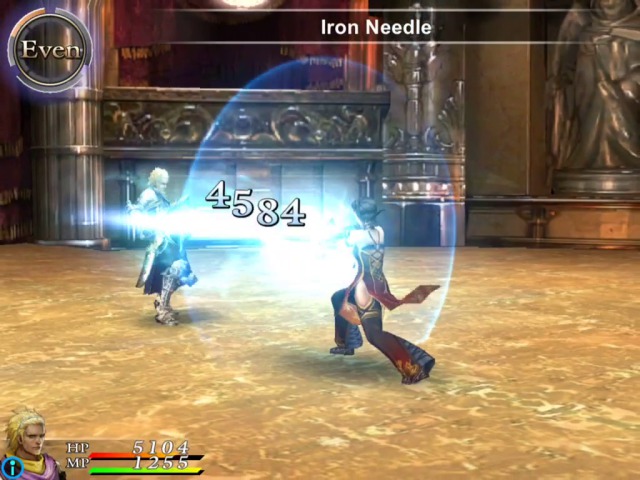
Li Hua has decent damage output and good defence, so it's probably easiest to just keep pounding on this guy.
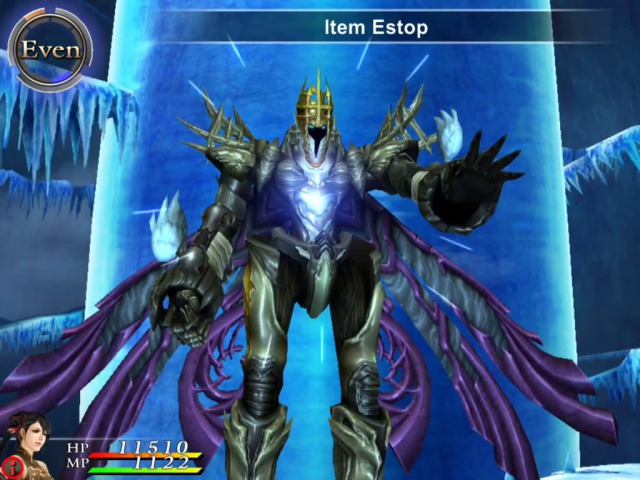
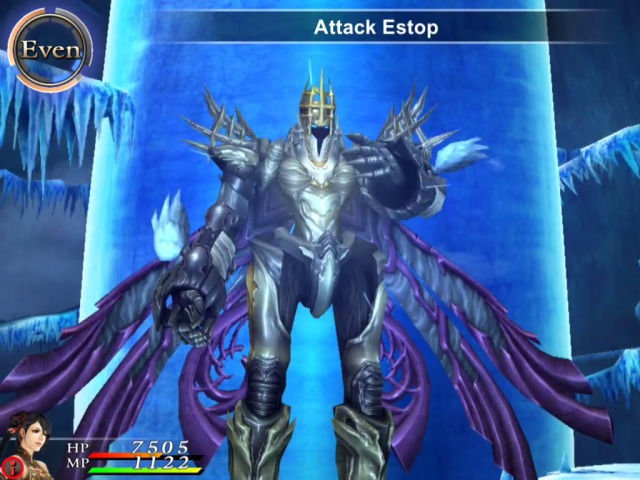
He can also stop us from using items, spells or even regular attacks, but somehow in this fight it's not so much of an issue. I think a bit of a problem with Conor is because he does not have any offensive Limit Breaks.
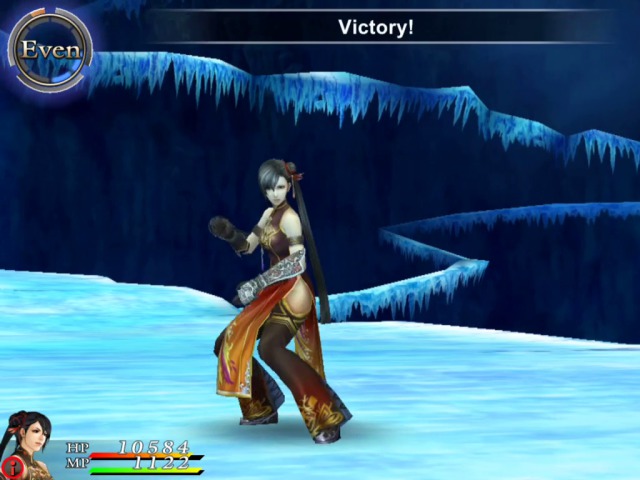
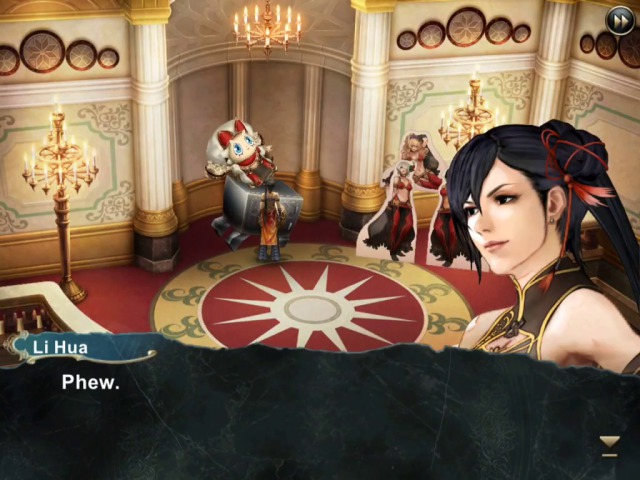


Like I said, no comment.


Well, that's all four horsemen done then.
* * *
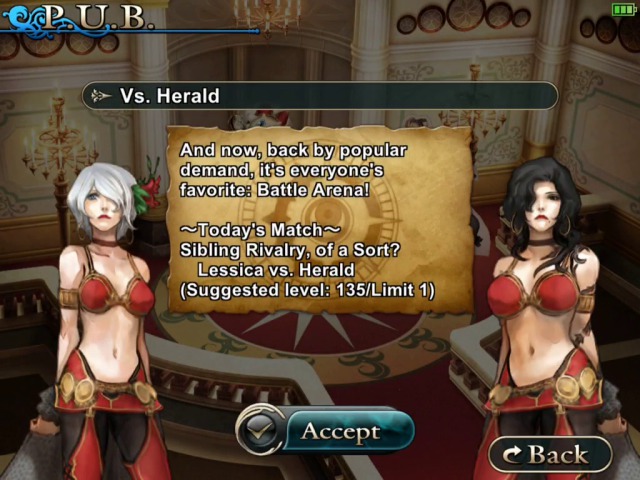
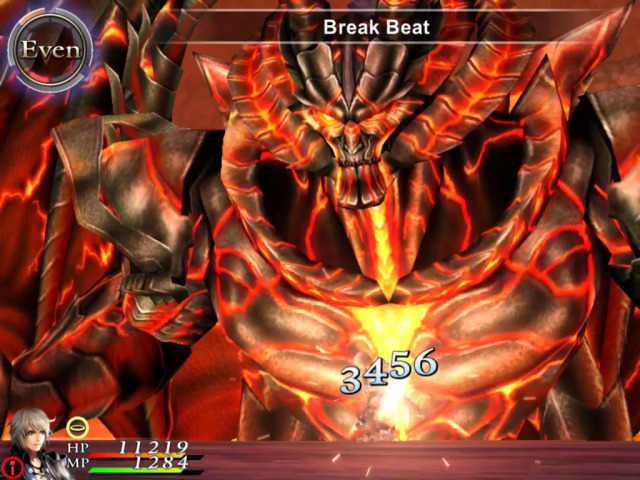
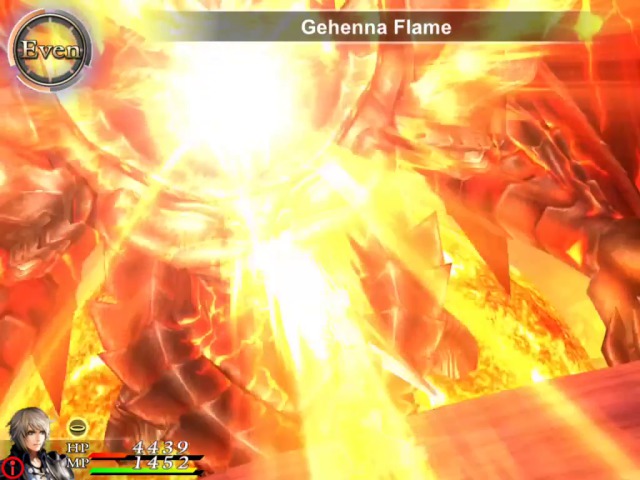
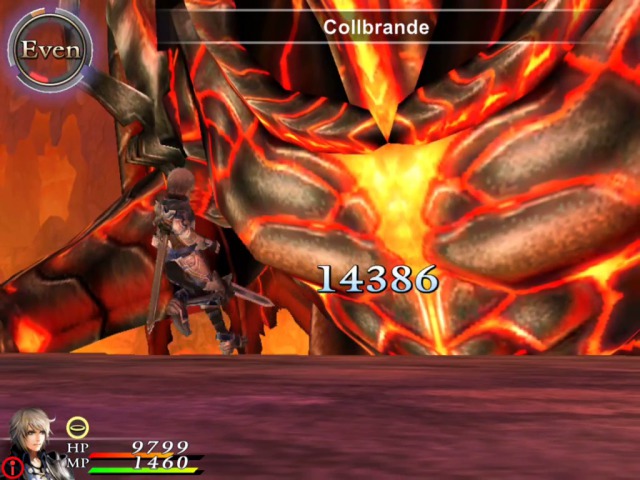
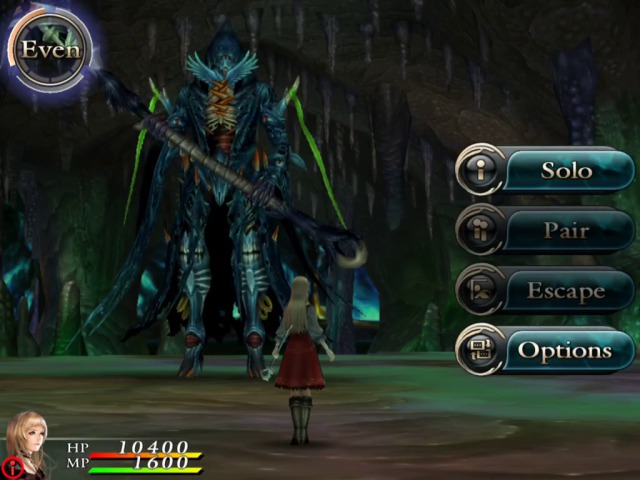
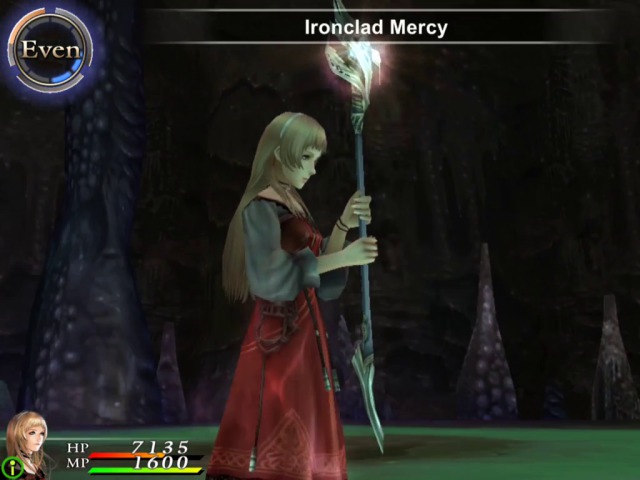
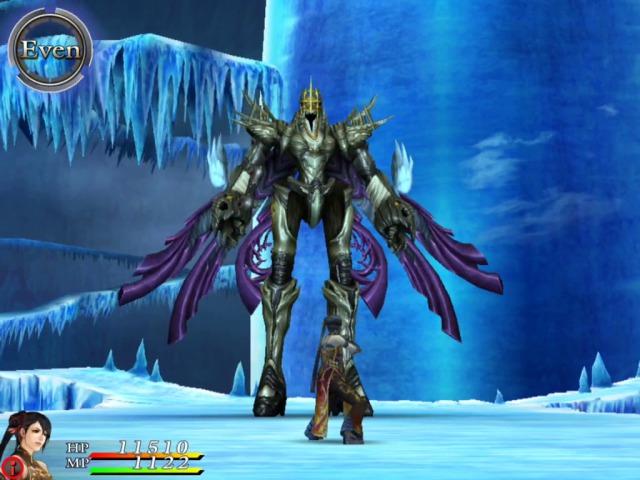
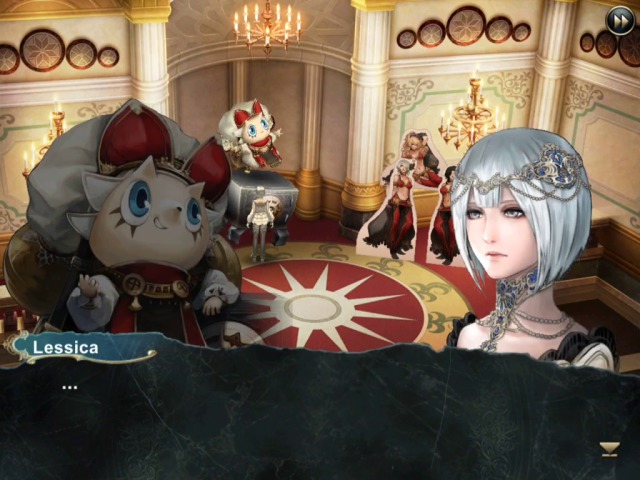
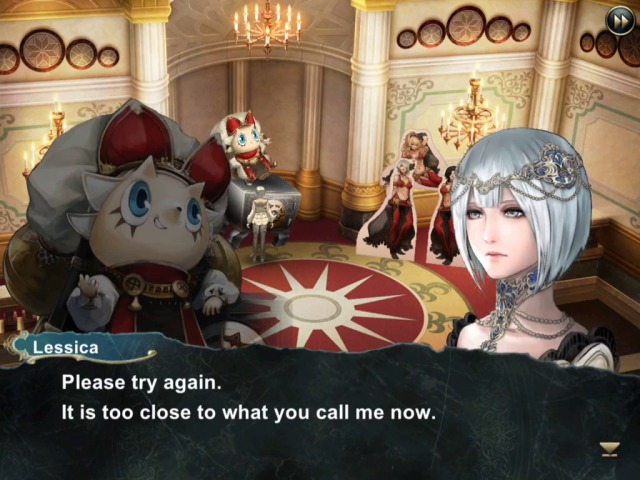
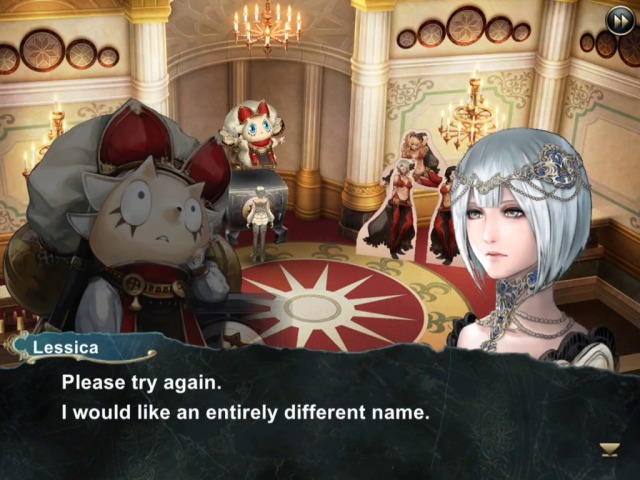
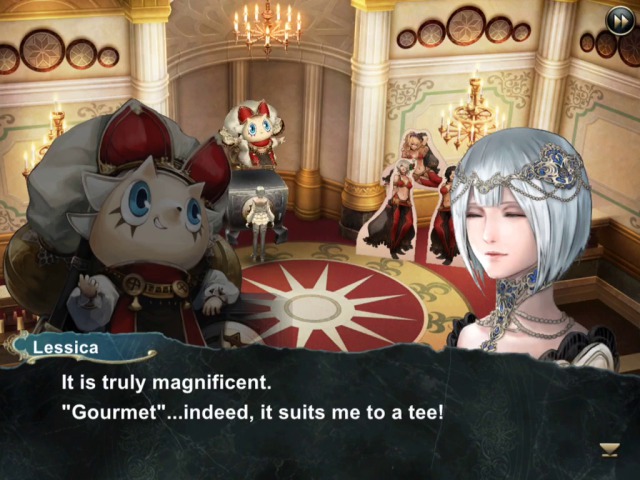
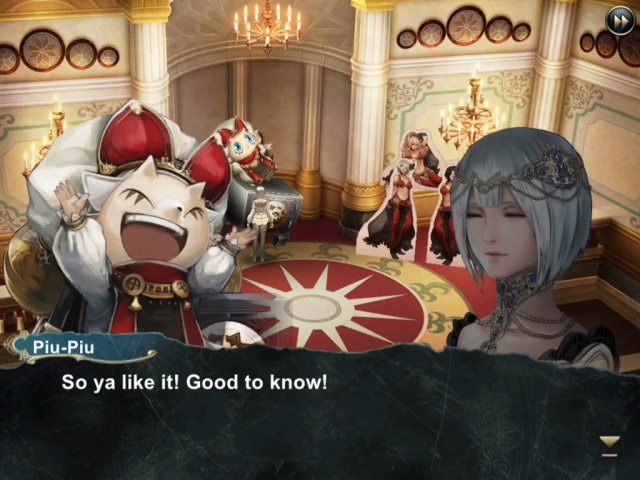
Last one is Lessica vs. Herald.
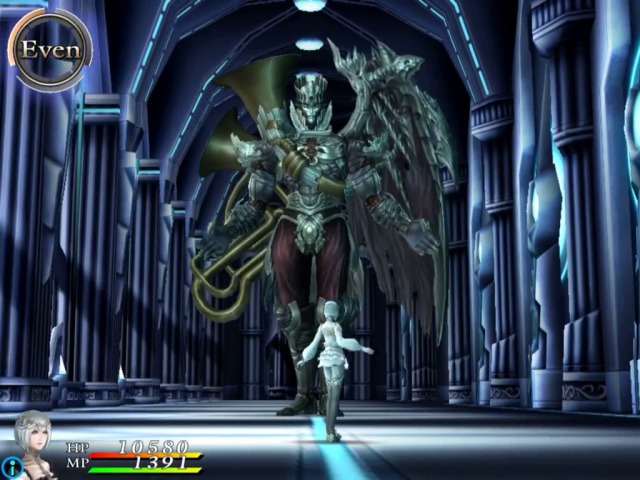
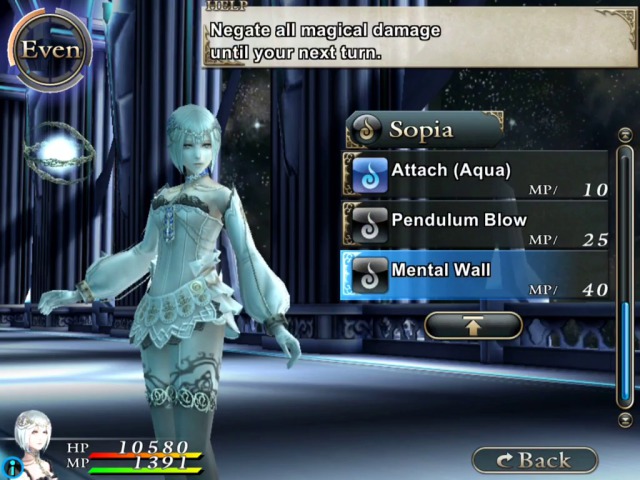

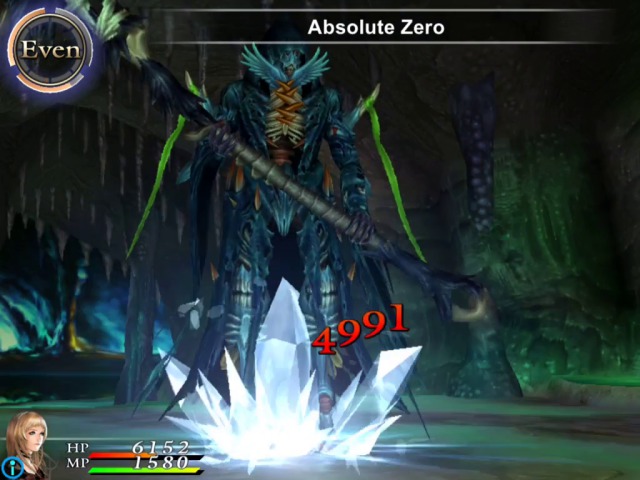
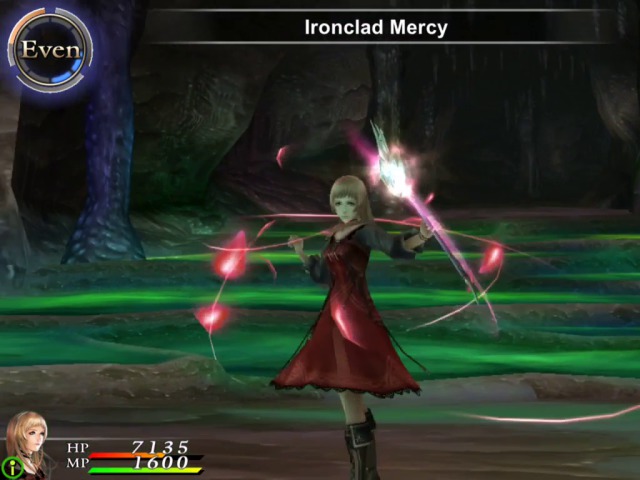
This guy likes his elemental spells, so you can try a fun strategy. Instead of attacking just cast Mental Wall (which, despite its description actually works like Reflect in Final Fantasy--not only will it negate the damage, it will also reflect it to the caster!).
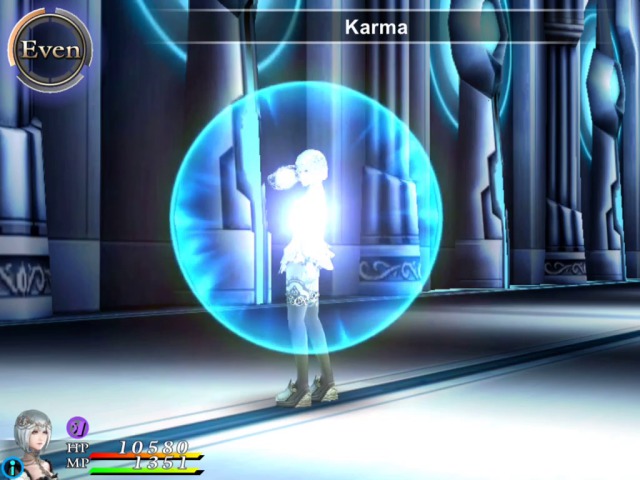
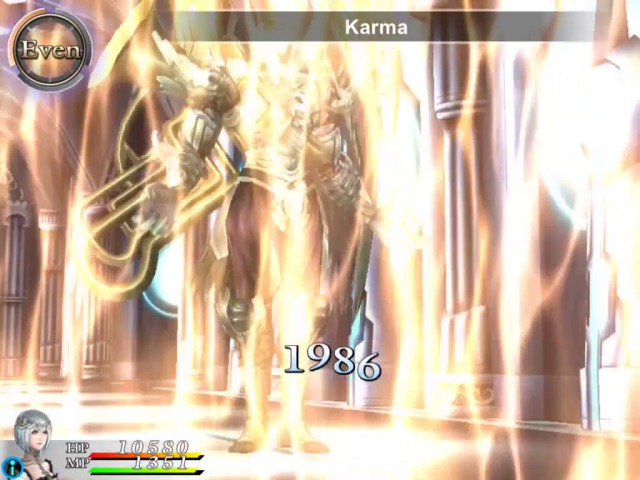
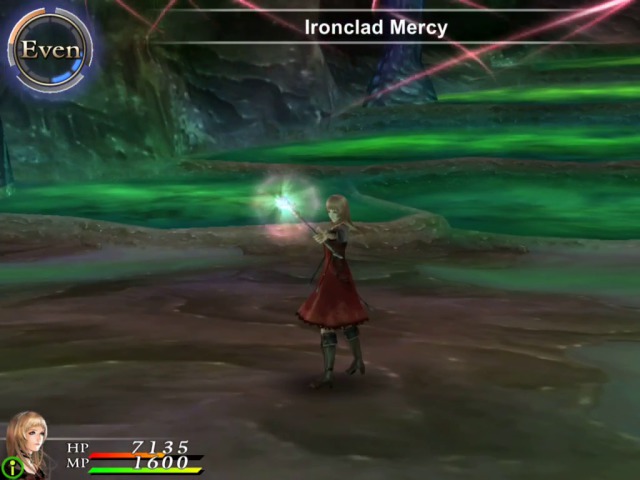
Like so.
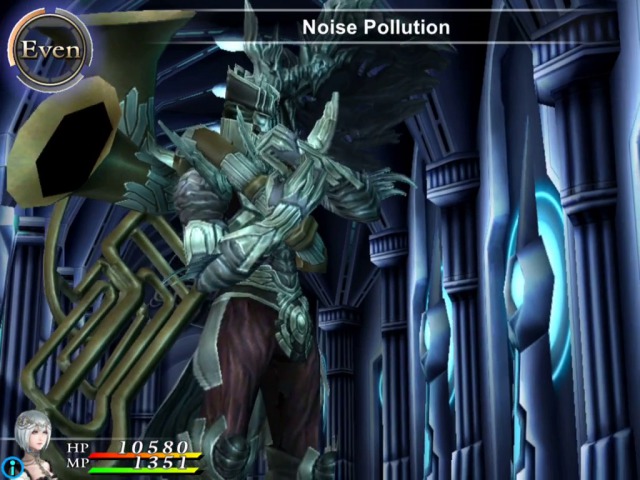
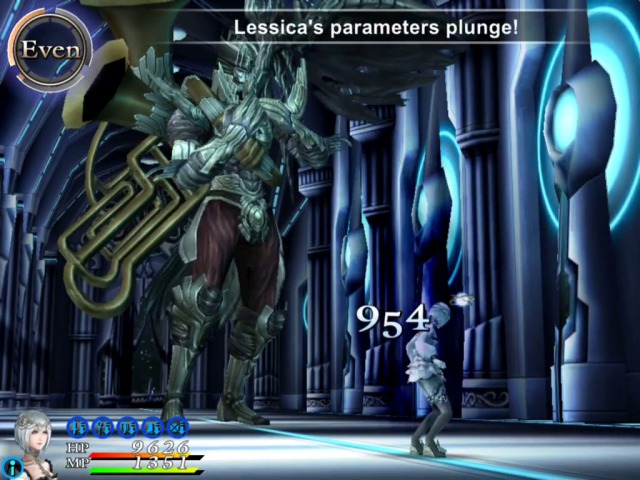
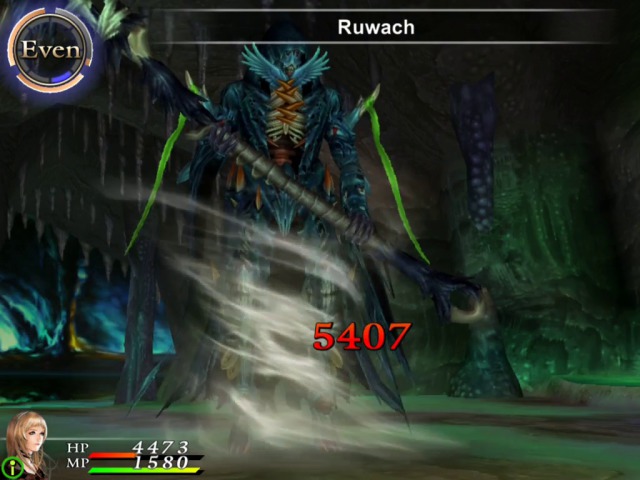
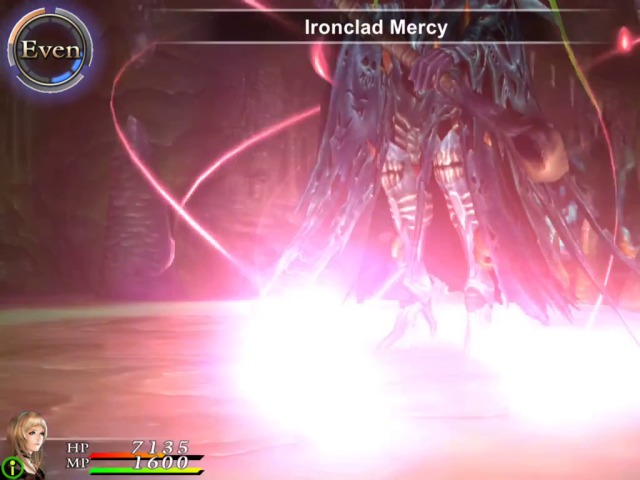
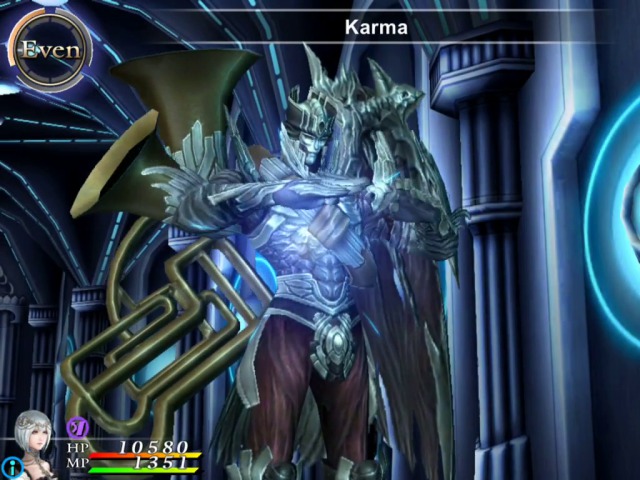
He has this annoying spell that you need to be a bit careful about, but otherwise, not a huge problem.
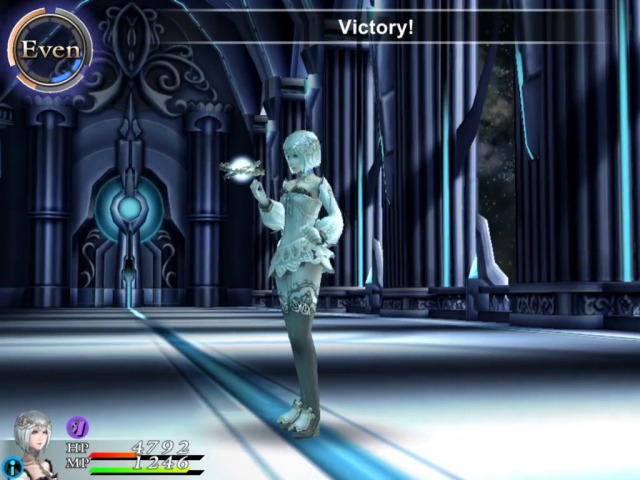
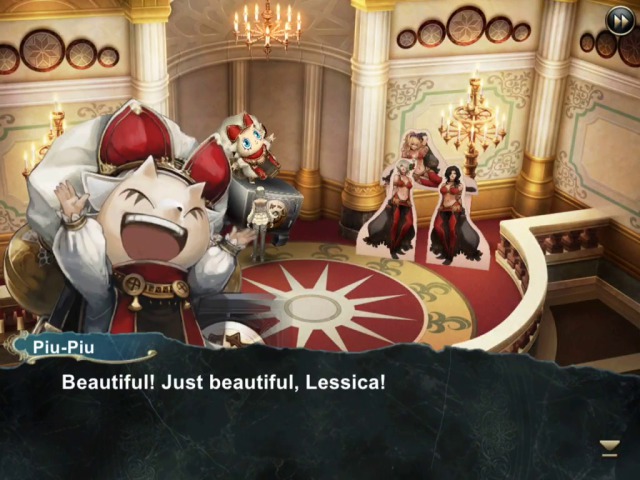
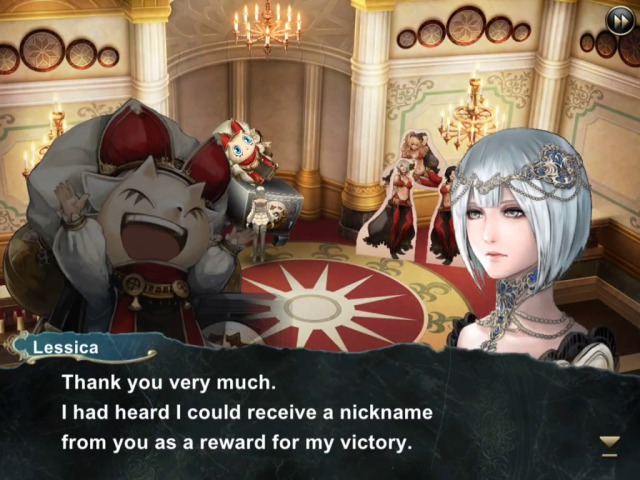
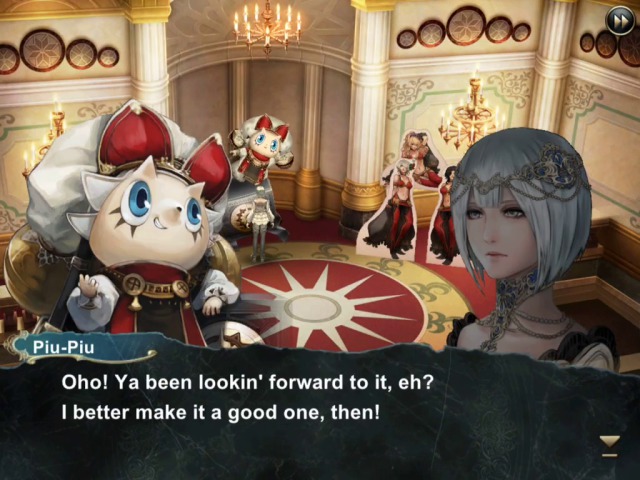


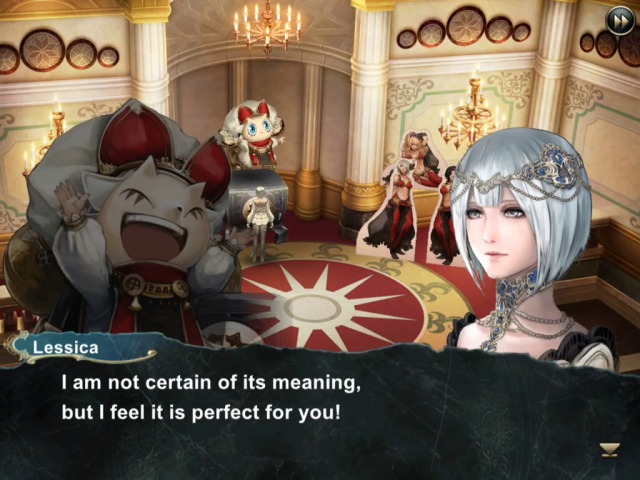
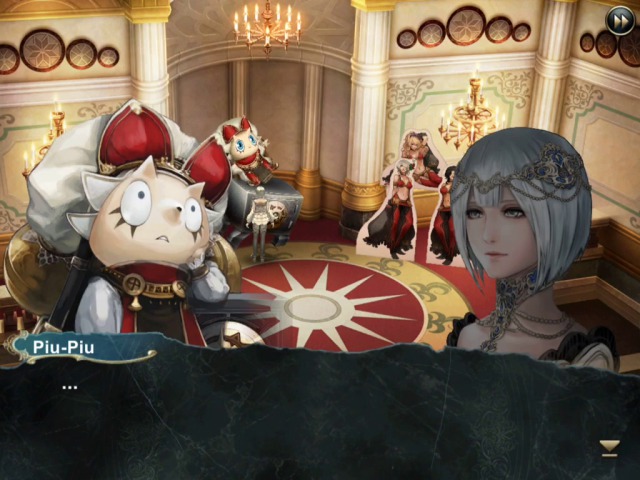
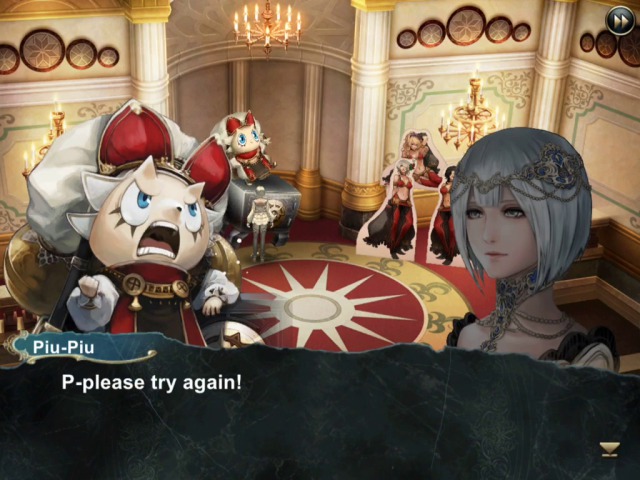
Did I not tell you at the very beginning that Lessica is awesome?
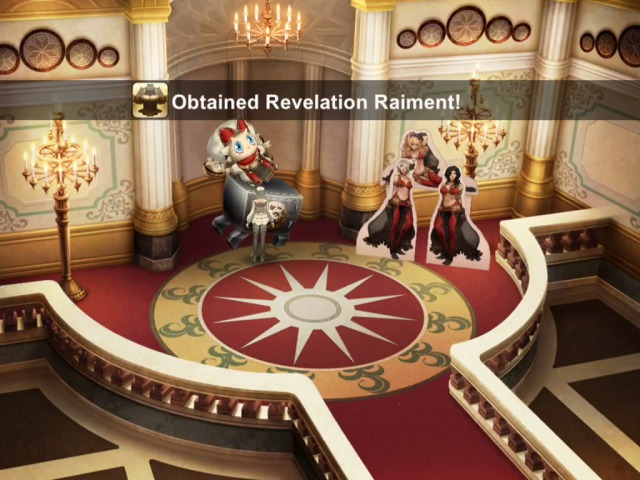
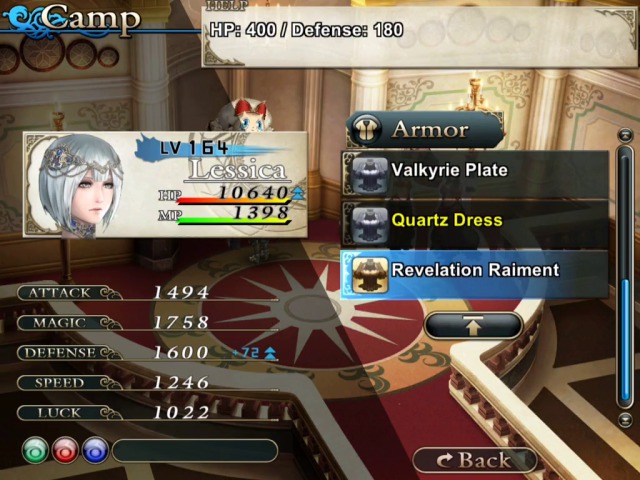
And that's all of the characters done.
There is a few more quests to be done (and these have particularly funny dialogue in them, so well worth doing), which we will cover in the next part and then it's finally onto the last ending of this game!