Part 47: Time's Lost Relics

 Longing of the Wind
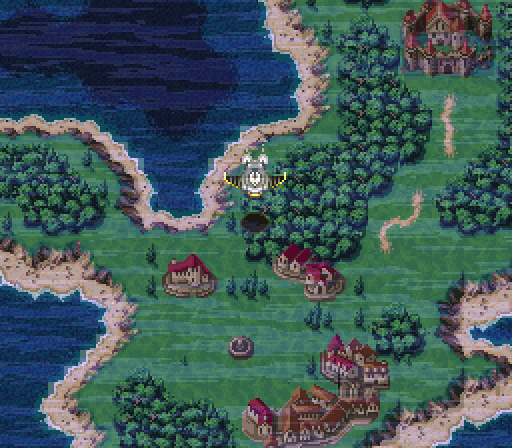
We've got two quests left, and today's quest will take us back to Choras, where we skipped talking to a familiar NPC during our last trip.
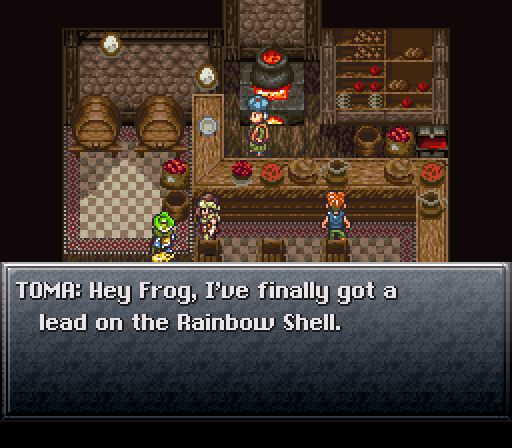
 But there's something odd going on... Oh, can you hang on to this for me?
Shockingly, this isn't pop in the Japanese version. It's
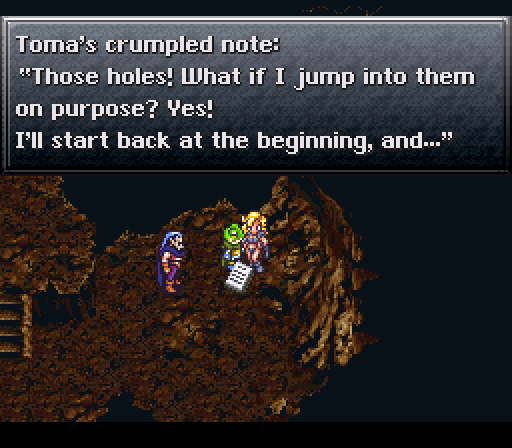
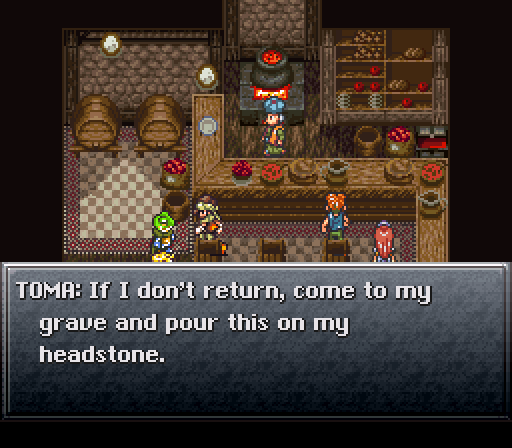 Gee, isn't this morbid?
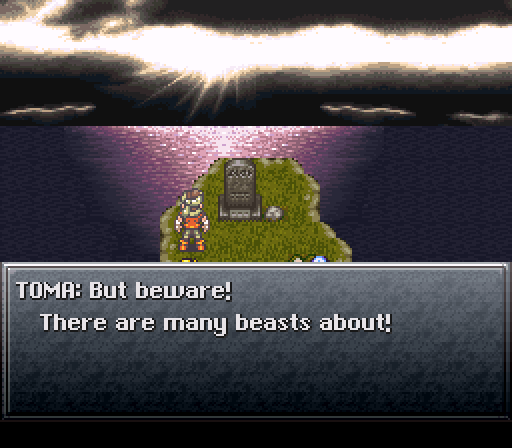
We don't have time to wait for Toma to die, though.
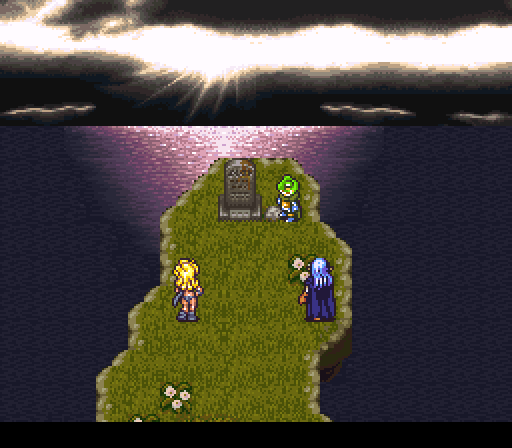
oh wait
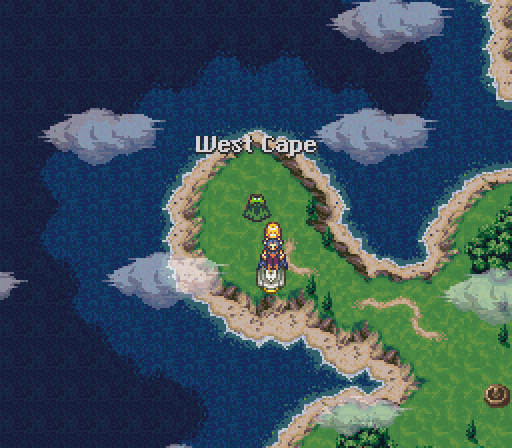
Peaceful Days 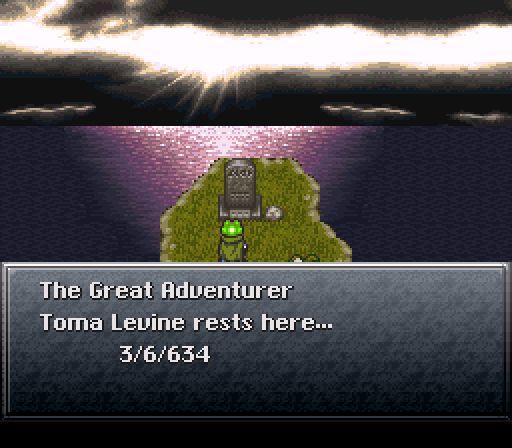
Looks like Toma decided not to press his luck with the Rainbow Shell after all, and perhaps even retired from adventuring.
Let's pour his booze on his grave like he requested.
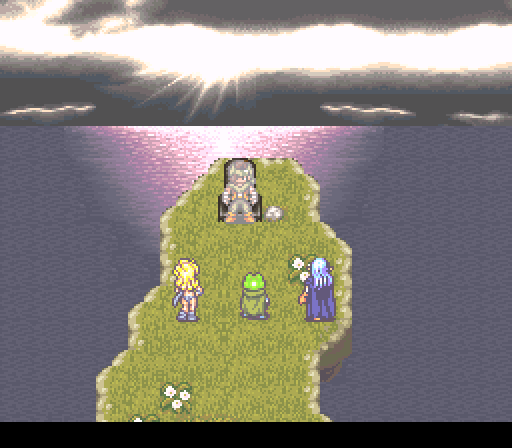
What's with this continent and ghosts anyway?
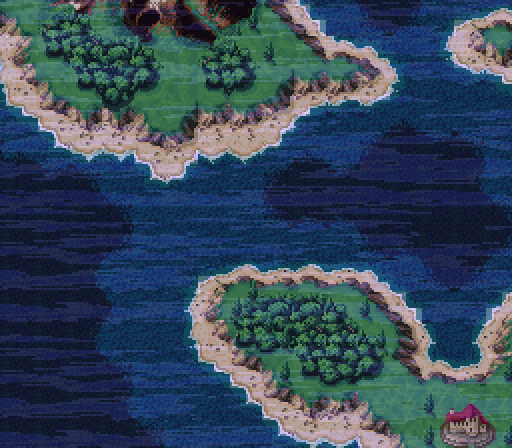
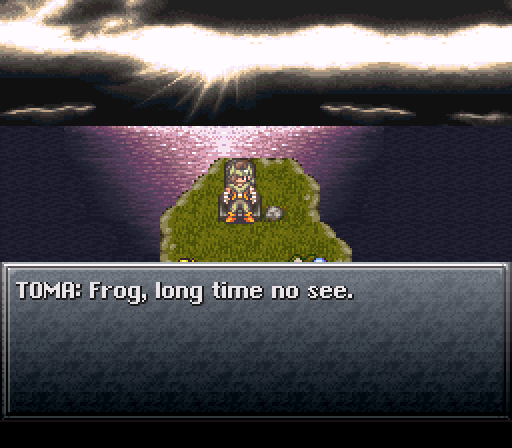 I've located the Rainbow Shell.
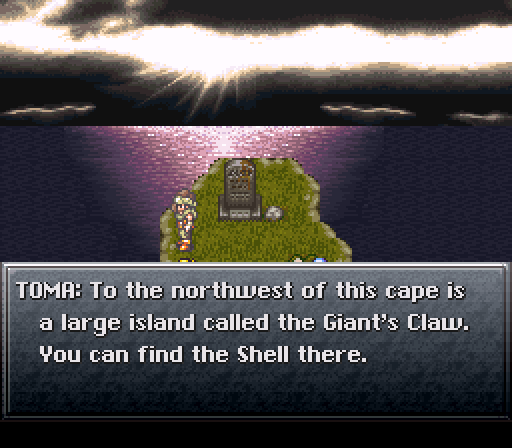
Of course, this is over in 600AD.
 Time to shove off.
 You guys are a riot a minute! See ya!
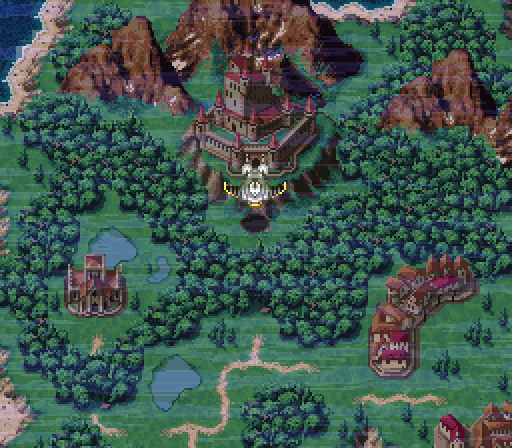
With all that out of the way, let's check out today's dungeon.
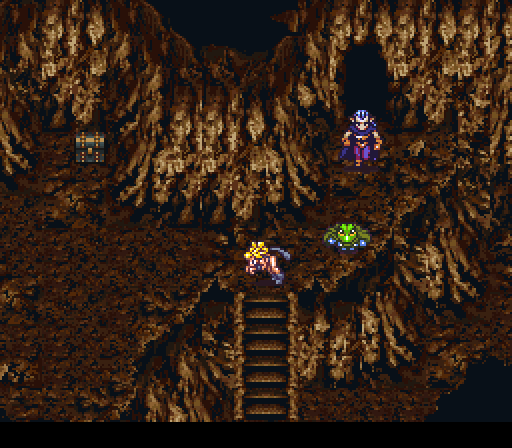
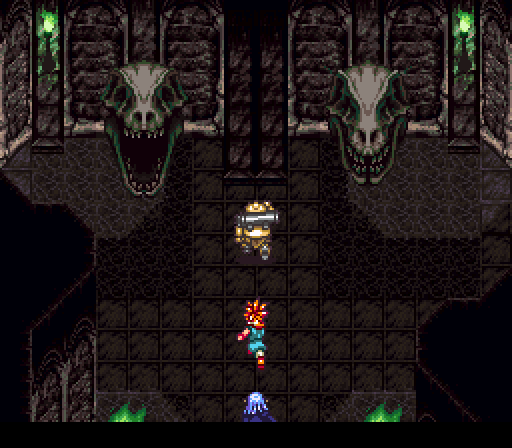
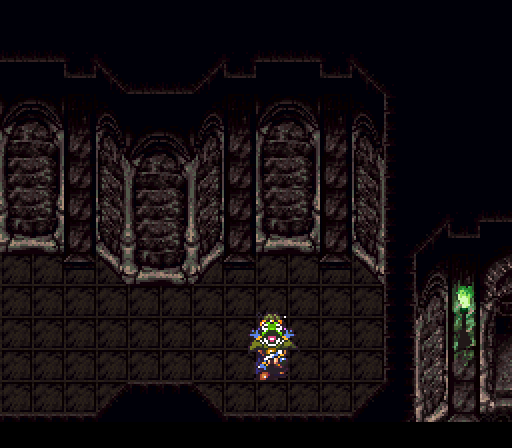
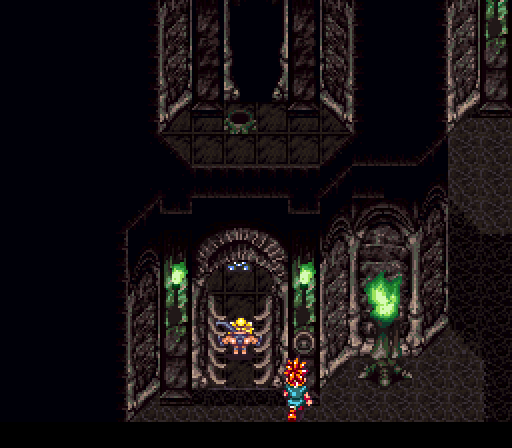
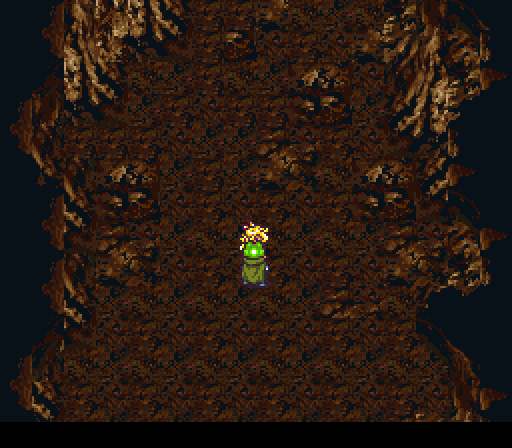
Tyran Castle 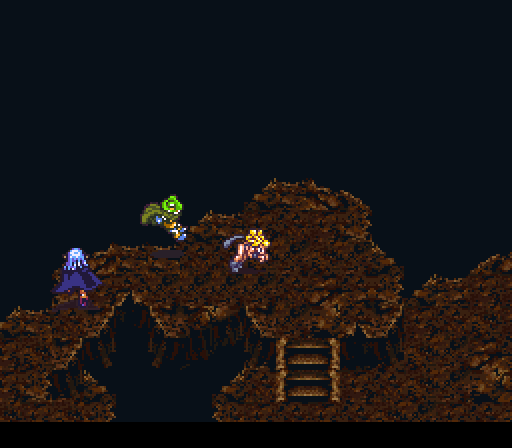
So far, it looks like an ordinary cave.
Looks like Toma did make his way here after all.
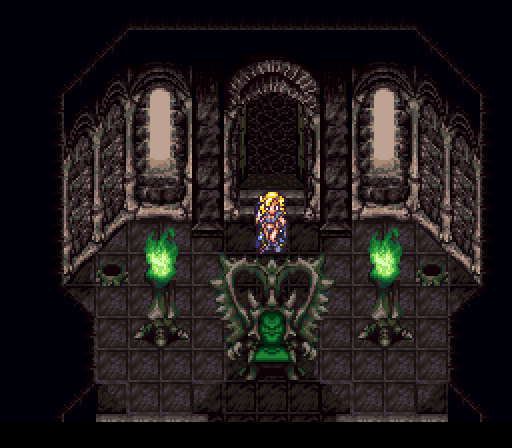
Once we reach the next room, however, things look rather familiar...
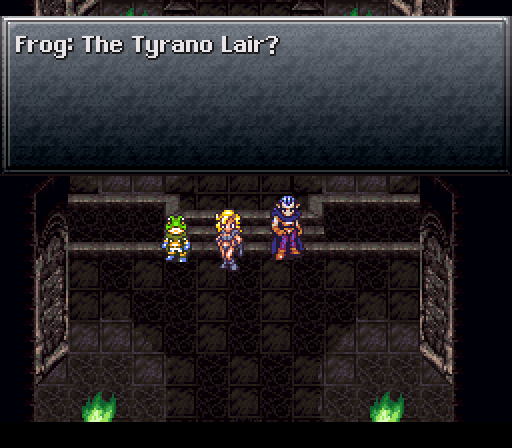
 Prehistoric castle...
Anyone besides Magus come to conclusion that the Tyrano Lair was buried underground when Lavos arrived. Instead, both of Magus's potential lines are being enamored with the prehistoric castle, possibly jealous he didn't get to join us on that adventure.
Also explains the music.
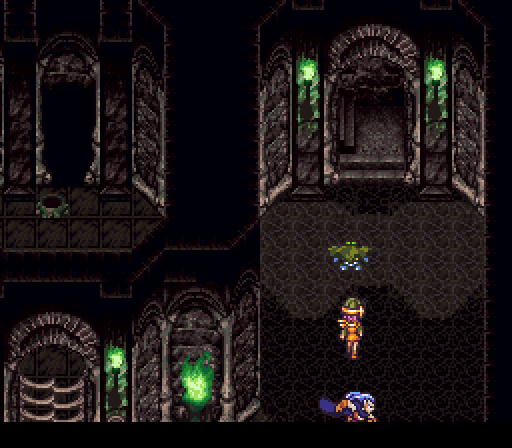
This is a mixture of the Tyrano Lair and regular caves, as millions of years have not been kind to the structure.
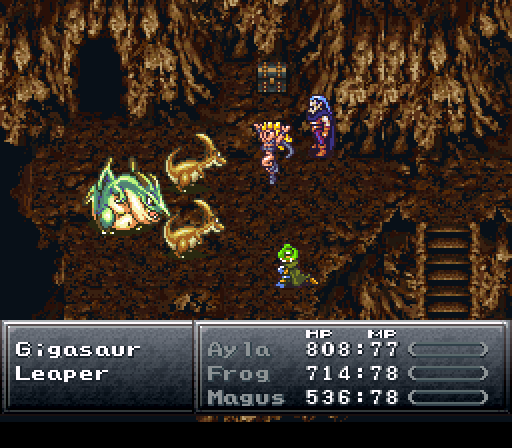
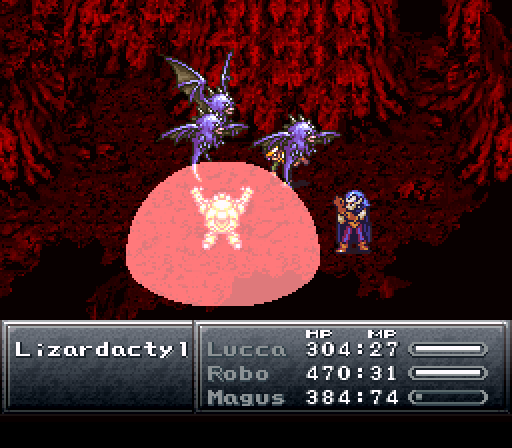
Though they have been kind to the dinosaurs that have been thriving under the earth.
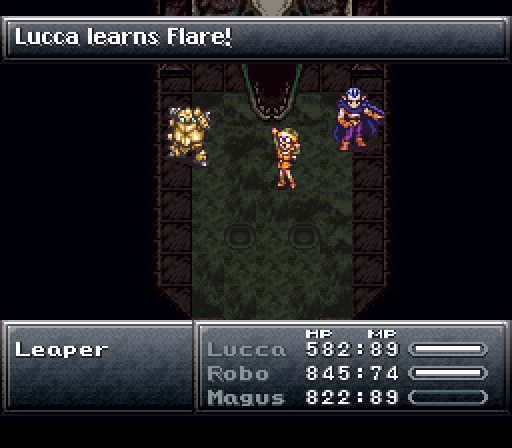
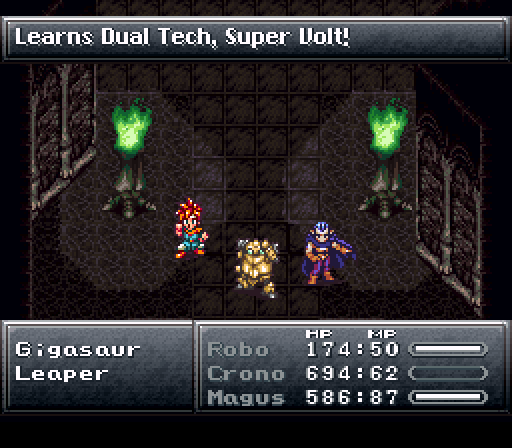
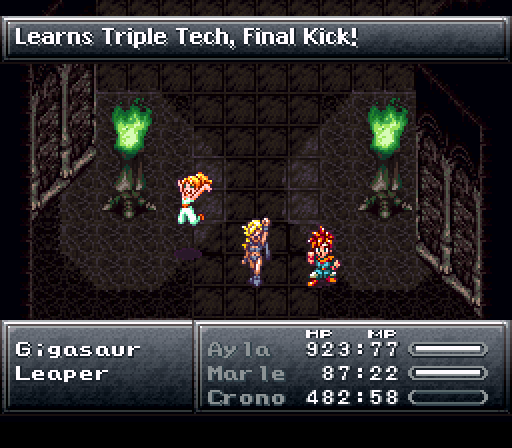
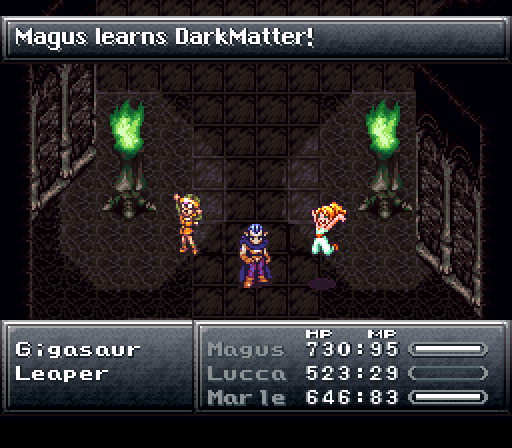
Both these foes have below-average magical defense, but no actual Lightning weakness. The Leaper's physical defense is above average, and the Gigasaur's is maxed out, with a hefty chunk of HP to boot.
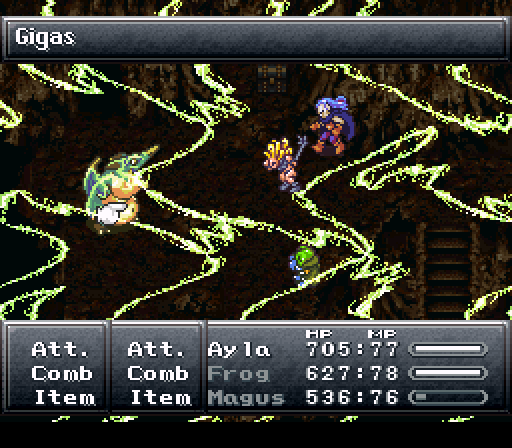
The Gigasaur also has a nasty counter to Lightning.
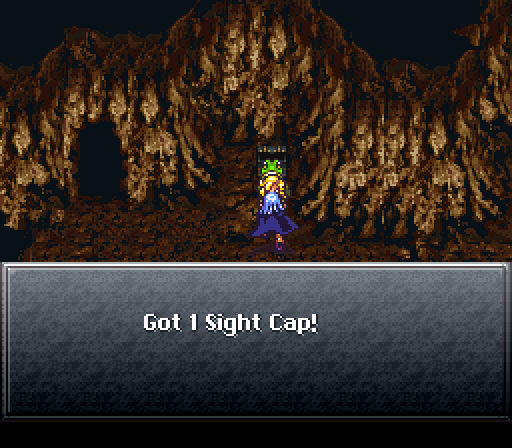
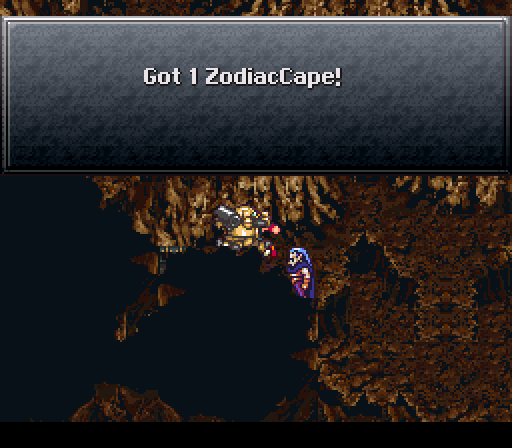
Blocks Chaos. No clue if I've already got one or not, nor do I really care. It's just another hat.
I have no sympathy for hats.
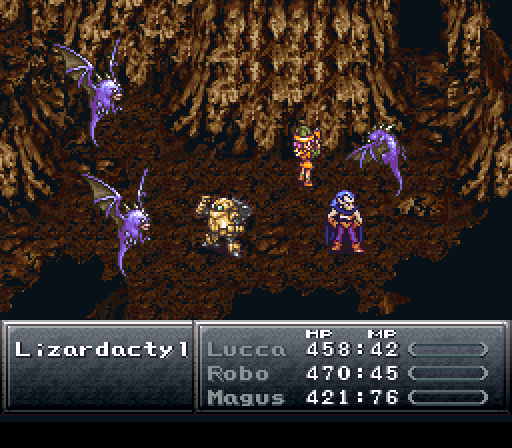
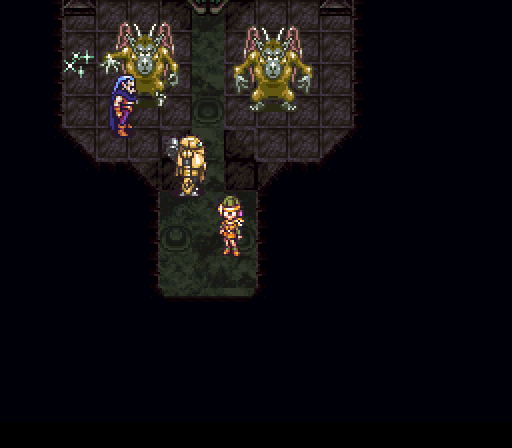
Unremarkable except with one exception.

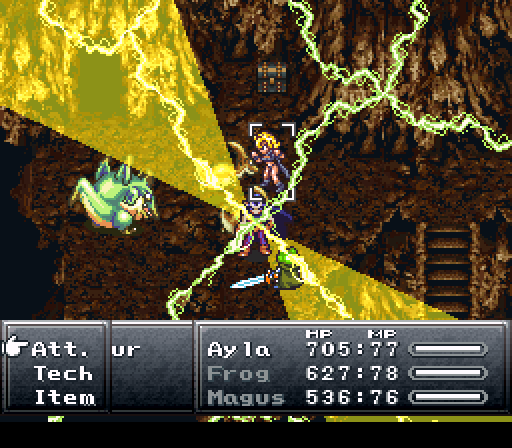
They absorb Lightning.

They also counter attacks with a Chaos-inflicting attack, and can lift/drop people like their earlier brethren.
I perform my best volcano impression and render them extinct.
Three switches here.
The middle spawns the save point.
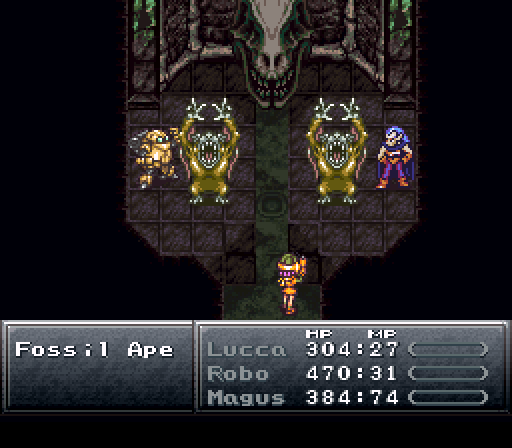
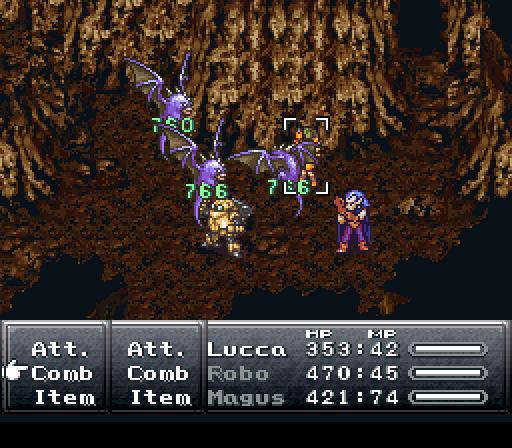
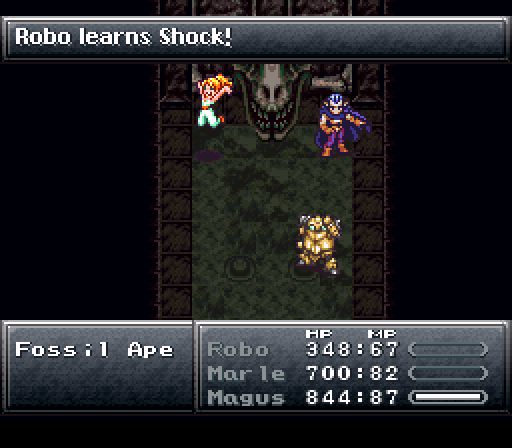
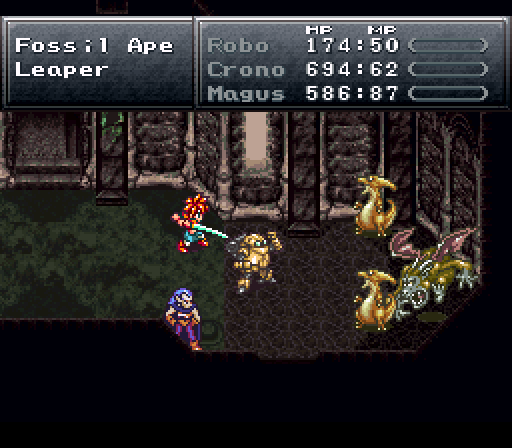
The right spawns these Fossil Apes. Unlike everything else here, they have high magic defense and below-average physical defense, though their high HP makes them tedious to kill, plus their character-throwing attacks hurt pretty hard.
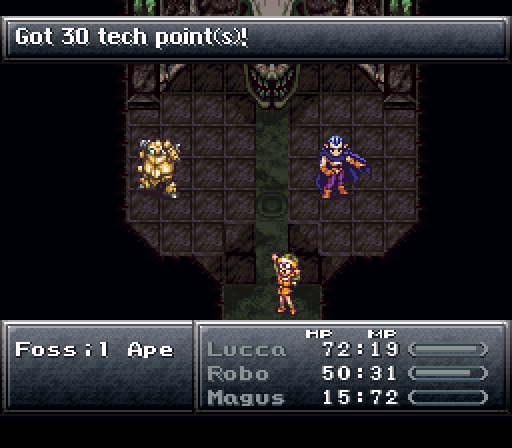
This is a short dungeon, and everything else I have to show off is too long, so I end up using this as an excuse to grind out all the missing techs I need. By the end of this dungeon, I'll have shown off every tech in the game but one.
The left switch opens some pits where we accidentally kill a cat. Oops.
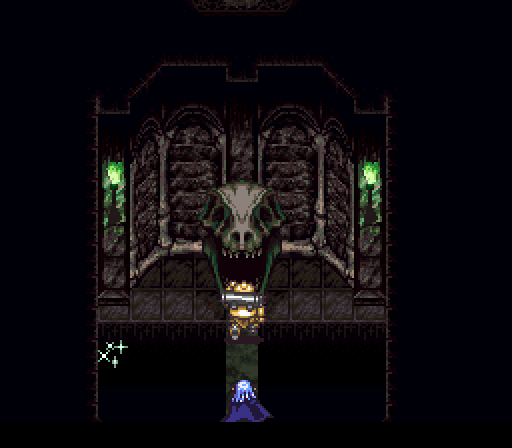
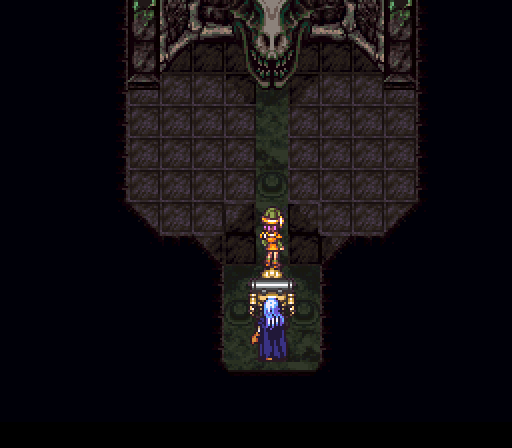
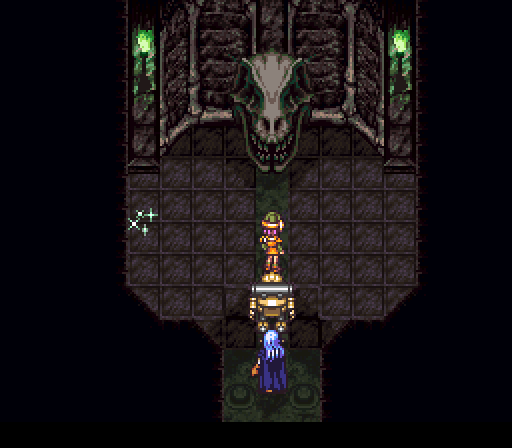
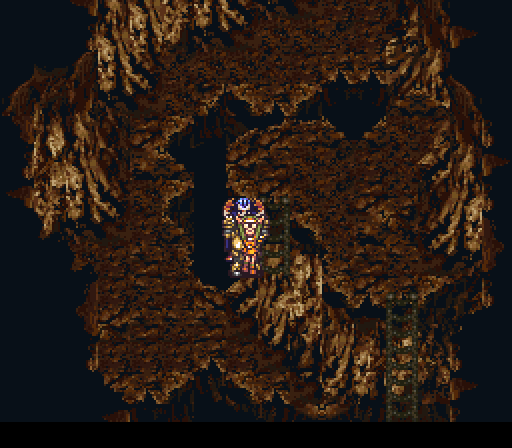
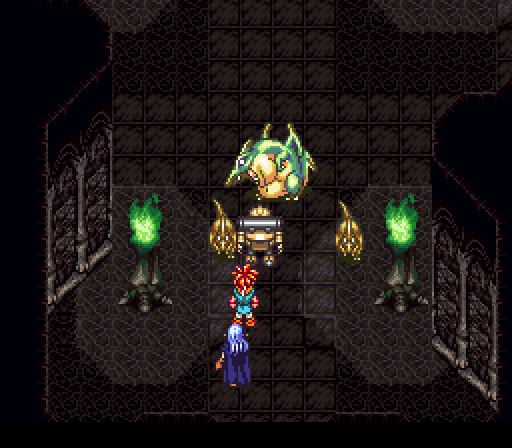
The way into here is by opening the skull, but there's nothing actually in here.
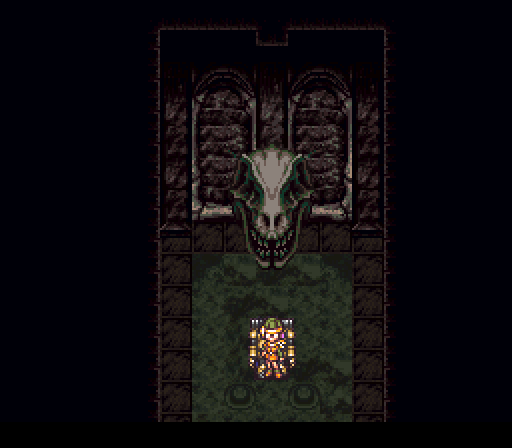
To progress, we need to fall into the hole.
The left switch unlocks the skull, while the right switch...
Yeah.
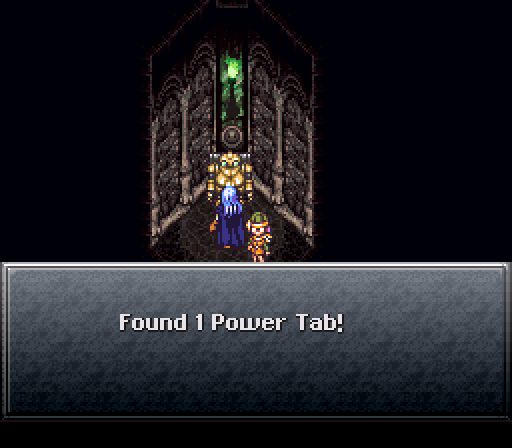
There are quite a few Power Tabs scattered about in this dungeon.
It begins.
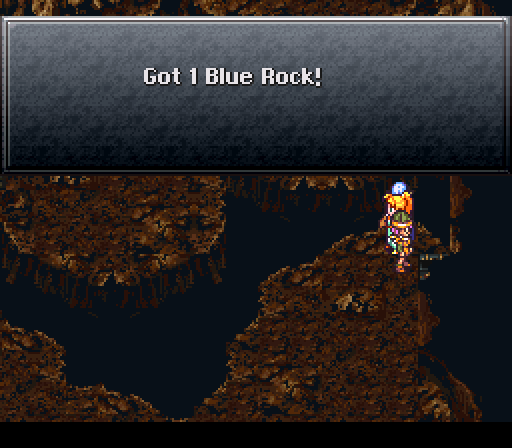
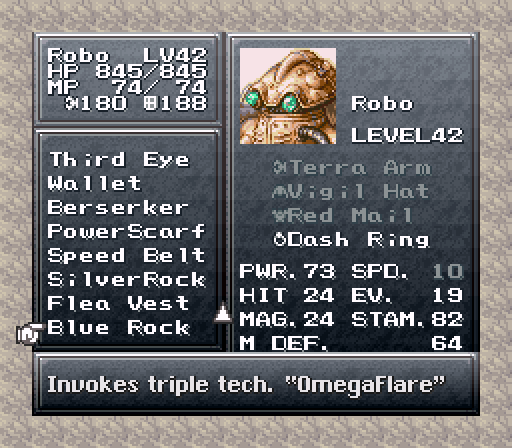
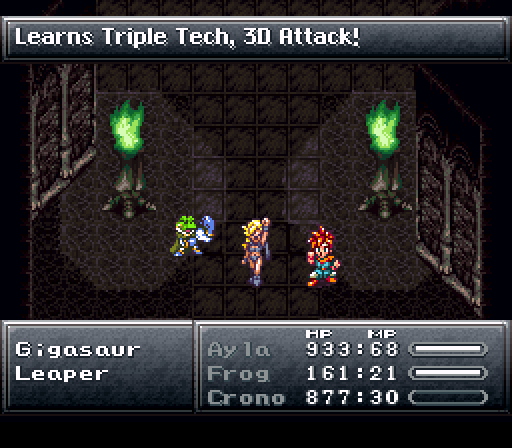
Our fourth rock unlocks a Triple Tech for Lucca, Robo, and Magus, the second of two combo techs Magus gets access to.
There's a path that lets us backtrack to the beginning area.
So how about those techs?
(LVL+MAG) * 16.8 damage. This makes it the second-best magic single tech in the game, though Lucca's higher Magic gives it the edge over Crono's Luminaire. Either way, it's ridiculously power, double so once you throw it in with some other techs. Like, say, if we put that Blue Rock to good use.
Omega Flare.
This combines Lucca's Flare, Robo's Laser Spin, and Magus's Dark Bomb, and adds 25% to the damage of each in Shadow damage. This is the highest-dealing damage tech in the game that doesn't require a special gimmick from another tech we'll see soon enough, and flat-out the highest-dealing Shadow damage tech.
Flare + Ice 2, 25% more damage for each and affects all enemies with Shadow damage. Not too shabby, and one of the few ways to keep Marle relevant offense-wise in the end game.
Next up for ultimate techs is Robo.
(LVL+MAG)*16 Lightning damage. Just slightly less powerful than Flare, but Robo's low Magic hurts it a great deal.
The second-best armor for the women, it gives a nice 10 Magic Defense bonus. Not that Marle or Lucca really need the Magic Defense at this stage, but Ayla probably appreciates it!
Eventually we make our way to where the original Tyrano Lair entrance was. We can't enter the right skull this way.
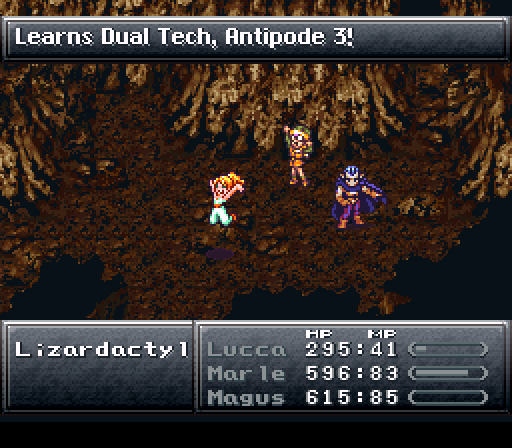
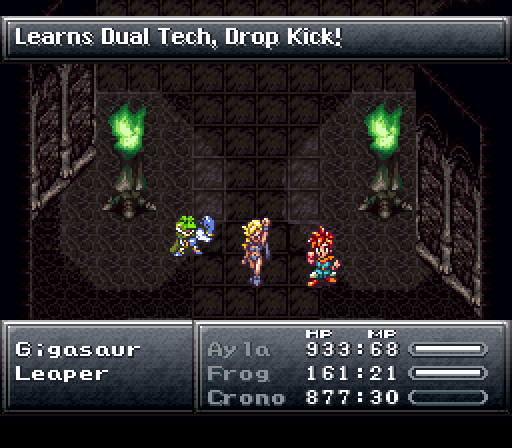
The final Dual Tech for Crono and Robo.
Once again, there are two sides with monsters we can drop.
Lightning 2 + Shock. 25% extra damage to each in Lightning damage. This ends up being the most damaging Lightning tech in the game.
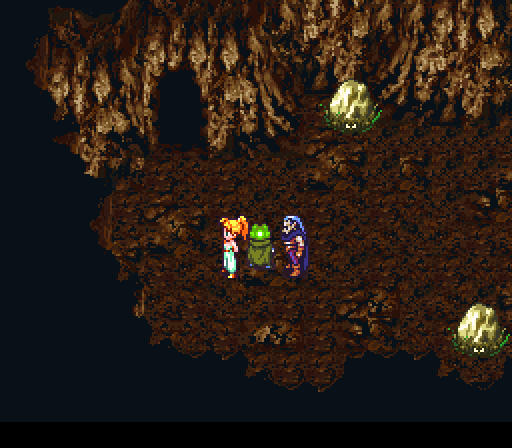
There's also a couple of Rubble here for no discernable reason. Luckily, you can navigate it so that you can fight each solo.
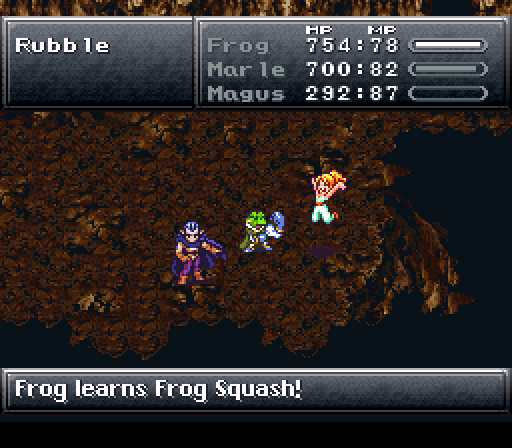

The 200TP come in handy, as they unlock Frog's final tech, and Magus's penultimate.
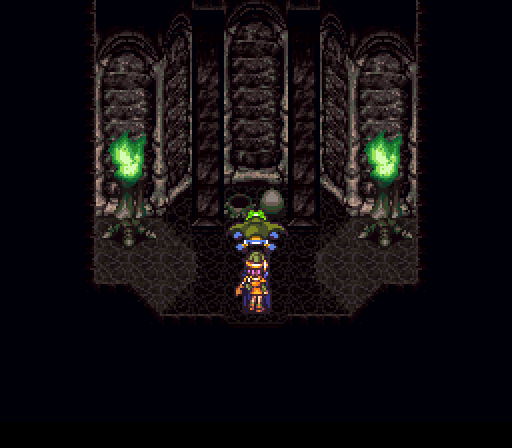
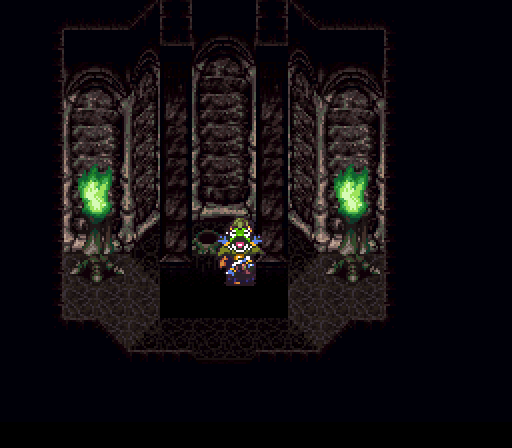
This gets us to the area guarded by the right skull.
And Kino's prison is where we ultimately want to go. Instead, I use the save point to recover and grind out some more techs.
Black Hole meanwhile is a weird one. It affects enemies in a radius around Magus, and has a chance to instantly kill those enemies. No clue on the success rate or which enemies it does/does not affect, though oddly enough it'll remove a couple flames in the Son of Sun fight.
Frog Squash is a weird one. The damage formula is (MaxHP - CurrentHP)* STA * 10/280. Thus it's terrible when Frog is near maxHP, but wonderful when he's at 1/999 HP. It's not that great on its own, but when Frog's at low HP it's involved in the two most damaging techs in the game.
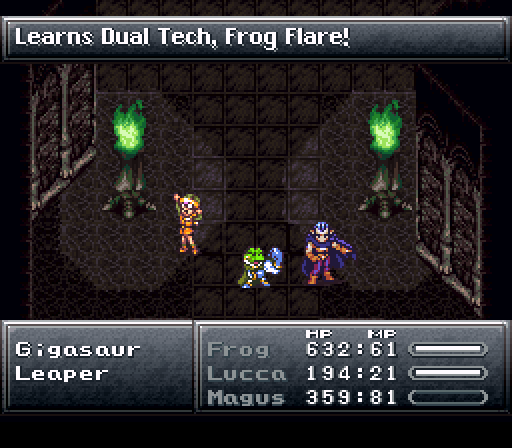
One of those is Frog Flare, adding a 25% boost to the ultimate attacks of Lucca and Frog. Situational, but man does it hurt in those situations.
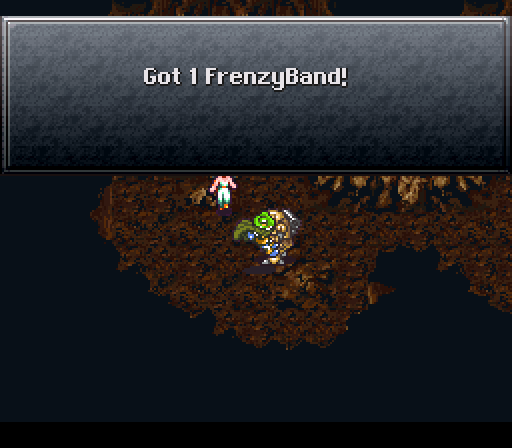
In the meantime, I pick up a Frenzy Band, which counters 80% of physical attacks instead of the Rage Band's 50%. The site I get all this data from suggests it may even be higher.

Marle's ultimate is different from everyone else in that it's not an attack spell, but support. Her ultimate attack tech is Ice 2, oddly enough.
It's still not too bad, though, as it'll flat-out revive a character to max HP.
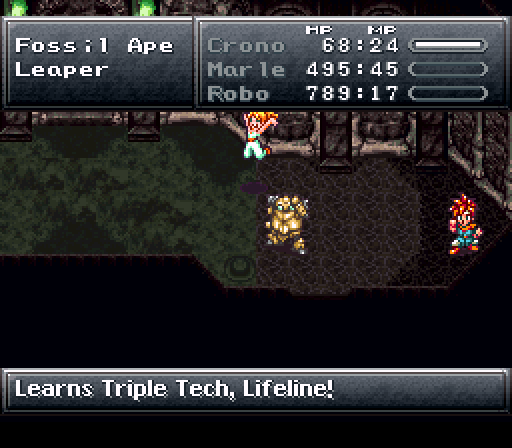
And it also combines with Crono's Life and Robo's Heal Beam for the ultimate defensive tech.
When cast, each character will be automatically revived once upon defeat. Of course, you can cast it again to bring it back up, though the buff doesn't stack.
The HP recovered is the target's Magic * 5.
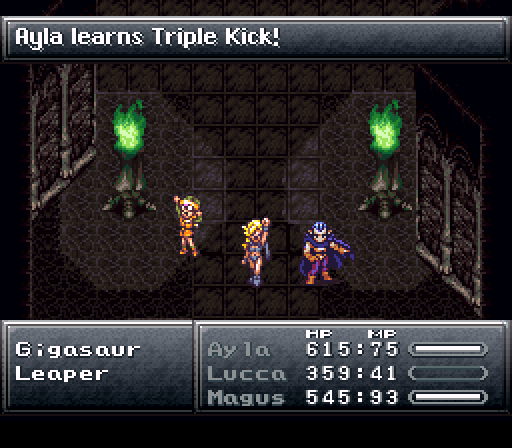
Next is Ayla's final tech, which is used in a surprising number of combo techs, including with Lucca.
It deals three attacks for a total of over four times the damage of a regular attack. Of course, it's also a costly 20MP for a single-target attack.
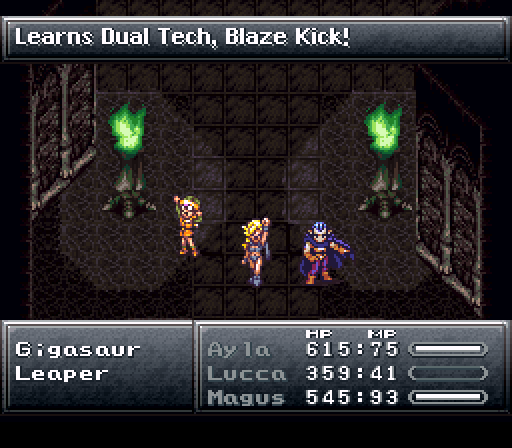
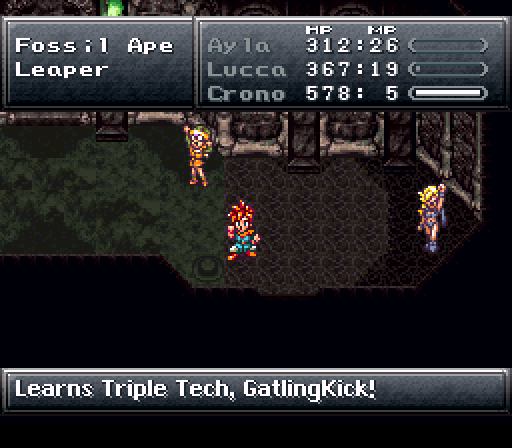
25% bonus to Fire 2 and Triple Kick. Pretty much as you'd expect.
This is Blaze Kick but with Lightning 2 thrown in (also with the 25% damage bonus) and now Shadow-elemental instead of Fire.
And this is the same at Gatling Kick, except replacing Lucca's Fire 2 with Marle's Ice 2.
And we're still not done! As I said, Triple Kick factors into a lot of combo techs.
Triple Kick deals the same damage, but Leap Slash gets a nice 50% boost.
Cyclone + Slurp Cut + Triple Kick, each boosted by 25%. Ayla's the big contributor here, of course.
I forgot to show this until now, but this is Grand Dream from the Gold Rock we got from that rock-throwing Freelancer.
This is a weird one. First off, it requires the upgraded Masamune to be used, so if you're doing New Game + not even the original Masamune will work. Second, this combines Frog Squash with Life2 and Heal Beam, with the latter two not actually doing anything. This just ends up doing 2.5 times the damage of a regular Frog Squash. That said, if Frog is at low enough HP this means it has the potential to be the most damaging tech in the game. Plus it looks cool.
Our final single tech is none other than the one Magus used on us during his first fight.
(LVL*MAG)*15.2, which means this one is oddly weak compared to other characters' ultimate techs. Sure, Magus's high Magic helps out here, but he can't really take advantage of Dual/Triple techs like the other characters can to amplify their attack.
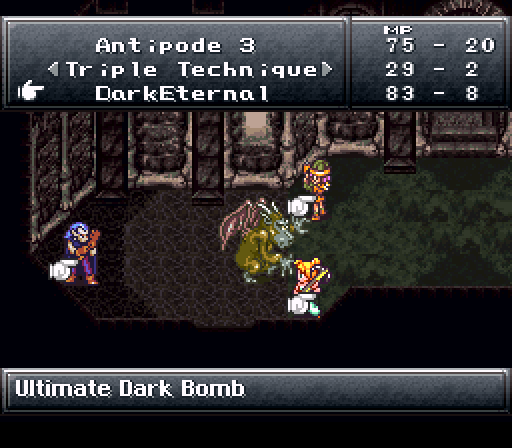
That said, that Black Stone we got all the way back in Kajar does unlock a triple tech that makes use of this.
Fire 2 + Ice 2 + Dark Matter, all with 25% more damage. Very solid damage dealer.
And with that, I've now shown off every tech in the game, barring one Triple Tech that requires a rock we can't get until the final dungeon. So with that, let's finally get this area finished!
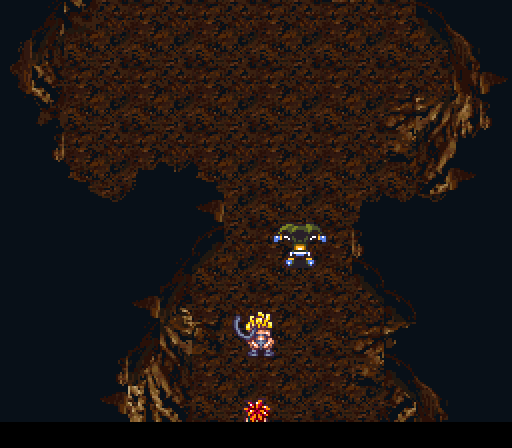
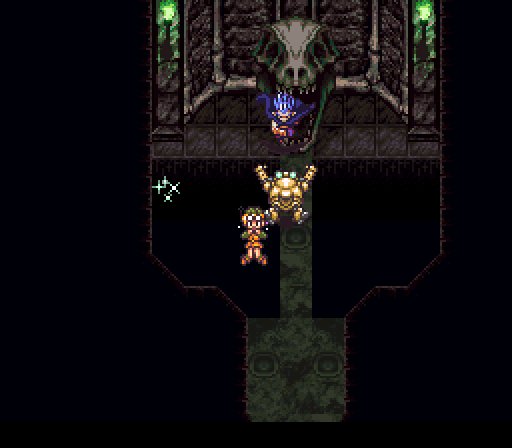
The final room is just another cave, but with one exception.
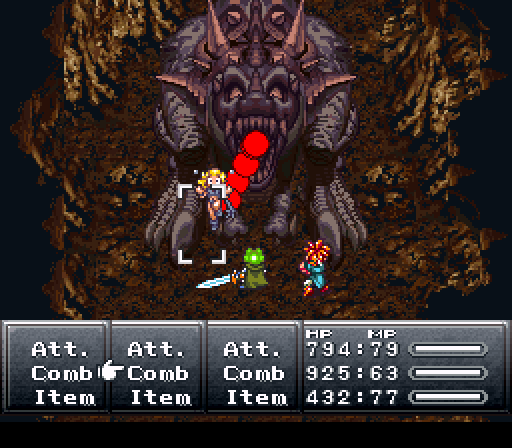
A giant freaking dinosaur just chilling in the middle. Yeah, alright, then.
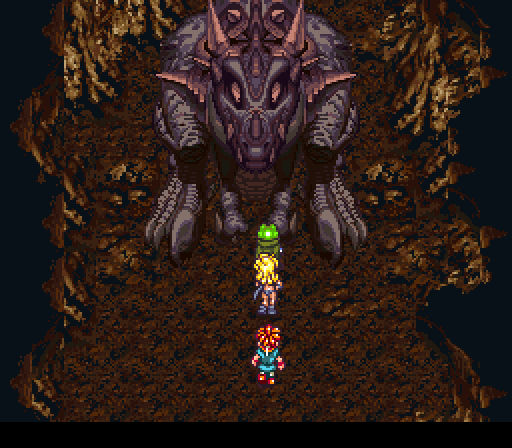
And of course, it wants to play.
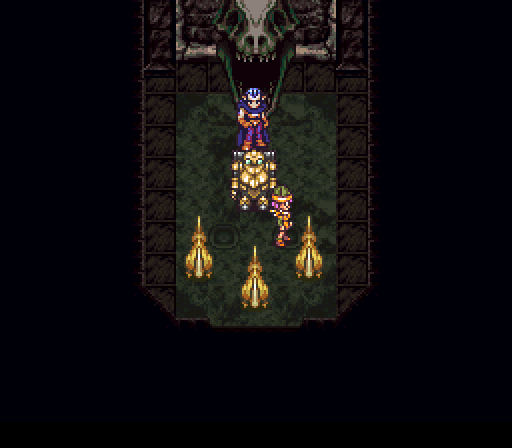
Boss Battle 2 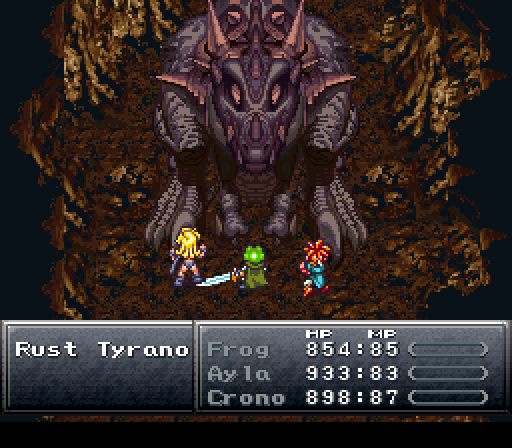
The Rust Tyrano has a whopping 25,000HP but standard defenses.
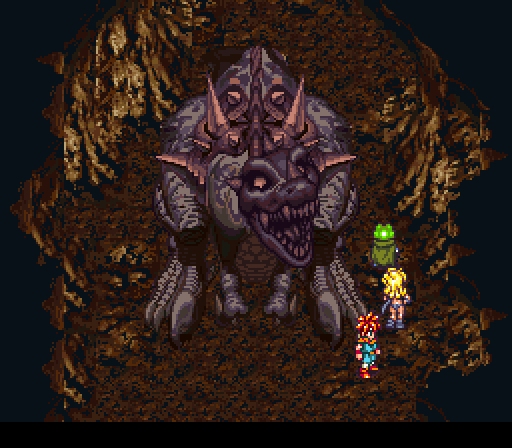
It only has two attacks.
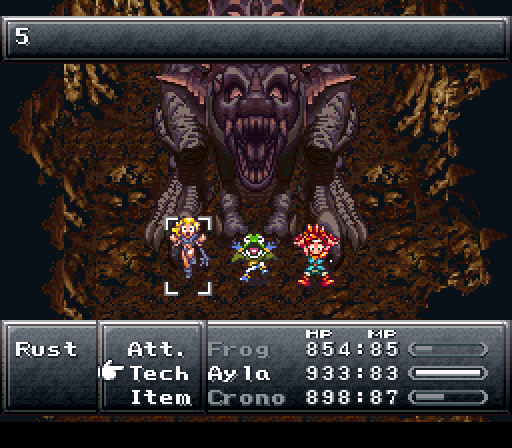
One is the trademark fire attack from before.
...except this time it's a lot easier to deal with.
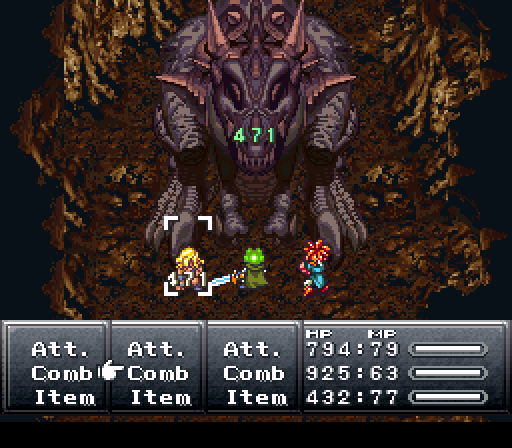
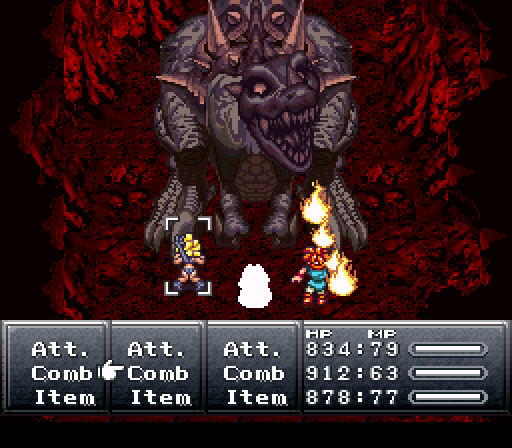
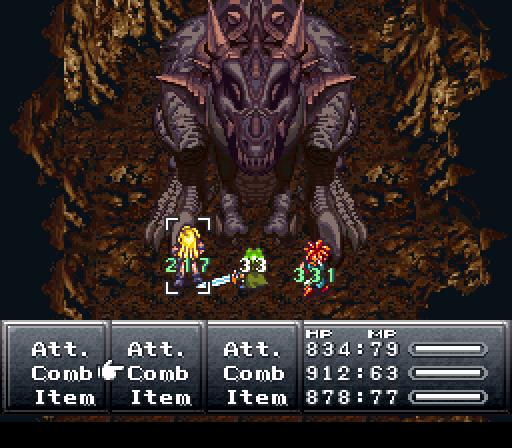
The latter chews up and drains the HP of a character. It'll do this twice before doing the count-down fire attack. Honestly it'd be an actual challenging and interesting fight if it only did the latter attack since it deals a lot of damage. Instead, it's trivial to spam my most powerful attacks during the fire countdown and heal up for the couple of rounds the Tyrano is actually a vague threat.
You can charm yet more Fire protection from it, like you actually need it.
Otherwise, a trivial fight even if you don't nullify its big attack with fire resistance due to the generous countdown timer.
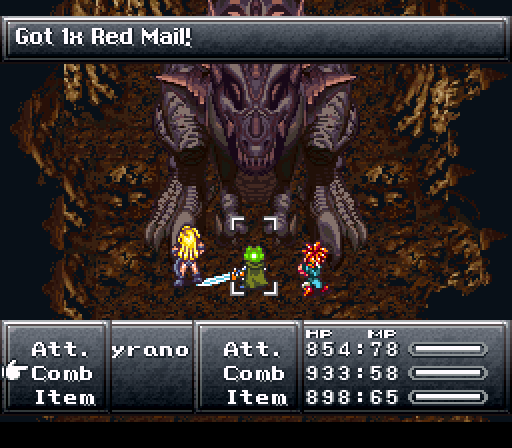
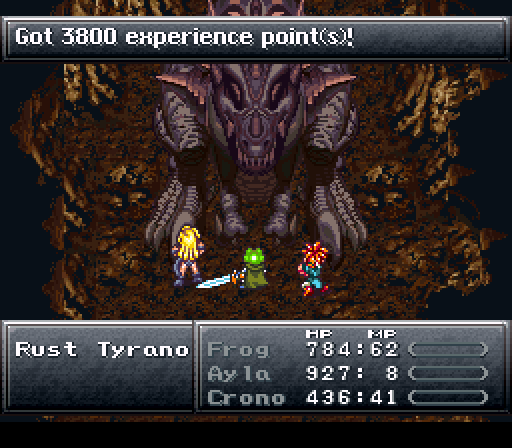
The Rust Tyrano simply disappears, realizing its existence is a temporal paradox, or something.
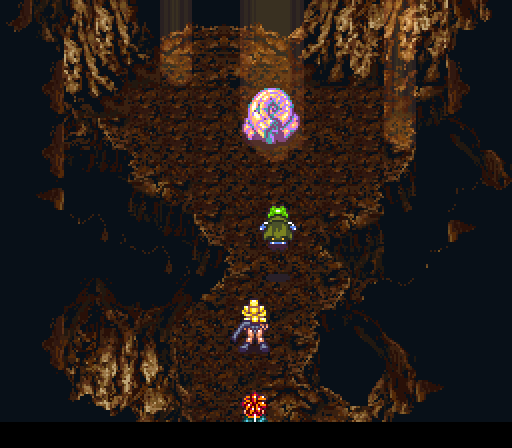
At any rate, we find our ultimate prize.
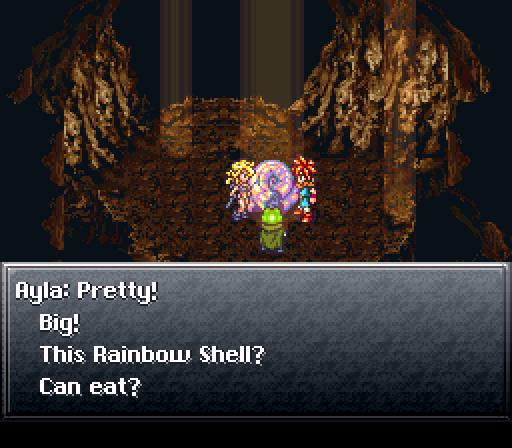
Just one problem.
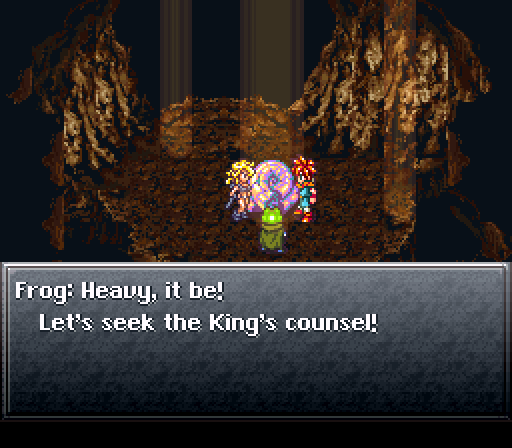
 Heavy heavy! Can't carry. Castle people help!
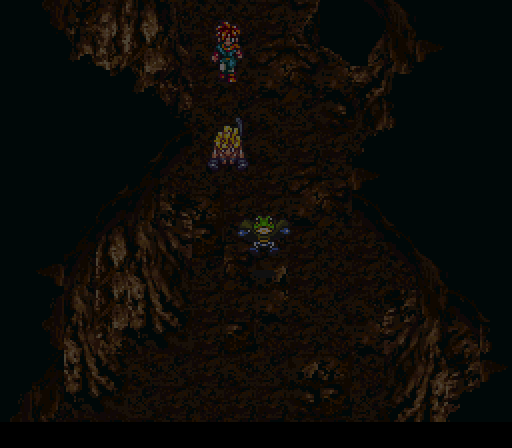
Luckily, the game doesn't actually make up backtrack all the way out, instead setting up a transition...
-----
Courage and Pride 
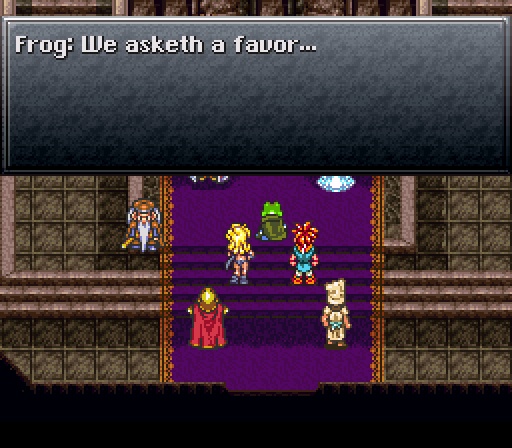
 I get it. You want me to keep that huge shell safe here until the next century, right?
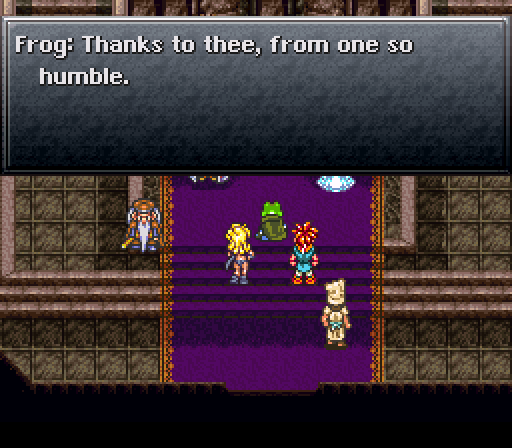
 I ask for the sake of Frog. Please carry out their request. Done! I shall obtain the shell and store it in the castle, as a national treasure.
Leene asks for the sake of whoever is the party lead. Yes, this can include Magus. Nobody really bats an eye if Magus is in the party.
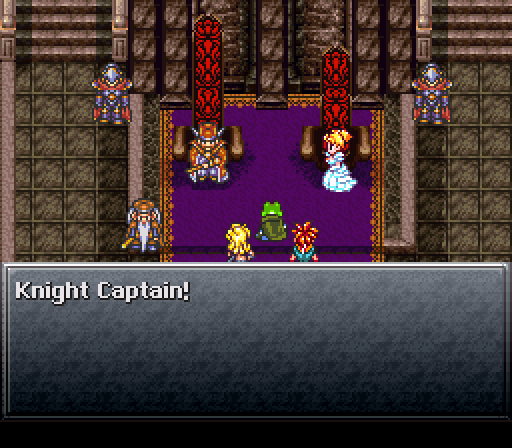
 Yes, Majesty! Go and obtain the Rainbow Shell, and bring it back in one piece! At once, Sire!
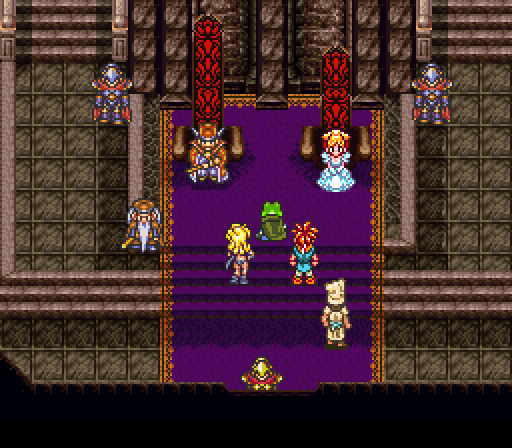
If we go back to Giant's Claw where the Rainbow Shell is, we can watch the knights try in vain to lift and carry the thing, but I don't feel like backtracking all the way there, so...
And that's it. So there's no actual reward for this one, but that's because...

...this quest is actually a two-parter! This quest is actually resolved in 1000AD, as next time we'll take care of unfinished business with King Guardia and get our actual rewards.