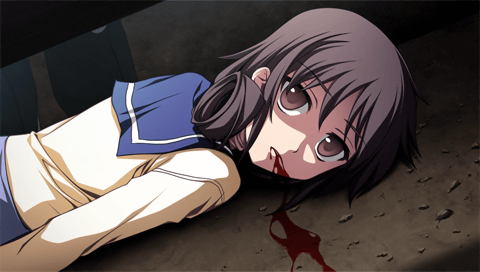
Part 49: Chapter 5, Part 13
Music: Bomb Shelter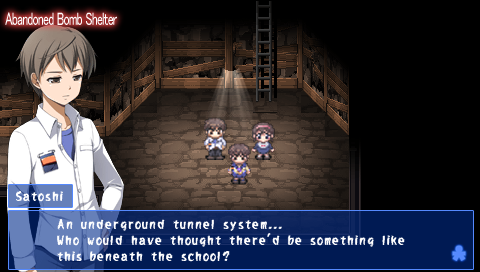
It probably doesn't immediately jump out to you if you haven't been playing the game, but the location name has always been in blue text up until this point.
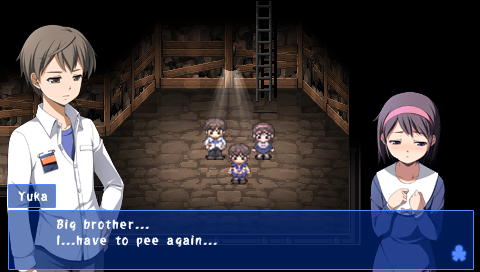
God damn it, Yuka.
 Yuka... Can you hold it?
 Nnnng...
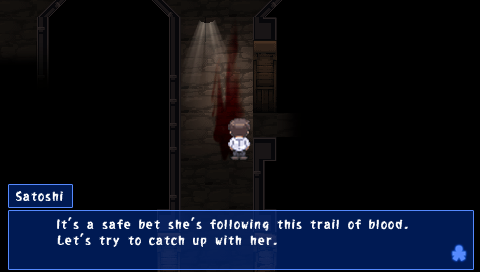
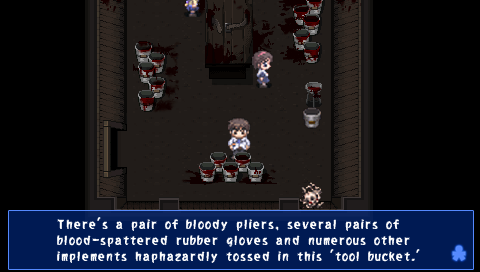
Guess we'd better backtrack to the bucket then, huh?
(We're not going back to the bucket.)
Sound Effect: Sachi
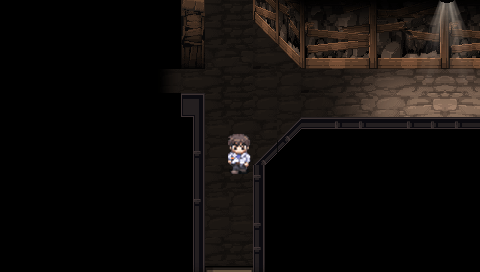
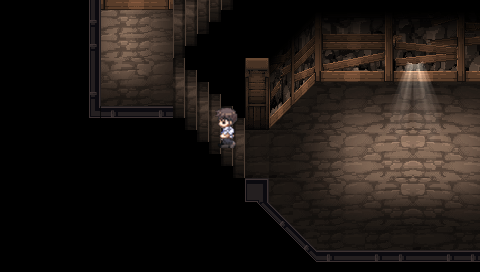
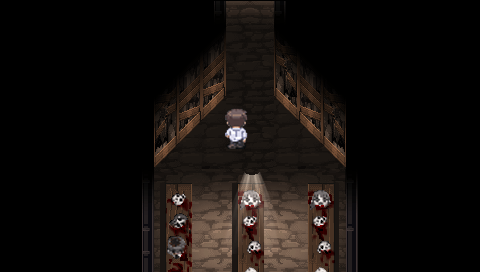
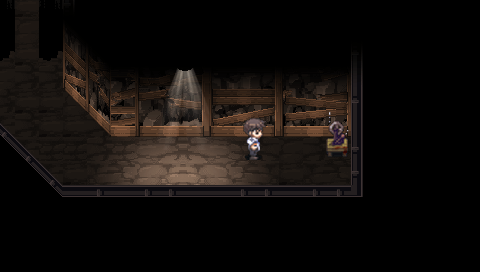
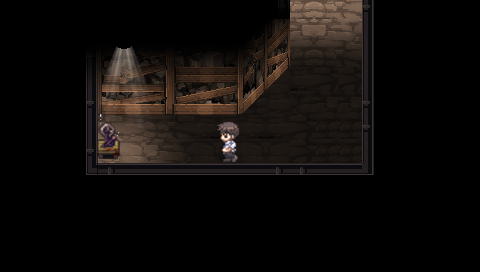
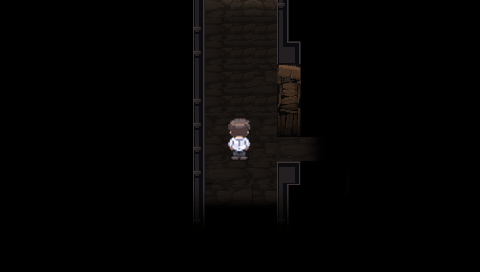
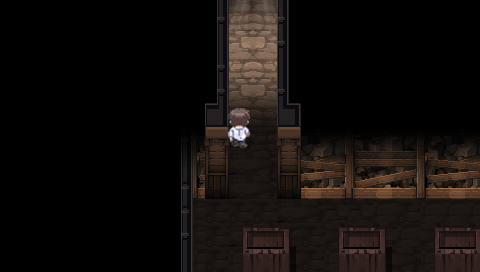
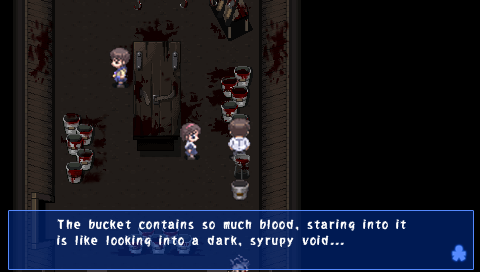
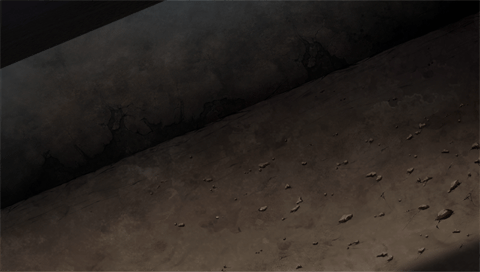
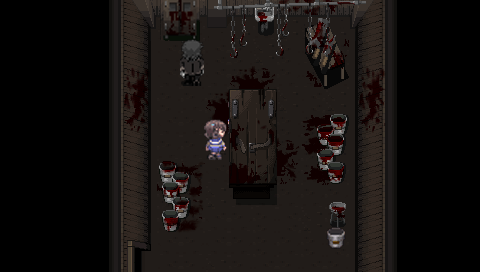
Exploring the abandoned bomb shelter, we immediately come to a fork. We start by going south.
 I think...I recognize this door. Remember? The one with all the protective charms on it? This is the basement access from the main building.
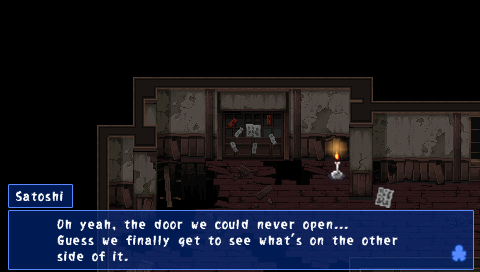 But, wait... That means...if we keep going this way...won't we end up in the place where...Sachiko...killed those three children? Yeah. And where Sachiko's body is buried, too.
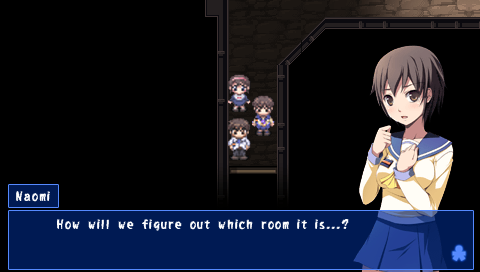 The murderer...or rather, the man who kidnapped the three children...supposedly hanged himself in the same room. So if we can find evidence of his death, we'll know we're in the right place.
 ...And what an awful place it is...
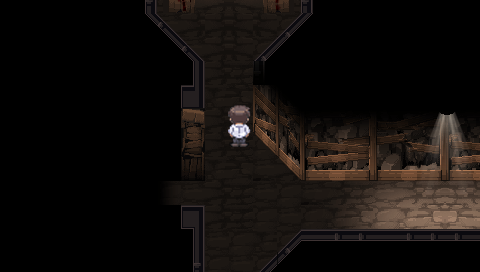
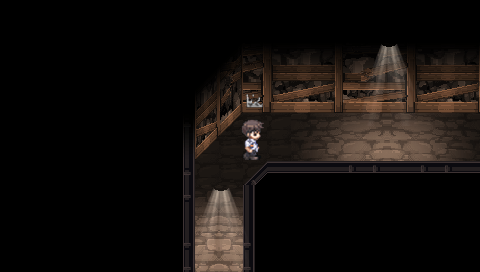
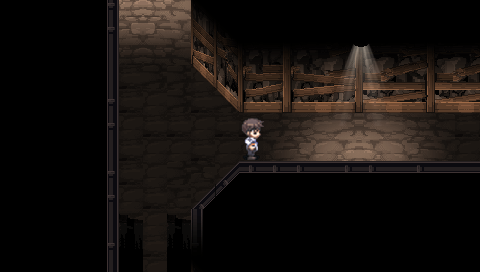
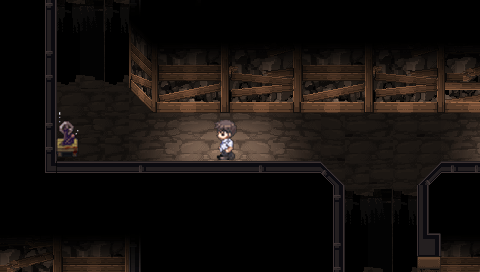
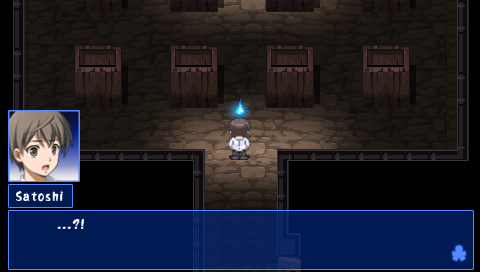
Now that the mystery of the door to the basement has been solved, we head north.
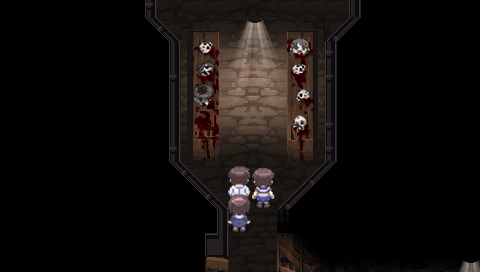
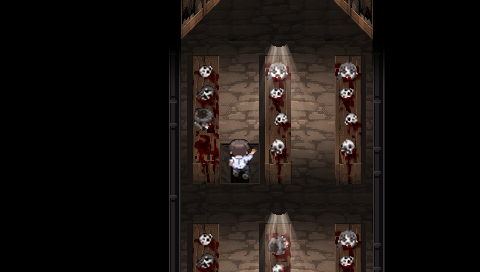
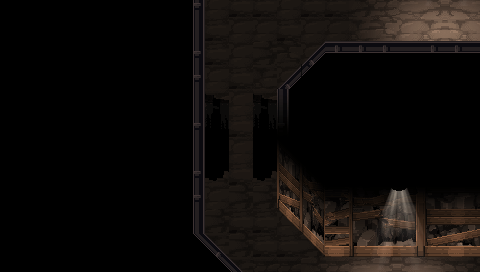
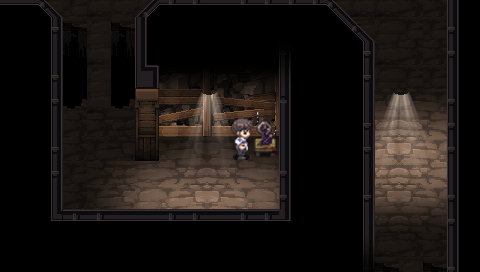
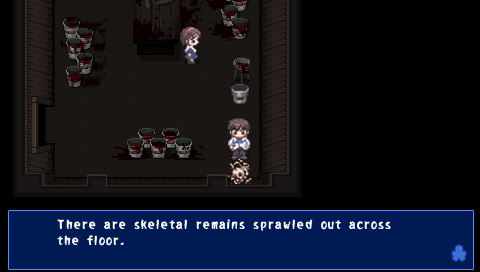
 ...Ulgh... What the hell?! All these heads, just...lined up like prizes...
 God...
 Nnnng... These don't look particularly old, either. I think they're victims of the curse who got trapped here, just like us... What kind of sick person would take the time to line them up so neatly?! Maybe someone...obsessive compulsive? Someone who takes pride in his "collection." Not someone I'd want to meet, that's for sure...
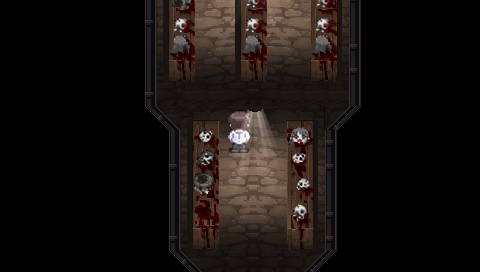
Fuck these heads. I hate, hate, hate them.
You'll see why later.
Music: None

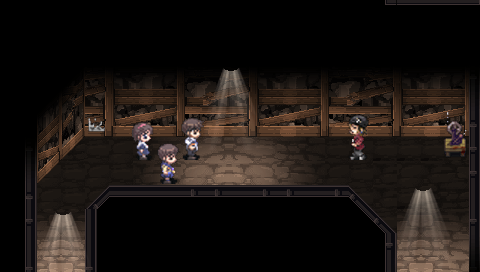
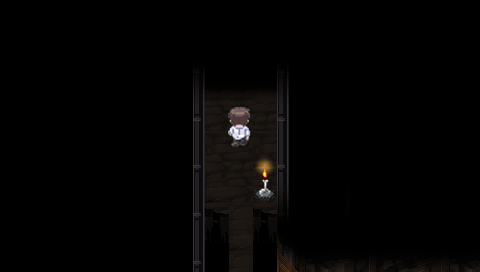
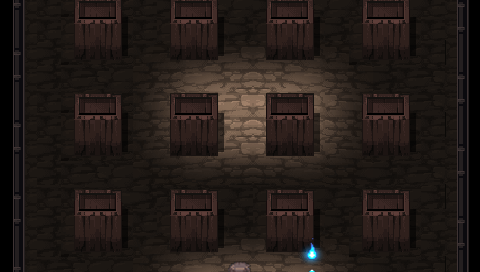
As we continue north, a spirit appears.

The spirit drifts between the shelves in the pattern: right, right, left, right, right.
Music: Bomb Shelter
Obviously, the correct way to proceed through this room is to follow the spirit.
If you take a wrong turn, you fall through a trapdoor.
The traps let you off in this small room.
Which brings you back out here.
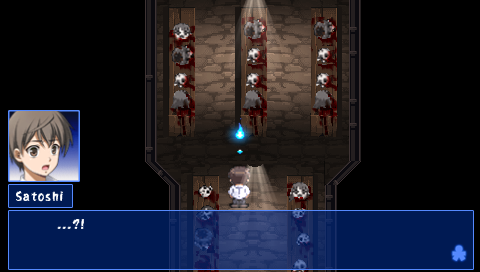
If you take a wrong turn, the game is nice enough to repeat the spirit sequence when you return to the heads, so you can get another look at the path it takes.
This time we take the correct path and continue further north.
There's a note on the wall.
"Dear Shiho,
Stay strong -- no matter what happens, no matter what you may see. Never lose that immovable will of yours. Fight the darkening. Don't let it take you over. If you can beat it...then you can beat fate itself."
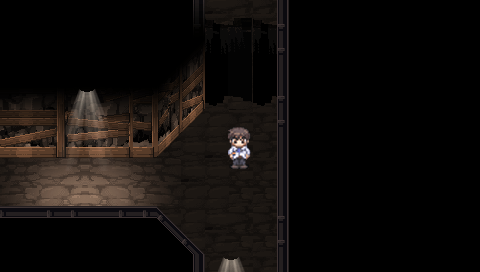
We continue east.
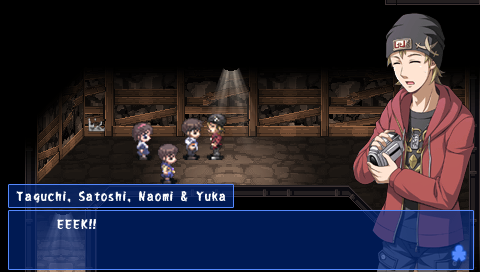
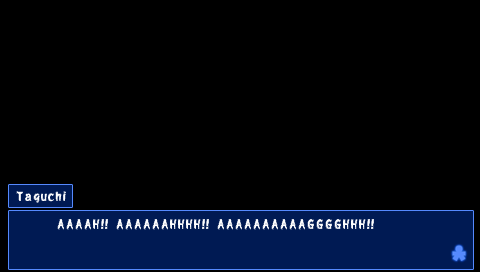
 Aaaah...AAAAAAGGH!! ...W-Wait... People?
 *pant* *pant* ...Come again? I, uh...umm... Y-You...
Naomi picks something up off the ground and approaches Taguchi.
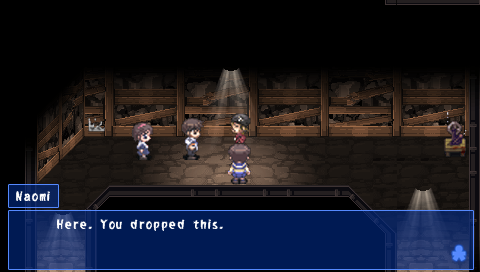
 Ahh...ahhhhh!
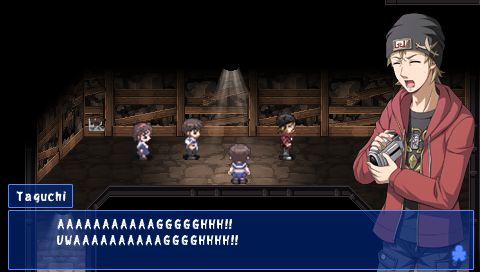
 AAAHAAAHAAAAHH!! AAAHAAAAAAGGGHH!! ...Wh-What...just happened?
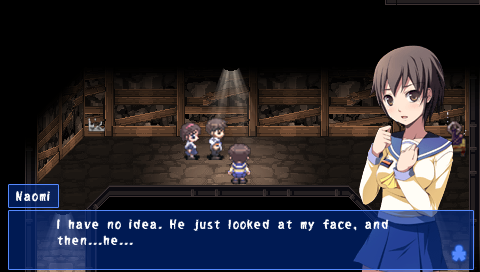
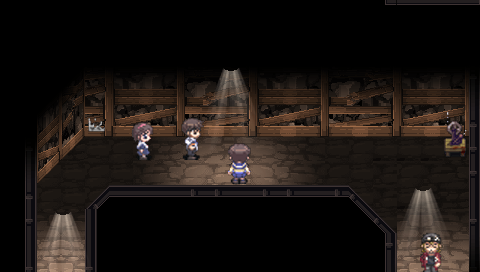
 Come on, we should make our way through here as quickly as we can. Weird things seem to be the norm down in these tunnels...
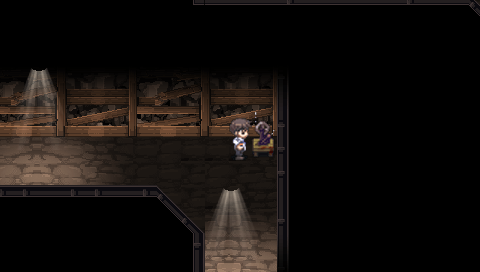
After regaining control, we make use of the nearby crank.
Which creates a bridge for us somewhere else.
That bridge is immediately to the south of the crank, actually.
It leads to another crank.
Which makes another bridge.
We cross back over our first bridge and head east.
There's a hole to the north, so we head south, crossing the bridge we just made in the process.
There's another crank, which creates a bridge back at the hole we just looked at.
After crossing our new bridge, we come to two pits and a crank. The crank makes a bridge in the pit to the right.
That bridge brings us to a crank that makes a bridge on the other pit.
And now we're done with that stupid room.
Sound Effect: Sachi
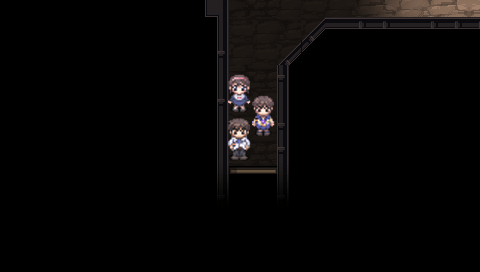
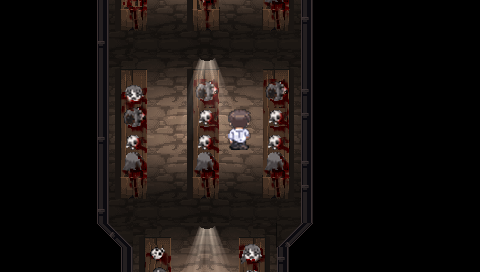
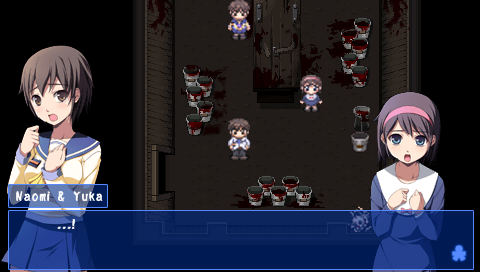
The next room forks again. The door to the right is another empty sub-basement room, like the one we fell in when we screwed up the ghost thing earlier.
When we head north, we find another spirit.
Music: Kagome Kagome
As you can see, this is a much more complicated room than the last one.
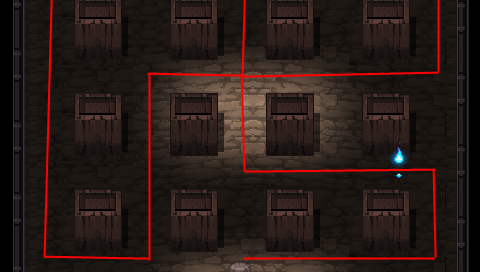
It follows the red line. You don't actually have to follow its path exactly. It makes a pointless loop at the top, which you can bypass by just turning left at that spot.
The music that plays during this sequence is culturally significant, and has a very interesting Wikipedia article.
Music: Bomb Shelter
We follow the path and exit the room.
A dead end. We have to enter the room to the right.
Music: None
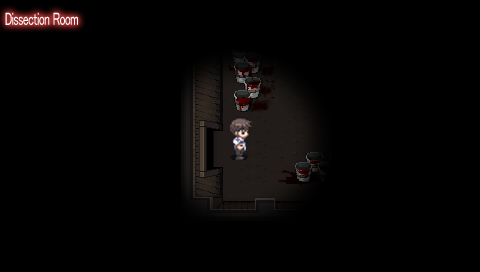
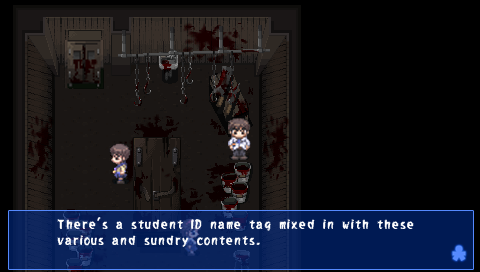
Background Sound: Dissection Room
 Rng...
 Glgh! Wh-What is this place?! The smell is absolutely overpowering... Are you okay, Yuka?
 Nnng...
We take a few steps into the room.
 *gasp*
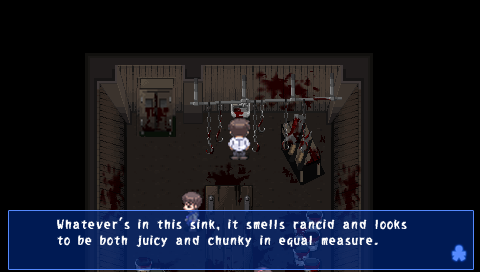
 What the hell is this room? What was it used for?! The table sure does have a lot of blood stains on it...
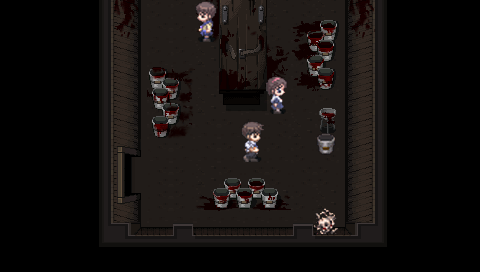
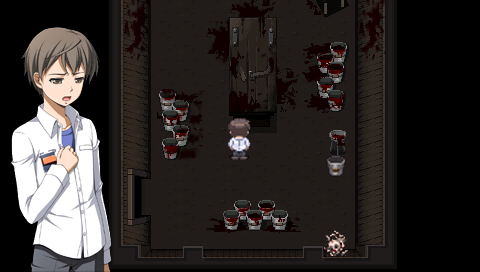
I like the dissection room. It's one of the more unsettling areas in the game.
There are three name tags in here, too.
Nana Ogasawara Age: 13
Musashigawa Girls' Middle School, Class I-4
Tongue removed; went into shock and died.
Chihaya Yamase Age: 13
Musashigawa Girls' Middle School, Class I-4
Dissected in underground room and crammed in bucket.
Nari Amatoya Age: 13
Musashigawa Girls' Middle School, Class I-6
Only a nametag was found. Exact circumstances of death unknown.

There's some good flavor text in this room, too.
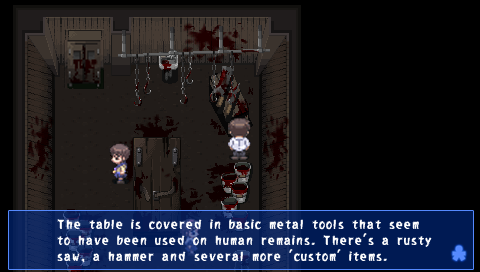
A very unpleasant room.
Well, we've looked at everything, and Naomi and Yuka both have nothing to say. We head out.
Video: The Dissection Room
This video covers the remainder of the update.
Background Sound: None
Sound Effect: Footsteps
Music: Dissection Room A
 Someone's coming! Wh-What do we do?! The footsteps are getting closer! Under the table. Quickly! Won't we be found right away?! There's no place else we can all hide. Come on!
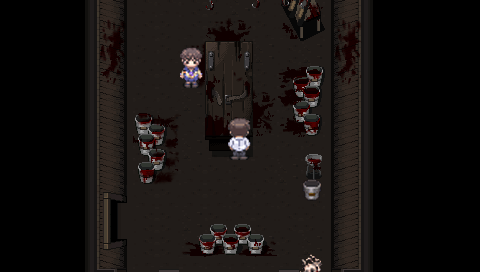
The three of them all crawl under the table.
Music: Dissection Room B
Lying under the table, we can't see much but the floor.
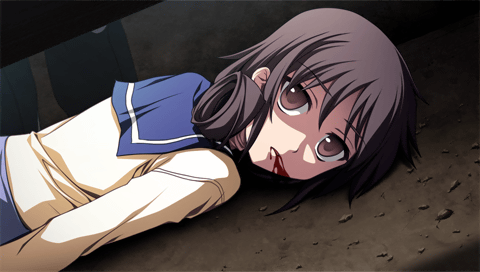
Heeeaaaaaaaaaagggghh!!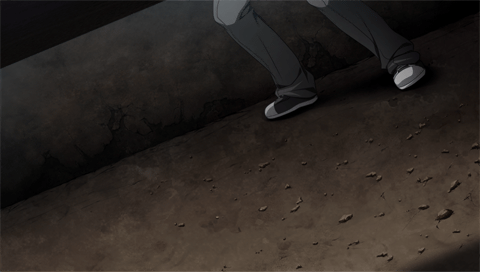 *pant* *pant* Aaaaagh!
Sound: Thump

Taguchi's feet vanish and we hear a door close.
Music: Dissection Room C

Yoshikazu: Hrrrg... Rrrrg... Gaurrrrrrr...
 *whimper* Naomi... Hang in there. ...
Yoshikazu: Oaaahh... Ooooah... Oaaaaaaaggghh! Ooh... Oaaaagh... Oaaahh!
Yoshikazu drops what he's holding onto the floor.
 ...! *gag* *whimper* Naomi...! *whimper* *whimper*
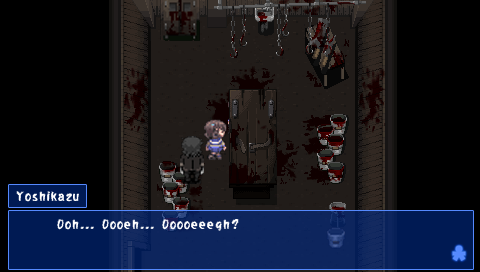
 ...!
...!
Yoshikazu: Rrrrrreeeeegggghhh!!
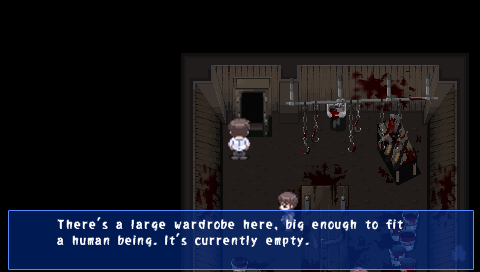
Suddenly, Yoshikazu screams and charges at the wardrobe!
Yoshikazu: Rrrroooooaaaaaggghh!!

After finishing his business with Taguchi, Yoshikazu returns to Seiko's body.
And takes her away somewhere.
Music: None
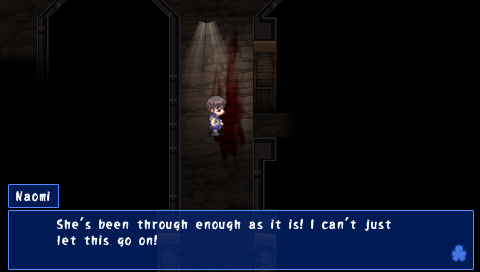
*sob* I think he's gone... Naomi? Are you all right? *sniffle* *gulp* Naomi...
 Where... Where the hell is that bastard taking Seiko?!
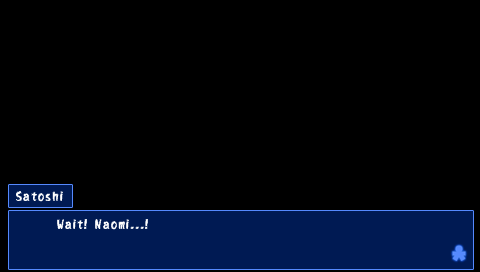
Naomi runs north up the hallway.
 Dammit...
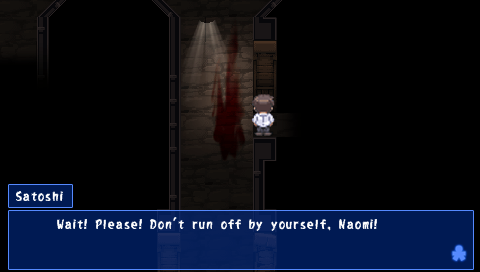
 Okay!
Okay!Yuka exits the dissection room.