Part 111: Grimira
GrimiraVideo
Ok Lord Sloth ... you asked for it. This ended up being quite similar in terms of the process to Aliancasterer, and this update will probablyl mirror that one. I think that map was helpful preparation and perhaps shortened the process. Main difference being that Grimira takes longer to finish once you get over the hump, but both do a good job of putting you under pressure in a right big hurry.
So if I could have your attention please - here's how many times I was doomed to experience Lord Sloth's DeathCount(tm).
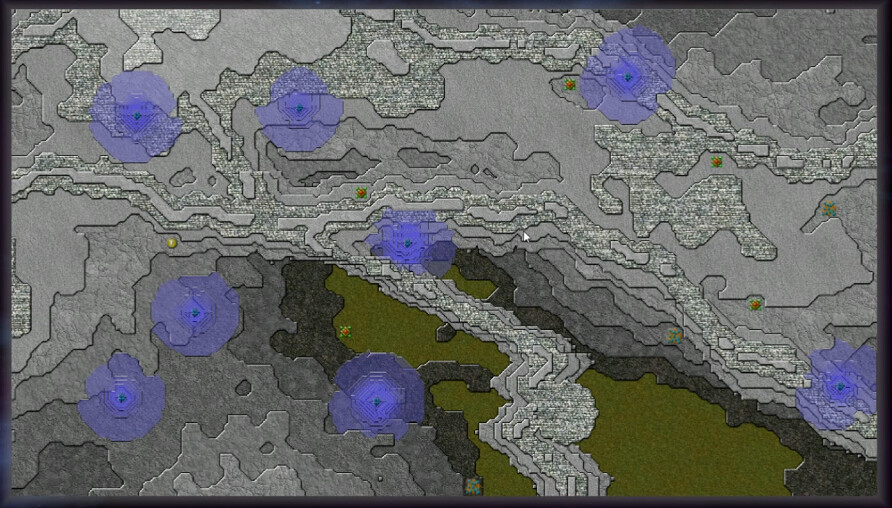
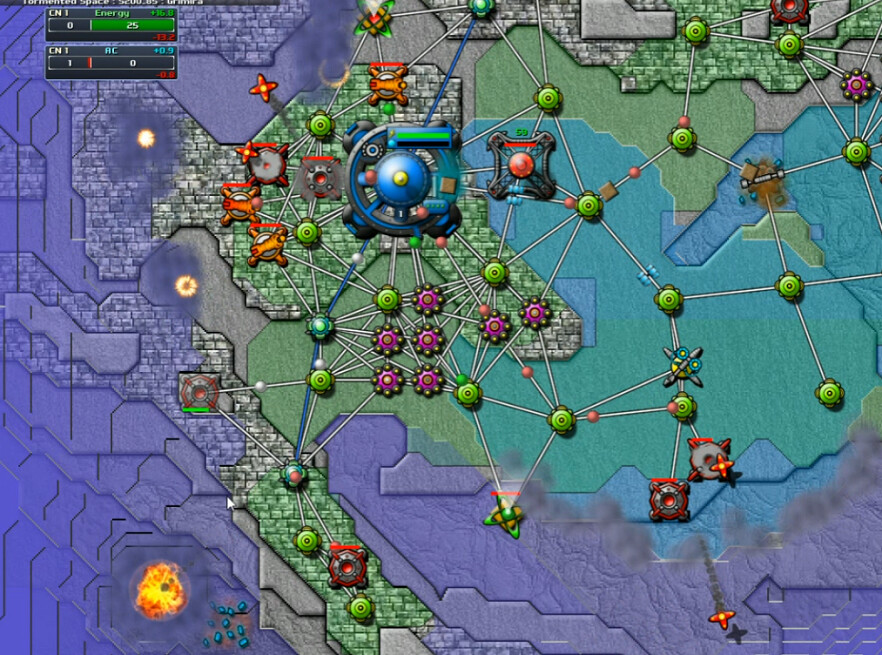
First time I just watched it for a bit to see how things would transpire. The main thing about this map is that the Creeper doesn't give you a starting side or corner to be safe in. It's just kind of all over the place, esp. in the west.
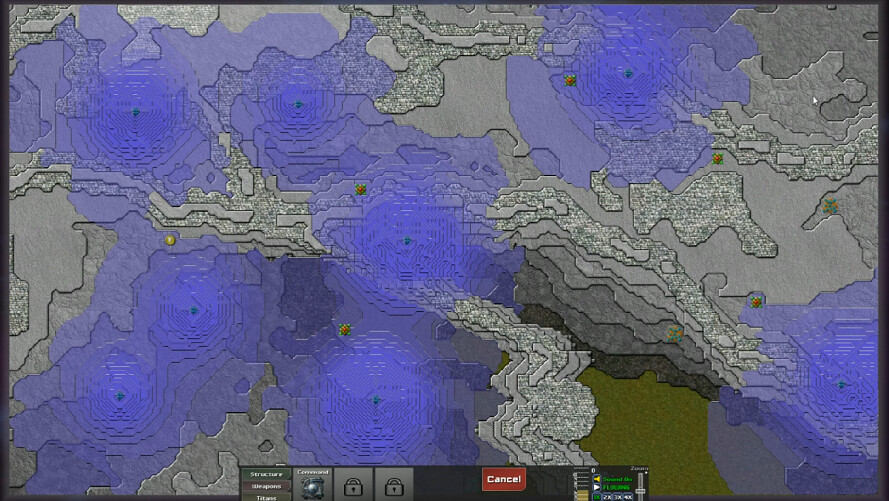
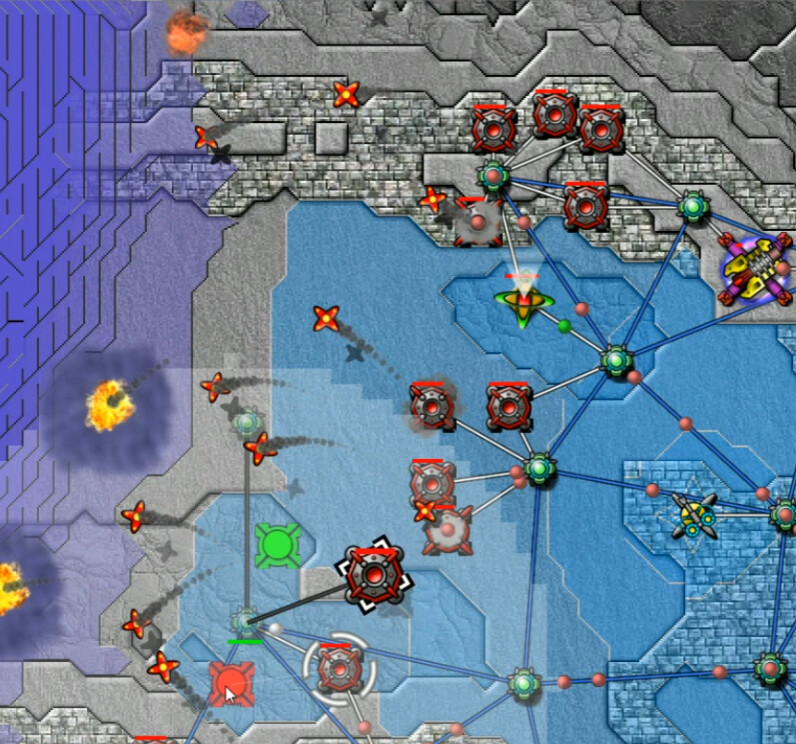
Here's the map after one minute. I'm actually quite curious where those of you who have played this started - because I think there are probably at least two possibilities. The very west edge heights just south of the ridge appear to get flooded too quickly. That plateau just east of the map's south looks clear and likely to stay so for a bit. In fact, that might well be the best spot.
It's not what I picked though, I went for the east between the two ridges and their Totems there.
I last just over a minute on this try, building too many weapons at once and not getting any of them up in time. Lord Sloth 2, Thotimx 0(counting the first observation run).
Take 3 - 4:39 video
This isn't much further in. I got a couple Pulse Cannons up, and you can just barely see a Mortar on the northern ridge. That's another mortar exploding in the south as I didn't get it up in time. Lord Sloth 3, Thotimx 0.
Take 4 - 6:05 video
I build a Mortar first in the south. This isn't enough, as you can see; 1:17 mission timer here so I'm really not improving other than doing a better job at securing the north with another cannon to keep the creeper from seeping around there. Lord Sloth 4, Thotimx 0.
Take 5 - 8:18 video, 0:34 mission
A strategy is starting to take shape here. A Mortar-Cannon combo in the south, I'm pretty much set with the starting weapons in the north that are good enough for initial purposes, and I've got a first Reactor getting built. This is almost two minutes in now - I've figured out that I need to prioritize the south and then get help for the north up shortly afterwards.
A second mortar is blown up as I'm getting a sprayer in place. I was just a little slow here and probably trying to build a little too much at once. Made it to four minutes though. Lord Sloth 5, Thotimx 0.
Take 6 - 11:58 video
Another 1:10ish fail as I don't get the mortar built in time. Lord Sloth 6, Thotimx 0.
Take 7 - 12:17 video
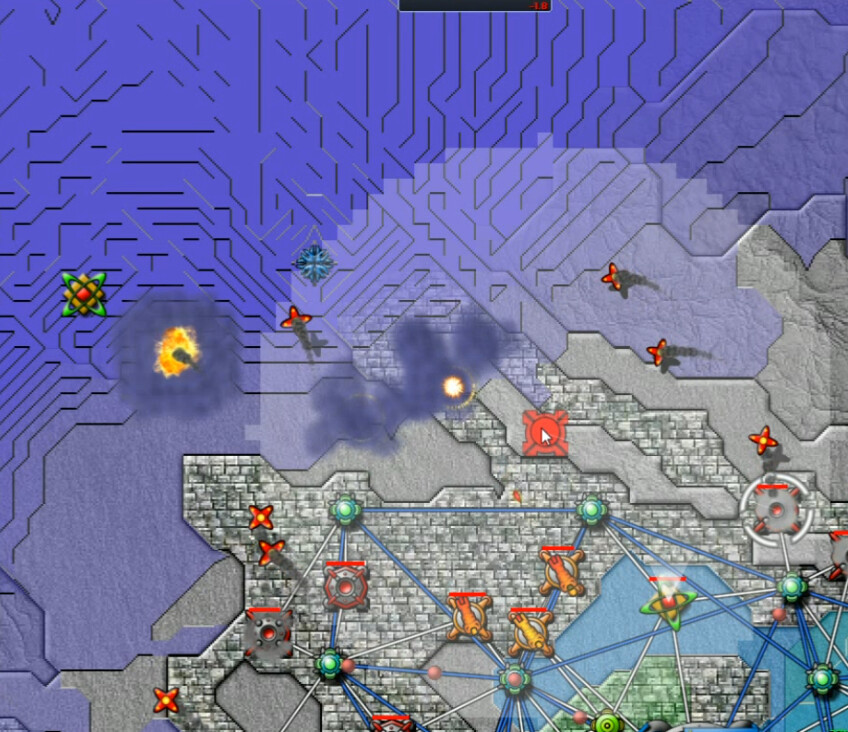
This time I make more progress, and this cannon repositioning is able to save the network and the command node when it starts facing an overflow from the north.
I started moving onto the southern ridgeline here when once again I was overflowed. This time was almost six minutes in. Lorth Sloth 7, Thotimx 0.
Take 8 - 17:25 video, 1:15 mission
Another case of building weapons too late and losing quickly. Lord Sloth 8, Thotimx 0.
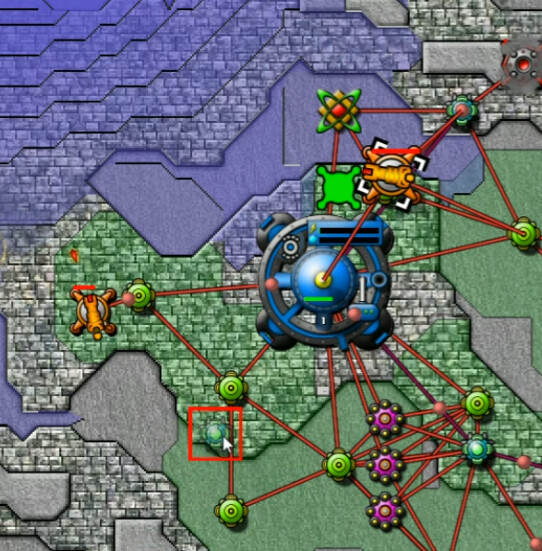
Take 9 - 17:55 video, 2:15 mission
I throw some collectors on the southern ridge, and grab the ore from there instead of the deposit in the east. Seconds after this shot though, the second Mortar in the south goes boom when it's mostly finished building. I am not amused. Lorth Sloth 9, Thotimx 0.
Take 10 - 18:25 video
I lose some collectors in the early stages but not enough to cripple things, and actually manage to get a Sprayer up and running for the first time.
At about the 5-minute mark though, the volume of pressure overruns me in the north. I'm not quite there yet. Lord Sloth 10, Thotimx 0.
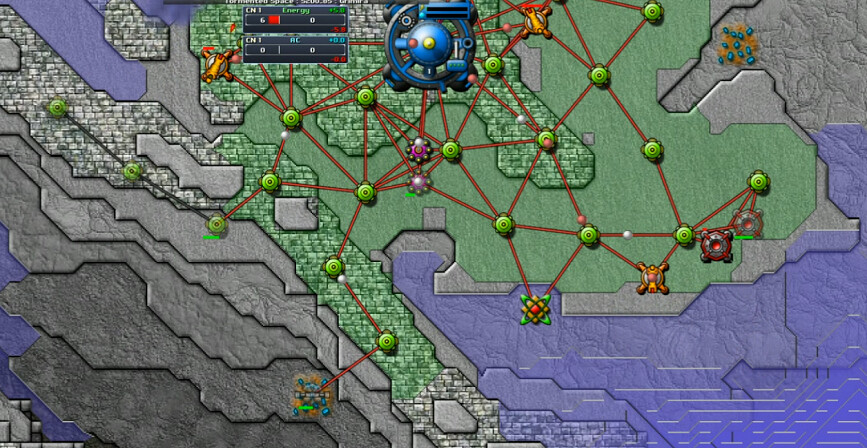
Take 11 - 21:14 video, 6:05 mission
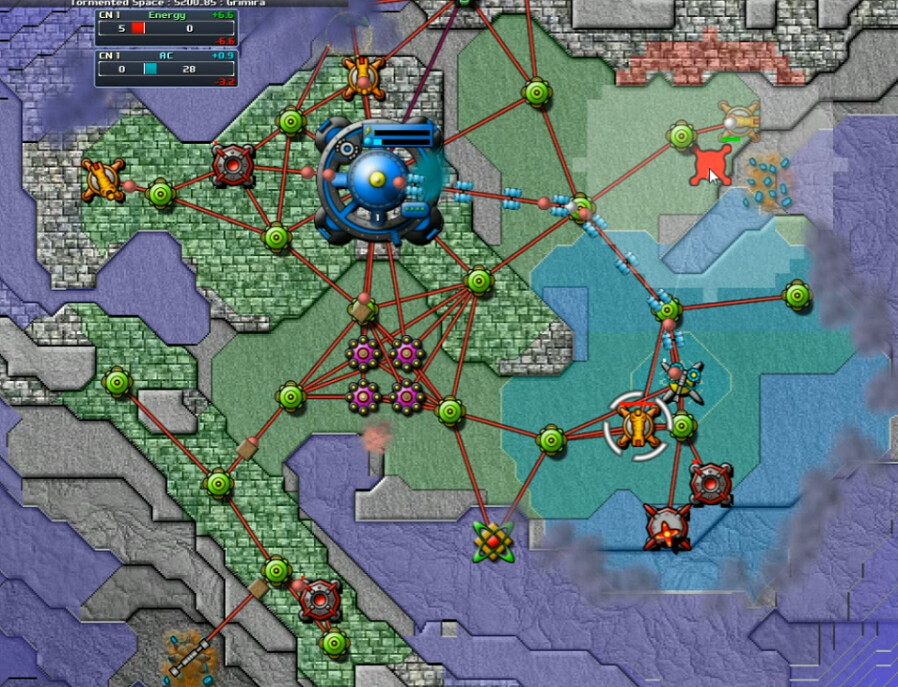
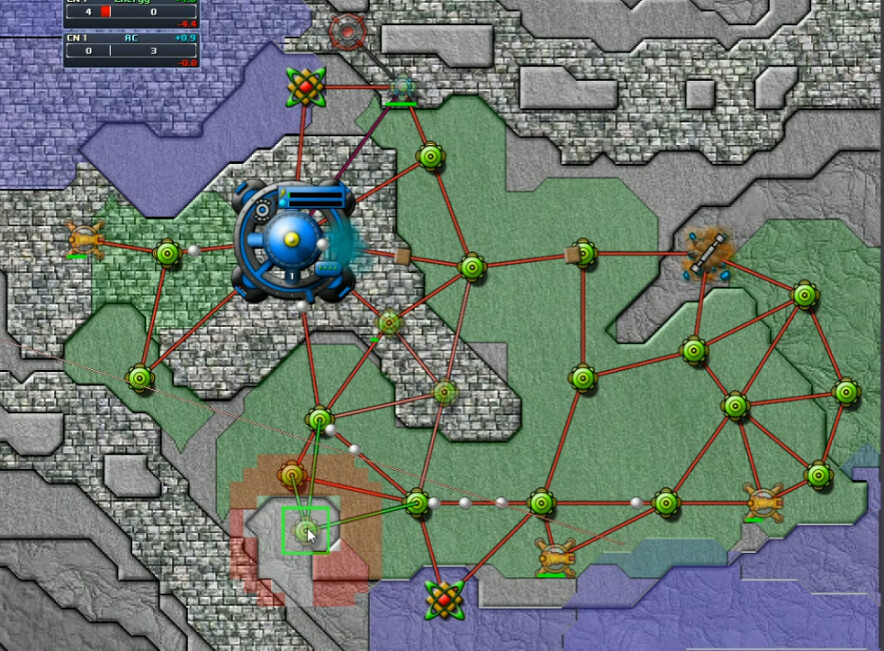
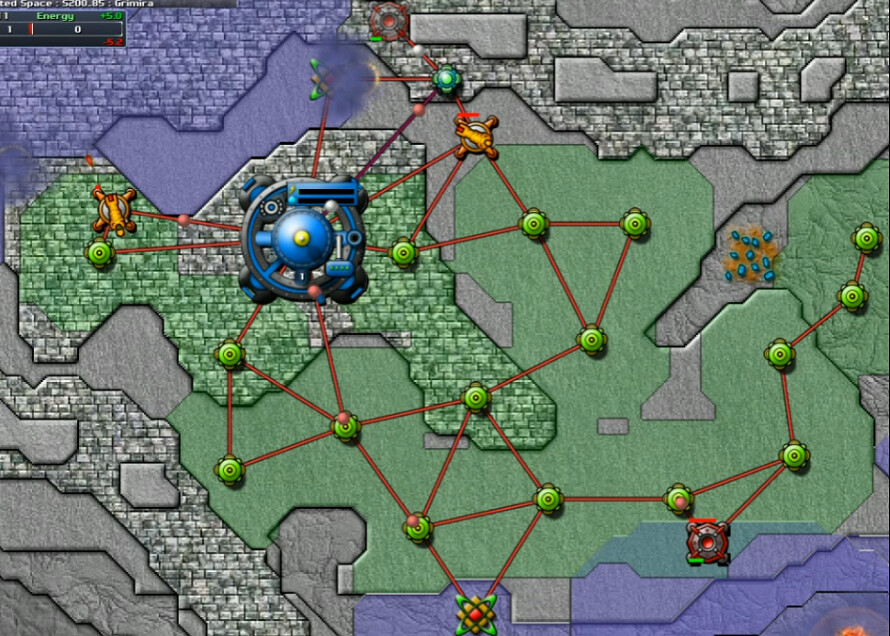
Better this time. I have a Mortar helping protect the command node area in the north, and will soon have another cannon to shift up there. But I still have an energy deficit - is it enough to hold? I do kind of an ore switch here, as I lose the deposit on the south side of the ridge, but have enough AC built up to build a mine on the other one so I still keep supply going.
Over nine minutes now, and things are dicey. I don't think I can wait any more for the Forge, and I've added more weapons where it seems they are required - but the energy debt is growing, and I'm not sure I can ramp it up enough to keep up with the increasing Creeper pressure.
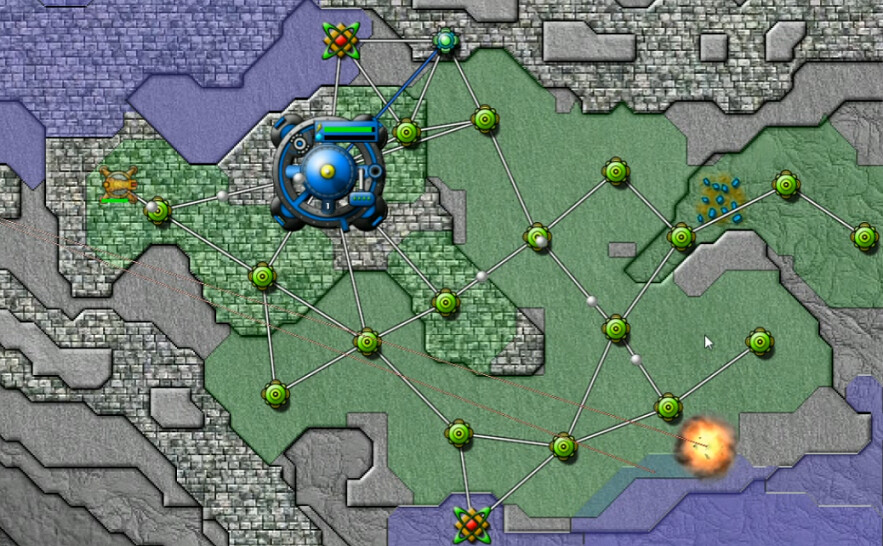
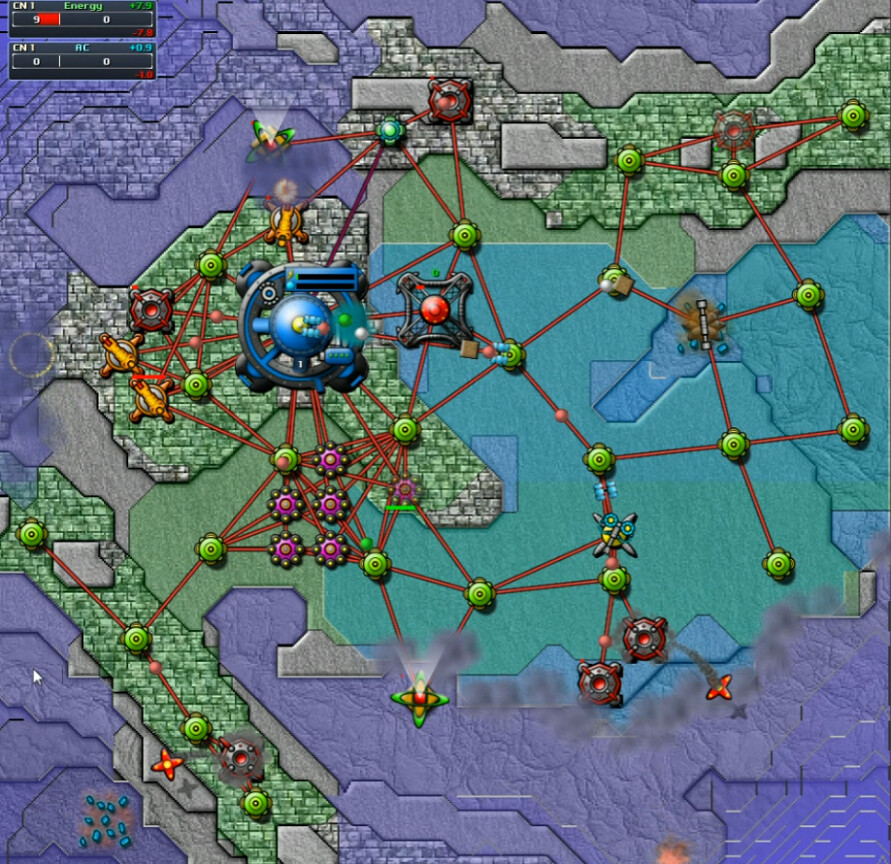
I get a couple of Energy Efficiency upgrades as soon as I have enough Aether. It's not enough to pull us out of the red but it definitely adds to what the reactors and collectors are contributing. I continue adding a single reactor at a time, and grab a third efficiency boost. Still not quite there.
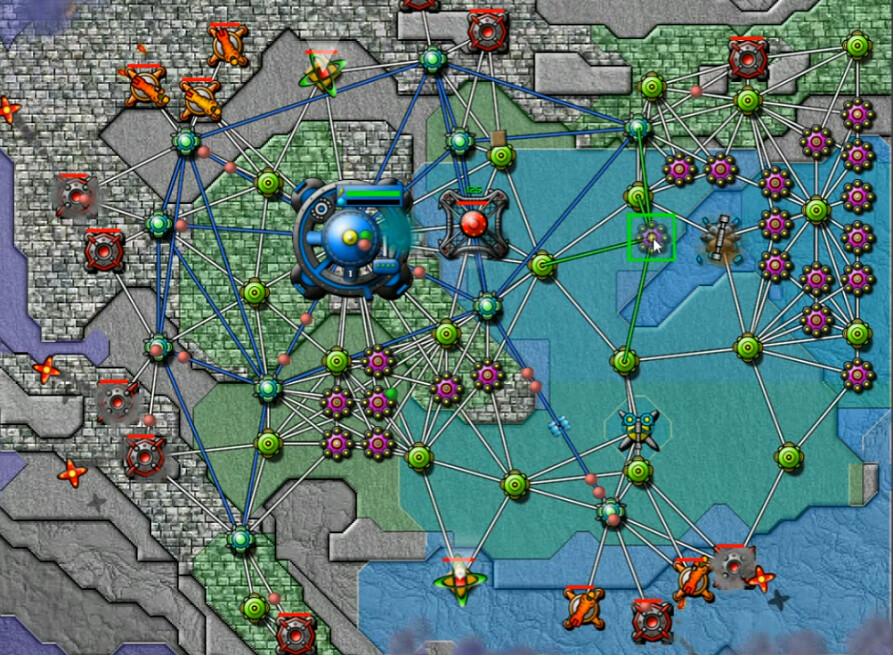
Another reactor or two and I'm out of the deficit now, adding a pair of the purple life-giving structures at a time and more firepower with that Mortar by the command node. Assuming I can escalate fast enough to keep up with the creeper and I don't do anything - knock on wood - stupid, this should be enough.
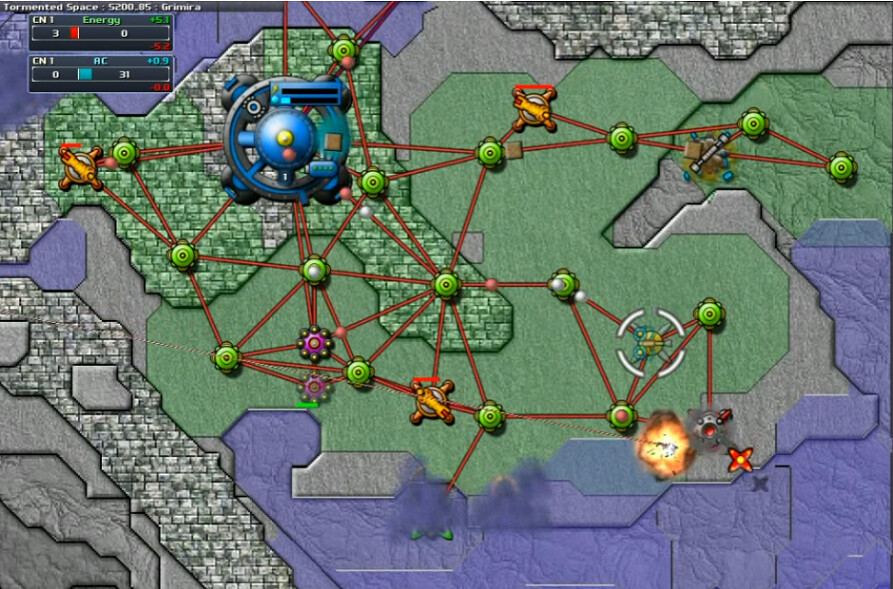
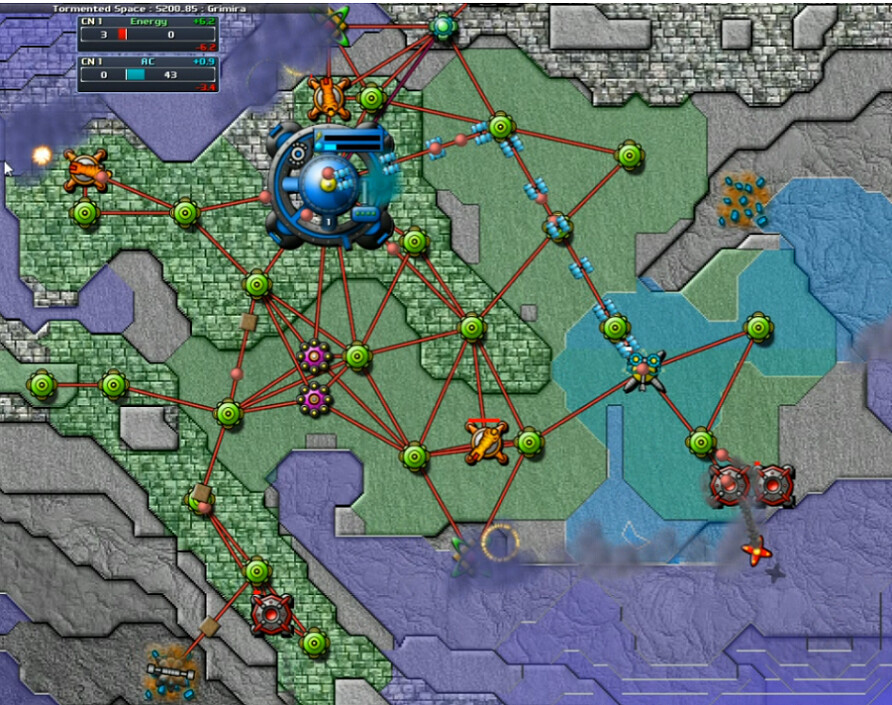
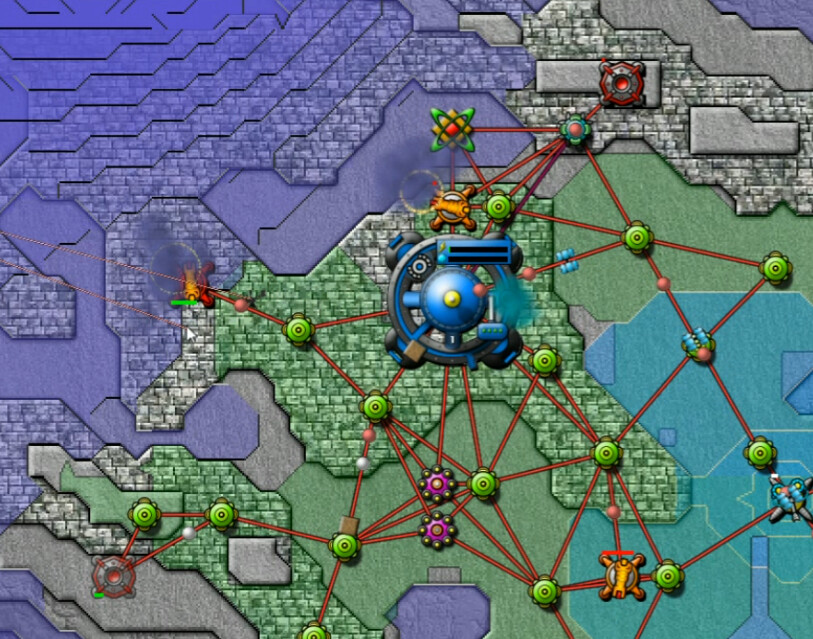
I grab a range increase primarily for the mortars, and deploy one here on the southern ridge where we are quite threatened with disaster. It's just enough to hold it off, and then we start gradually pushing the flood further back. The corner has been turned!
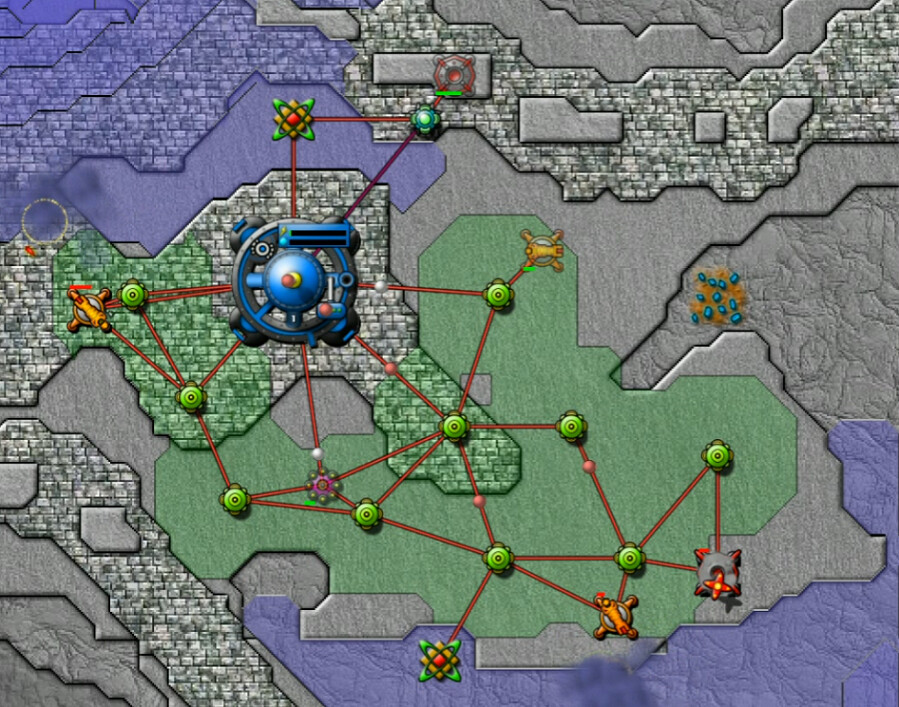
Next order of business is to expand to the northwest a bit, creating some breathing room for our network. Then a push to the southeast knocks out that isolated emitter.
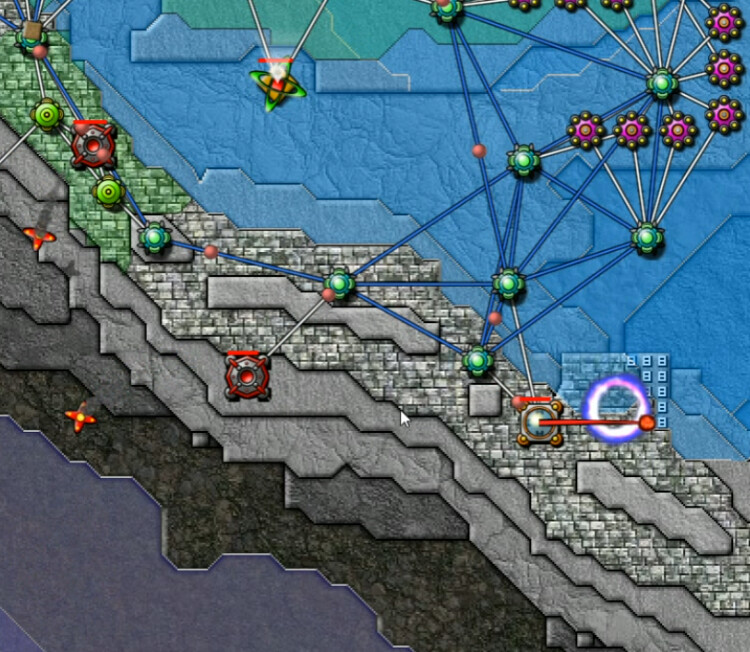
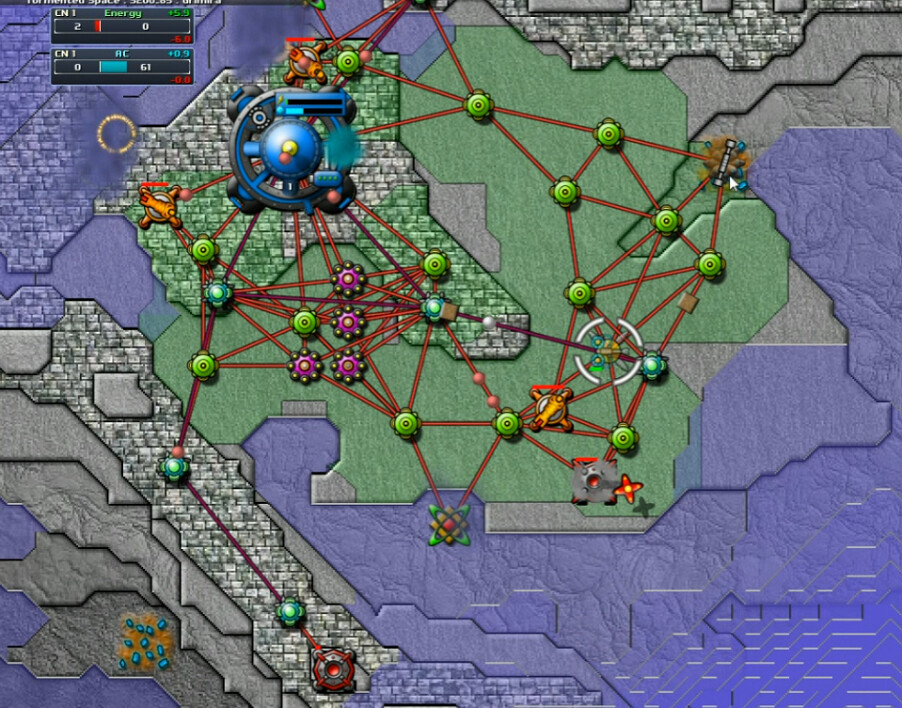
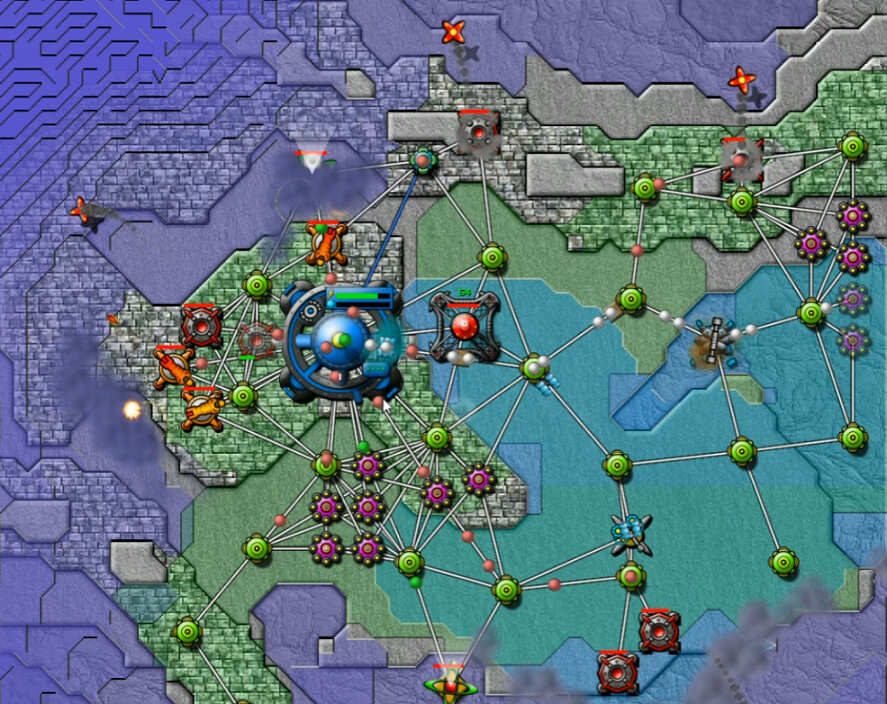
Having done that, I terp a platform so that I can put a Bertha on that PZ. It's a bit of a journey to get to more of them, and it's time to switch to the massed-firepower phase of things.
Then I work on spreading along the ridges, using the high ground like any sensible Commander, and pushing towards this, the other emitter in the east. As with the first one, I use the sprayer to lay down enough local anti-creeper to protect the area where the nullifier is placed.
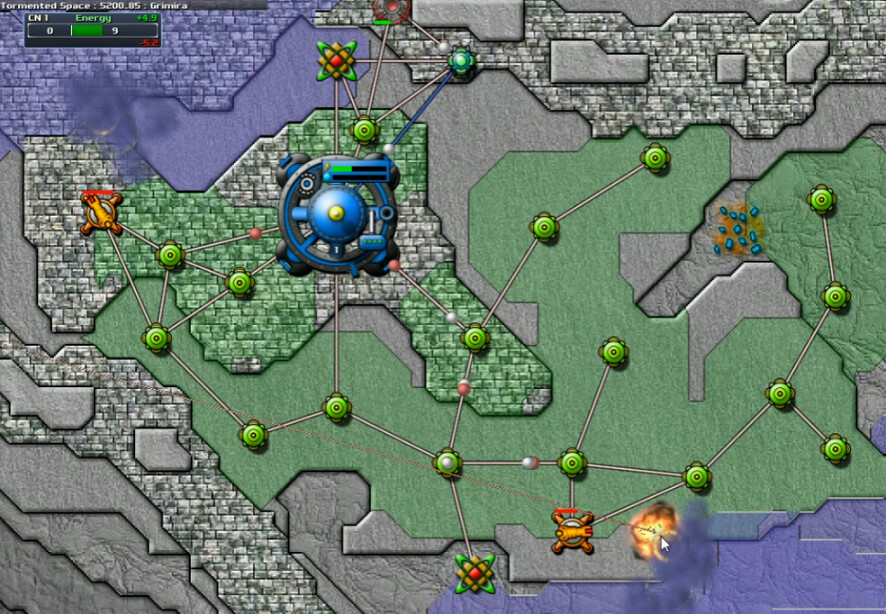
More ... and more ... and more mortars are placed as I proceed, with another SuperBerthaPlatform built. At this point it's about 40 minutes mission time, and it wouldn't be long before I had double this many weapons pushing west. Mop-up took another 15 mins and I was pleased to say hasta to Tormented Space.
Next is the Alpha Sector; and let's just say I hope all the maps aren't as rough as the first one I wrestled with. It ... uh ... well, let's just say I got the Turtle achievement(over two hours to finish a level) for it, and there were points at which I didn't think I was going to be able to complete it. After all, there are potentially impossible maps in there ...