Part 117: floodgate v4
floodgate v4By Aurzel, this is the last of the single-planet systems in the Alpha Sector.
Video
This is a two-hour video. I decided against editing out significant chunks of it; the viewer is recommended to skip around a fair bit but I wanted to include the entire struggle. Mistakes were most definitely made, and I didn't realize what all of them were at the time.
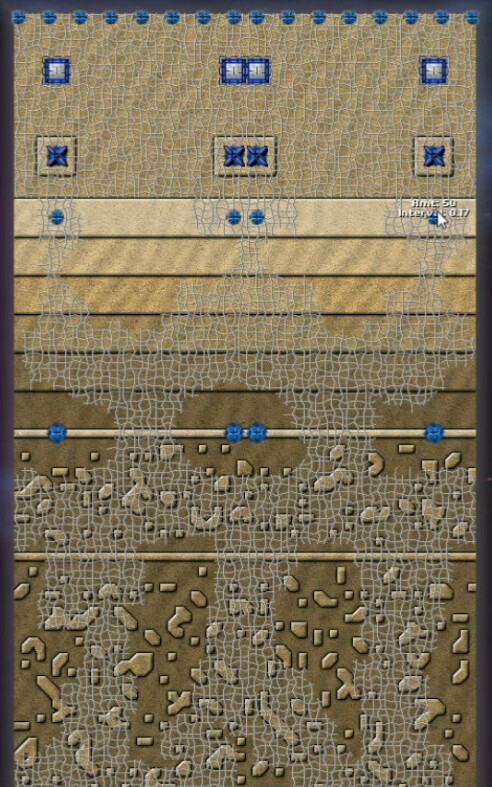
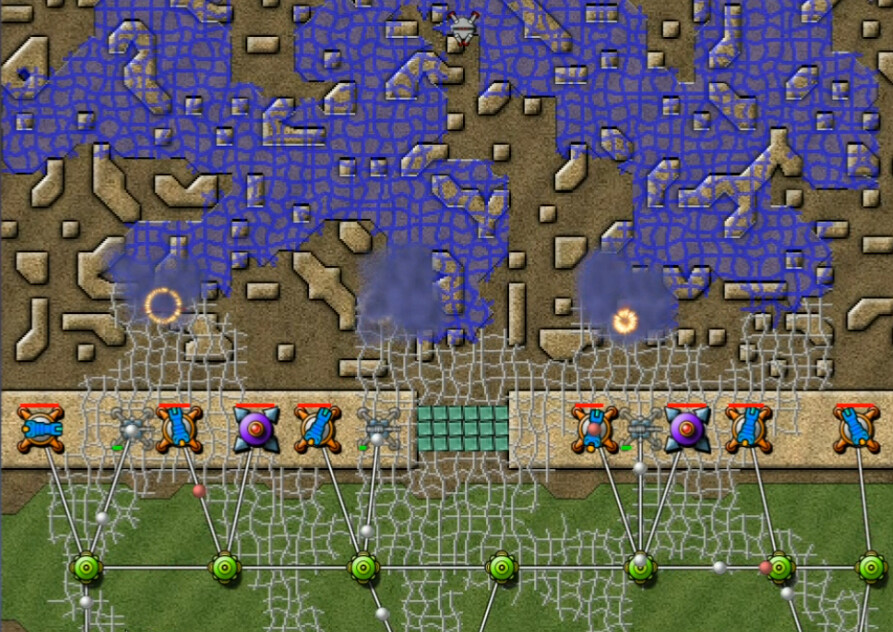
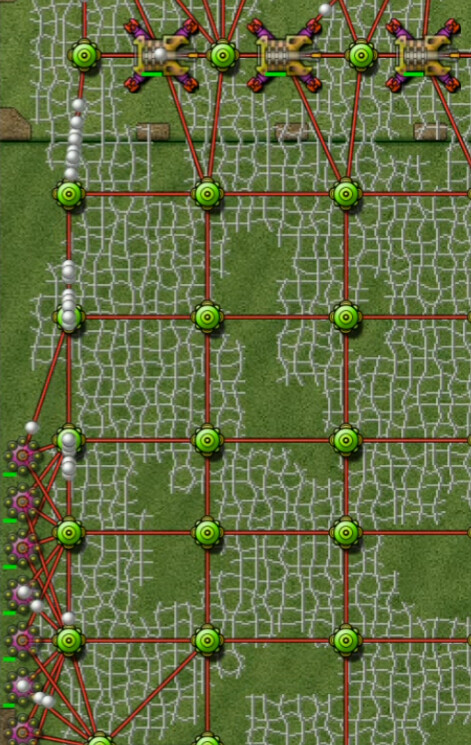
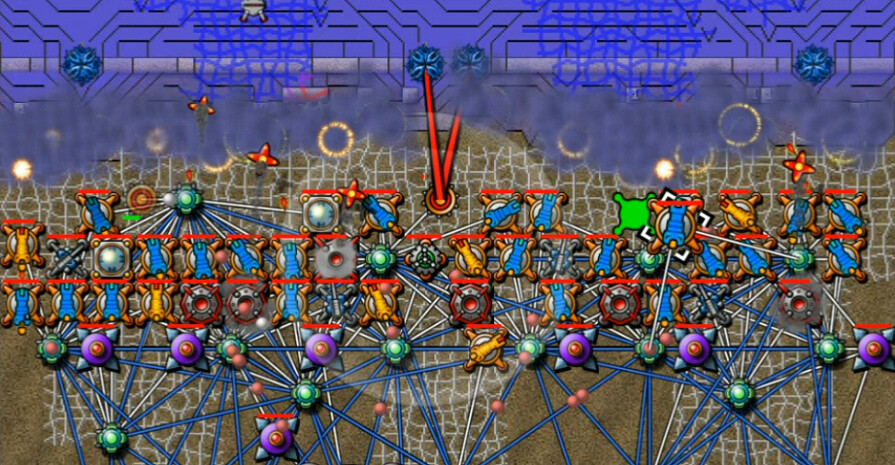
This is a narrow, vertical level that is highly linear and pre-determined. It's not a mystery what is going to happen - the question is on how to deal with it. Here's the top half.
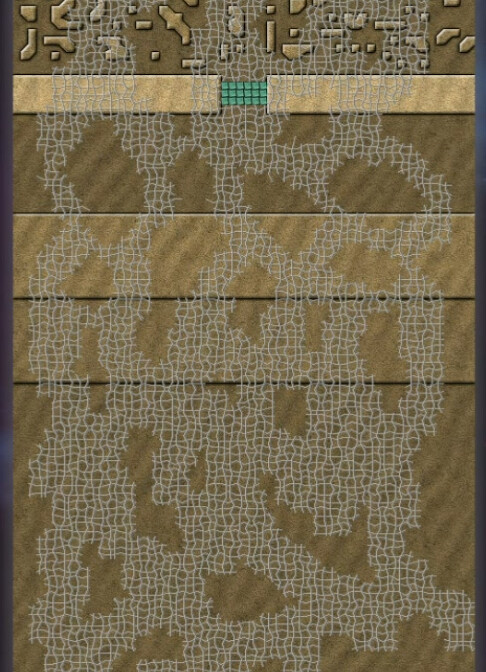
And the bottom half. The floodgate itself is of course those aqua-colored blocks that we've seen before at the top of this. Played properly, the creeper will never reach those, and I think the map name is a misnomer. The digitalis is a much greater threat than any general overrun by the creeper taking out the gate, as we'll see.
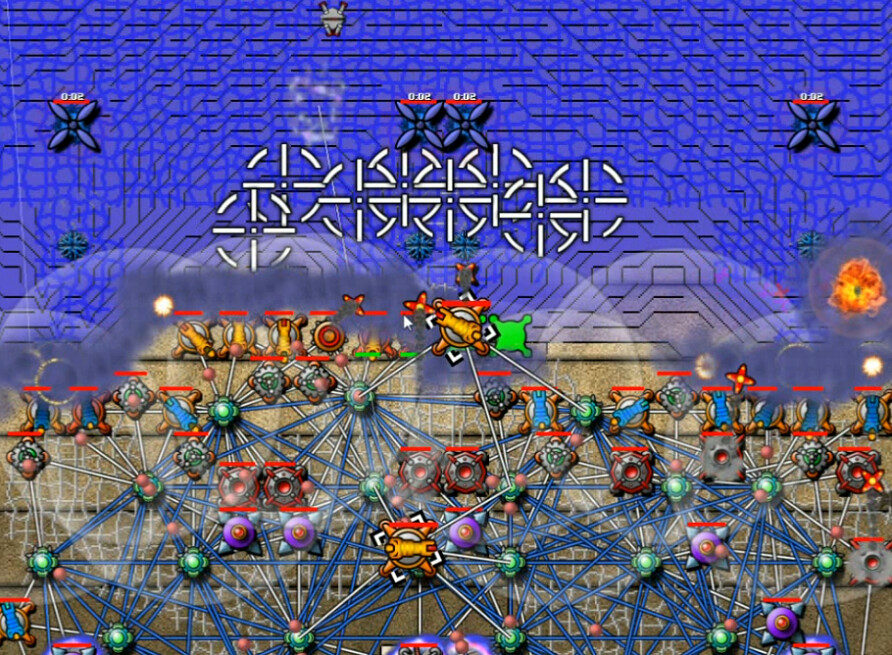
I begin by placing Command Nodes on these ridges behind the Floodgate Wall, then Collectors in a grid to the south to get a bunch of energy up quickly and use the sizable space we have behind us. The whole 'building on Digitalis' thing is not nearly as important or intimidating here as it was on Titan.
That's sufficient to get an income of 16 energy right away. No slowly building-up struggle to get an economy going here. Then these half-dozen Digitalis Pulse Cannons are placed on the wall itself as our primary defense. Just at this moment, the digitalis has grown over the final ridge a ways to the north, much like a vine, and is bringing the creeper ever-closer to us.
Beams for the spores, Snipers for the runners. I've got some of everything ready as the initial wave approaches. 2:26 mission time.
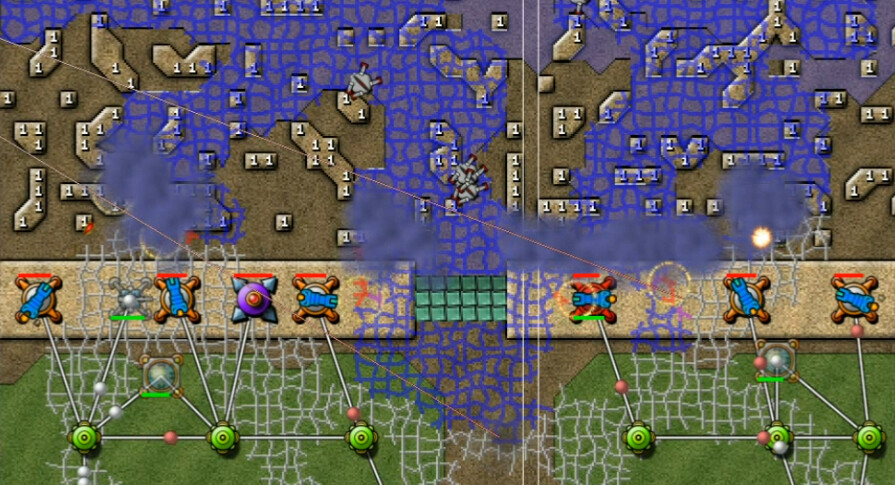
30 seconds later, at 2:57. The digitalis is not impressed by our puny attempts to stop it, and the creeper simply climbs over the floodgate wall into our base. You can see the beginnings of floodgate damage here, but we're already wrecked long before we need concern ourselves with that.
Take 2 - 4:56 video
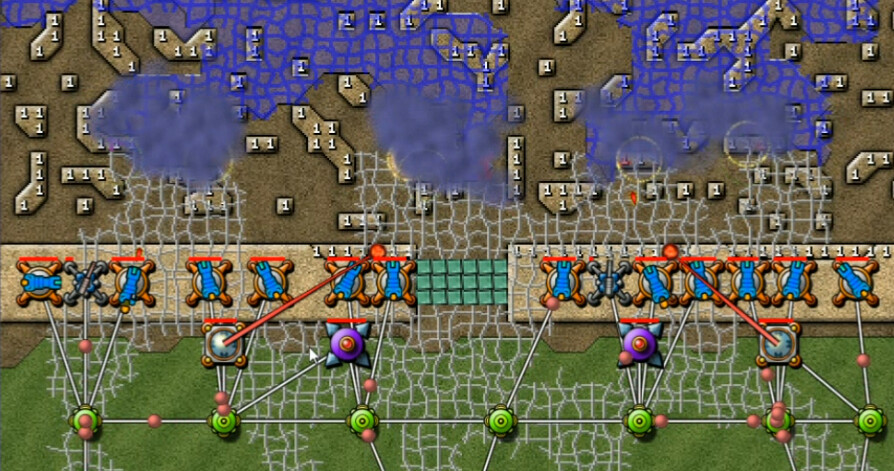
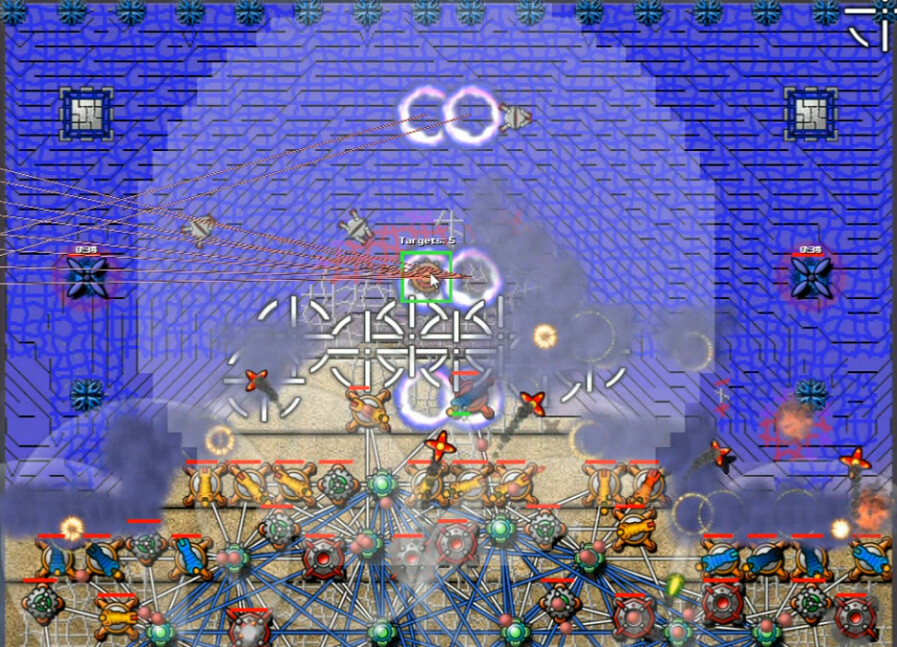
Six cannons clearly weren't enough, so I go with a full dozen here. You can also see the beginnings of my plan to push forward; I want to use Terps to level out the rough terrain - but not the wall itself. I would eventually correct that. If I had this to do over again, I would instead Terp up a series of walls to move forward with instead of lowering the raised bits, but that comes with its own set of complications.
This upgrade proved to be enough to keep the digitalis at bay. Usually equilibrium on the second attempt means an easy level. And it wasn't difficult - it was just a blasted long struggle to reach the north end.
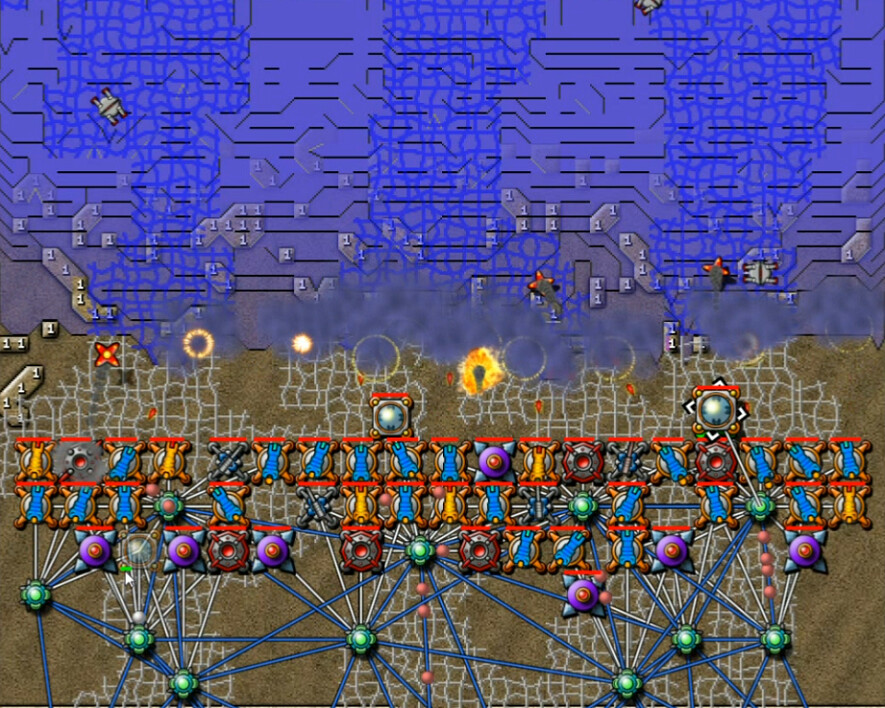
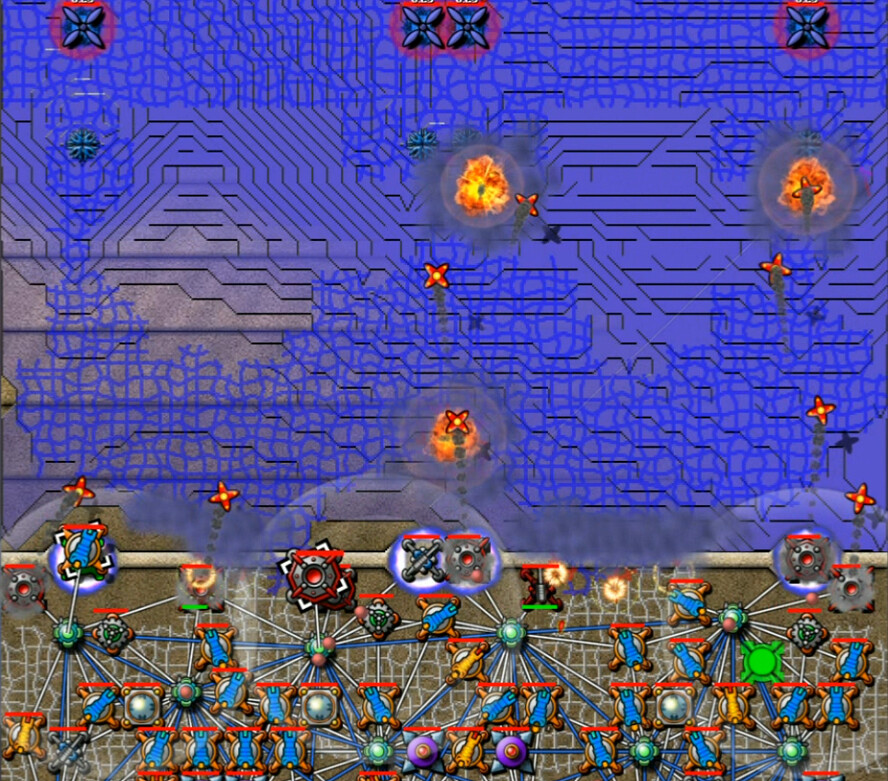
Here's the start of my reactor farm; I started cramming in weapons everywhere I could including mortars in front of the wall and upgrading to six Beams to be certain no Spores could get through. At first I ran into a moderate energy deficit, but as always this was the solution and now I'm back healthy again.
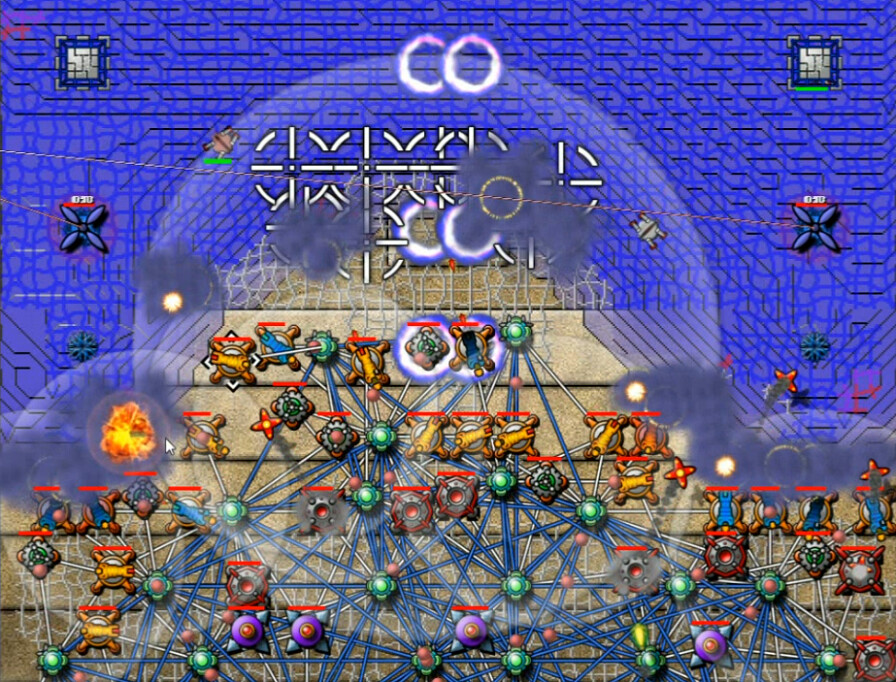
There are no Totems anywhere on the map, so upgrades are not an option. It would be much easier if they were. Massed energy structures and massed weapons in as small a space as possible are the thing. What's coming next of course is the slow march to the north through this labyrinth of uneven terrain - or rather eliminating said labyrinth. Aside from the Terps, it's not all that different than the Fortress Siege march, LITE version with a lot less killing power on both sides.
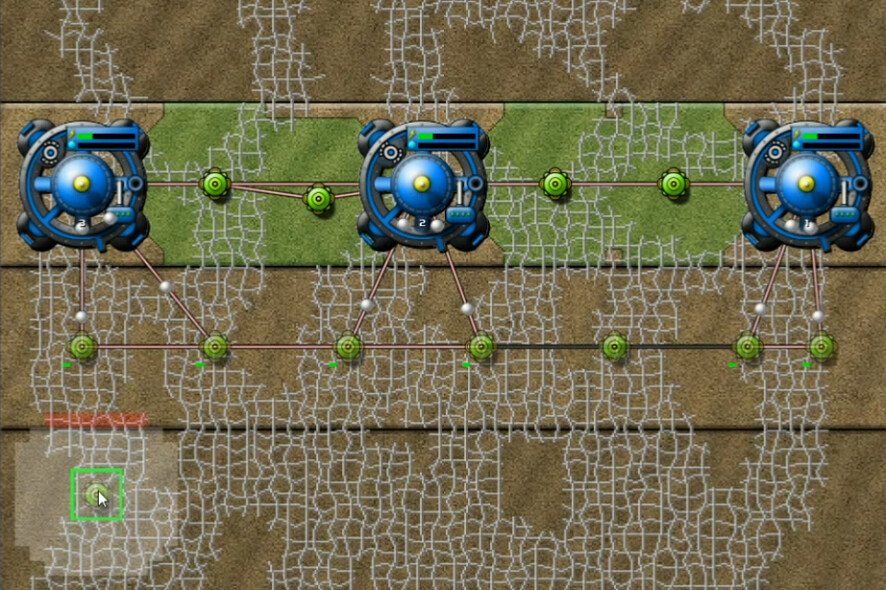
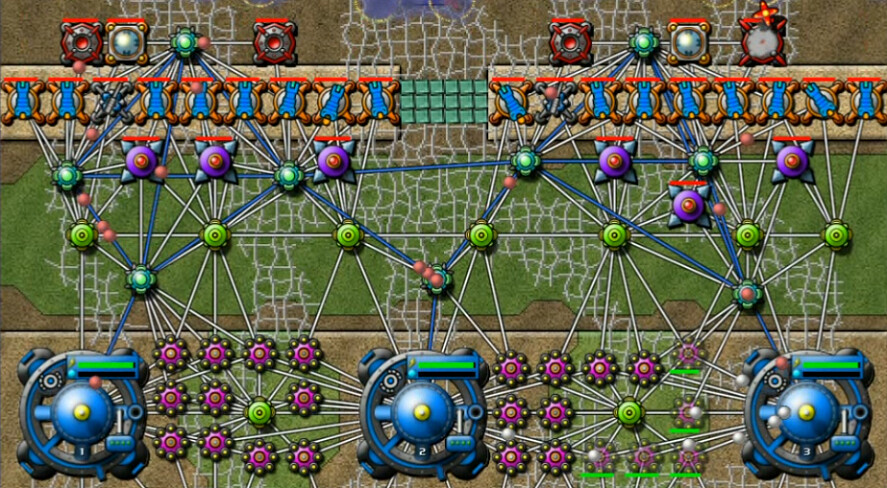
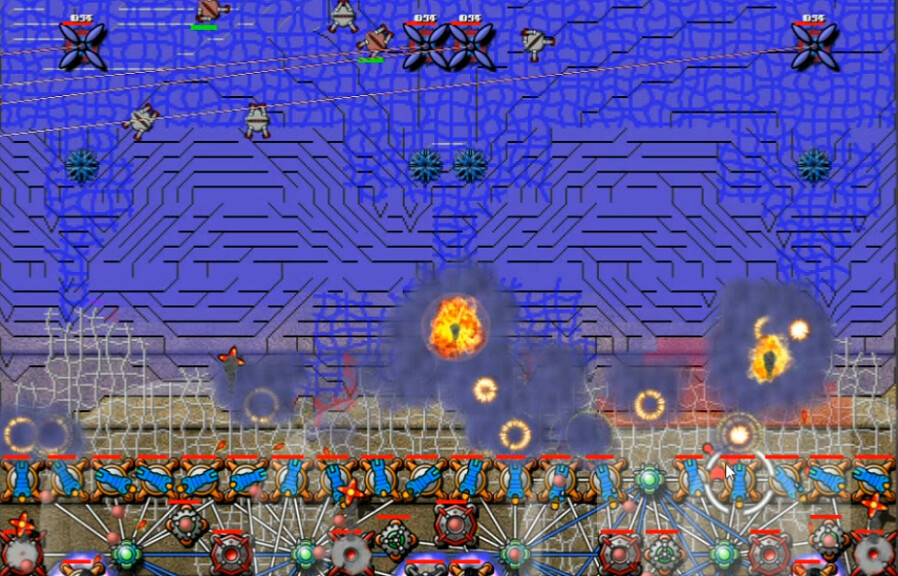
Berthas and more reactors to power them, the logical next step it seemed to me. After all, we have all kinds of space back here, might as well make use of it to ease the effort of the forward push. It was about this time that I realized that it seems the Spore Towers actually have multiples on top of each other, because the amount of incoming kept increasing for a while even though there were only four of them.
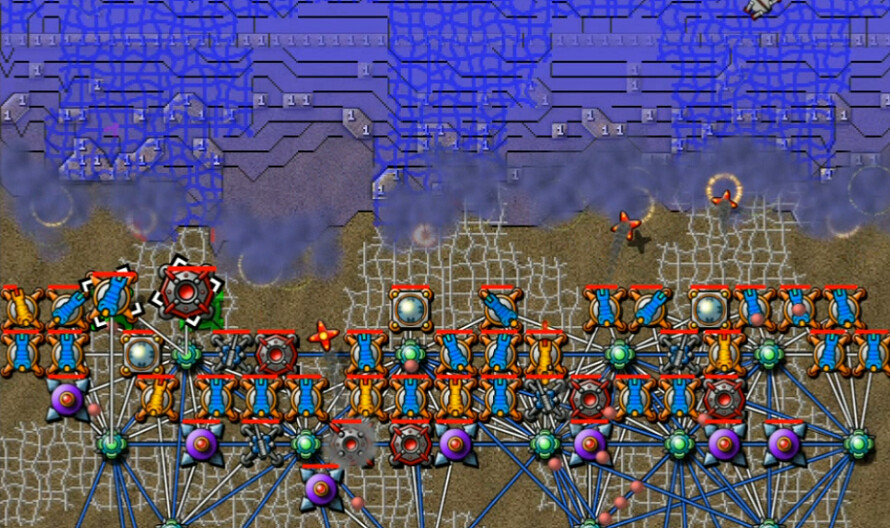
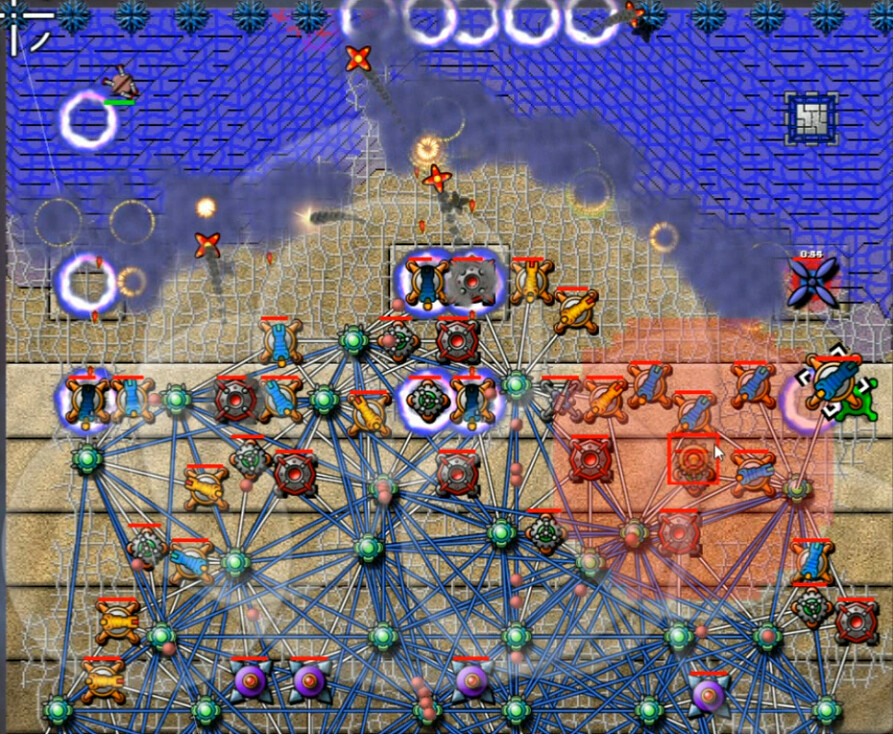
Here's a decent look at what the offensive was like when it had mostly matured. Dozens more reactors were up, we had a four-some of Berthas and probably should have had a lot more - I'd literally paper the back with mostly reactors and the rest Berthas on this level before trying to push forwards if I had it to do over again. A few rows of weapons is all that's even useful here at the front when you consider the limited non-upgraded range. I went with a mix of creeper and digitalis-focused cannons, the other types thrown in and tried to keep a roughly even distribution across the width of the map. Seen here also is me building a third Terp. It's a question of space available vs. firepower, but again on a replay I would advise myself to go with 4-5 of them.
We've just nicely started to make progress; the floodgate wall is just barely past the lower edge of this shot, which at 30 minutes mission time. Progression is slow, to put it mildly.
The First Retaining Wall can now just barely be seen - the row of 1s there solid across as it's been marked for terraforming. The tip of the spear here hasn't changed much in the almost ten minutes it's taken since the last image, but I have added more Reactors, two more berthas, and moved one of the command nodes up closer for more rapid ammo distribution.
There was a bit of a slowdown once we reached it, as the terps tore it down and then the creeper flowed through the open space with more force and volume, freed from its cage. We had more than enough to handle that though, and it was short-lived.
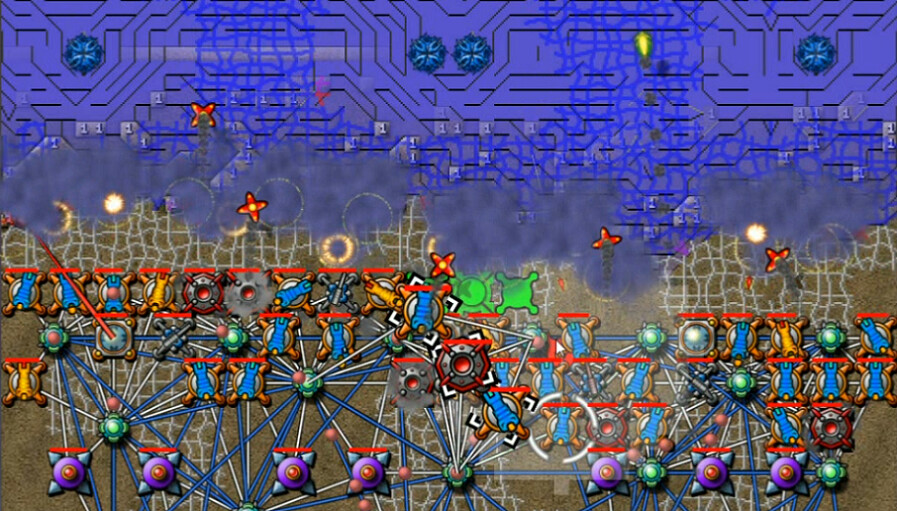
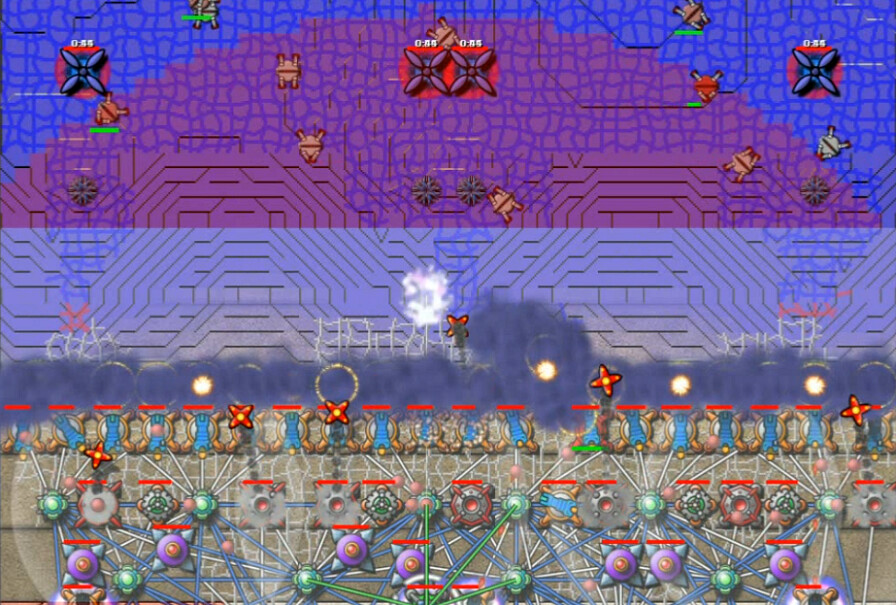
Here is the Second Retaining Wall starting to come into view below the overflowing Creeper, esp. on the left. An obvious difference is the emitters on top of this one.
Using the quite probably unnecessary shield method to guard it, I soon had our first Nullifier in place, and a pair of the emitters went down. Finally I was really starting to hit back and slow down the creeper machine, 50 minutes in. Each of these also housed an AE Exclusion Tower, not that I really cared - I think berthas were much better use of the space and energy than strafers, and there's no ore on this map.

Naturally I didn't want to tear down this wall, but rather use the PZs for elevated firing positions. Runner density was becoming significant, mandating Sniper positioning. The shields are working hard to keep the creeper away, and I would soon move Mortars up closer, but it was a bit of doing to secure these positions.
Once secured, we were now on final approach. And it's kind of a bear, due to these steps we can now see heading upwards. This time, we have to fight digitalis uphill. There's no other option.
I tried a number of things here. Most of them didn't work. Many weapons died to discover that I basically wanted mostly a stupid amount of shields and digitalis cannons. If you want a good view of me failing for a while as you scream at your screen in impotent rage - intermixed with some successes as well - start at about 1 hour into the video.
1:08 mission time here. We've only claimed the floor and a single step, but this is basically the way I ended up doing most of this; digitalis cannons on top, a mix of mortars and shields on the step below, then a massed group of digitalis cannons go up to the next step, lather-rinse-repeat. I never did get enough of them up in reserve to really do this properly though, making it harder.
As we inched closer to the summit, another problem presented itself. The SuperSniper on the wall behind us can't reach the top - the next row of emitters and therefore everything beyond is above its LOS. I took it out for a bit, and terped that section up to the maximum height to solve that problem.

To actually reach the next set of emitters, I wanted to push right up the middle and dedicated the fire of four out of my six Berthas to helping clear it out. This was a highly-unsuccessful Operation of Mass Frustration. So I built more berthas. At about 1:37:30 video, if you are so inclined, you can see me getting about a dozen cannons destroyed simultaneously and very quickly in a failed attempt to just throw more crap at the wall and hope something sticks.
A couple minutes later, I finally got it to work; combination of just more shields and standard cannons in a digitalis-free zone to keep the creeper away - combined of course with the continued massed artillery fire in the area.
I expected this to make things a lot easier. And it helped, but not as much as I anticipated.
Using one of these new PZs to nullify with took out four more targets - two spore towers and two of the runner nests. And when I say two spore towers, I really mean six spore towers and two AE towers; they were indeed stacked. If we could get up to the 'middle' locations, as shown here, we could start taking out the back row.
This is worth noting since I basically never use a SuperShield. I thought it was worth doing here. We are now basically at the top of the steps, and things actually slope downwards on the far side. Securing the heights and our flanks at the same time was next on the agenda after eventually getting one SuperNullifier to take out a few of the back-row emitters.
I had to really push on them with shields and almost as much weaponry as I could put in place to get the nullifiers close enough, but once it was done there was no longer any hope for the creeper resistance. All the Berthas were reset to Auto-Target and I just moved forward and pounded until I got enough clearance to use SuperNullifiers on close enough positions. It was soon over.
Moving on to 2-planet systems - excluding Mad Mag and Grauniad for reasons of their being achievements there that I'm saving for later - I thought perhaps that we might get the occasional break for easier and/or faster levels. In case you're interested in seeing what was in store for me, I next headed to redlemon. And at least there, my hopes were wrong. They were very, very wrong.