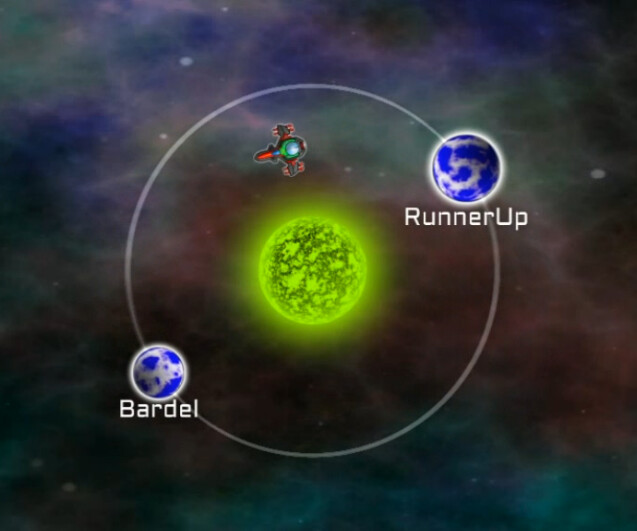
Part 118: RunnerUp
RunnerUpAs mentioned, credit to redlemon, the author of this and the next planet.
Video
Now that I'm required to make a choice, I decide to use the method suggested back when I was doing Tormented Space; go with the larger planets first. It worked then, and it was the right choice here in selecting the easier task first. Err, the less-hard task would be more accurate actually.
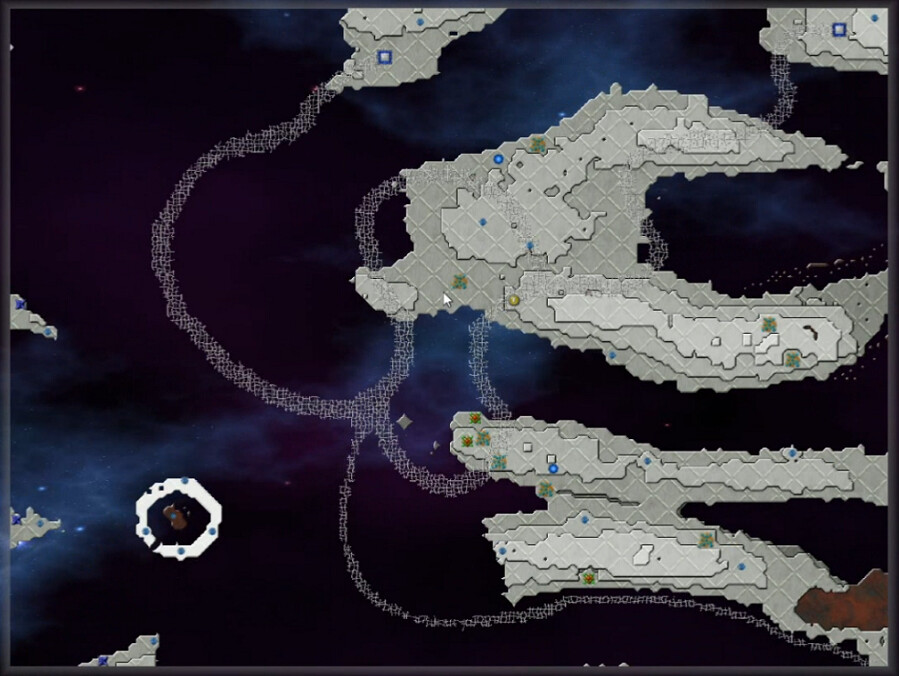
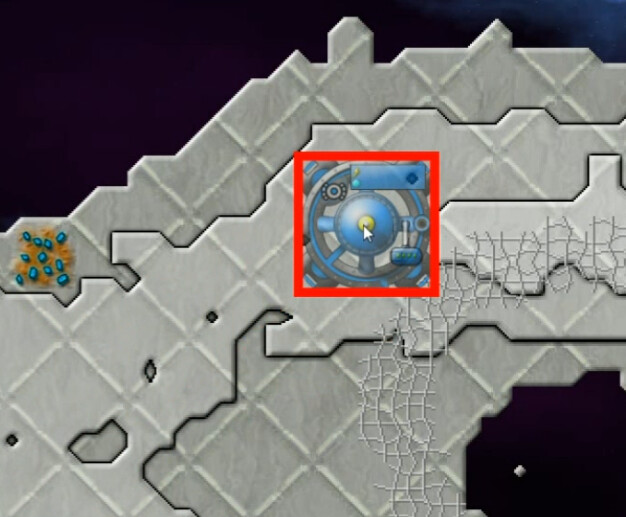
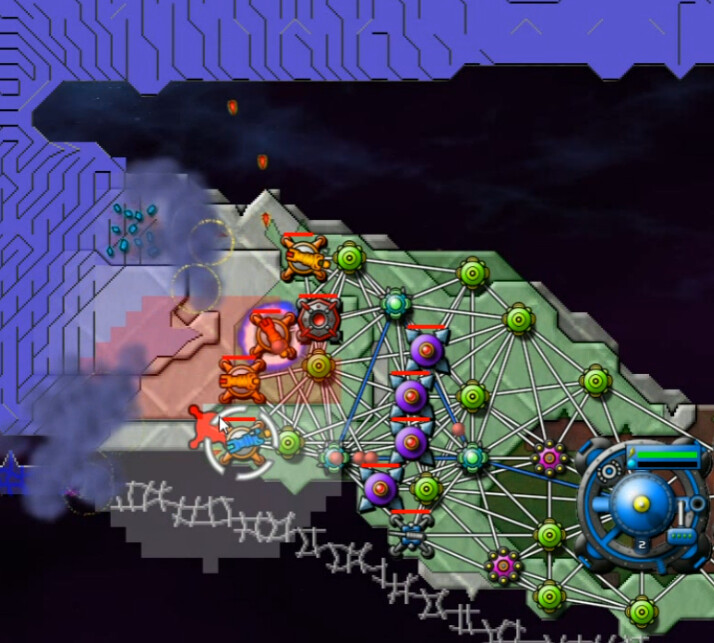
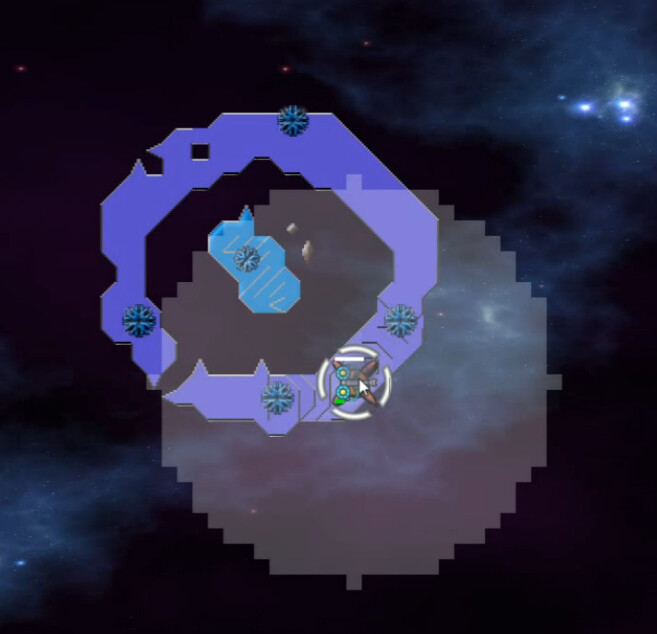
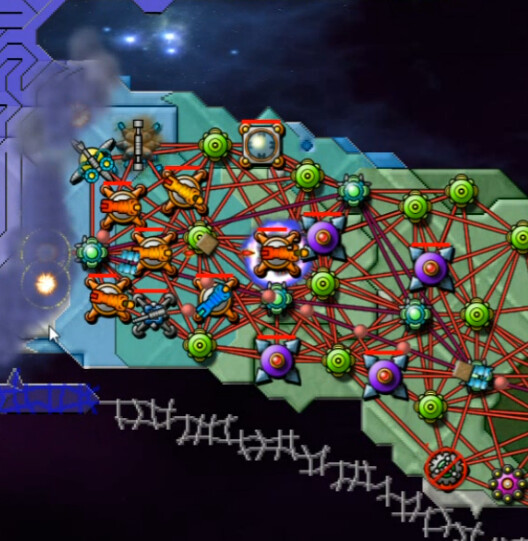
Digitalis, remote and inaccessible locations, AE Towers, Runners - but we do have some Totems and Ore Deposits as well. So where's a good place to start?
It's surprisingly challenging to find a place you can even set down. There's a Freeze artifact further to the north, which is interesting and suggests that might be a spot worth trying but I never did. The idea here is take the high ground and quickly defend it.
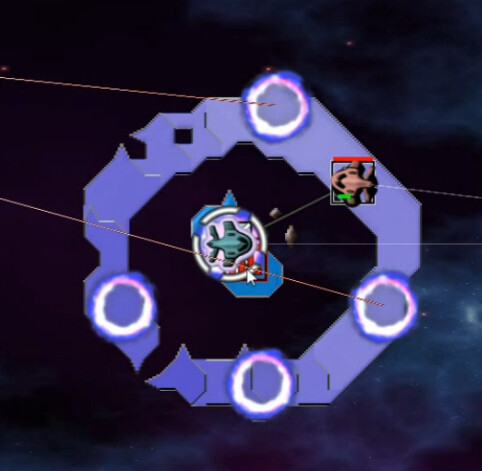
Not a great plan. This is literally less than six seconds into the mission. About two, give or take, since the Command Node touched down. It's not a big enough to ridge to keep the creeper from that nearby emitter away.
I bring up the Menu to restart less than 10 seconds in. Might be a record.
Take 2 - 3:57 video
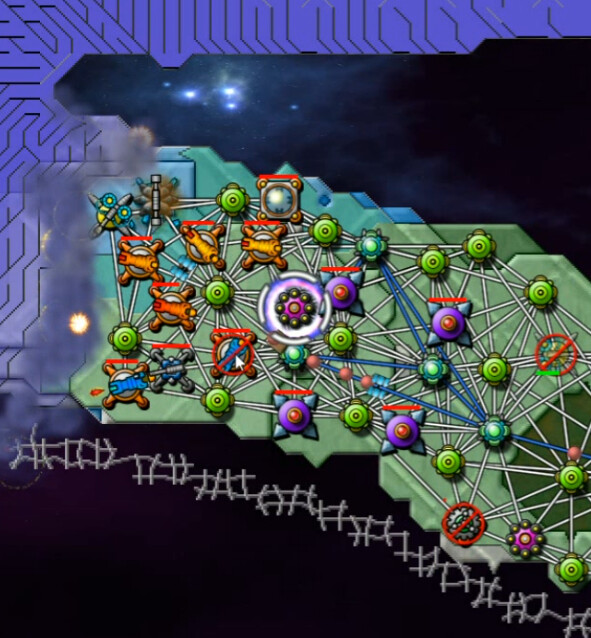
Before taking things off pause to start up, I search for somewhere to begin. In the north here the emitters are weaker, but I can't find a good place with enough room to make landfall. The only place is on top of digitalis right next to an emitter. Which is obviously a super-bad idea. The small 'divots' or whatever are not accidental - they seem to be intentionally, strategically placed to prevent such a deployment.
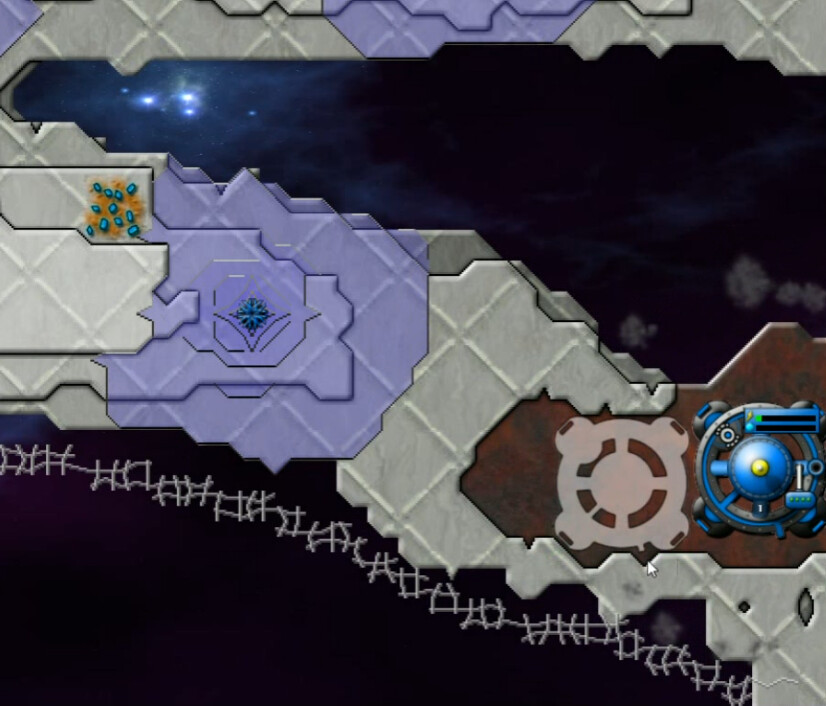
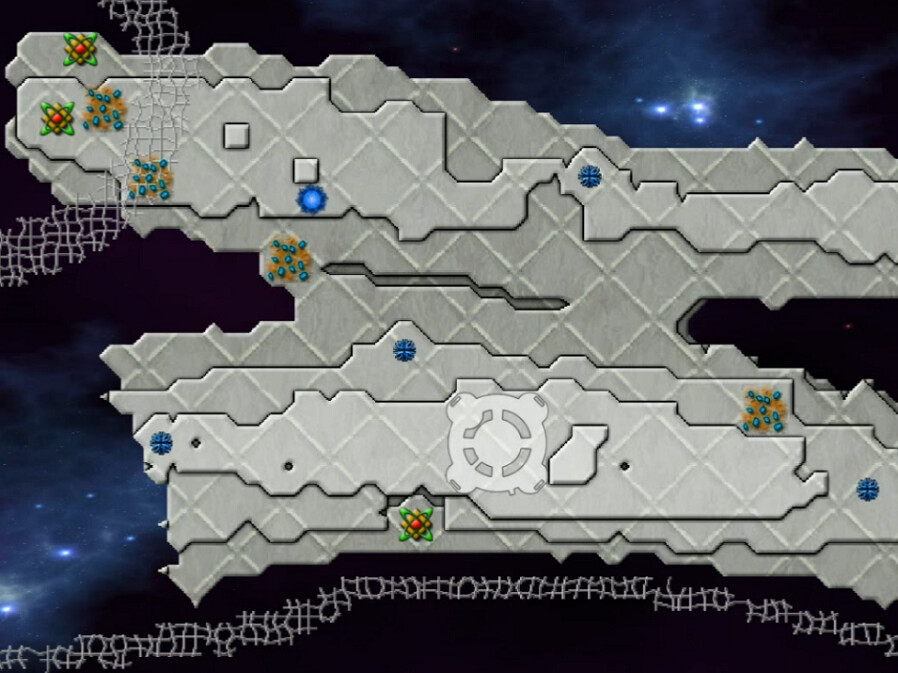
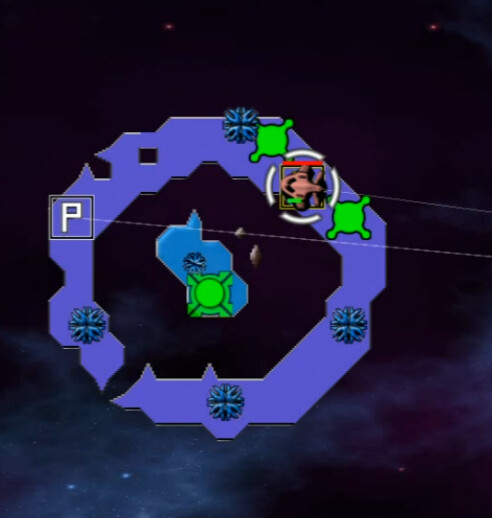
Here's where I end up going. Note the reddish terrain, very low but also unique in color on this map. Also, see how we have two nodes available - not one, not three - and there's just enough room for them in this depression. I think the intent is to force the player to start here, at least initially. That nearby emitter and ore deposit are clear first targets.
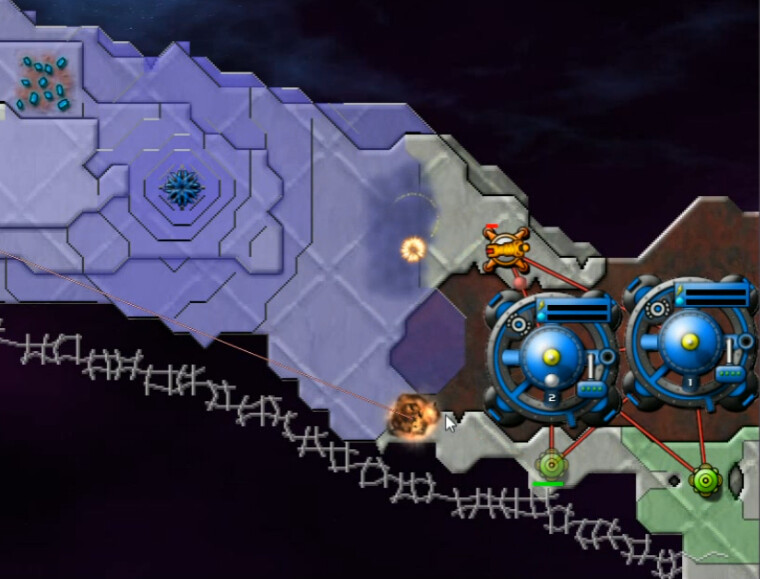
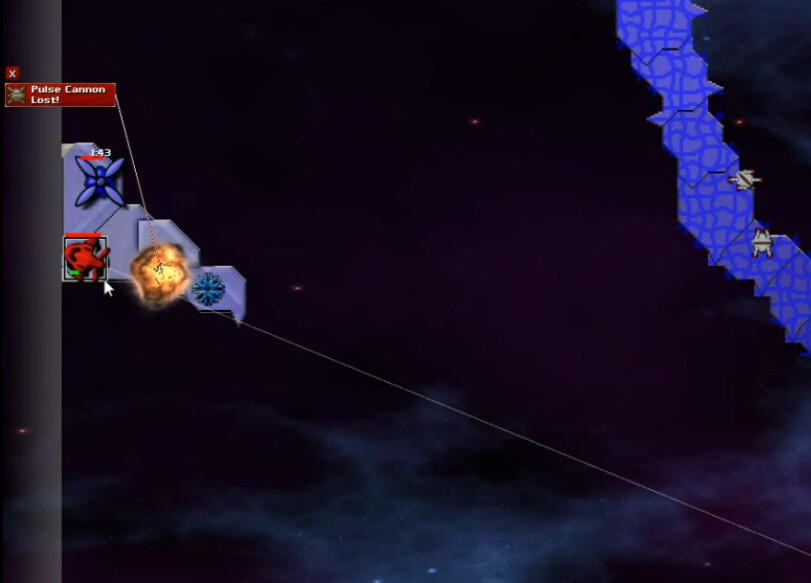
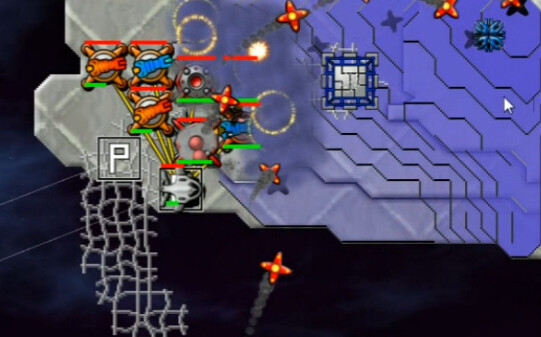
It's obvious right away I need defenses immediately. I get one Pulse Cannon up just in time. The second one doesn't make it.
It takes three to mount an initial defense - barely. You can see the second command node is nearly dead, and the cannon right by it halfway so. 1:40 mission time at this point. There's not much time here.
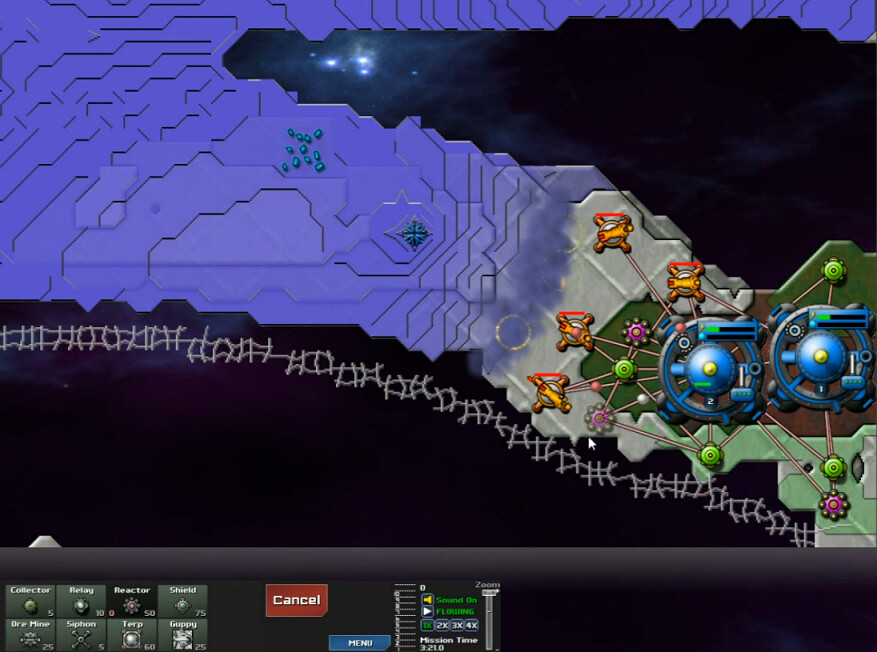
Using the cannons to gradually clear space for more structures, I do the whole reactors thing. I did not yet realize at this point though that I was done building them. Check out the control panel, and that red '0' - hard to see, but basically left of the reactor selection instead of right, where the energy cost is listed. None of the other structures have a number in that spot. Reactors are limited to three, and three only. No reactor farms, the go-to energy strategy for any well-instructed Commander.
Heheheh. redlemon, you are not very nice.
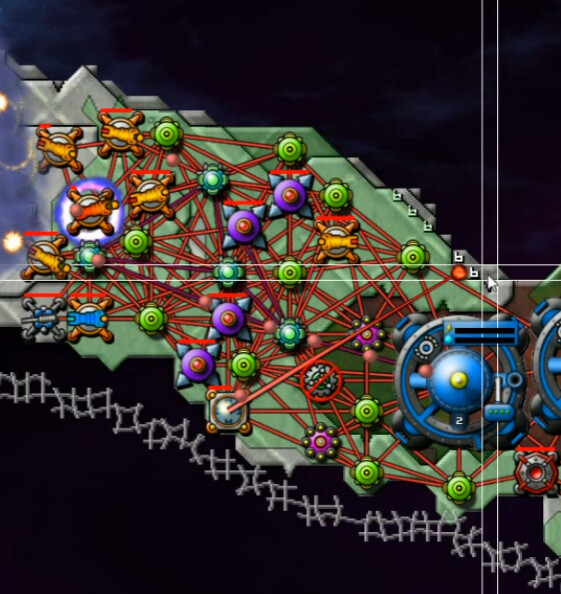
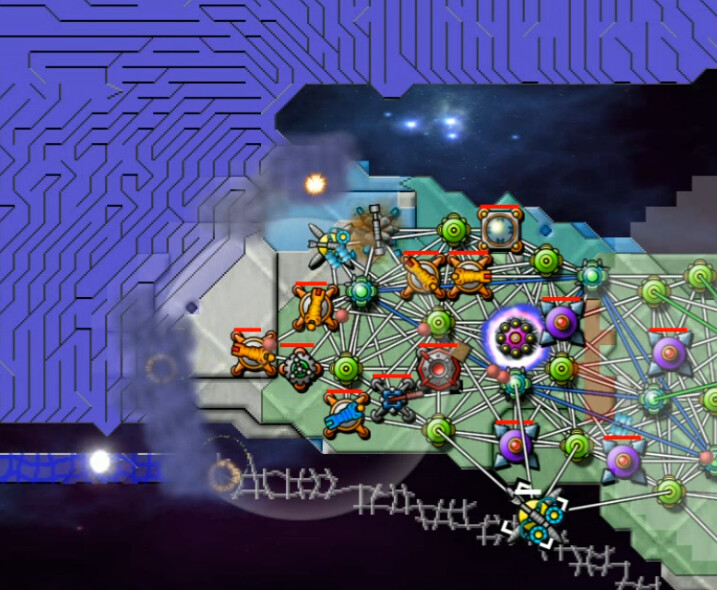
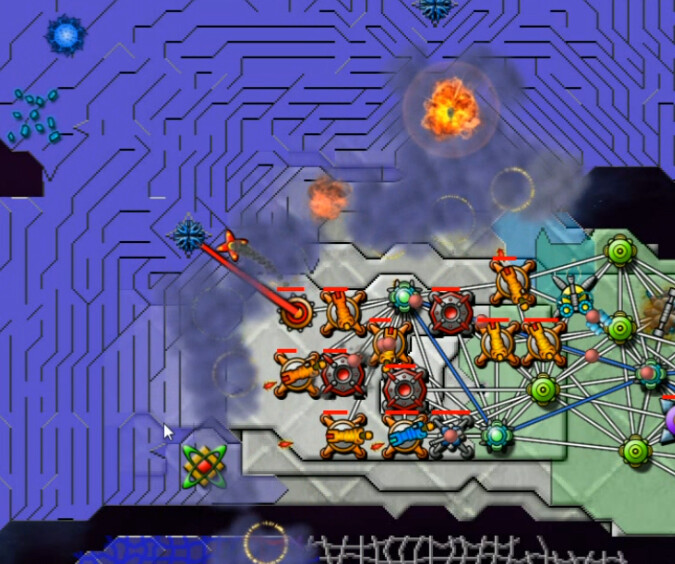
Couple things here. You can't really see them at this magnification but on each of those three islands at far western/southern edge there is a Spore Tower. So I know I need to defend against those soon. Also, notice the middle of the three landmasses, in the east. Even after a few minutes, access to a pair of ore deposits there and some clear land. Problem again is those holes in the terrain which prevent placing anything there. I noted the area but not any prospective way to use it at this point.
Stop screaming GUPPIES at your screen. I'm going to horribly mangle their use enough in this level. But I do think from the vantage point of 20-20 hindsight that Guppies + Terp + terraform and move up there is a good idea. Naturally this did not occur to me at the time, so I kept on with the hard way. I didn't yet know how much of a PITA it would end up being.
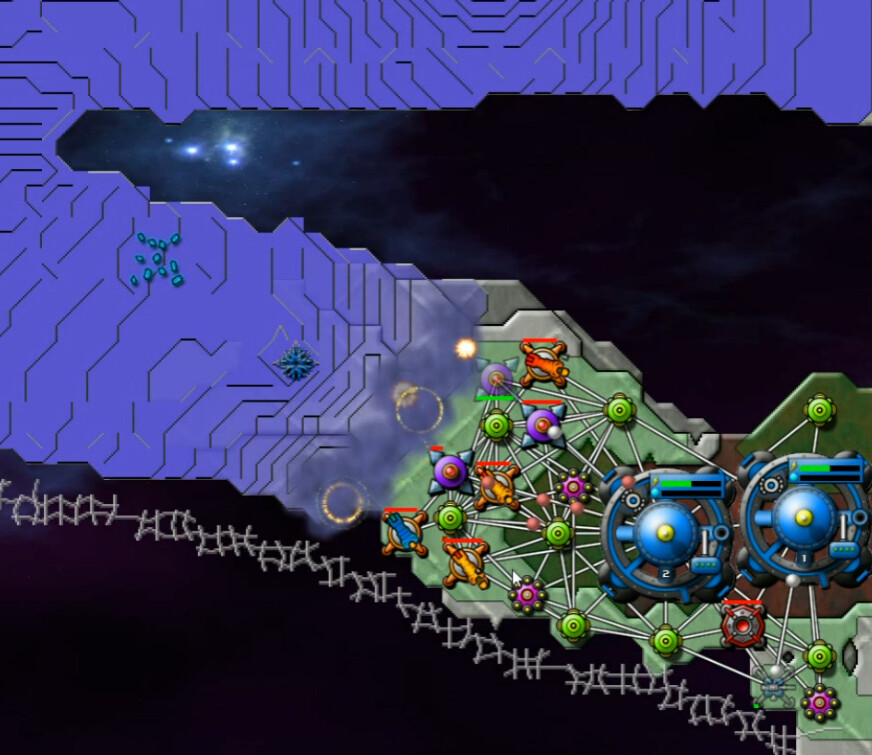
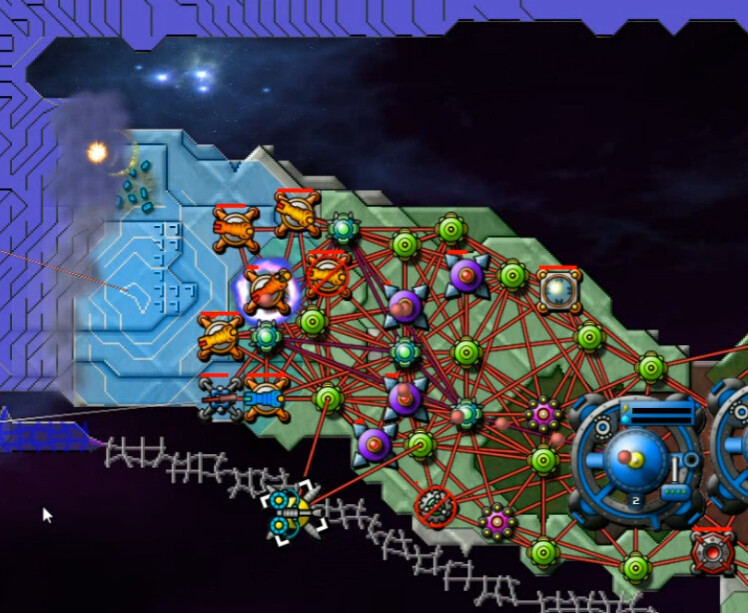
One thing I do like about this start though is that I really didn't do anything colossally, mind-blowingly stupid. I got Beams up here in advance of the Spores. I saw the Digitalis coming, and got a cannon over there to focus on that and hold it back. The Mortar is obviously doing nothing but I figured it would want one to attack uphill to where the emitter is; other than that I'm cramming in as many beams and collectors as I can.
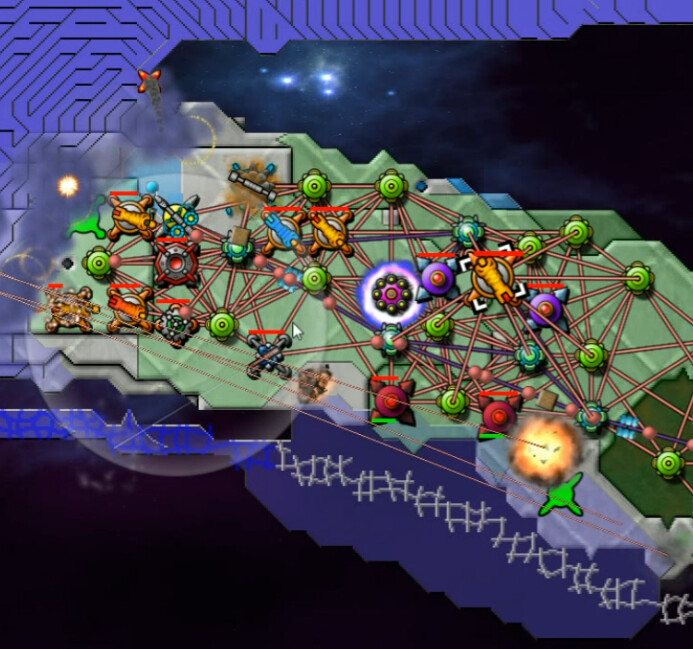
As can readily be seen, it's getting real cramped.
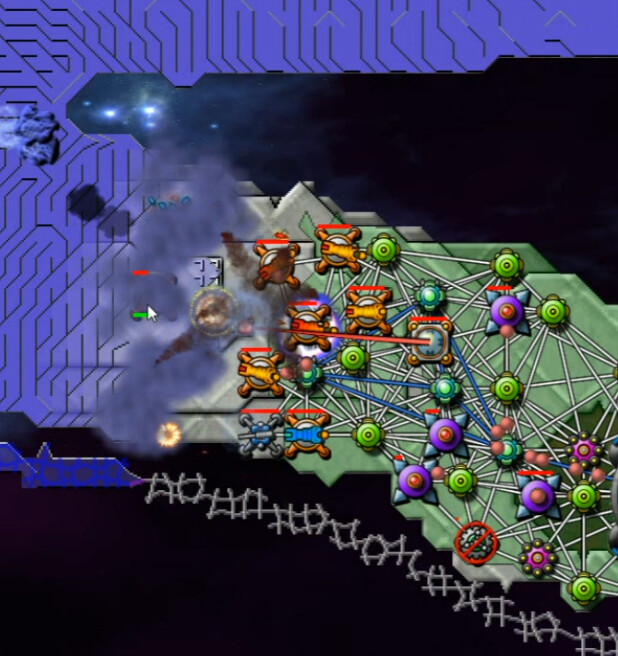
I build a shield to guard the initial Nullifier, then discover I really can't afford to sustain it, hold back the creeper, and fight off the waves of spores. This one didn't work but I did eventually get a second one up and take down the first Emitter. The problem is that energy tanks when the eight spores arrive, creeper advances and damages weapons, destroying the nullifier. Building it at the right time, and/or staggering the resupply of the three Beams by deactivating some of them solves that.
There's a periodic rhythm to this kind of map, where energy is tight and there's no good way to free up more with regular air attack coming in. It's as much when you build as what.
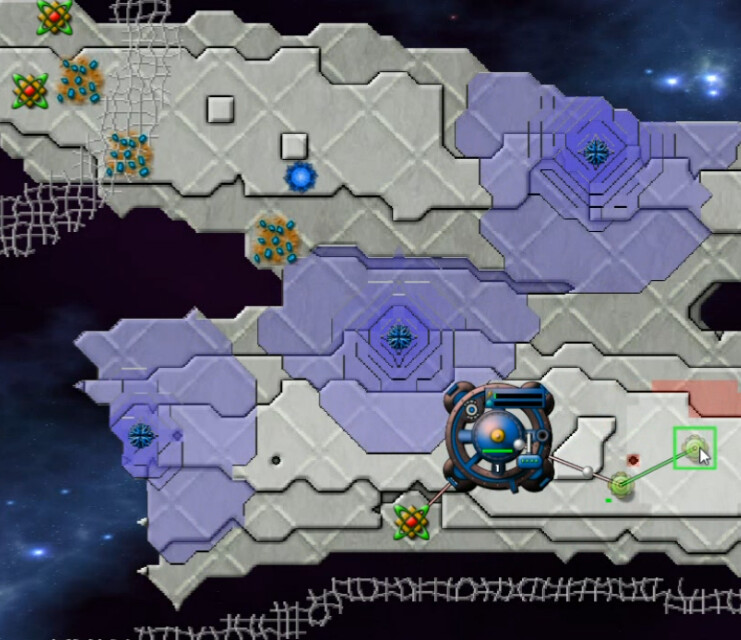
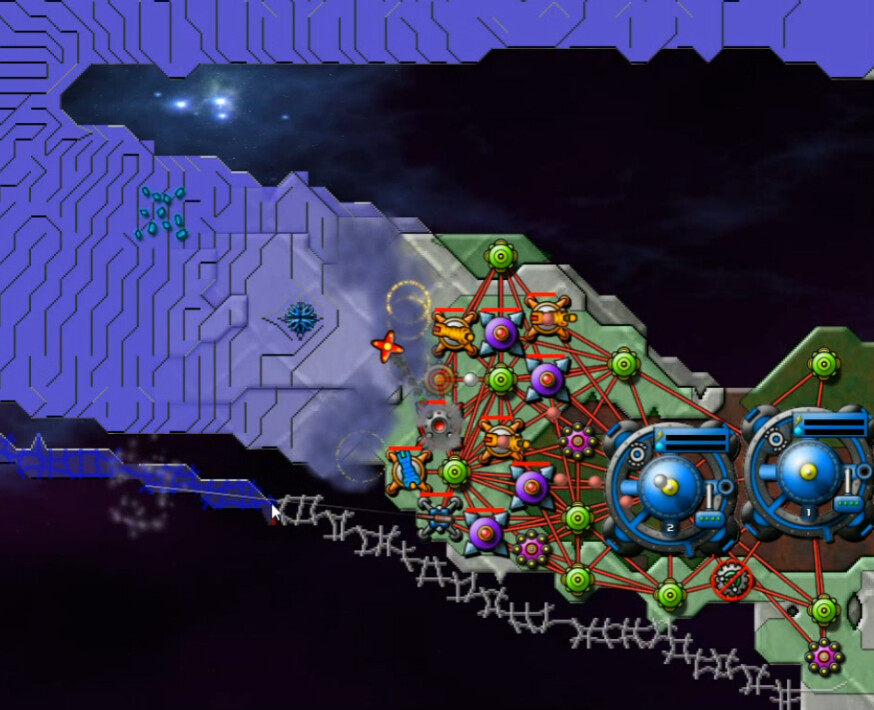
Naturally moving forward and claiming the power zone was next. I now have a little space - a very little, but it's better than none. I would soon hit a stall though. It's already over twenty minutes in at this shot, and I would advance very little if at all for quite some time.
A number of approaches were tried, most of them focused on terping down the next level of the hill. I thought about just elevating the SuperCannon, but if I could afford to move it off there for long enough without the position collapsing - I couldn't - then I'd want to put a reactor in place to boost energy. Whenever I made a mistake, I'd lose weapons and/or runners would get through on the digitalis pathway, stunning weapons with basically the same effect, and I'd have to withdraw a bit and frantically regroup.
This is actually probably the most significant thing I accomplished. Terraforming this small edge in the north created a small amount of additional terrain to gather fractal energy from. Every little bit helps in this kind of situation.
Then I started doing things like this to just get some temporary clearance on the peak so I could terraform a small amount more. Honestly I didn't know what else to do to try and break the deadlock. It worked - slowly - up to a point, but a hair more breathing room was achieved.
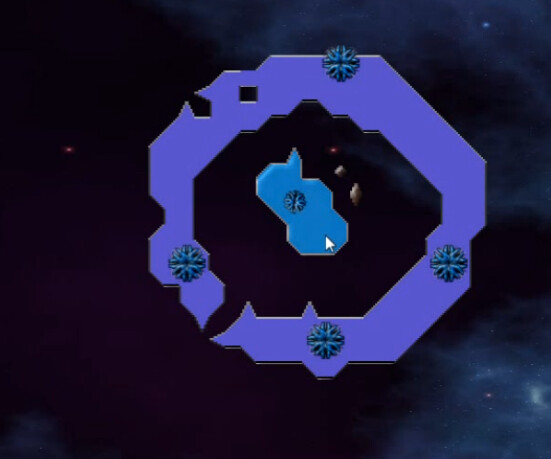
Then, well over 20 minutes after first taking now that emitter, having made only the most miniscule gains in the interim, I took a closer look at this and first noticed that we have an AC emitter at this ring in the west. Then I begin to contemplate what to to with this information.

I build a Sprayer and send it over to use the AC Collection Field ... but this is below the creeper ring elevation level because of course it is.
I try collecting and then moving it in to the creeper to shoot, then removing when health runs low -- but the repair/regeneration isn't fast enough to beat how much the emitters are producing. Overall the impact of this is somewhere between non-existent and minimal. They don't send out much; 10 creeper per second. But between the four of them it is still enough.
Then I accidentally discover a good idea. I build another sprayer, and send the full one back to the hilltop ... where I don't move it fast enough, and in so doing decide that Sprayer Suicide Bombing is worth doing. When destroyed, the sprayer releases the remaining AC -- which is significant as seen here. I wasn't ready here, but I keep working this idea and mix in the occasional temporary blaster 'raid' on the hill as well.
Here, the combination of these tactics has allowed me to terp down a little more of the hill. That means more room for our weapons to work on, to put up collectors, etc. It's now a full hour into the struggle, and the vast majority of the map is still controlled by creeper while I'm having to scratch and claw for inches. I'm pleased at this point to see the energy income top 6 for the first time. *sigh*
Similar efforts continue, while I employ the terp to carve out elevation changes to precisely mirror the range of our collectors, attempting to maximize energy.
After a few more such 'suicidal sprayers', I clear enough space to claim the ore deposit, with a permanent sprayer this time right by it to secure the area with it's aqua-colored goodness. This represents a significant increase in our effectiveness against the ever-present Creeper threat. I then take a risky step, removing the SuperCannon ...
It works though. A reactor replaces it, and while we lose our best defensive placement, the gain is more than worth it. Even though I had to take a reactor down to free an available one in the limit to put this up, our energy gain was more than 50%; 6.4 to 10 flat. Now I could afford to have more weapons, multiple Mortars, and really put the pressure on. The paradigm had finally shifted.
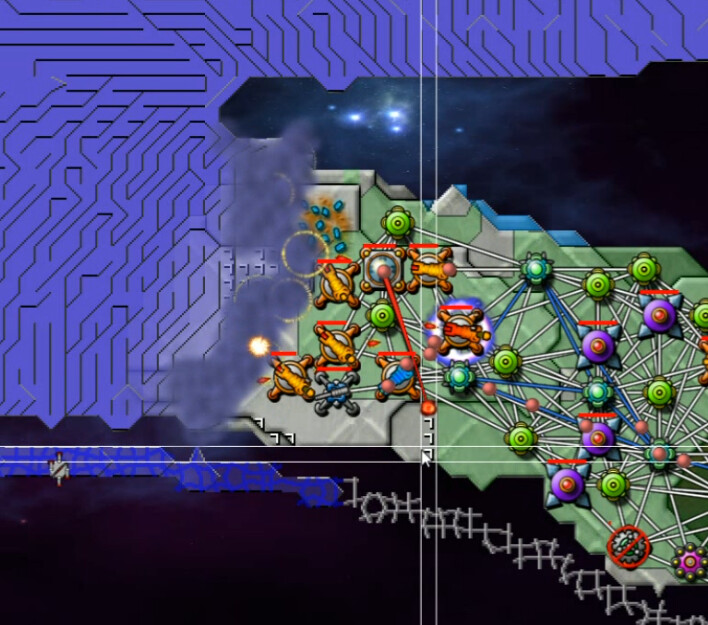
I no longer needed to terraform the hill; I could afford a shield to create space for weapons on top of it.
I got a little too aggressive though, and bad things happened. Good thing for the suggestion that was made recently to keep backup weapons, something that was put to positive effect in dealing with situations like this.
After a moderate period of taking two steps forward and one back, we seized the high ground and the next emitter went down. The creeper was now noticeably receding in the face of our assault. Mission timer 1 hour, 32 minutes. I might be visibly older by the time this was over than I was at the beginning, but I was going to win it.
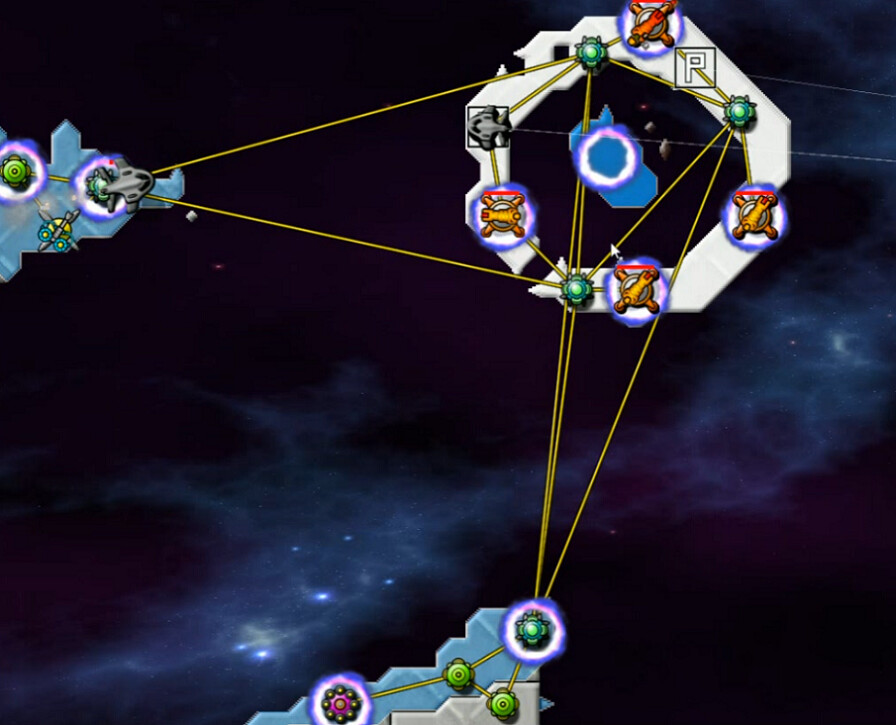
That nearby Totem just to the south was next, and then a Forge went up. That was the next game-changer of course, as the upgrading process could finally begin.
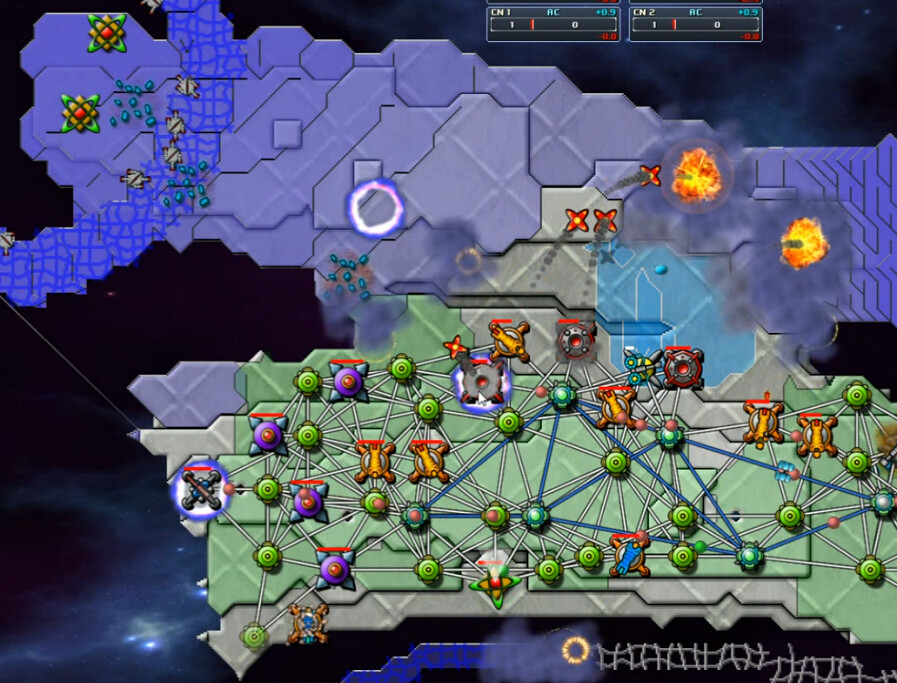
It would be a bit before the energy situation really became comfortable, and more losses were suffered, but it was clearly a turn for the better in our growth curve. This PZ on the west end I didn't know what to do with at first - but this SuperSniper I think ended up being clearly the right choice. It wasn't long before the numerous Runners were reduced to a trickle. Nothing can approach in the face of this placement's withering fire.

It formed the foundation of the next important gain, splitting the digitalis here and claiming a pair each of Totems and Ore Deposits. Now we had enough Aether and Anti-Creeper to really do something with.
Having nearly secured our starting landmass, it was time to see to all those islands in the west.
Being quite out of practice in the Art of the Guppy, I didn't really remember what I was doing. And boy, did it ever show. I found myself asking if they automatically return to base when they get severely damaged (NO), what happens when they are destroyed (pad builds another one), and other such questions. I also found myself blowing them up again and again by mistiming arrivals with that of supporting weaponry. Again. And again. AND AGAIN.
Beginning just before 1:37 of the video, this section is not for the faint of heart. Much of it was removed, but there's enough left to see the many needless losses that were incurred.
Eventually I did enough right to get up a nullifier ... which also took out the AC Emitter also. I don't think that can be avoided here, and I have enough ore elsewhere. Still irritating though.
Eventually, but now before blowing more stuff up - my own, of course - I got rid of the other emitters. And then there's this. That AC Guppy in the middle I wanted to use to transport the stuff. And I couldn't figure out why I couldn't get it work. My brain just wasn't wrapped around the logistics of how to use them.
** Answer; Sprayer with AC collection field, AC Guppy on the ring somewhere, destination somewhere else to deliver it. If nothing else, this system forced to refamiliarize myself with these things and get better at using them. Eventually.
Also, note the dying Guppy which had a couple of more cannons die before it got there - I never did get the timing right here. Painful. I did some things well on this map. But this ain't one of them. So many guppies were lost, that I got the Guppy Lover - should have been Guppy Murderer - achievement for how many were built.

As for those islands, this is the method I used in general after taking care of the ring. Sprayer collects AC, clears out the resistance, guppy sets up nullifier. Which I think is the reason that whole ring exists in the first place. And if I'd done this earlier, I could have lowered my need for beams and the damage done by spores most likely.
In another moment of stunning brilliance, I set this up - and can't figure out why the reactor and collector aren't doing me any good.
** Answer: they have to be connected to a Command Node to, you know, send out the energy they produce. Otherwhise they just sit there. Again obvious in looking back on it, but the synapses just weren't firing optimally at the time.
The final island didn't go as well as the closer two, largely because the spacing is harder to deal with. Ran out of nearby AC, then blew up multiple cannon/guppy combos before I got the task completed eventually.

Meanwhile, back on the 'mainland', the mortars had really done a number and, contrary to my previous assumption, I didn't need guppies to cross. It was just close enough for a standard relay connection.
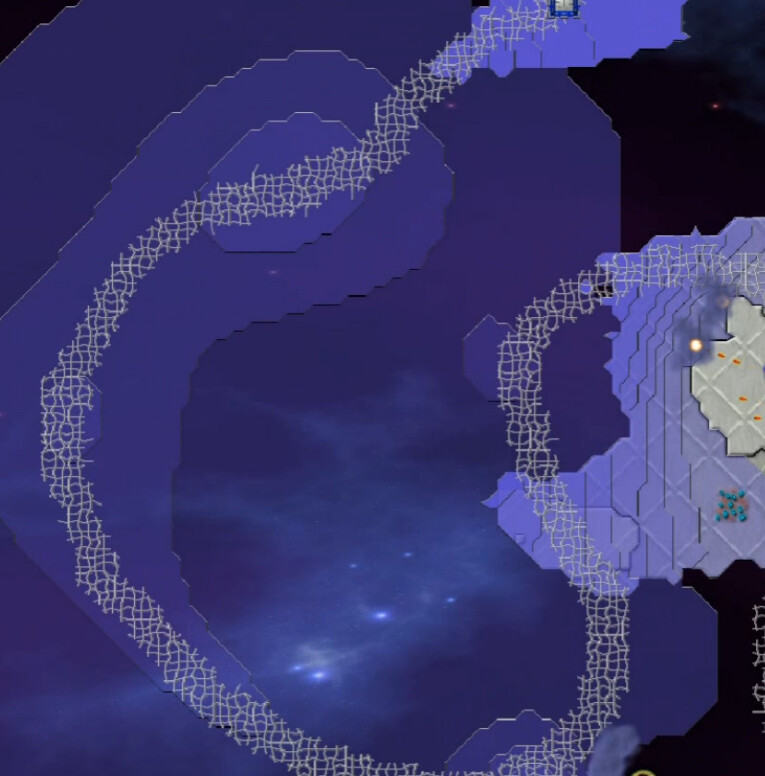
Here's what happens when a full ribbon of Digitalis gets cut off - creeper flows into empty space without restriction basically.
A couple more guppy crossings were needed to take out the Runner Nests on a couple remote areas and finish things off.
Less than a half-hour of this time was spent making actual progress. Much foolishness was engaged in; but I did discover another useful tactic. Annoying though it was, the reactor restriction was an interesting change-of-pace.