Part 122: The Firing Range & Firing RangeB
The Firing Range & FiringRangeBVideo
The Nemoricus system deigns to give an opportunity for the first two-fer we've had in quite some time. As you might guess from the title, the planets here end up being quite similar.
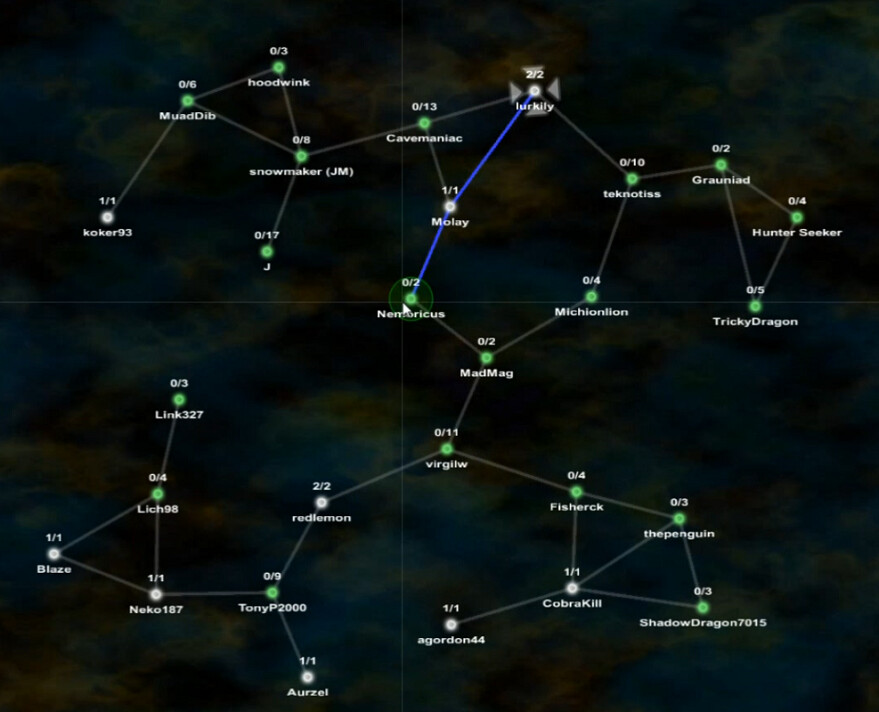
Here's where we're headed, and the progress in the Alpha Sector which I haven't taken an image of in a while. White systems have been cleared, green have not. The vast majority remains to be done but we're starting to sink our teeth into the sector.
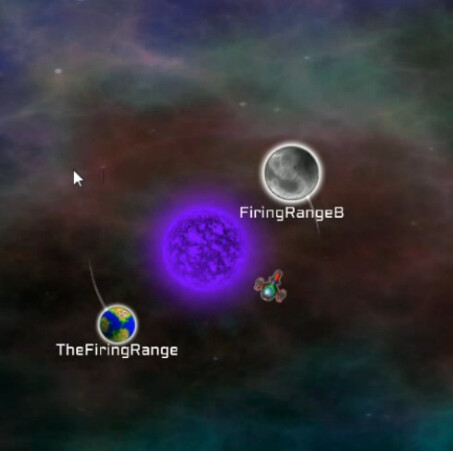
I chose The Firing Range first simply because it seemed that I should do the original thing before the 'B' version of it. That does mean bucking tradition and doing the smaller planet before the larger in this case.
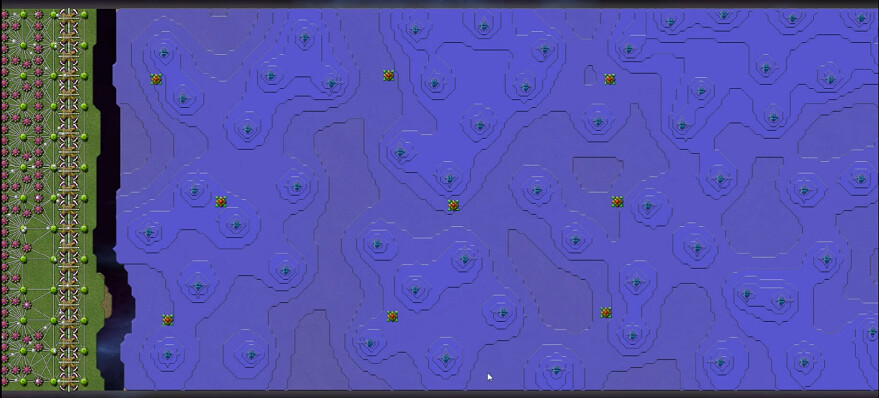
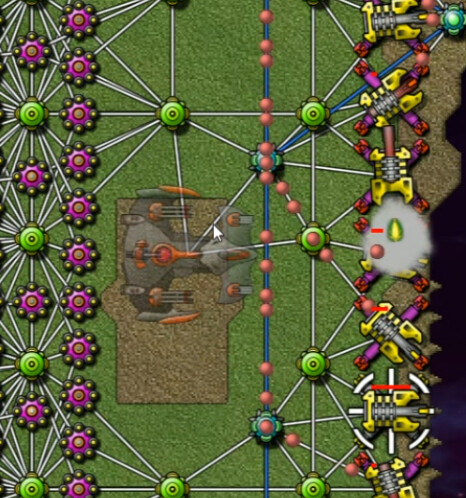
The map extends a bit further both east and west. A lot of weak emitters (20 per 0.5s, which seems to be a standard on recent maps for whatever reason) with some Totems interspersed, separated by a chasm and then our strip of land on the west where we've got reactors and berthas. Curiously, the Berthas read 331/250 built before I unpause. Which should be impossible obviously to have something more than 100% built, but everything works fine once we start up.
Again though, this is the small map. Uh-huh.
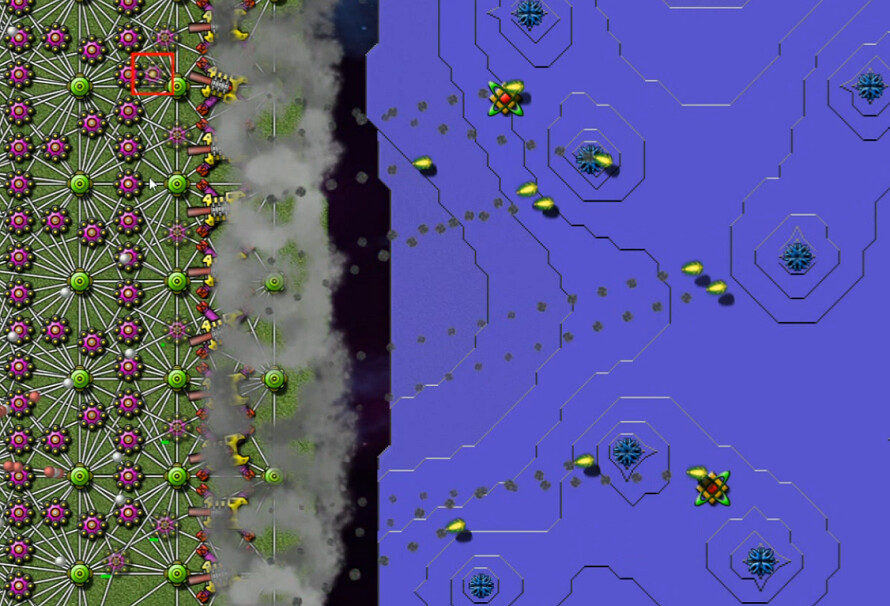
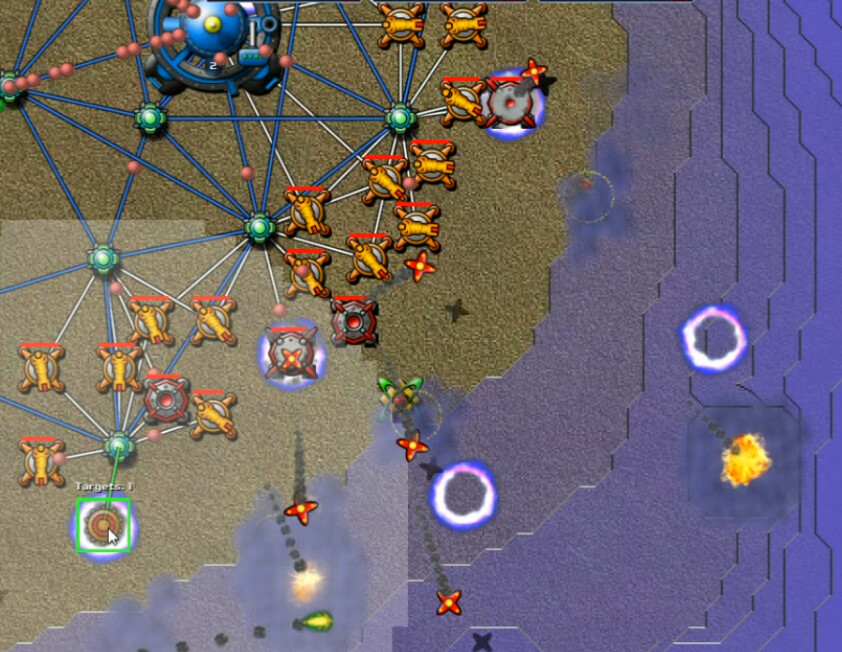
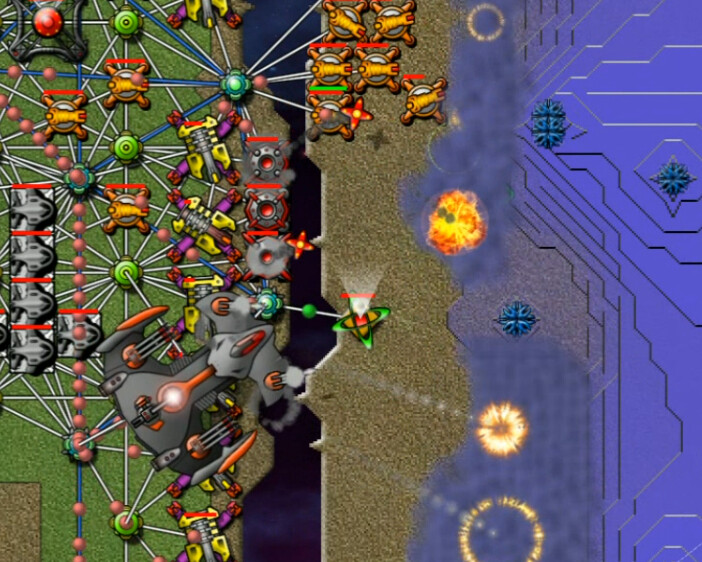
The berthas need to get supplied, and energy is fluctuating too much for my comfort so I start adding more reactors. Here's the first volley. Not real hard to figure out why this is called the Firing Range.
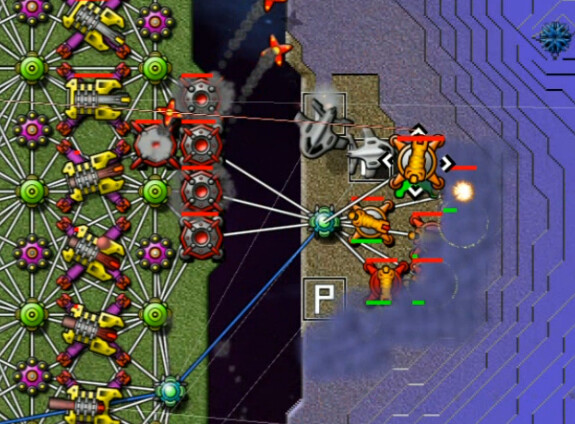
Before this I said 'I don't see any reason why this doesn't work'. Cannons + Guppies, backed up by Mortars on the western side, as we need to get a beachhead established before starting to take down emitters. Yeah this failed impressively, because the cannons can't handle creeper that deep, and the mortars don't have the range to clear it out any more.
I try again with a few Mortars added, time it badly, and fail again. I'm pretty disgusted with myself at this point.
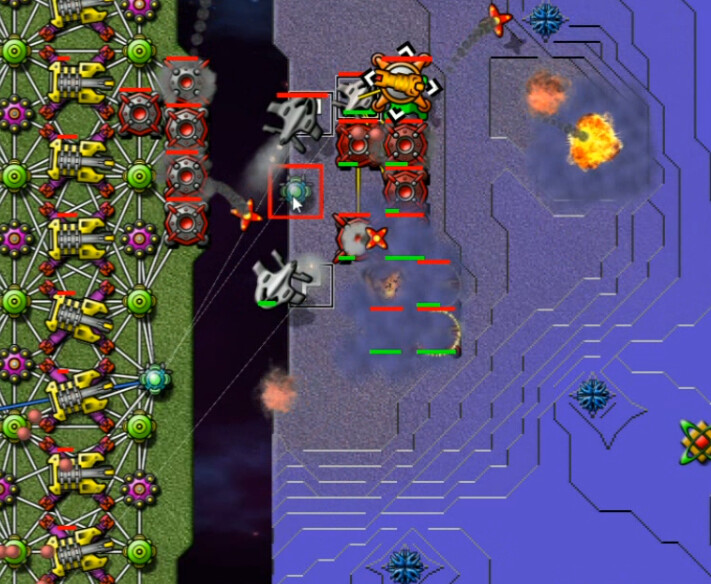
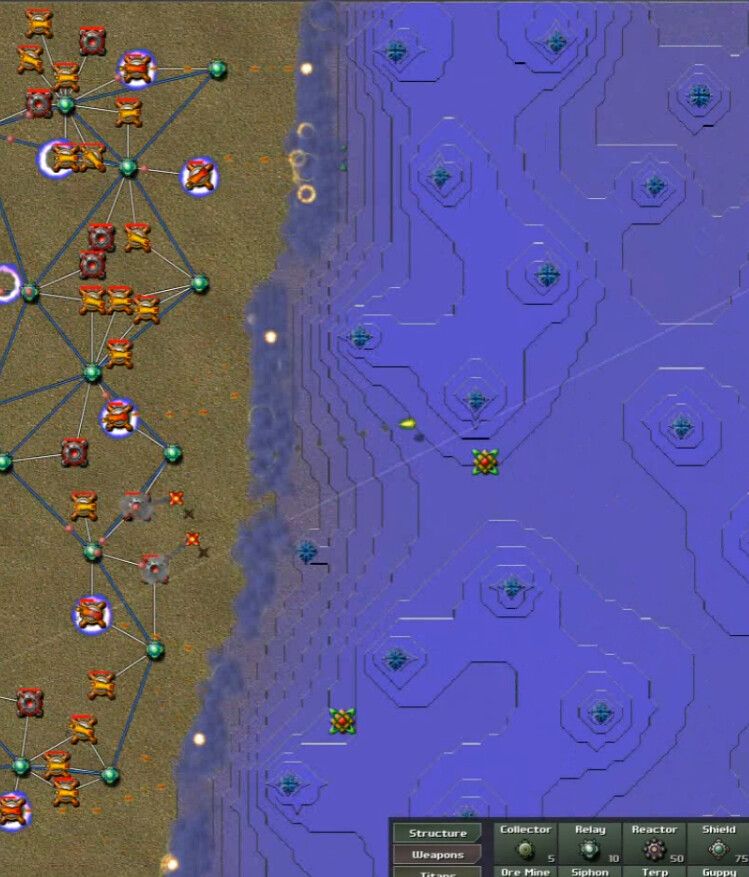
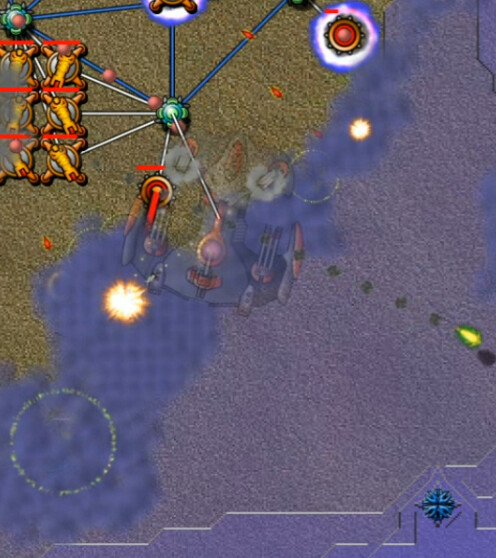
Another attempt with a few berthas targeted nearby doesn't succeed either, but finally on the fourth try with even more artillery support I get it to work. This isn't super-simple with a bunch of emitters not far away, but I made it more of a headached than it needed to be. From here though I have some security, a relay connection to the network, and I should be able to slowly expand the foothold.
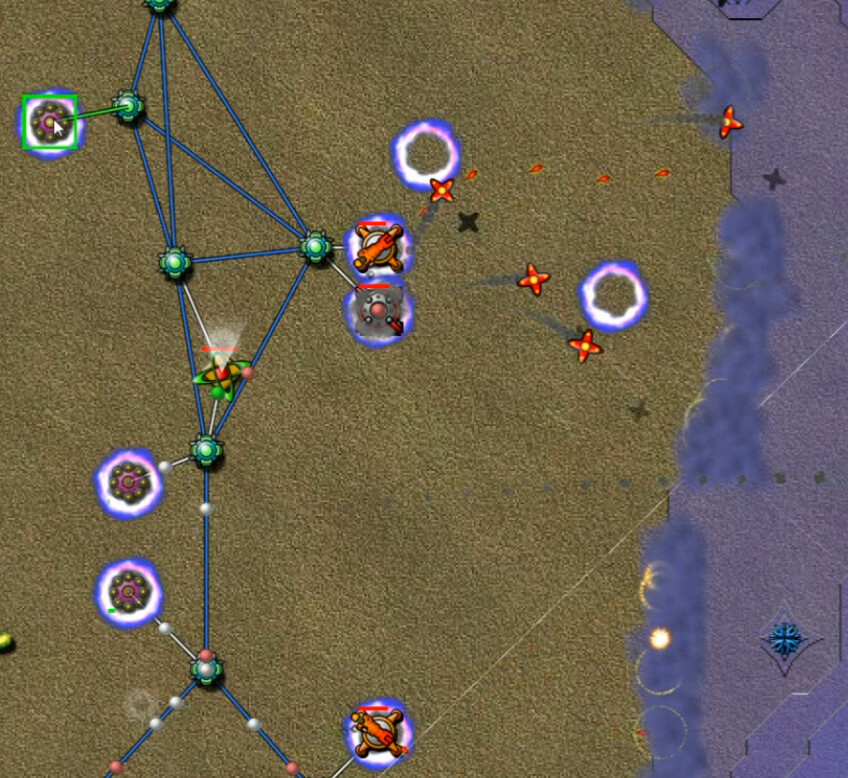
Here I've got two emitters down, a connection to a Totem, Forge is up and we're starting to get aether in, and more weapons being built. The snowball has begun.
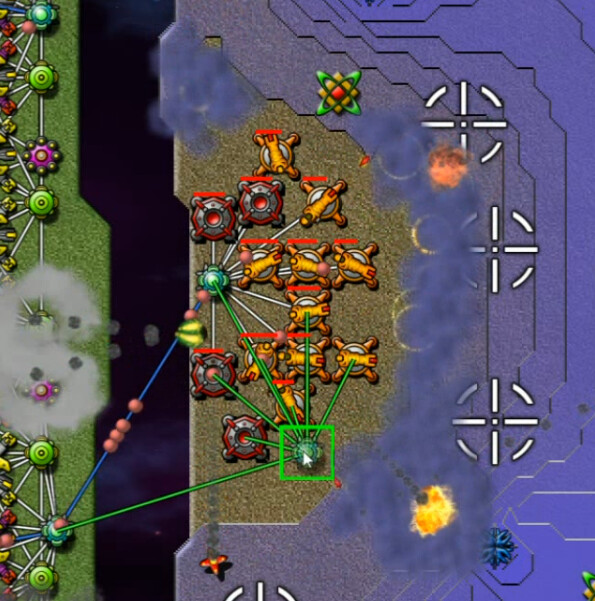
Congratulations, you've now seen the entire level. There's more to come, but it's hard to know what to show at this point. In the video, I went to a semi-timelapse approach; only a brief 20-30 second part of every 5 minutes or so was kept for large sections, because it's pretty much all the same:
SuperNullifiers where possible. If not, SuperMortars/SuperCannons to clear out more creeper to get closer to an emitter. Then move weapons forward, with special attention to connecting to any Totems. I spread out upgrades among Build Speed/Move Speed/Packet Speed/Range/Fire Rate. Lather, rinse, repeat.
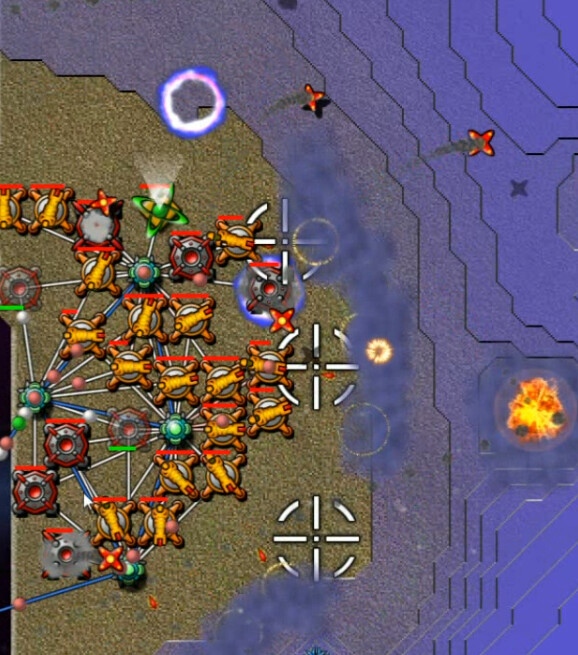
With this many emitters, it was really just that relatively basic process, over and over and over and over and over and ... you get the idea.
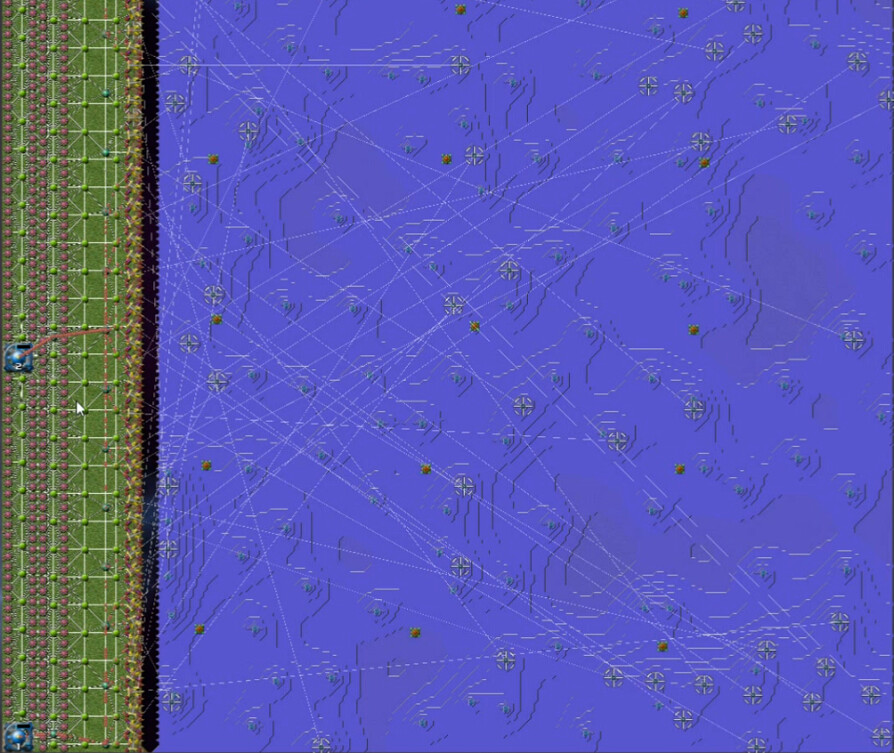
Next thing I did was stretch out a line north-south so that we only had to worry about one direction - just keep pushing east. This is about half an hour in, with progress accelerating. There's really not much else to demonstrate - waiting for emitters, skill in placing relays/quickly moving weapons forward was really the game here.
Here's the next one; FiringRangeB. I can't show quite the whole thing because of how tall the map is, but it's the same exact deal, just bigger. This is most of it though, just a little more off the top of the screen.
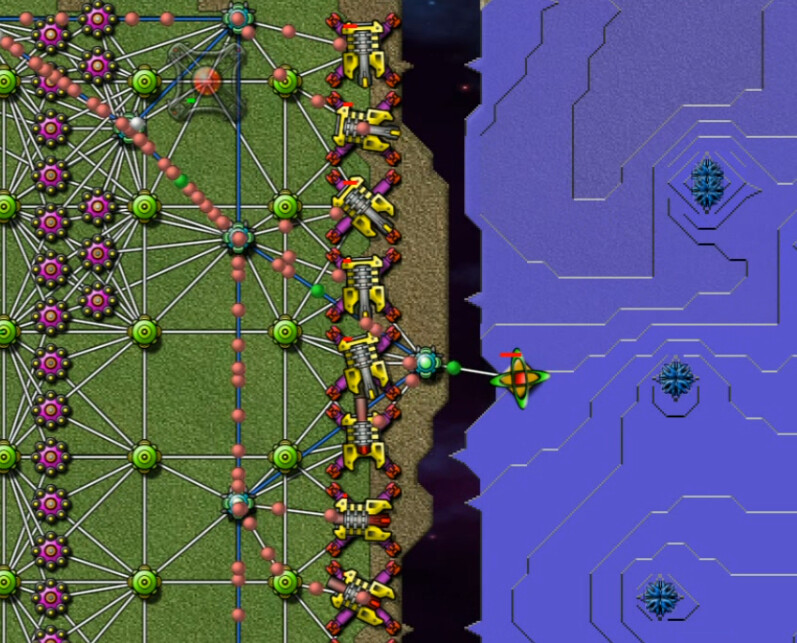
There is at least one place where we can connect to a totem right away, so I get a forge going ASAP. We also have energy issues, so I start adding to the already-massive Reactor Farm as well.
Unlike in Oblivion, I do then notice that Thor is available. Only one, but I'll definitely take it.
After building a set of guppies that I'll never use, I send a batch of Pulse Cannons backed up by Mortars across, and send in our superweapon to ensure it is a successful crossing.
With Thor (transparency on here so I can see other stuff going on) ensuring there isn't much local resistance in any one area, the march through the range begins.
Whenever energy issues rear their head, simply plop down some SuperReactors. Cannons and mortars similarly are spaced wherever needed to prevent any problems from cropping up. 25 minutes through well over an hour spent playing this, but once again you've seen the level. More of the same follows ... and then more ... and more ... and still more. I follow an 'S' pattern through the range, essentially tracing where the totems are to upgrade as fast as possible.
I confess that at times the tedium got to me on these. Spending most of 2+ hours doing the same thing over ... and over ... and over wasn't particularly enjoyable. I advise anyone who hasn't experienced these to play the first one only. I don't see any good reason for both of them really, and once you get into the range securely the challenge of the level is over; even that one is too big for what it's worth. Overall I was underwhelmed by these planets.
We'll jump up to 3-planet systems next, and take a dip into hoodwink.