Part 125: Starfields Eternal
Starfields EternalVideo
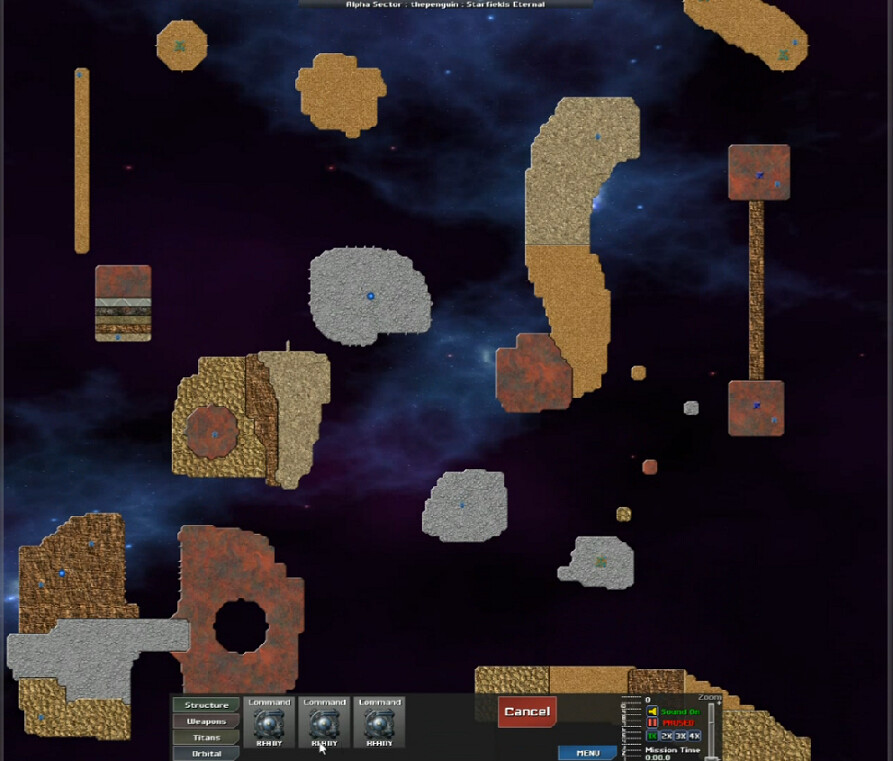
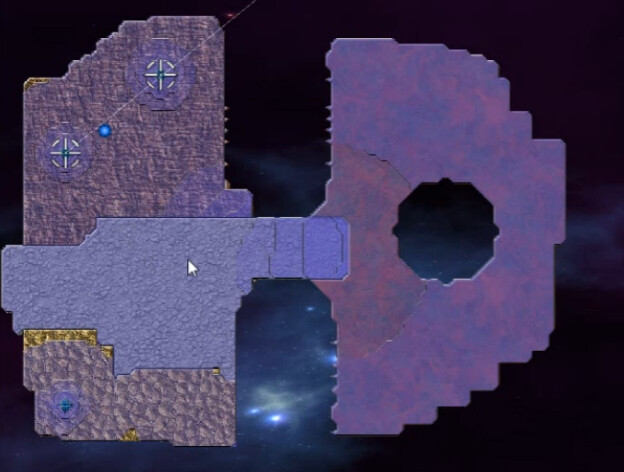
This planet has a bark worse than its bite. There are a lot of islands to deal with but some have no resistance or real need to even go to them, and most are pretty simple to deal with. There's a relatively minimal amount of spores and none of the emitters are very powerful. The main thing about this map is that if variety is the spice of life, Starfields Eternal is very spicy indeed.
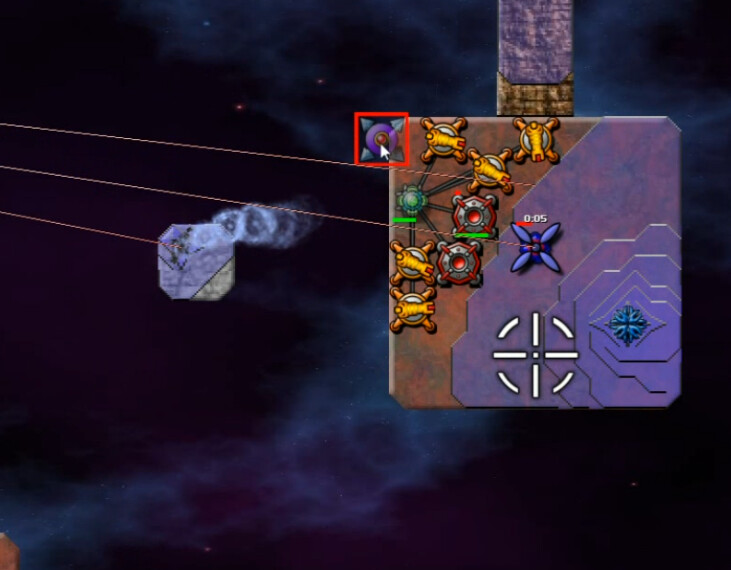
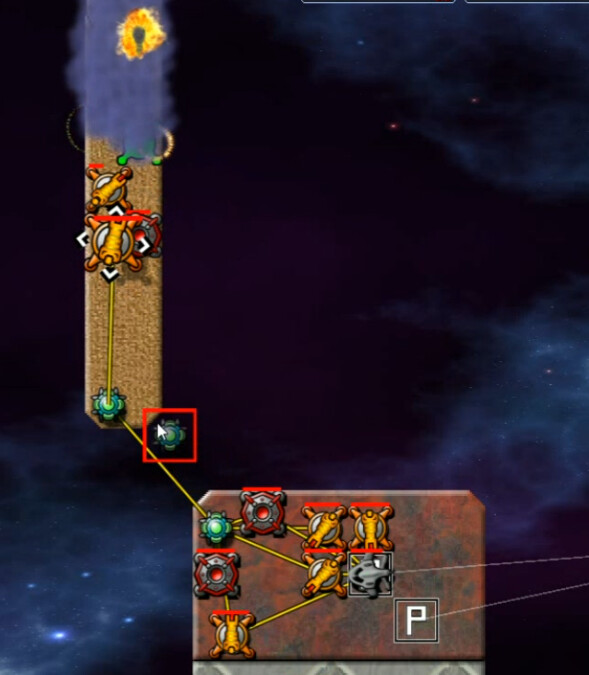
Eventually I select a couple planets roughly in the middle that will be fairly easy to defend. The lower one here has an AE Tower with nothing else, so that's a free immediate PZ to play with.
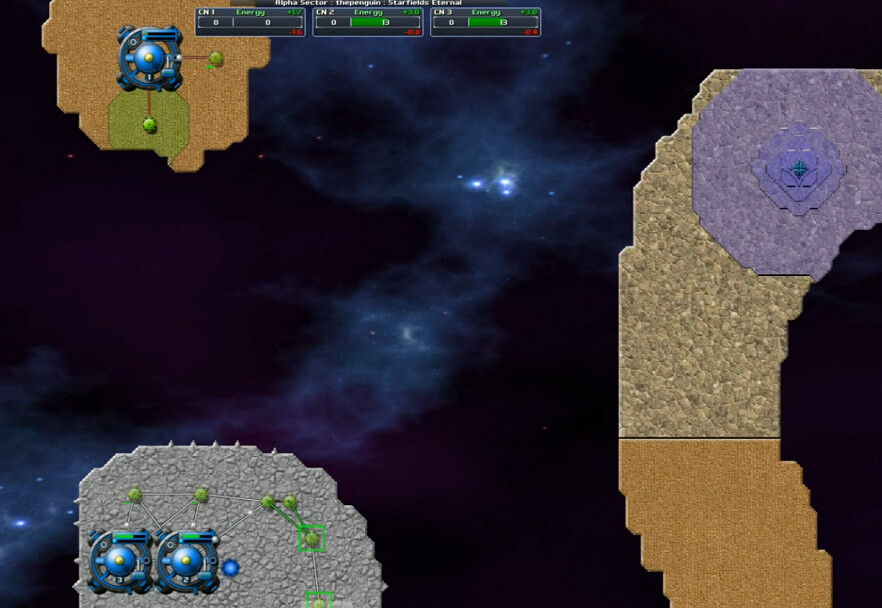
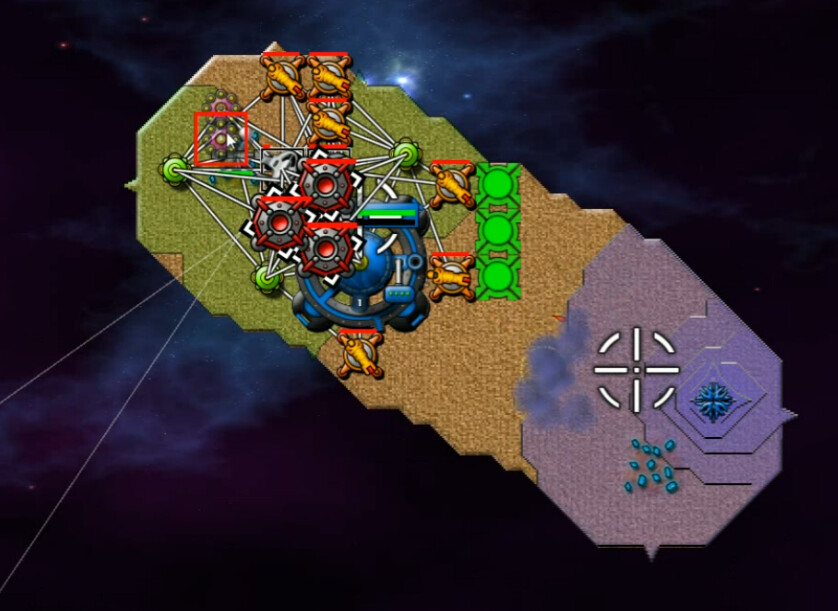
After getting a few Beams up to deal with the Spores, I expanded to the higher ground on this island, one of the larger ones and it has, like a few of them, several elevation 'steps'. The Guppy ended up being unnecessary at this point, but helpful to get a local energy supply up and running more quickly. This location is a small jog east-southeast of where we started.
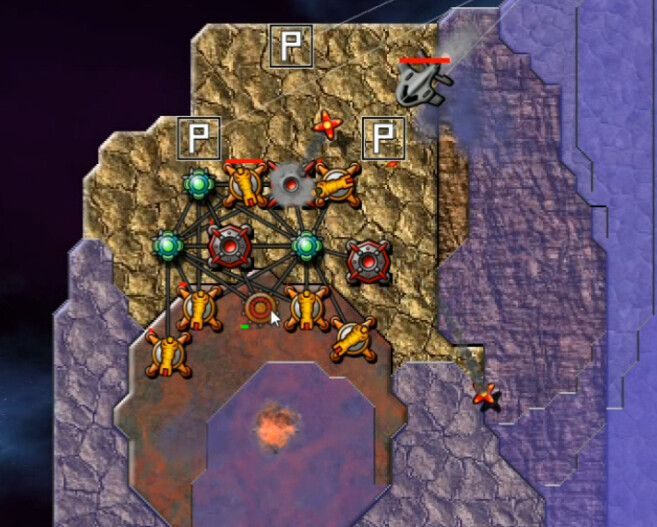
The northern part of this island was occupied by Creeper, so it was time to get a reactor farm and some weapons going. Each of the other two nodes supplied a Bertha by this time, and also a Guppy to help accelerate this buildup.
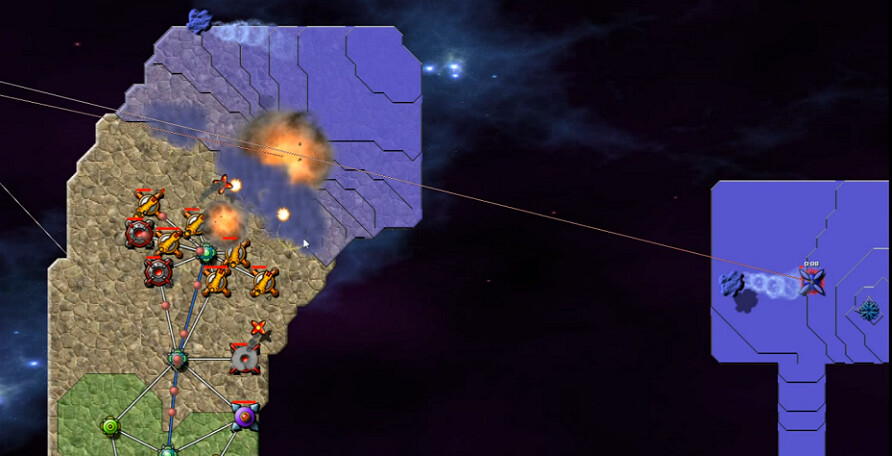
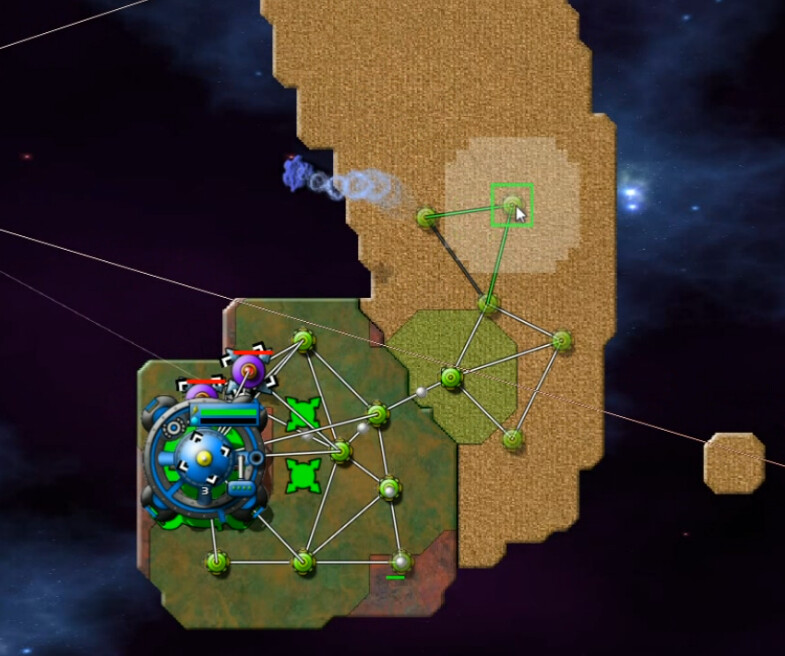
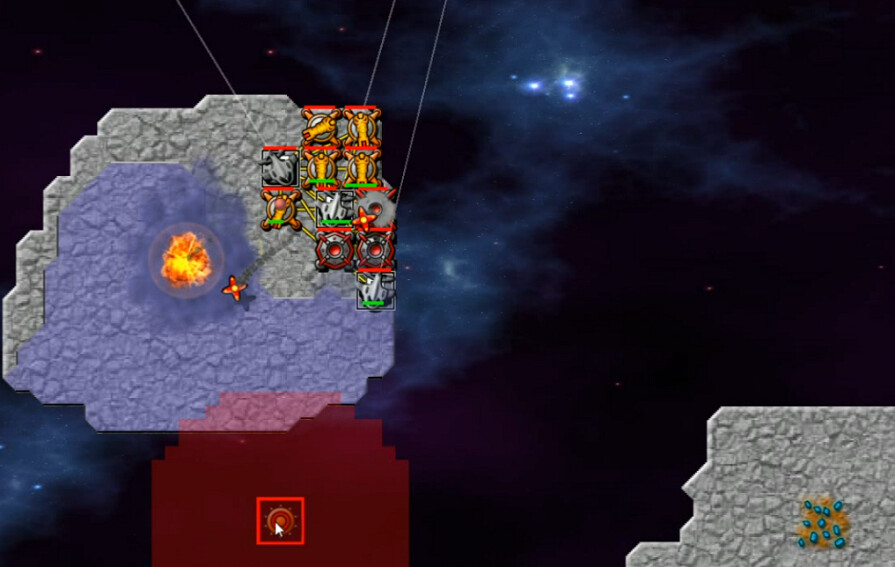
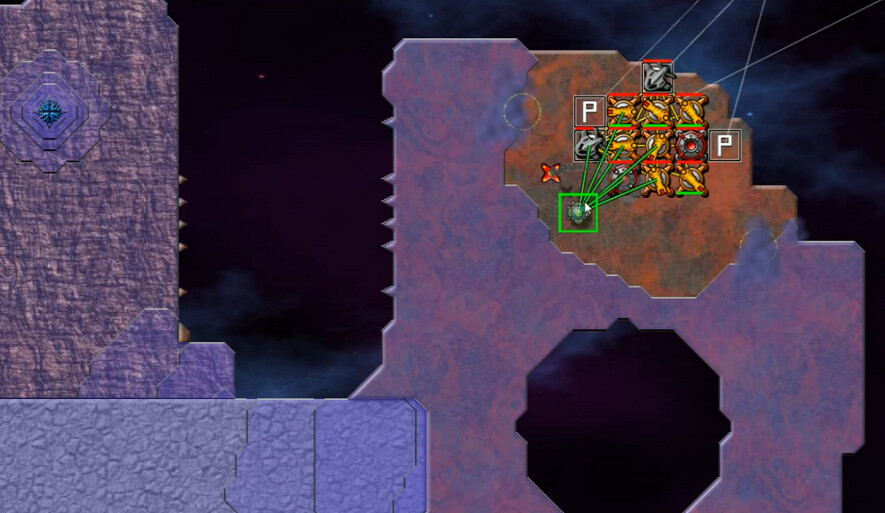
After gradually pushing my way to this first Emitter, I set my sights on Dumbell Island to the east. That's where the only Spore Towers, one each in the elevated north and south sections connected by a narrow strip of lower-elevation territory, are at. Might as well get rid of that threat.
The first landing failed due to not finding the right spot for the Nullifer soon enough, and also not quite having enough guppy support. Those flaws rectified, the second attempt shown here was able to clear the northern plateau. This planet would require a LOT of this sort of thing.
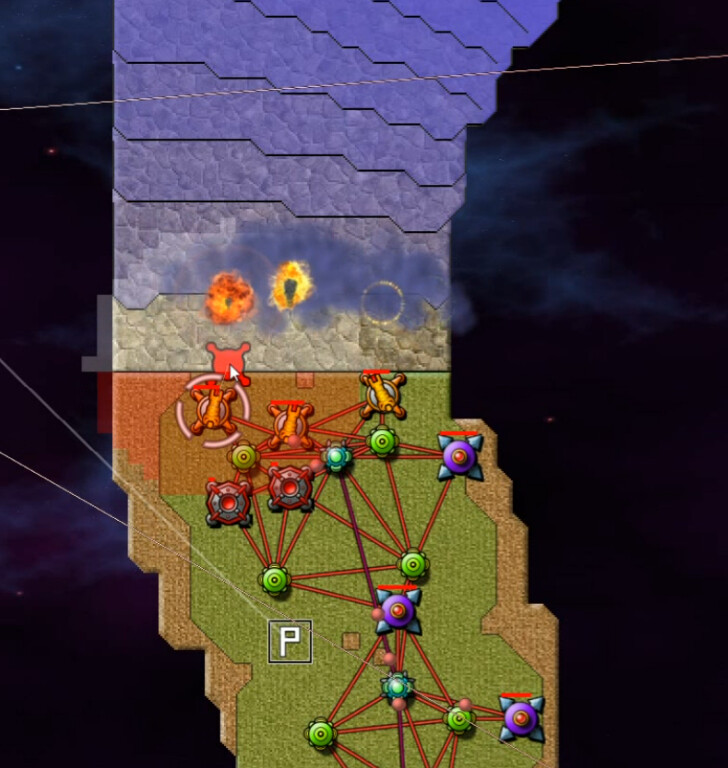
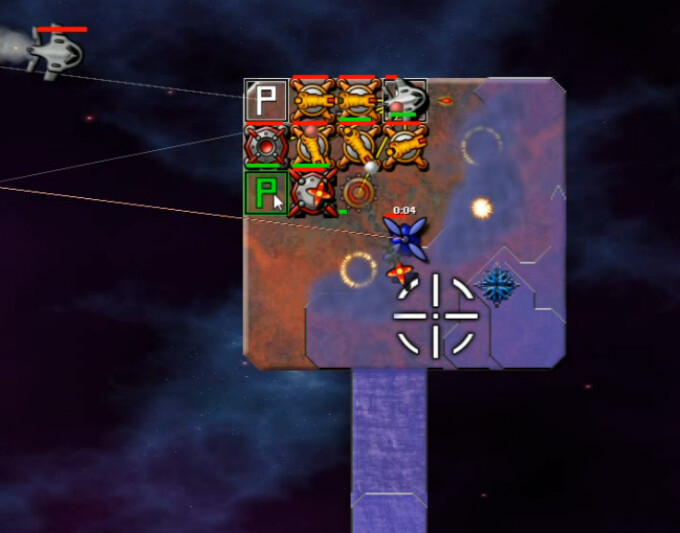
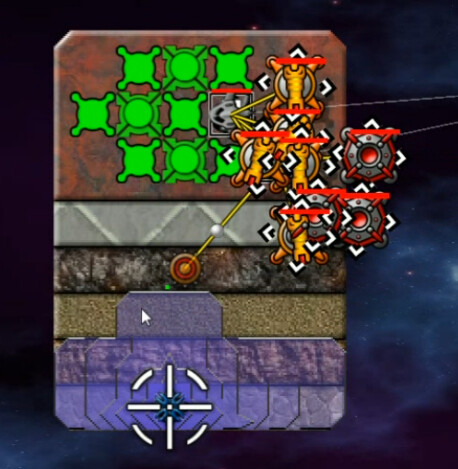
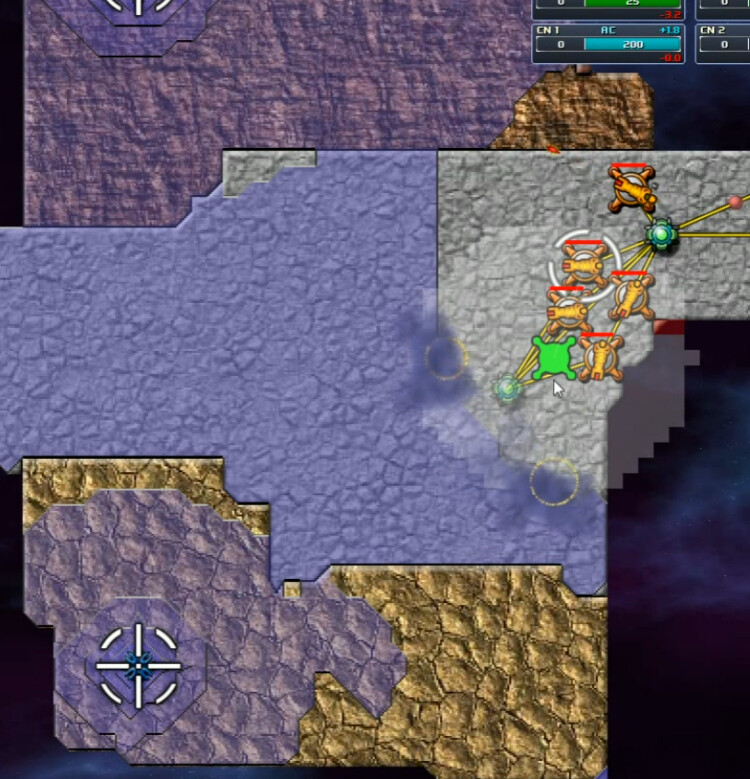
The southern plateau is one of the spots that I underestimated. Instead of using a guppy, I connected relays on the tiny islands leading to it - and the first landing attempt I didn't get enough of the creeper cleared out in time to place the final Relay. A second attempt cleared it out enough ... but by the time the relay was built, all the weapons were out of ammunition and the creeper destroyed the relay before it could rectify that situation.
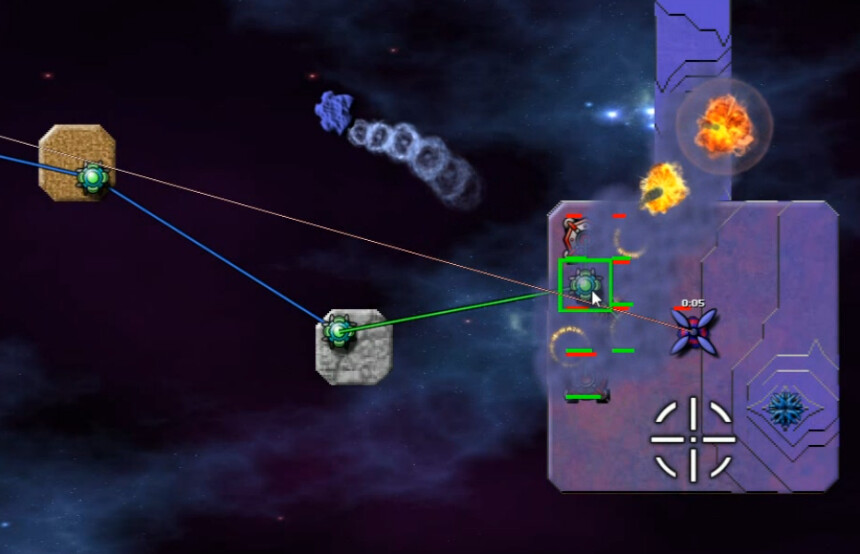
The third time, a Spore hit one of the connecting relays, dooming the effort before it could begin and requiring me to land a Cannon to clean up the mess.
Then, having established a solid position, one Spore hit the nearly-built nullifier, and another one struck one of the relays AGAIN, dooming the effort once more. Which was what I get for not bringing a beam with me, I guess. At this point I got pretty aggravated (about 31 minutes on the video). The next try though finally got the job done, with a Beam landing shortly after everything else was in place.
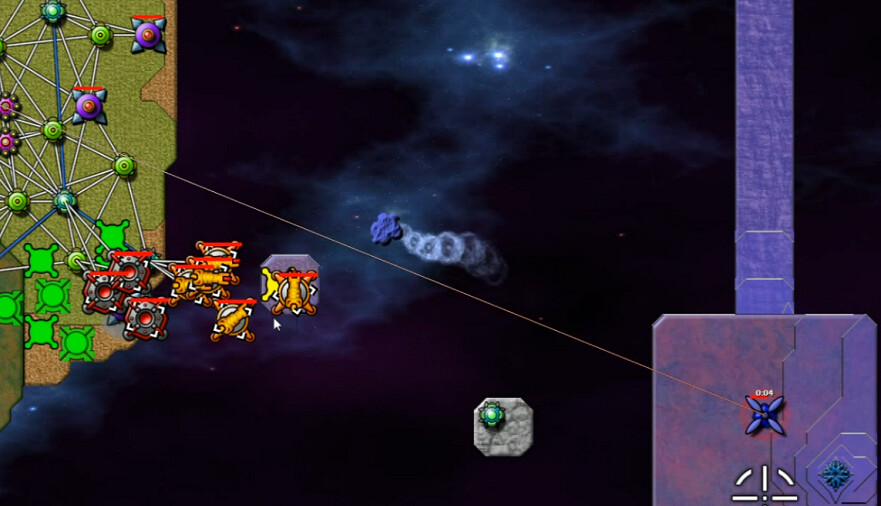
I found I was unable to use the 'stepping-stone' islands to get anywhere else useful though, even by using PowerZones.
This seemed the most useful remaining island, in the extreme northeast, due to it having a fair amount of room and a couple of ore deposits. I'd also built a couple of SuperBerthas now to assist in lowering creeper levels wherever needed. In combination with the guppies, those made this an easy attack. I think this is Jellybean Island.
At this point I went Auto-Target with the bertha artillery guns, having them lower resistance wherever, and choosing the next-most-inviting target to take over the rest of the islands.
Five cannons, three mortars, two guppies seemed to be about the right amount and had become my go-to configuration. This was just a small roundish island and offered no lasting resistance. I never bothered exploiting the ore patch next-door.
This plateau had already been cleared by bertha fire, so it was an easy next choice with the lone emitter several steps down on lower terrain.
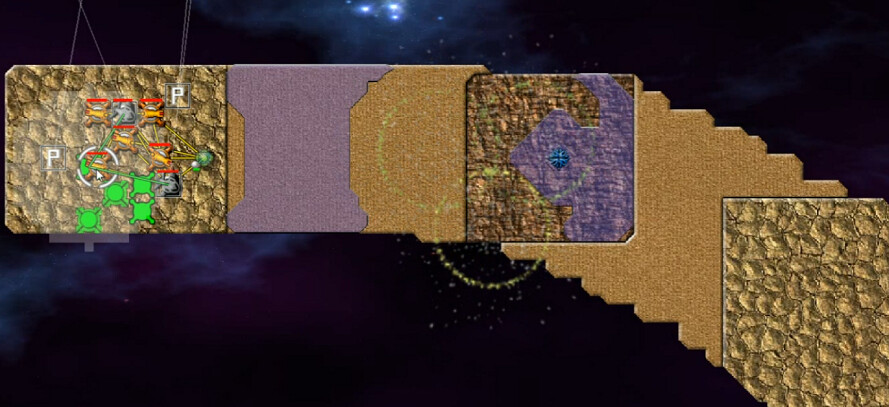
From there, a relay connection was made to Pencil Island, which ended up being one of the more annoying ones. Not wide enough for more than one anything to be built, there were only a few weapons that could be in range of the creeper at any one time.
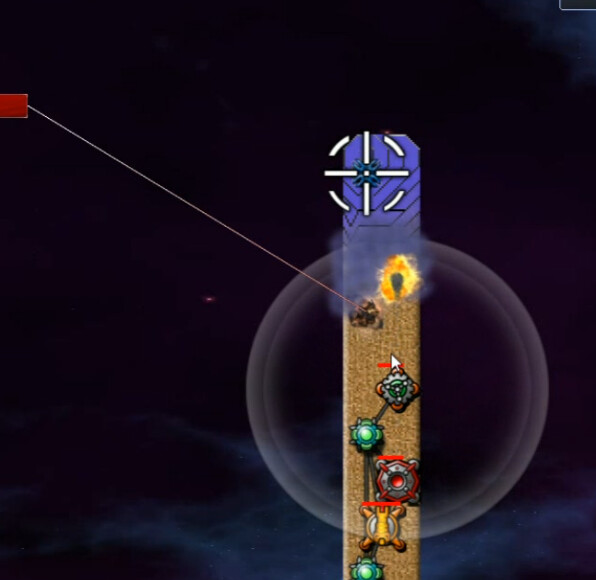
After leapfrogging to the emitter on the north end, I tried the shield method but it didn't have enough strength to protect the creeper.
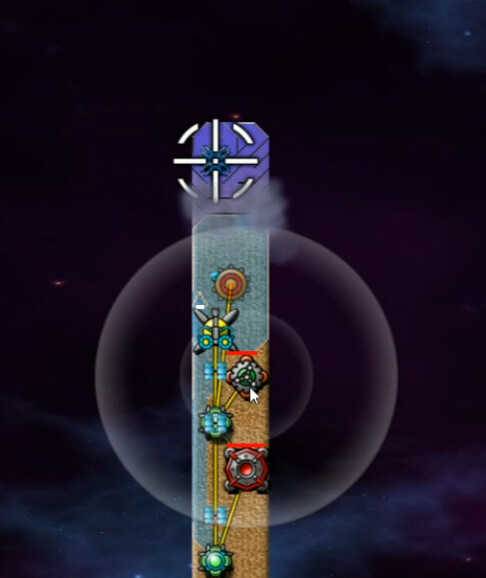
Then I built a guppy to ferry in ore - forgetting that command nodes usually turn the ore into AC for sprayers, so delivering ore here did no good. Having wasted time on that, I went with AC Guppies next. Eventually that did the trick in combination with the shield, and we brought this one down.

Next up was this spot, where the emitter had the high ground. There was plenty of room though, and the usual landing party had little trouble.
Here we've cleared out a solid area and ascended the target plateau, nullifier building and all is well.
That left two more. I don't know what to call this, in the southwest of the map, but it's the largest landmass on the planet. The AE Tower covers the entire western section, so we need to land in the eastern high ground and proceed from there. The first landing wasn't timed well, to put it mildly.
Second try went much better. There's a couple emitters on this one, which when combined with the space made things take a little bit of time.
Here's the western end, with the southern part the most elevated. Wasn't much trouble to take that emitter, then work our way north.
The last island to be dealt with had elevated sections on each end, the emitter in the middle on low ground. Easy to land, a little more work to clear out enough room for a nullifier but it wasn't difficult.
I wasn't impressed by Starfields Eternal at first, but I do give it credit for variety in the islands. It's one of those that I think would be a lot more interesting to try and speedrun than it is in terms of any challenge in actually winning the map. Guppies and Berthas were definitely big stars in this one.