Part 148: Planet Hopping & Which Way Do I Go
You'll have to tell me why they are so super once we get there. For now …Planet Hopping & Which Way Do I Go
I definitely overstayed my welcome in this session. The first one went reasonably well ... mostly ... but I should have called it at that point. I went for a second planet and pretty much embarassed myself. First up:
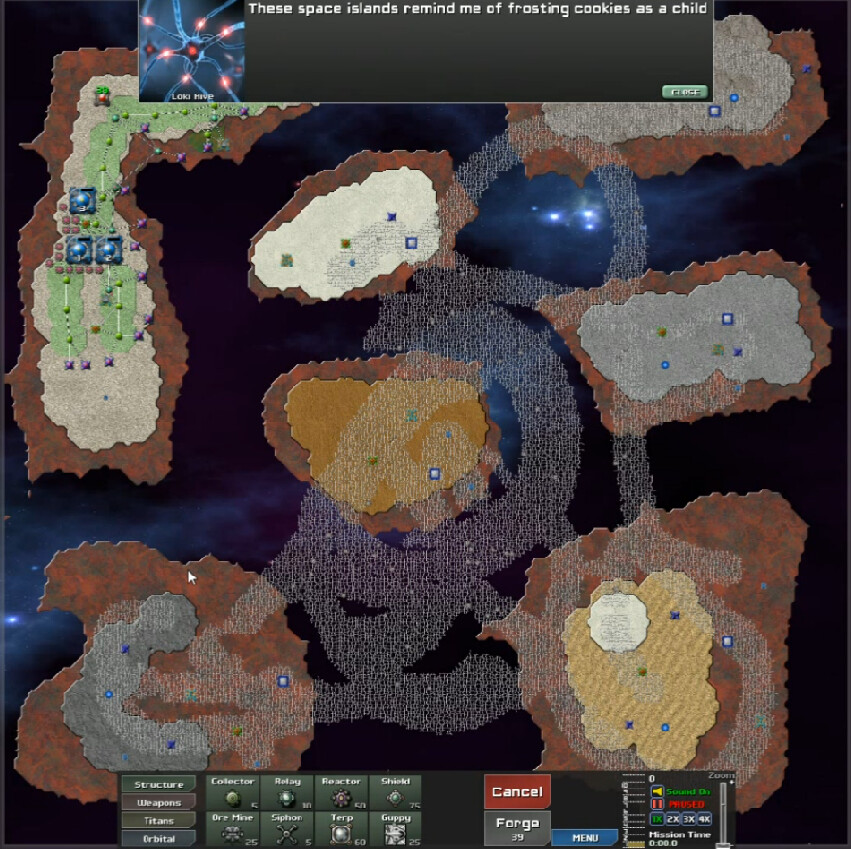
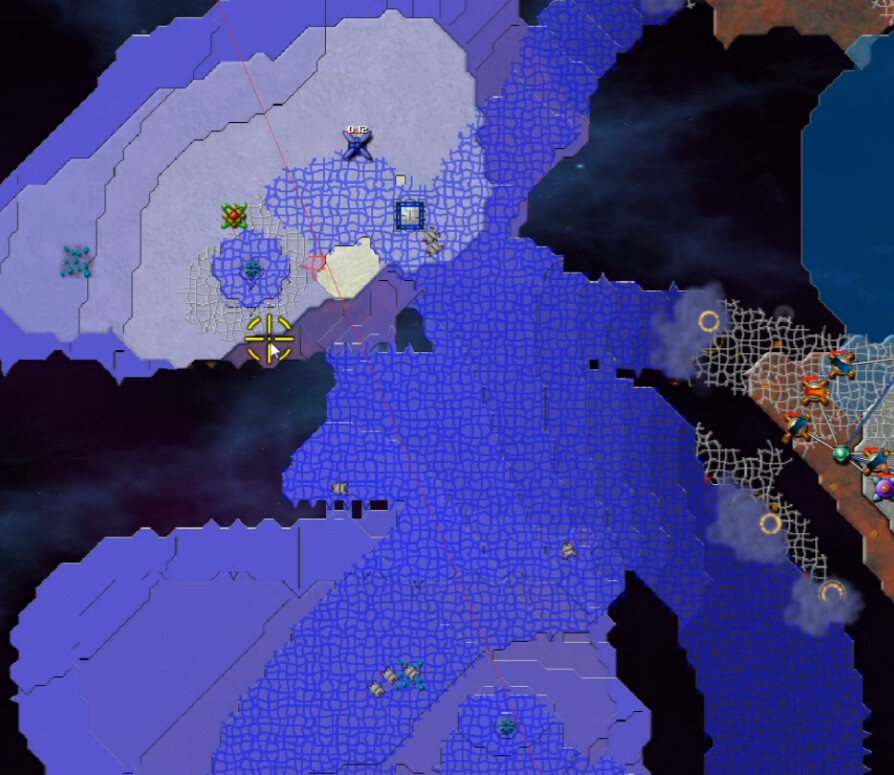
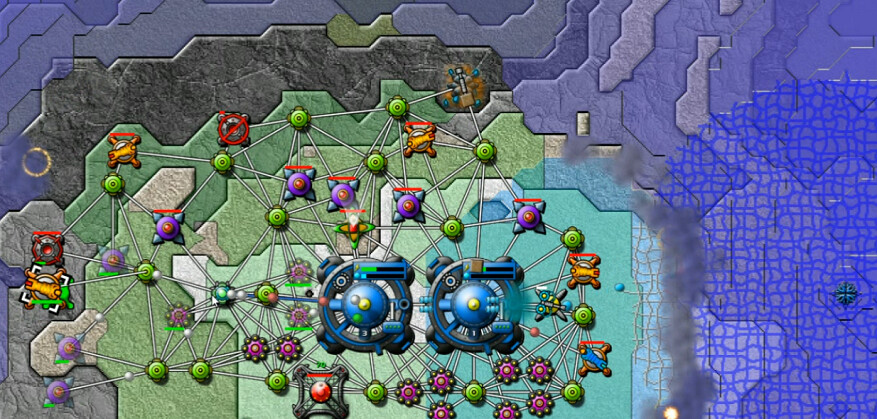
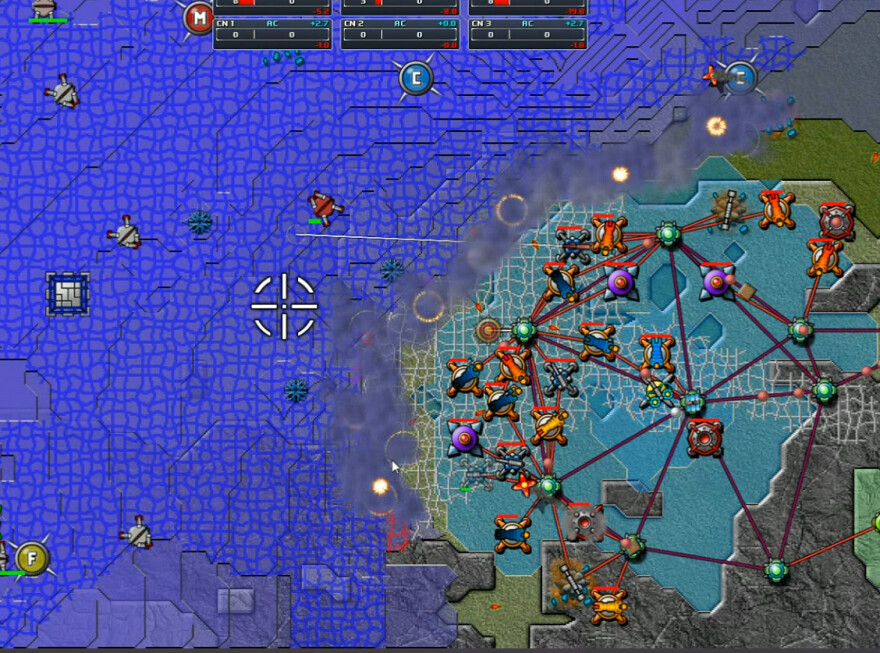
I think this comment is some sort of a reference to the shape the digitalis makes. I can't quite place it though. We have a starting network here in the northwest, and several of the mentioned space islands to deal with. The size of these, and dealing with the different ways the digitalis can get to them, is what I found to be the most unique part of this planet.
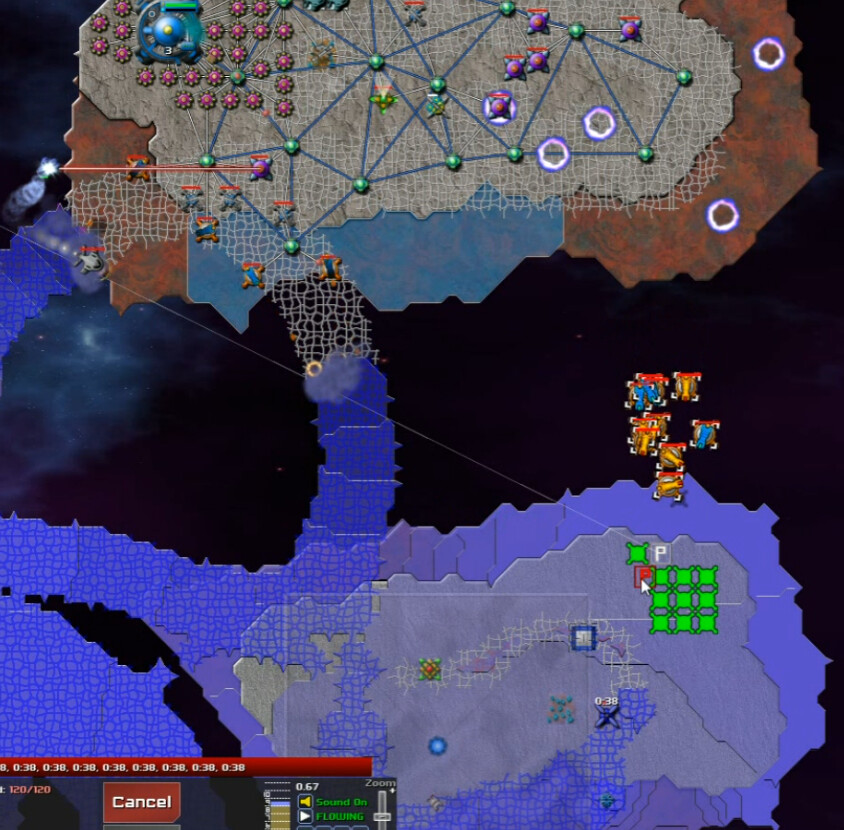
There's plenty here to keep us secure right at the start, cutting out the buildup phase. After grabbing a few upgrades, I'm able to get right to building myself an army of weapons platforms.
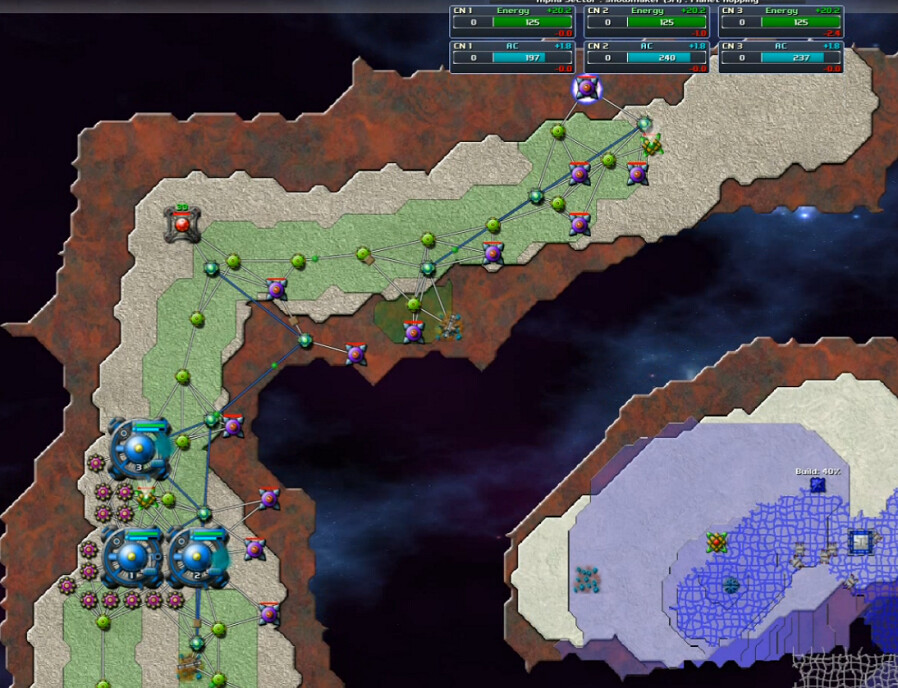
A group of Pulse Cannons and a Command Node make their way to the northeast island first. East of here there is an AE Tower covering much of it, but this spot clear of digitalis looks like a good spot for a base. I've also expanded the energy supply and set up a SuperBertha. Snipers and Guppies follow soon afterwards, and then Beams.
Soon the long war against the digitalis begins, as I start pushing the enemy off this island.
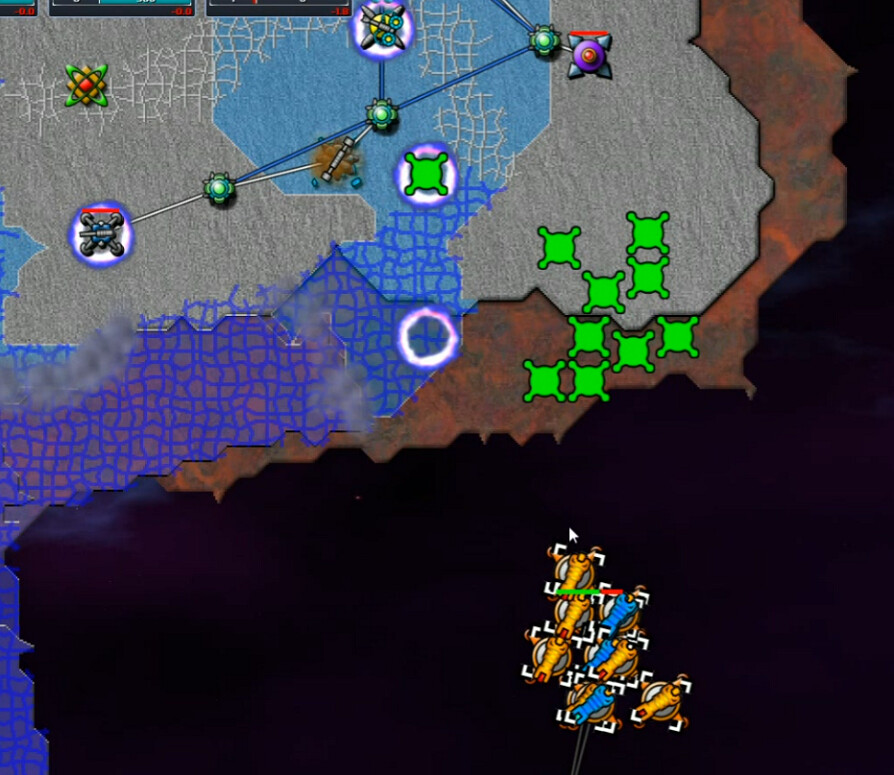
Guardian Digitalis Cannons were posted as both approach vectors, and an attack group sent further to the south along the eastern edge. Once again I'm targeting a flat, air-accessible LZ. This island is a bit smaller, and doesn't have all that much in the way of structures to clear out.
Forgetting that AC doesn't attack digitalis, but just makes it regenerate slower, I left a SuperSprayer to guard this location. That was a mistake, cutting short my next move.
SuperRelays are vital to keeping these new acquisitions connected.
Now in the southeast corner of the map, I would find capturing this big slab of terrain a more extensive endeavor. Size was part of it, but also there's just more digitalis and we start on low ground.

A steady, gradual advance and more energy got the job done, but that also left me with a lot of territory on the coasts that had to be constantly guarded against incursions. This level requires more cannons to be regularly built due to this need for digitalis guard duty.
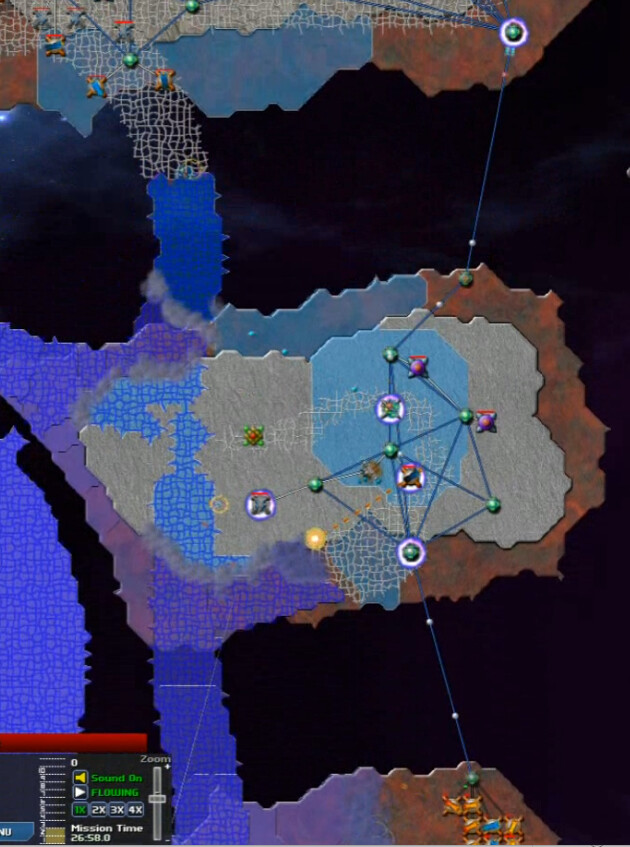
Three more islands remained, the central pair of which are shown here. North one was quick, the second one took a bit more time.
Multiple emitters and lots of more webbing to power through.
In the southwest, lots of elevation changes and plenty more stuff to fight through. I was almost there - except you've probably noticed that I left some unfinished business on the central island. I didn't notice that there was an active emitter there until I'd totally cleaned off this more recent landing.
It wasn't until I thought I'd won and the level didn't end that I really looked around, noticed what had happened, and disgustedly moved the attack group back to finish the job.
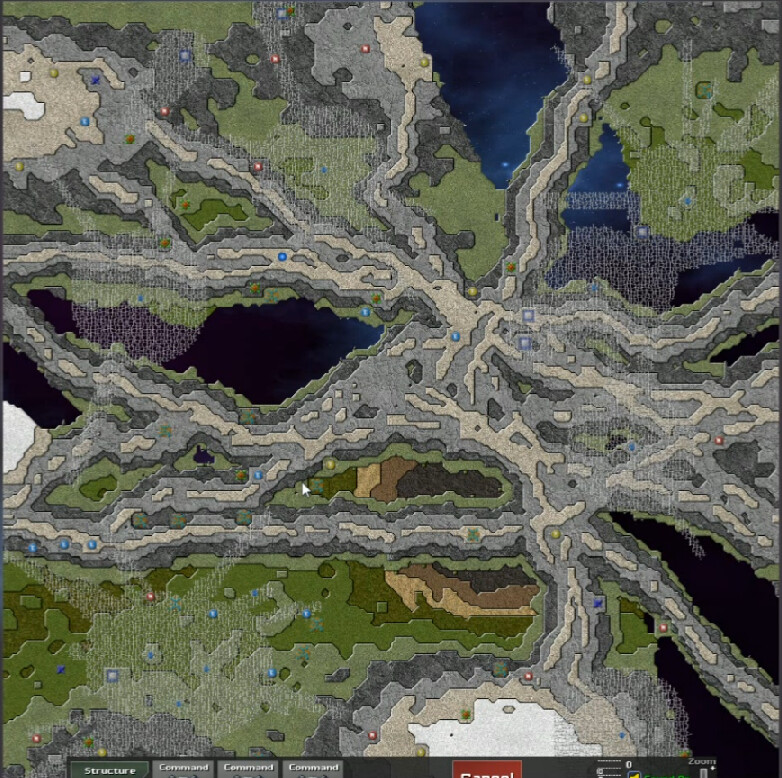
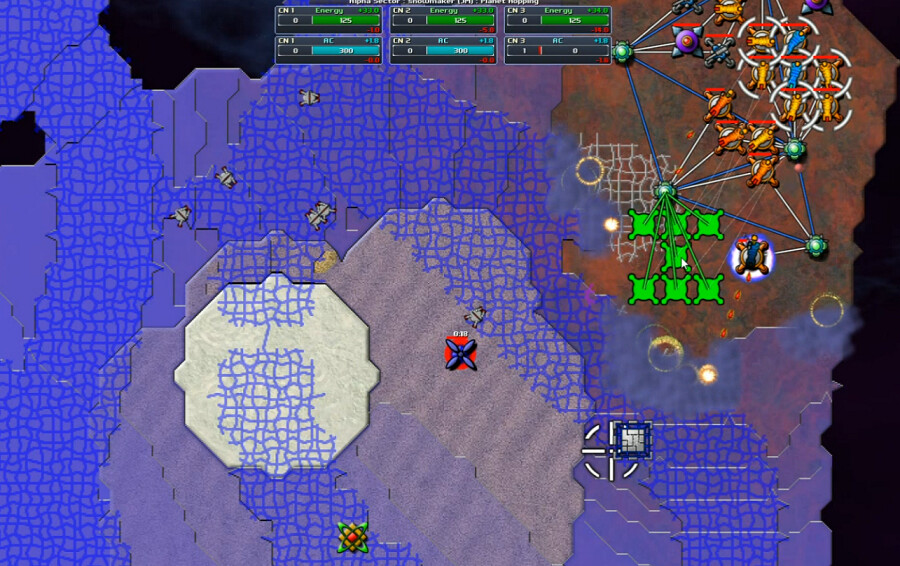
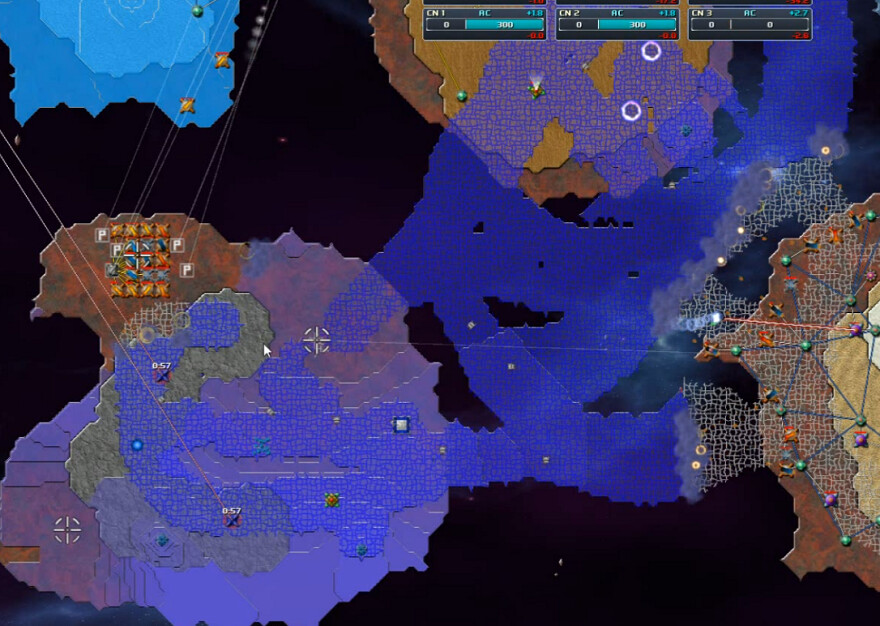
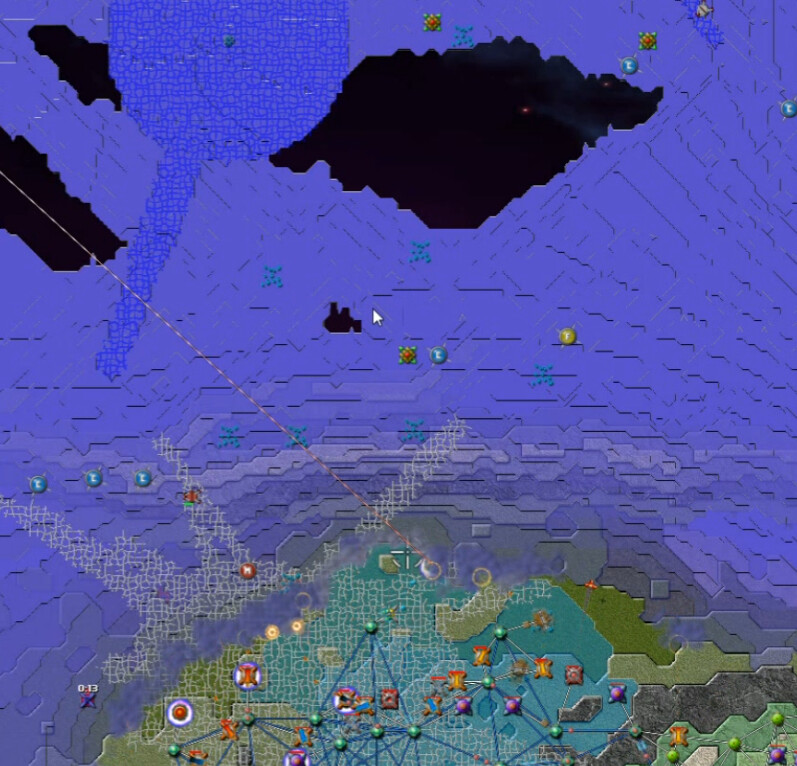
This is the chaotic mess of Which Way Do I Go. I had a nagging sense that I wasn't in the right kind of focused frame of mind to continue. But I wanted to continue anyway, and so I did. This is how far I got before regretting that choice - I didn't have to do more than just see the map.
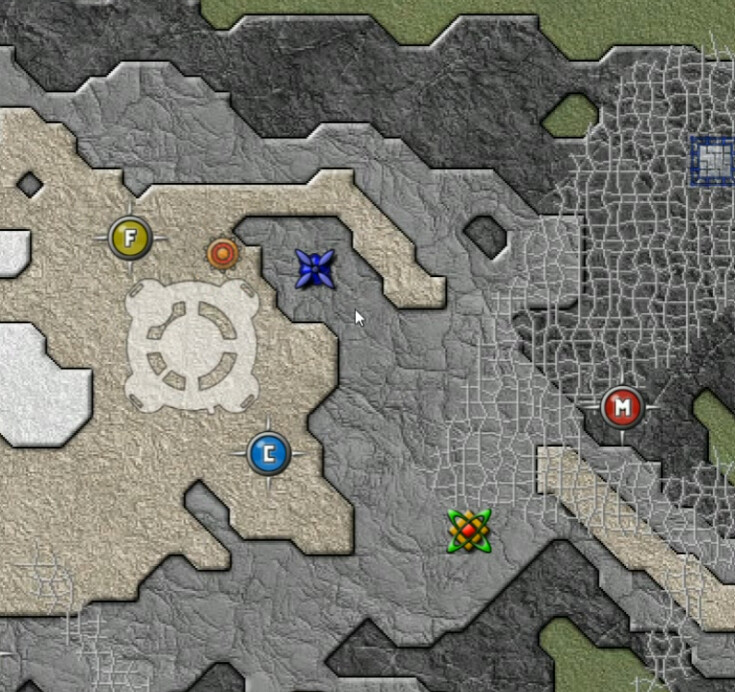
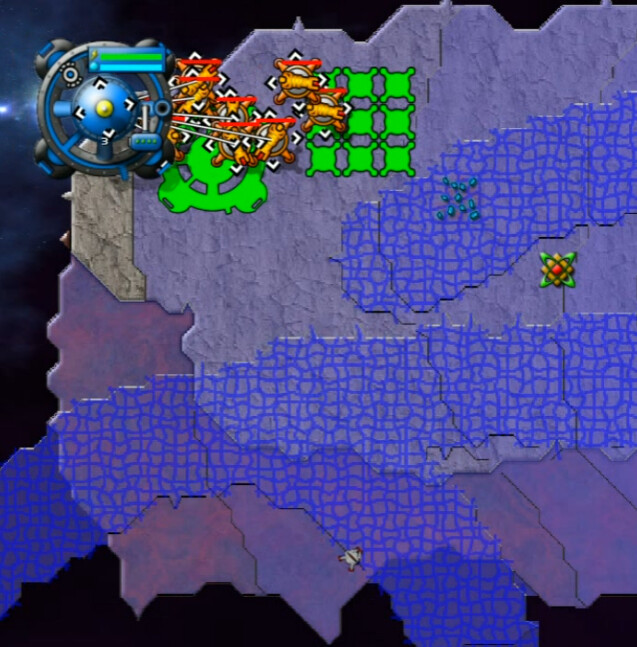
Even so, I did make a good decision initially. This is in the northwest corner. There are only I think three Spore Towers, each of which has several spores. So I wanted to set down here and knock out this one immediately, limiting the resistance.
The main starting position at the southern edge is quite defensible, save for the web of Digitalis nearby to the east.
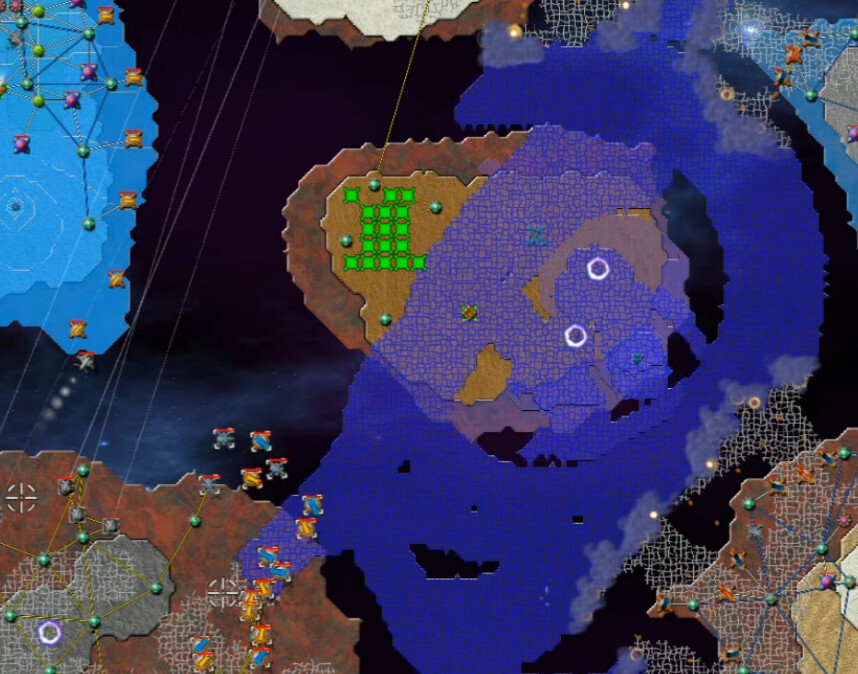
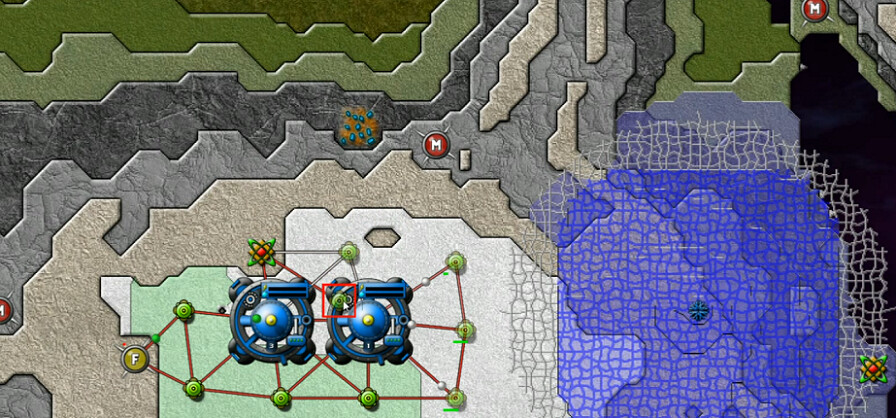
Another good idea here I think, as I'm building a SuperSniper perch on my new PZ to deal with the nearby, encroaching runners. A good deal of multi-tasking and switching back and forth between the two areas is about to ensue. Problem is that I wasn't quite thinking clearly enough to deal with it, and my brain would soon start to complain and overload.
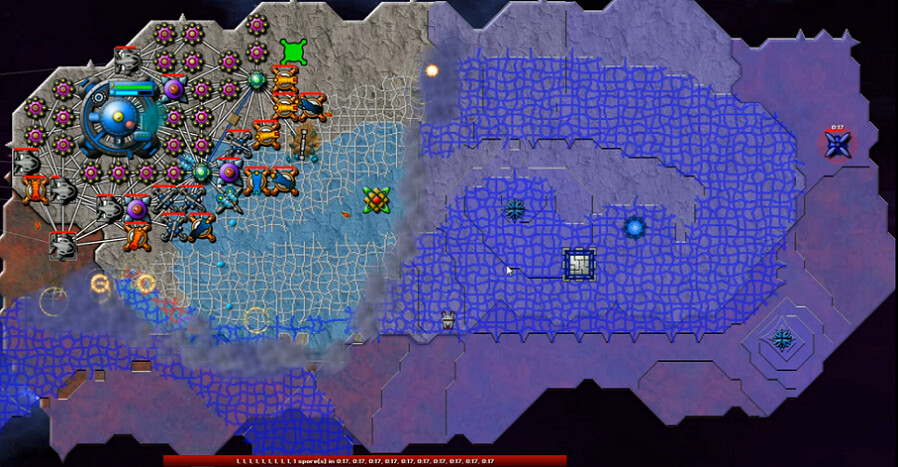
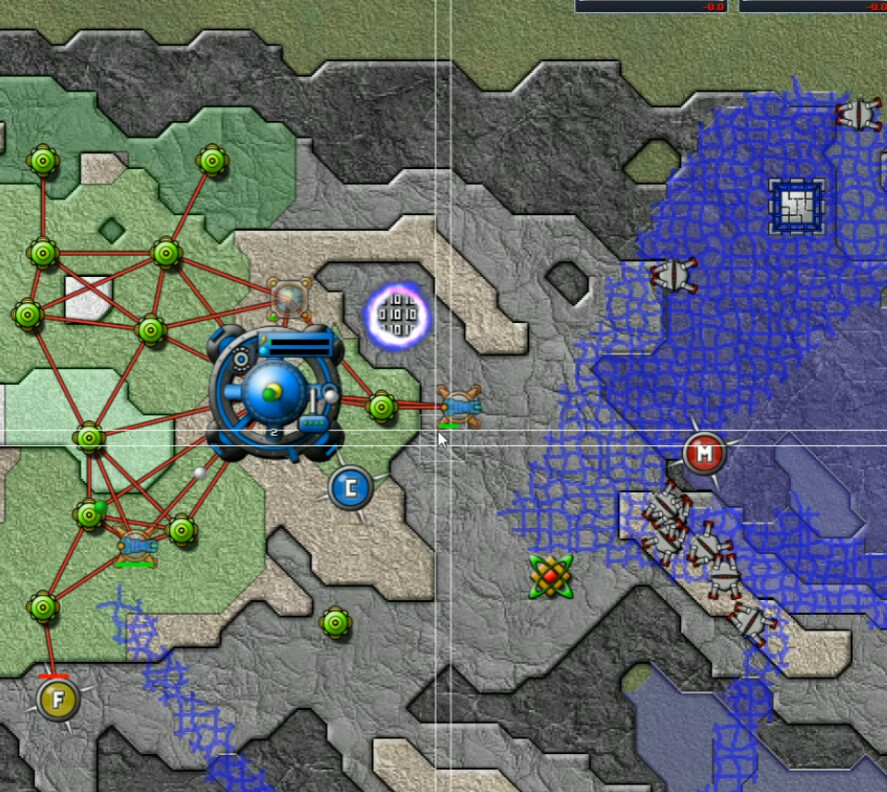
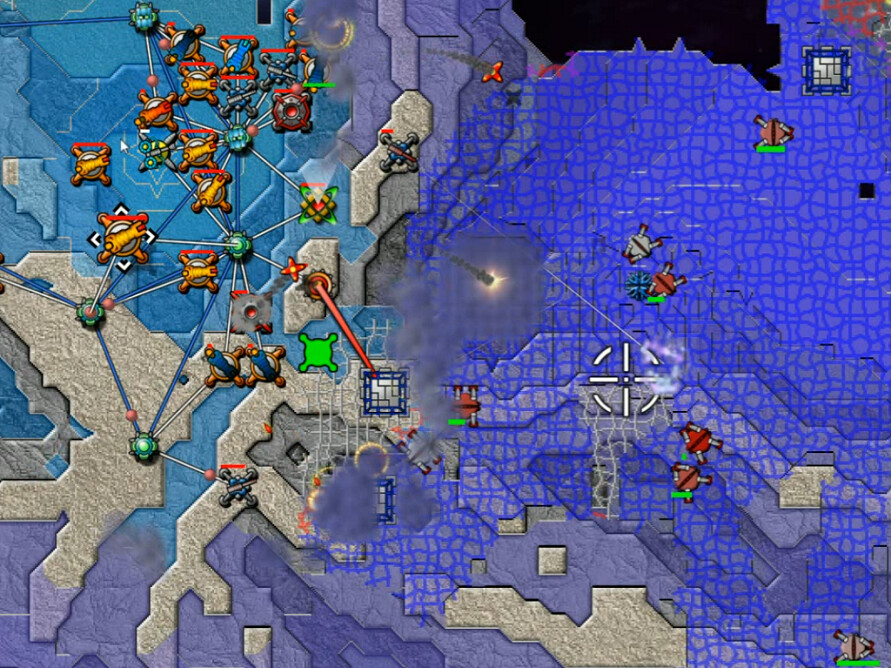
I had some trouble dealing with Spores in both areas, but here's how the main network eventually sorted out. Secure with energy gradually increasing, I needed to hammer that nearby emitter next.
As I built up for that ... well, our smaller network in the corner was in serious trouble. At one point the creeper around the sniper was at nearly 8 deep, or one short of what it would take to start flooding. That thing was doing great work in keeping the critters under control, so it was important to keep this area functioning.
Repeated attempts to get this nullified failed as I just wasn't putting enough firepower into the region. I wanted to get it done quickly and impatiently ... but eventually succumbed to the necessity of MOAR WEAPONS. The reward for finally taking it down was access to another Totem, and a clear path to taking down a second spore tower.
And then this to the west. This would require more to be sure.
I added a Big Gun(tm) and more weapons in general, but wasn't careful enough about the energy supply. End result being a slow push into this hive of hostility. We're about a half-hour into this mission at the current juncture.
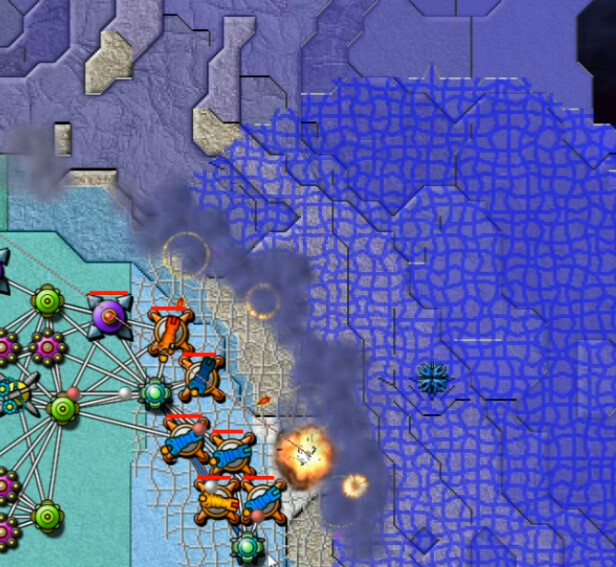
Then it was time to cross the CW version of flyover country. There's ridges and a bunch of ore, but in terms of defeating the enemy there's a vast swath of territory that just plain doesn't matter in there. You can see the flow coming in from the northeast, another Creeper stronghold, but I elected to hook up with our existing, secondar network first. And that meant traipsing up the west here.
Time for fun with Mortars. First on this side of the ridge to shoot over them, then they were placed on the higher ground as room was made from relays on them, and worked on clearing out the valleys. It made for an interesting and fairly unique crossing.
This was the last bit that got a little bit interesting. Uneven terrain, and the digitalis bridging a significant gap, I ended up working my way around the narrow passage on the left. Once I got through there, this was cleared out easily.
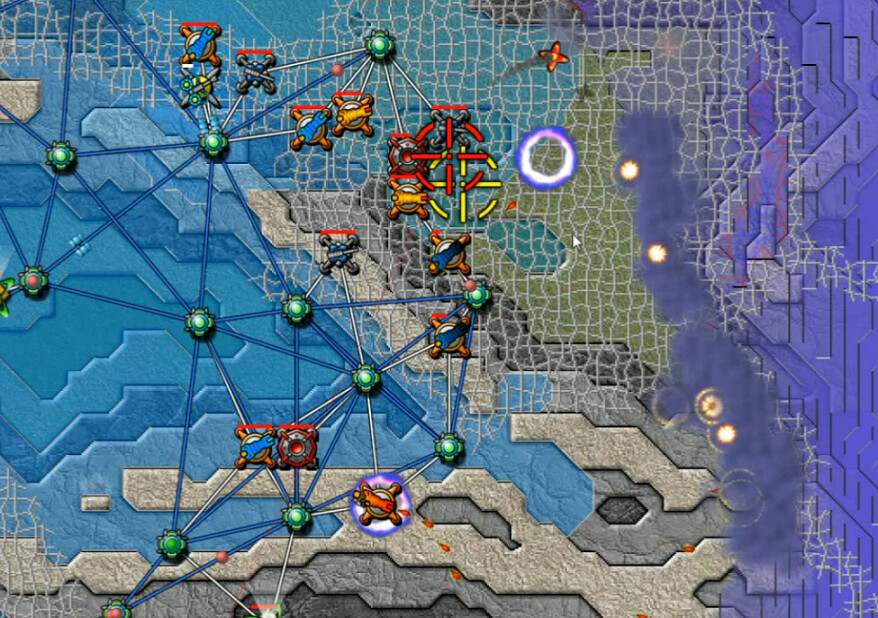
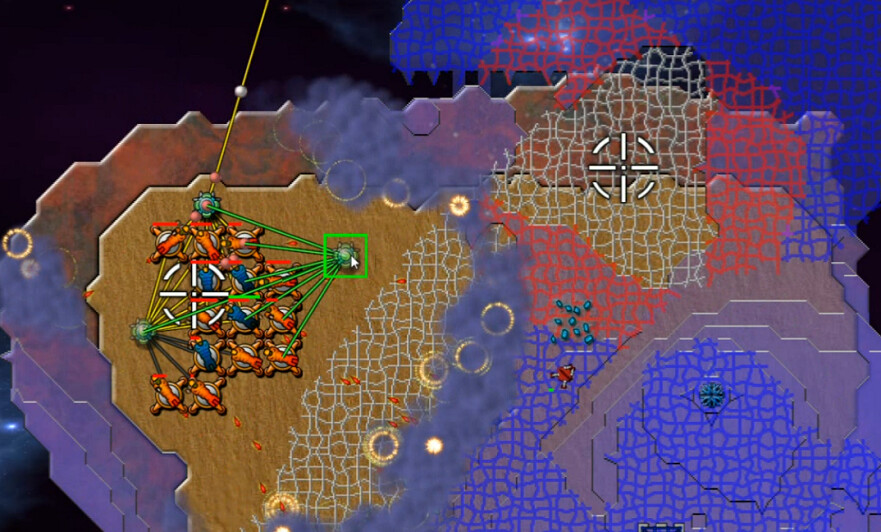
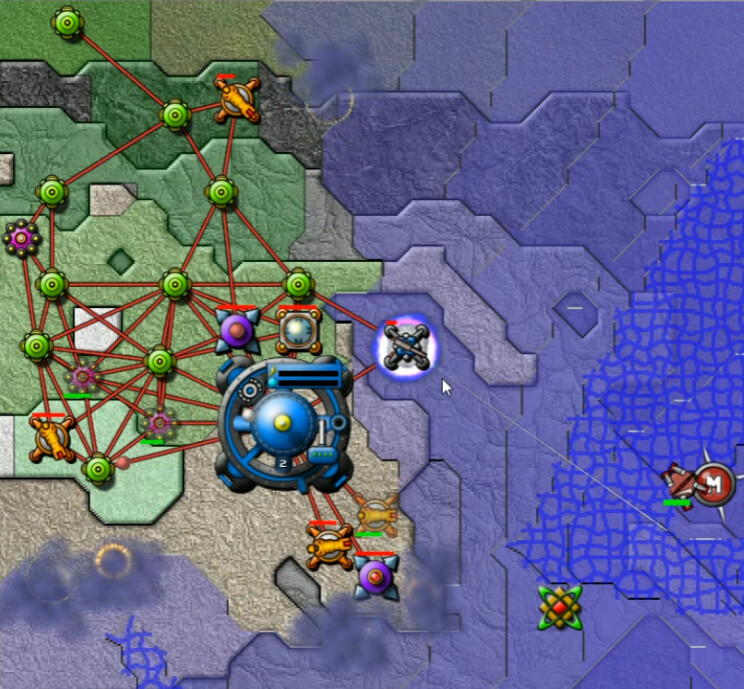
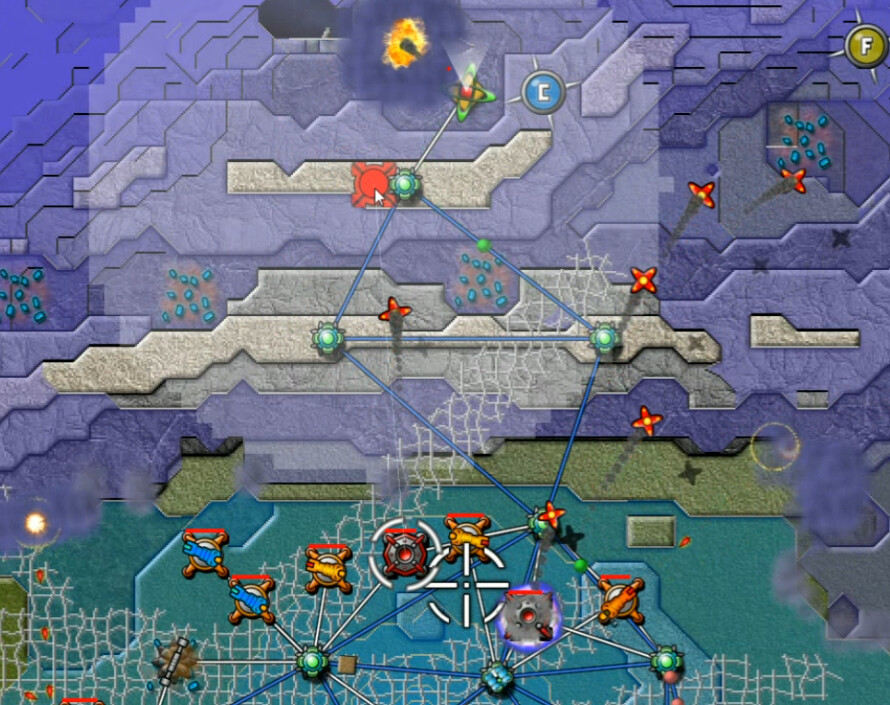
I start doing something I should have done dozens of levels ago - moving the targeting of Berthas, like so, by clicking on the targeting circle itself instead of finding the unit first and switching it that way. Red one is where it used to be, yellow is where the cursor is as I move/re-locate it. This is one of those things that I wish was in the tutorial section of the game, for people like me who are too dense to notice for a while
") . By now we are moving across continued rough terrain in the north of the map, pushing east towards the conclusion of the level.
. By now we are moving across continued rough terrain in the north of the map, pushing east towards the conclusion of the level. 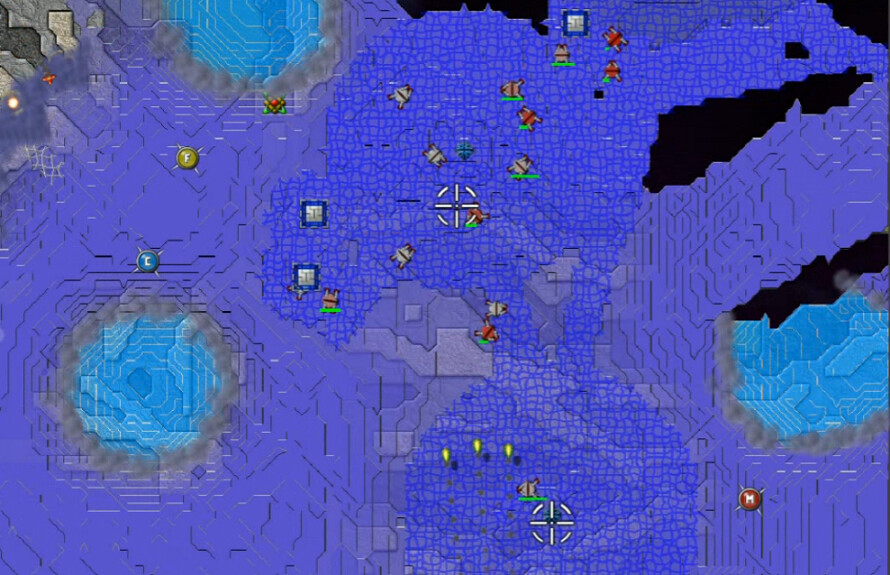
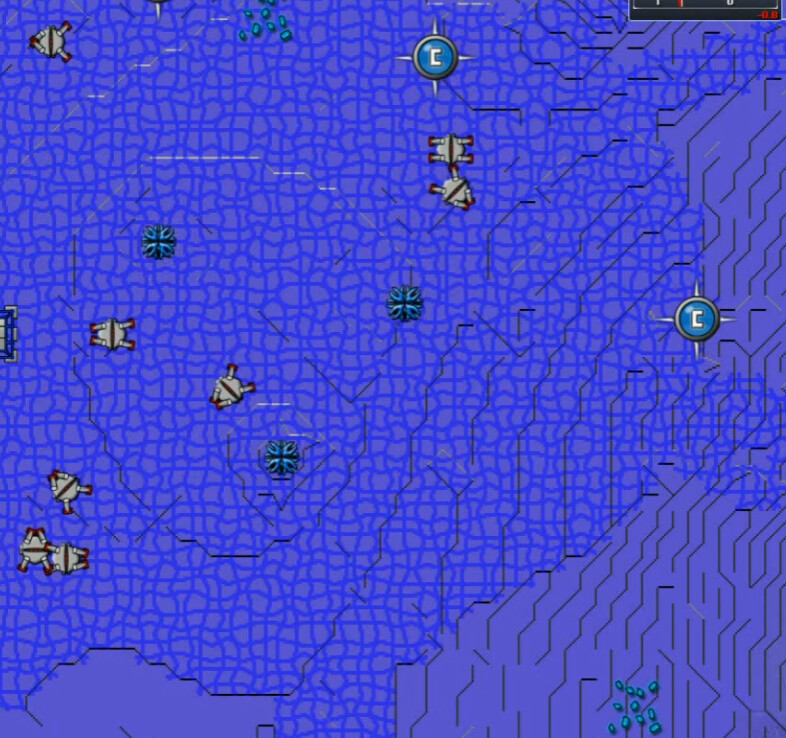
I launched some conversion artifacts here, just because I could, and it sped things up a bit.
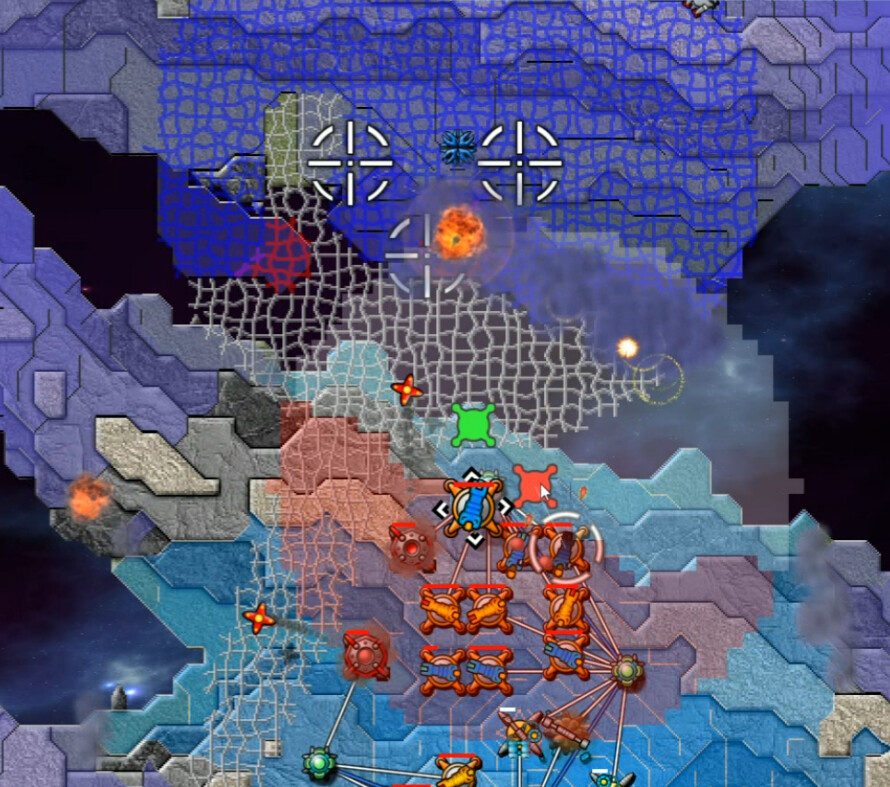
This was the last stand of our enemy. The ridges combined with the runners and me pulling the whole 'oh, there's an emitter there?' bit again to provide some significant resistance, but eventually I got through it.
Two more big levels in the books, and it's pretty clear this author likes digitalis. A lot.