Part 158: Get the Gear
Get the GearThis one introduces a new twist that got mentioned in the thread quite a while back. So at least I was warned about it.
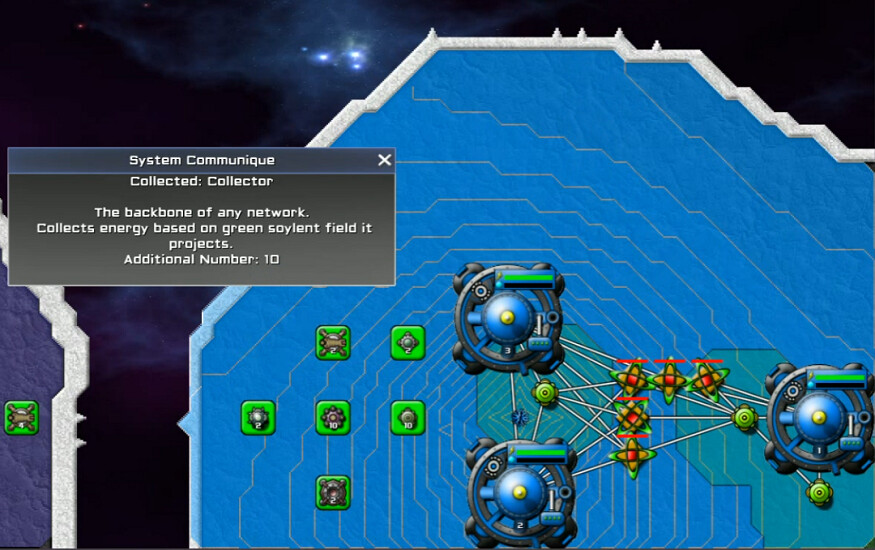
Lots of tech artifacts - with numbers on them. What that means is that each artifact you get allows a limited number of whatever structure to be built. That's one of many cool things about Get the Gear.
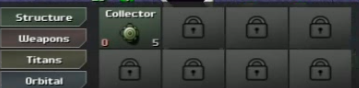
Uh, that's kind of an issue. I can build ... nothing at all to start with.
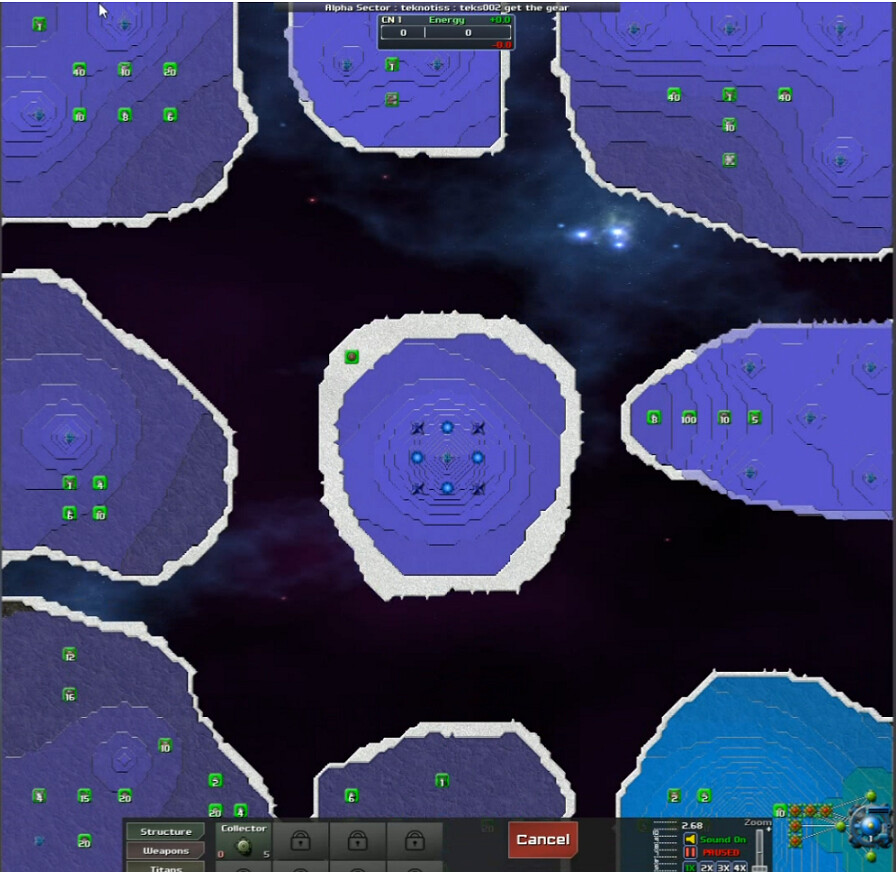
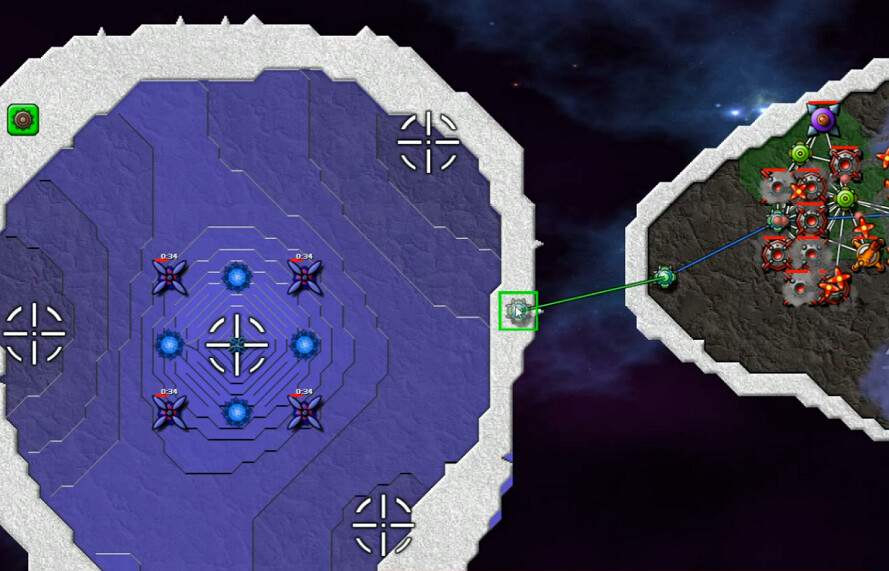
All I've done here is deploy the second and third nodes - one on the right and the rest of this was already there. I was expecting to get more artifacts ... but nothing happens.
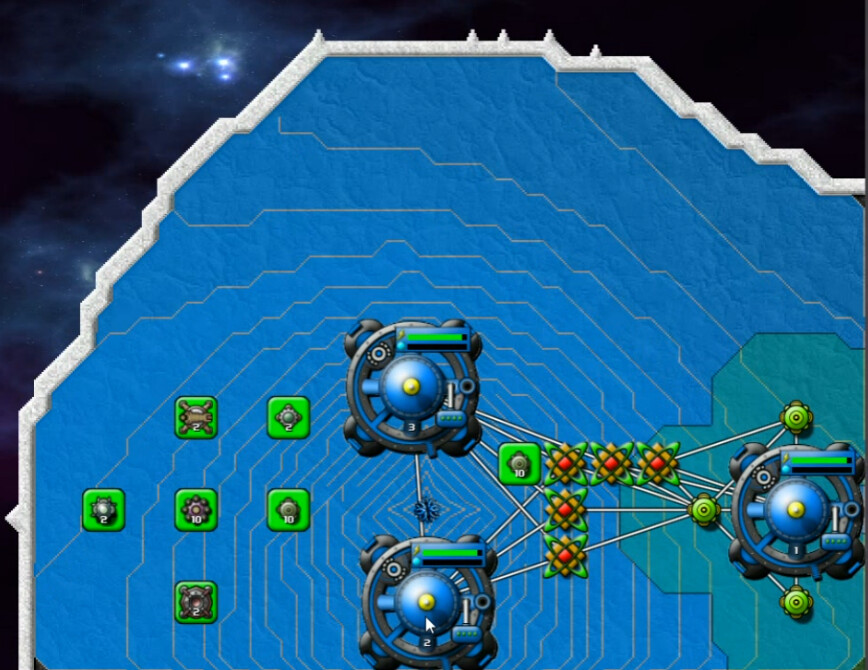
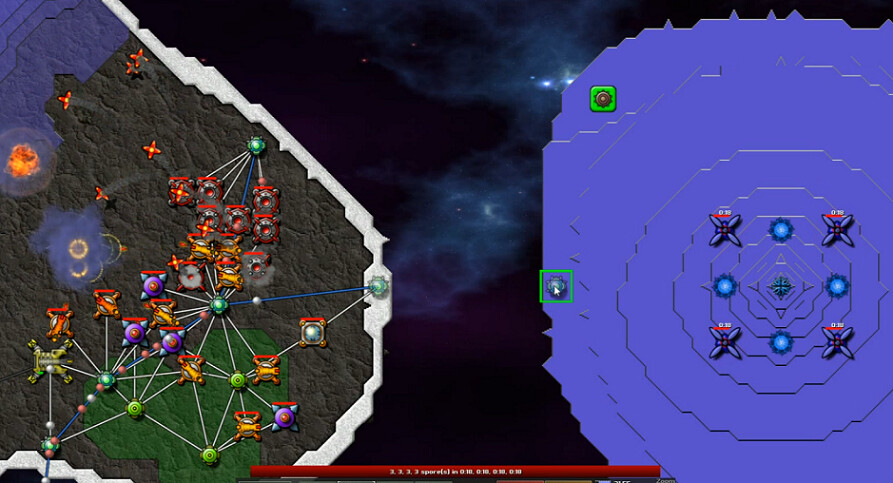
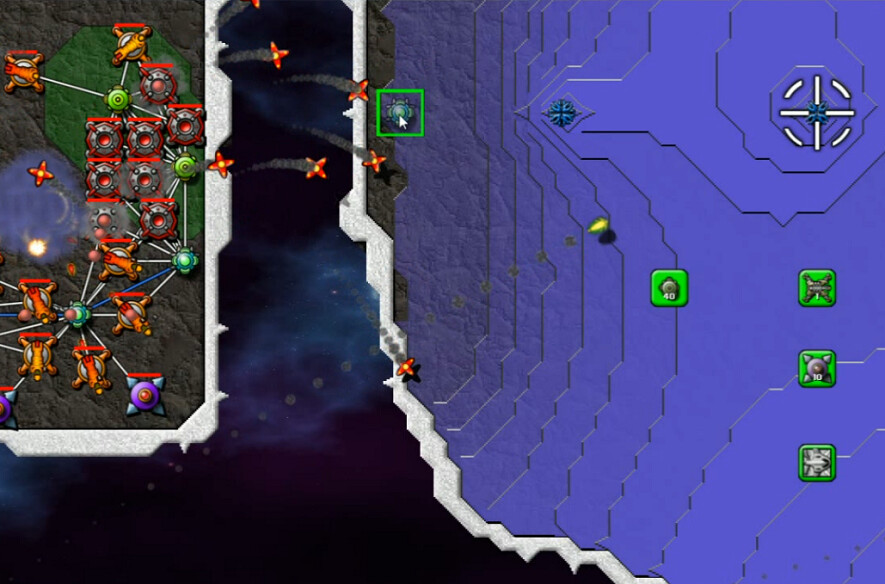
I'd forgotten that you can't hook them up directly to a command node, but you need something else as an intermediary. I had to take down a Collector, then build it again somewhere else to connect up. So now we have more collectors. Progress. This map has a specific, forced linear path, and it begins here in the southwest corner. We have a nice AC emitter here, and it's the only place on the map you can land that isn't covered with Creeper at the start.
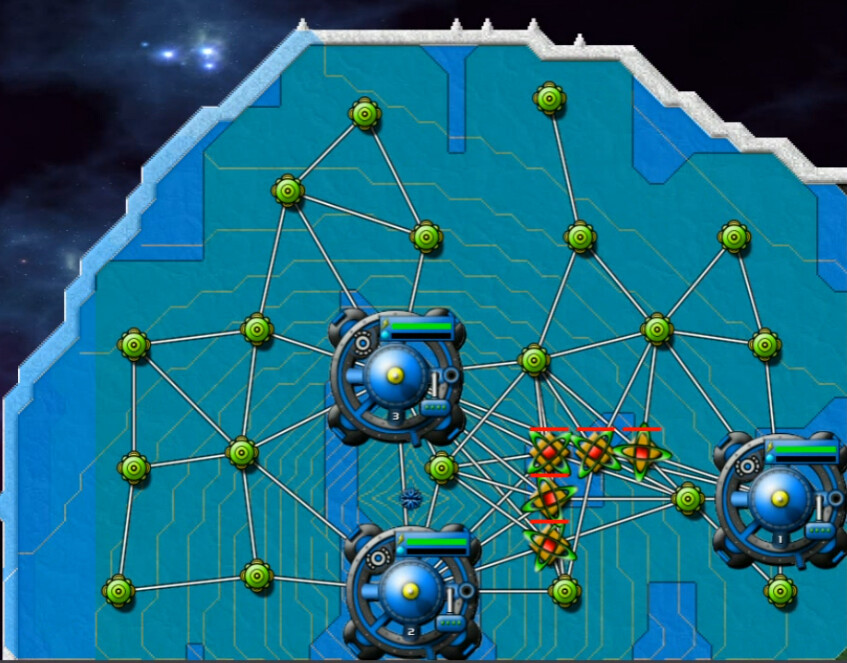
Using these newfound collectors, I'm able to connect to all the other artifacts on the starting island. Eventually that gives me:
** 2 Pulse Cannons
** 2 Mortars
** 10 Reactors
** 2 Relays
** 2 Shields
** 20 Collectors (total of 23)
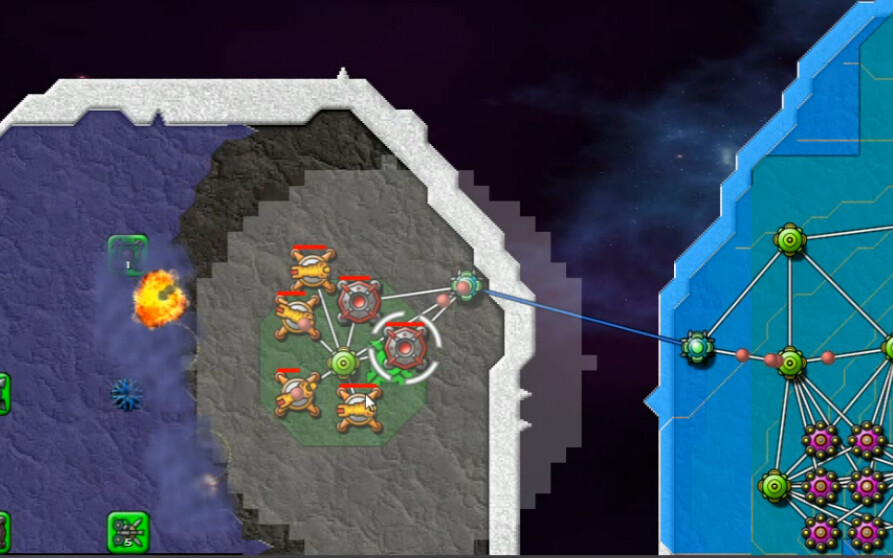
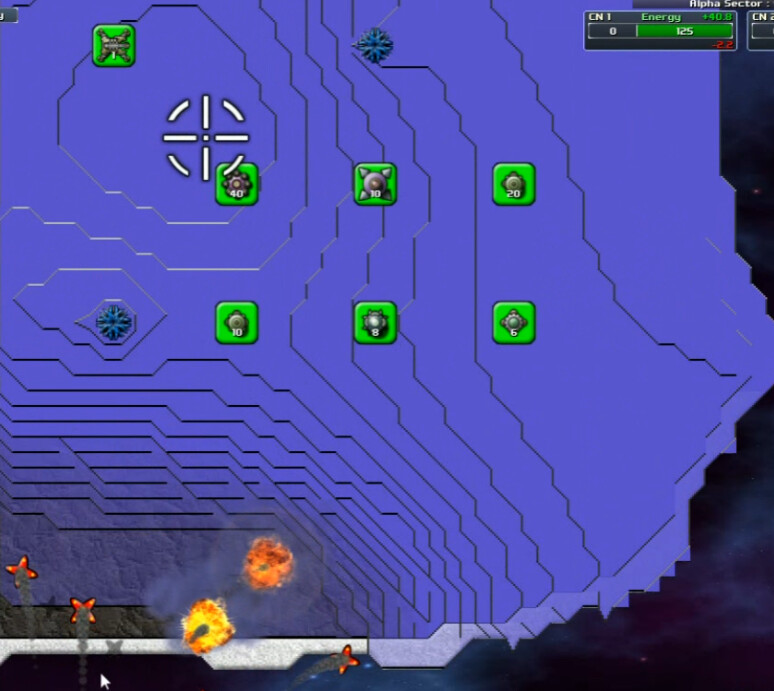
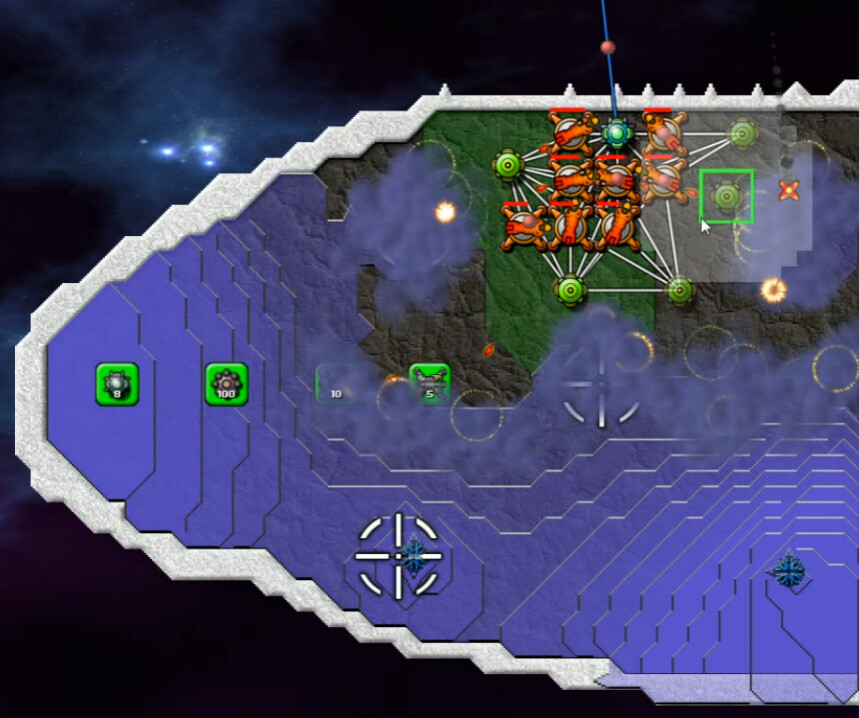
After a few raids across with my first weapon complement, I'm able to connect to the island to the west. No other one is within range - again it's a forced path. The emitter here is very weak, and the Relay pair is just enough to get this done. Now we get some more stuff here. Sprayers, Beams, and a Forge are new, along with more weapons and relays.
Further to the west is a larger island, with stronger but still-weak emitters. 10 per 0.5s I think, so a half-strength one over there. It's also worth mentioning that there is plenty of time, but if you procrastinate too much you can get hit with the 12-spore salvos from the center island before you get the beams here. Which would make things a lot harder. Additionally, we do not have a Nullifier yet, so we can't do anything about the emitter here except keep it under control.

Placing Mortars on the coast to bombard the next island is vital on this map. Which means that range upgrades are equally so.
Once we've moved across again, another clearing operation and more of most things, while four Terps are added. If you're asking just now "Why isn't he using Sprayers to speed this up, collecting from that emitter on the main island?"
Answer: No freaking clue. I should have. Obvious to me on the replay, but I decided not to at the time. It, uh, could have helped later. We'll get to that.
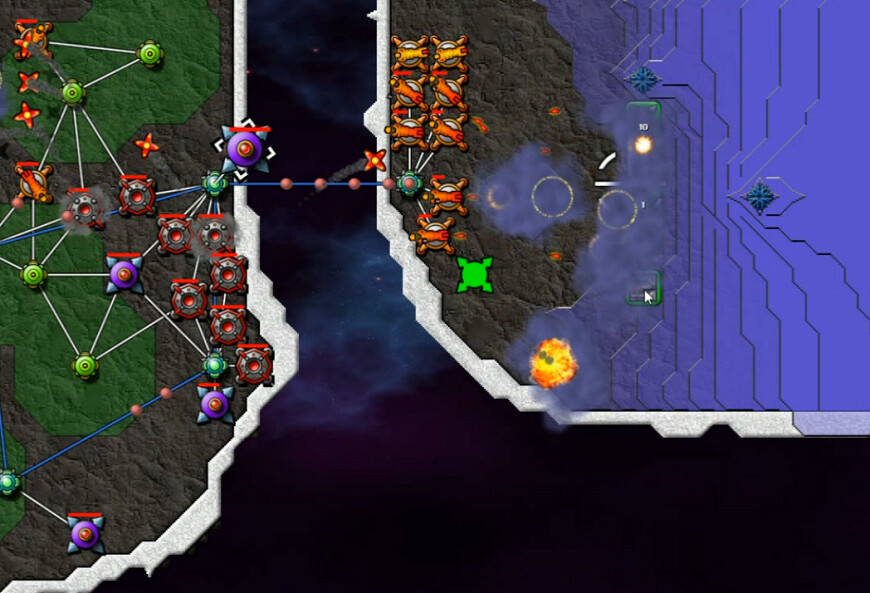
The prize on this next island is our first Bertha.
From here, I terp a larger area on the edge of the island to see if I can connect to the center island. I cannot - I think it's literally just far enough. That means no relief from the Spores, and no Nullifier. So I've got to keep Cannons around all the emitters.
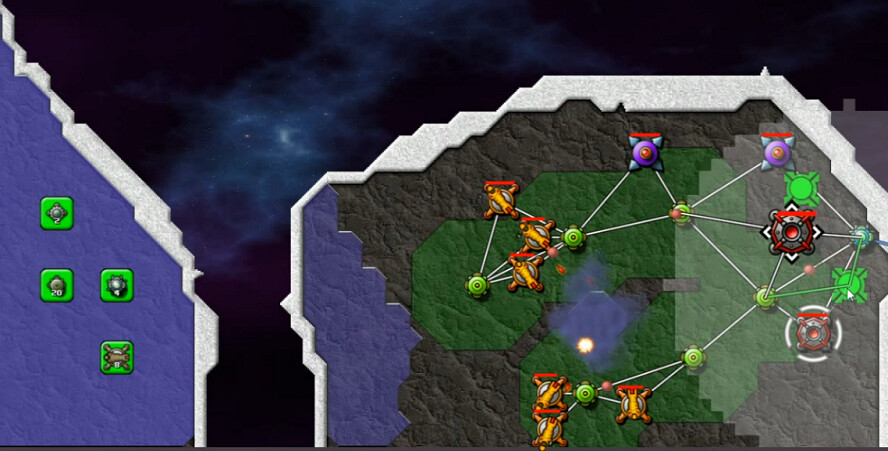
With the bertha and more mortars joining the fun, the northwest island provides more resistance with a pair of standard emitters now.
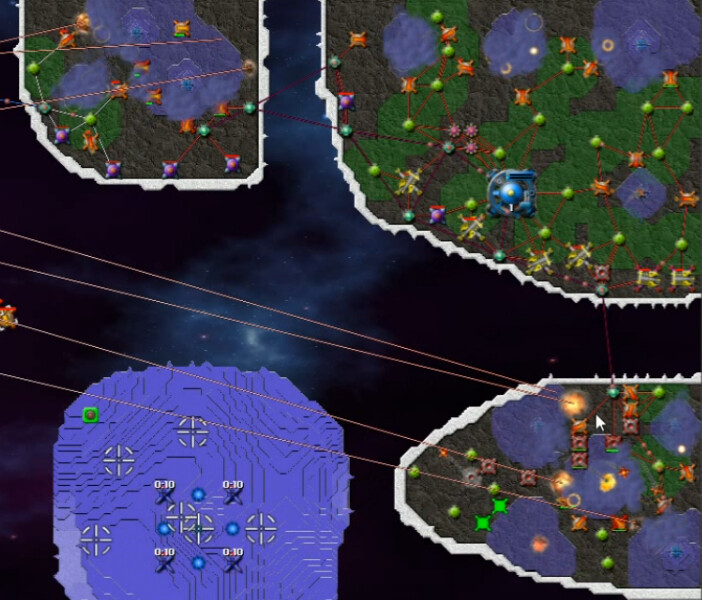
The center-north island here has three emitters - rather than make them stronger than the default, the map just adds more. Spacing between them is tight. We also get Bombers - which I ignore - and most vitally I ran out of Relays here. Those are vital for keeping network intact, so I needed to conserve my use of them and re-arrange some things. Two more islands before I get any more.
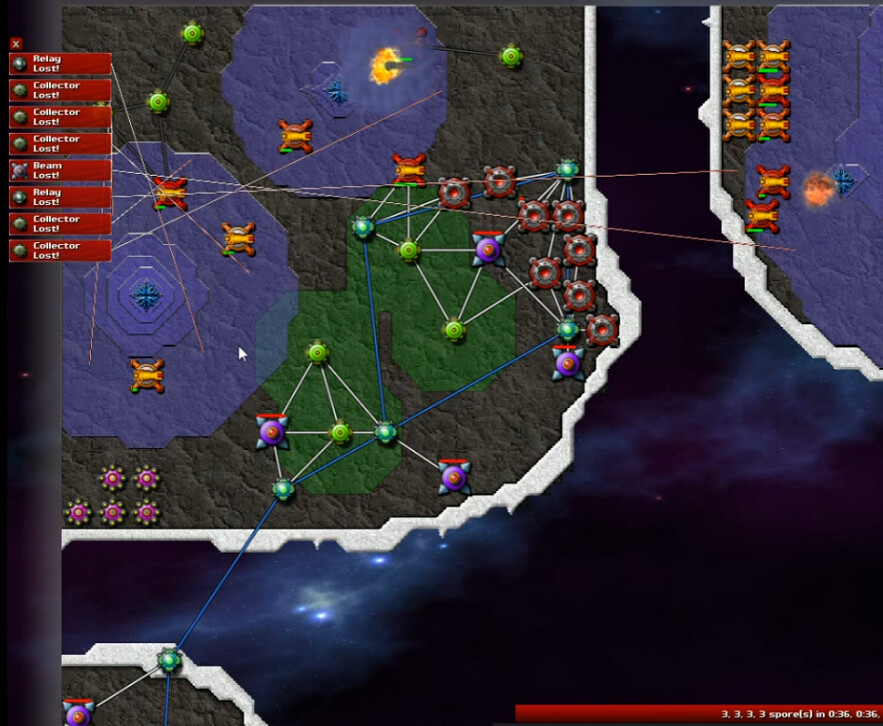
The first of two major mistakes in this level - as opposed to minor ones like making things harder on myself by not using the AC, sometimes getting hit by spores by not properly spacing beams, etc. - came here. I'm trying to minimize relay usage as mentioned, but thought I could survive not having things connected up longer than I really could. And got swamped as a result, kicked off the northern holdings.
As a boon to the viewer, I cut the recovery for this and the later, more hilarious IMO error, because just because I was stupid and had to rebuild my position doesn't mean you should have to pay for my mistake. Now in this shot I've just put the relays back up ... but it's too late. Nothing has any ammo and it'll take too long for it to get there. Before it does, the creeper reaches the relays, cuts off the connection again, and ... yeah. I end up evacuating some of the wapons but losing most of them, and all of everything else. Go team.
The last corner has four emitters, two of which are off-screen to the right here. Lots more energy structures and the gradual dripping out of Berthas continues as well. At this point I start to run low on cannons for the first time, what with the many of them I have guarding the emitters. By the by, it may be self-evident but the approach I chose was to string the relays as close to the 'inside' of this island circle we are making as possible, in order the limit the distance and number of them required.
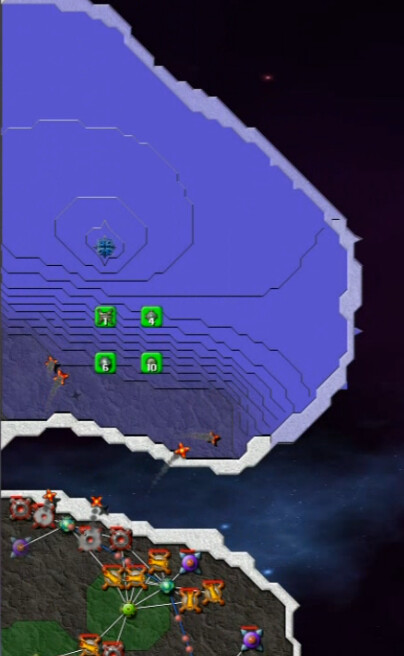
The final island, due east. And also, in a fit of accurate design, the only one that juts out enough to reach the center island. Which is of course completely covered in Air-Exclusion Towers. Here, there are five emitters spaced more closely, continuing the escalation pattern. And as you can see, lots of other goodies. Notably five additional berthas for a total of eight I believe. You do not lack for sufficient, even definitely excessive firepower by the end of this.

A gratuitious image of the center island as I hit it with artillery for the first time. Not often you get to see a near-perfect circle as CW goes, and of course the catharsis of plowing into a sizable buildup.
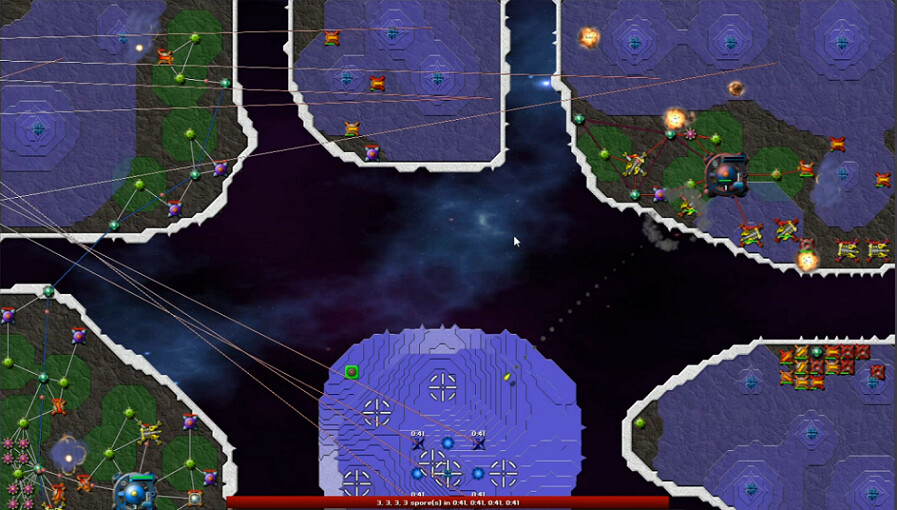
If you enjoy pain, consider viewing from timestamp 1:03:20. You see, I've been moving the command nodes clockwise around the map to stay reasonably close behind the action, so that there isn't as much pressure on the business end of the network. That's a good idea. Not a good idea is the latest way I chose to specifically do that. Which caused this ...
I think my favorite part of this shot is how there's almost as many 'something blew up here' lines pointing the north-central island - where I just moved the node from to the north-west one - as there are to the east island. Yet for whatever reason, the east one grabbed my attention and I thought that was the problem.
Of course, if you look at the north-center location you can see the left side of the island is not connected to the right, and so anything past that point is in trouble. This is because the Node was actually serving as a link there, and I didn't notice while I was moving it. A new version of a classic creeper world error.
1:04:15. It took nearly a full minute for me to begin realizing the full extent of what I'd done. And by that time, half my progress had been destroyed. Sort of. I mean I still had the increased weapon counts. But I had to rebuild a bunch of it, forced to retreat to the western edge.
Almost 50 messages are trying to display, a few talking about spores coming but most are of the 'Dude, all your stuff is blowing up' variety. After cutting out a full 20 minutes of aggravated gameplay ...
With the artillery keeping things contained, we can relay around on the edge and get the nullifier. Then place like 15 or 20 of them in the appropriate locations, and all of a sudden this map gets real quiet, real fast.
While I can blame nobody but myself, the design of this gives the player the opportunity to fail harder than usual due to not allowing the emitters to be destroyed until the end. This kind of thing hangs like the Sword of Damocles, waiting for you to screw up. I definitely applaud the gradual increase in forces and that whole dynamic, but I do have one piece of advice:'
Be more careful than I was.
Still, anything that strikes me as unique after having played a hundred different missions in this game should be saluted.