Part 160: Pyramid Power & AC Is Key
Pyramid Power & AC Is Key
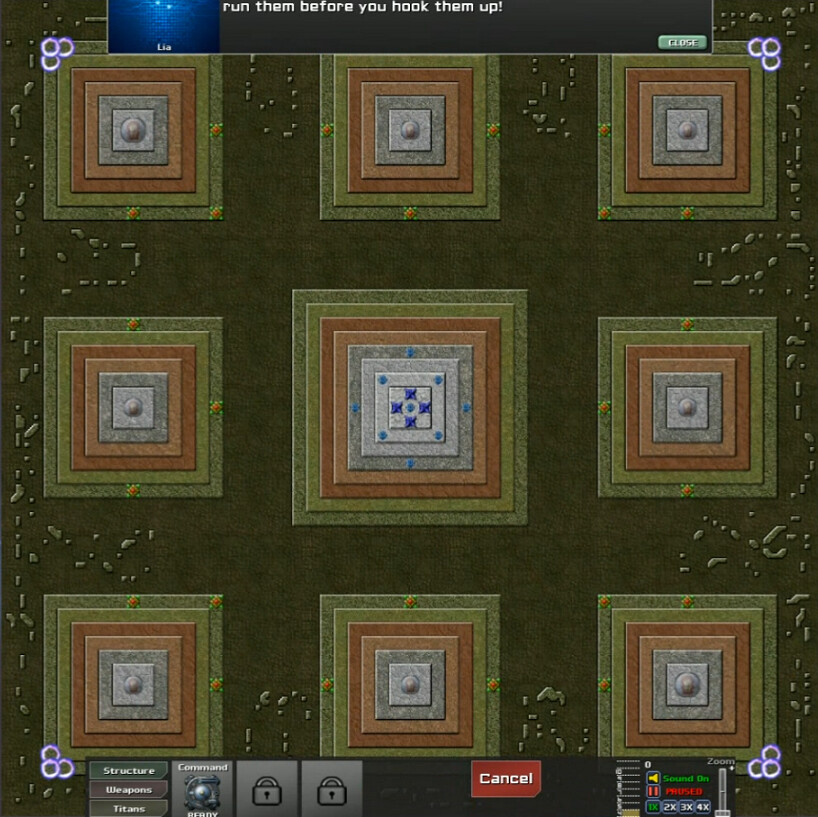
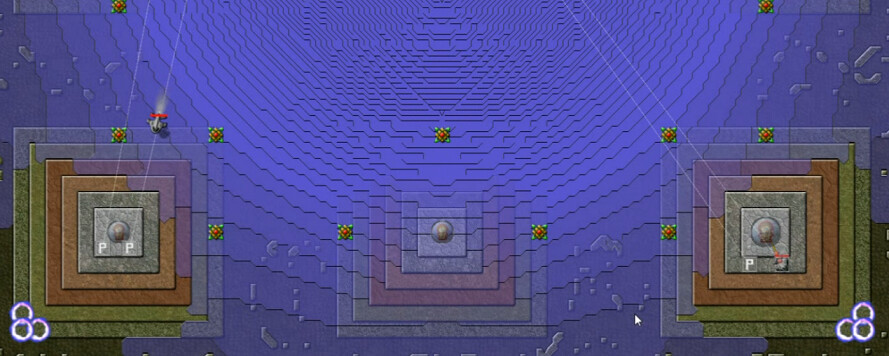
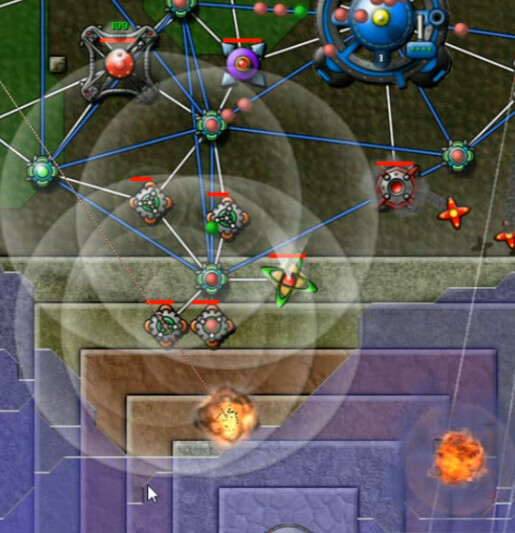
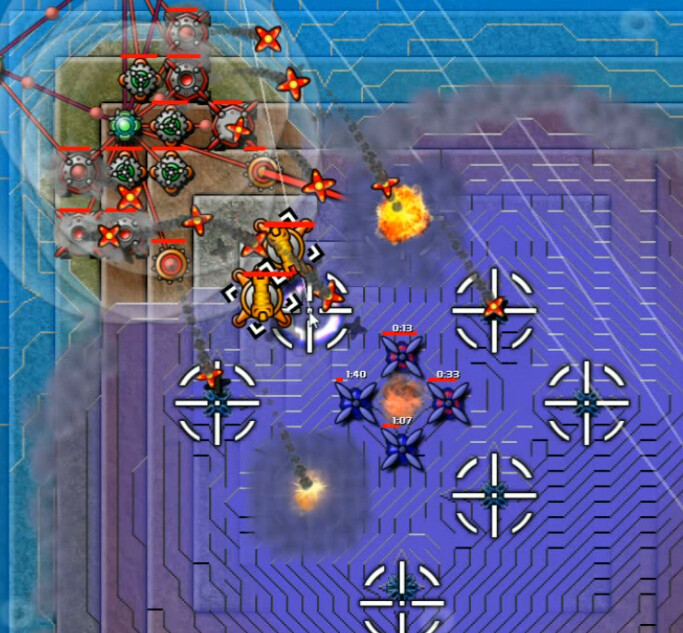
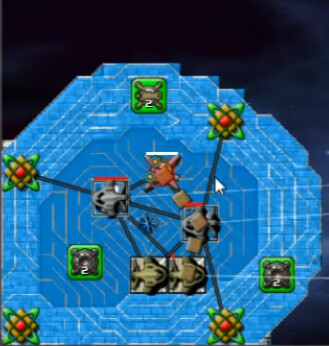
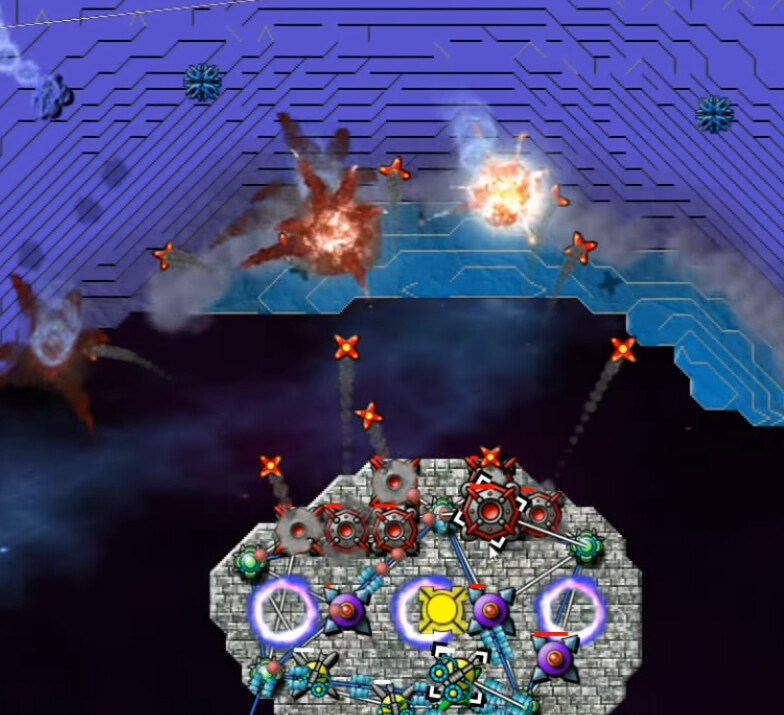
It's time to play with pyramids! The center one is impressively defended. The middle emitter is a 10x strength one (100 per 0.5s) with the surrounding ones at half that each. The four Spore Towers come at us with 15 projectiles each. The map is almost completely symmetrical, and one of the issues is there's no landing spot that is a safe distance away.
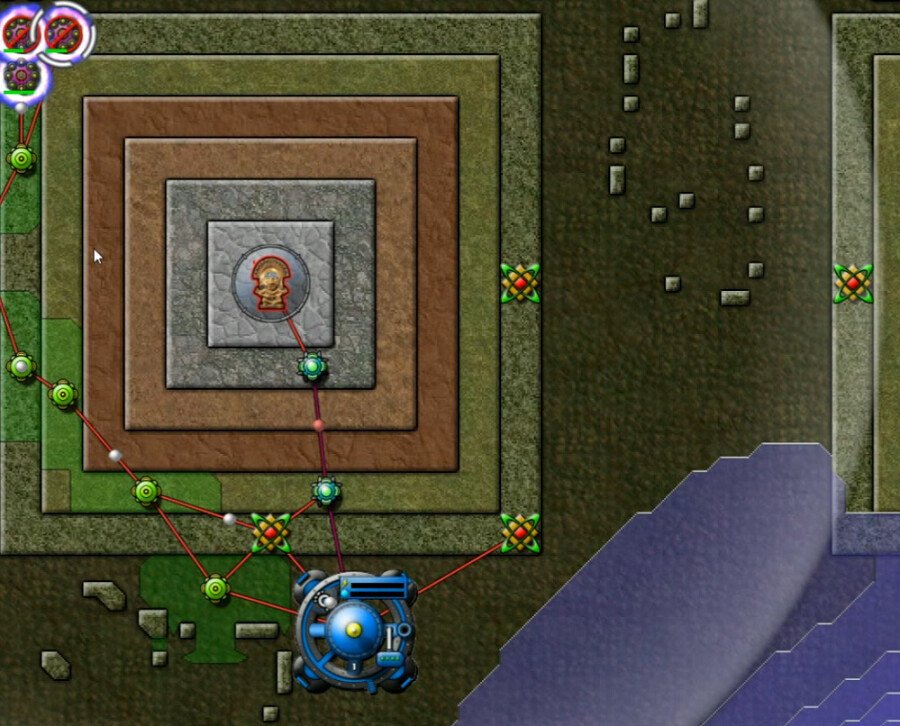
The Creeper was almost upon me by the time I started slowing it down with flickers from this pyramid, selected from the northwest corner because I felt like it, not for any particulary good reason.
Once the SuperReactors were up, I had enough energy to make it stay on and start pulsing AC. That bought me some time.
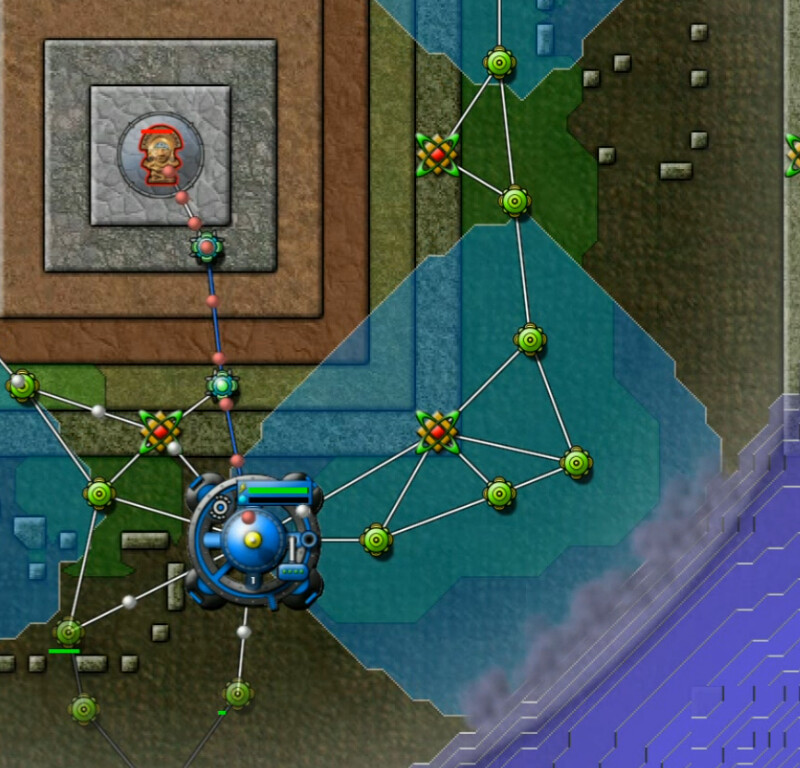
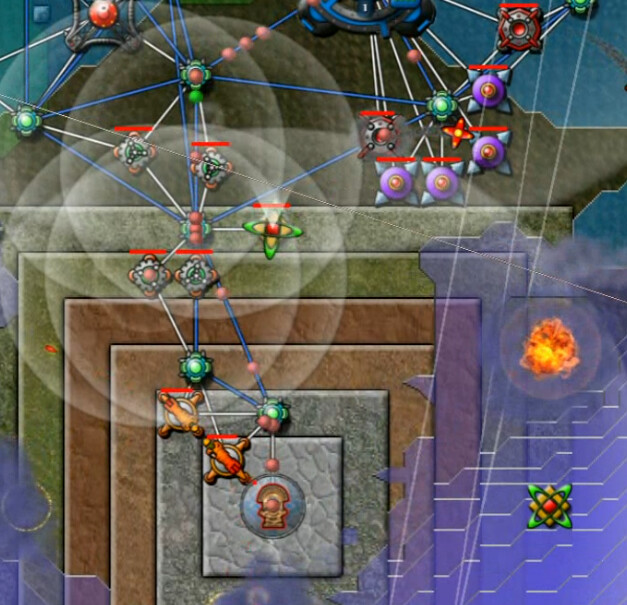
A Forge was next while I tried to bring more into the fight by this zig-zag relaying to the east. I just barely made it in time, and got an even more roundabout path to the last pyramid in the top row. Then it was time for weapons to hold back the rising tide, so I threw up some mortars. I was counting on the pyramid shields to help me out by blocking Spores.
Here Guppies head off to the other two corner locations, which are not yet swamped. If I could bring them into the fight as well I'd be much better off.
The first salvo of spores brought with it ... problems. Turns out the pyramid shields don't work like the normal ones in terms of blocking spore landings. So a bunch of stuff blew up.
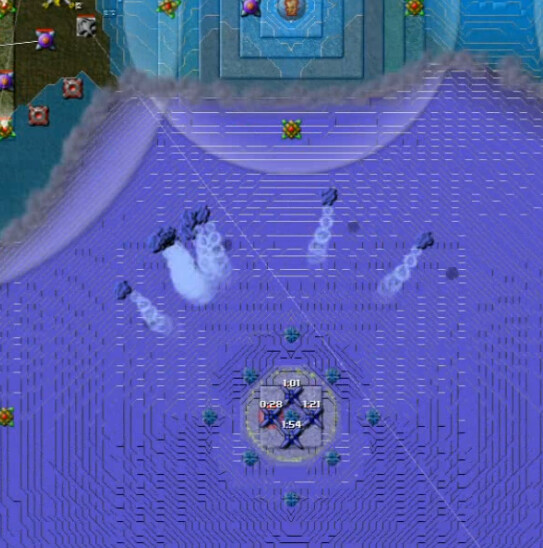
I scrambled to get enough Beams up to deal with the incoming waves. The towers are staggered with two-minute timers, so that every 30 seconds you get 15 more spores.
After adding more guppies and upgrading speed so that the corner structures were running full-tilt, I went bertha-crazy here to clear out depths and support an attack.
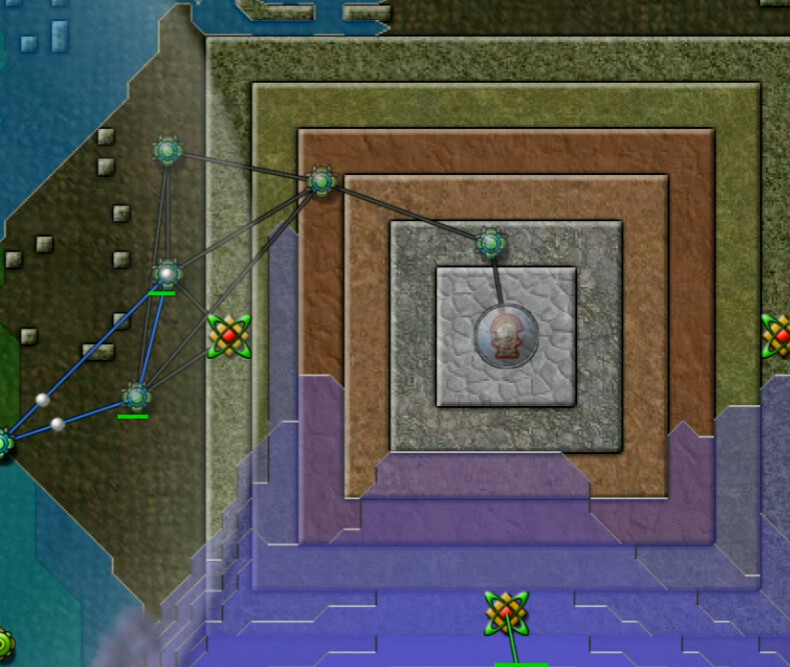
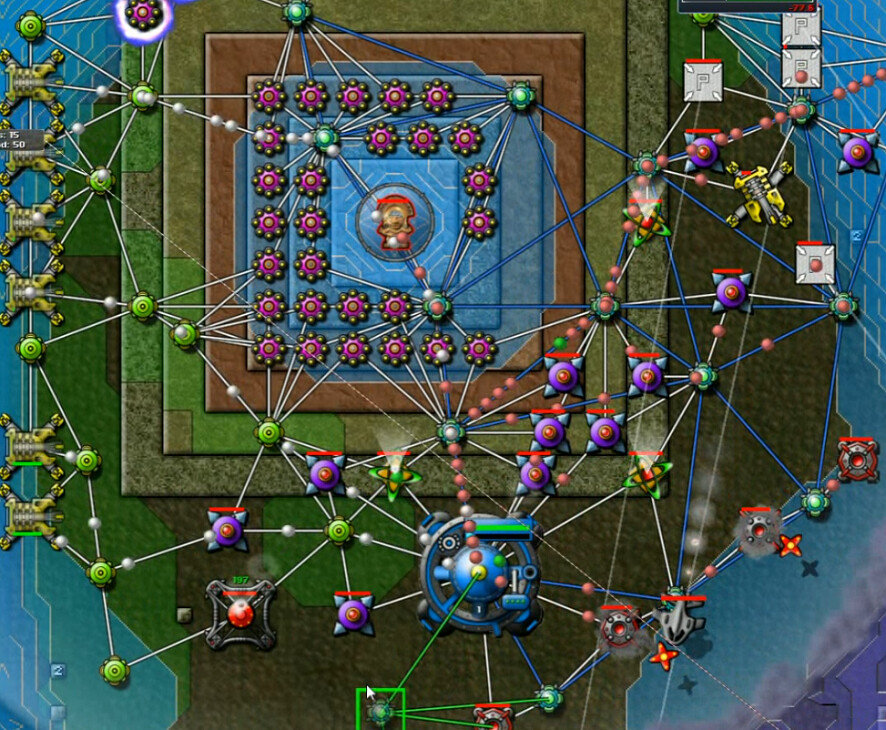
Standard Shields made an appearance clearing an approach as I worked to bring the remaining pyramids into the fight. But this setup has a bit of a flaw. As soon as I connected to the pyramid, it pushed all the creeper away with its shield. Some of it directly into the relay I had here powering it. Oops.
Getting a couple of pulse cannons up on the apex solved that issue.
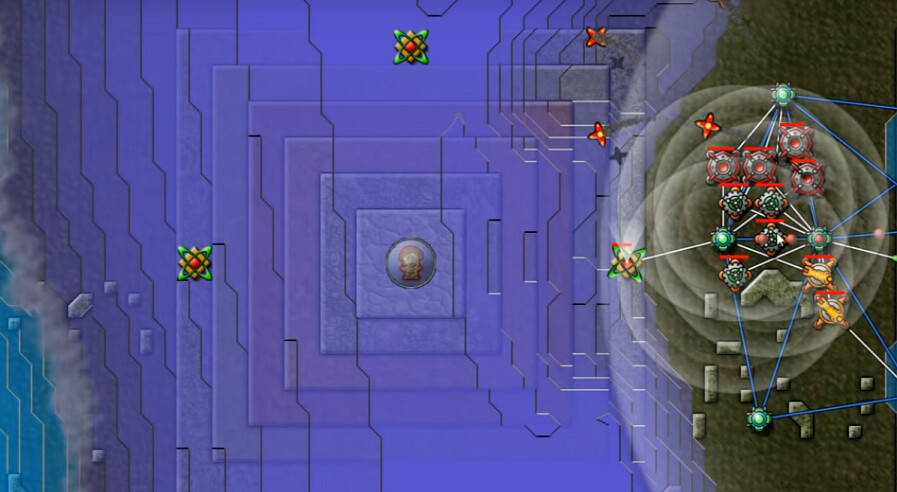
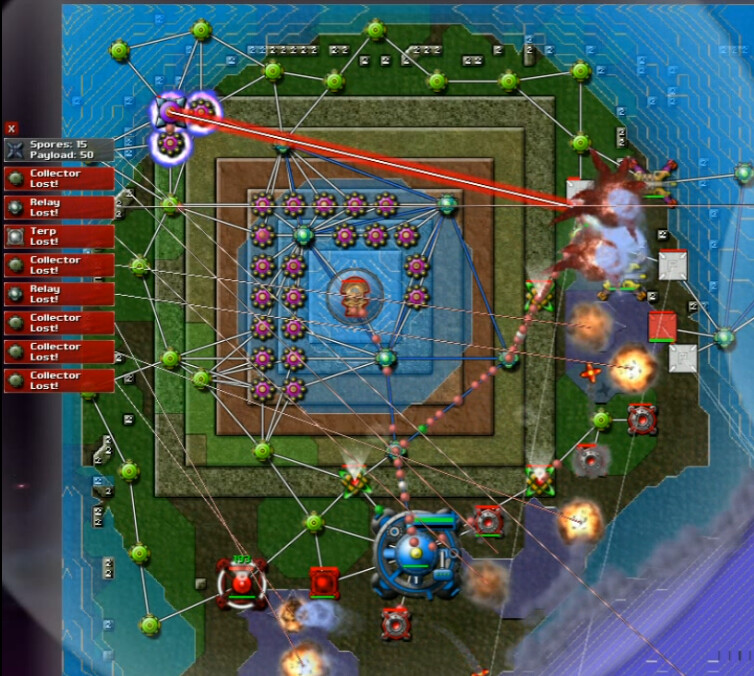
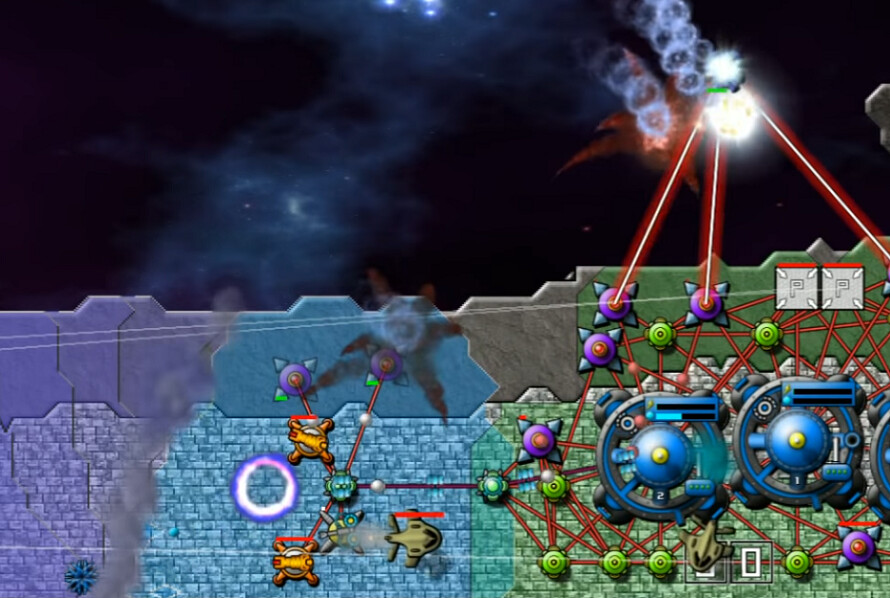
Then began a stirring game of ring around the rosy, as I gradually pushed the enemy off of all of the outer pyramids, adding their efforts to the cause.
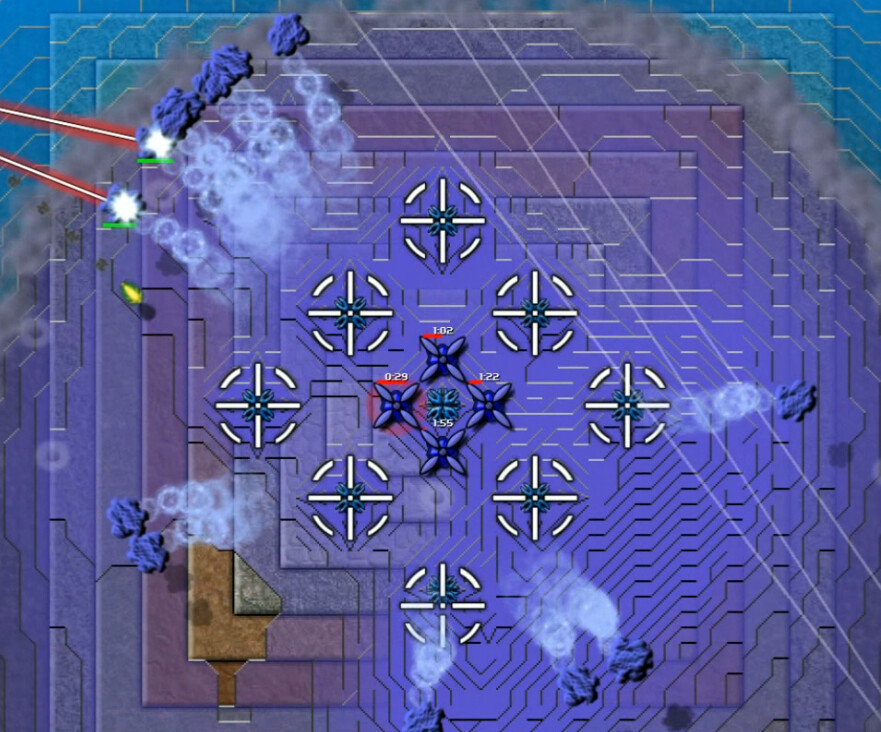
Surrounded and with each emitter under siege by a bertha unit, the central opposition didn't stand much of a chance, despite the strength of the flow.
A final push of shields and mortars gradually ascended and cleared the way.
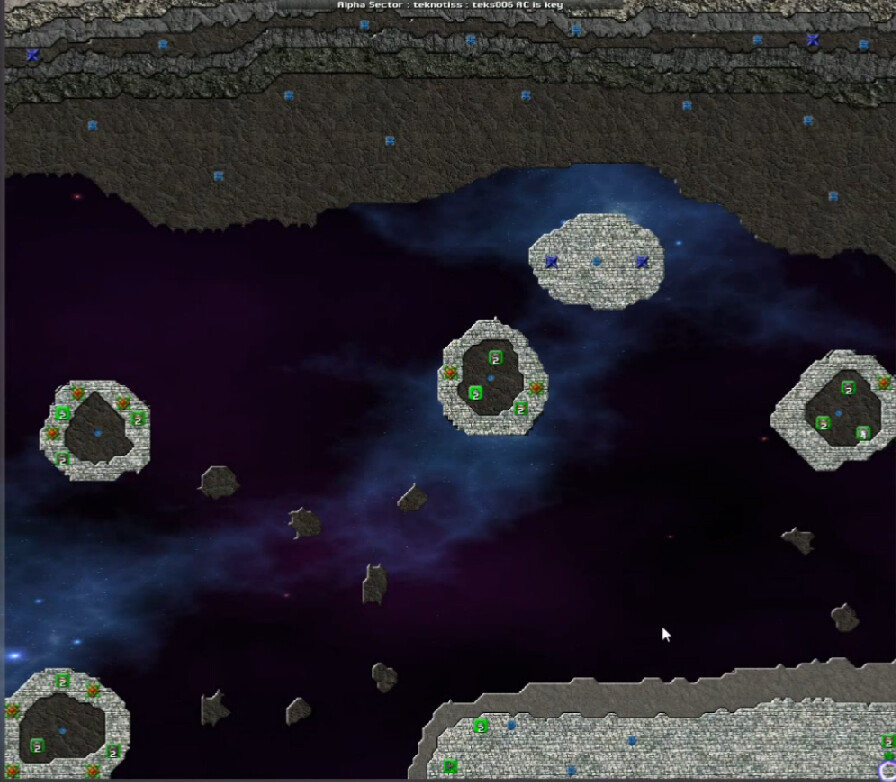
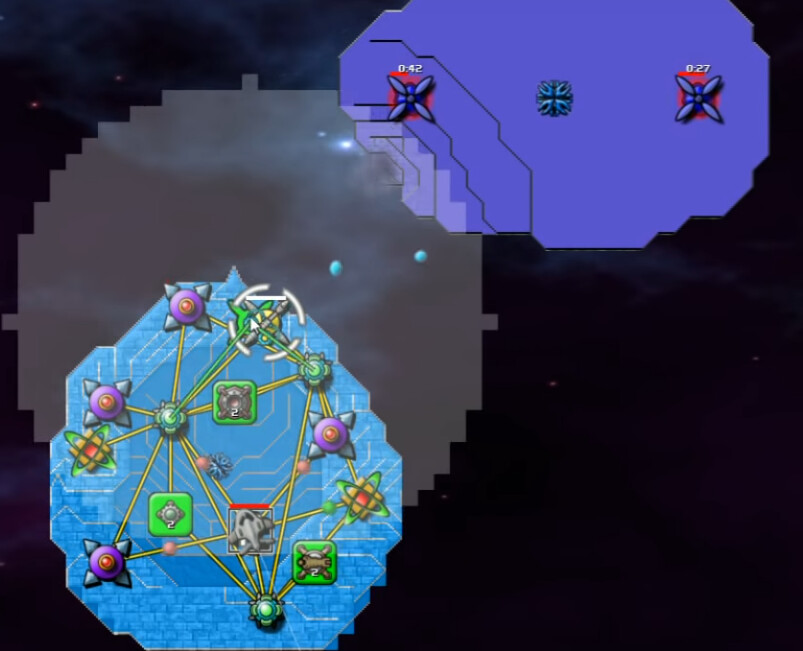
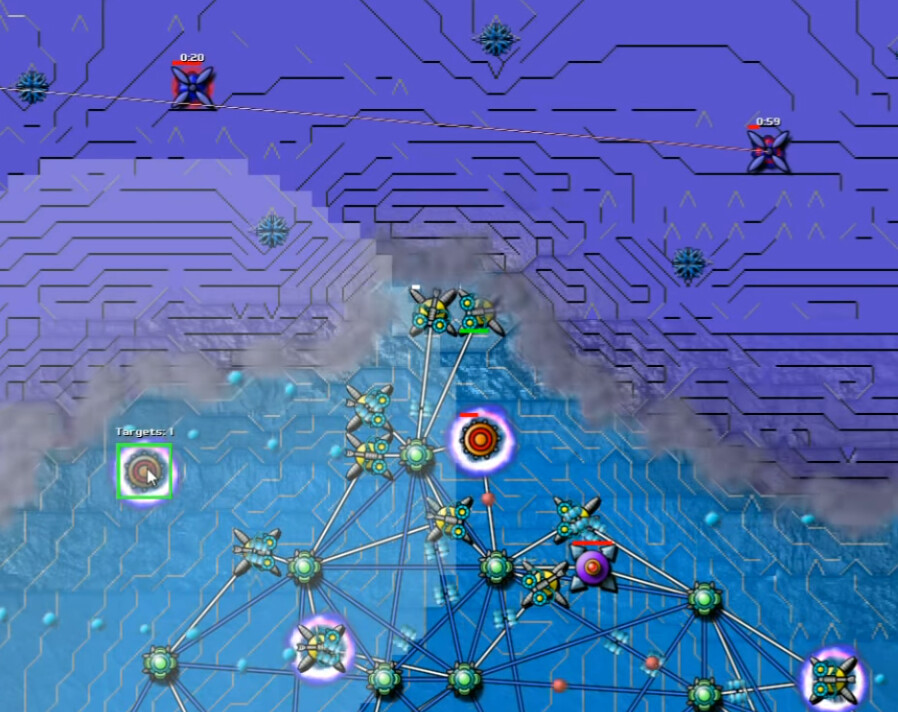
AC Is Key is another descriptively named, interesting map. One that I managed to botch quite severely for a time. That whole schtick with acquiring limited numbers of weapons via artifacts is back, and there's a somewhat imposing hill in the north. But first we have to establish ourselves at the bottom right.
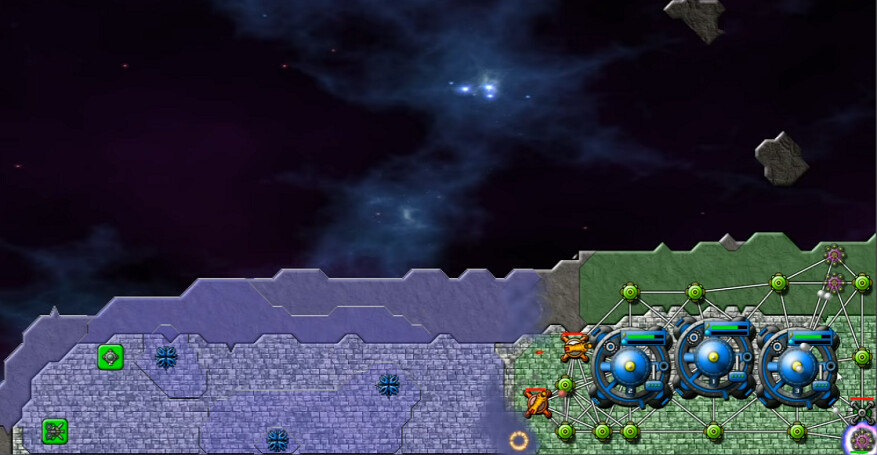
We have an Energy Siphon, but only two Pulse Cannons from an artifact down here. We also can build unlimited Beams and two Sprayers, but have no AC. The main thing I need to do here is clear out the three weak emitters, which will get me unlimited shields and sprayers.
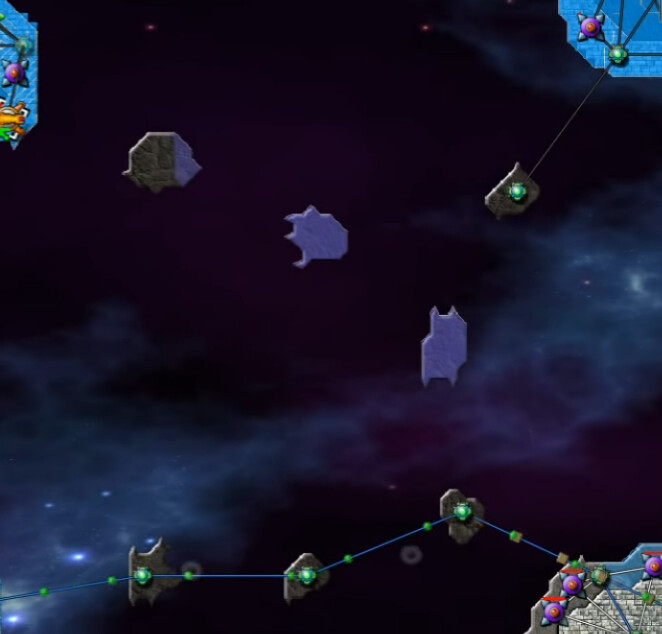
Now notice the islands to the north? Good for you. I ignored them, to my detriment. I'm already paying for that decision.
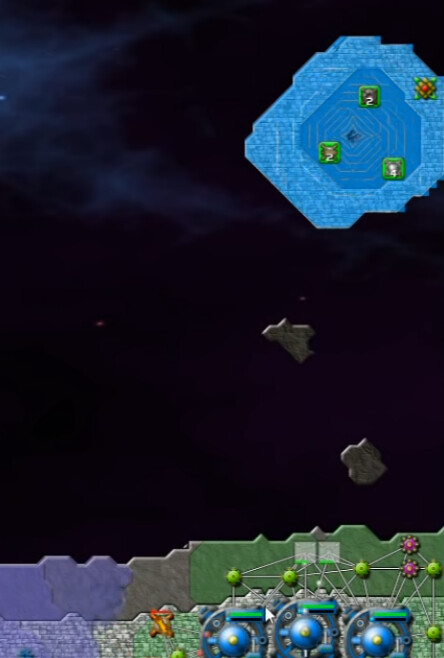
Here you can see me building COMPLETELY UNNECESSARY AND WASTEFUL guppies. Yeah I know, that's a first. I just saw the larger islands with their AC emitters - there are a few of them, this is just the relevant one right now. I saw them and immediately my brain went to guppies, suck of the AC with sprayers, etc. - without noticing the freaking obvious bread-crumb trail of smaller islands leading there. To be relayed over. Which is really quite basic and I've done a bunch of times.
Prepare to cringe at how long it takes me to actually notice. Guh. Now I think the reason for this is largely I remember people telling me how to do Meso better, and then when I did Pyramid Power I was so tickled at what I think was one of my best-ever uses of guppies - getting two extra pyramids into the fight early on. So this was my brain on guppies. Any questions?
So I fly all the way over to the southwest island with guppies, build more guppies for the ore, prepare to ship it back. Now, this does work. It's just really stupid to waste all the extra resources this way when there's a much simpler path to getting it done.
Still, the ore shipments are enough to aid our cannons, and we gradually start kicking the creeper off the starting area. Spores are coming, but we handle them reasonably well.
This island is close enough to the 'bridge' one with a standard emitter and a couple of spore towers, so I start shooting AC over there to wear that down. Still going the guppy route. Then, at 56:47 video, around 15 minutes mission time, I declare this:
"Gotta terp these islands so that I can grab the artifacts. That's what I'm missing".
This is after trying to move a command node to the islands and seeing there's not enough room. So I want to flatten them out with Terps. NO. THAT is decidedly NOT what you are missing, sir.
"And I don't have any Terps". The level excludes them, forcing me to find another solution to get the stupid artifacts.
45 seconds later, after trying to find ways to fit in the Node on the island that has a Terp artifact ...
"But can I relay across? Is it that simple?
YES. YES IT IS YOU RAGING DUNDERHEAD!!! Oy vey. Anyway, at this point I actually start playing the map more or less properly.
Then spore attacks disrupt said network repeatedly, until I manage to finagle them into positions where I have enough beams on the stepping-stones to defend but still make all the connections work. That takes a bit of work and some careful placement.
A sprayer landing eventually nets this island, the only decent staging area to attack the heights, and then we bombard that area with sprayers and mortars.
Once landed, I add more sprayers of both the collecting and attacking types. Using them in combination with mortars, though they're far behind the action at this moment, I push up the middle and split the enemy formation. I'm almost to the top here, at which point I use the high ground to begin a deadly aqua AC avalanche and eventually clear the rest.
Cool level I think, even if I didn't exactly get the point for much of it.