Part 166: The Bardel Convention
I feel that a gauntlet has been thrown down. Guess I don't have to worry about that until I clear the rest of this nonsense off my plate …The Bardel Convention
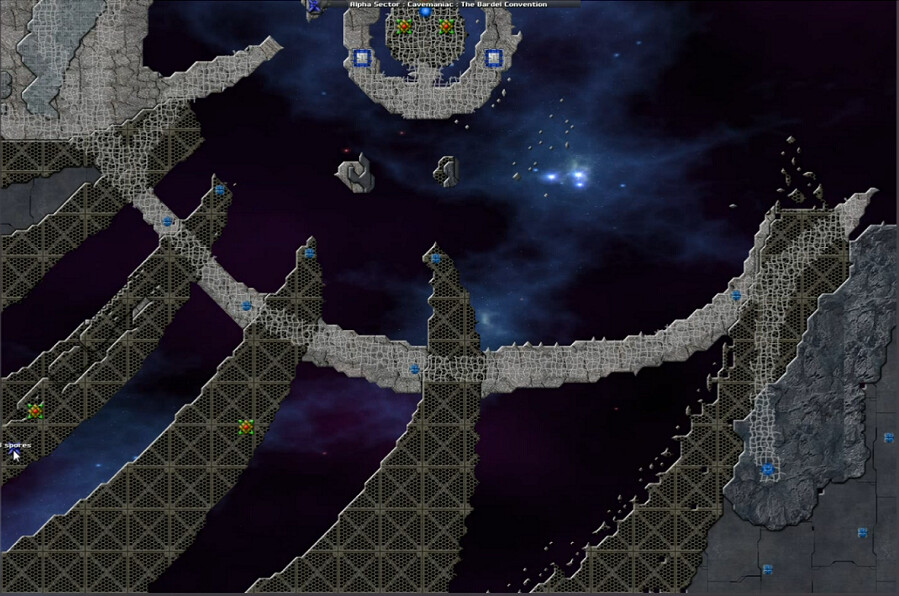
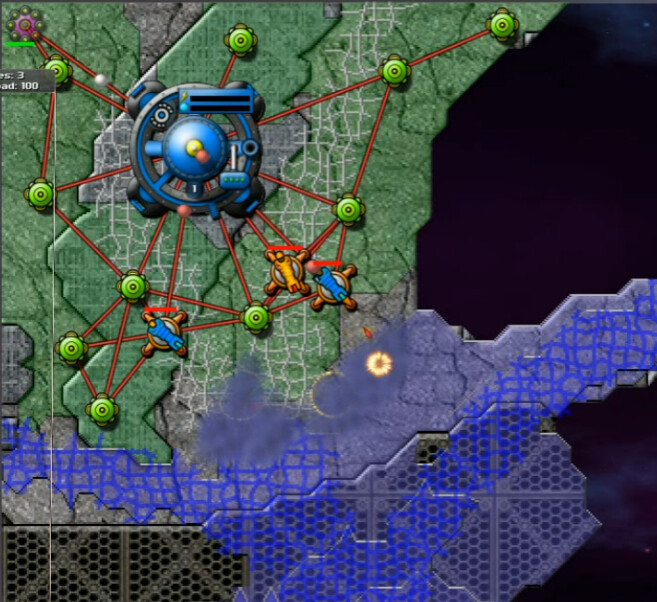
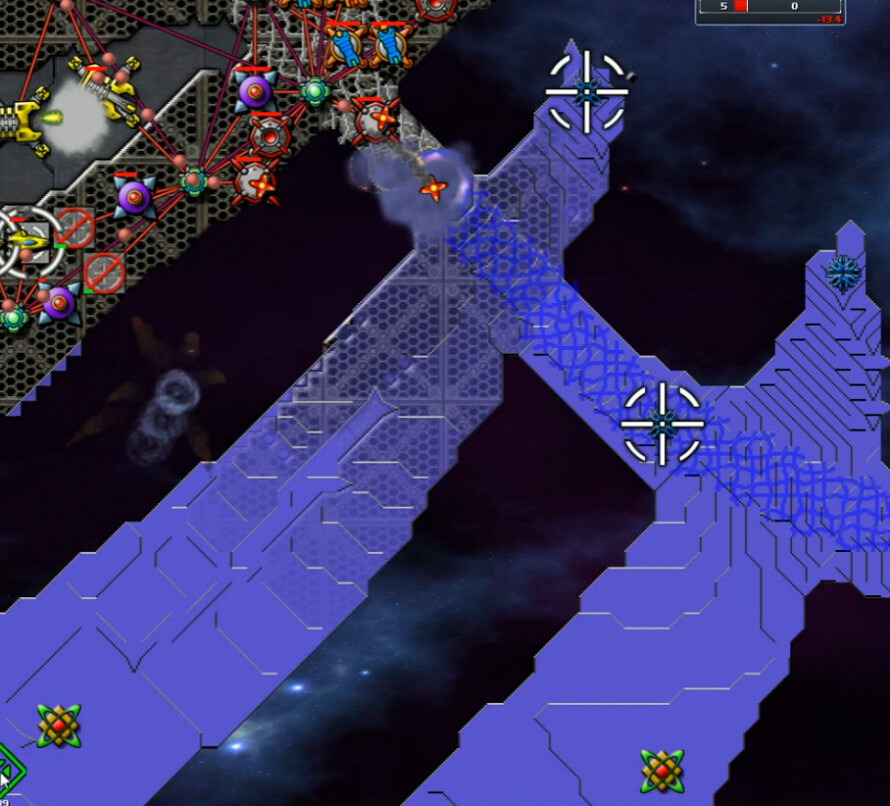
The same exact map layout as the original, but there are some changes both subtle and not so much. Probably the most obvious is that you don't have limits on the energy structures you can build. Instead of a dozen collectors only, reactors are allowed and as many as you feel like. Which means that long-term, energy won't be an issue. Everything except the Thor is available.
Also, the Spore Tower on the left side here? That had AC spores the first time. There's actually no AC on the entire map this go-round.
Last time I tried various starting locations and eventually ended up working from the middle and left-most 'finger', i.e. the southwest of the map bridging those two areas. This worked, but I later discovered it was really possible to go to the northwest. So that's what I did this time - only to eventually discover it's not really as good of an idea here. Still probably the top choice, but I didn't get as much benefit from it as I hoped.
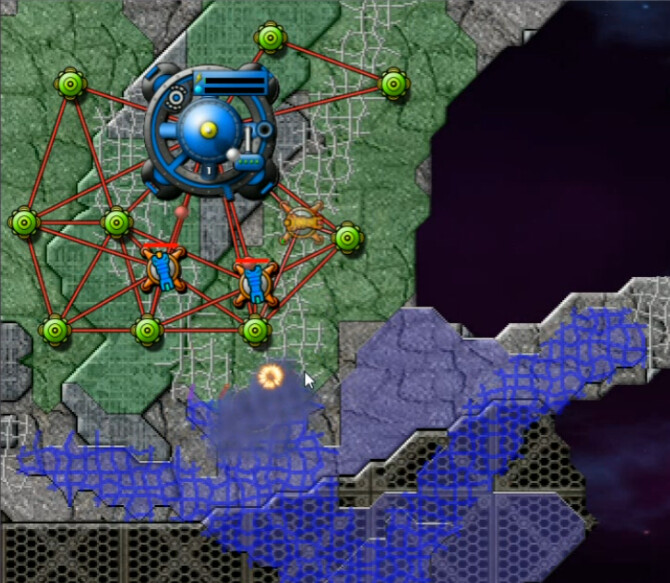
A bunch of collectors to begin with and a couple of Digitalis Cannons are absolute requirements here. I assumed the first spores would be AC ones like last time. Since I was wrong, that was the cause of death for this first try.
Take 2 - 4:40 video
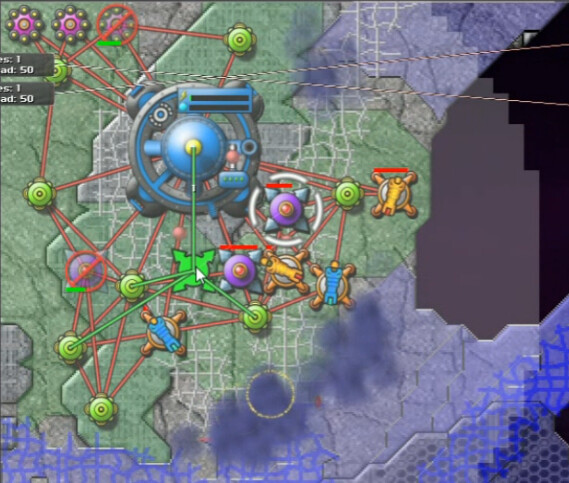
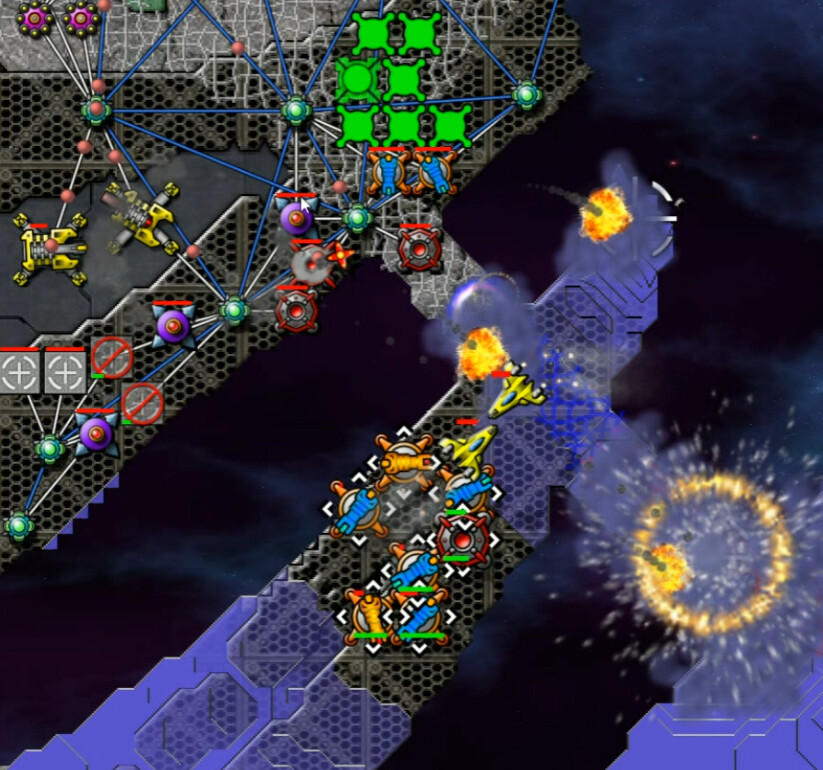
Here's the basic problem I ran into, and I'm going to skip over a lot of the attempts here because most of them don't really show anything all that interesting. So I need a third, standard Pulse Cannon to deal with the creeper along the southeastern shore here. Every 30 seconds roughly, more spores show up - two from the east here, three from that single tower in the south. The problem is basically that I needed four Beams to defend against them all, but I couldn't afford that many with the starting group of collectors I could get up. If I took the time to build even a single reactor, I couldn't get enough beams up.
For a while I was at an impasse, sometimes just trying the same things over again because I couldn't come up with anything better to do. I was close and I knew this COULD work ...
Take 7? - 10:30ish
The next really different thing was this fairly desperate idea. A couple collectors further south on elevated ground to try and get over the hump energy wise, but this is almost certainly not worth the 20 energy for the Relays to get there by the time they are going to get hit by spores anyway. But I was grasping at straws.
Take 9? - 15:10
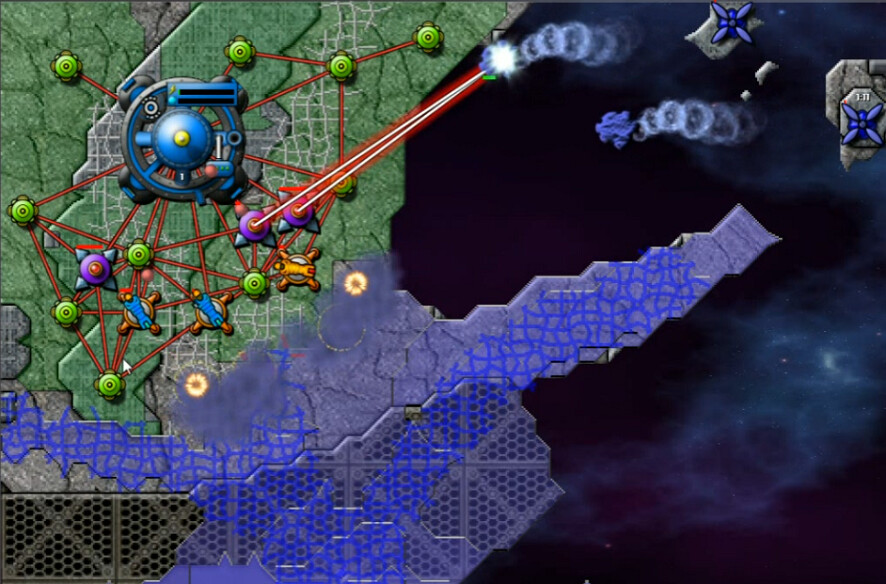
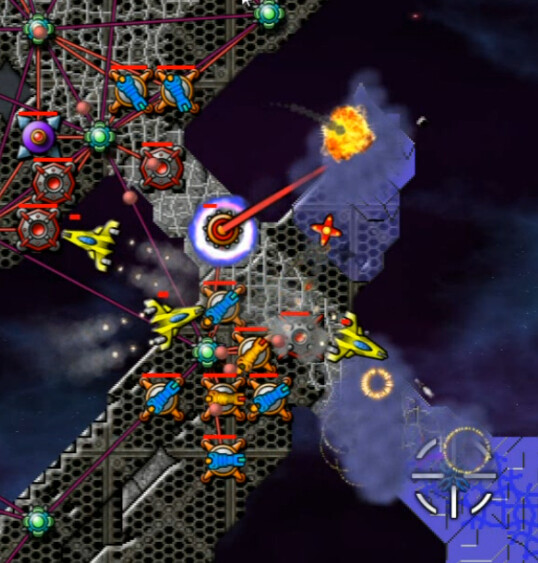
I didn't start off much different than the other attempts here. I was trying to thread the needle here. I knew I needed to gradually build up reactors early or a lack of energy would eventually be fatal, and I had been working on various inadequate ways of positioning the beams to be more effective in keeping the spores out.
Per usual, I didn't succeed again, as one crashed into a collector on the eastern shore. But I did hit upon something useful - and perhaps self-evident in retrospect. With the spore arrivals staggered, I began moving beams around in between the attacks, so that fewer beams could effectively defend. This was quite stressful mentally, since all it would take is forgetting/misplacing once and the whole house of cards would collapse.
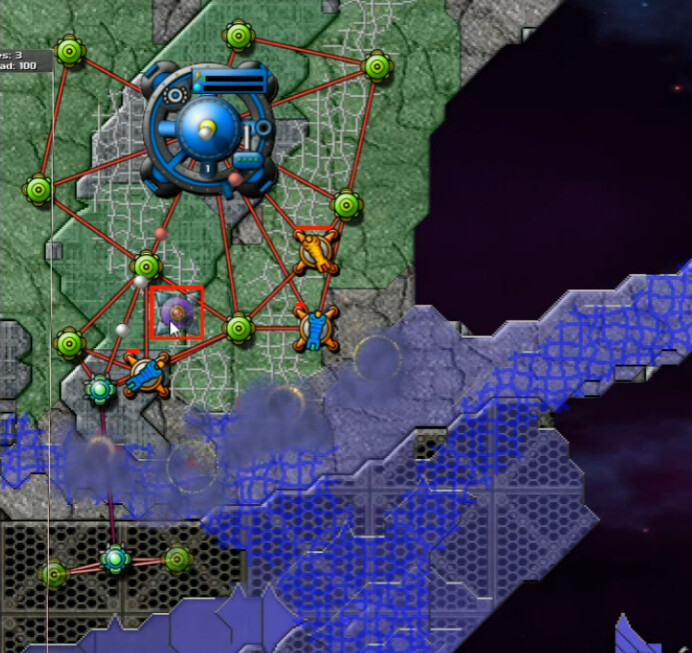
I didn't give up here though, and kept the creeper just far enough back to make room for the beam maneuvers, while building up a fourth cannon. It would eventually clear out the carnage, and a slow buildup resumed.
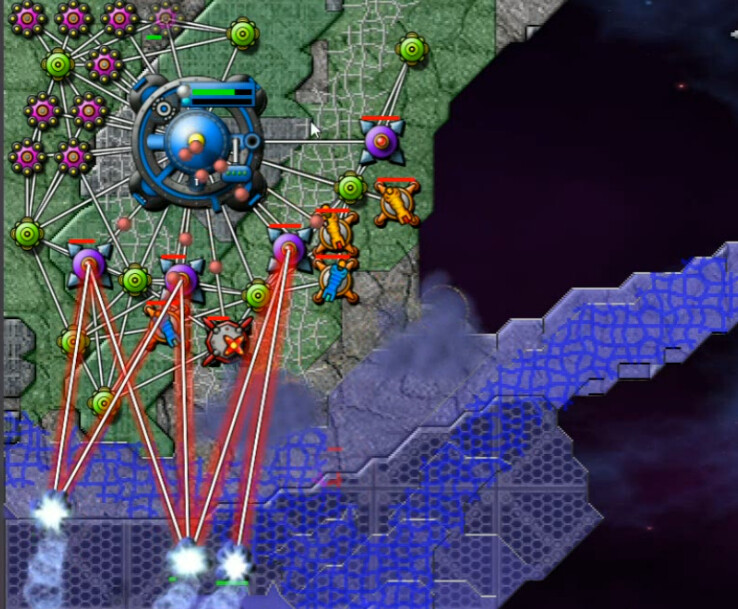
Eventually I was able to assemble a solid little corner of Reactors, then a Mortar went up after putting my goal of four beams in place. I could finally stop moving them around and be a little more secure.
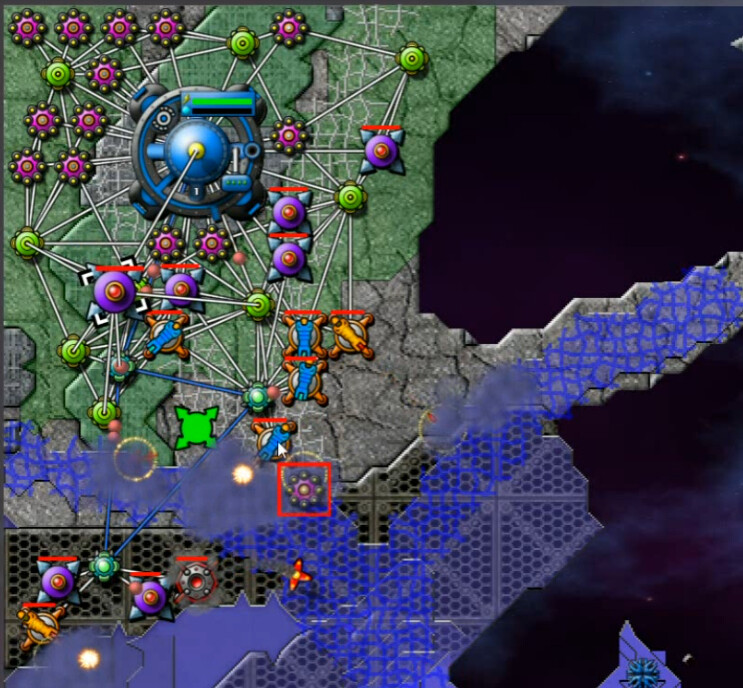
The attack was a slow build. First step was killing enough creeper to drain it all off of the elevated area so I could move a couple of weapons up there.

This was a key point when, at 21 minutes into the mission, I was able to cut off part of the digitalis and really start pushing the enemy back.

The biggest point to starting in this corner was access to this area so that I could punish the Runners. In the original, they splurted out AC - but here they just splurt standard creeper. So this doesn't actually do me any good, and I soon deactivated the snipers. It was time to work my way through the bottlenecks.
Even with a couple of berthas in support, twas a bit of a lengthy process. The drawback to where I started was no Totems, and so no upgrades. My Mortars can barely reach the enemy here.
I soon started using mass-landing raids to just clear out the resistance and speed up being able to establish a permanent presence on the first 'finger' here. The amount of deja vu while doing this was considerable.
Once secure, it was time to knock out the emitter on the tip, and then start the whole process two more times. Except now I had some aether trickling in to upgrade a bit. The ability to have Berthas for this makes it a lot faster than the classic Bardel, but it doesn't make it fast by any stretch.

When it came time to make the final approach to the main stronghold in the east is when the artillery really showed itself valuable. No pounding on this forever this time - it took some while to clear out the depths but not too bad.
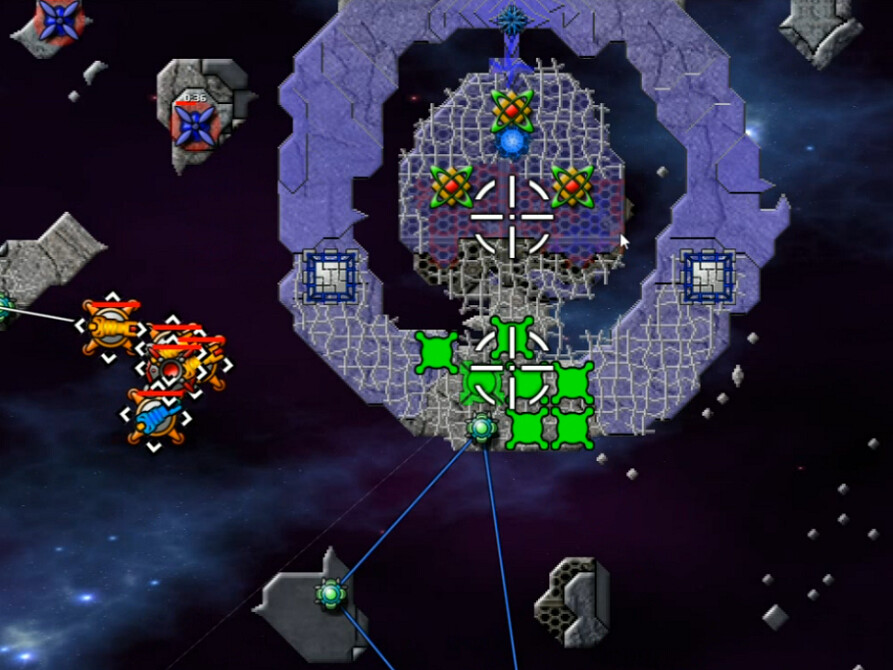
Finishing off the runner area is a lot simpler in this version as well - I can just connect up here with relays, there's no need for guppy shenanigans to bother with leaving the runners alive to harvest, since that's not useful.
This version of Bardel is another tough-start, yawn later type. Much tamer overall than its namesake.