Part 171: Runner Wash & Landscape Abuse 101
Runner Wash & Landscape Abuse 101It's time to say goodbye to the Cavemaniac system ... and if you ask me these two levels are a good way to do it. Both of them take approaches that we have not yet seen, and I have to give this author a pretty darned hearty round of applause for his work.

Even Skars is befuddled ...
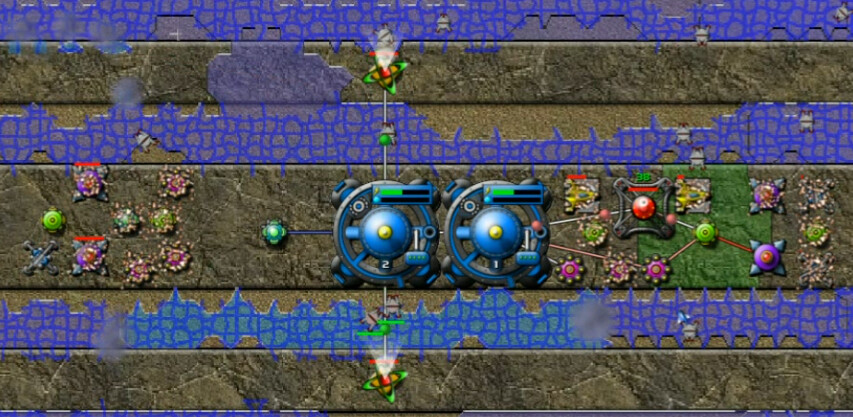
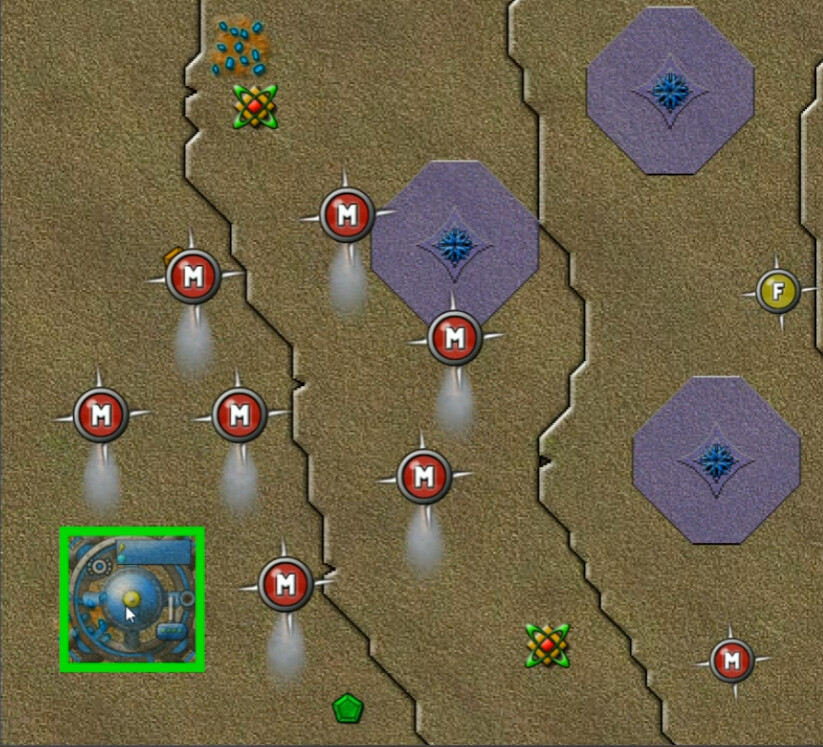
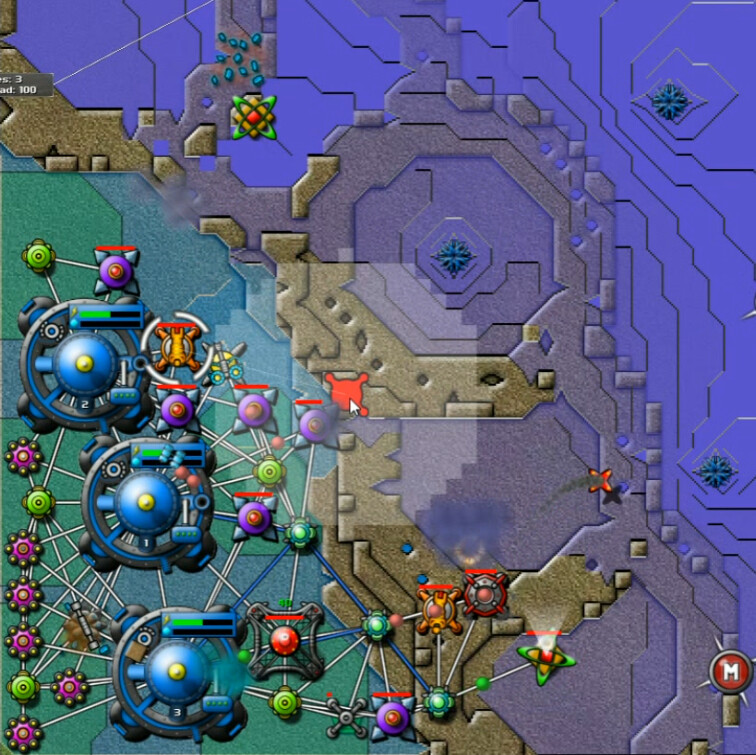
And he has good reason. Those are only standard-strength emitters, and there are just four of them. Each of the spore towers has three apiece. Lots of Digitalis and a few Nests ... and there's only one possible place to start. That central east-west strip of land is the only place there is enough room for a Command Node, and there just barely. The resistance doesn't look that bad, but much like the last level appearances are deceiving.
There are a few limitations here. No Thor, Ore Mines, or Siphons. That's no big deal, small maps generally don't have much use for the big guy and there's no place to use the last two. Oh, and no Pulse Cannons or Mortars. At all. Uhh ... so we use Strafers to kill the creeper, or ... And believe it or not, you'd actually be better off if they took Strafers away also. I didn't get that at first and its a bit spoilery to say.
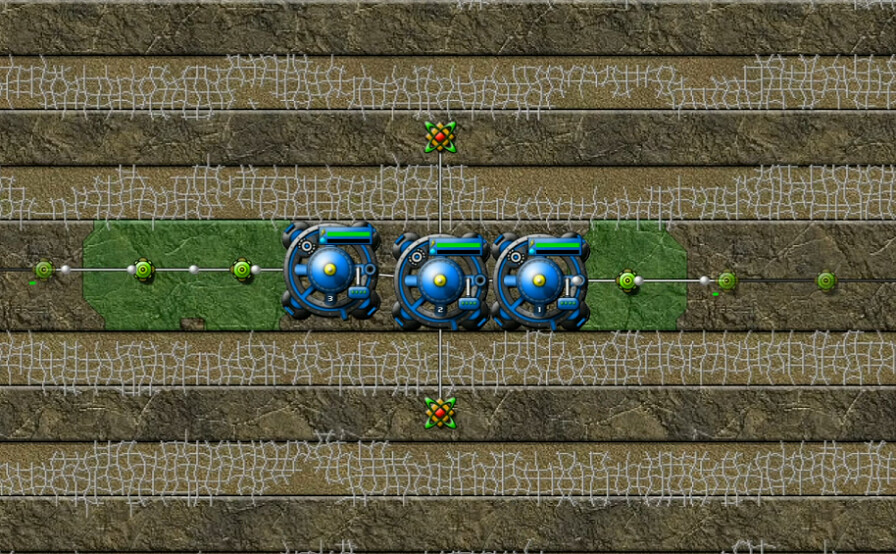
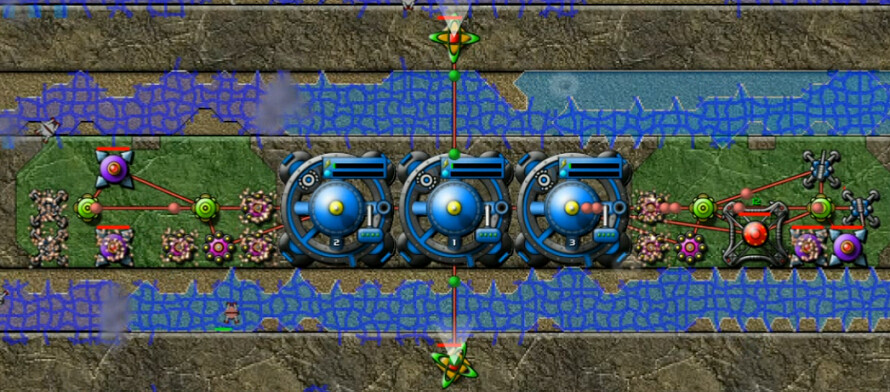
All three nodes in the middle, as far away from the enemy as I can get. Collectors to grab as much territory and energy as possible.
Reactors, a Forge, then Beams ... all of that is pretty good. Then I start having some of the outer collectors get stunned. It's 1:41 here as I place my first Sniper. Soon afterwards the first spores arrive, but I fight them off.
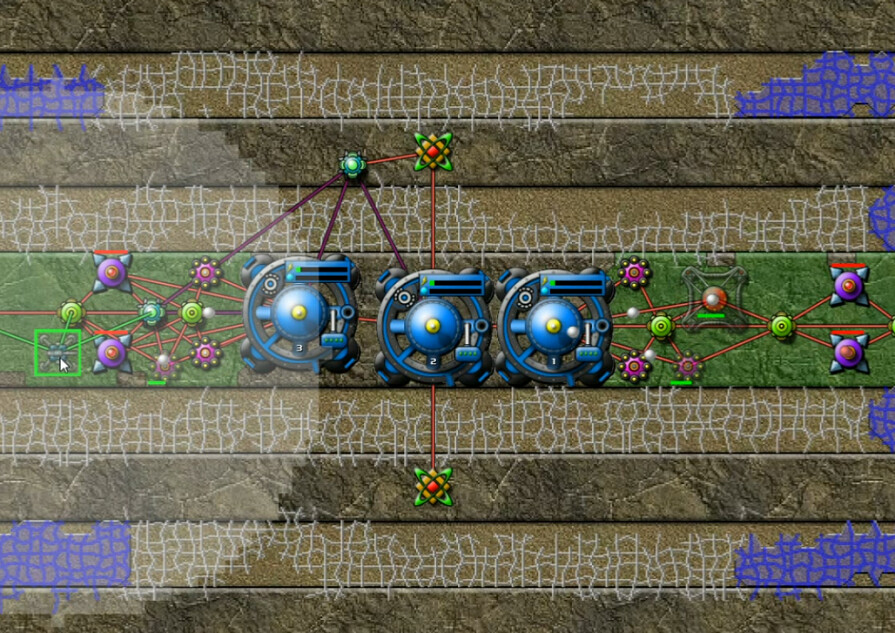
Starting to get a strafer base up as the runners are becoming more and more of a problem. Snipers are killing some of them ... and you can see that we're back in AC-bearing territory with them. That'll prove even more important than I think it will at the time.
I quit this first try before the end came, but this shows the major threat. Runners coming up and down stunning everything, including the snipers that try to kill them which means even more of them get through. Then they start hitting everything else, most notably the energy structures which means not enough juice gets to everything that needs it which means everything just gets worse. And eventually that means spores get through which is the final coup de gras.
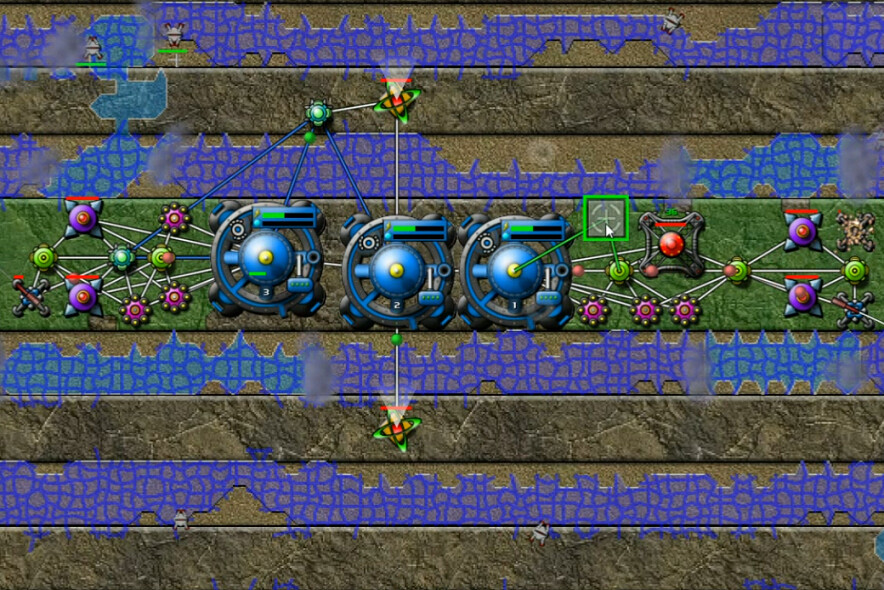
In this shot I don't have a single weapon that isn't stunned, and most of the energy-supplying buildings are as well. We're at 4:23 mission time. I properly identified the problem as needing more snipers - you have to prevent this from happening and that's the only way since there's not nearly enough space to just keep buildings away from the critters.
Take 2 - 6:11 video
I did some things better here. Built up reactors faster (3-packs instead of two at a time) and got a couple of snipers up on each wing. Didn't build out the extra collectors each way, just two on each end, because they won't last long down there anyway. A couple mistakes though. One, I didn't leave room for a Forge. Another is subtle. Notice how the one Command Node is a single pixel lower? It would take me a while to realize that the digitals just lips over that northern side while the southern side is safer. It eventually destroyed one of my nodes and was about to get another one, causing an early termination of this attempt. But even in that time, I realized that I still didn't have enough snipers.
Take 3 - 7:40
Tried the snipers-before-beams idea and got wrecked by the first spore salvo.
Take 4 - 8:32
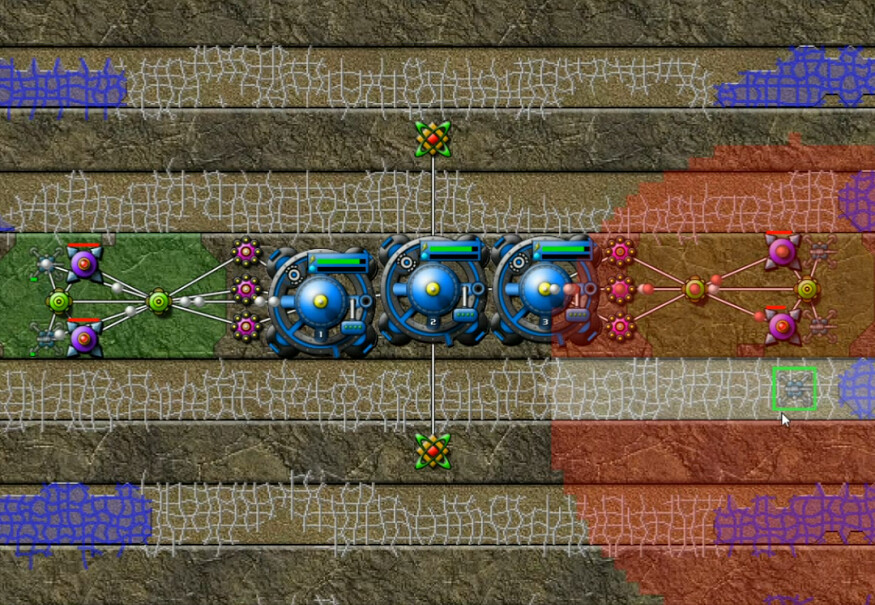
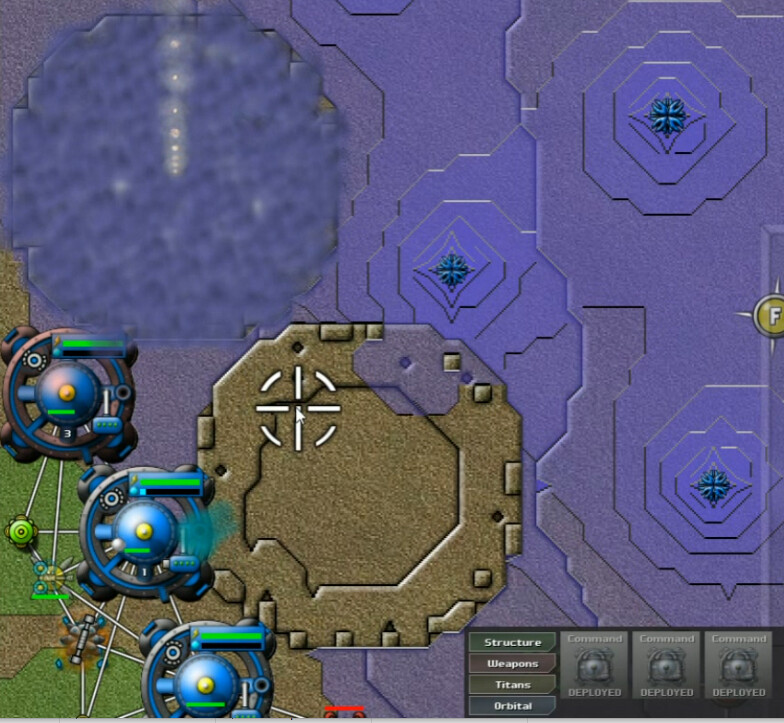
This is the first time I got the start mostly 'correct' IMO. Notice how everything is lined up against the southern edge. Collectors, Reactors, Beams, Snipers generally in that order, with one sniper on each side affordable before I get the other two up. Energy situation here is 7.9 income, deficit of 3. It's manageable, but only because nothing is stunned. I said 'mostly', because I still haven't made room for the forge.
This time I got the strafers up and running, having them fire down the line of digitalis. The thinking was if the runners can't get all the way through, they can't stun everything. This is almost 15 minutes in, and I'm about to fail as the beams in the west are going bye-bye. Eventually the creeper just builds up to a point where it overflows, and I've now survived long enough to realize this.
Take 5 - 12:07
I made a couple more adjustments to my approach. One was an early forge, and the second was realizing that Strafers are a trap. They are a waste of energy, and you actually don't want to keep the runners from coming down the lines ... you want as many of them as possible and to just kill them all (easier said than done) because your best weapon by far against the creeper is turning them into AC.
Going with that early forge also meant only two snipers on a side initially until I could get more energy going, and that in turn meant lots of stunning. Borderline too much to survive, but I was able to hang around.

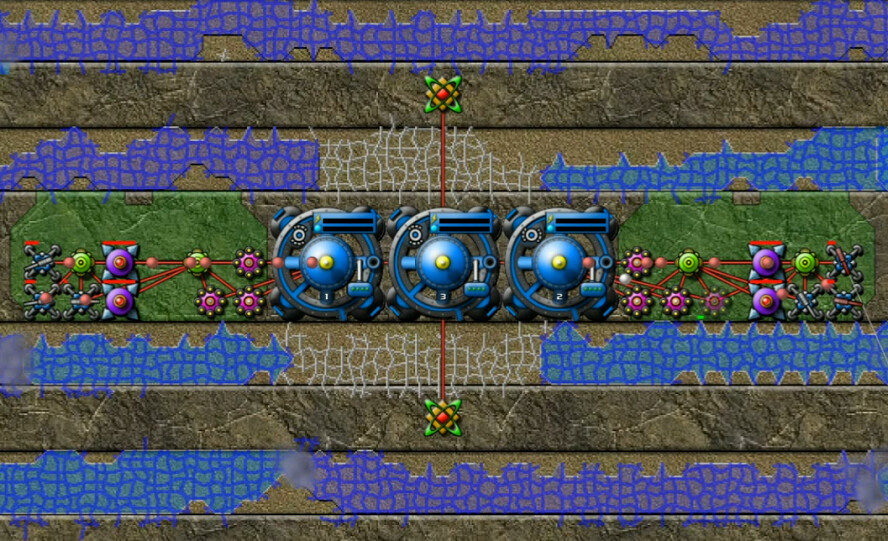
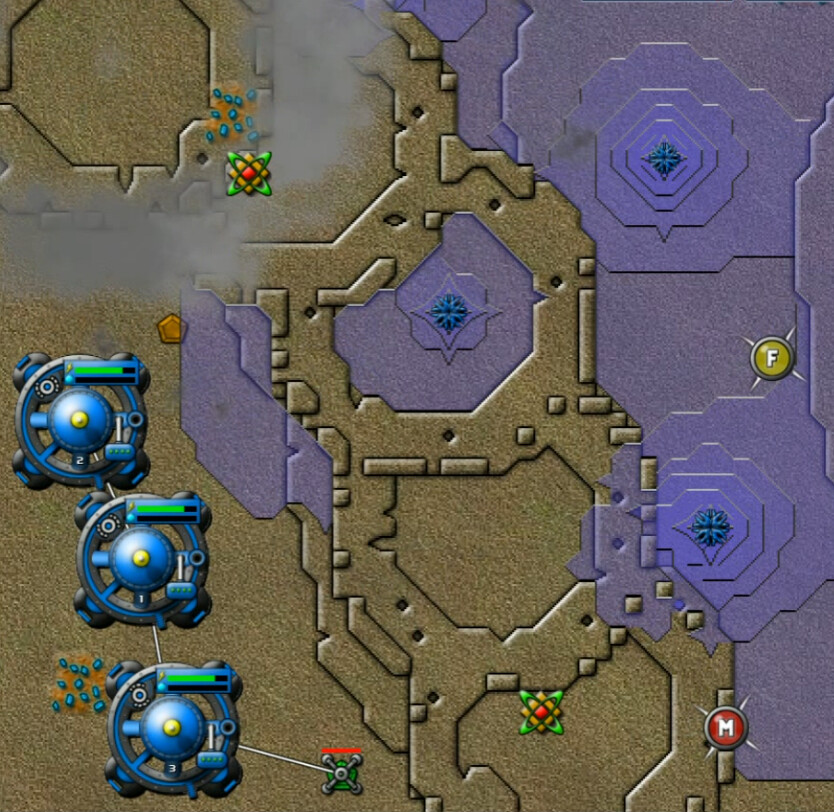
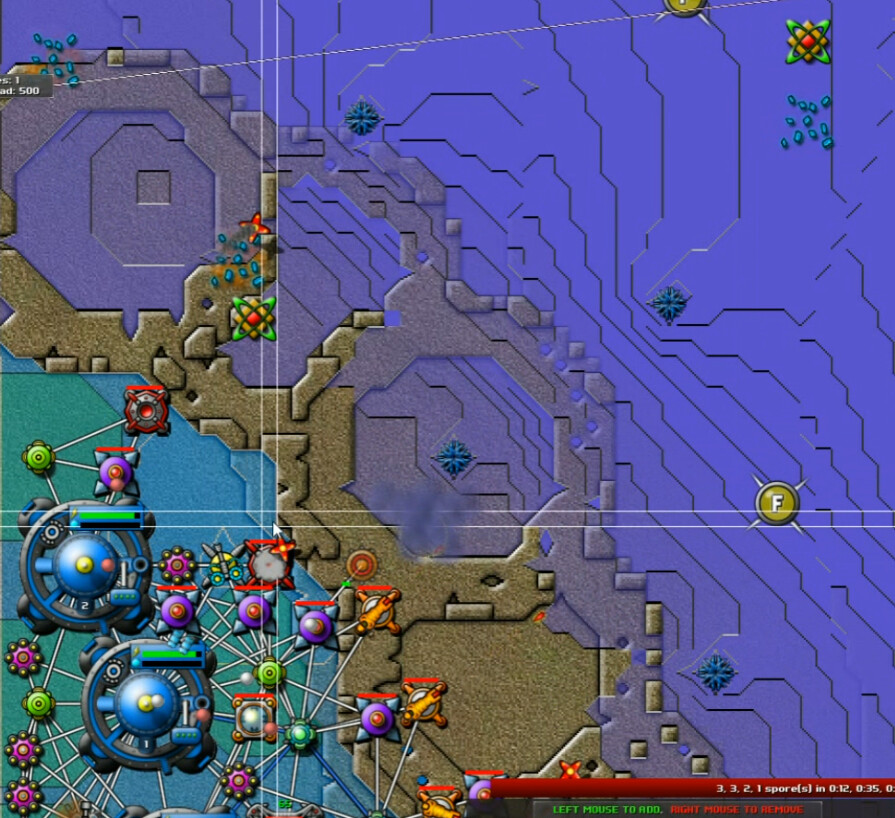
By about the four-minute mark, I got a third one up on each side. This is at 5:30, and is pretty much a template shot for how I want to approach this level. We've killed enough of the wildlife that I have a band of AC on each side. Some of them are still getting through - I need to be killing even more of them, faster - but the basic idea is in place.
Gradually more reactors go up, and you may have noticed I seem to have more AC in the east. That's because the nests on that side actually aren't symmetrical - they release more runners that way so there's more to kill. It works out that you have enough that, if you take them out fast enough, the AC will totally counteract the creeper that way. But there isn't quite enough in the west.
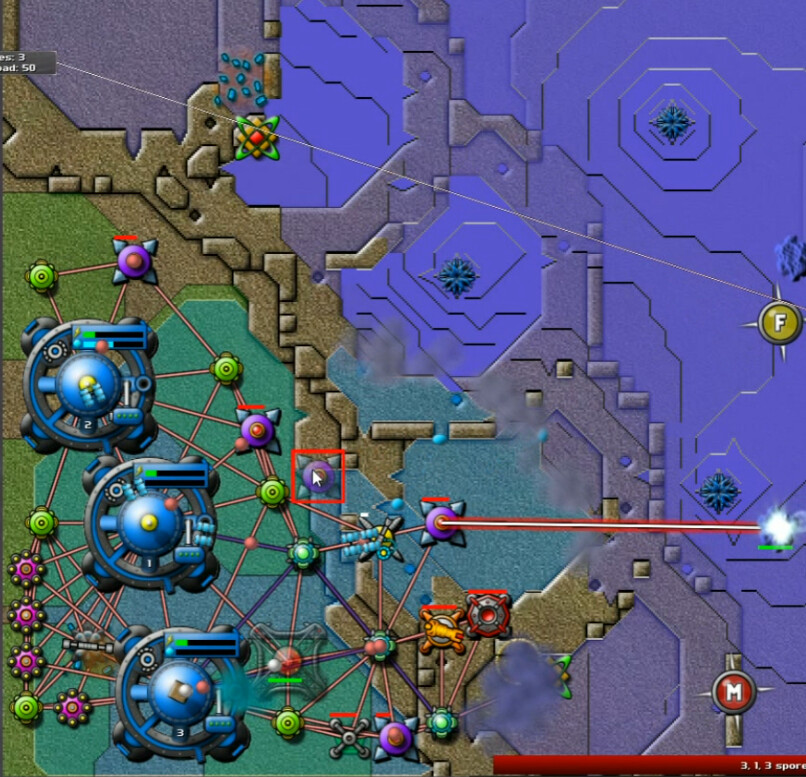
As the energy supply rose and the situation remained stable - I invested significantly in energy efficiency early in this map, but range is also vital for the snipers to kill the runners before they are close enough to be a threat - I added a Bertha/Strafer combo to ensure safety on that flank that needs help. I'm up to about 25 energy income now so I can afford it.
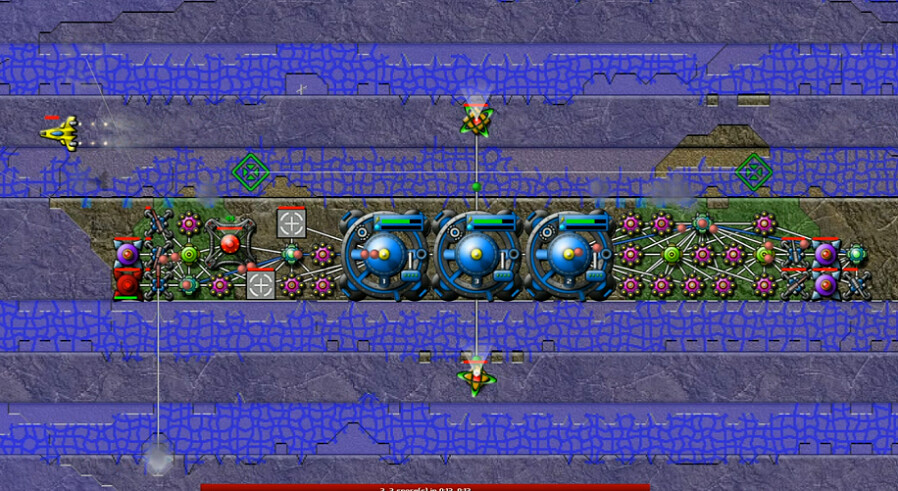
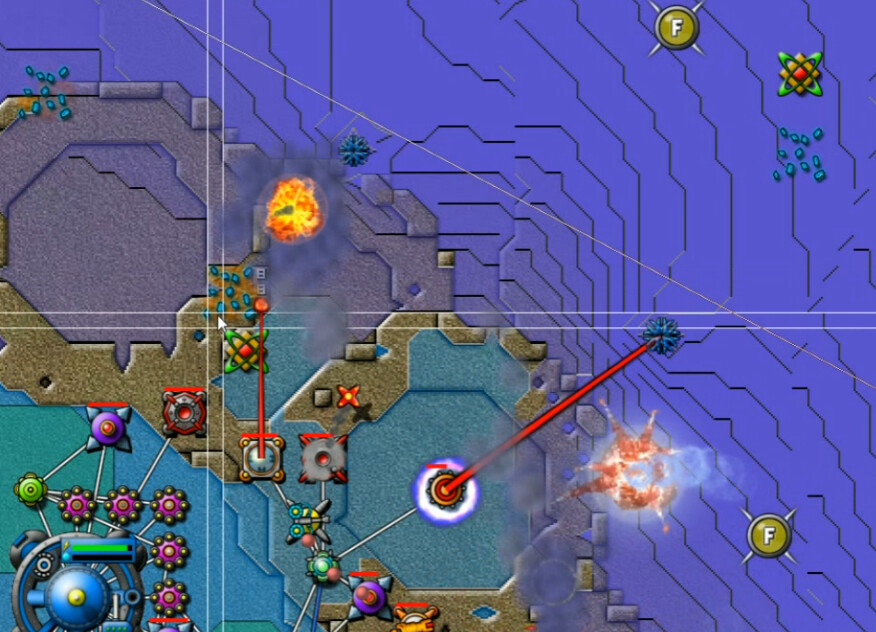
Then I made my push towards the east. In order to clear out the throng that way, I found that even four guns wasn't enough. So I went up to six, and things started to go my way. Of course I didn't want to kill the nest, but merely harvest as much as possible to flood this end of the map in anti-creeper.
Using the sprayer-collection method and some relay hopscotch, I started making my way to the corners next to knock out the emitters. Once I had enough energy and snipers to kill runners on the nests as soon as they emerged, the rest was gravy. Naturally I left the nests alone until everything else was dead.
Obviously we've seen the runner AC-farming thing before, but the strip design of this level combined with no cannons or mortars allowed I thought was quite an interesting and original approach.

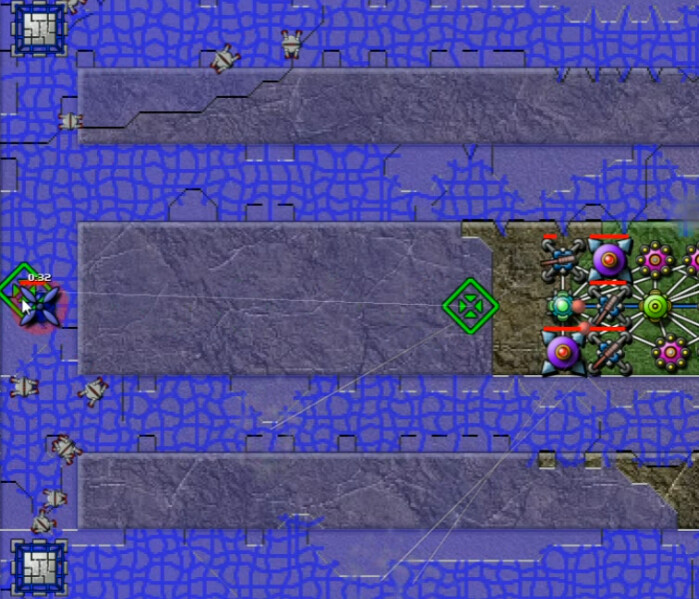
Landscape Abuse 101 is the final and smallest planet in the system. Lots of Odin artifacts, a few siphon spots, closely placed emitters - and the only spot that we can land without being right next to them is in the southwest corner with all the Mass artifacts.
"This is gonna get ugly fast", said I. I was not wrong. The mass artifacts don't even need to be harvested - the nearby ones launch as soon as the mission begins. On the other hand it's clear that I'll have very little time.
There are seven mass artifacts in the initial group, and I soon discovered that I would die very quickly no matter what unless I launched them. Hence the name, because you literally have to abuse the landscape. If you don't, you die. Not only do they make a crater, but they also incinerate any creeper in the impact zone. Here I've bought myself a bit of time. While working on this, I forgot about the spores. There aren't that many, but around 2:35-2:40 mission time a few of them showed up and crashed into what little I'd built, and that was that.
Take 2 - 51:17
I try a slightly different approach, and make the same mistake of not being ready in time for the spores.
Take 3 - 52:15
This time I go with Five Mass craters almost immediately. The idea is to create a complete wall of them and buy myself even more time. A few energy structures, ore mine, sprayer, and a couple other weapons, and then its time for Beams.
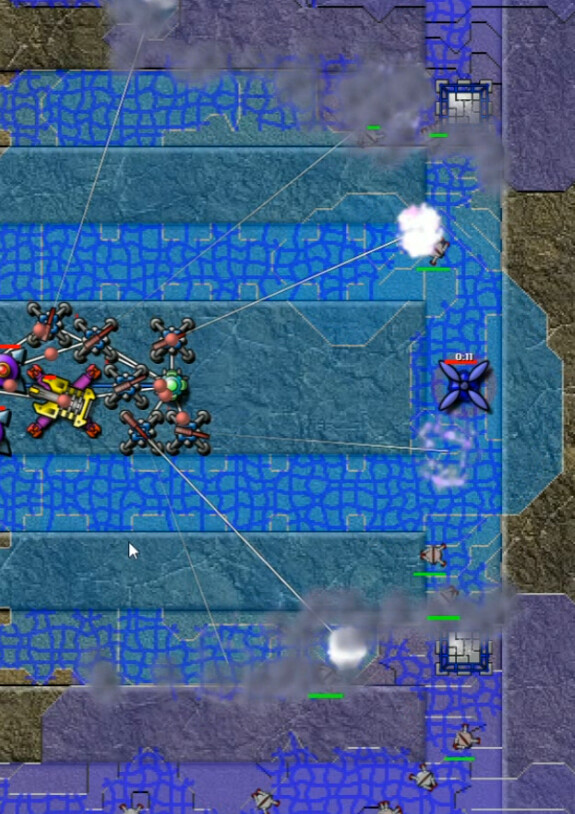
I'm ready in time, but a couple of those craters are filling dangerously.
Soon after, I have an overflow which wipes out most of my air defenses among other things, and I have to use the final two mass landings - on top of the previous locations - to temporarily hold things off.
I don't make it by much, but a defensive ring of a few Mortars, a Terp to level out the rims of the craters so I can place some things there, and moving the Sprayer back for a defensive carpeting does the job. This situation is safe-ish, but definitely cramped and far from comfortable.
SuperNullifiers never get old. Getting the emitter where this PZ is down was a first step of course. Now I'll get that ore deposit and Totem to the north to add more upgrades and aqua-colored goodness, and a gradual escalation commences.

Eventually I clear out the craters completely, get a SuperMortar up and all nearby Emitters nullified, and have enough weaponry up on the rims to limit any approaching floodwaters. From here victory is basically inevitable. SuperBerthas are the next step, and it's an uphill fight most of the way but there are no major complications remaining.