Part 189: Aether & Dr. Wall
Aether & Dr. Wall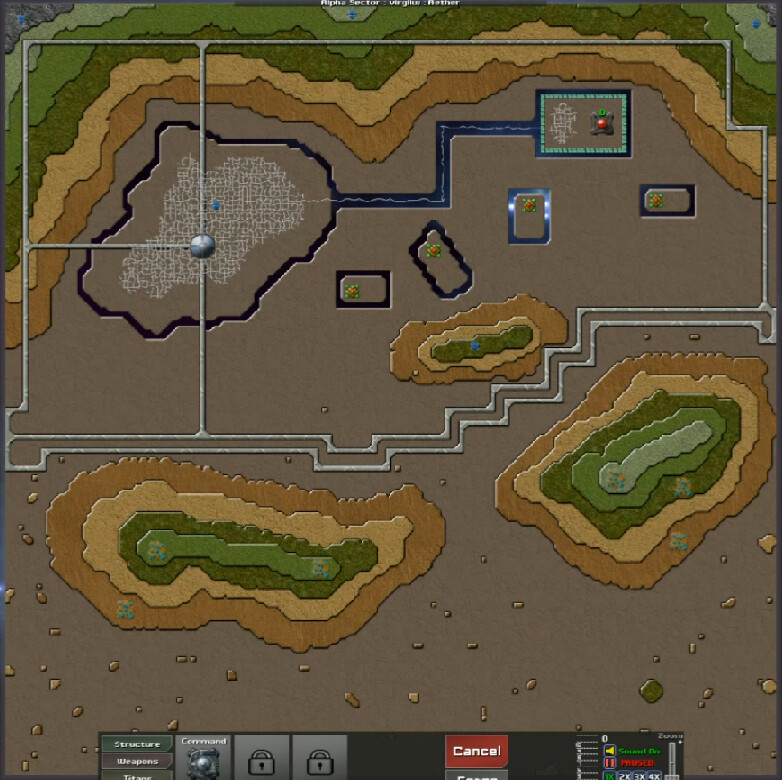
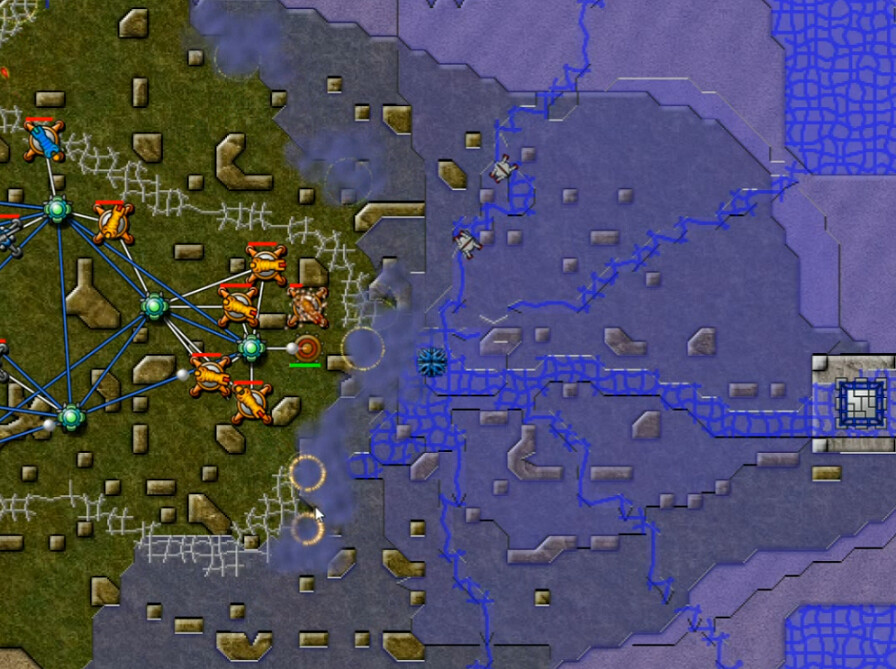
Aether is the last of the three large-ish planets in virgilw. And I misunderstood a number of things about this, so ... bear with me. We do have a Forge up there in the northeast, with some Totems not far away. There's also a device of some kind and paths for things to move around on dominating the north, while the south gives us a couple of hills to work with and a significant amount of ore. Only a few emitters, and they're all standard ones. It seems Creeper itself is not meant to be our primary opposition.
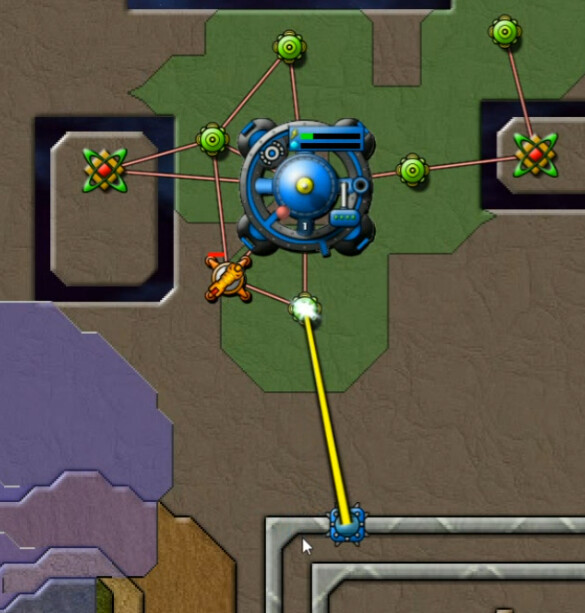
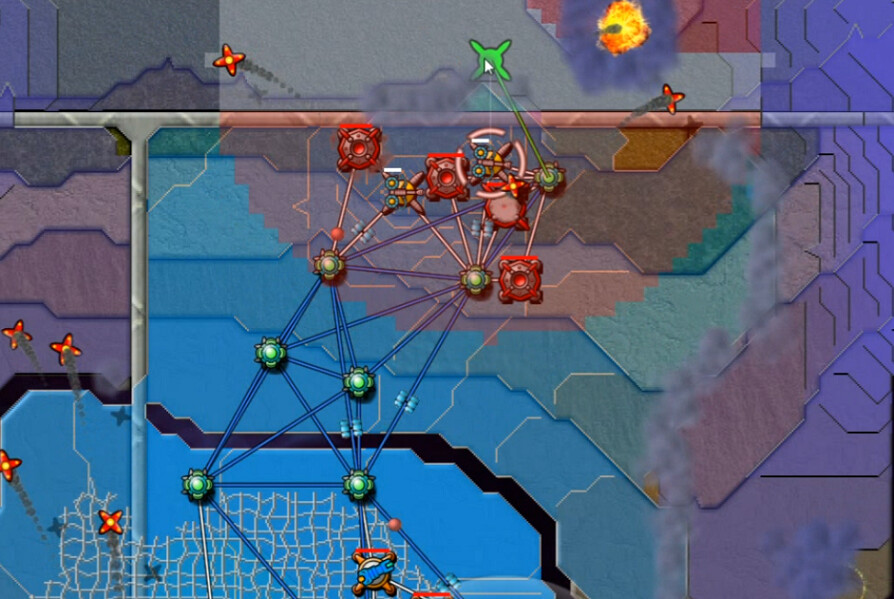
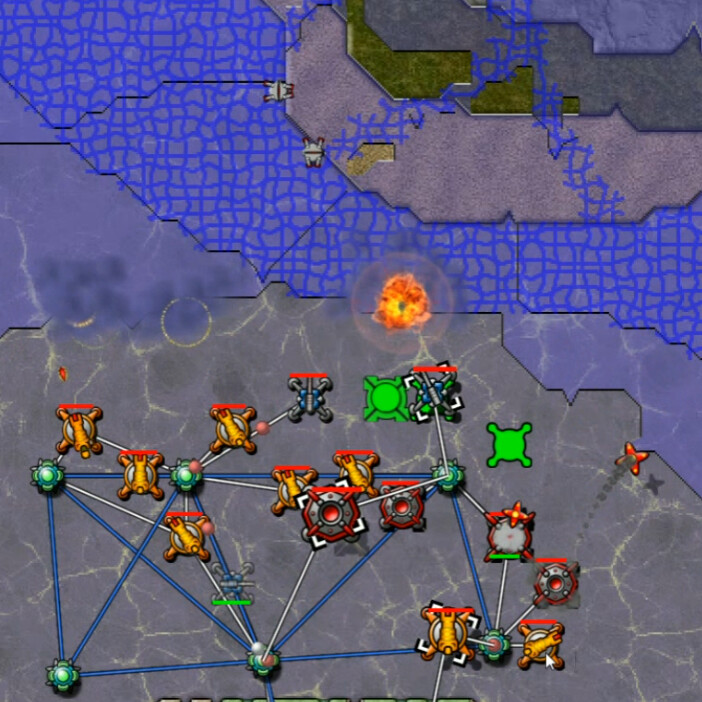
These are Gliders, if you remember them from way back in the Story mode. If you were even alive when I did that mission :P. These, as I guessed initially, are created by that device in the northwest. I'm set up here just south of the Forge, thinking to try and grab a defensible location, but there just isn't enough room outside of glider range to make that a viable option.
Take 2 - 1:49 video
Next, I tried going for the quick kill, trying to nullify the 'glider factory' itself before the area is overrun. The map is not so inviting as to permit success in this endeavor either.
Take 3 - 2:20ish
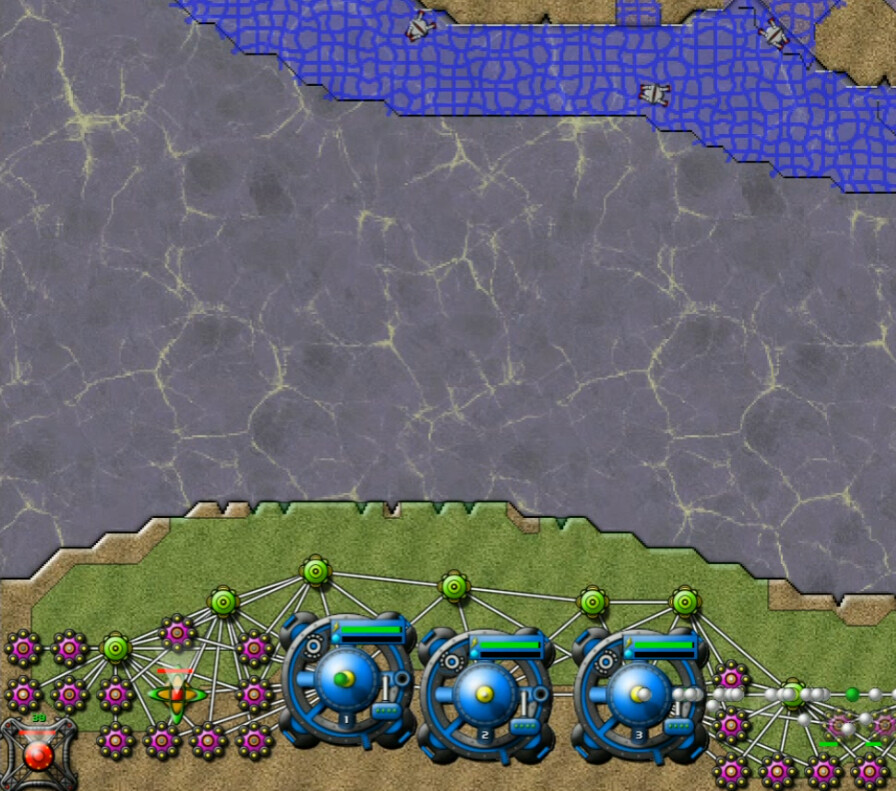
Ok then. I'll set up in the south where I have plenty of room, tap the Ore Mines, build a wide swath of Collectors and then go into Reactors for energy. With limited creeper all in the north and no Spores on this map. It worked well. Until ....
It takes about seven minutes for the Digitalis and then creeper to propagate over to the Forge and destroy it. It occurred to me about here that there had to be some sort of elegant solution to saving it, but then I decided I didn't care - I'd just rebuild it.
But then it was destroyed, and I noticed the Forge build option is totally disabled. You don't get to rebuild it. And while I could have still won given enough effort I'm sure, it clearly wasn't the intended path. Ok, restarting again - with network-building cut out for viewer sanity.
Take 4 - 11 minutes approx.
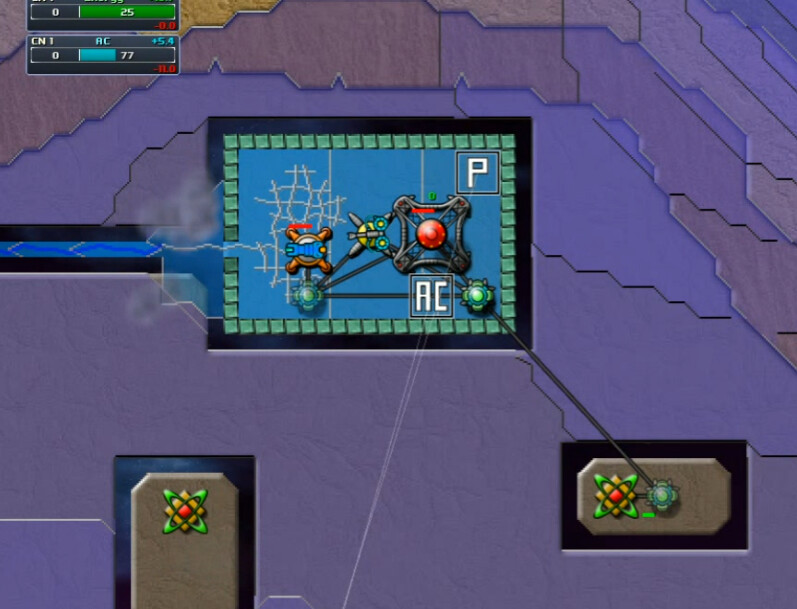
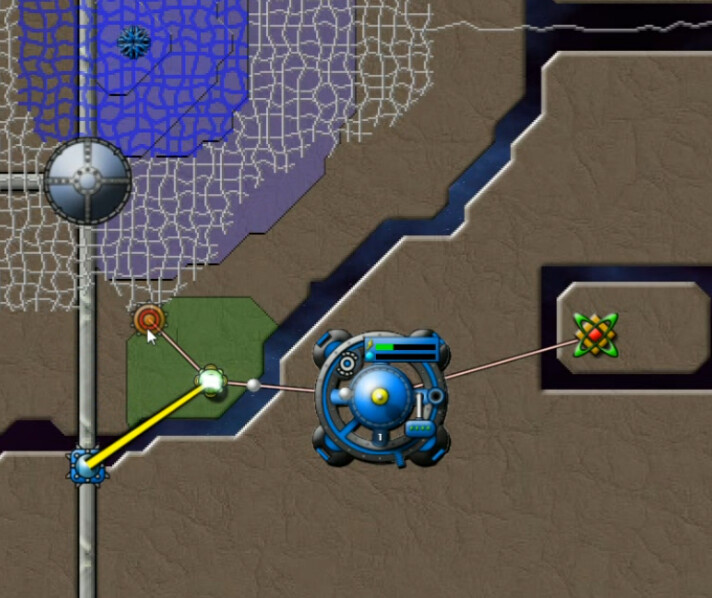
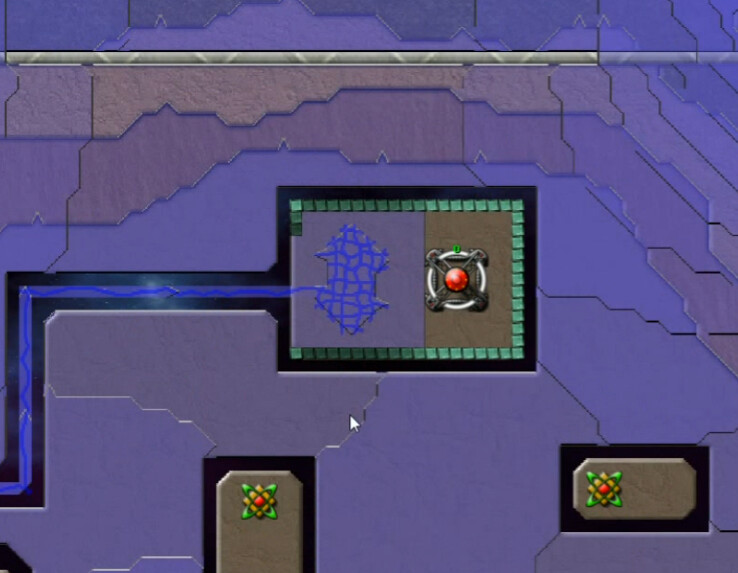
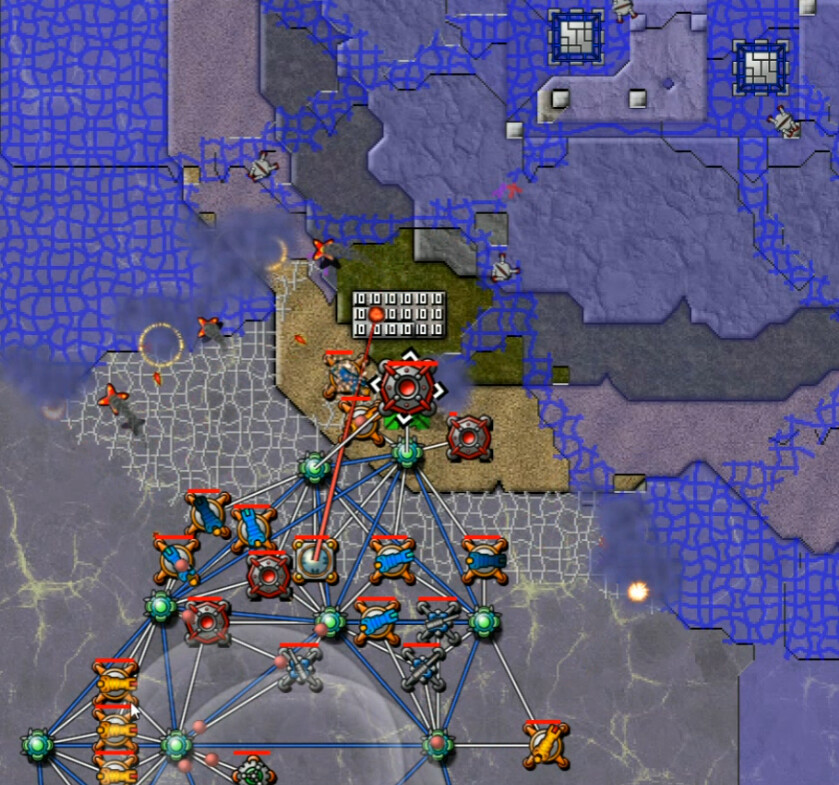
Fun fact; the gliders apparently don't target landed Guppies. Why I have no idea, maybe something about them only targeting the original structures or whatnot, but this means I can put them on the top 'row' of this little box the forge is in. Nothing else can survive there. So a Sprayer and a Digitalis Cannon, with guppies supplying each, is sufficient to hold back the long narrow thread approaching this area. And since it's surrounded by void space everywhere else, the wall will never be breached. Relays connect to the completely isolated areas where the totems are, making those totally safe.
Next objective: Terp up some platforms so I can shoot the gliders with Snipers and thin them out. There's just one problem with this: snipers can't shoot gliders. I was sure they could. I was wrong. So this was a complete waste of time, aside of course from gaining that knowledge.
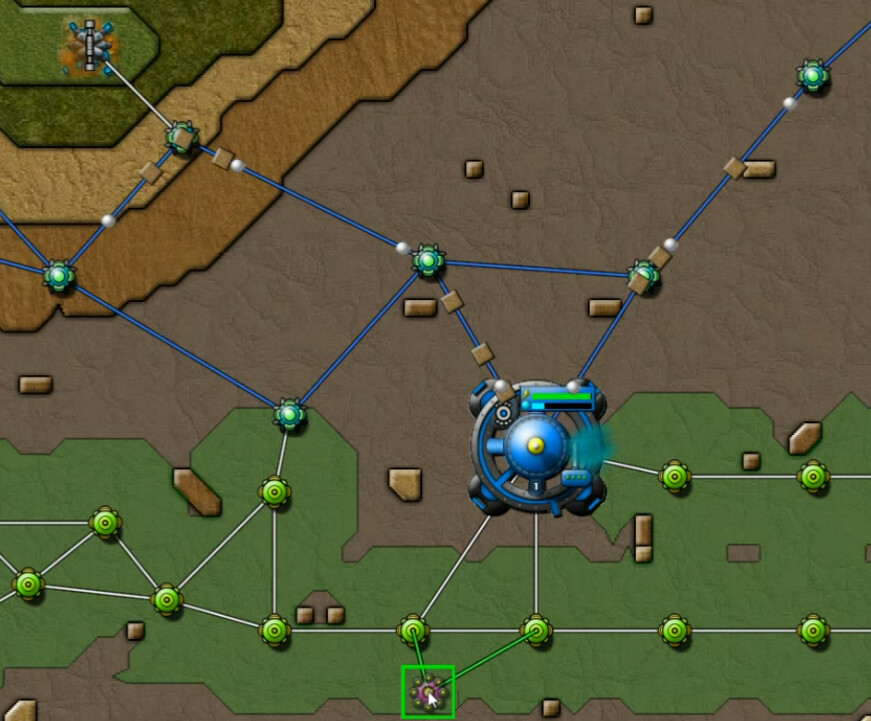
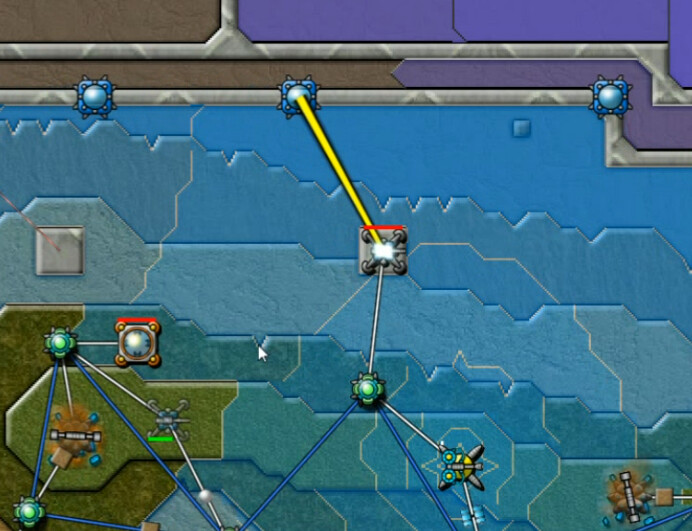
So it was back to guppy ops. The Totem Islands provided a safe place to put a few weapons, and from there I was able to expand a safe zone, eventually eliminated the nearby Emitter.
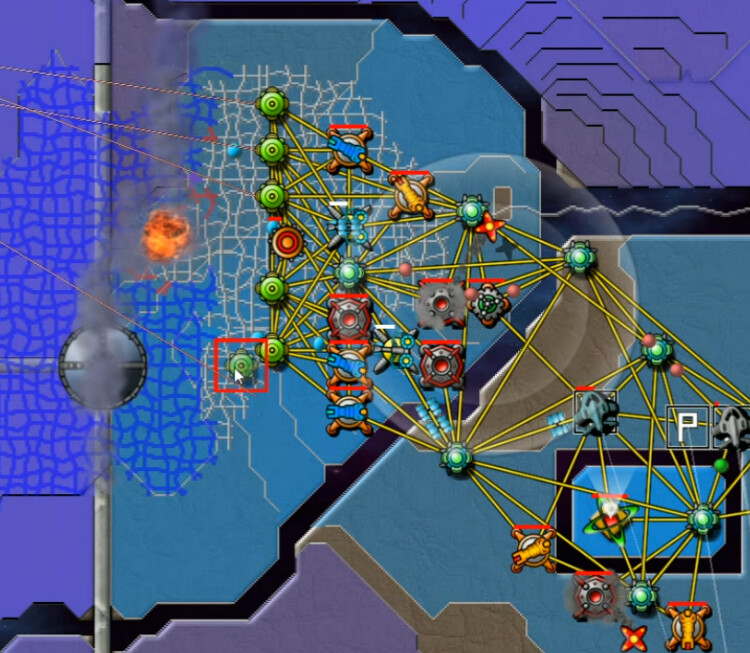
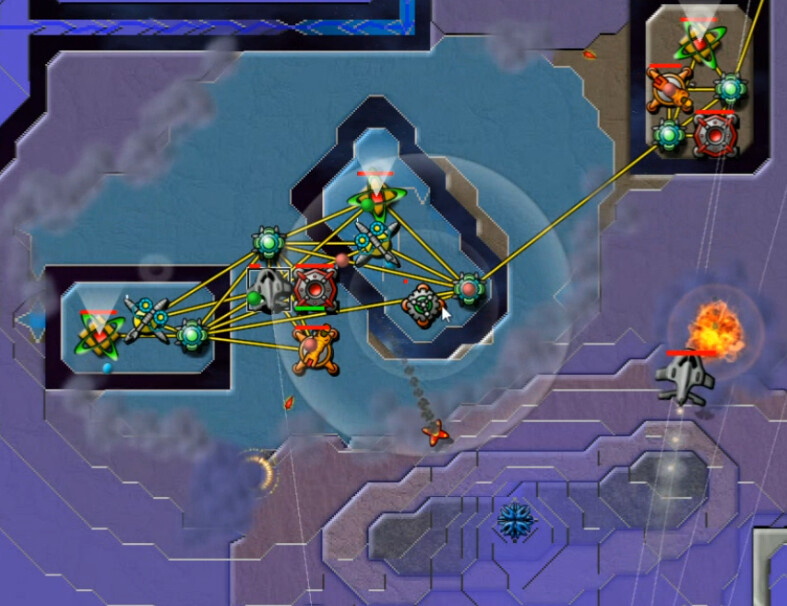
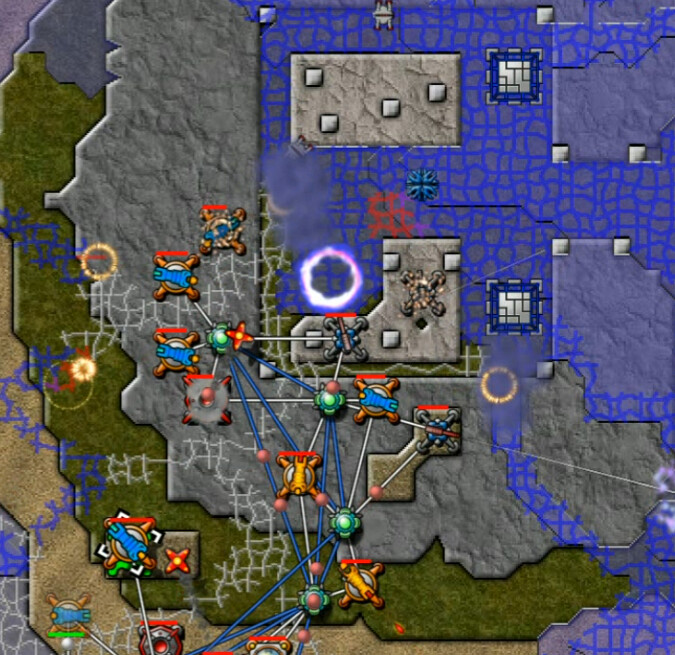
Then I needed to slay the Glider Factory. To do this, I used the method developed in the Pit & SuperTower missions - the Whipping Boy Collectors are placed in front to shield the Nullifier from any glider attacks. It got a bit annoying here, but once the factory was down the gliders self-destructed and I could operate without fear of them.
The remaining creeper and four emitters powering it had no chance against my focused attention, and after several minutes of cleanup, it was over.
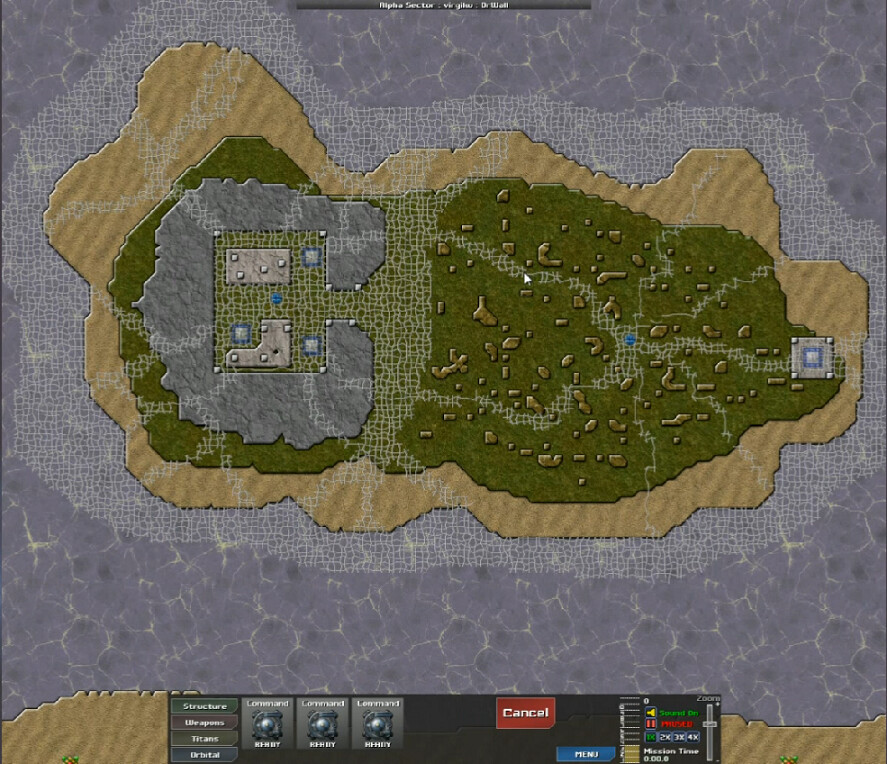
Dr Wall. The big central plateau clearly says go away, and we have a handful of Runner Nests accompanying plentiful Digitalis.
Obvious starting location in the south is obvious, and there was plenty of time to get the economy rolling.
Mortars along the coast ensured we wouldn't get swamped, and then an attack group was formed. When we reached the digitalis, this battle effectively truly began.
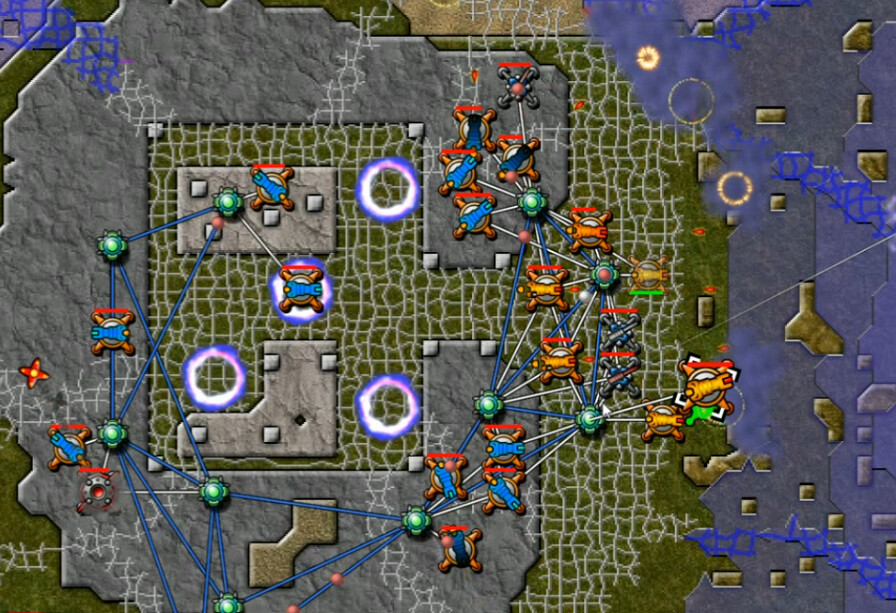
The combination of runners, elevation, and digitalis meant that we needed Shields and Snipers, and I once again went with the platforming method. The fairly wide 'moat' around the base of the hill ensured that any over-aggressive move would soon be punished.
More of the same as we reach the apex, but even then dealing with the digitalis on all sides while trying to find secure places to knock out the emitter and the other nests was no picnic.
As you can see, pacifying it required just a few Digitalis Cannons. And then it was a push east across the plateau. Through irregular terrain. None of this was difficult, really. All of it was quite annoying.
This last emitter in the center relieved a lot of that. The ground was still rough, but without it the digitalis shriveled up per usual, making advancing on final nest much easier.
The magic number is now seven.