Part 193: Brain
BrainVideo here is only about ten minutes, shortest one in many moons.
The phrase never judge a book by it's cover - or hype - comes to mind here. I'd been building this misson up in my mind for months, due to the two achievements attached to it in part, the title, etc. First up, we have instructions:

I have one quibble with this; you can't 'move' the pegs at all. Activate is the more accurate word. I tried moving them around and got nowhere. This is also a good time to point out that this was actually the second time I did this. And it was semi-aggravating enough the first time, thank you very much. The reason for that is a highly complex and technical issue I had when recording; I accidentally knocked the microphone connector out of the back of my computer and didn't notice, so none of my hot air went anywhere but into the expanse of time and space.
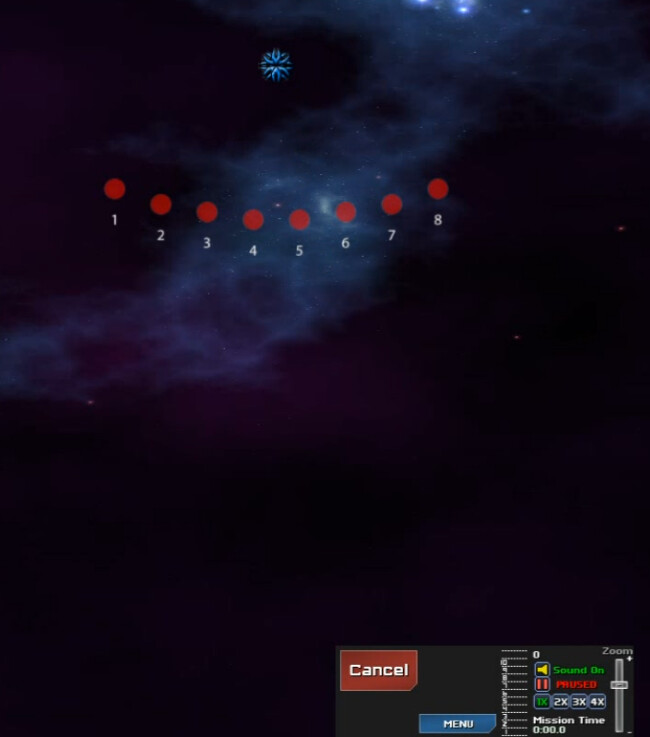
Fascinating, isn't it? Note the control panel below; all the stuff you can normally build is gone. Those red pegs are the entirety of the interaction with this level, speeding up and slowing down time accomplishes nothing of import, unless you need to reset to try out something different.

Starting the timer turns the pegs into Totems. That '0' is the time, in seconds, from when you actually do something.
The only place you can start is at the beginning. The other totems are non-responsive; as alluded to each can only be activated/de-activated when specific conditions are met. Here, 3-8 are dormant and a fairly faint clicking sound can be heard when you click on them. And that's it. One way this could have been improved IMO would be to toggle the color when they can/can't be used, or do something like the glowing light on Chimera. The learning process here could be accelerated in that way.
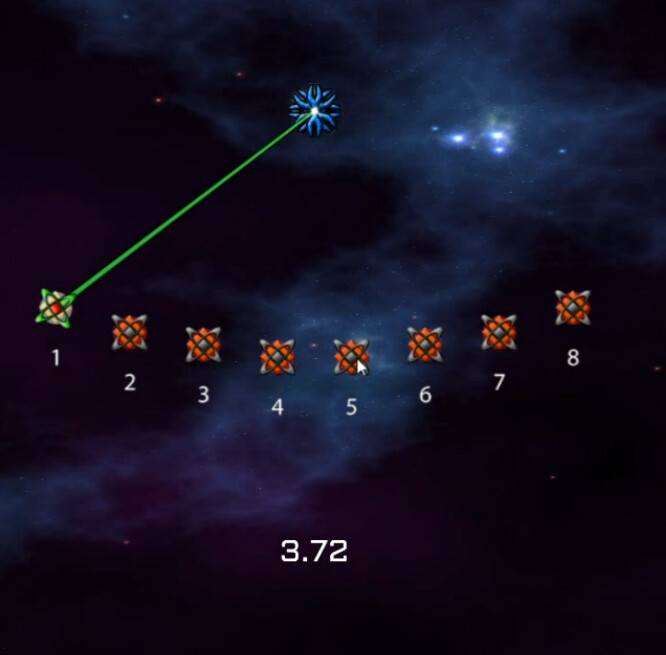
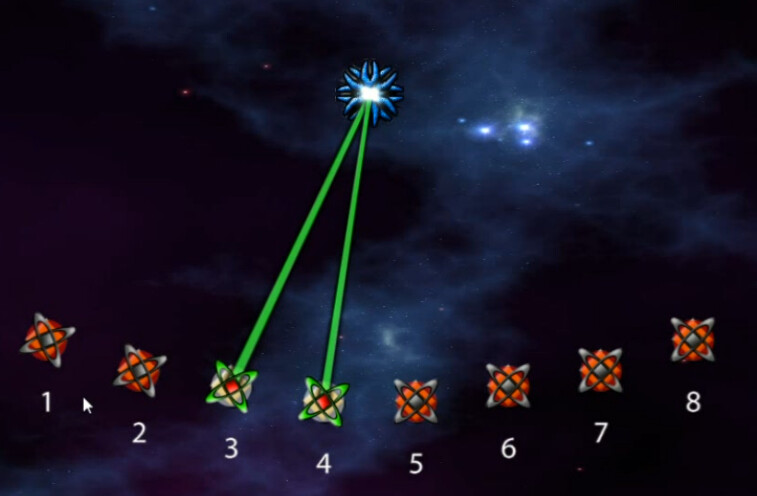
Getting the second Totem on isn't difficult - once 1 is on, 2 can be activated.
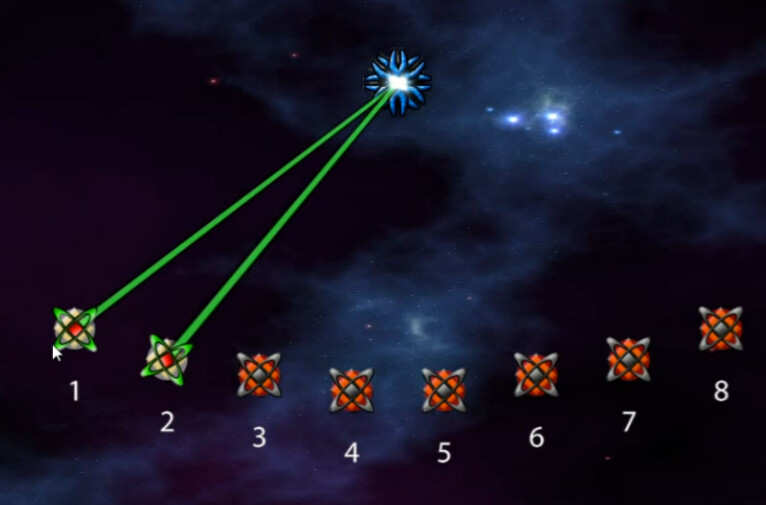
Getting #3 on is not as simple though - you have to turn off #1 first which you can only discover by trial and error. Otherwhise you can click on the third one until your life force expires and nothing will happen.
This is similar or at least related in concept to a couple of RPG puzzles that are quite well-known; I first encountered it in KOTOR though I'm sure they didn't come up with it, and one of the banes of many casual Mass Effect players is the (in)famous Mira Core puzzle as shown in this quick 45-second video. The concept in both of them is the same; three sections/pegs/stacks/whatever with a few items on each of different size, with the largest on the bottom and smallest on the top. You have to move the items from one section to one of the others, with the caveat that larger items cannot be placed on top of smaller ones, and so there is a specific order that things need to happen in.
In Brain, the rules governing the puzzle are somewhat more obtuse, and clearly intentionally so. Until you figure out those rules, and I don't think I ever quite got a complete handle on them, trial-and-error is necessary. Mostly error. And it gets more complicated as you go.
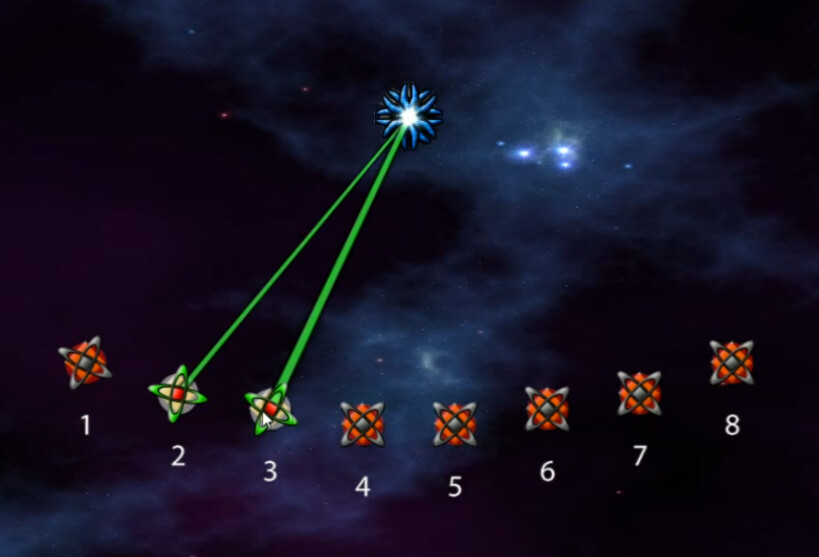
#4 is where things started to clearly slow down for me. #3 must be on and first two off to make this happen. The pattern here is that to activate any totem - except obviously the first one - the previous totem must be on and all others to the left of that off. We'll call this the Activation Rule. Following that, I need to turn off #3 here in order to be able to activate #5, which requires #4 to be on but 1-3 off.
Help you if you're trying to follow this without having actually played the mission, but I don't know a great way to explain it from words and screenshots.
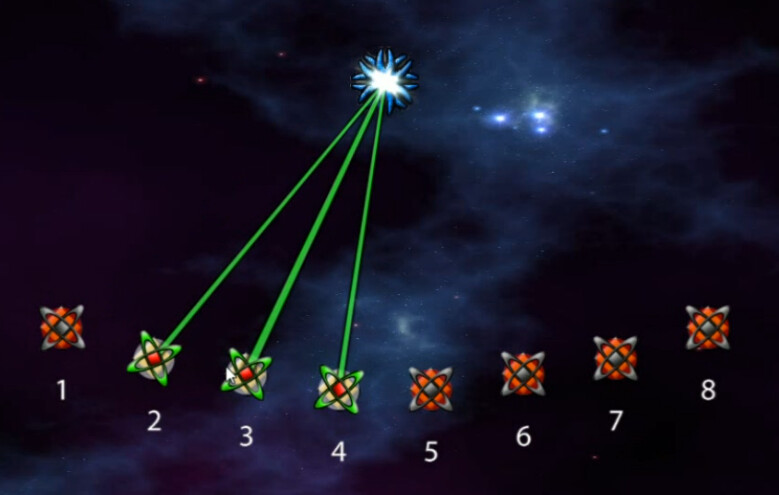
It's not as simple as just turning off #3 though. From the previous shot you can't do that. So we need to find a Deactivation Rule. It seems to be that the totem immediately before it must be on, #2 in this case, and everything two or more spots before it, i.e. #1 here, must be off. And now I can deactivate #3. And then turn on #1 so I can turn off #2 so I can turn off #1 again so I can turn on #5 for the first time.
It's probably apparent by now why I'm not going to do the Positronic Brain achievement for completing this in 60 seconds. That's simply busy-work on the order of memorizing openings in chess. There's no real challenge in hammering out the proper pattern on the keypad in that time-frame.
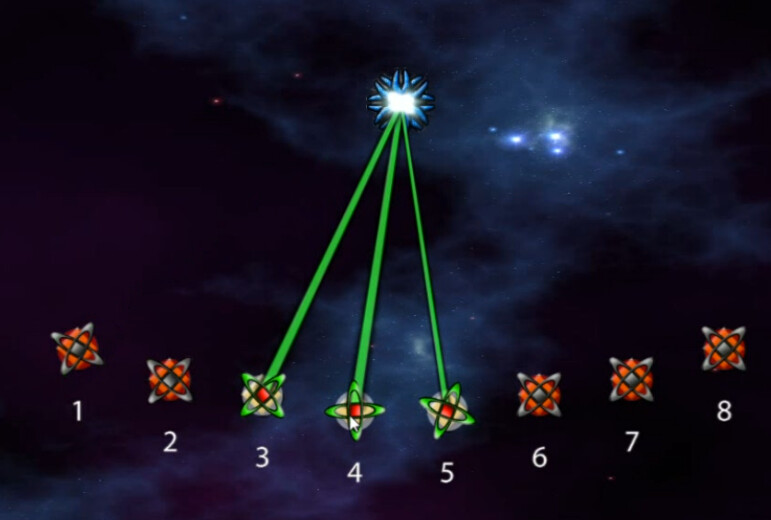
Another example of the Deactivation Rule. Before this I did some trial-and-error demonstration, showing that you really can't get to this any other way. Now that the totem to the left of #4 - #3 - is on and everything further left is off, I could in fact deactivate #4 at this point.
Even though this was my second time through the mission, I didn't fully have this defined in my head but I was getting a decent grasp of it.
** Note: This last screenshot missing because I'm an idiot. However it has 6 and 7 on and the rest of them off - it's not hard to imagine what that looks like.
And from here it just continues the same thing more complicated. Let's skip to the end of the line here. I've just activated Totem #7. In order to activate the eighth and final one, I need to do the following:
Deactivate #6. That means I need #4 and only #4 on. Which means activating #3 while having 1-2 off, but I've got to turn on 1 & 2 in order to do that .... etc, etc., etc. And then once we've turned off #6 and still have #4 on, the process repeats itself down the chain and yada yada yada.
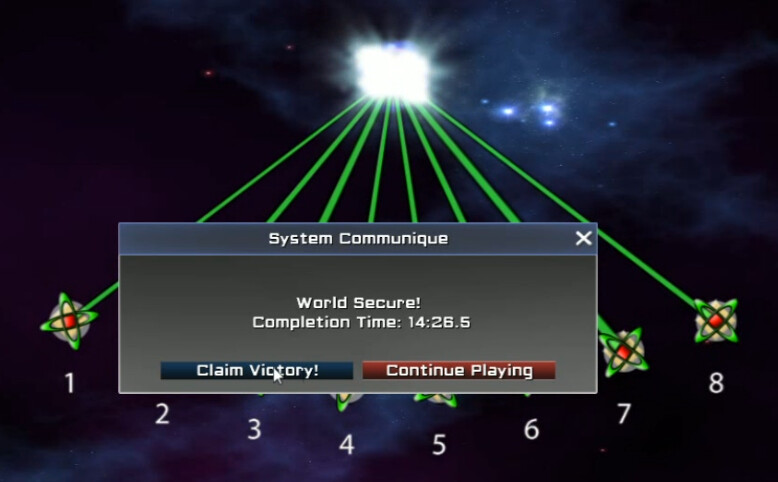
Once you've turned your brain sufficiently into mush, activating all totems gives you this. And the Brainiac achievement for having completed it.
Thus ends the 122 beatable out of 124 total Alpha Sector missions. You darn well better have enjoyed it, because that's a lot of Creeper World 3! With the recommendations given then, we move on to six bonus missions from Colonial Space, which CW3 once again gave me an achievement for the act of inestimable skill involved in entering that area of the game by clicking on it from the main screen.