Part 199: CSM-84
CSM-84This is one of the higher-rated maps around at 9.22, with a median time of 1 hour 17 minutes. I think it is a bit of a paper tiger though; either I was getting a lot better at this whole CSM thing or this one isn't as bad as it looks. Perhaps both.
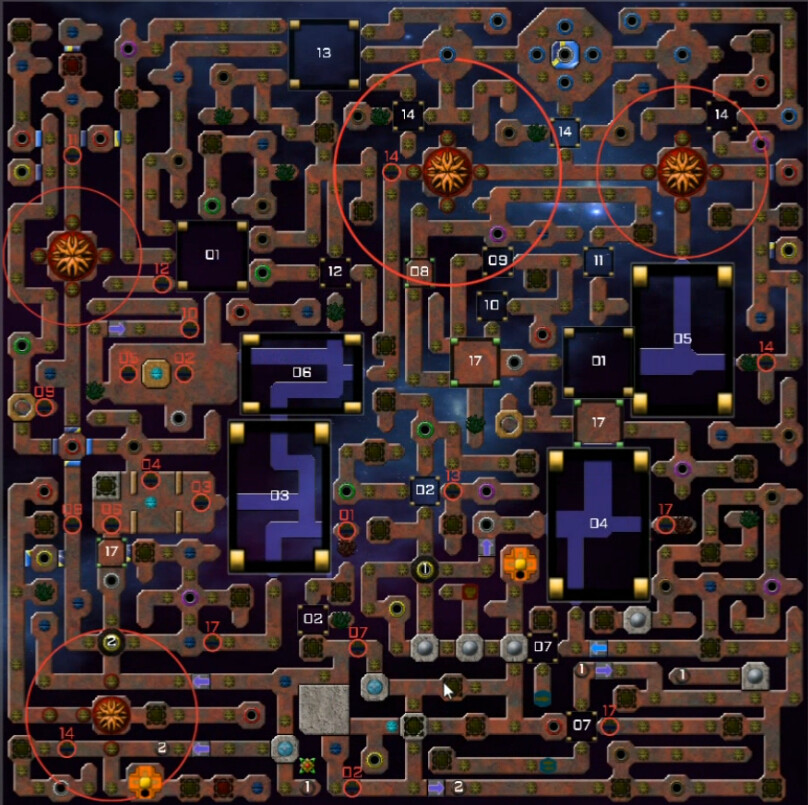
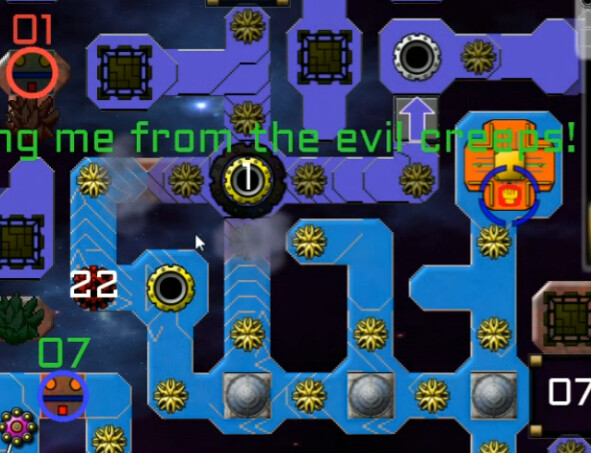
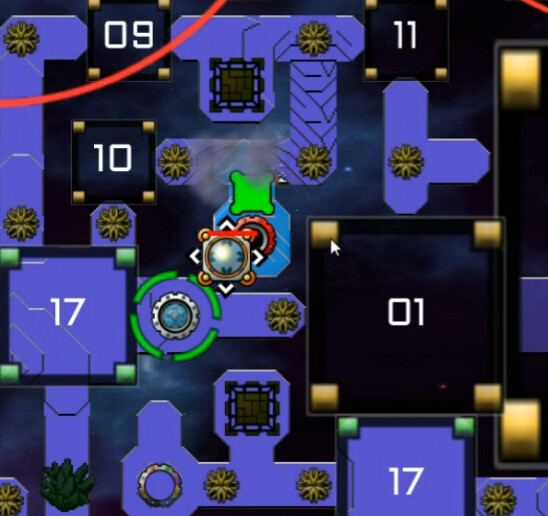
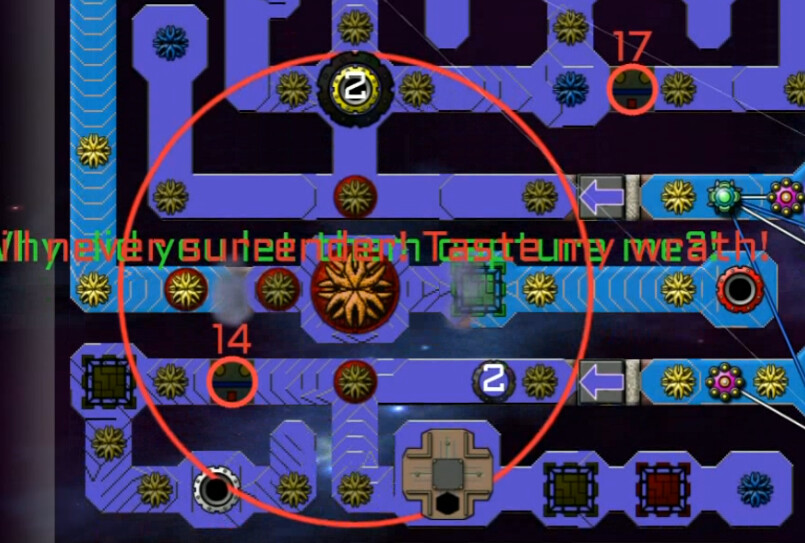
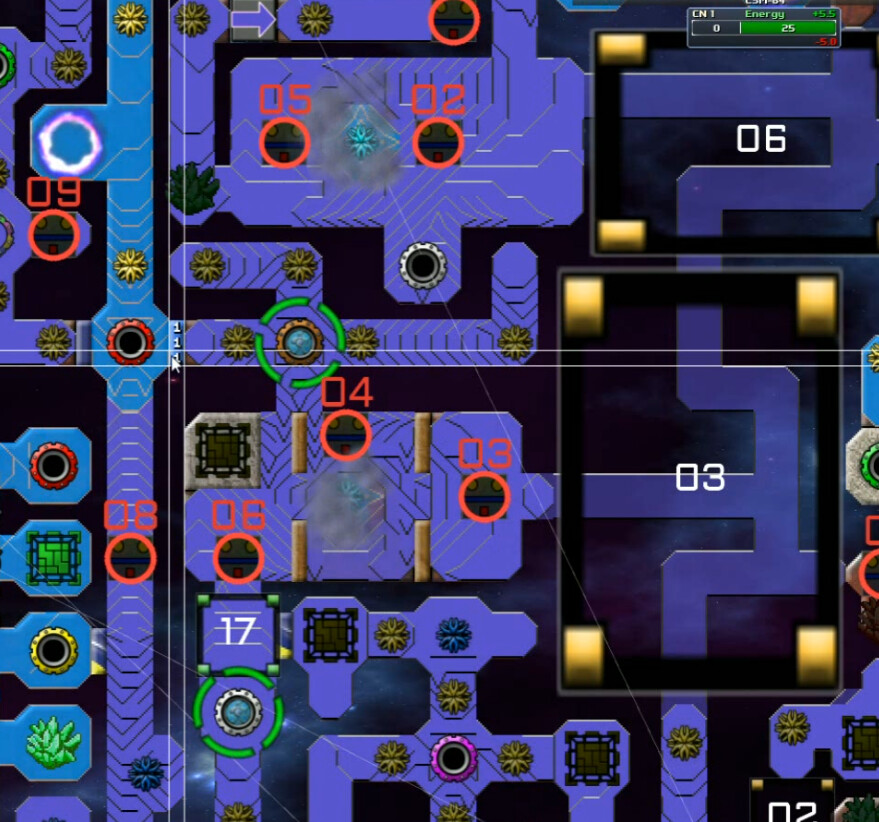
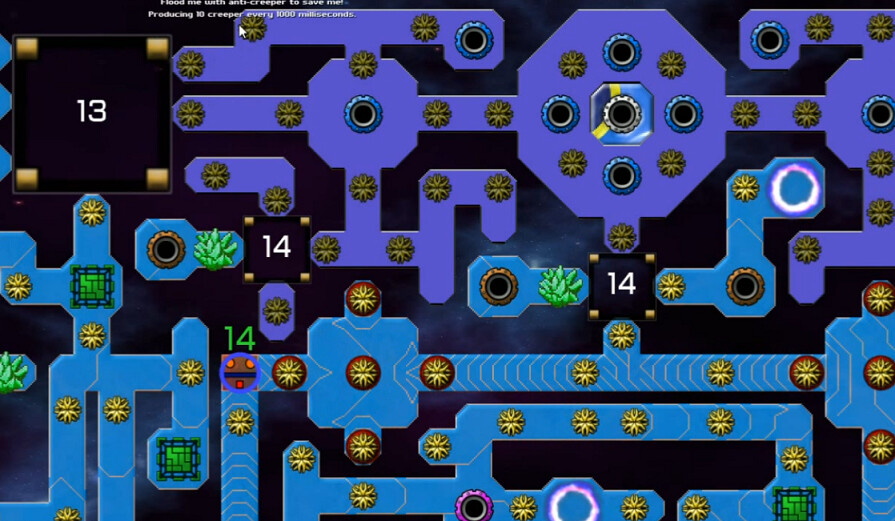
A lot of things here are familiar, but some is new. All of the numbers correspond to bridges, which are pathways that can be opened or close with the appropriate controls - we'll get to that as the level unfolds. That allows the player an increased level of influence over how things flow. Then we have the armoured emitters that I was discussing before, only I mistakenly call them armoured superemitters in the video because I thought the other ones were already armoured ... that's just terminology though. The red ring around them is there sphere of influence, let's call it, and at least in this case they quadruple the output of any enemies in that range. So a 100-strength creeper emitter would become 400-strength. This is a Very Bad Thing(tm) obviously. Also, these armoured emitters take a while to defeat, because they have four 'lives' each - effectively you have to swamp them four times instead of once. I assume those exact capabilities are configurable by the level designer. They say 'assault with anti-creeper to defeat this formidable foe'. Finally, there also new things that I'll call Crystals. They're a bit hard to see here, we'll get to them in due course, and I was wrong about their function initially so you'll get to see me screw it up. Shocker there.
This I like, a help pop-up that was added by at least yum234 and perhaps others a little before this map was made. We've seen almost all of these before; Ctrl-Shift-J is the hotkey assignment here. A useful reminded of what things do if we forget.
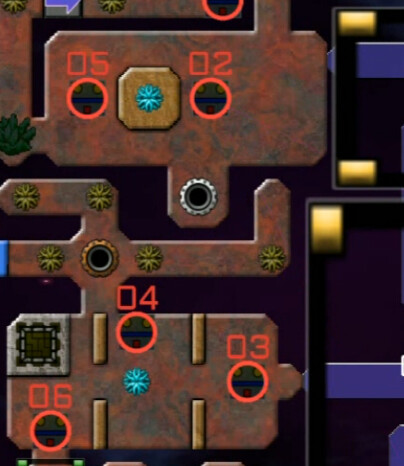
On the left of the map we have two friendly emitters, but there isn't quite enough space for us to land there so they are largely on their own.
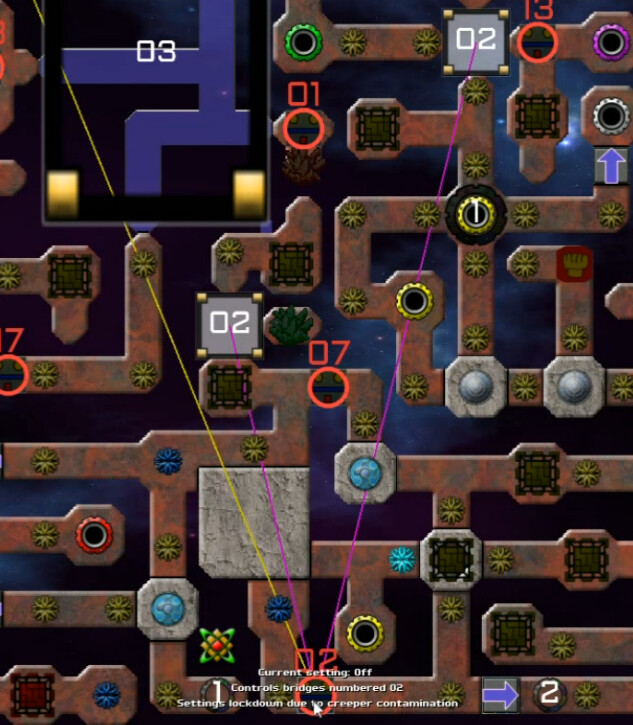
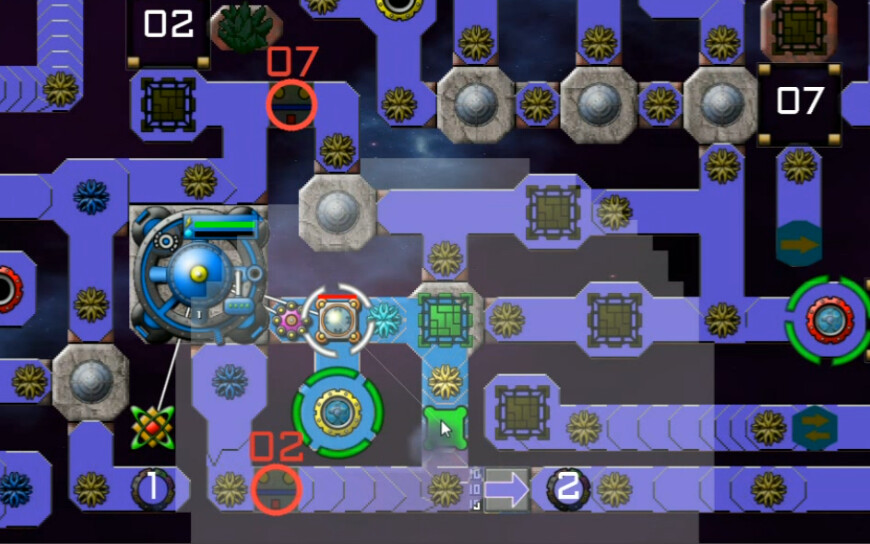
Here's where we'll need to start. There are only two SG blockers here and that's all we'll get - you may recall that the first CSM map had five. So we need to be more choosy, but two is enough after a while. Look at all the stuff numbered '2'. Text on the one I'm pointing at in the very bottom states 'Current setting: Off. Controls bridges numbered 02. Settings lockdown due to creeper contamination'. Also notice the three lines connecting to this; the yellow one actually goes to another control panel. I didn't realize this yet but all of the 02 control panels need to be available - the lockdown won't lift until you flood them with AC of course - in order for them to operate. The pink lines point to the bridges themselves, which can be seen here. Turning this from Off to On opens all 02 bridges. I can't open or close one or the other, it's all-or-nothing. So this sets up some interesting strategic decisions.
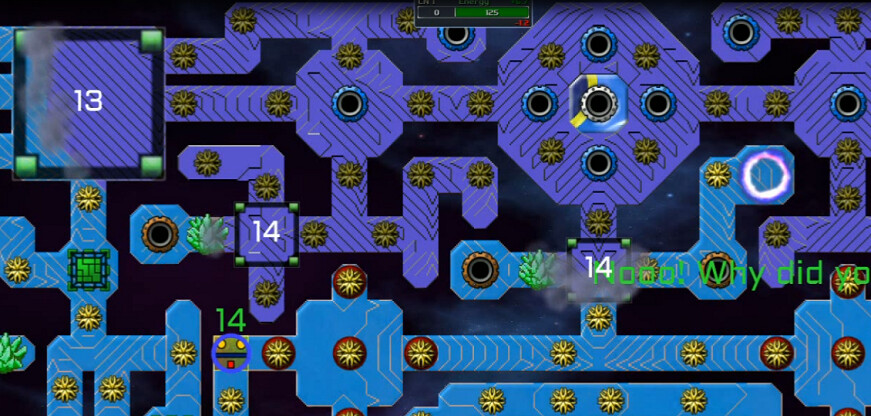
Alright, let's get to the action.
Pretty much a must to block off the yellow SG, and I soon realize I want to do the same to that red one. We snag that first tower, being careful not to allow access anywhere we don't have to, and start picking up emitters. I'm getting set to wall off by the semiconductor so I don't lose AC that way.
We have very limited space here compared to even the other maze map we did. I've walled off the part by the 2 control panel because we don't quite have enough strength to push through there, but - only because of the red blocker - we should be able to make further headway by expanding elsewhere. I chose up instead of the to the right because the emitters are weaker this way. 5 strength as opposed to the 10-20 range. That Tower/Emitter combo just up-right of our position holds us back for a bit, but once the tower falls we have plenty of force to push on through more.
I understimate the strength of the enemy emitters though. All of the blue ones on this map I think have 6.3k death explosions, almost twice the previous ones. In this case, that causes some damage to our command node, but thankfully not enough to cause any permanent problems. With a +3 Power bonus, we had enough to push through here, and soon start expanding to the area directly above our towers. With nothing stronger than 20 strength there, they are pretty easy targets now.
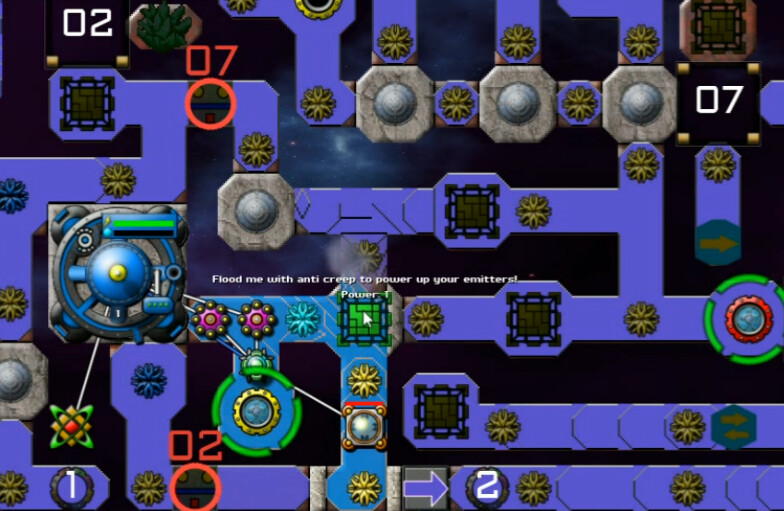
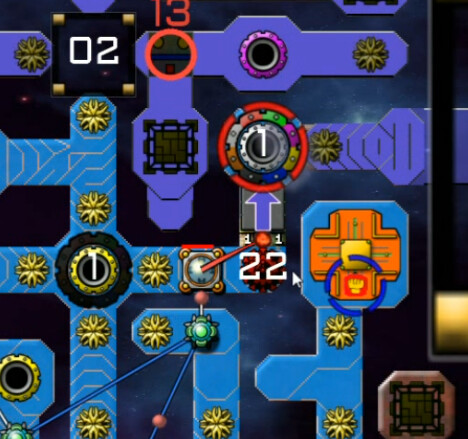
Now we have an alchemiter and a frenzy bomb. This is a big key to this map; it is a 10x Frenzy (!!) and the alchemiter works at 2x speed. That means 30 seconds to produce a new bomb. Many things that would otherwhise be problems will be reduced to mere annoyances if not total non-considerations by the appropriate use of these.
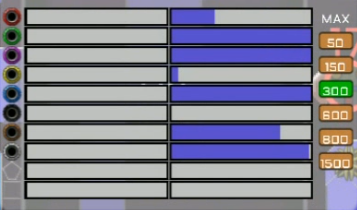
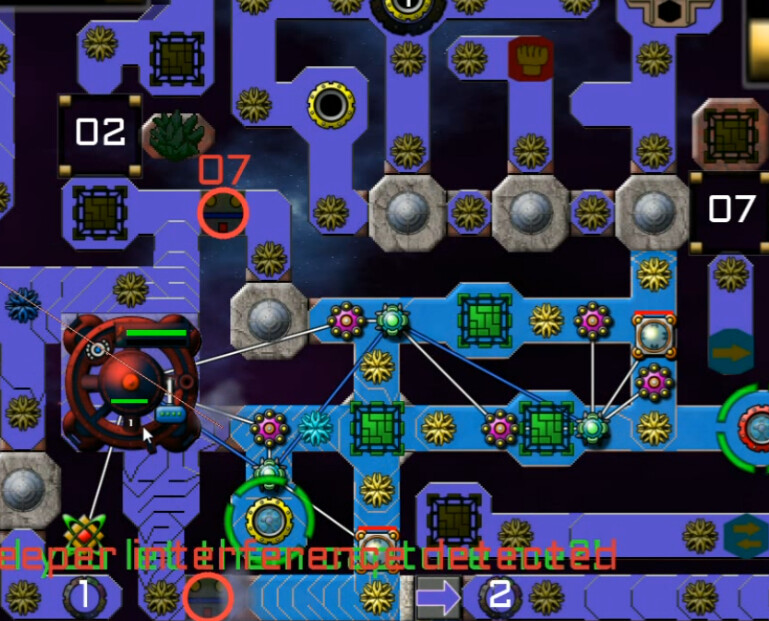
The monitor has new levels to use. And let's just say we'll be needing all of them, even up to 1500. That'll be fun. There are no black ones, and clearly we can see that the yellow and red, the networks we've encountered so far, are quite weak. I decide it's time to purge the yellow network.
Here's the primary place that battle is fought, and the frenzy makes it a quick one.
Yellow was now fully under our control, and I went after the red ones next. Spotting a couple of stargates with 100-strength emitters nearby them, one being fed by three, I used blockers to seal those off and concentrate on the others.
Placing regular frenzy bombs where our territory connects to the network, I observed a few outlying areas such as this one in the upper left slowly but surely falling to the power of the anti-creeper. We were pushing them back.
After clearing out the other red areas - well, not really, but so I thought - I focused on this, the one with the trio of emitters. Even with frenzy support though, I found myself stalemated. I made inroads as shown, but couldn't get quite far enough to terp up and cut off part of their flow ... probably could have rigged up a wall to slow them down or something but the creeper level got down to the low 40s but never any lower. I couldn't push through, and eventually shelved this attempt, blocking it off.
Taking this small white section was actually kind of pointless, but I did it anyway playing around with the SG Connector to give another avenue of attack. I ran into some unexpected, unintended 'fun' shortly thereafter though. You can't block a stargate without taking the connector off first, and the second you take it off it starts refilling from the other whites in this case, so there's a time gap in between where you're just going to be under attack. Eventually did the usual encase the thing in terrain route, but not before screwing up and getting myself partly swamped with creeper a couple of times.
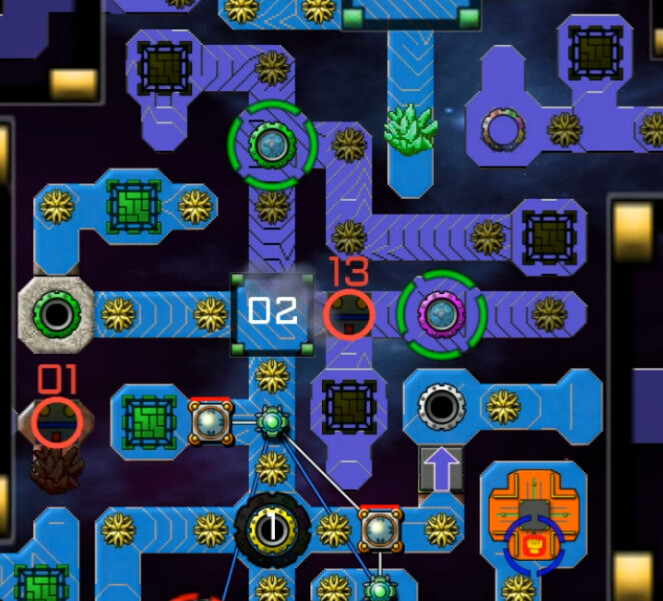
And then I noticed this - the red stargate I hadn't noticed before. It's basically fought it's way to a standstill here on the very left of the map. Going straight down from that, there's at tower, yellow stargate ... and then a greenish thing. Those are what I call Crystals. It says to flood it 'to ensure massive weakening! Power - 0.1'. Well crap I don't want massive weakening. Also, 0.1 is not massive at all ... I wanted to grab this area and I tore down the wall by the yellow SG to do so, but I got a terp in place to build one by the crystal.
Also, look at the armoured emitter at the bottom of the screen. It looks scary booting a bunch of nearby emitters ... but most of them aren't connected to it, I realized. I now had a red stargate on each end of the strip leading to it, and it wasn't producing a huge amount compared to me so I felt I could make inroads.
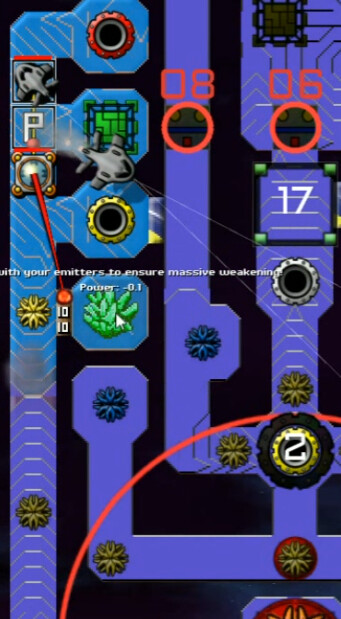
My terp didn't act quickly enough, and AC got in to the crystal. I didn't realize it at the time and was actually quite annoyed by this, but it was a very good thing. The -0.1 is not applied to my emitters, but to those controlled by the enemy! And that makes it massive weakening indeed, because it lowers their output by 0.1 and they start at 1 ... so it's a 10% reduction. Therefore I made an absolutely badass and simultaneously completely unintentional acquisition that weakened every enemy emitter on the entire map.
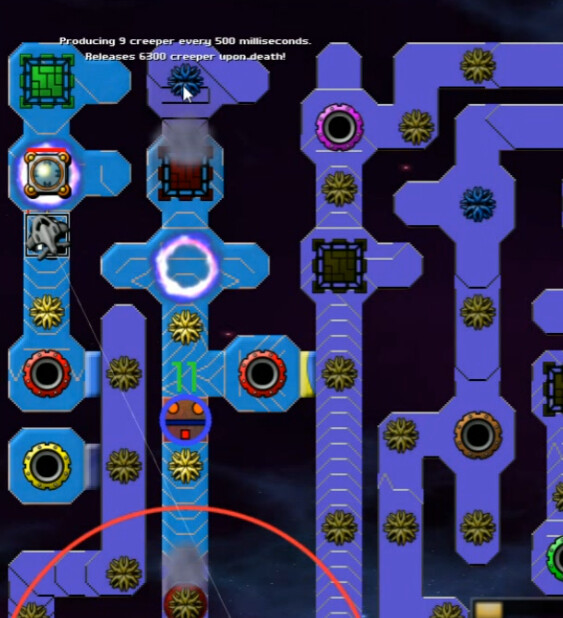
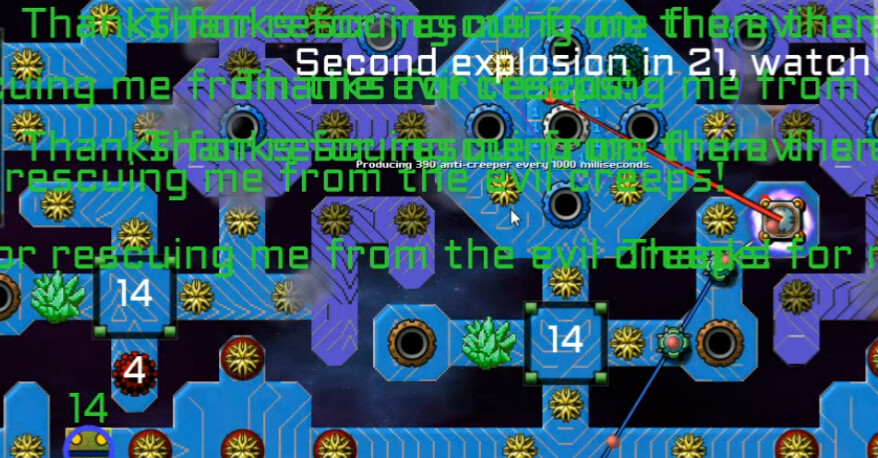
This is after the armoured emitters first 'death explosion'. Hard to see what it says when it's on top of other text, but it proclaims 'I will never surrender! Taste my wrath!'
I taste it, toss it aside and soon overcome its multiple objections. The final one says 'One last trick!' after which 'In defeat I will serve you'. As will all else, eventually.
Now that it isn't being shored up by the armoured emitter, the lower-left of the map can fall to us. SG connector for one attack avenue, the semiconductor provides another. An alchemiter, a couple of towers, and another SG connector provide for considerable spoils here.
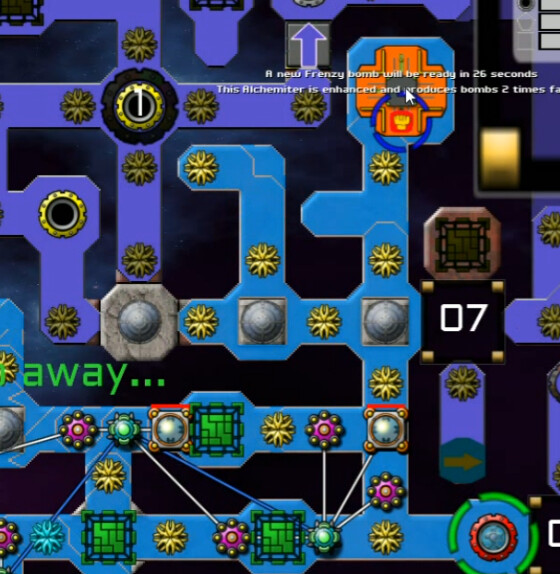
While that's going on, I set my gaze on another armoured emitter. Much like the first one, it is isolated on single path and therefore not as tough as it appears. I've also got three different ways in.
Both of these sections have a trap involving an Evil Tower. You need enough AC to get down to the end to knock out the enemy emitter, but a limited enough amount so that the death explosion will recapture that tower. I properly wall this one off at the appropriate time, but I didn't get to the other one fast enough.
Next on my agenda is to rescue the two friendly emitters bravely fighting against the creeper flood this whole time. Blocking off two of the nearby enemy-controlled stargates, I open up some walls and start making some inroads. Below this shot is a semiconductor than I can also use, so there's immediately multiple avenues of attack.
As soon as I realize the frenzy bomb works much better on friendly emitters - because friendlies have twice the output of flip emitters - a rather obscene amount of AC begins flowing from there.
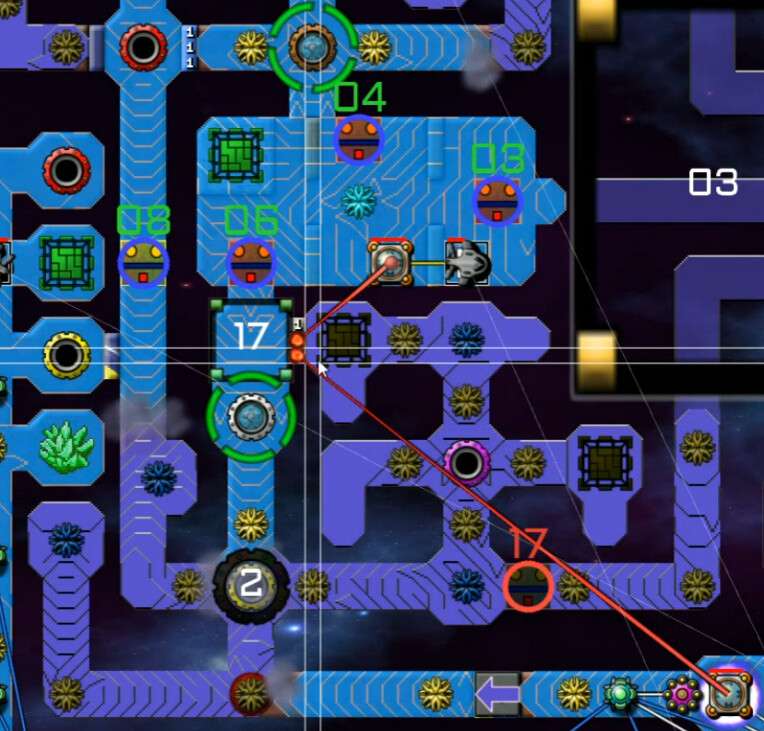
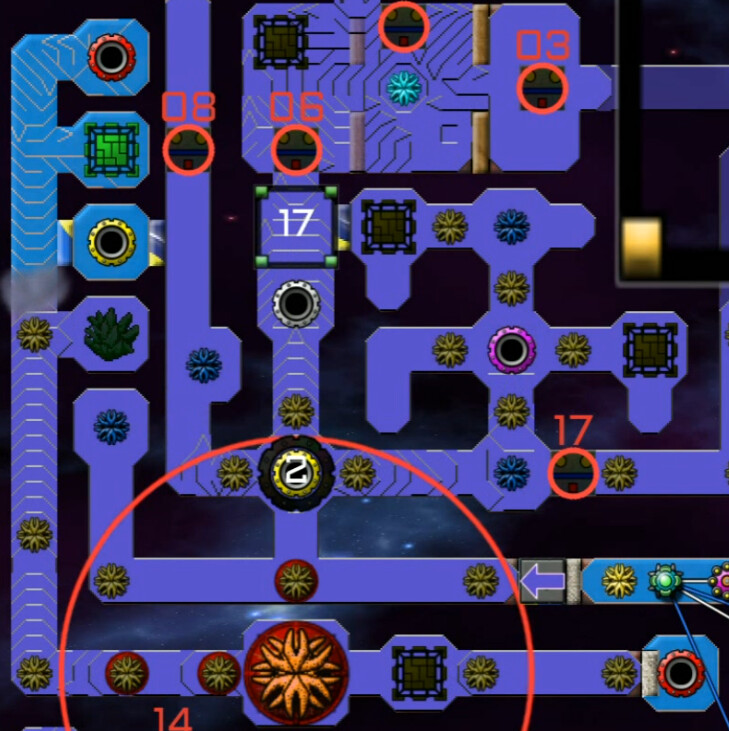
Interestingly, the bridges numbered 17 start open. This is kind of a strange bit of design to me because by the time you can close them, you don't want to. So why have the bridges at all? Just befuddles me. At any rate, we have a fast-improving situation here and I'm shipping in AC via the '2' stargate as well -- but it'll be a bit of a fight with that pink one. If I'd put the '1' connector on there this would have been done much, much faster. After it's cleared, we get a Forge up in this area - it's the only place on the map there's room for one - rescue the other friendly above this, and generally start seriously kicking some creeper behind.
The white network now falls to us, and I start hesitantly opening up some bridges to gain more territory. We've acquired a couple more weakening crystals, one shown here, to further limit enemy reinforcements. Then I open up multiple fronts, approaching 'Attack Everywhere' mode, and the green network falls to our power.

This is set on 600, so at this point we've got roughly 300 depth in the brown and pink networks. The blue one ... is essentially off the scale. The way this map is designed, you almost have to, and definitely should IMO, save that one for last. I open up some bridges, then end up closing a couple that lead into armoured emitter areas, and take down the brown network next. It's a battle for a bit, but not for long.
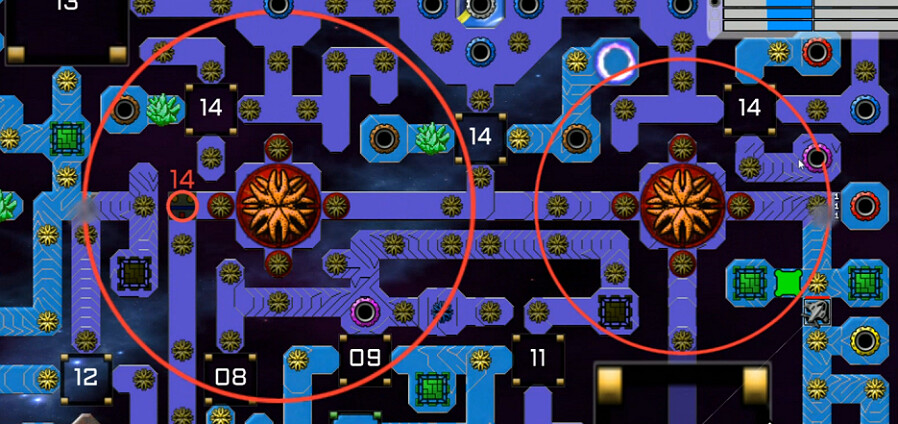
This part is basically the essential entrance to the enemy stronghold. Some of the emitters in range of these armoured foes produce a few hundred creeper before accounting for their influence. They're connected, which makes them a little tougher, but by this point I'm ready for them. Also, they have six lives instead of the previous four ... but really the number of lives isn't particularly significant IMO. If you have enough AC to get to them, you have enough to wear down however many explosions they get to do. I open up the pink network, which flows into some areas nearby to this, and basically start opening almost every bridge I can find.
This is the bulk of the Blue Network, not to be confused with Blue Care Network. Due to the influence of the previously-vanquished enemies, depths in much of this approach 1500. Yeah. They don't have anything approaching that now though, I think the worst were down to 150-200. Bridges 13 and 14 provide access. Well, there's nothing else for it ...
I can't approach their sheer volume, I think I was up close to 400 each emitter at this point. So long-term we've got the edge, but we need to survive the initial rush here and at first the creeper gained some small amounts of territory. I tear down the walls around the white SG in the middle to open another front, deploy a pointless singularity that isn't nearly close enough to where we are attacking to do any good, and of course frenzy bomb my rear off.
It doesn't take long for us to equalize, and once we start pushing back the flood is unstoppable. Capture spam fills the screen, and soon victory is mine.
1 hour 32 minutes for me, about 15 minutes after the median time. Definitely could do it much faster - the armoured emitters here were honestly a little easy to get to but they definitely add variety and other considerations to the map. Combined with the crystals they form a very powerful set of adjustments over time to creeper production.
And ... that's all folks. For now. Creeper World 3 steps aside after a mere 275 hours of personal gameplay and just 162 missions.